Appetizers
Appetizers
-
![]()
Pizza Puffs
If you've never made homemade pizza before, don't let this super easy and delicious recipe pass you by. It's seriously so easy, my kids can make this...and they have! I got the original recipe from a cooking book (circa 1942) my grandmother gave me when I got married.
-
![]()
4 Ingredient Tomato Soup
I've been raving about this super simple yet incredibly delicious soup on Instagram recently and now I'm sharing the recipe with you. It's not an original recipe, I got this from my friend Megan, who got it from her friend Lubna who got it from someone else.
-
![]()
Indian Red Lentil Daal | Dahl Recipe
Are you looking for a tasty, filling vegan meal? Try Indian Daal! It's fast (if you use my fast recipe), nutritious and delicious. For this recipe, I included many toppings and garnishes we love to include when making Daal, but only if Daal is going to be the main dish rather than a side dish because all these extras that I show take a long time to make.
-
![]()
How To Make Samosas
So the thing is that I only make these during Ramadan, but really, you can make them any time of year. This year, I didn't make them once for Ramadan. And now that Ramadan is over, I'm making up for lost time and turning out samosas like it's nobody's business.
-
![]()
Yogurt Tortilla| Hyderabadi Appetizer
Dahi Pulki or Yogurt Tortilla is a family favorite, especially during Ramadan. We like to break fast with fruit chaat and this layered tortilla dish that's thick with yogurt and fried onions. While this appetizer is a Ramadan family favorite of ours, you could really have it any time of year.
-
![]()
How To Make Lebanese Meat Pies
These Lebanese meat pies were an immediate winner in our home. Everyone loved them and in the years since we've learned how to make them, we still do with some modifications. The dough is a dense, dry and flavorful dough that bakes up smooth and delicious.
-
![]()
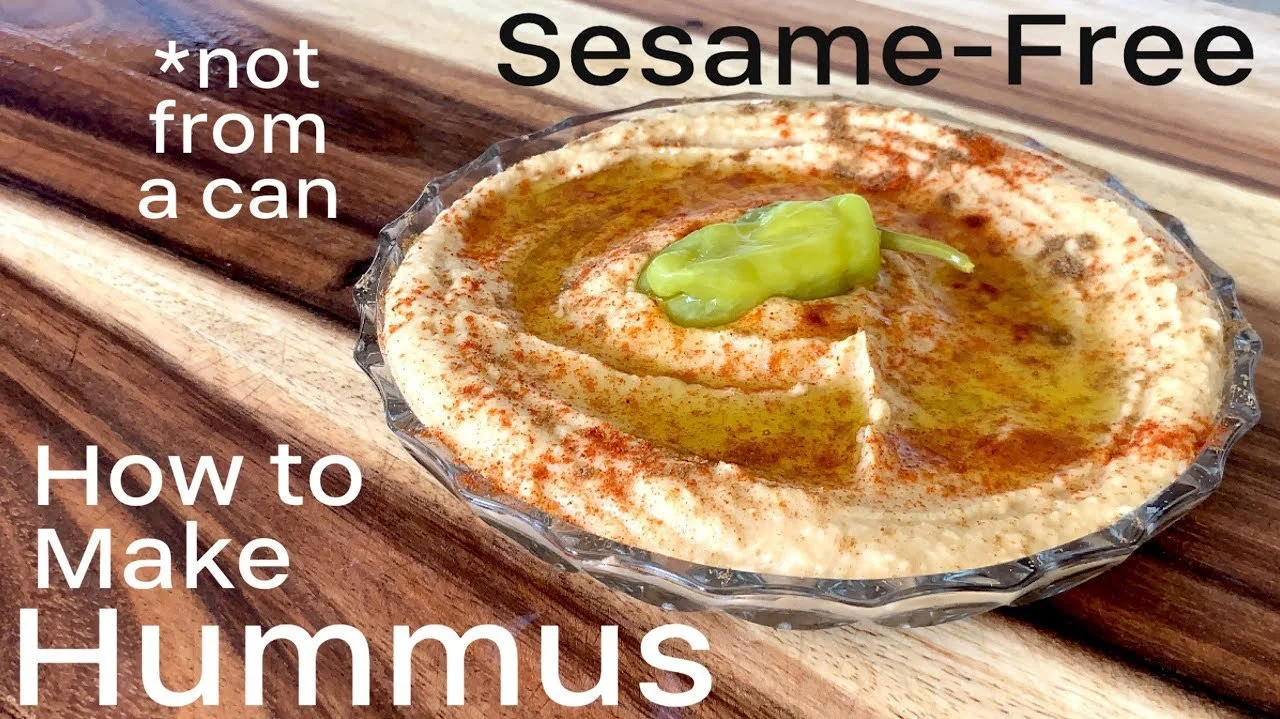
How to Make Hummus
This isn't your traditional hummus recipe. For one thing, you'll find that I didn't use tahini. While I love tahini and add it often to our homemade hummus, I omitted it this time, and it tastes just as good! Hummus as a food is generally pretty safe for most known allergens.
-
![]()
How to Make Vegan Dukkah Dip | Ancient Egyptian Meal
Dukkah Dip is a vegan dip made of nuts and seeds. It was surprisingly tasty except I did over salt it. It would be great with pita bread, pita chips or crackers. As I didn’t have any of these, I paired it with cucumber sticks. It was a nice balance of dense salty nuttiness and cool bland
-
![]()
How to Make Ful Medames | Ancient Egyptian Meal
Today’s dish is called Ful Medames,and it is still a popular breakfast item in Egypt today. You can find cans of fava beans at most ethnic markets
-
![]()
How to Make Mini Pita Bread
We love adding recipes to our history units; and, for this unit, we made a super simple pita bread recipes. If you form these mini pitas by hand or roll them out with a rolling pin and cut them using a circular cookie cutter.
-
![]()
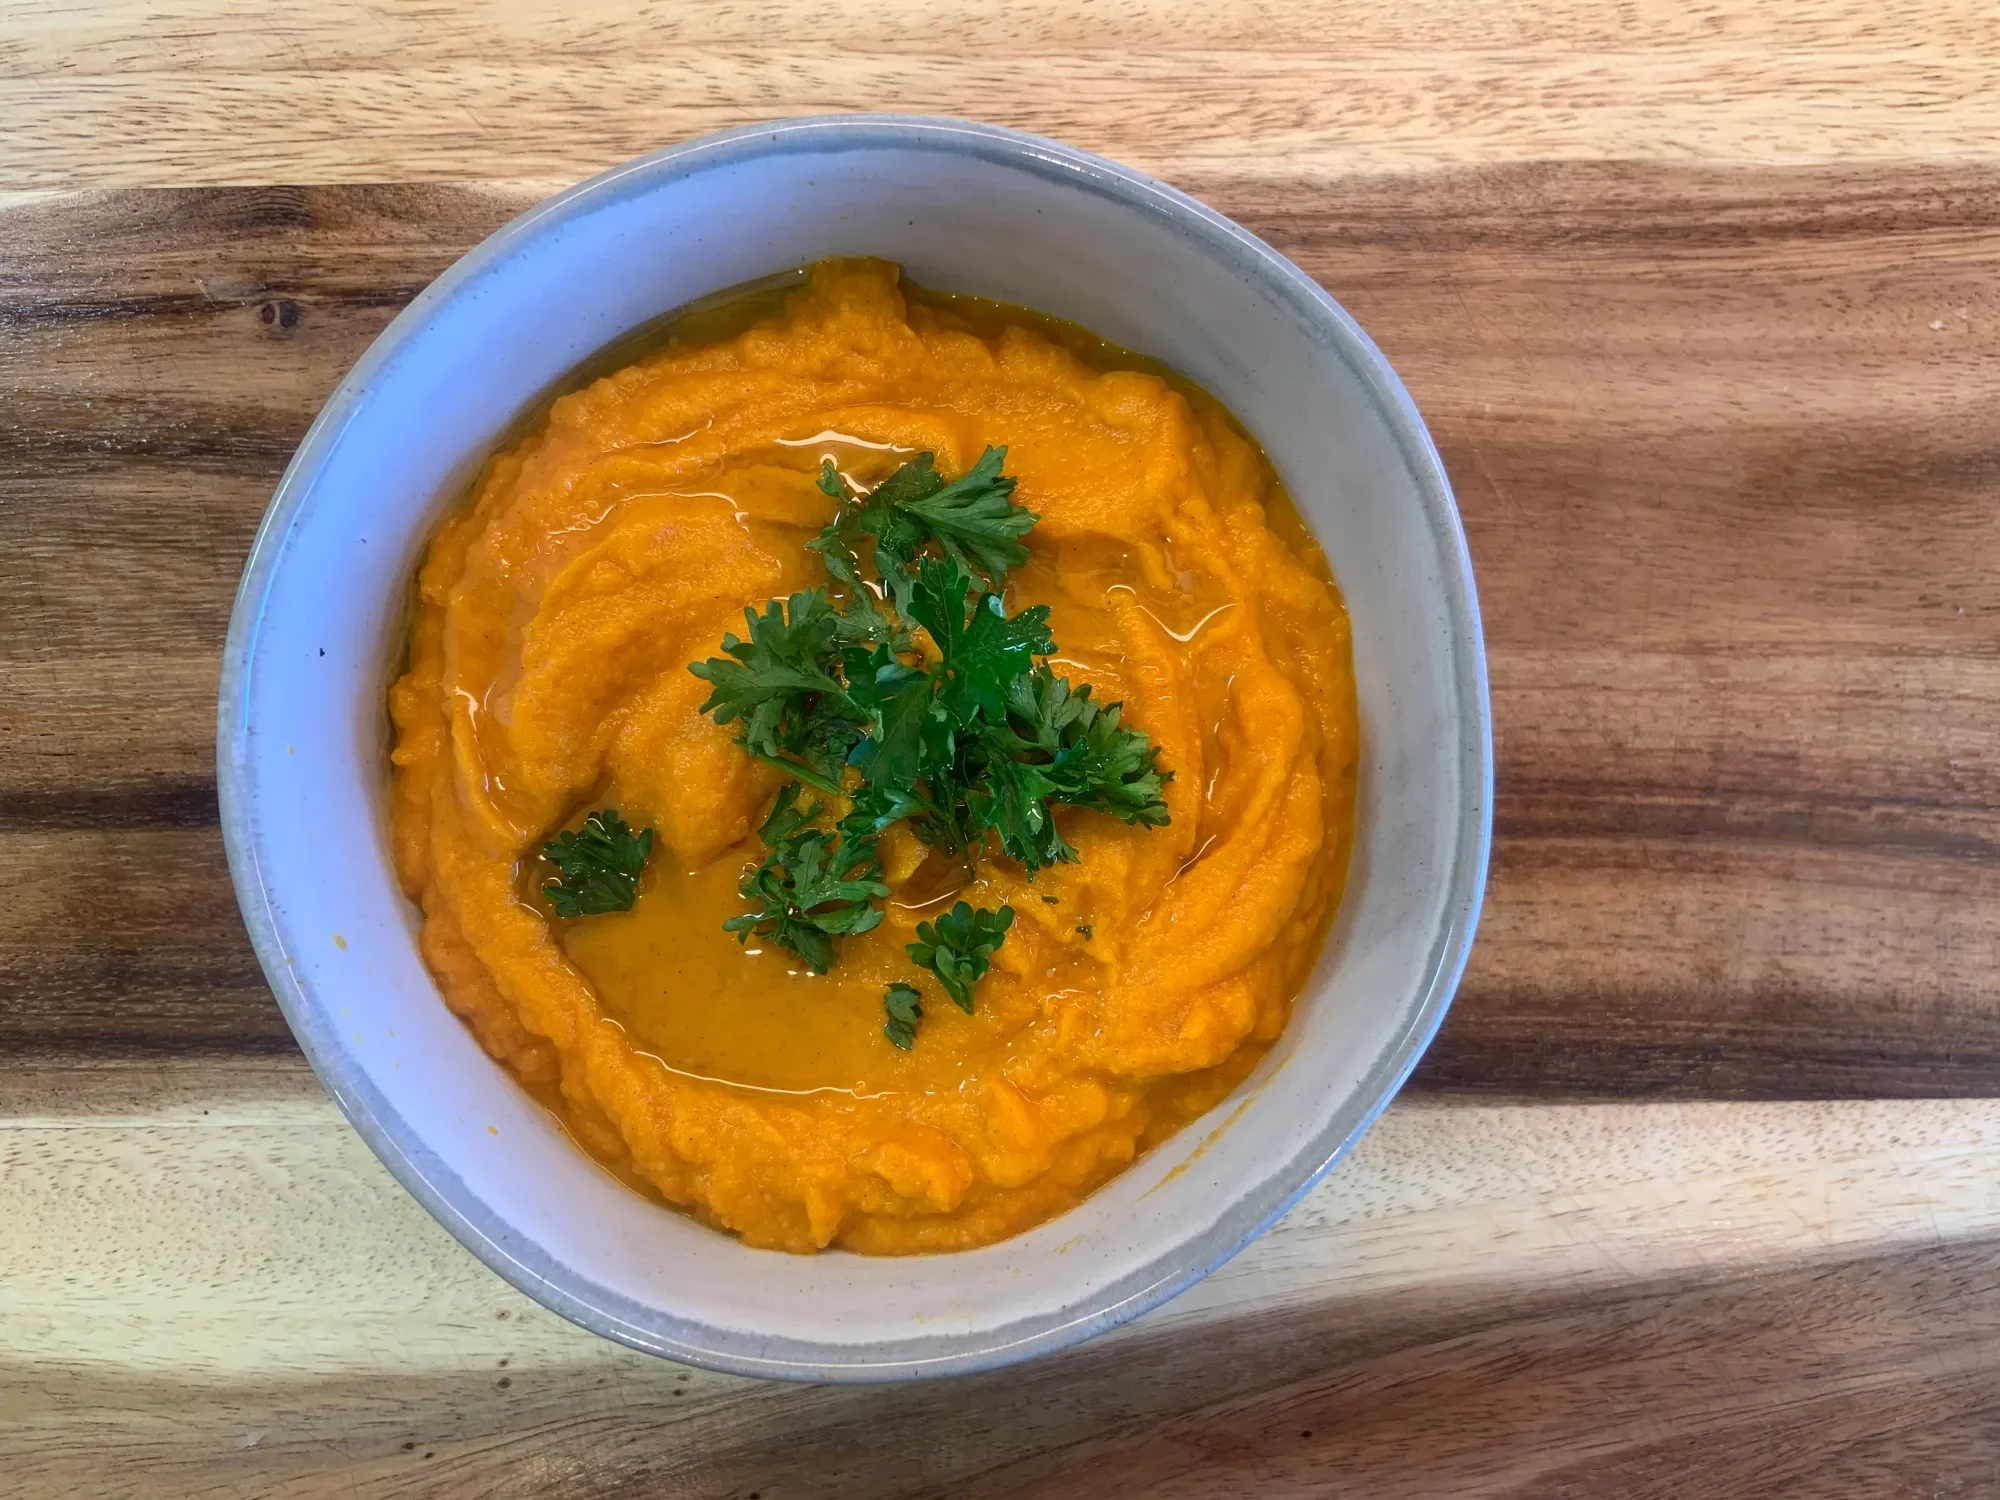
How to Make Spicy Moroccan Carrot Dip
We often head to the kitchen when doing our homeschool unit studies as this adds flavor to our lessons. Sometimes we simply cook a single recipe, other times, like today, we cook up a whole feast!
-
![]()
How To Make Moroccan Fish Soup
We almost always cut our recipes in half when we are trying something new. That way we can explore new cuisine without worrying if we are going to waste anything if we don't like it. For this recipe, that was a mistake!! As soon as I was done making it, and we started sampling it, it was nearly gone before I had completed the rest of the meal.
-
![]()
How to Bake Bread
Baking bread is a quintessential kindergarten experience in a Waldorf school. We take this tradition and bring it home. In this video, I'll show you a quick and easy recipe for making bread
-
![]()
Roasted Pumpkin Seeds | EASY Recipe
Did you carve a pumpkin this fall? I hope you saved those pumpkin seeds because you can roast them with a bit of salt and olive oil for a fast, tasty and healthy snack. Don't forget to reverse a few seeds to plant them next spring/summer and hopefully you'll have your very own pumpkin next fall!
-
![]()
Kiwi & Avocado Salsa
I'm not sure if you call this a salsa if you just eat it with a fork! I think it's been upgraded to salad status. You be the judge of it. Try it out and decide: Salsa or Salad. And once you do, let me know in the comment section which you think it is?
-
![]()
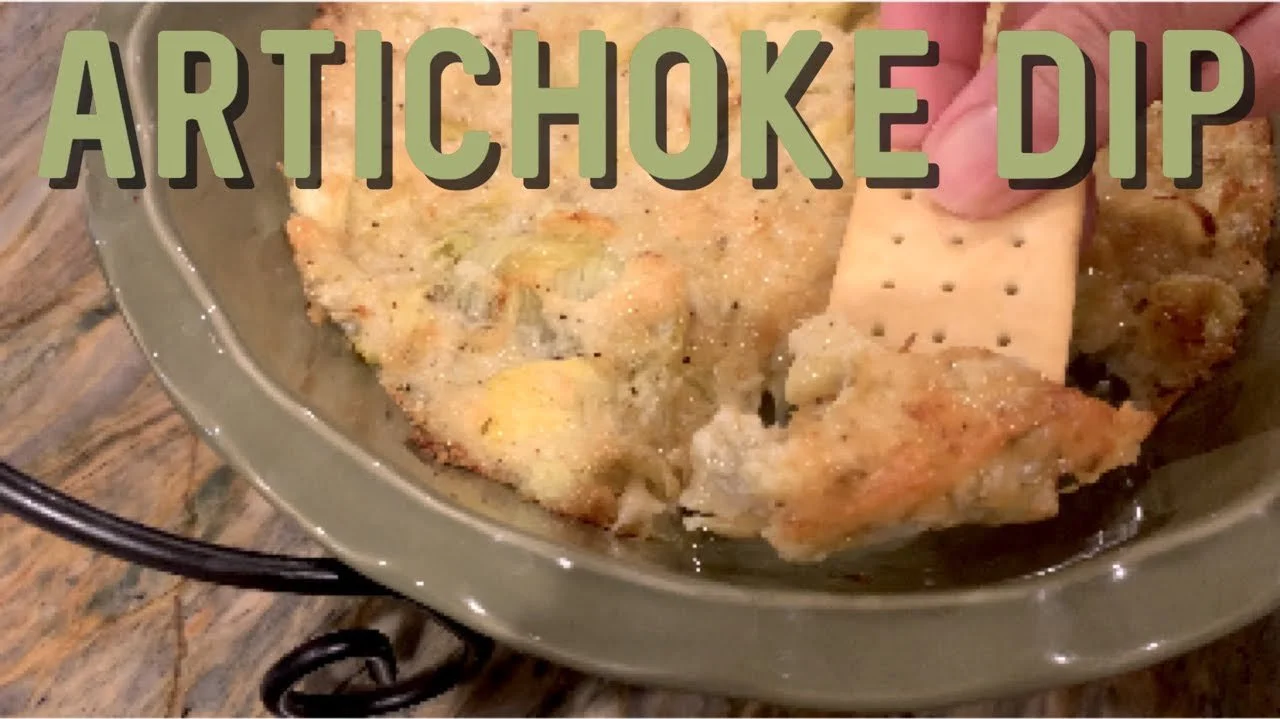
Artichoke Dip
There are never leftovers of this appetizer...never. In fact I need to double or triple the recipe everytime. The recipe I'm sharing for this artichoke dip is doubled, but you can cut it in half if you are serving 4 people of less.
-
![]()
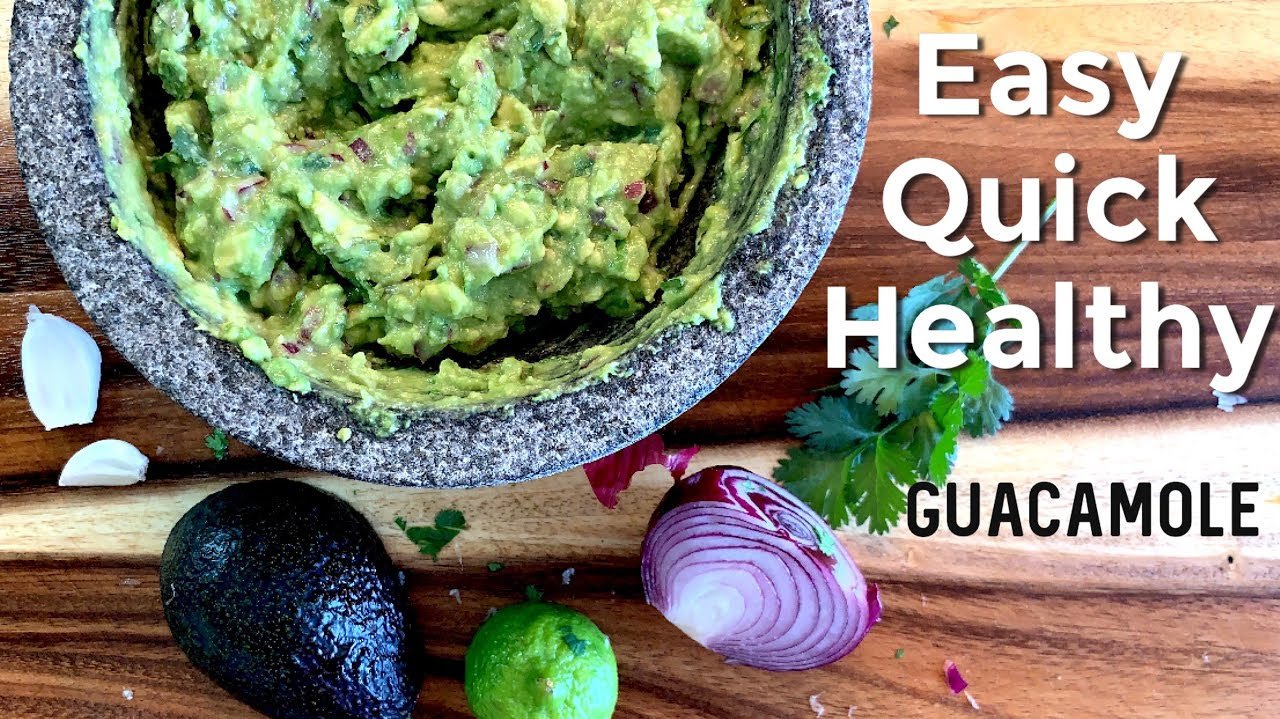
How To Make Guacamole | Non-Spicy Simple Recipe
I'm using my new volcanic rock mortar and pestle to make guacamole. While I've been making guacamole with a plastic guac masher, I bought this guacamole mortar and pestle a couple years ago to grind wheat berries and whole spices.
-
![]()
How to Make Old Fashioned Homemade Butter
There's nothing quite like fresh butter and there's no better satisfaction than being able to make it from scratch. And when children are able to do this, the thrill of making something like butter, turning a thick liquid into a solid and a thinner liquid is pretty amazing.
-
![]()
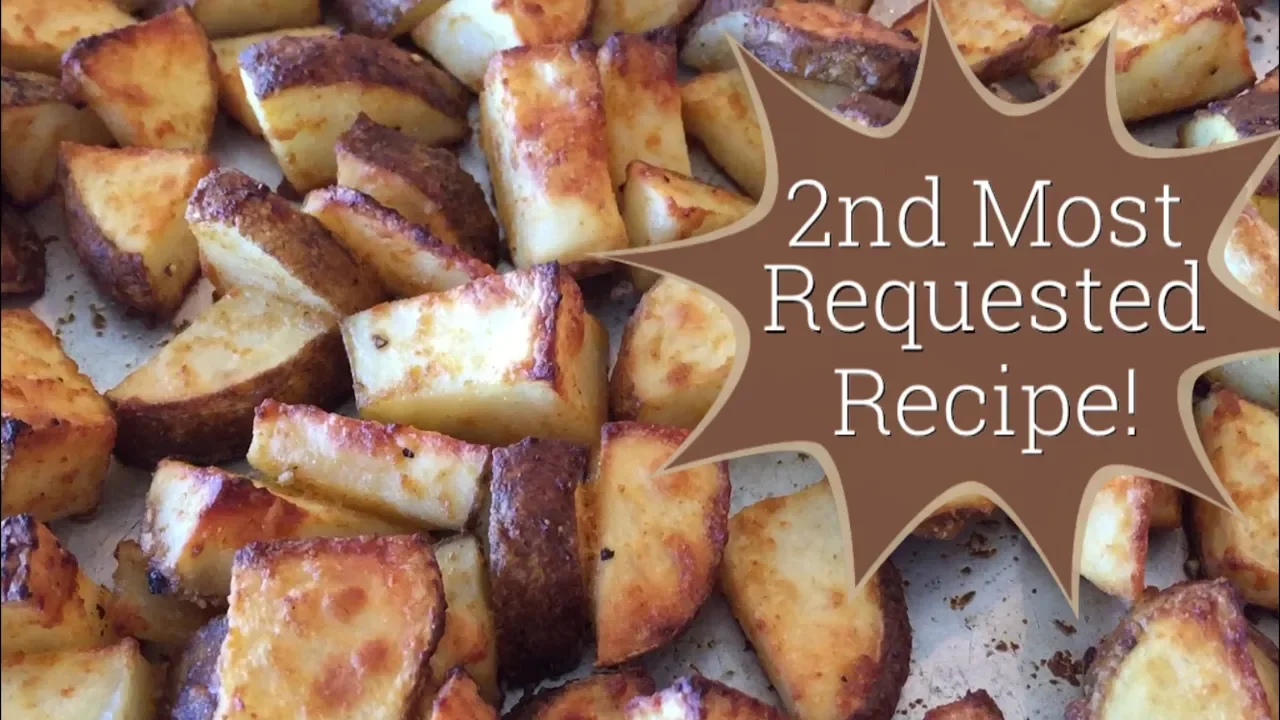
Roasted Potatoes
This isn't just any roasted potato recipe, this happens to be one of my most requested recipes and one that's always a winner, even when I don't think they turned out so good. The recipe is simple and the prep work minimal, but the real reason behind the success of this recipe is the raw ingredients and spices.
-
![]()
How to Make Stuffed Eggs | aka Deviled Eggs
I like my eggs hot or as crepes, but chilled stuffed eggs is a healthy, filling and nutritious appetizer that's easy to make and easy to enjoy. Add these finger food, single bite options to a daytime gathering or to complement the chips and salsa for a nice balance to the food spread. This simple dish is quite versatile. You can add or omit just about anything to the yolks which make up the filling. My next attempt at stuffed eggs is a sweet version with vanilla and cinnamon.
-
![]()
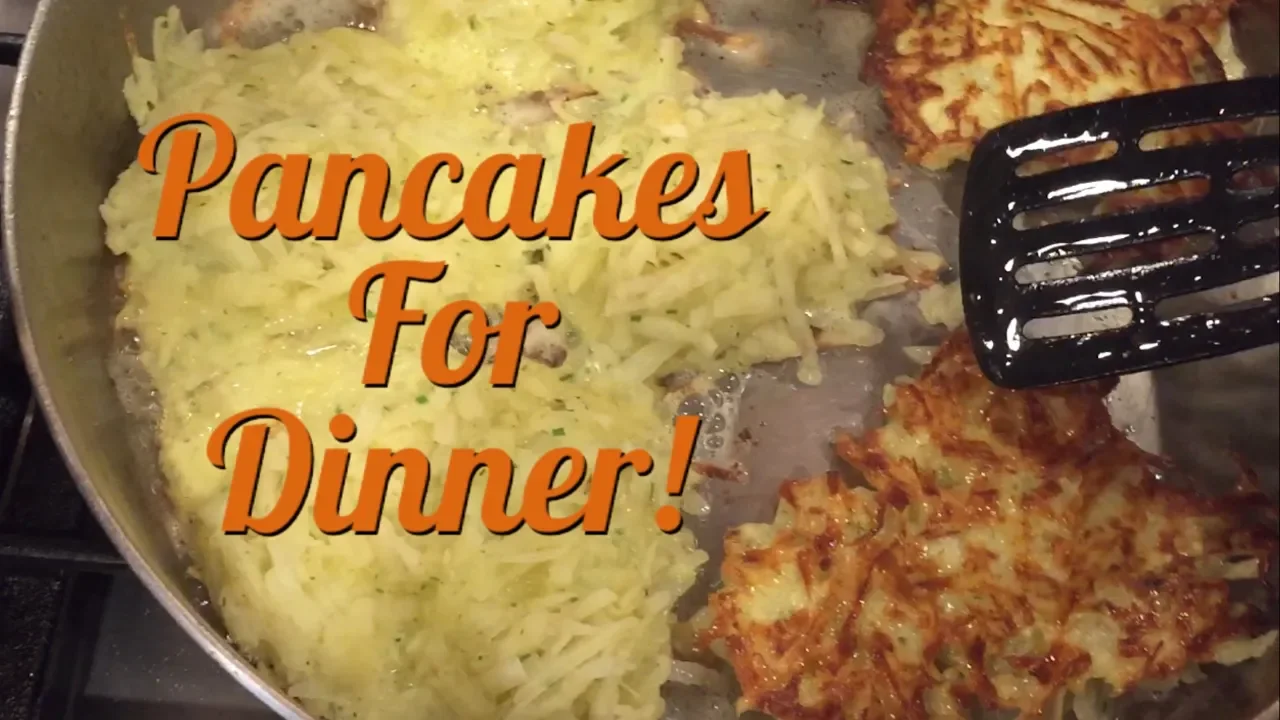
How to Make Hash Browns
Homemade hash browns or potato pancakes are great for breakfast, lunch or dinner. The only thing that prevents me from making these everyday is the time it takes to shred or grate the potatoes. Surely you could use a food processor with the correct attachment, but we're rocking the kitchen old school with a hand or box grater. Once you grate your potatoes, the rest is easy.
-
![]()
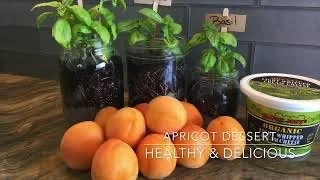
Apricots Appetizer
Easy healthy snacks that taste delicious? What's not to love! It doesn't get any simpler than this: half an apricot with whipped cream cheese. Top with a baby basil leaf and call it pretty and done! For an alternative to this recipe, try filling the apricots with whipped cream for a decadent treat. I like topping mine with something green for the look because the pop of green against the white and orange is striking.
-
![]()
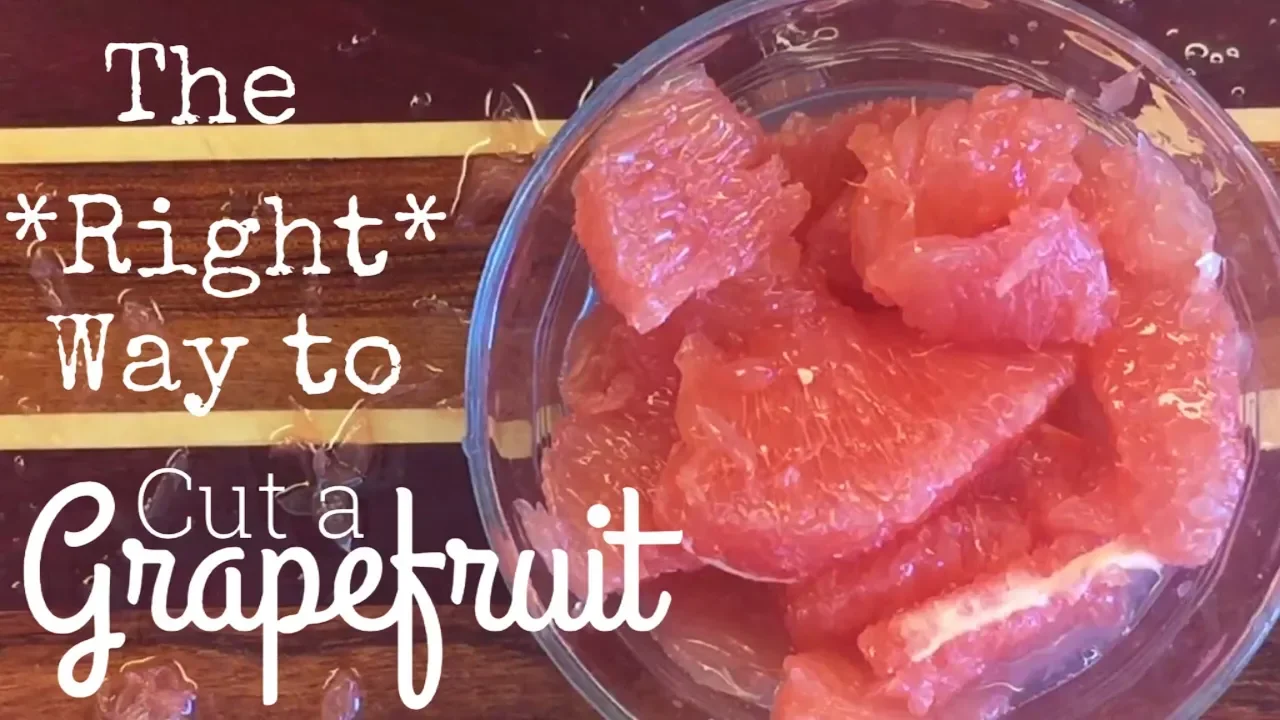
How to Cut Grapefruit
Having trouble cutting a grapefruit? No worries! This super simple method will having you eating grapefruit free of frustration in no time!










Appetizers
Appetizers

Appetizers can take as long to make as some main dishes and often they are overlooked even when greatly enjoyed. Personally I don’t care much for making appetizers, though I do enjoy eating them! But you have to be mindful because it’s easy to fill up and these miniature treats and find you are too full for the main meal. On occasion, we will make a whole meal out of appetizers, and when eating out, I find the portions of appetizers to be just right instead of a full meal. I’ve included a few soups and salads that can work well as appetizers, but I encourage you to check out the blog posts on Soups, Salads, Rices, Meats, Main Meals, Desserts and Drinks for even more culinary ideas.
Pizza Puffs
If you’ve never made homemade pizza before, don’t let this super easy and delicious recipe pass you by. It’s seriously so easy, my kids can make this…and they have! I got the original recipe from a cooking book (circa 1942) my grandmother gave me when I got married. The recipe is for bread, but I use it for everything from a loaf of bread to cinnamon rolls. It’s a sticky dough you don’t need to knead. Just use a wooden spoon to mix the following ingredients and let it rise:
1/2 teaspoon salt
1/4 teaspoon yeast
up to 3 tablespoons of sugar (I use brown sugar)
3 cups of lukewarm water (warm water speeds the rising process)
6 cups of flour
After the dough has risen (about 2-3 hours), grab, pinch and plop small rounds of dough onto a tray lined with parchment paper. Top with pizza or marinara sauce and cheese and toppings of your choice. Bake for 12 minutes in a 430 degree F preheated oven. Rotate the trays for even baking if not baking in a convection oven. Remove and let cool (if possible) before enjoying these amazingly simple treats!
If you try these out, please share a pic with me via Instagram and don’t forget to tag me!
4 Ingredient Tomato Soup
I’ve been raving about this super simple yet incredibly delicious soup on Instagram recently and now I’m sharing the recipe with you. It’s not an original recipe, I got this from my friend Megan, who got it from her friend Lubna who got it from someone else. Today I’ll share my version of this delicious, wholesome, filling, warming, soup. It’s awesome. It’s my new favorite, and I crave it every day. And the best part, you can make it with pantry items! Woohoo! Who doesn’t like a meal or soup you can whip together quickly from pantry ingredients.
I’ve added a few garnishes that are optional, but definitely take this soup over the top. You can also omit the garlic and cayenne pepper. While I like a touch of spiciness, many of my friends prefer it without the cayenne pepper.
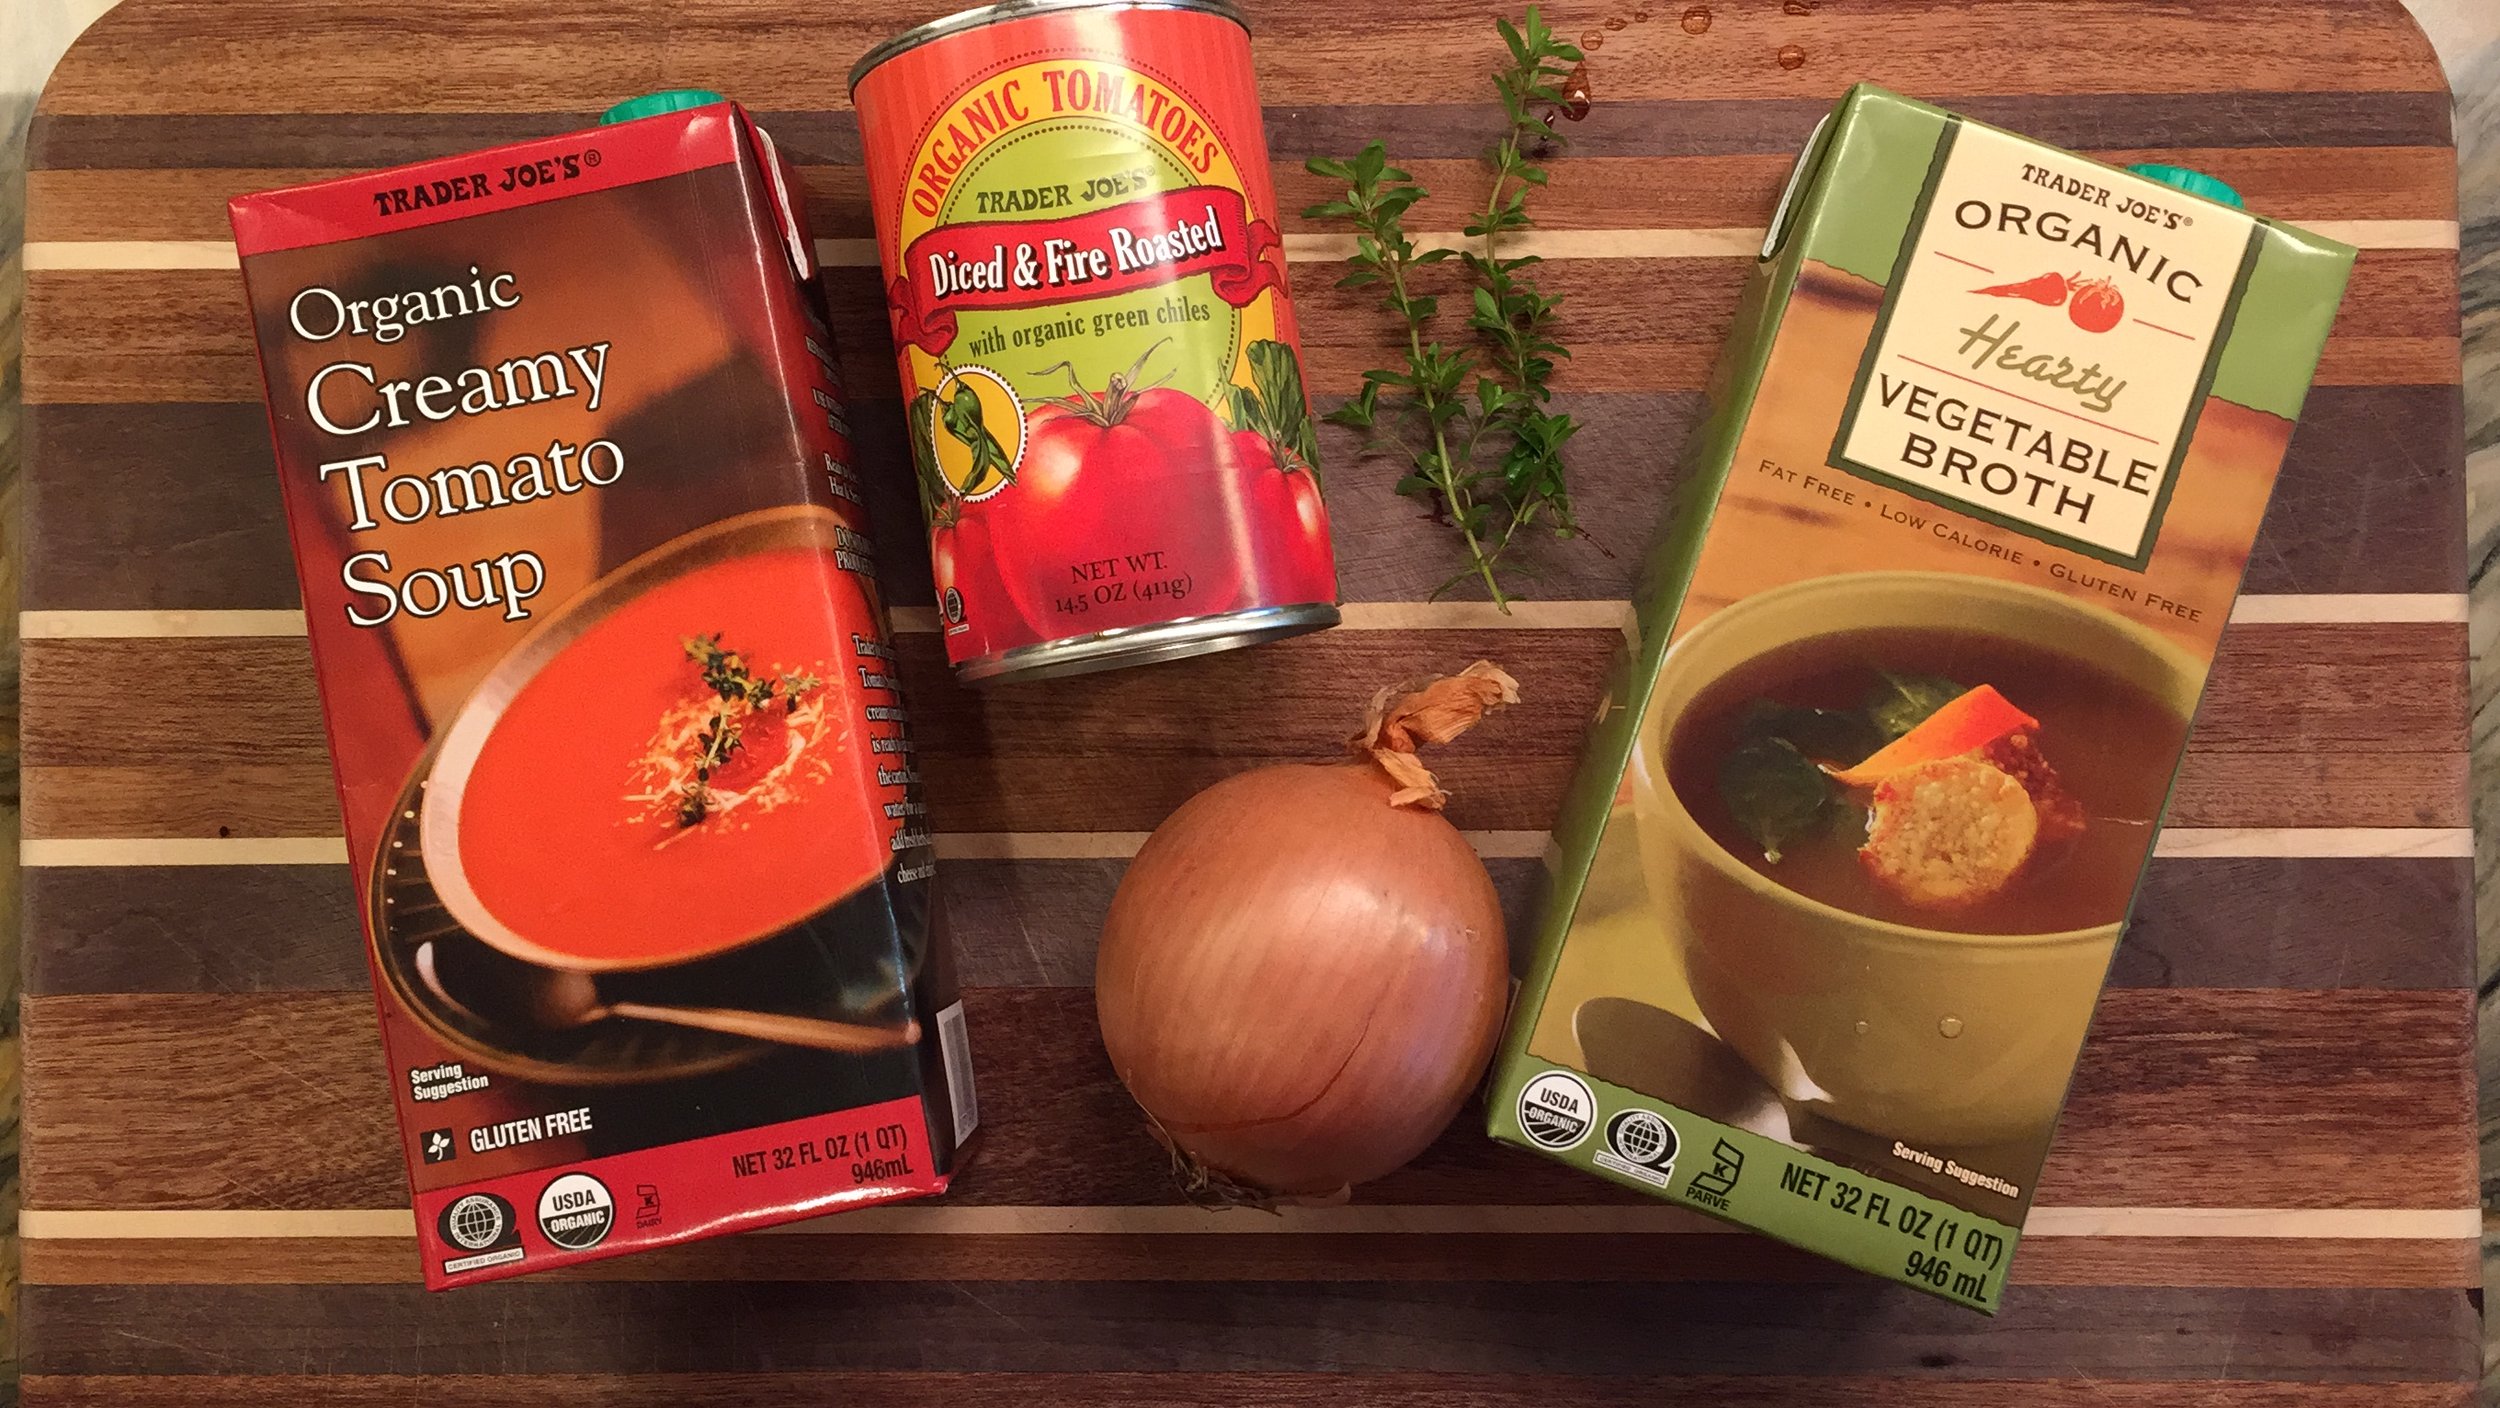
The basic ingredients for this recipe are simple:
1 carton of Trader Joe’s brand Organic Creamy Tomato Soup
1 carton of Trader’s Joe’s brand Organic Vegetable stock
1 can of Trader Joe’s brand of Diced and Fire Roasted Tomato chunks
1 medium sized onion-diced
Spices: Salt (to taste, about1/2 to 1 teaspoon), garlic (1 teaspoon fresh mashed) and cayenne (optional 1/2 teaspoon)
Olive oil, or oil of your choice for sautéing onions and to drizzle on top if you don’t want the garnishes and soup toppings.
Garnishes are optional, but really take this simple recipe over the top:
Add 1 teaspoon of cream, a sprinkling of aged cheese and a bit of thyme to transform this simple soup to a gourmet soup.
Directions:
Dice onion and toss in a hot soup pan with oil. Sauté for a few minutes until just golden brown. Add Fire Roasted tomatoes and let that warm through, about 30 seconds. Turn up the heat and add the vegetable stock and creamy tomato soup. Add seasonings. Watch soup so it doesn’t boil. As soon as it’s heated thoroughly, reduce heat to the lowest setting and let it simmer for 5-10 minutes. You can let it simmer longer or reheat this soup. It’s very forgiving. Just don’t boil it or leave it simmering without the lid, you’ll end up concentrating the soup as the water boils off.
Ladle the soup into soup bowls. Shallow bowls will allow the soup to cool quickly, while deep bowls will keep the soup hotter longer. Garnish while hot so the cream can warm (or heat the cream prior) and the cheese can melt. Serve with soup crackers, or my favorite, potato pancakes.
Serves 12 as a first course or 6 as a meal.
Share your alternative to this tomato recipe in the comments. I can’t believe how much I enjoyed this tomato soup and would love to try others.
Check out more food recipes, including my favorite, pizza puffs, by clicking on the playlist here.


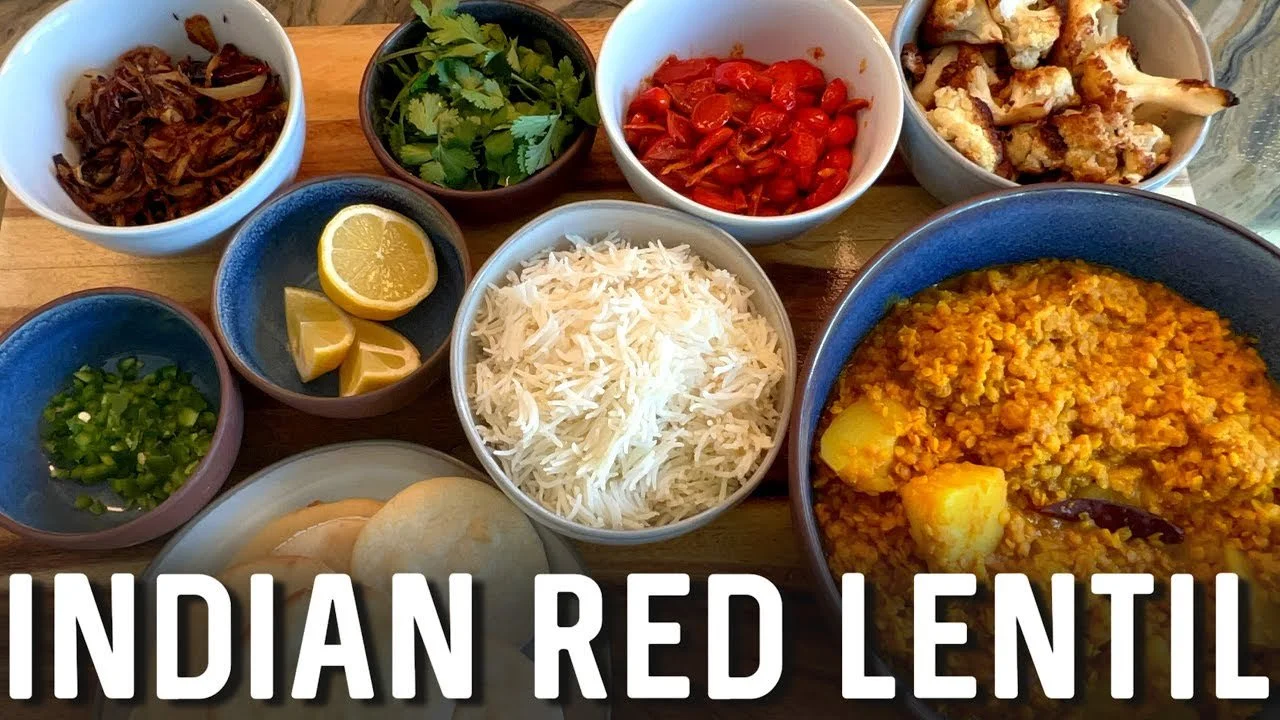
Indian Red Lentil Daal | Dahl Recipe
Are you looking for a tasty, filling vegan meal? Try Indian Daal! It's fast (if you use my fast recipe), nutritious and delicious.
Here's the fast recipe you can make in a mini rice cooker.
Are you looking for a tasty, filling vegan meal? Try Indian Daal! It's fast (if you use my fast recipe), nutritious and delicious. For this recipe, I included many toppings and garnishes we love to include when making Daal, but only if Daal is going to be the main dish rather than a side dish because all these extras that I show take a long time to make.
Let's start by getting the things that take the longest to cook on their way:
-Boil or cook in the Instant pot 2 peeling russet potatoes.
-Sauté a large yellow onion in oil of choice (on the side of the pan, I sautéd about 1/2 teaspoon of cumin seeds and 3 chili peppers)
-Soak 1.5 cups of red lentils.
-Cut half (or whole) cauliflower into medium pieces and fry or sauté until very brown. A lot of oil is needed for this, so you may choose to oven bake them if you prefer not to sauté or fry them, but honestly they taste amazing fried.
-smash 3-5 garlic cloves and equal amount of ginger and add to a hot pan with oil and 3 chili peppers. Add spice mix: 1/2 teaspoon of cumin, paprika and turmeric, season with salt, pepper and cayenne pepper to taste.
-Add rinsed lentils and 2 cups of water. Watch while cooking so it doesn't get too dry or overcooked.
-cut in half 1-2 cups grape or cherry tomatoes. Sauté 1 teaspoon-1 tablespoon of sliced ginger. Add tomatoes, salt and generous amount of paprika (about 1/2-1 teaspoon).
-Prepare garnishes: diced jalapeno, quartered lemon or lime, roughly cut cilantro.
Serve with basmati rice or pita bread, or naan or all!
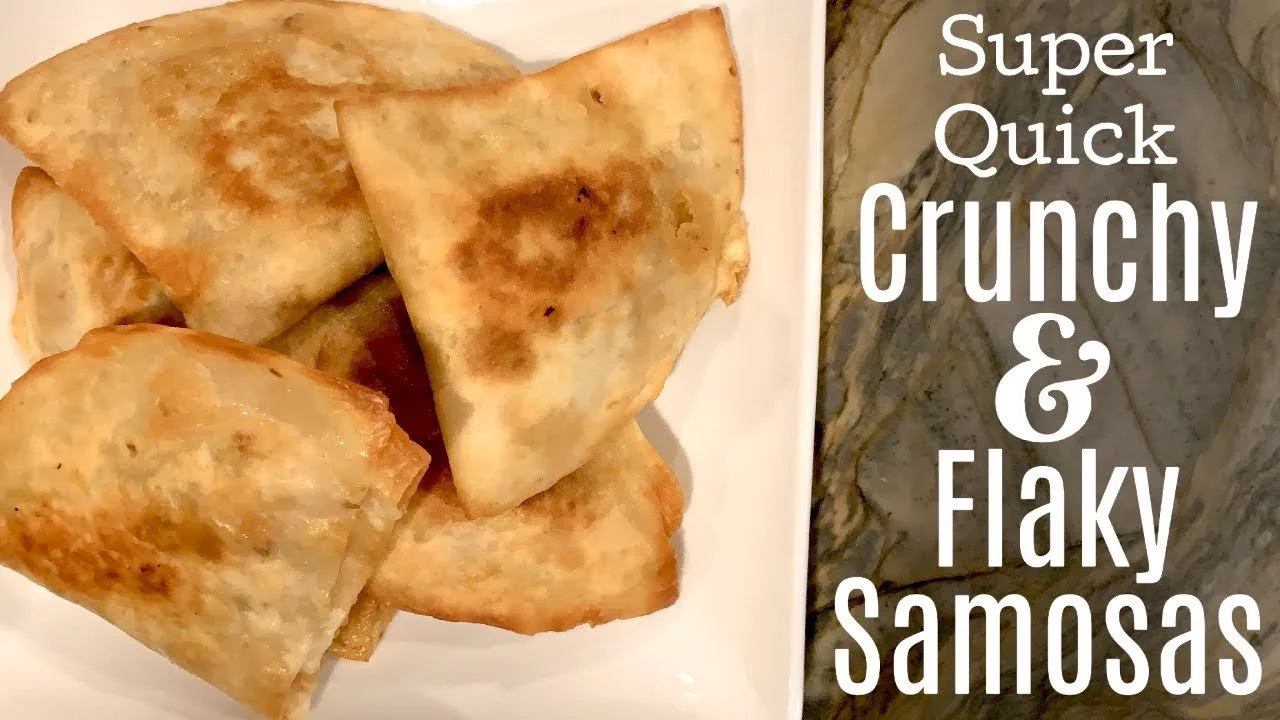
How To Make Samosas | Indian Food
So the thing is that I only make these during Ramadan, but really, you can make them any time of year. This year, I didn’t make them once for Ramadan. And now that Ramadan is over, I’m making up for lost time and turning out samosas like it’s nobody’s business. This recipe utilizes leftover ground beef or freshly made with a sprinkling of Indian spices and good old fashioned Mission Tortillas. I’ve tried three different varieties of tortillas and the Mission brand is hands down the best. They are light, airy and soft and fry up really nice and crispy. These have been a family favorite and crowd pleaser for many years now.
I have my mother in law to thank for this recipe (and many besides). The ingredients and directions are simple, and if you are only making enough for your family, not too time consuming. I’ve made these in the past for big dinner parties, and that’s quite the commitment.
Here’s what you need (for this recipe, but you can cut it down easily): 2 pounds ground beef (I used 15% fat, but I’ve used ground sirloin with only 5% fat) 1-2 teaspoons of the following spices (I recommend starting with 1 teaspoon of each and tasting as you go until you reach the desired flavor). Cayenne, cumin, turmeric, ginger, garlic, salt and paprika You can use a serrano pepper or a jalapeno pepper for added kick and for a rich authentic flavor, you can use fresh ginger and garlic or ginger garlic paste. 1 large onion diced, or two small onions Add hidden veggies in the form of 1 green bell pepper or a zucchini. Dice them small and sauté with the onion. 10 tortillas flour and water oil
Directions: Sauté onion in a large flat pan with oil of your choice. Meanwhile, rinse ground beef and break it up so it’s smooth. Use a metal strainer to keep from losing the meat. Drain well. I usually work the meat with a wooden spoon and let is rest in the sink draining while the onions fry. Fry other veggies at this time too. Prepare the spice mix by adding 1 teaspoon of each spice into a small dish. You can add more to taste once the meat starts cooking. Turn the heat up to high and add the meat to the browned onions. Work the meat and add the spices. It takes about 5-10 minutes to cook down. Remove from heat and allow the meat to cool so you can work with it. If there’s too much liquid, continue to cook it until the liquid evaporates. Avoid draining the liquid because the flavor will drain with it.
While the meat cools, prepare the tortilla and ‘glue’. Cut the tortillas in half and set aside. In a small bowl add 1 cup of flour and slowly add 1 tablespoon at a time of water until you create a thick paste. If the paste is too runny, it won’t seal the tortillas.
Add a thin line of paste along the edge of half the tortilla. Add about 1-2 heaping tablespoons of meat (keema) to the tortilla and fold the tortilla over and seal it shut. Let it rest for a bit to make sure the seal keeps.
To a pan add as much oil as needed to fry samosas. Heat to medium heat, but watch it constantly. If it’s too hot, it will burn or brown quickly, but the inside will be cool or not warm enough. If the oil is too cool, it’ won’t fry properly and absorb too much oil. Make sure the samosas are sealed completely before frying. Fry for a minute or so on each side. Remove and let drain on metal rack or paper towel. Serve hot with your choice of garnish. I like them plain, but some of my kids enjoy ketchup.
For more recipes, check out this playlist.
Yogurt Tortilla| Hyderabadi Appetizer | Dahi Pulki | Indian Food
Dahinki Pulke or Yogurt Tortilla is a family favorite, especially during Ramadan. We like to break fast with fruit chaat and this layered tortilla dish that’s thick with yogurt and fried onions. While this appetizer is a Ramadan family favorite of ours, you could really have it any time of year. It’s simple to make and other than frying the onions, it’s really fast too. Wow your friends and family at your next dinner party with this crowd pleaser. It’s lightly toasted tortillas layered with yogurt, cilantro, jalapeño or serrano peppers, and fried onions. Layer three times and then let it chill or rest for 20 minutes until the tortillas are moistened by the yogurt. You can also prepare this up to one day in advance by storing it in the refrigerator, but I prefer to eat mine fresh. Just know that you don’t have to eat it directly after making it. The only thing difficult about this dish is cutting it! Oh and eating it! It’s a bit messy, but oh so worth it!
How to Make Vegan Dukkah Dip | Ancient Egyptian Meal
For our Ancient Egypt unit study we decided to make some ancient Egypt inspired dishes using the book “Food and Cooking in Ancient Egypt” by Clive Gifford and illustrated by Paul Cherrill. You can find the book at Rainbow Resource. Dukkah Dip is a vegan dip made of nuts and seeds. It was surprisingly tasty except I did over salt it. It would be great with pita bread, pita chips or crackers. As I didn’t have any of these, I paired it with cucumber sticks. It was a nice balance of dense salty nuttiness and cool bland cucumber.
Recipe from the book (I changed it slightly in the video by adding chili peppers and cutting the recipe in half):
2/3 cup of sesame seeds
1/3 cup hazelnuts
1/2 cup blanched almonds
3/8 cup coriander seeds
2 Tablespoons cumin seeds
3/4 teaspoons dried thyme
Black pepper
Optional: bread and olive oil
Roast sesame seeds at 350 degrees for 3 minutes. Roast nuts for 4 minutes. In a pan, toast seeds (I added oil and chili pepper) until browned for about 3 minutes. Add everything to a blender and blend for about a minute. Serve with bread and olive oil. Our nut dip was still warm when we ate it, and it was better than when it was room temperature or chilled. Serve as an appetizer or with this chicken recipe, or catch up on the whole Ancient Egypt Cooking Playlist.


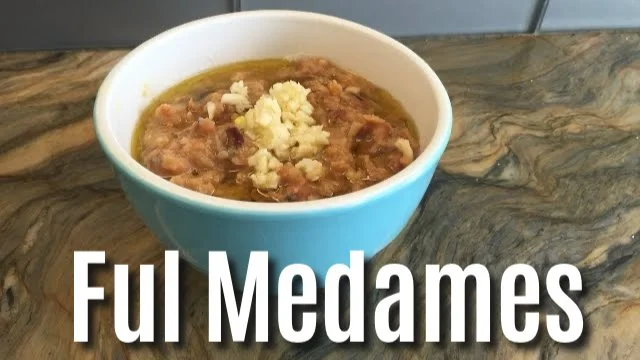
How to Make Ful Medames | Ancient Egyptian Meal
For our Ancient Egypt unit study we decided to make some ancient Egypt inspired dishes using the book “Food and Cooking in Ancient Egypt” by Clive Gifford and illustrated by Paul Cherrill. You can find the book at Rainbow Resource. Today’s dish is called Ful Medames,and it is still a popular breakfast item in Egypt today. You can find cans of fava beans at most ethnic markets.
Recipe:
1 can of fava beans
1 lemon (juiced)
3 cloves of garlic (mashed)
1 teaspoon (or less) of cumin
Salt to taste
Olive to drizzle on top
Heat beans over low-medium heat for a couple minutes. It doesn’t take long at all! Season while on the stove. Transfer beans to serving dish and mix in lemon juice and top with fresh mashed garlic and olive oil. Serve with pita bread and eggs for a filling breakfast, or serve with homemade pita chips for a healthy vegan snack. Check out the other videos in this series.
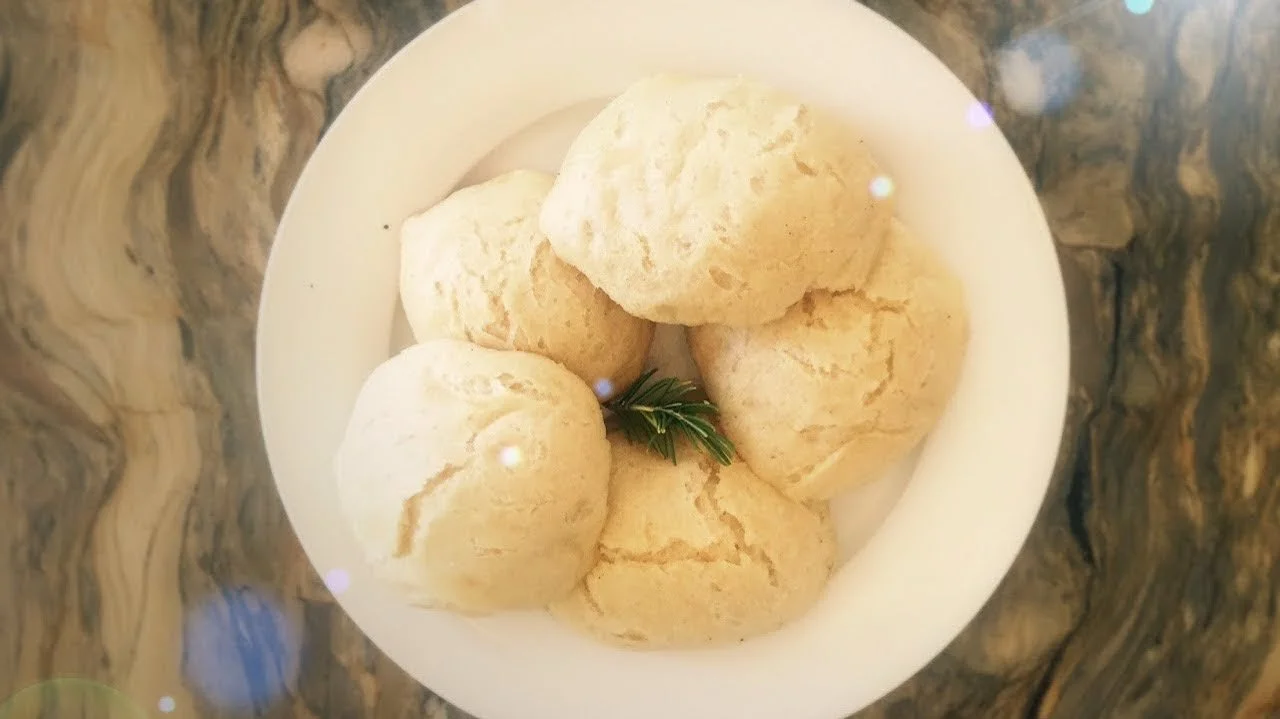
How to Make Mini Pita Bread
With one basic dough recipe, you can make dozens of breads with subtle changes like adding olive oil, replacing water with milk and/or yogurt, adding eggs (makes dough softer), and changing the ratio of flour to water. For this recipe, I used my bread maker to make the dough. Using setting 8 (which takes 1.5 hours), I made dough to make mini pitas.
I made this dough drier to make these pitas because I planned to roll out the dough and use a metal circle cutter to form the pitas. When making a dry dough, versus a 1:1 or 1:1.5 dough which I use to make pizza puffs or focaccia, I like to use my Kitchenaid or bread maker because it does the kneading for you. The bread maker is also great to use on cooler days because it gentle warms the inner compartment to aid in rising.
Recipe: 3-4 cups of flour, 1 teaspoon of salt, 1/4 teaspoon of yeast, 1.5 cups of water, 1-2 tablespoons of brown sugar (or sugar), and 2 tablespoons of olive oil. Using lukewarm water, add water, sugar, yeast and oil to a bowl or bread maker. Gently mix. You may let it sit to let the yeast bubble, but I rarely do that. I usually add everything together, only recently mixing salt with the flour, but my dough has always risen unless my water is hot. Add flour and salt and mix and knead until incorporated. Let it rise for 1-4 hours.
You may let it rise in the refrigerator overnight. Roll out dough to 1/8-1/4 inch thick (thickness doesn’t matter too much as long as you are consistent so it bakes evenly, the thinner the dough, the quicker it bakes). I used a circle cutter to make the pitas. I brushed olive oil on each one. I used parchment paper over an aluminum tray. I preheated the oven to 420 degrees and bakes for 5-8 minutes. Keep on eye so as not to over bake. Remove from oven and serve with hummus or the Indian food seen at the end of the video.
How to Make Spicy Moroccan Carrot Dip
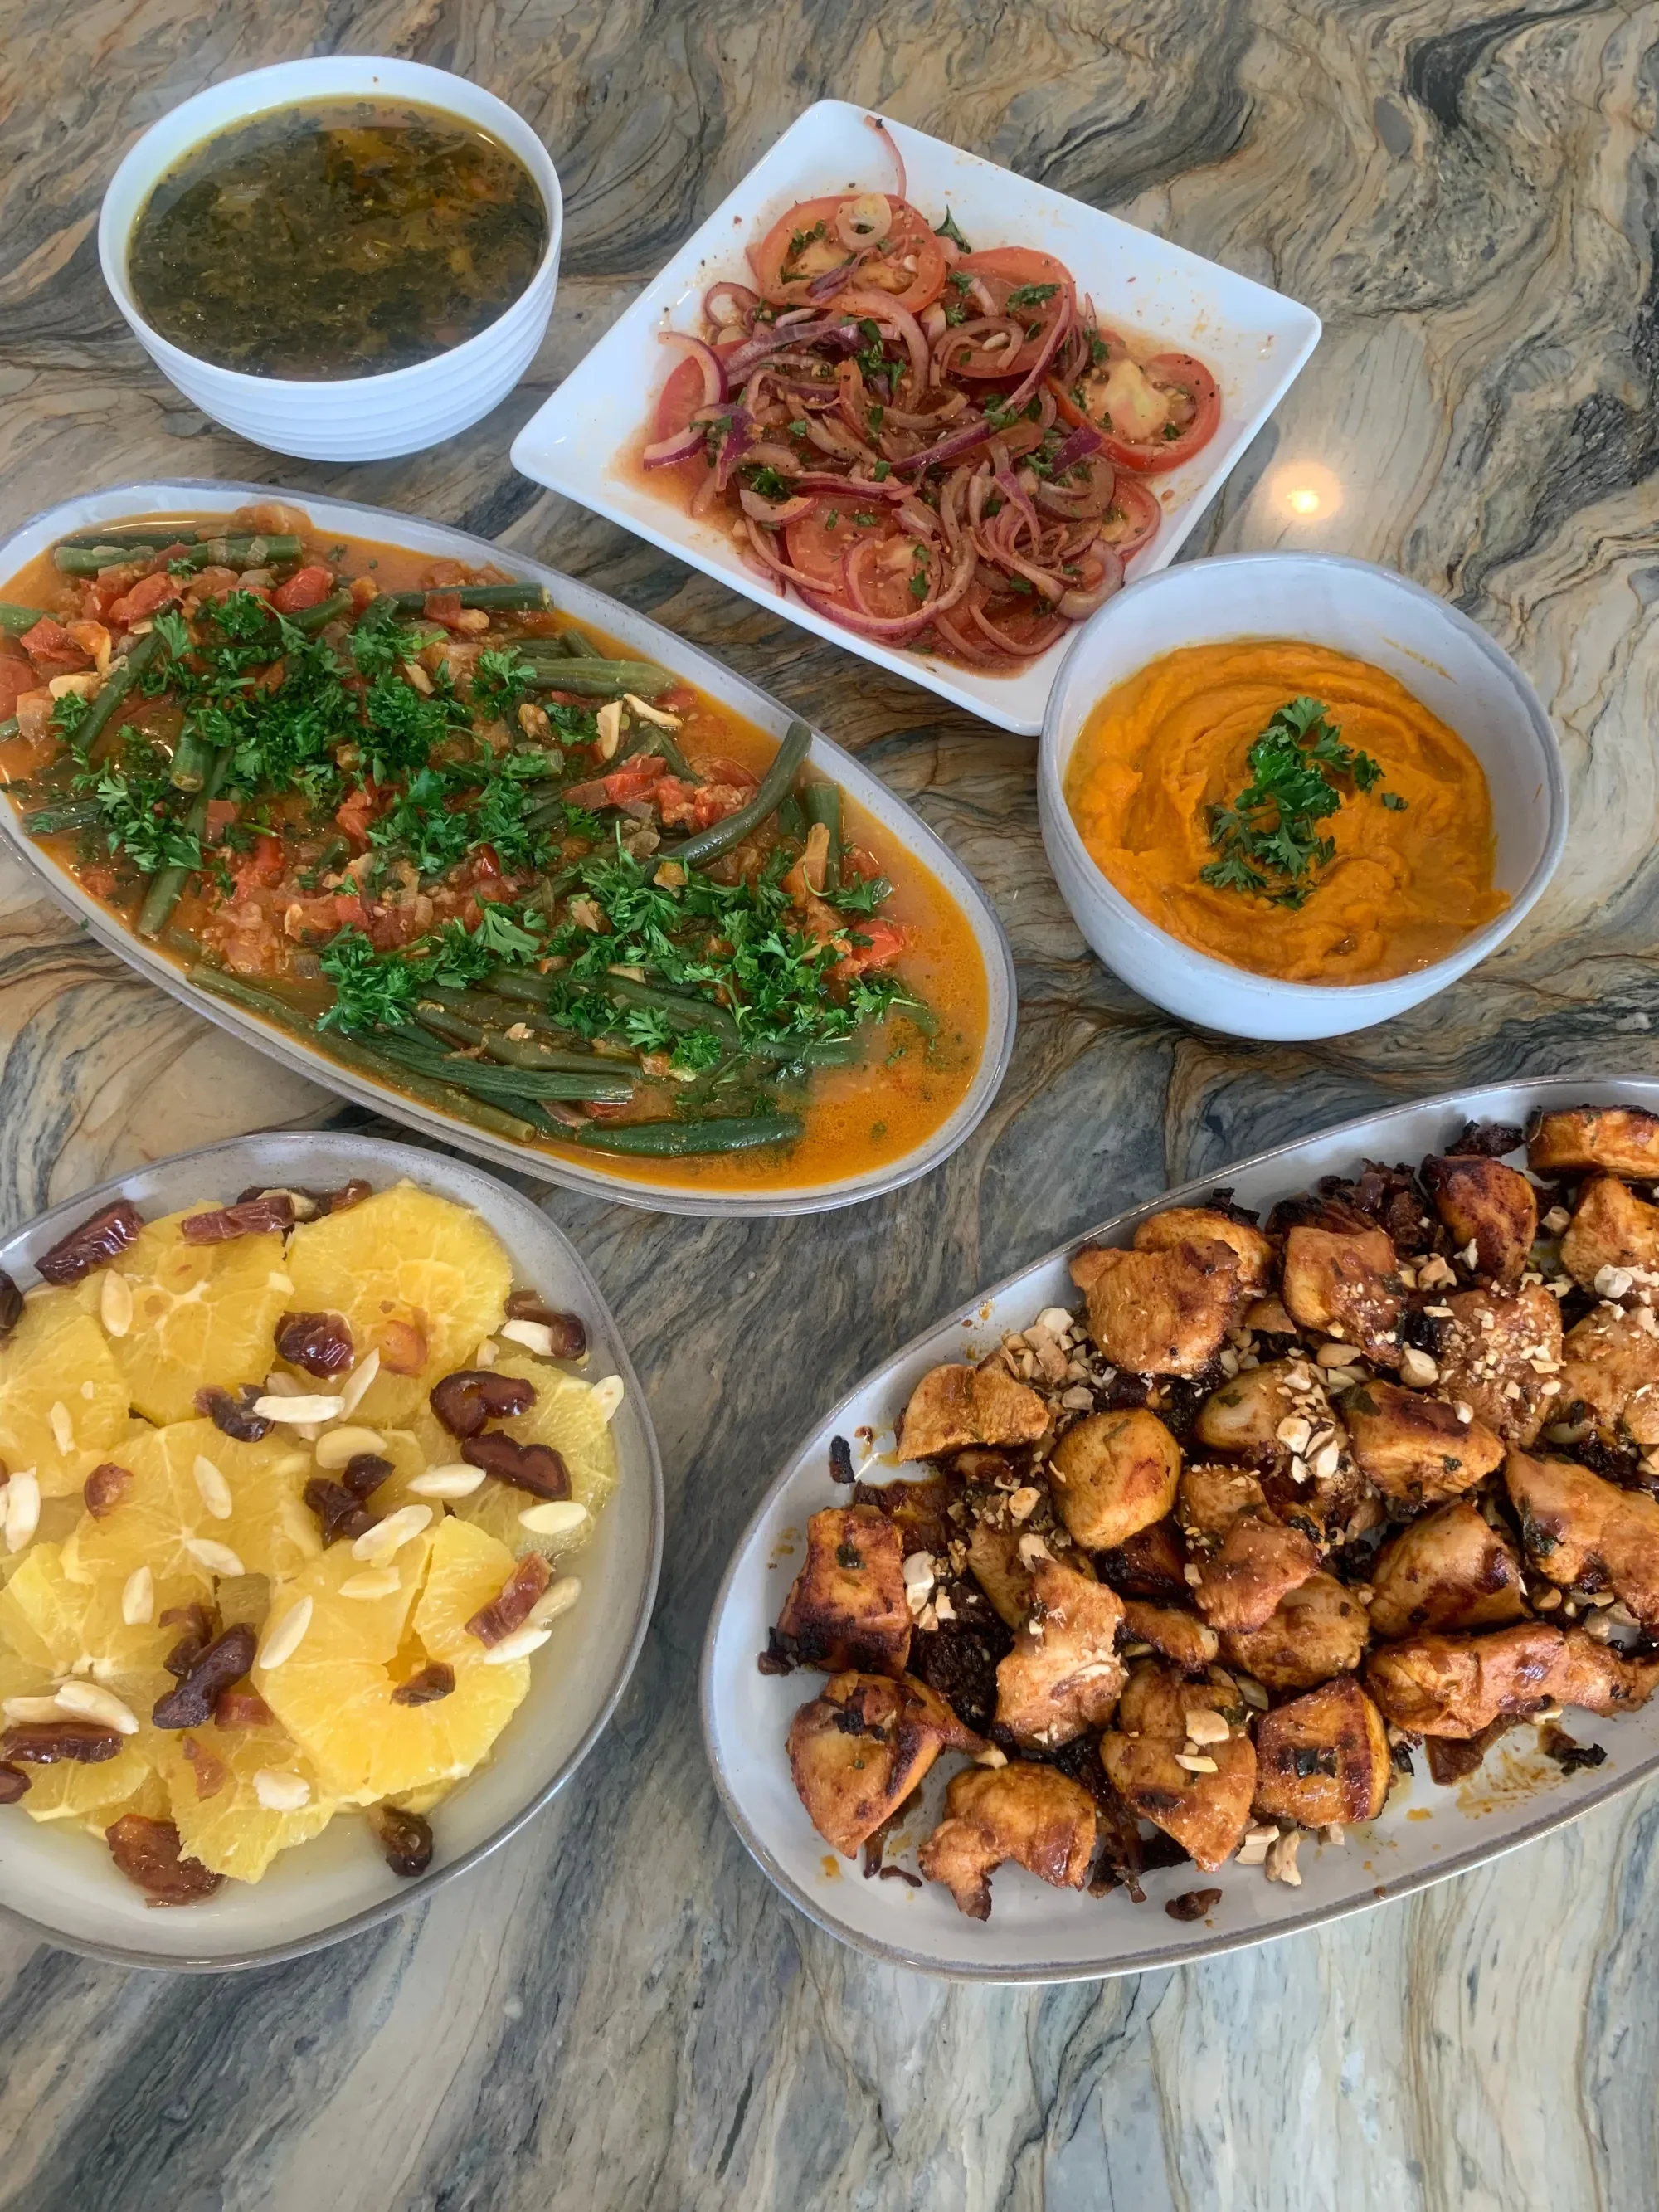
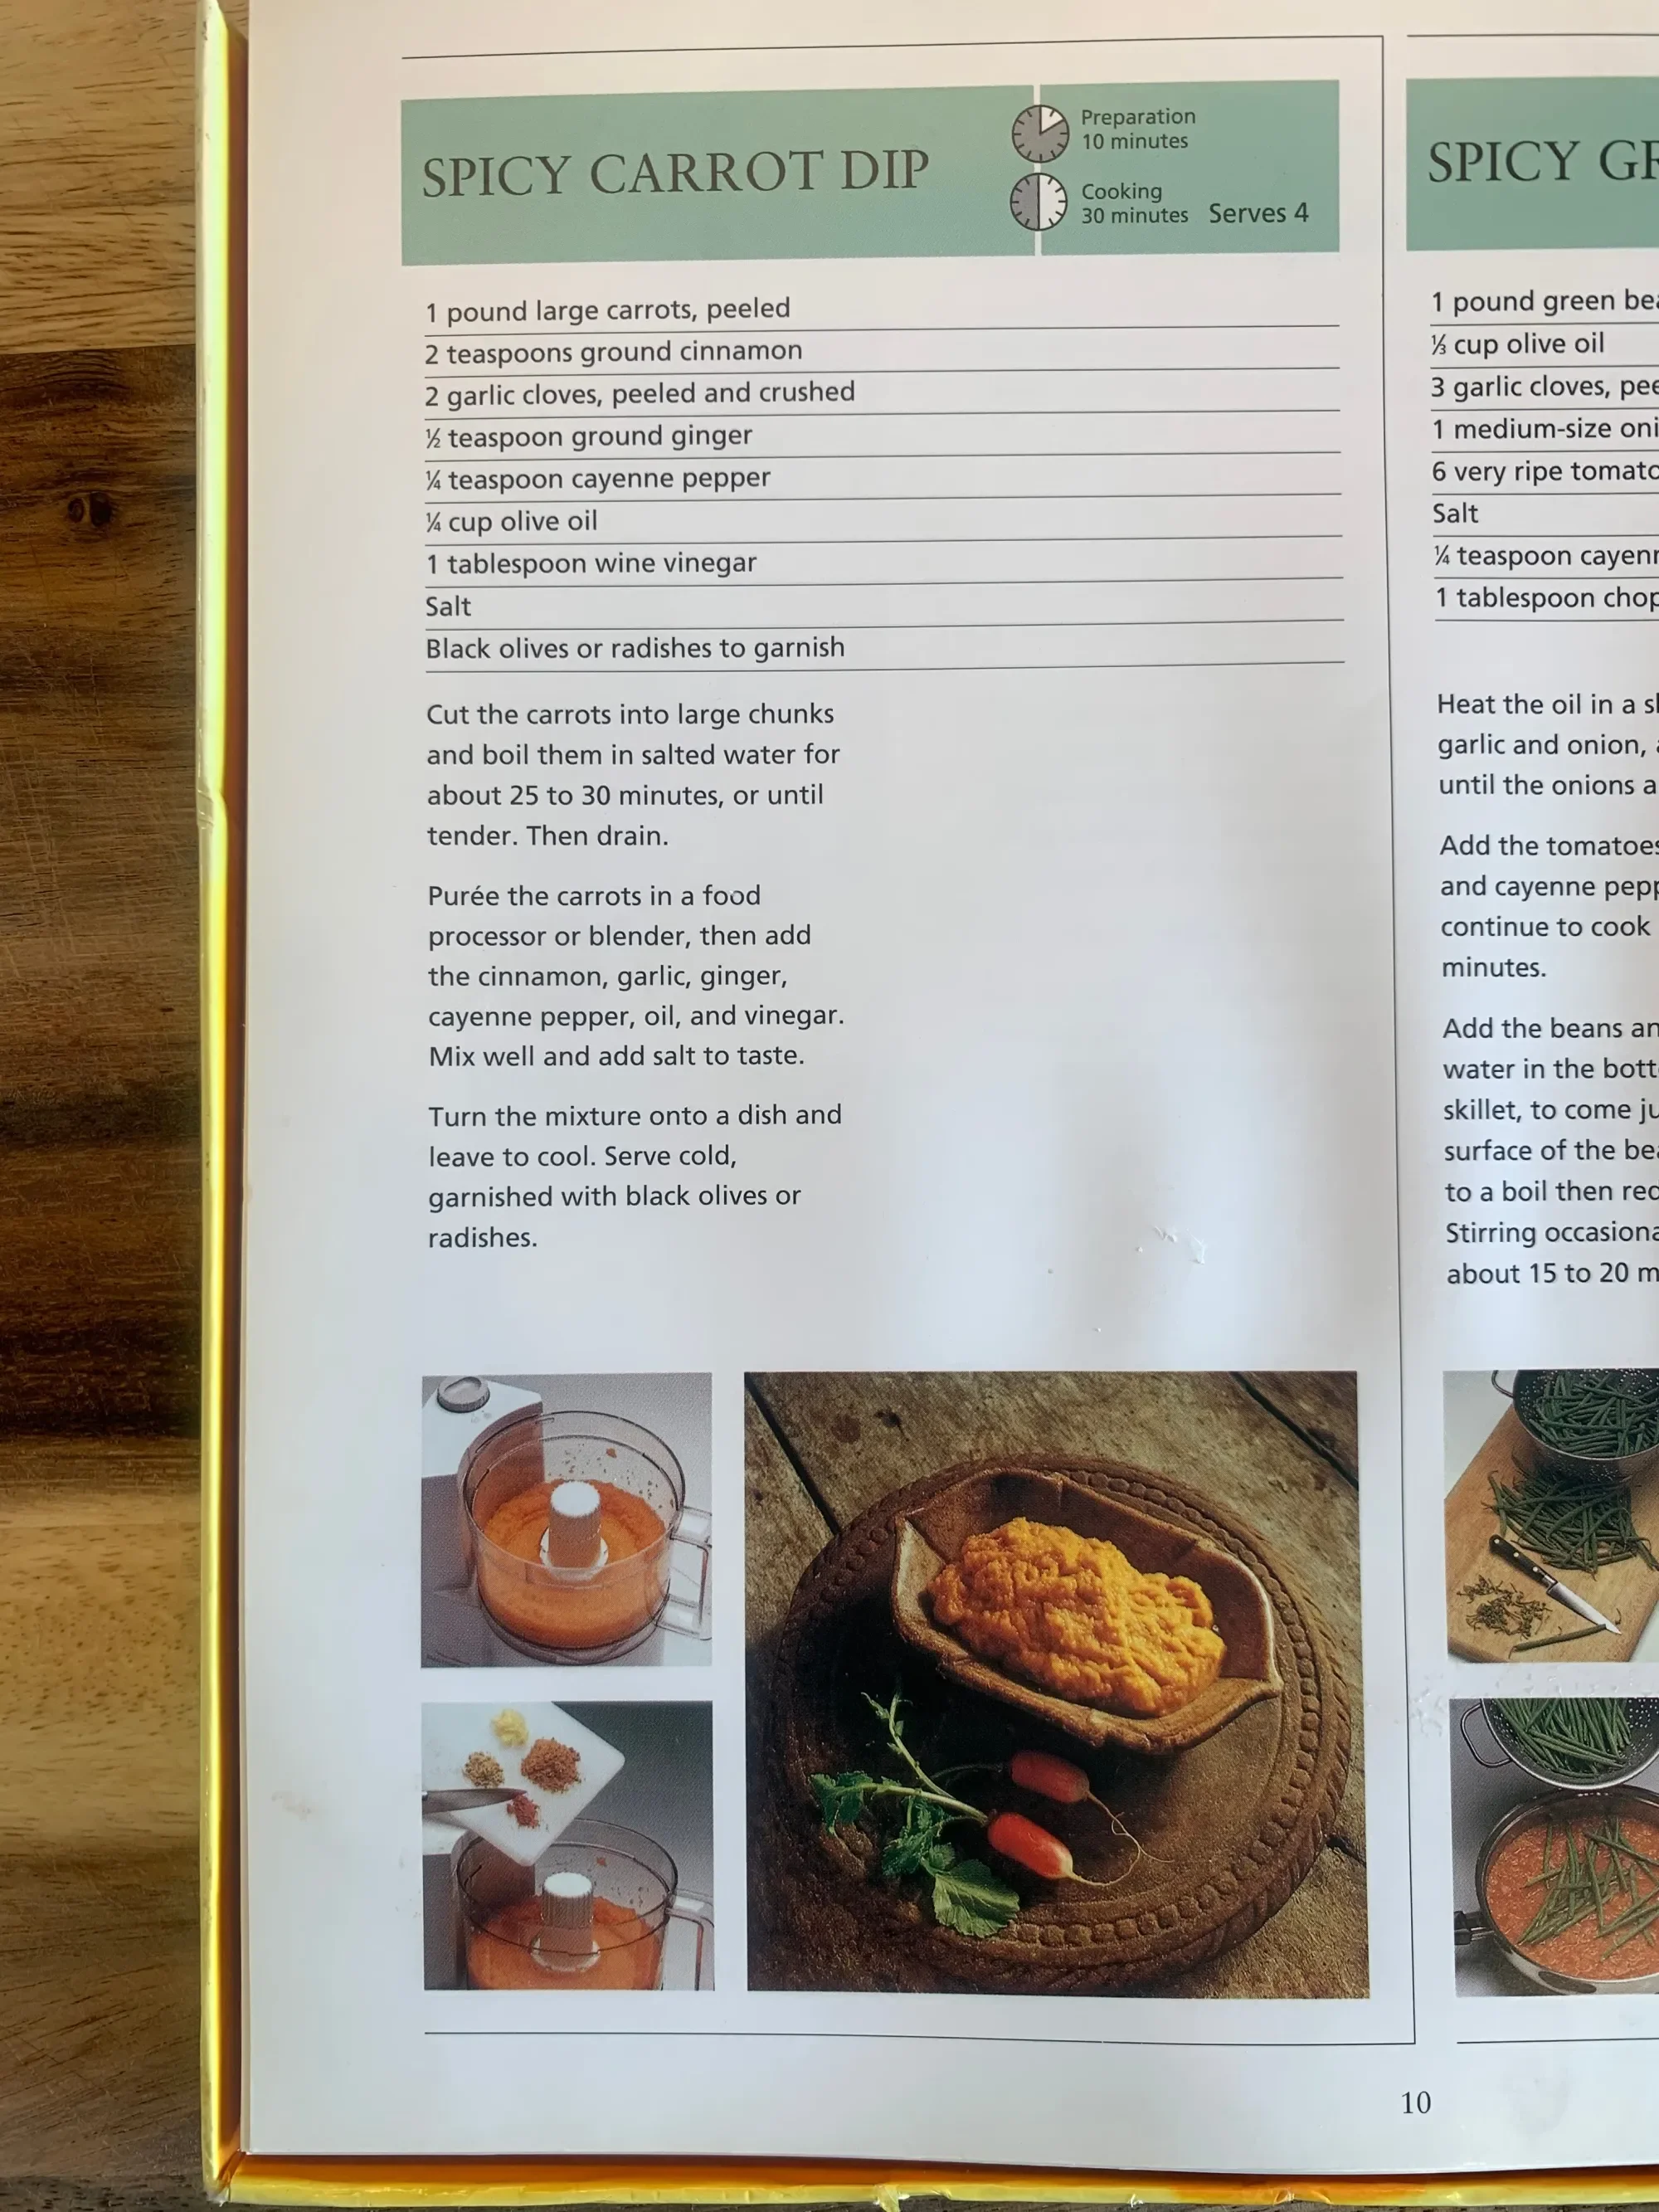
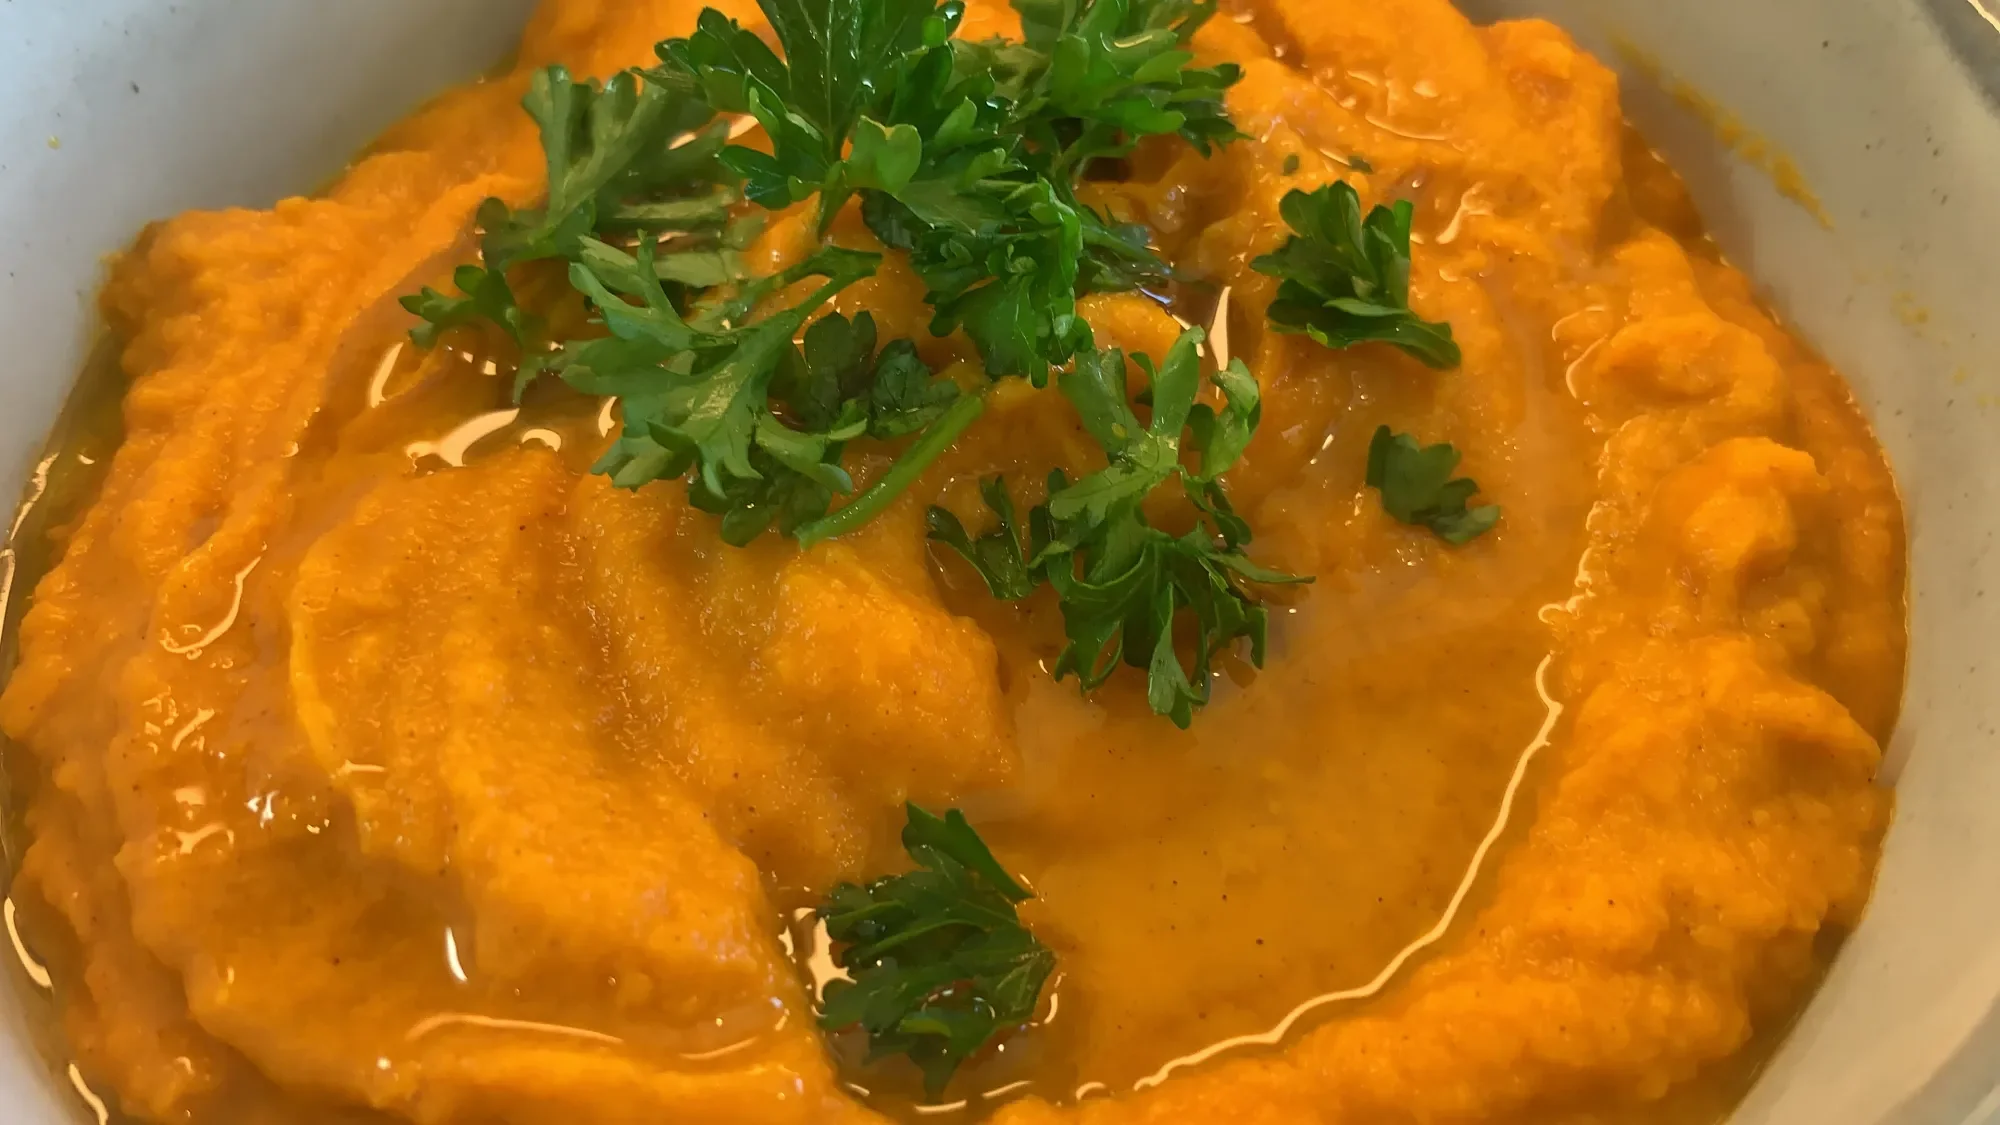
We often head to the kitchen when doing our homeschool unit studies as this adds flavor to our lessons. Sometimes we simply cook a single recipe, other times, like today, we cook up a whole feast! But this was mini feast and included dishes you might not immediate think of as Moroccan. When I think of Moroccan food, I think of tagine, couscous and harira. Those our recipes we have been making for years, so I decided to add some new things that are not so different to some of the recipes we already use. However, this carrot dip was a first for us. While I usually only make half the recipe to start out with, this time, I needed to add more carrots because the spices were a bit strong for us. In the end, only my 14-year-old son really liked it. The rest of us weren’t so keen on it. If I made it again, I would reduce my spices, especially garlic and ginger as they are extra potent when they are raw.
How To Make Moroccan Fish Soup
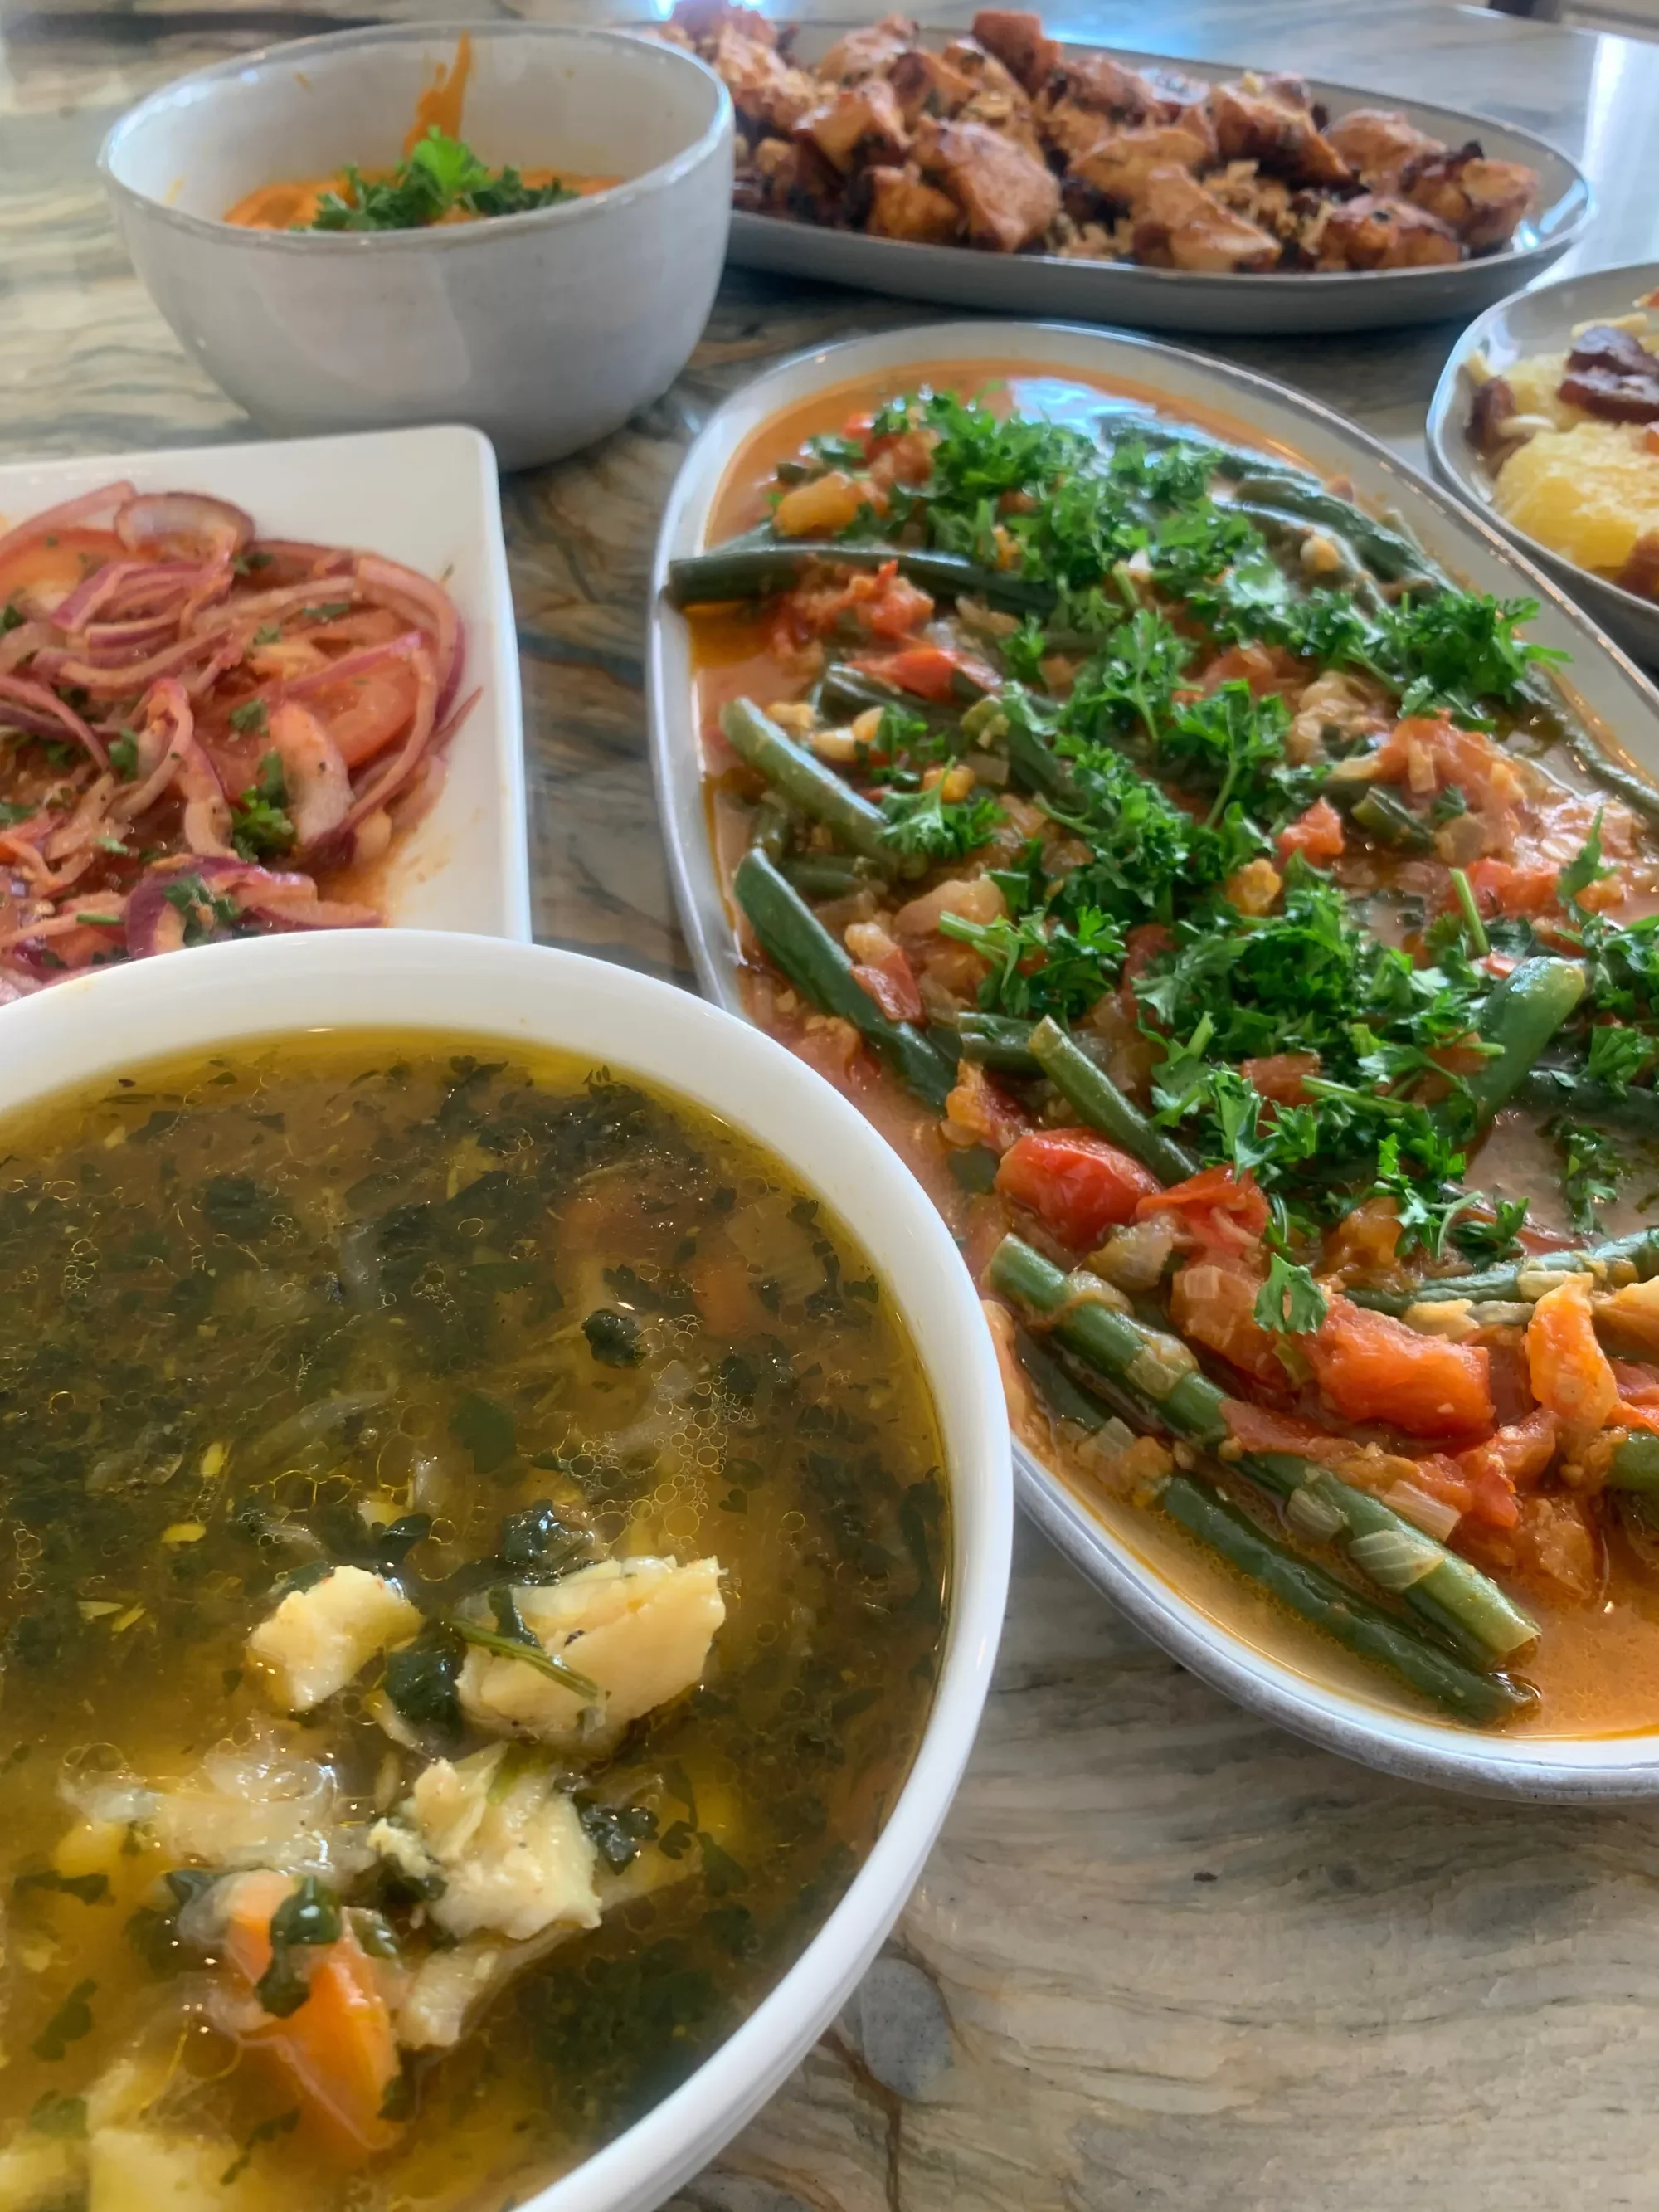
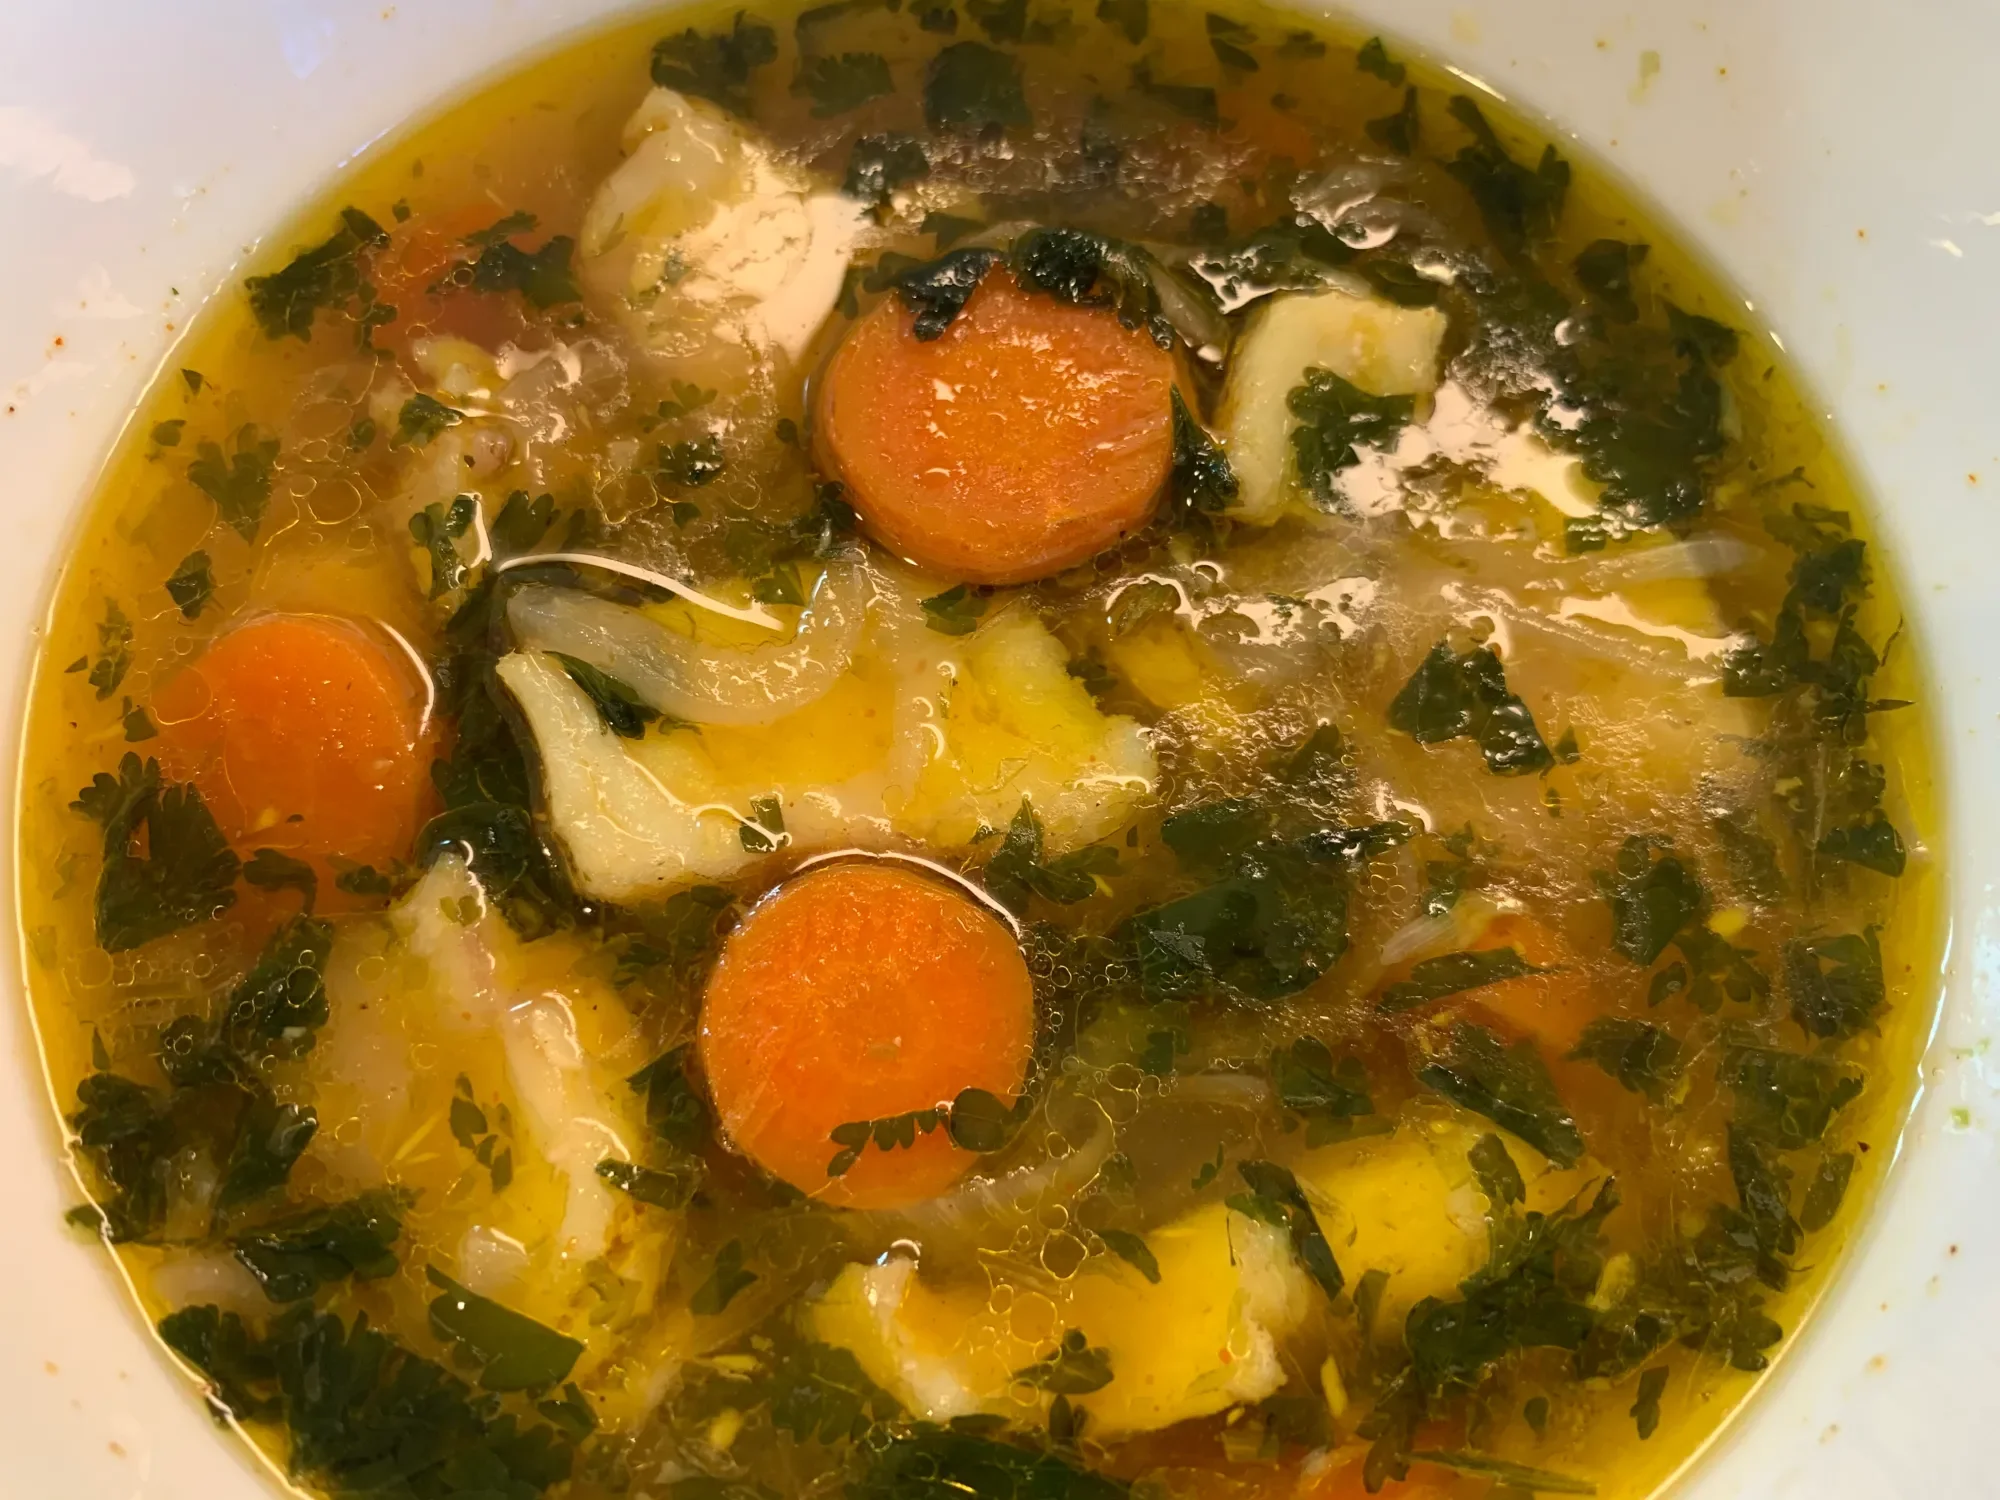
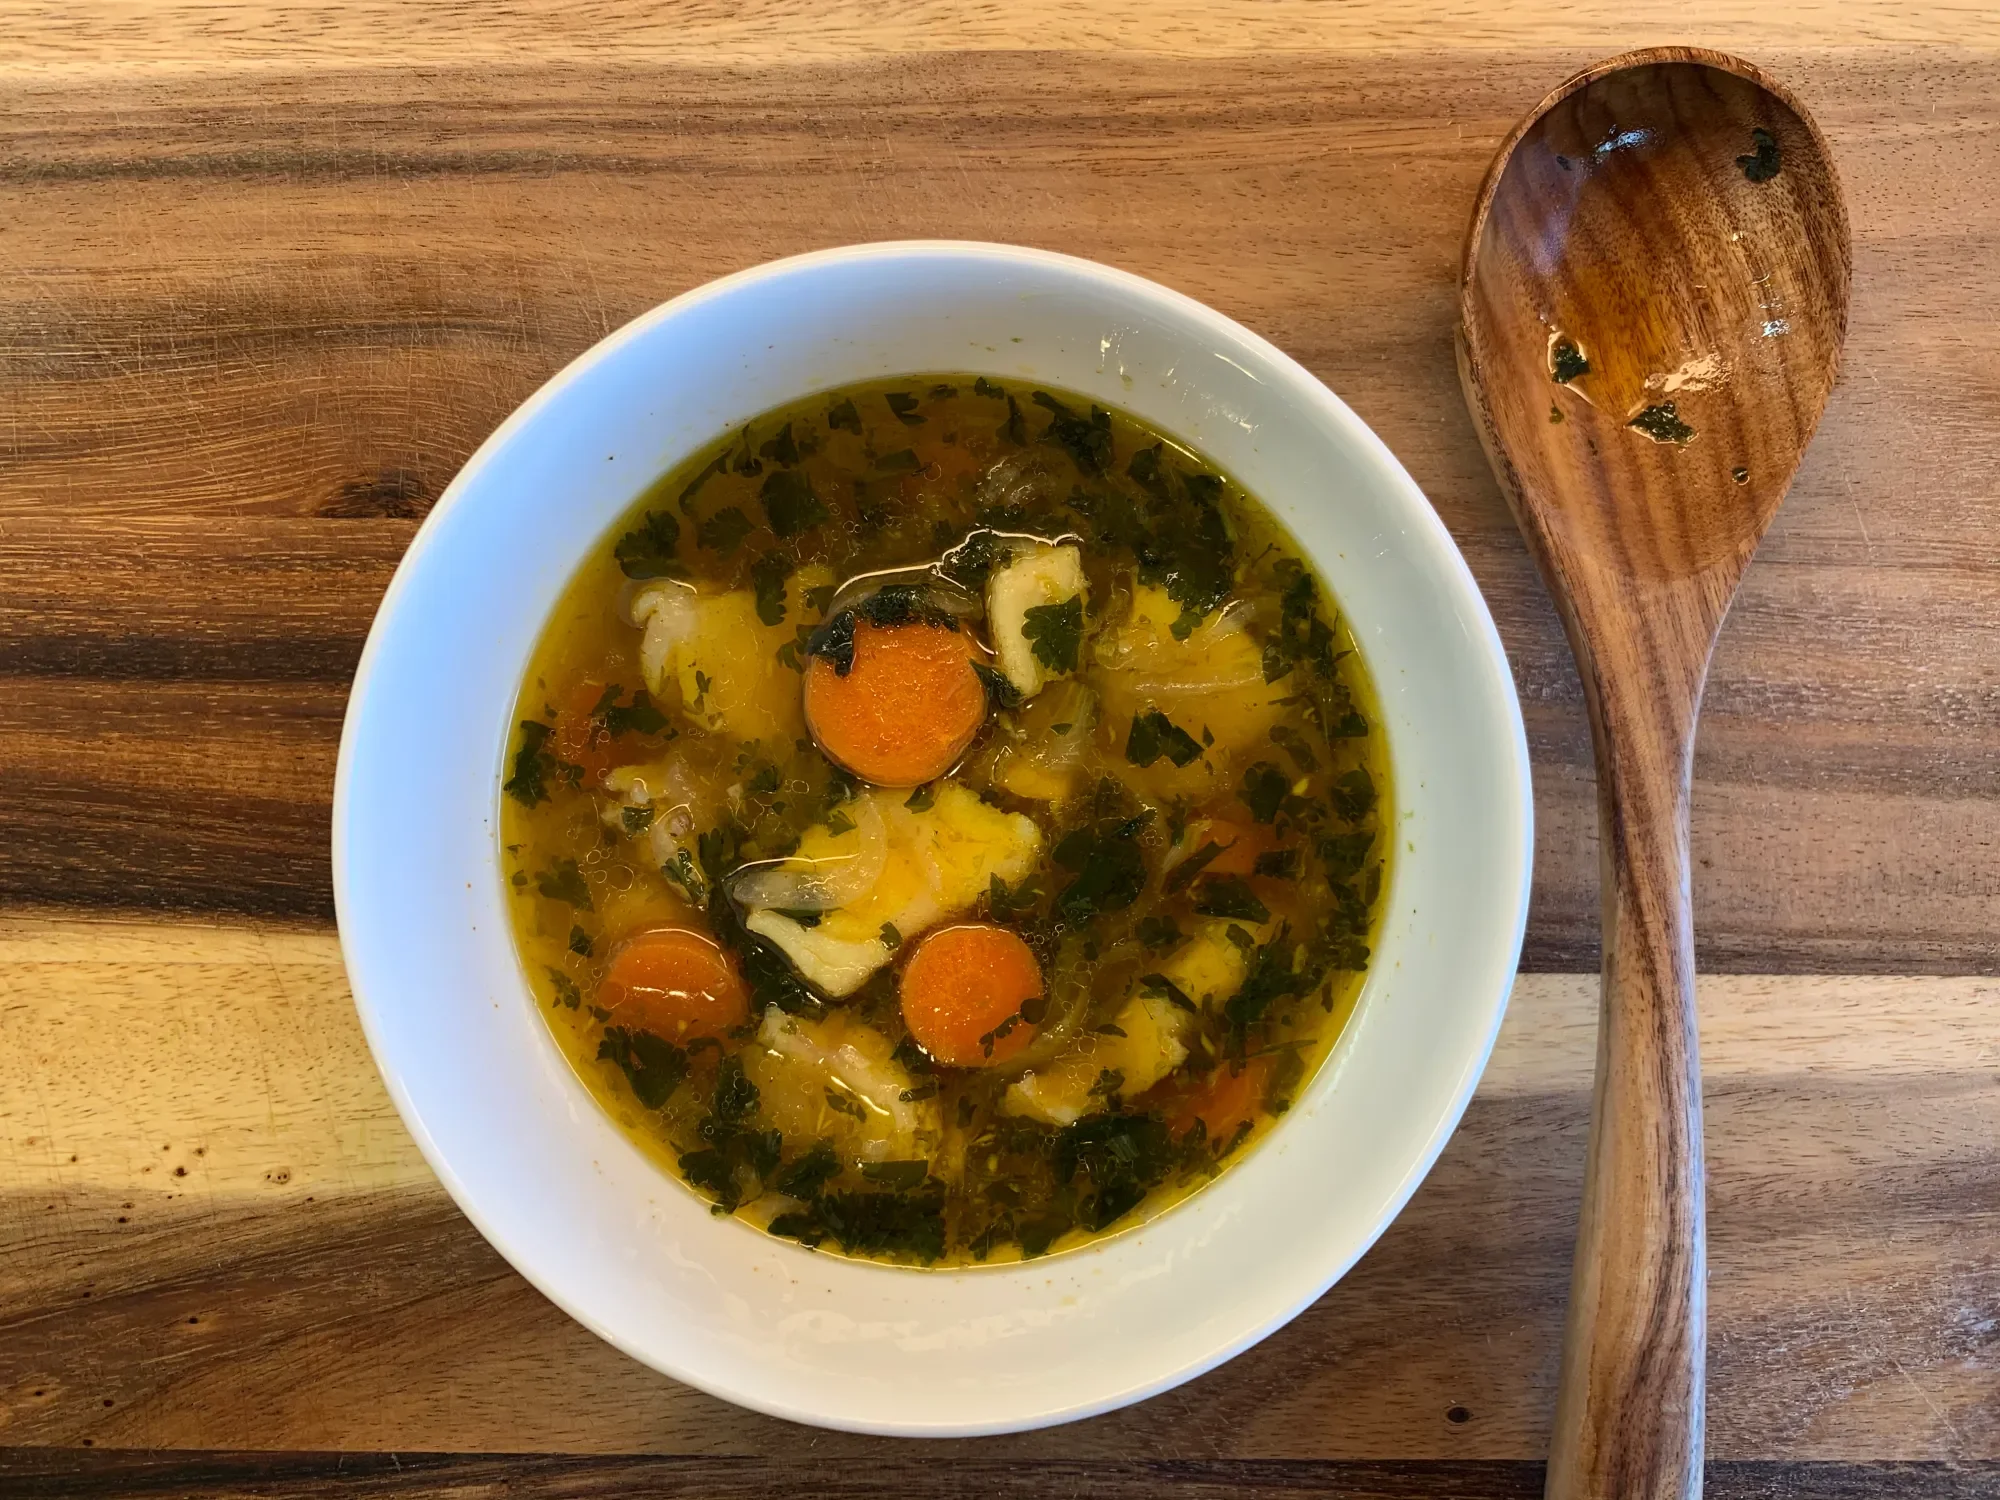
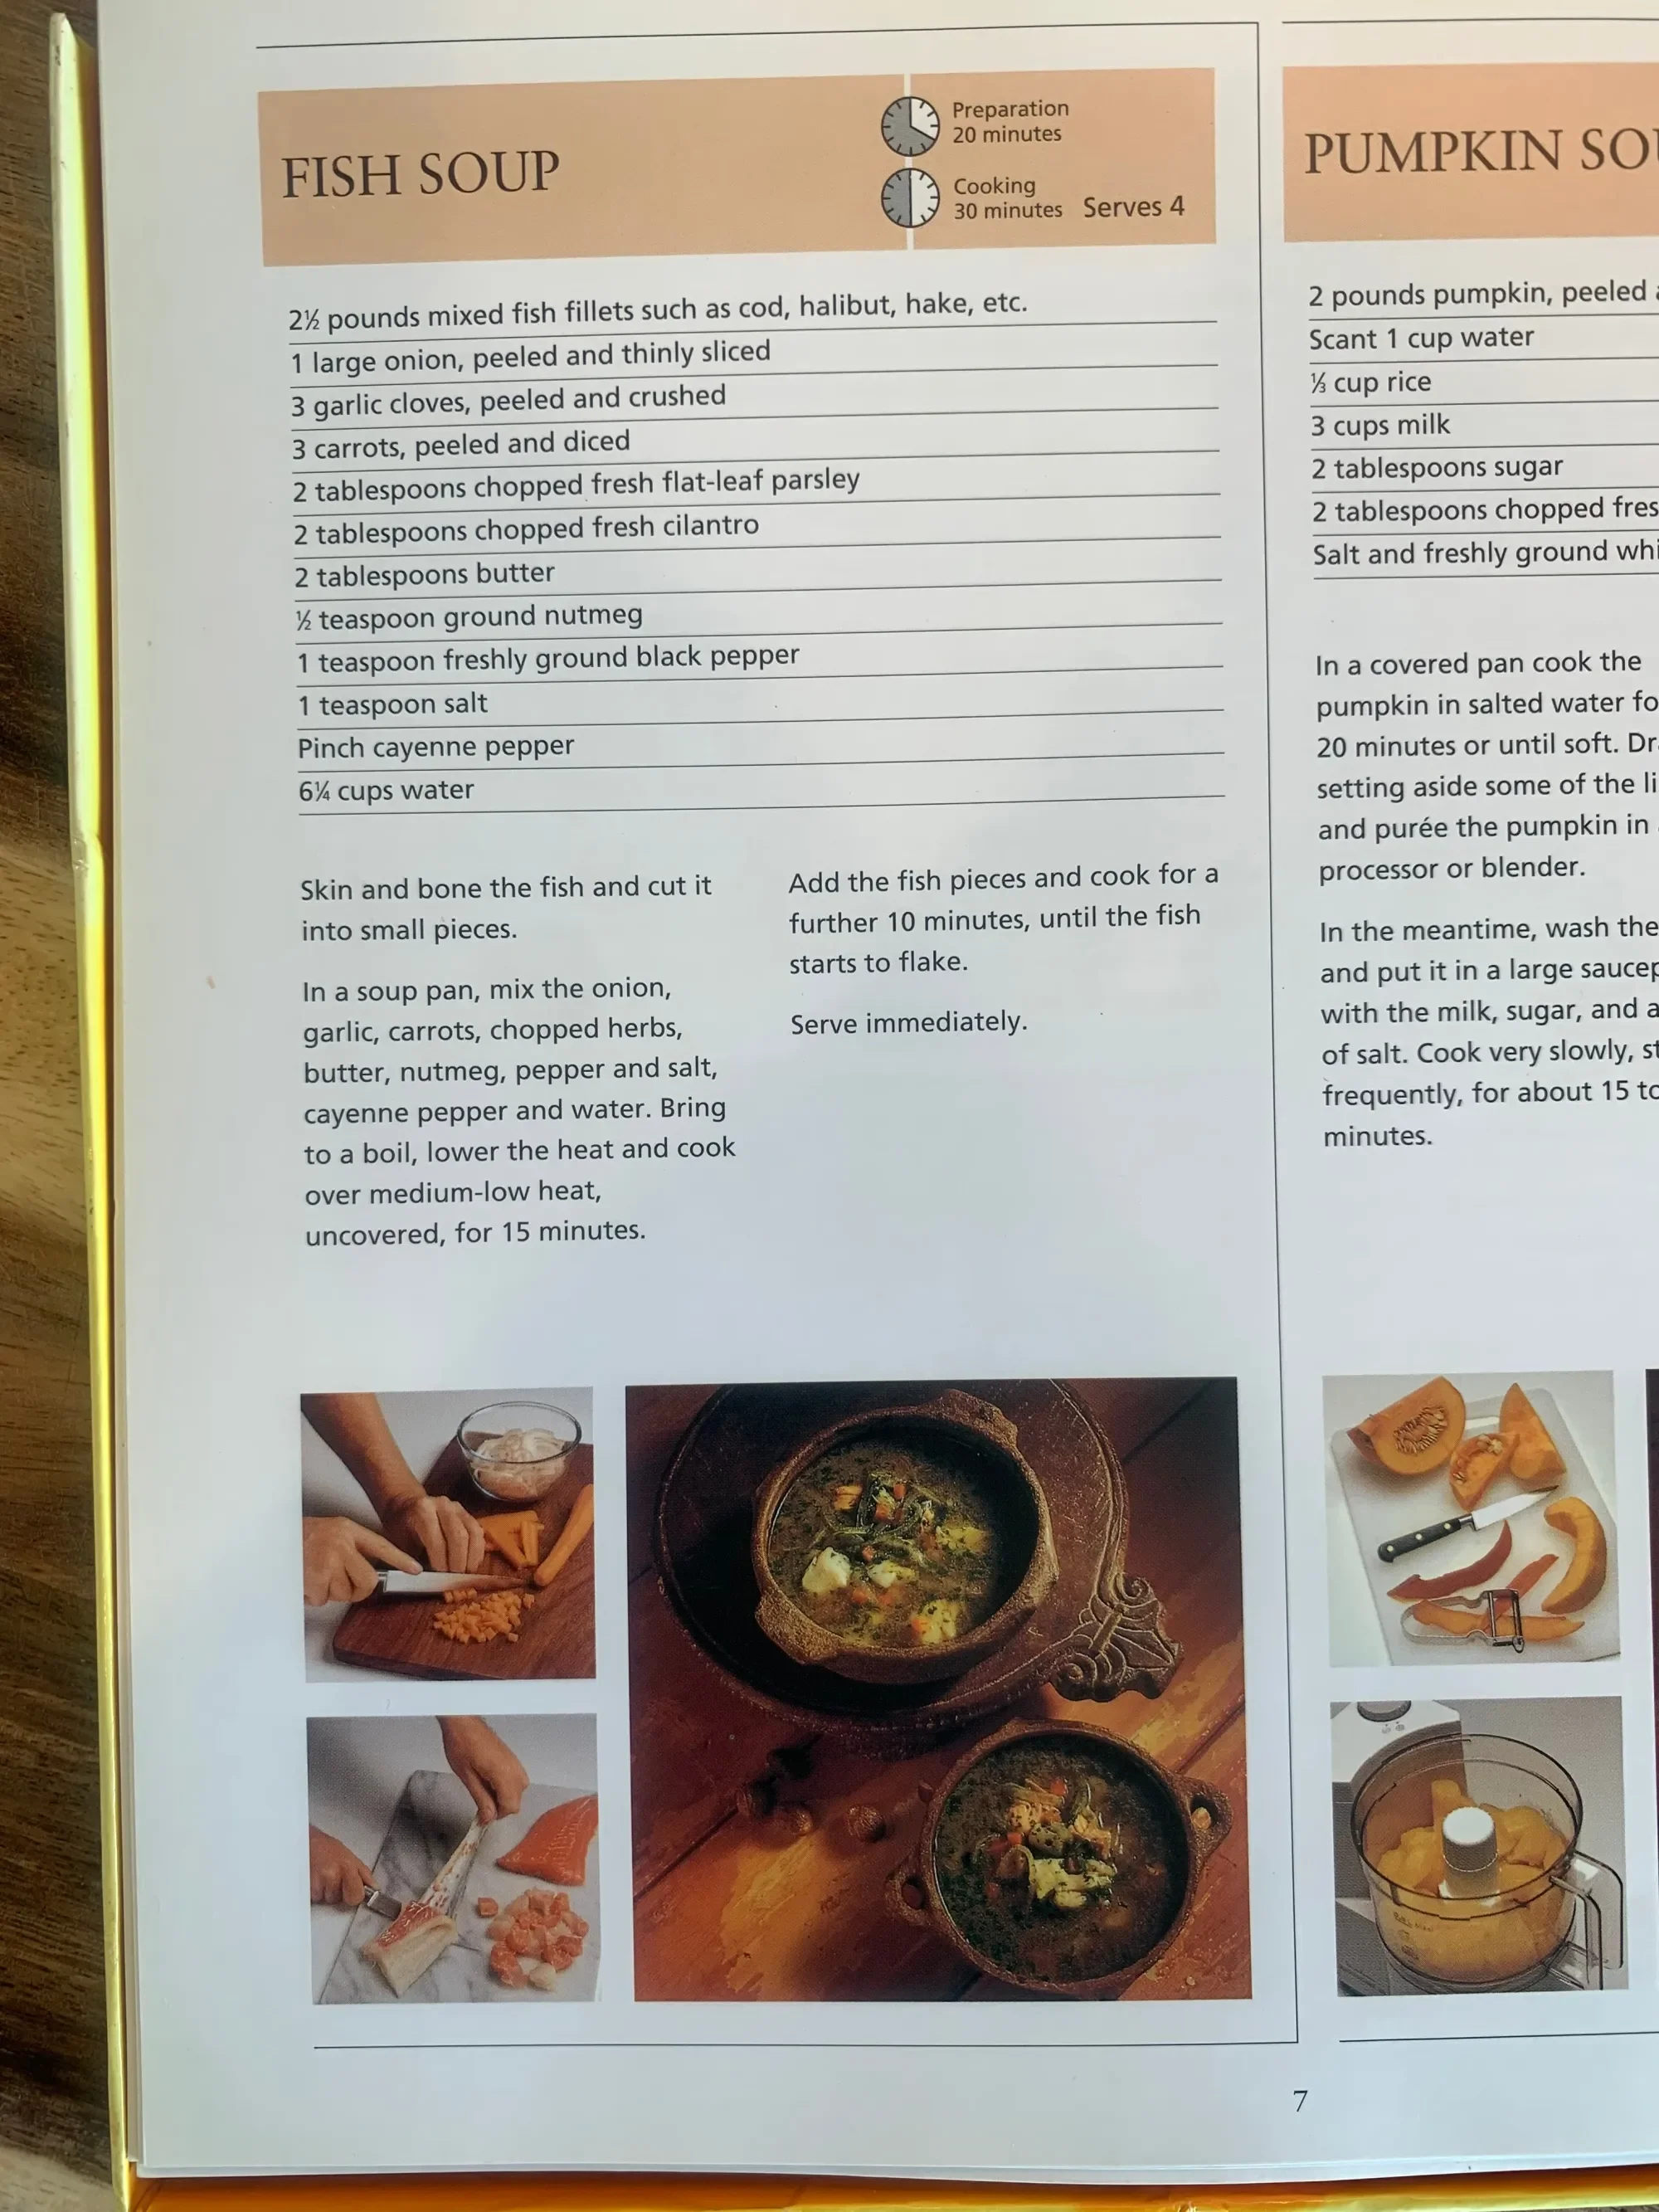
We almost always cut our recipes in half when we are trying something new. That way we can explore new cuisine without worrying if we are going to waste anything if we don’t like it. For this recipe, that was a mistake!! As soon as I was done making it, and we started sampling it, it was nearly gone before I had completed the rest of the meal. I hustled to defrost more Alaska cod, and my 14-year-old son helped chop the ingredients we needed for this simple, yet wholesome, warming and delicious soup. Well, here’s what happened. I had run out of brown onions, so we substituted with a red onion. That was a mistake! While red onions may taste similar, their color is not. And for many recipes the color may not matter, but for this one it did! The whole soup turned a brown which stained the white cod and left the broth kind of murky. While it tasted the same, it wasn’t appetizing. I also substituted homemade chicken bone broth for water and that added a depth of flavor as well. One ingredient I don’t typically use is nutmeg and this recipe calls for about 1/4 teaspoon. That added flavor along with our chicken broth and the simplicity of the fish and carrots has turned this recipe into a family favorite. I hope you’ll try it too!
How to Bake Bread
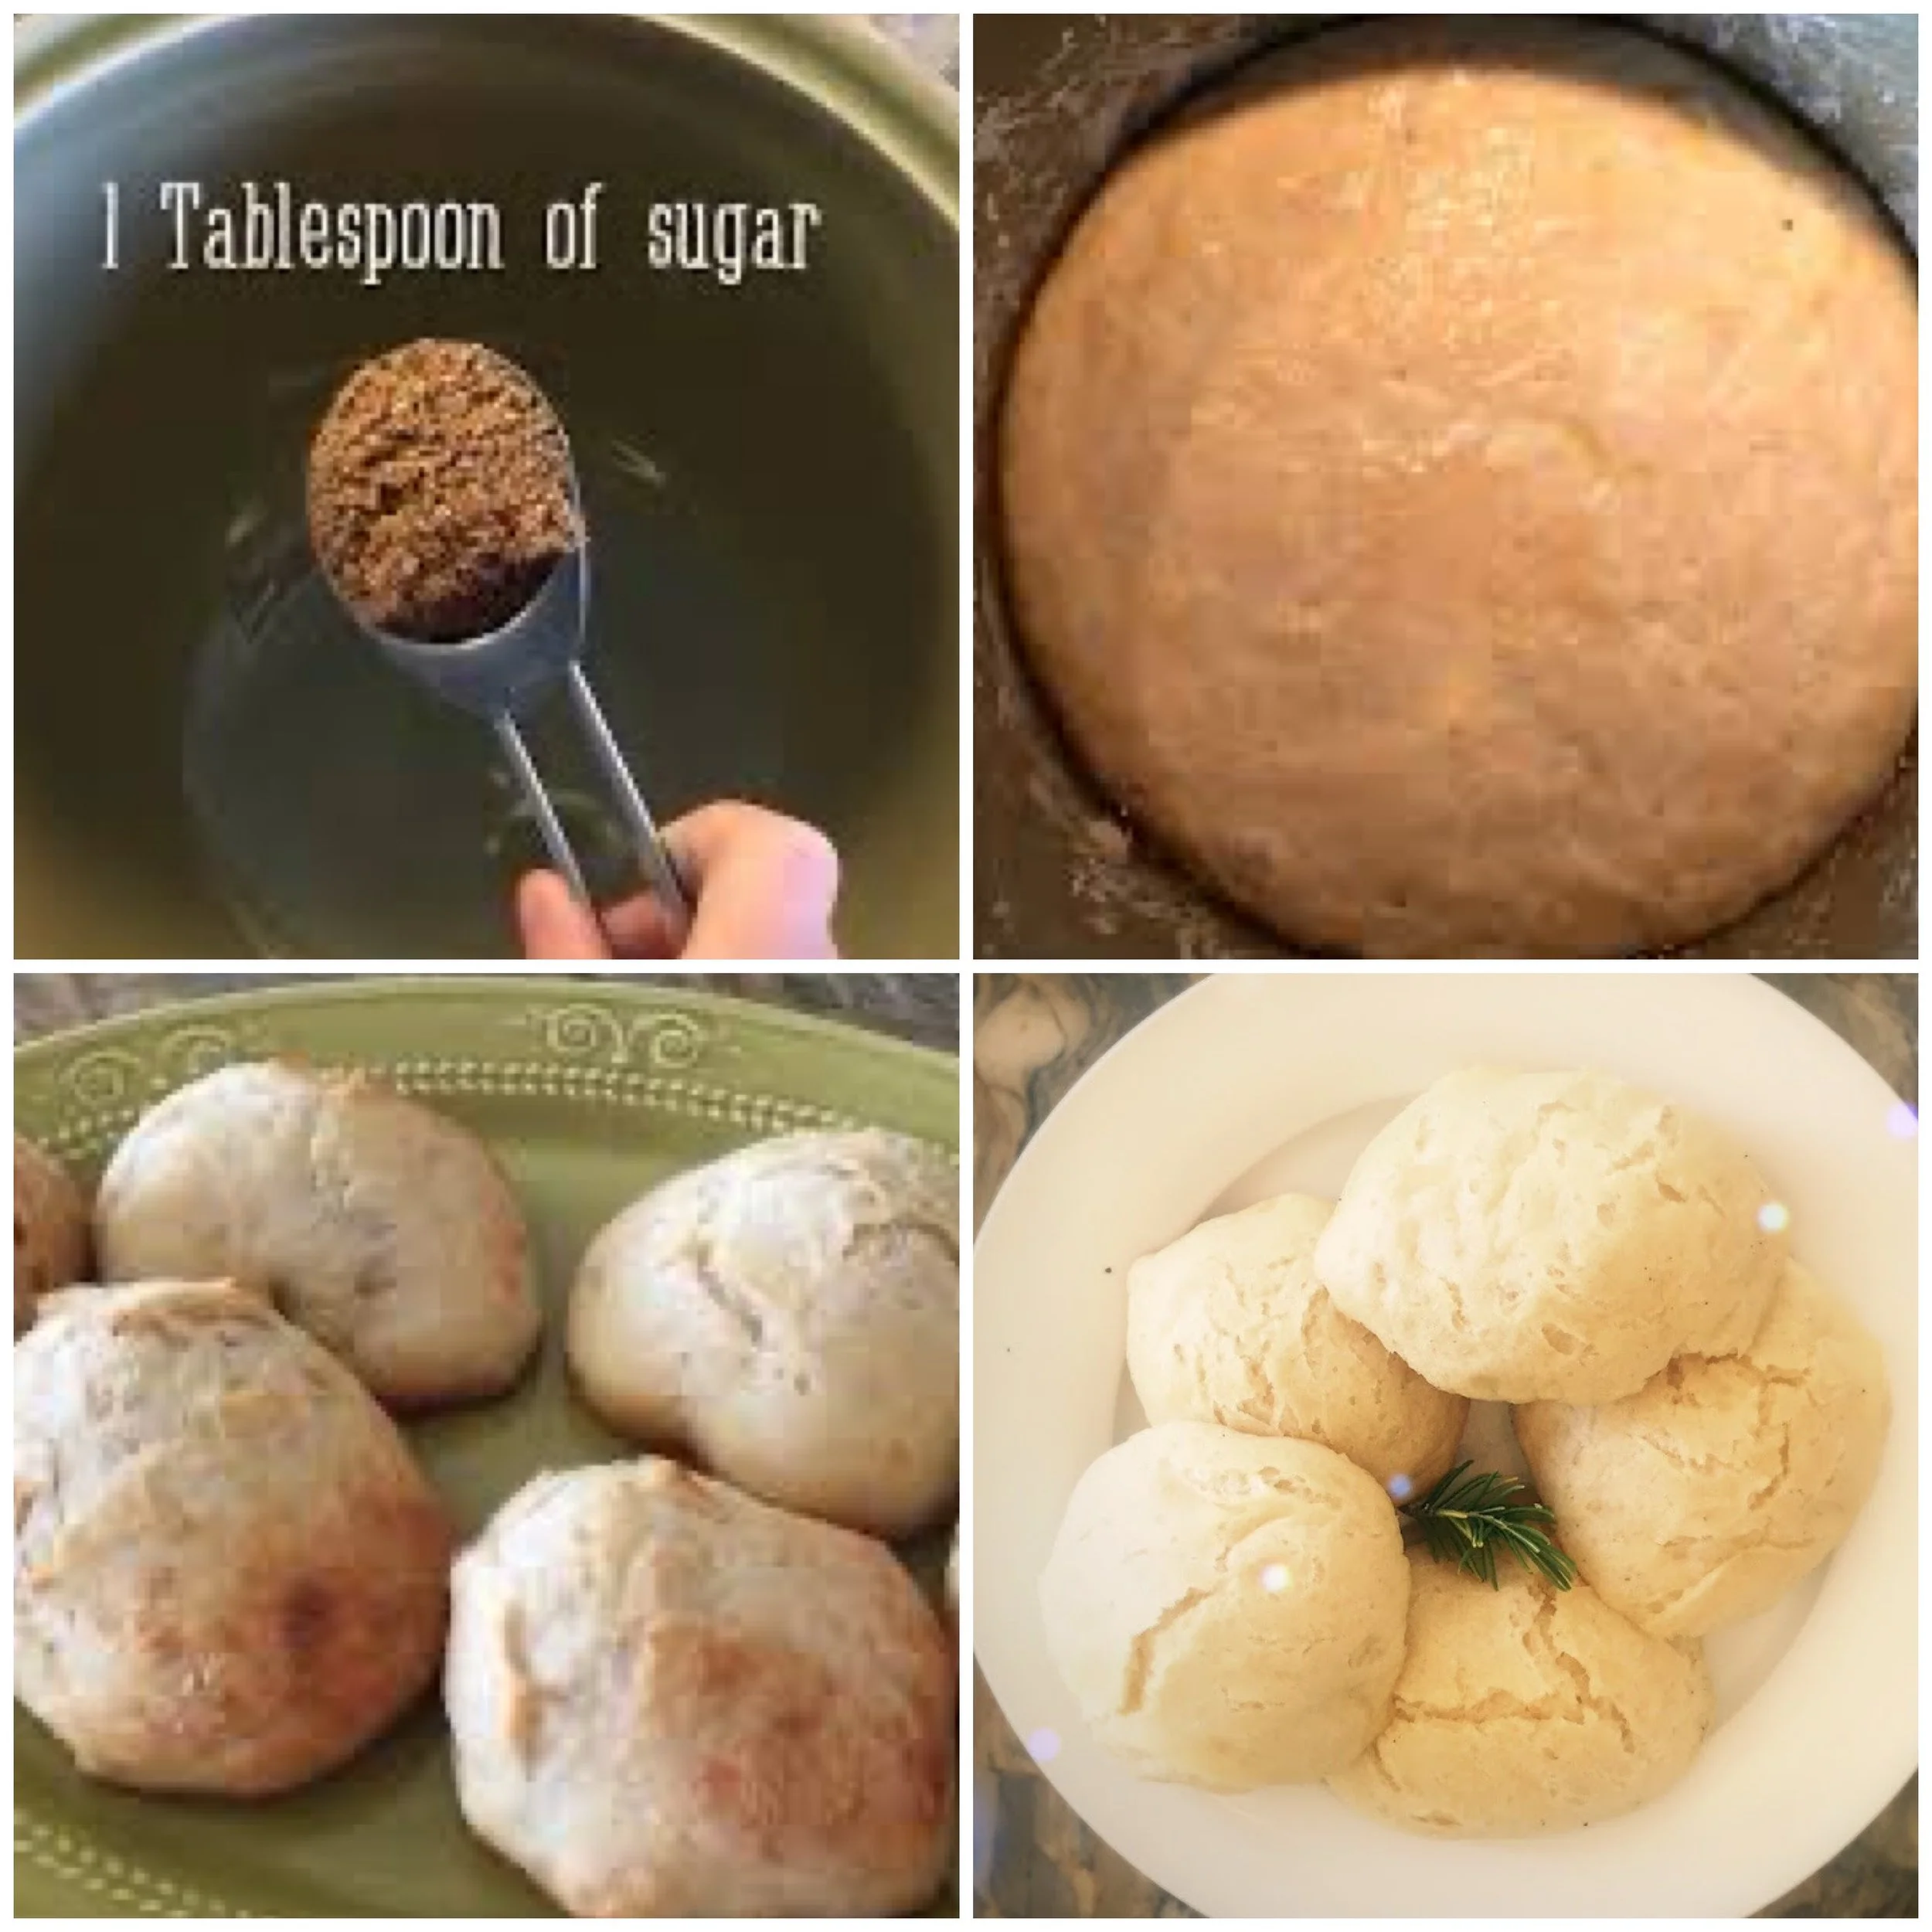
Baking bread is a quintessential kindergarten experience in a Waldorf school. We take this tradition and bring it home. In this video, I'll show you a quick and easy recipe for making bread: 1 tablespoon sugar (I use brown sugar) 1/2 teaspoon of salt 1/4 teaspoon of yeast 2 cups of warm water 4 cups of flour Mix ingredients together in a non-metal bowl (ceramic or plastic) with a wooden spoon (don't use metal). Add a loose fitting lid (optional, add oil to dough so it doesn't dry out). After it has doubled in size (2-4 hours), shape it into medium-sized balls using your hand that have been oiled with olive oil to keep the dough from sticking. Bake for 12 minutes at 430 degrees on an oiled pan or in a pan lined with parchment paper. Serve piping hot with olive oil.
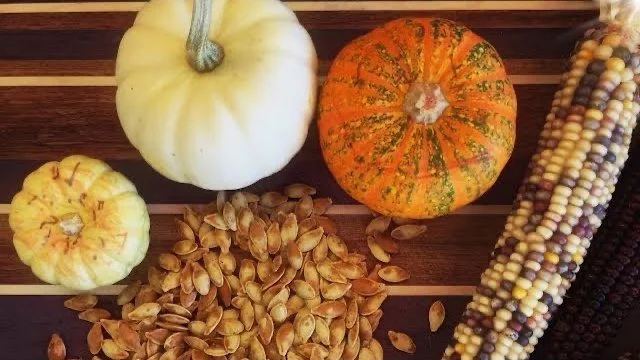
Roasted Pumpkin Seeds
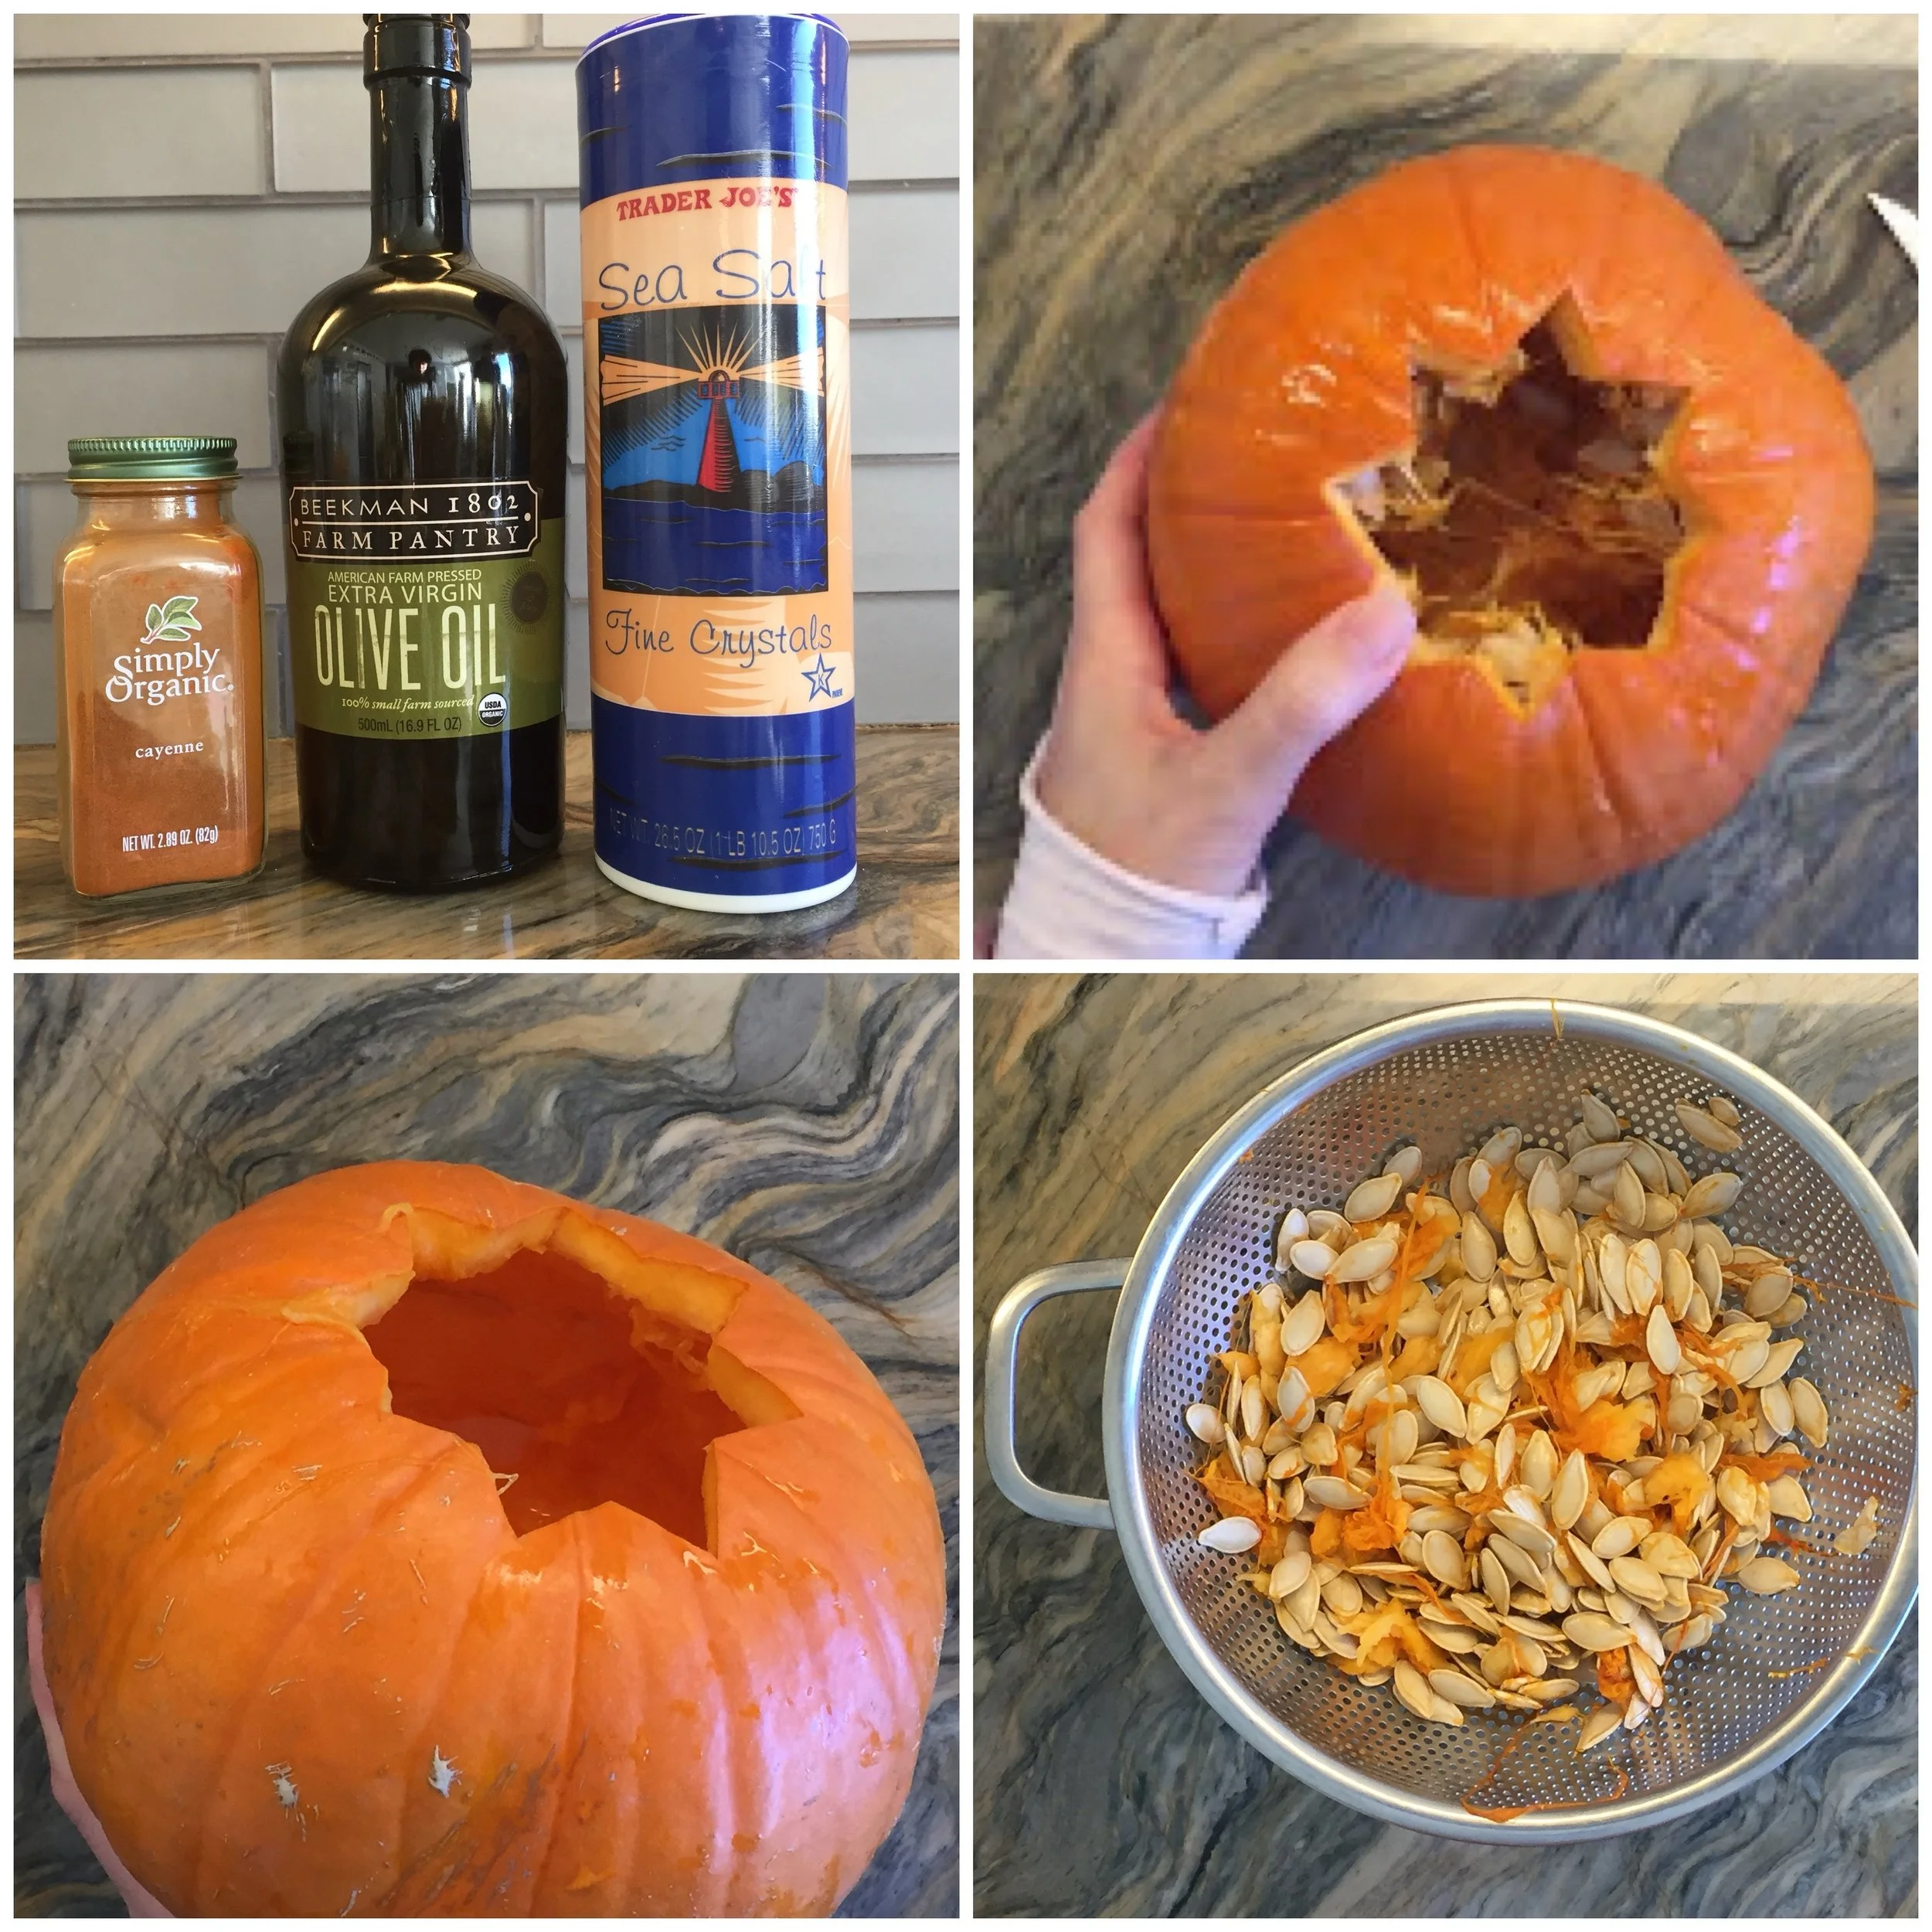
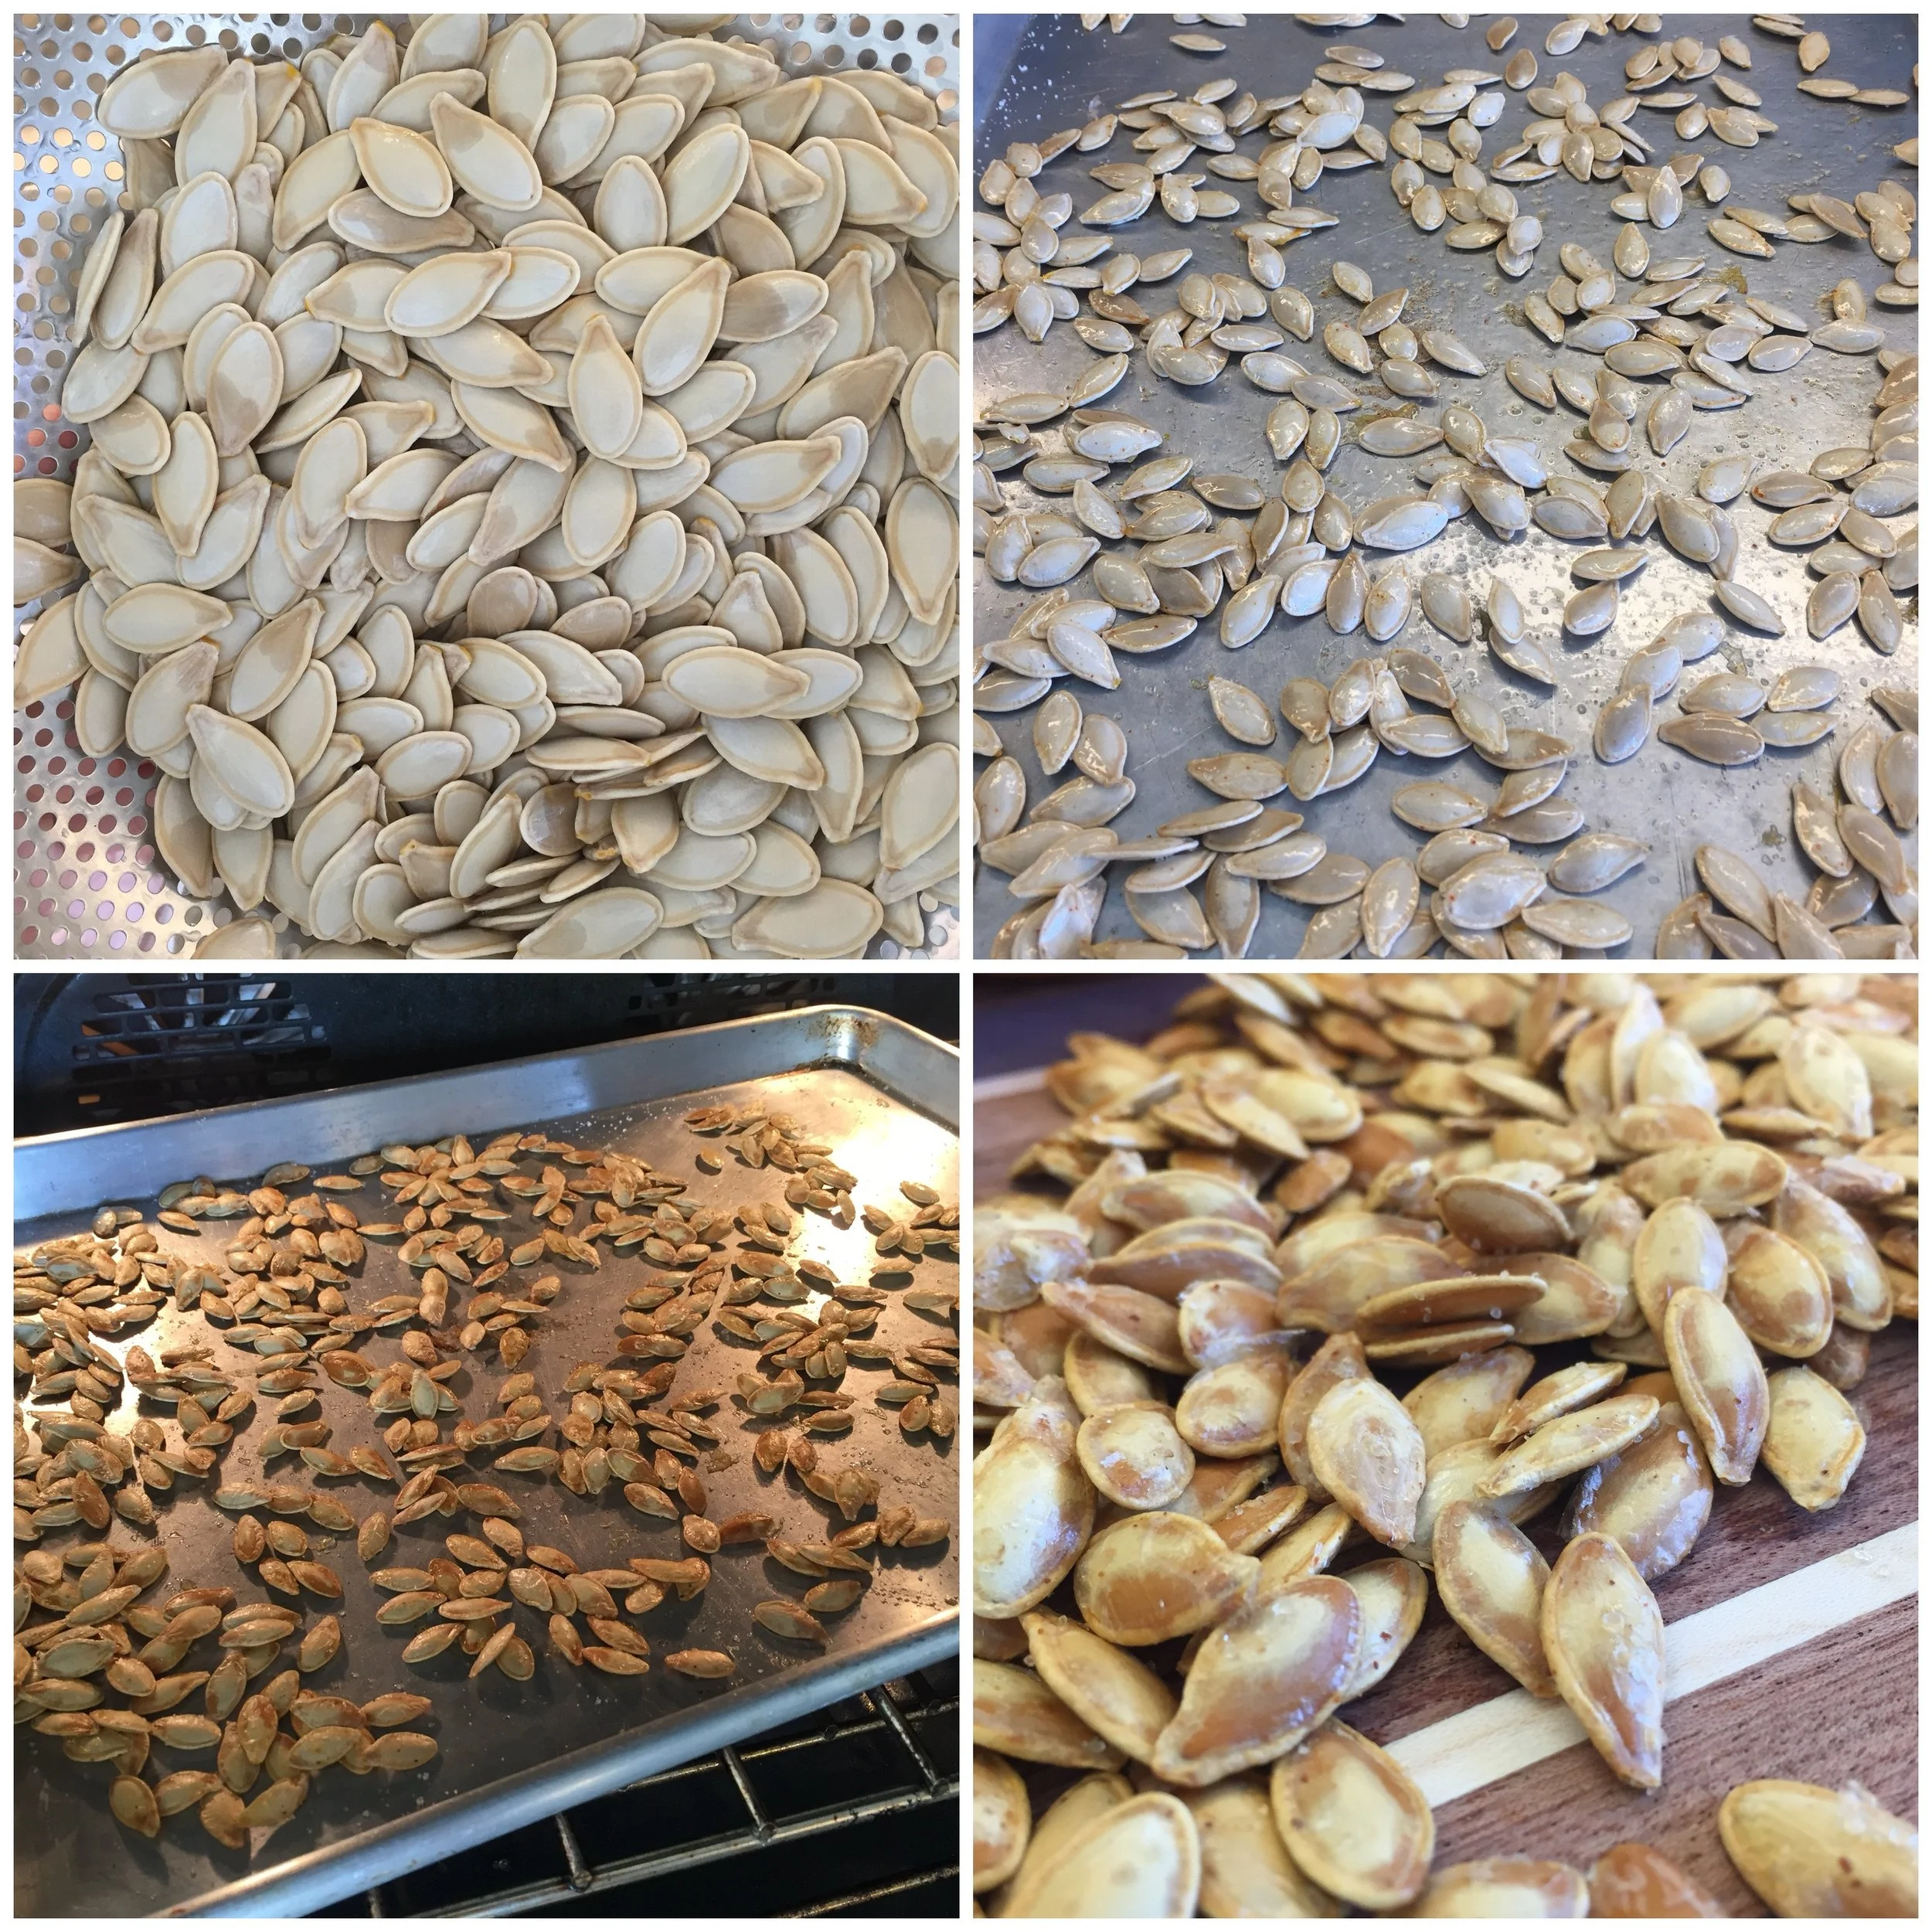
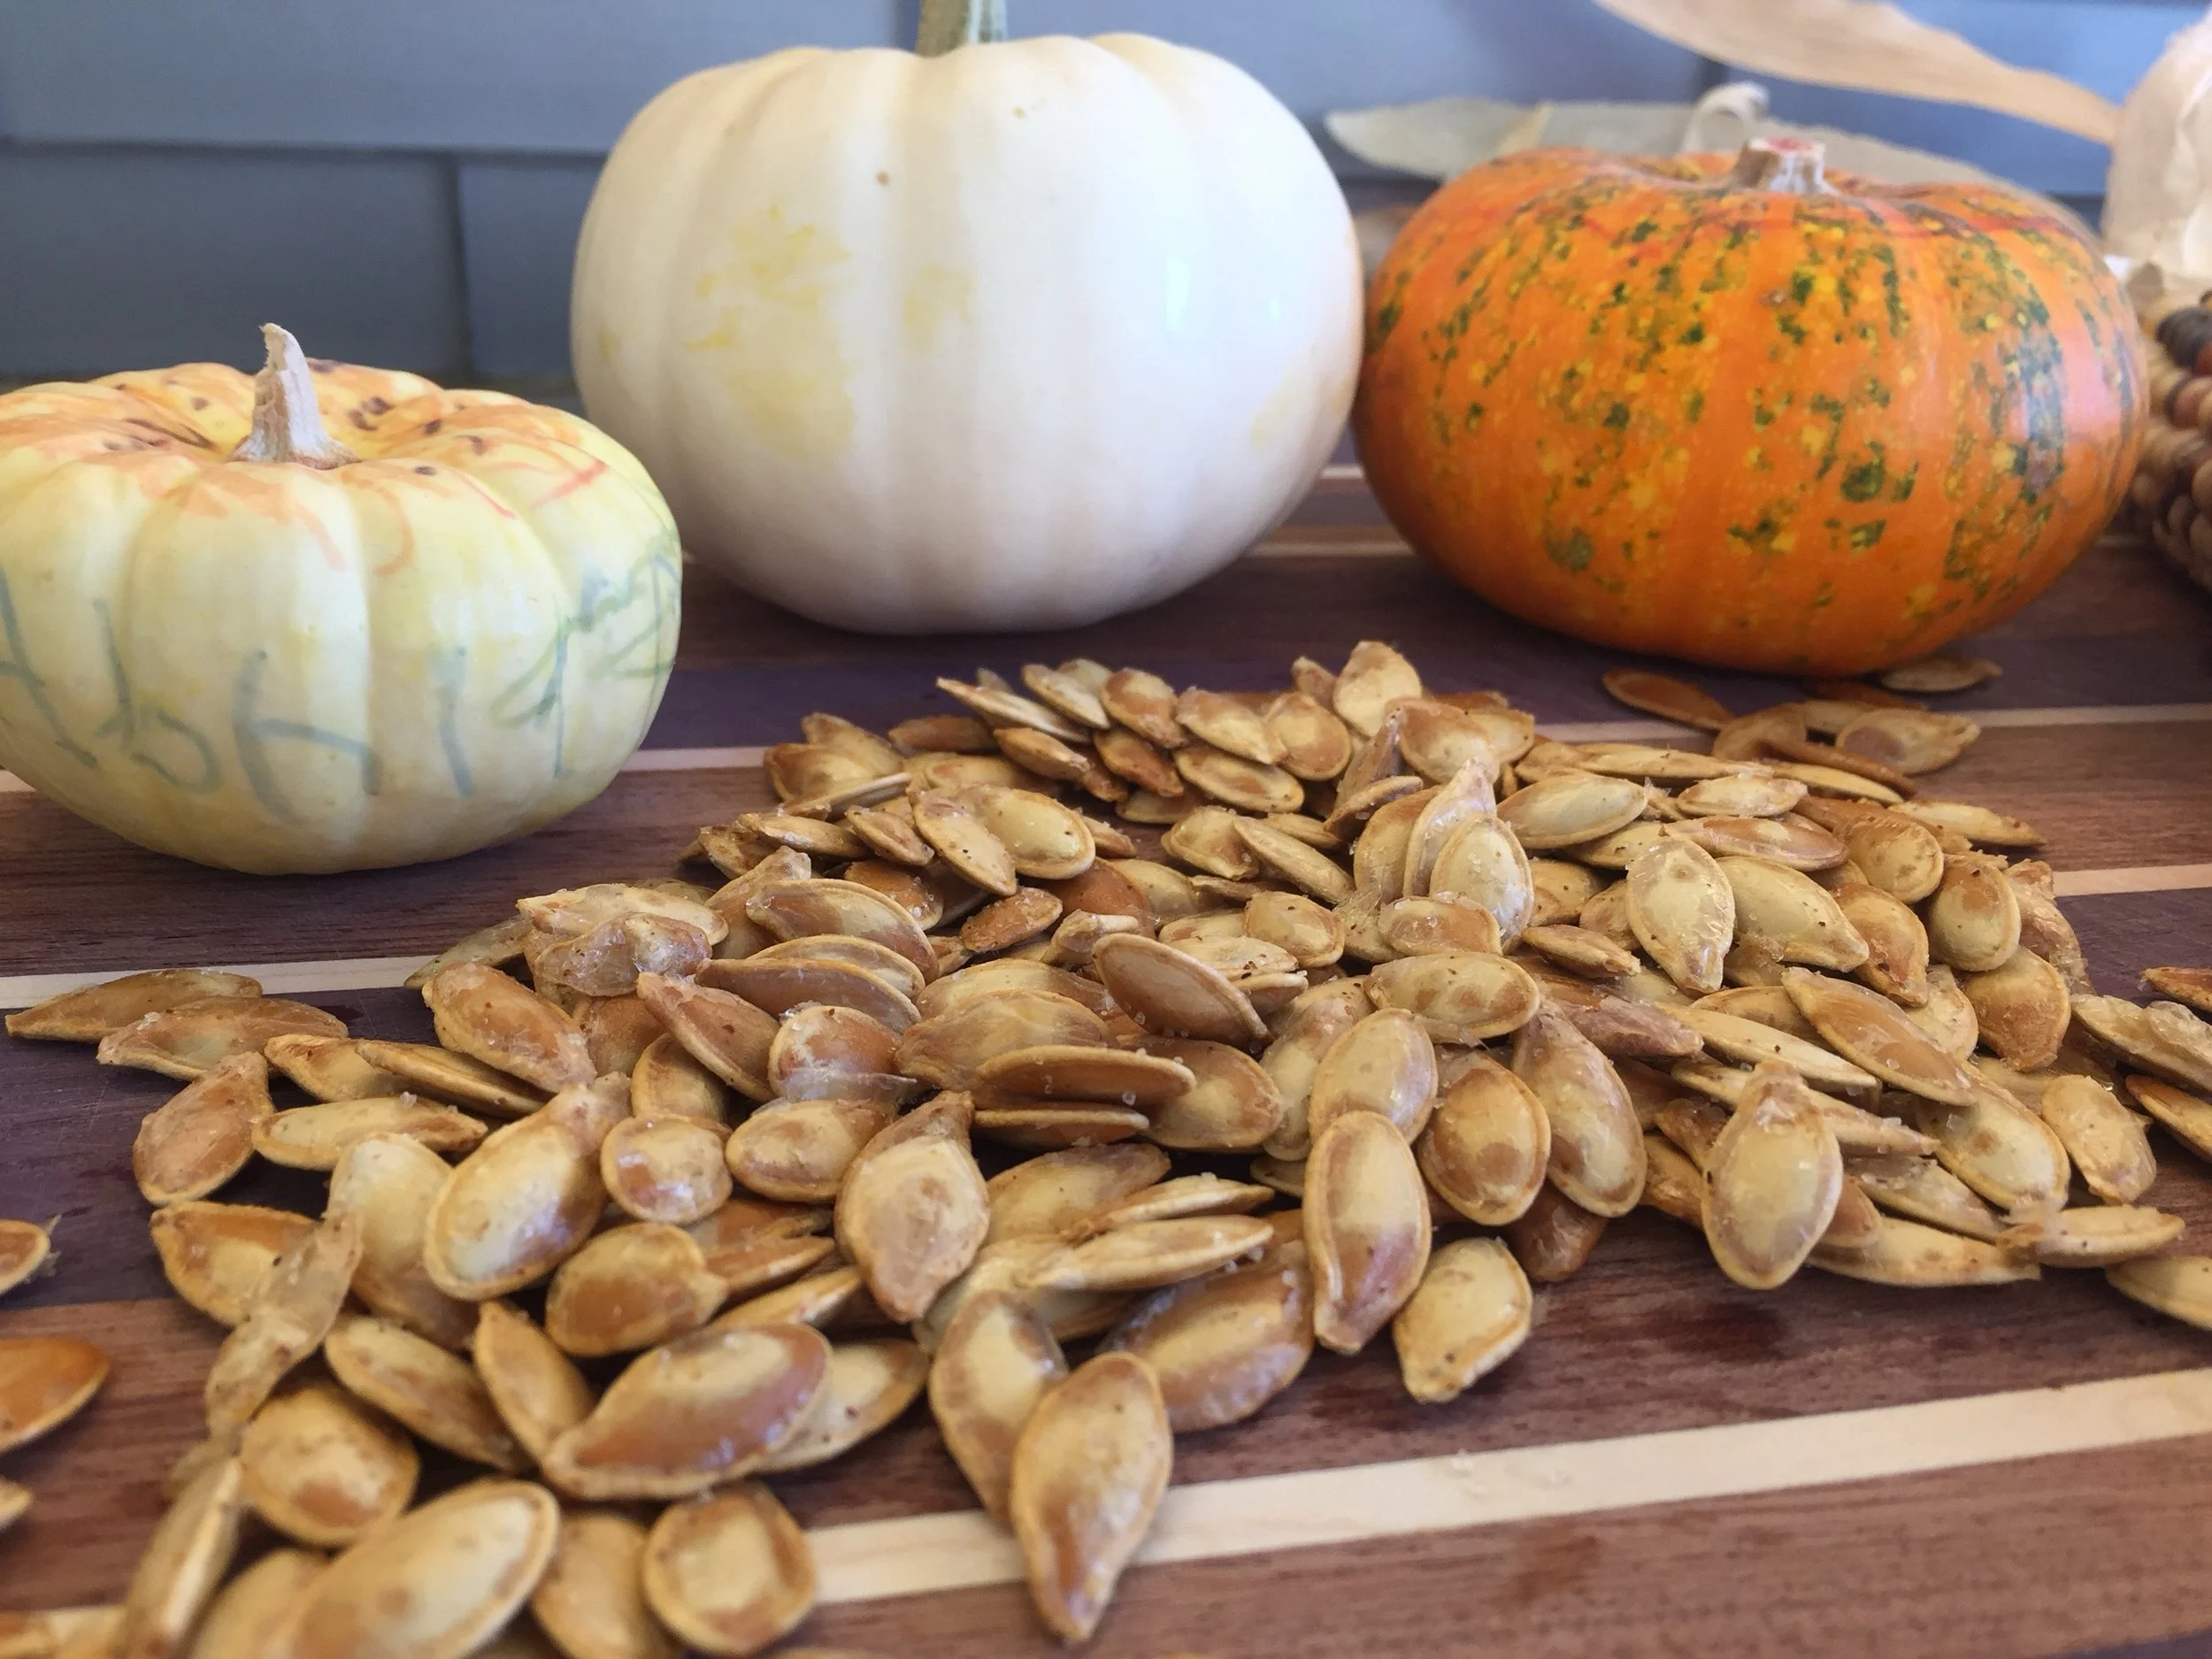
Did you carve a pumpkin this fall? I hope you saved those pumpkin seeds because you can roast them with a bit of salt and olive oil for a fast, tasty and healthy snack. Don't forget to reserve a few seeds to plant them next spring/summer and hopefully you'll have your very own pumpkin next fall!
Recipe:
Pumpkin seeds, olive oil, salt and a pinch of cayenne.
Directions: Remove seeds from pumpkin and wash them in water. Let dry. Toss with olive oil, salt and cayenne pepper. Spread over a baking tray. Bake on 400 F for 15 minutes. Rotate midway. Remove from oven and let cool before enjoying this wonderful snack.
This recipe perfectly fits with our Colonial Times unit study.
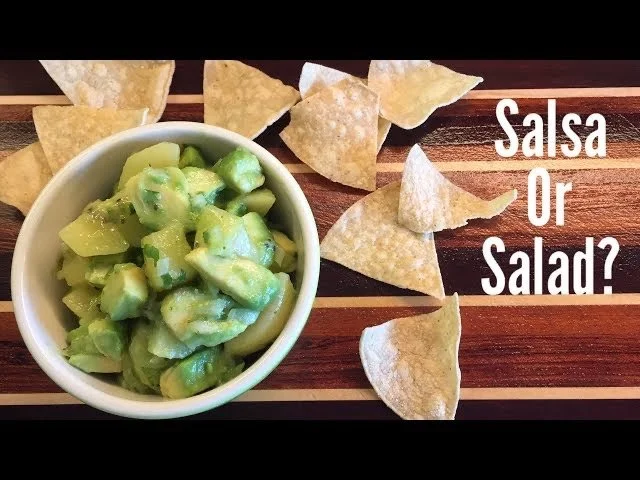
Kiwi & Avocado Salsa
I’m not sure if you call this a salsa if you just eat it with a fork! I think it’s been upgraded to salad status. You be the judge of it. Try it out and decide: Salsa or Salad. And once you do, let me know in the comment section which you think it is? I got this recipe from Hello Fresh. Back in the fall of 2017, we ordered a number of Hello Fresh boxes and this recipe was in one of them (paired with tacos, yum). Well the salsa was so good, I practically ate it all before we were even done cooking!
Here’s how you make it: Dice one avocado, two golden kiwis and half a medium onion. Dice the onion finely. Finely chop about 5 sprigs of cilantro. Squeeze the juice of one lemon. Mix everything together and season with salt. Let it marinate for at least 15 minutes to bring out the flavors. It tastes just as good the following day. Just refrigerate leftovers. Optionally you can add a bit of finely sliced serrano pepper and some black pepper.
Artichoke Dip
There are never leftovers of this appetizer…never. In fact I need to double or triple the recipe everytime. The recipe I’m sharing for this artichoke dip is doubled, but you can cut it in half if you are serving 4 people of less. I learned this recipe from my friend Laura, who learned it from her mother’s friend, who may have learned it from someone else. Because this dip is so rich, I like to pair with lighter salads and appetizers and serve it with plain crackers.
The recipe is as follows: In a large bowl, mix 2 cups of shredded parmesan cheese, 1/2 cup of mayonnaise, 2 14 oz. cans of artichoke hearts (unmarinated, and squeeze out the excess water), 1-2 teaspoons of crushed garlic (or 2 cloves per can), and 1/1 teaspoon of fresh ground pepper. I use less mayonnaise than the original recipe calls for, so you may double the mayo for this recipe.

How To Make Guacamole | Non-Spicy Simple Recipe
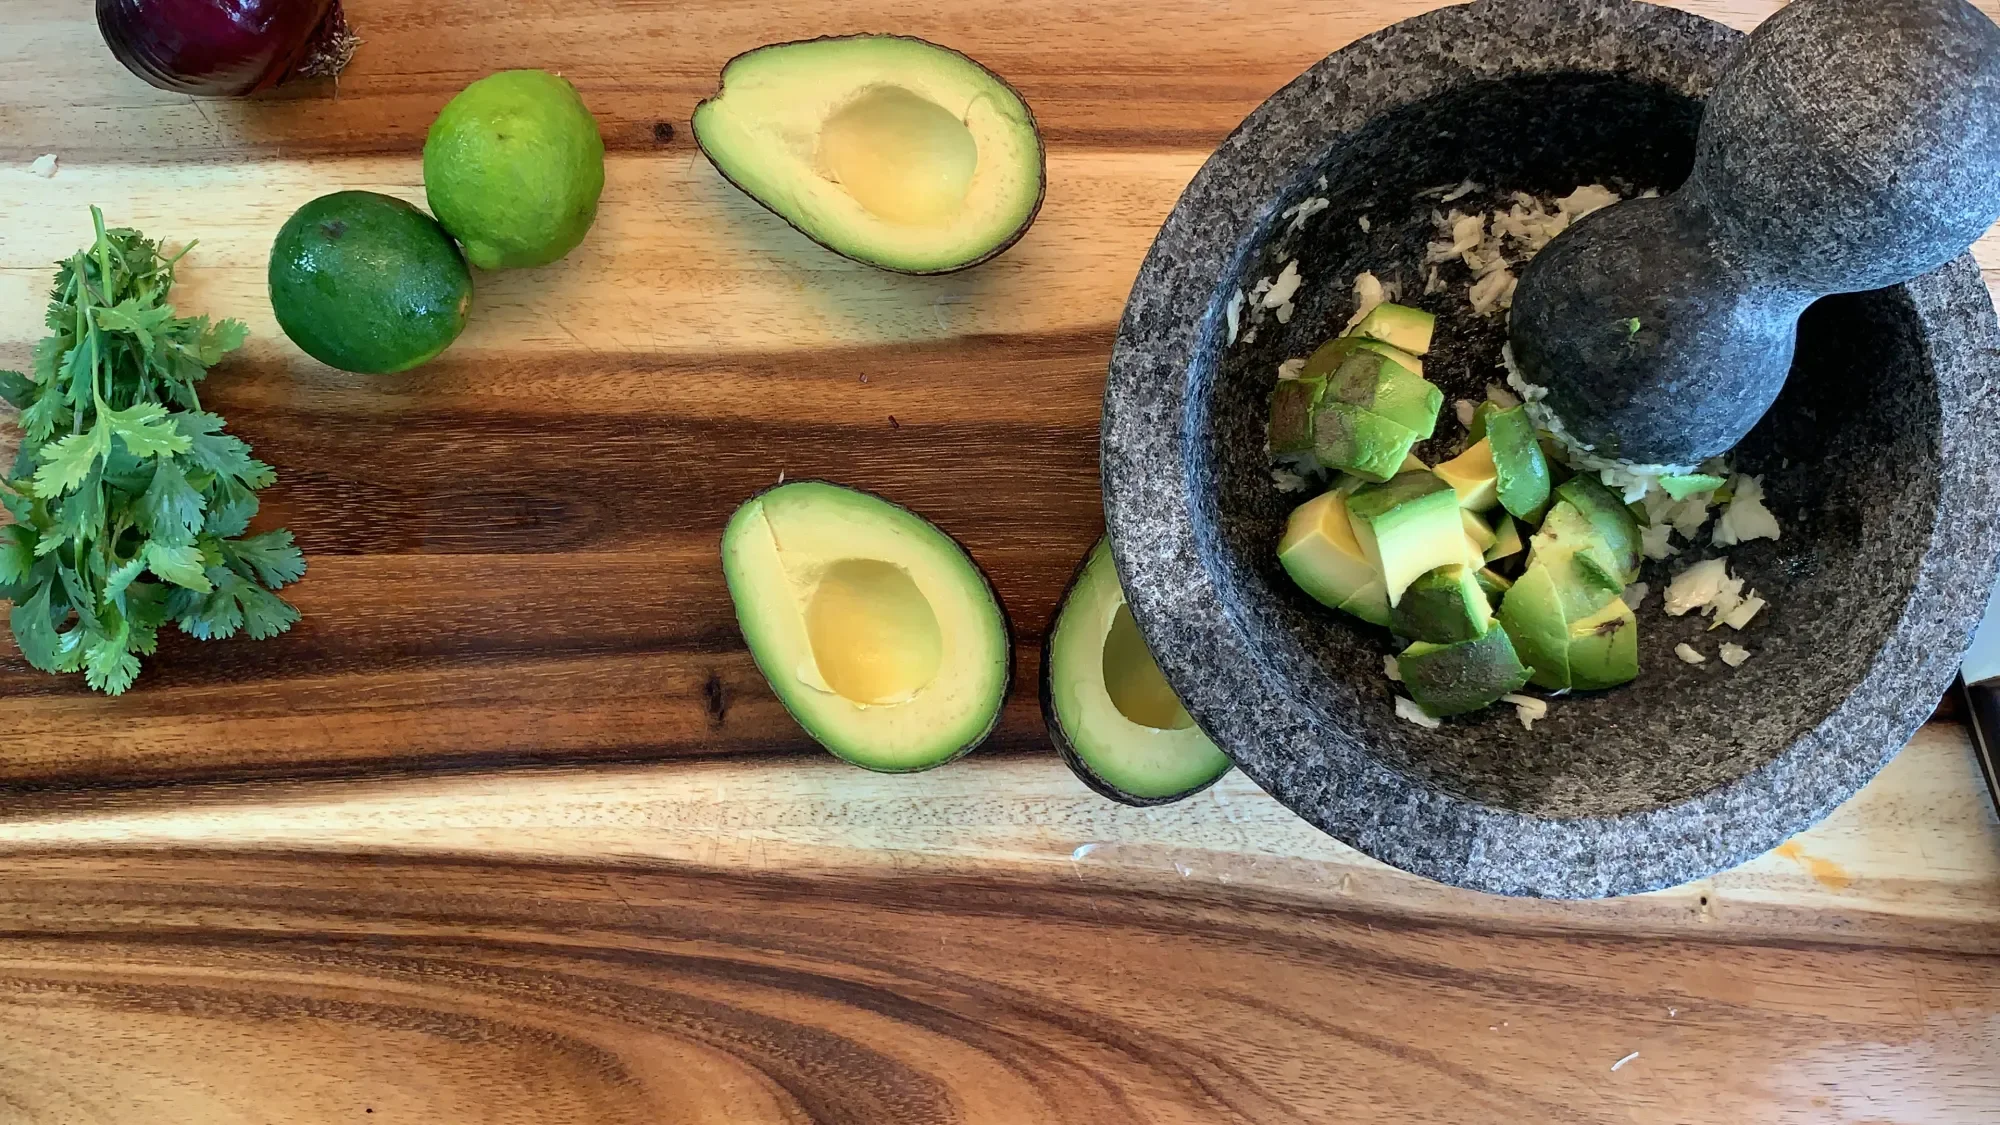
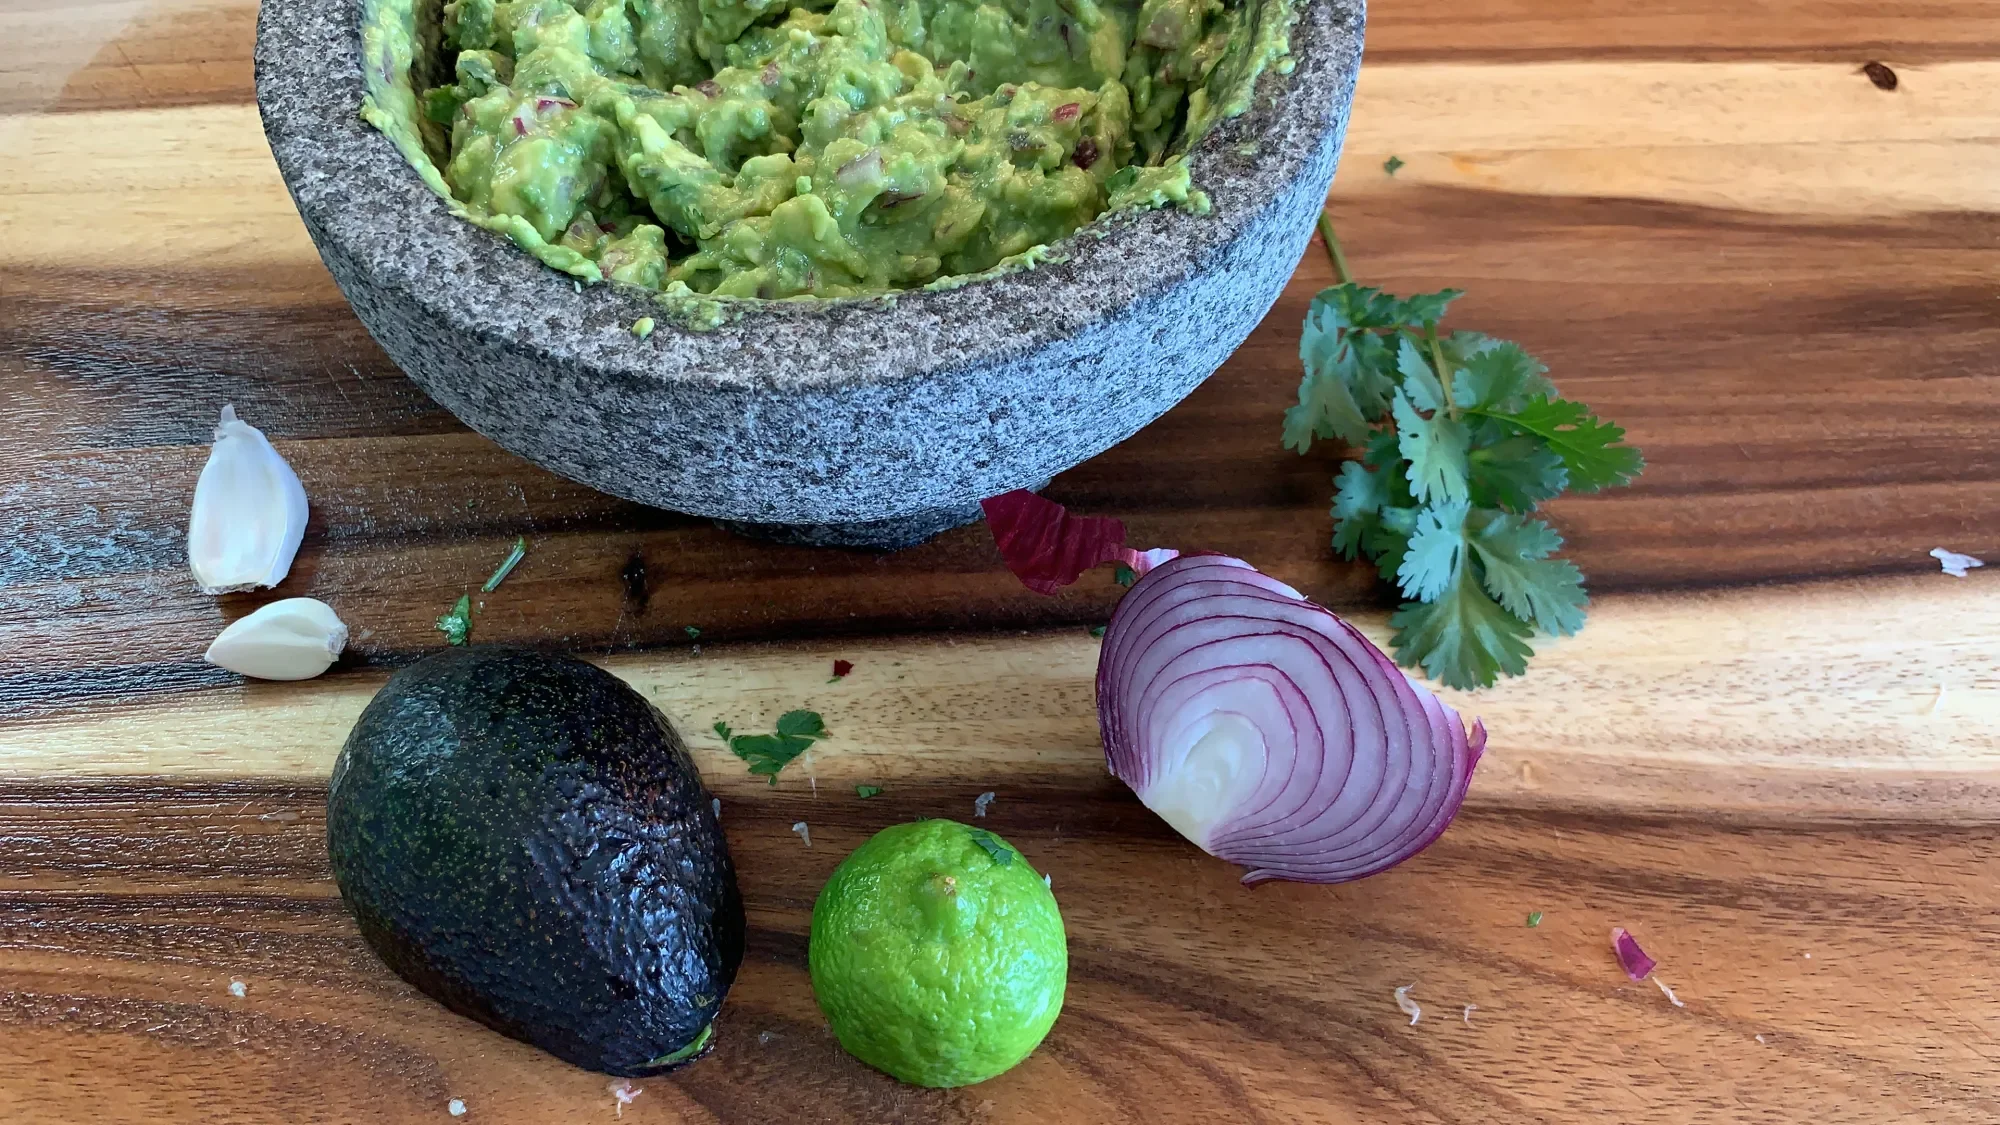
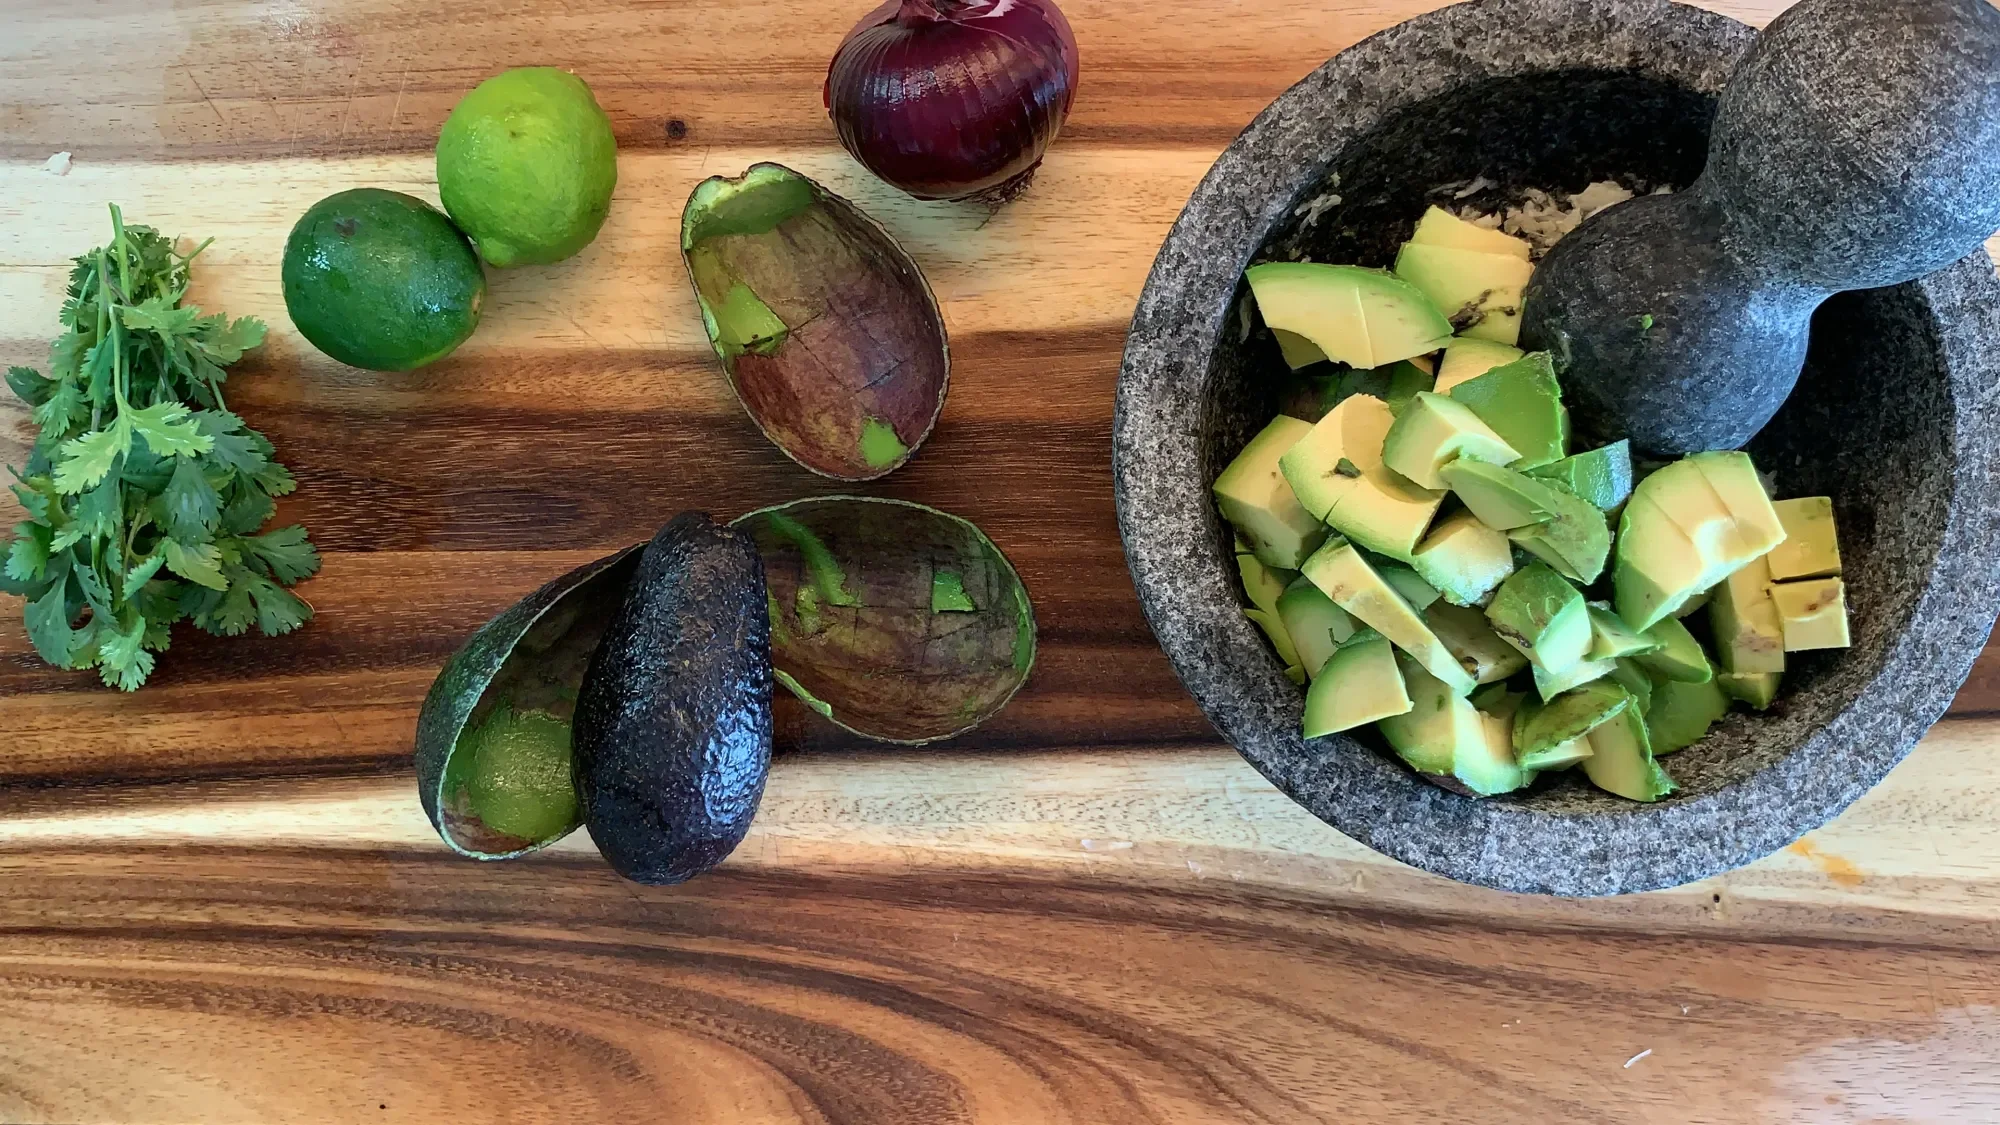
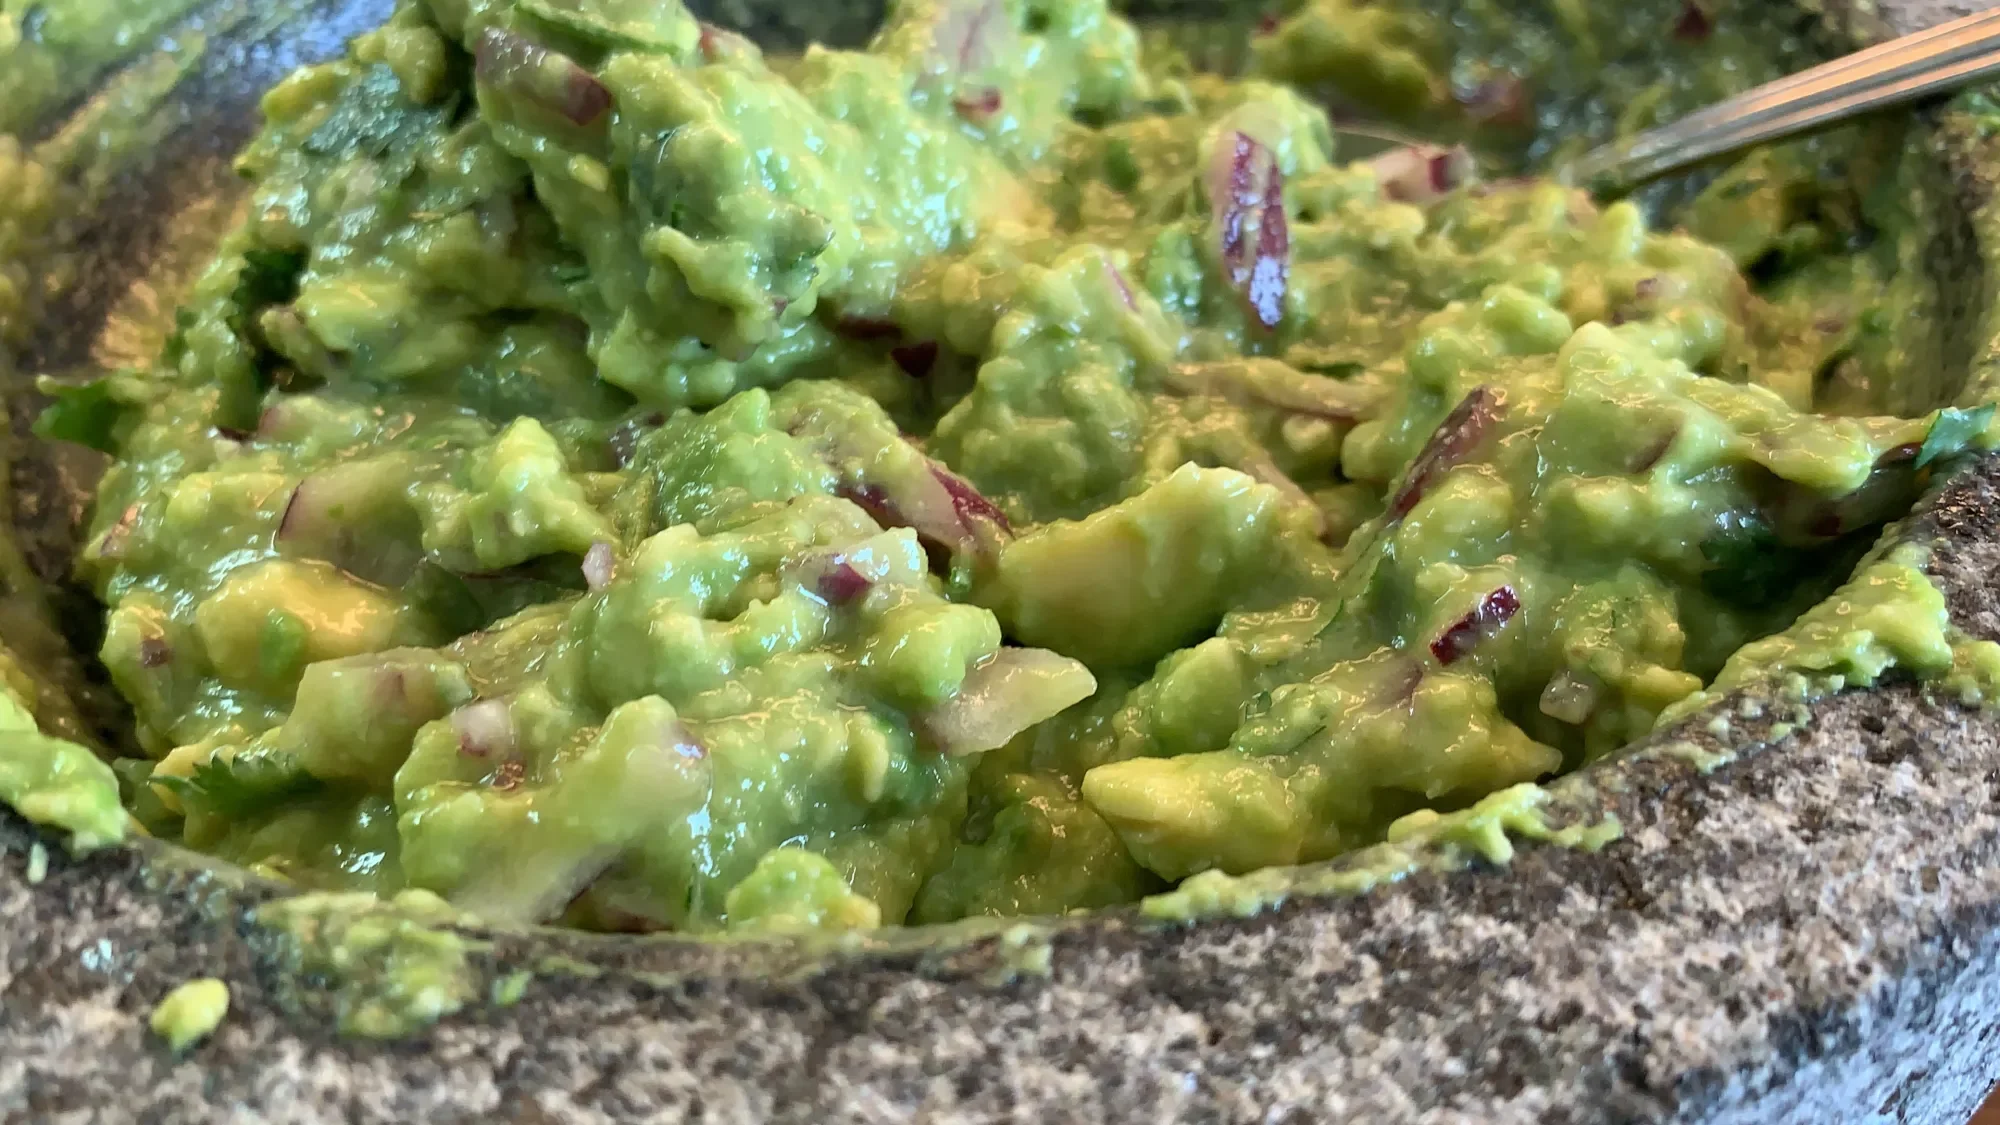
I'm using my new volcanic rock mortar and pestle to make guacamole. While I've been making guacamole with a plastic guac masher, I bought this guacamole mortar and pestle a couple years ago to grind wheat berries and whole spices. My guacamole utensil broke recently, so I decided to use this gorgeous mortar and pestle rather than use a fork which is a suitable alternative. I found that the mortar and pestle wasn't as easy to use for avocados as it was for garlic. I've gotten a lot of use from this mortar and pestle, but I probably won't pull it out just to make guacamole as I find using a fork much easier since my guacamole utensil broke.
For this recipe I combined 4 small crushed cloves of garlic with 2 avocados, half a small red onion finely diced, two limes and half a lemon and a bit of fresh cilantro. I seasoned with a half teaspoon of salt. Sometimes simplicity outweighs a rich ingredient list. Usually I add tomatoes and jalapenos to my guacamole, but as my daughter didn't want either, I found that this combination brought out the flavor of the avocados in a way that has been overpowered by other flavors.
I like a citrusy guac, but if the addition of the lemon is too much, simply omit or add juicer limes. Go easy on the salt to begin with. You can always add more avocados if you over salt, or extra tomatoes as tomatoes need a fair amount of salt.
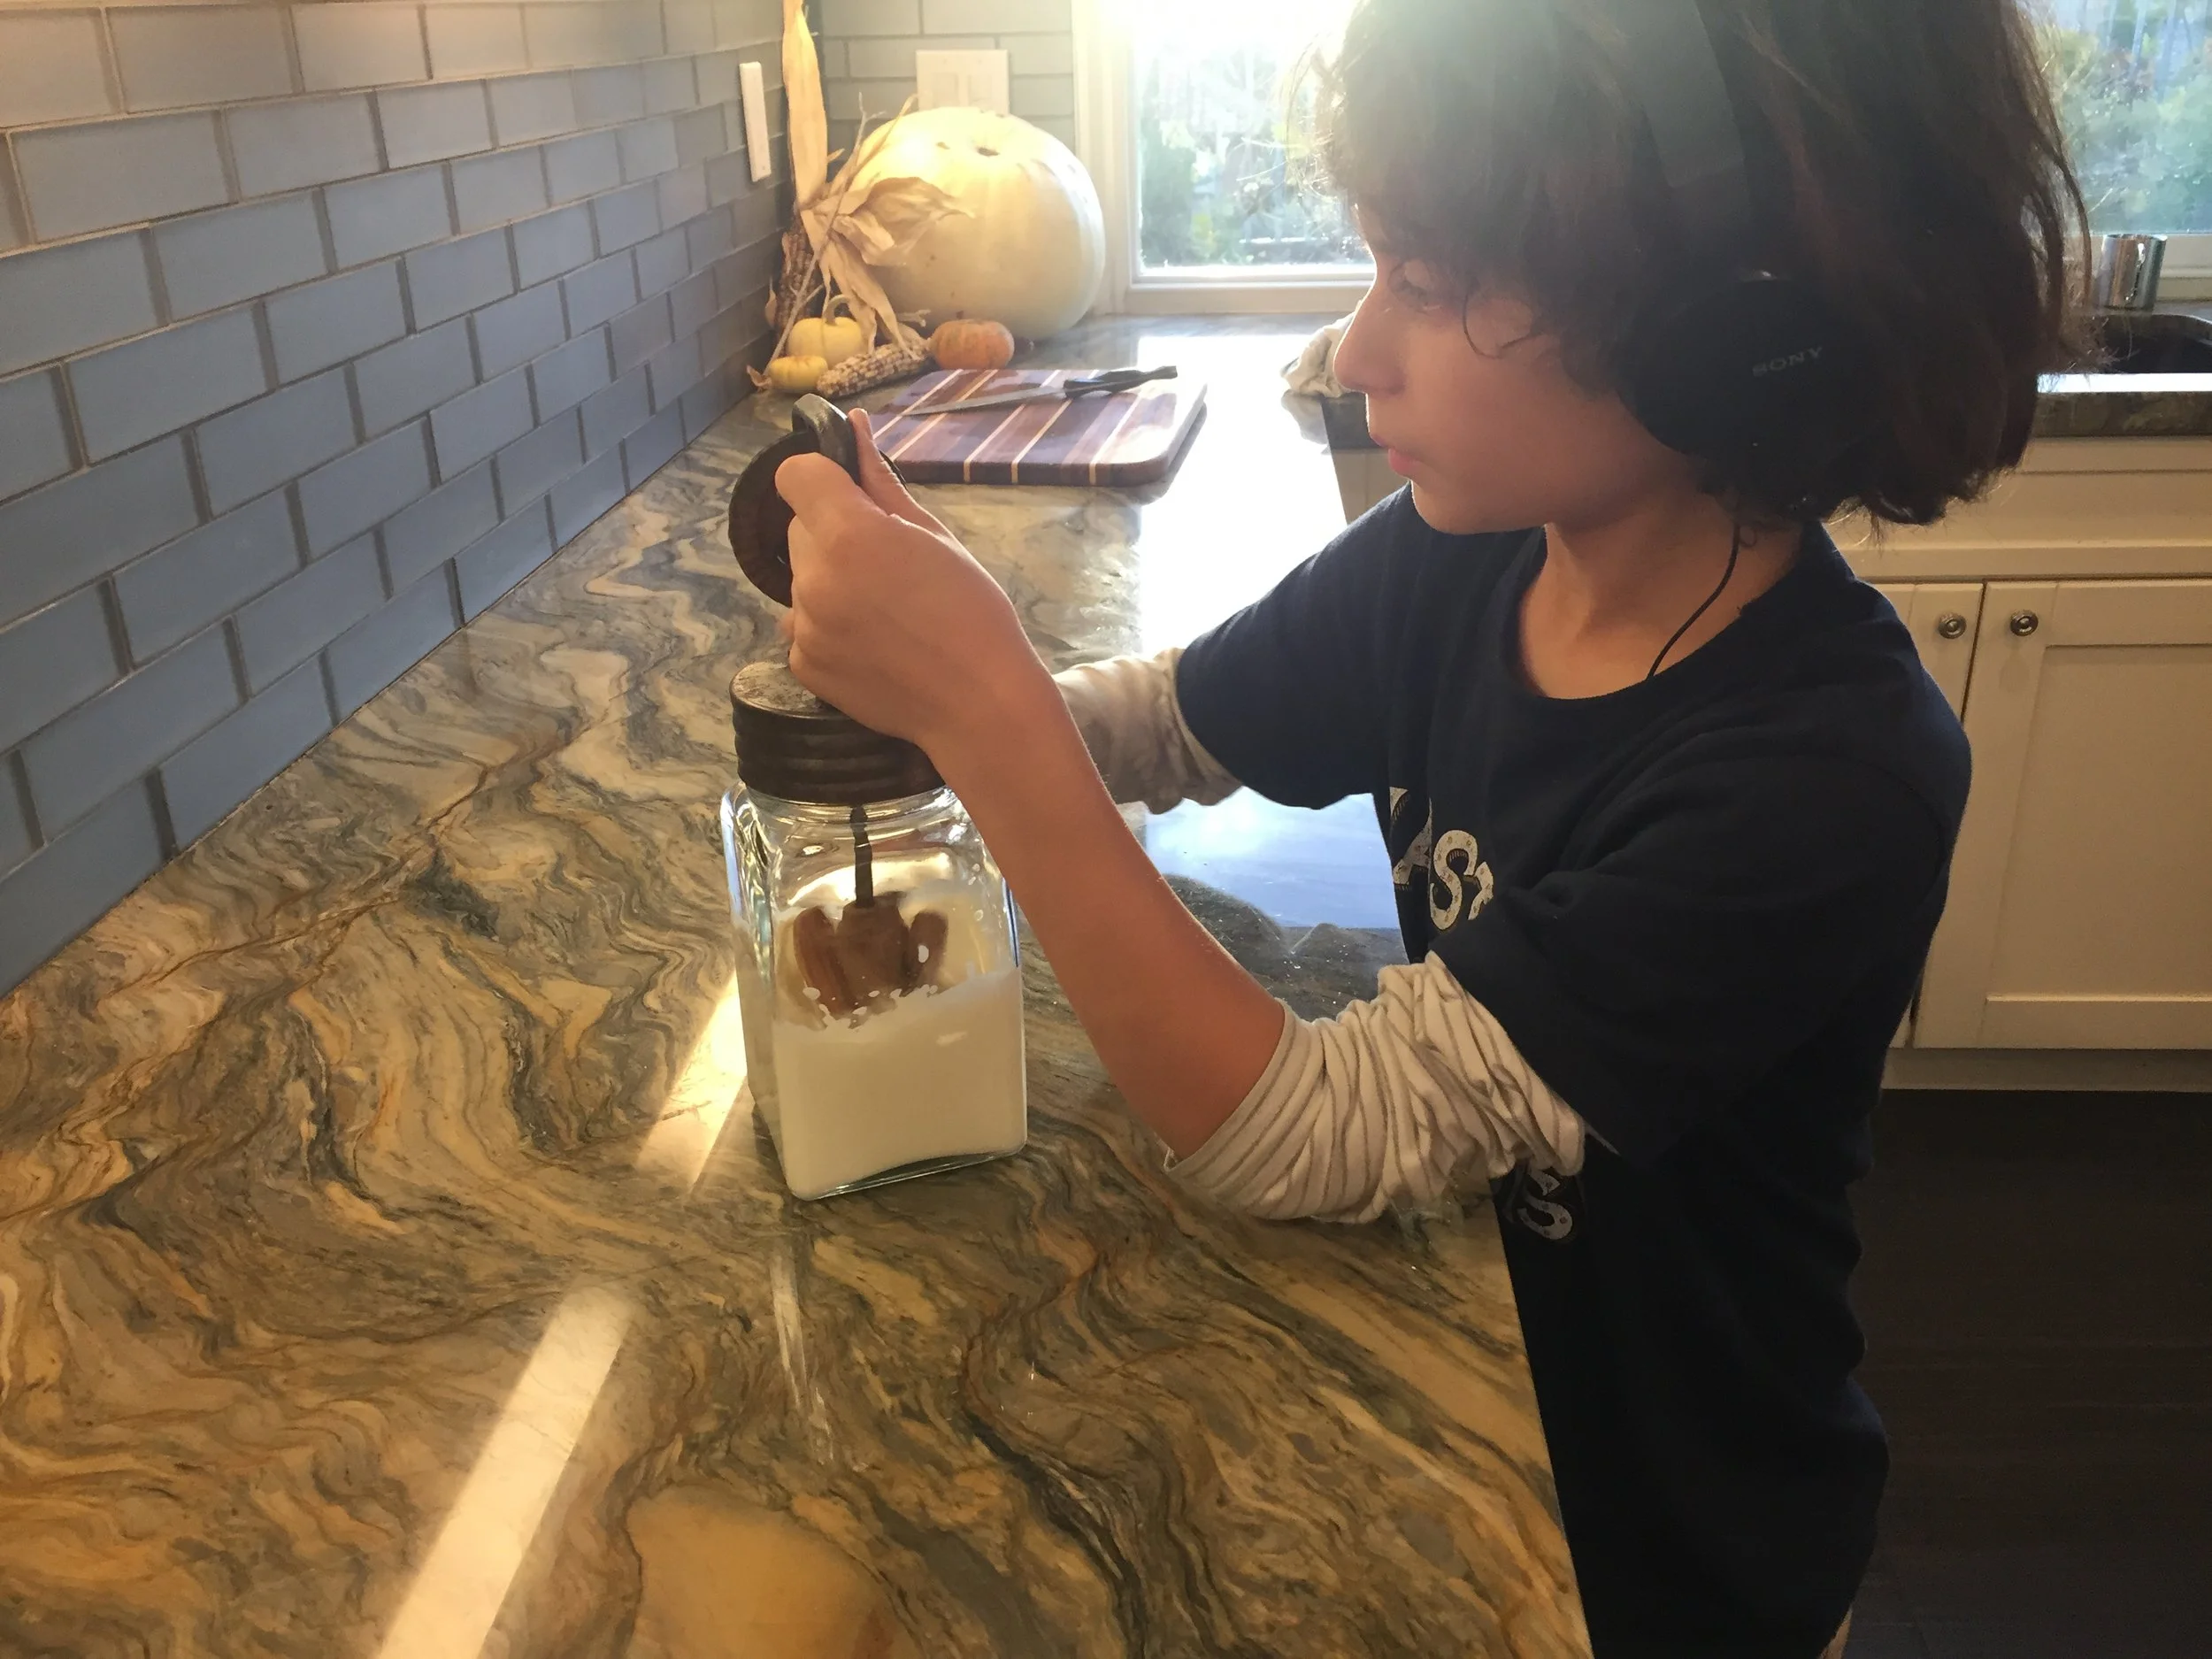
How to Make Old Fashioned Homemade Butter
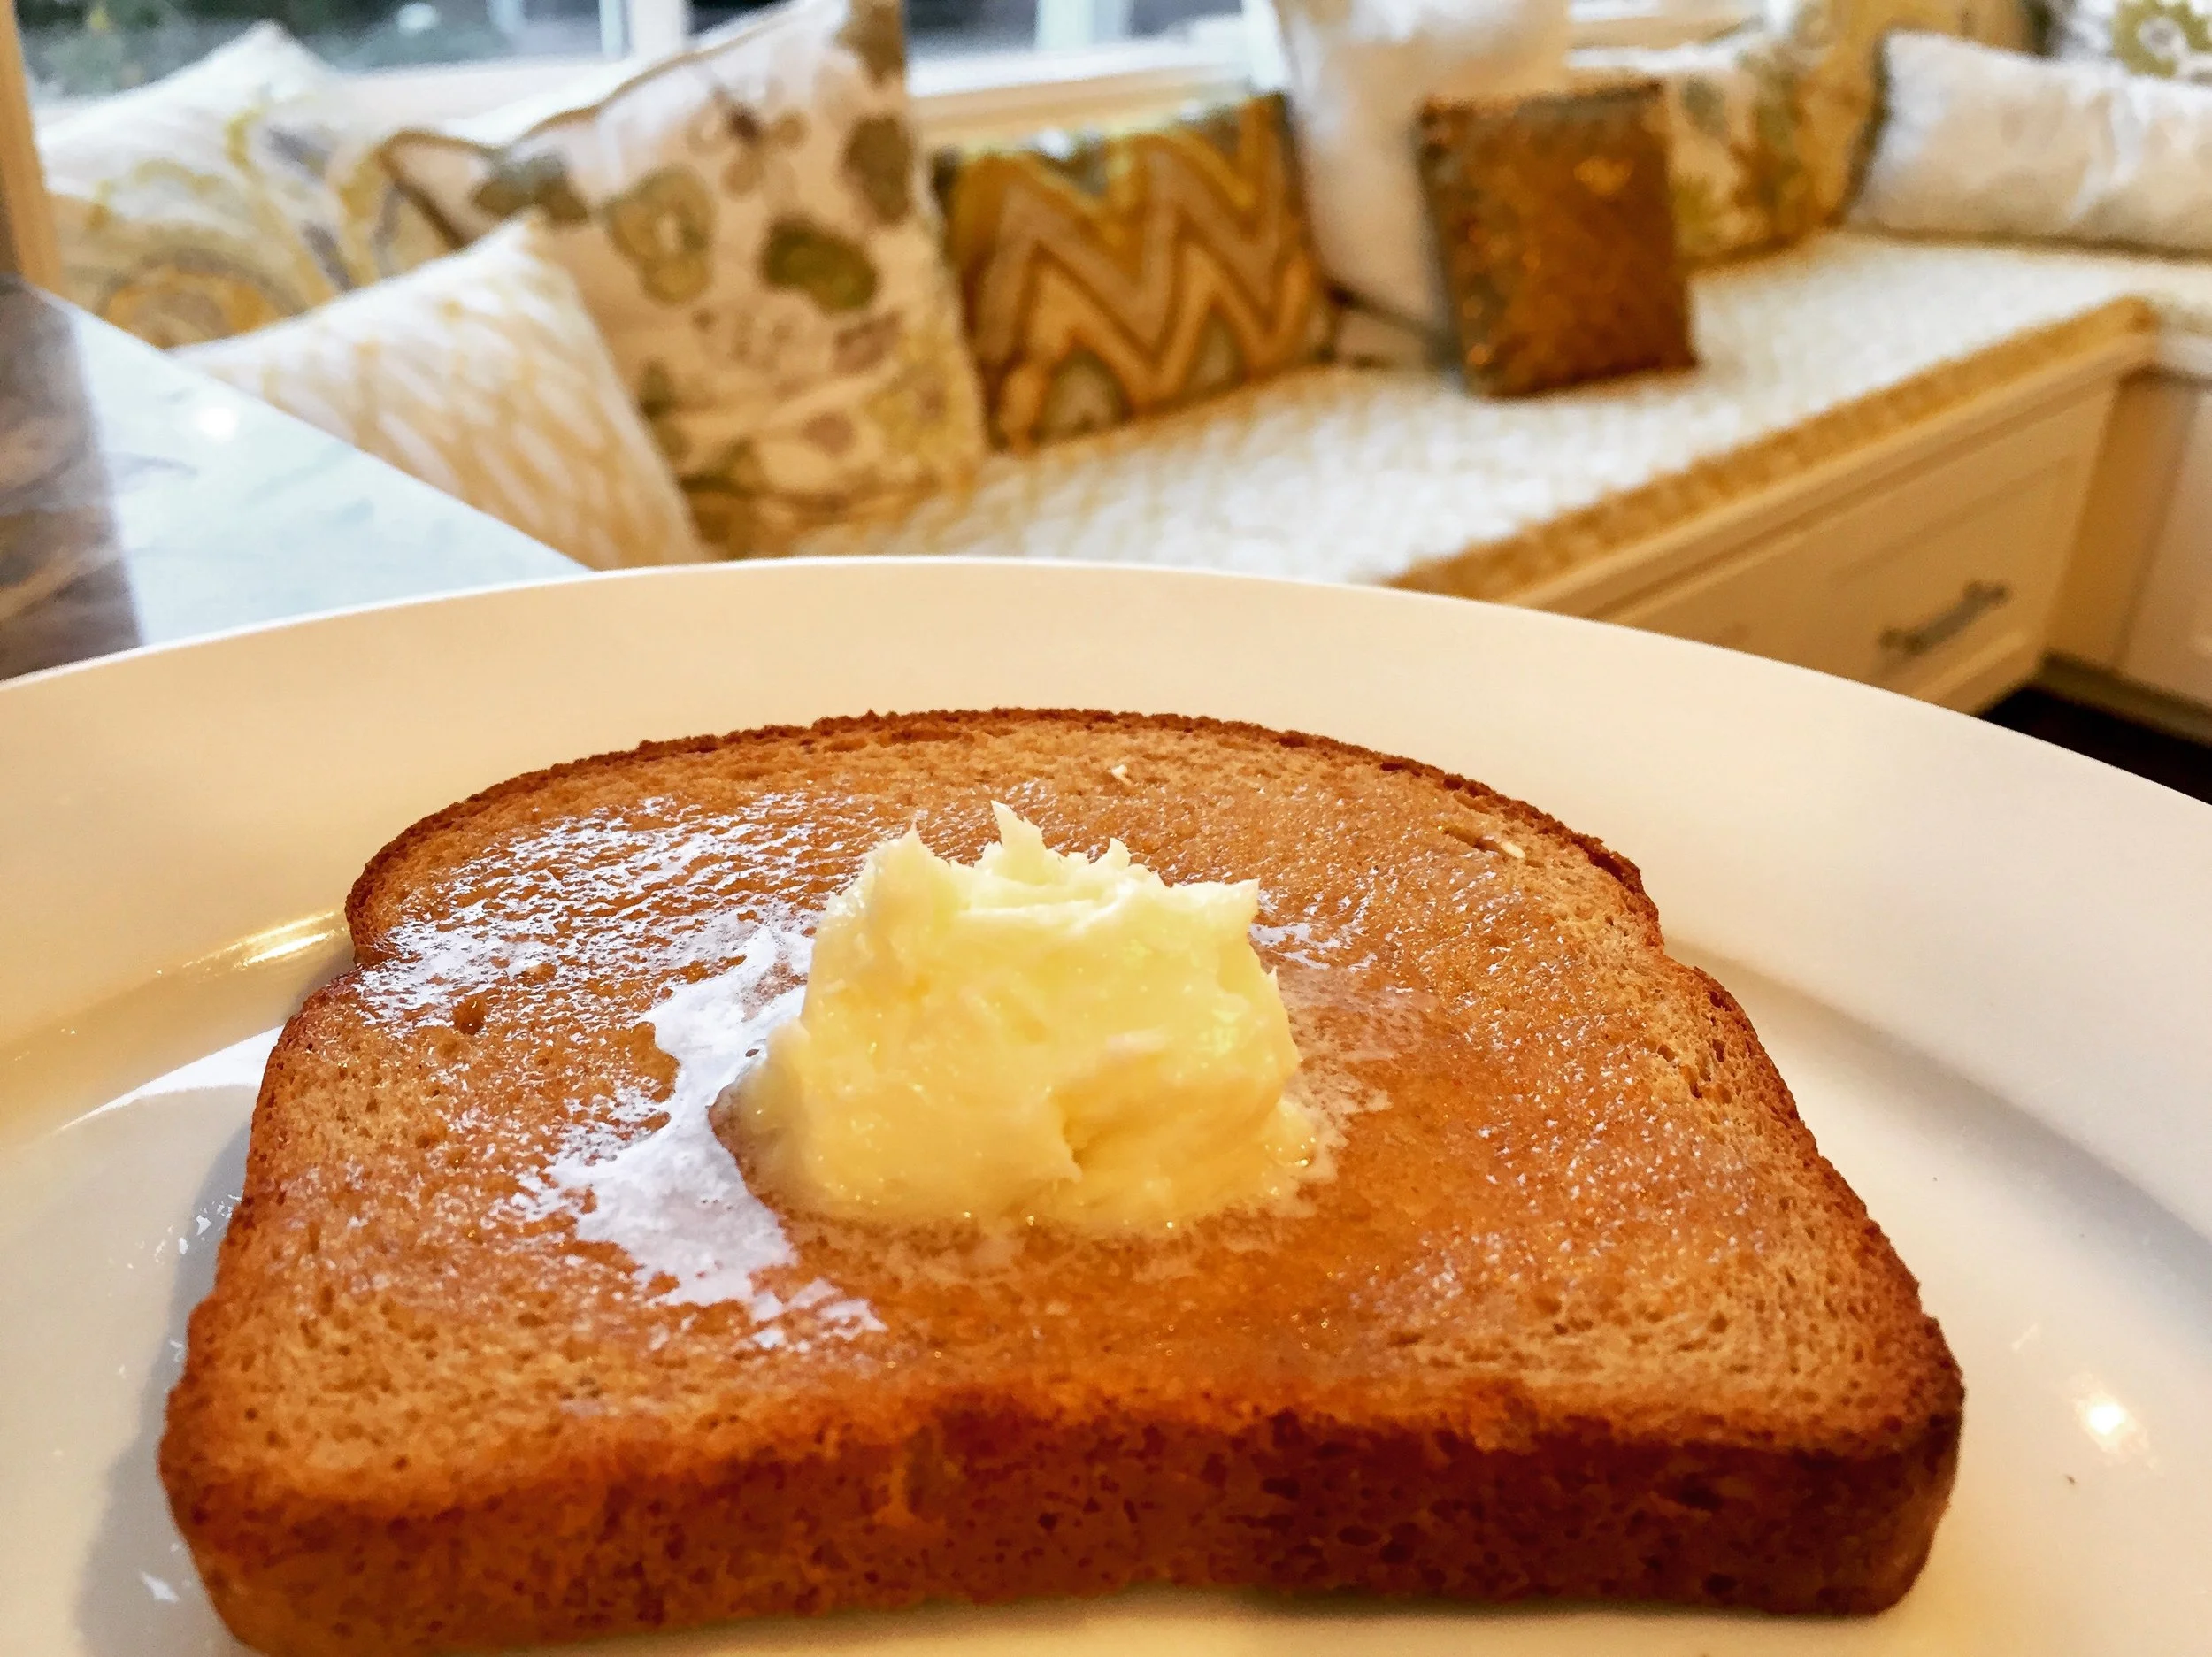
There’s nothing quite like fresh butter and there’s no better satisfaction than being able to make it from scratch. And when children are able to do this, the thrill of making something like butter, turning a thick liquid into a solid and a thinner liquid is pretty amazing.
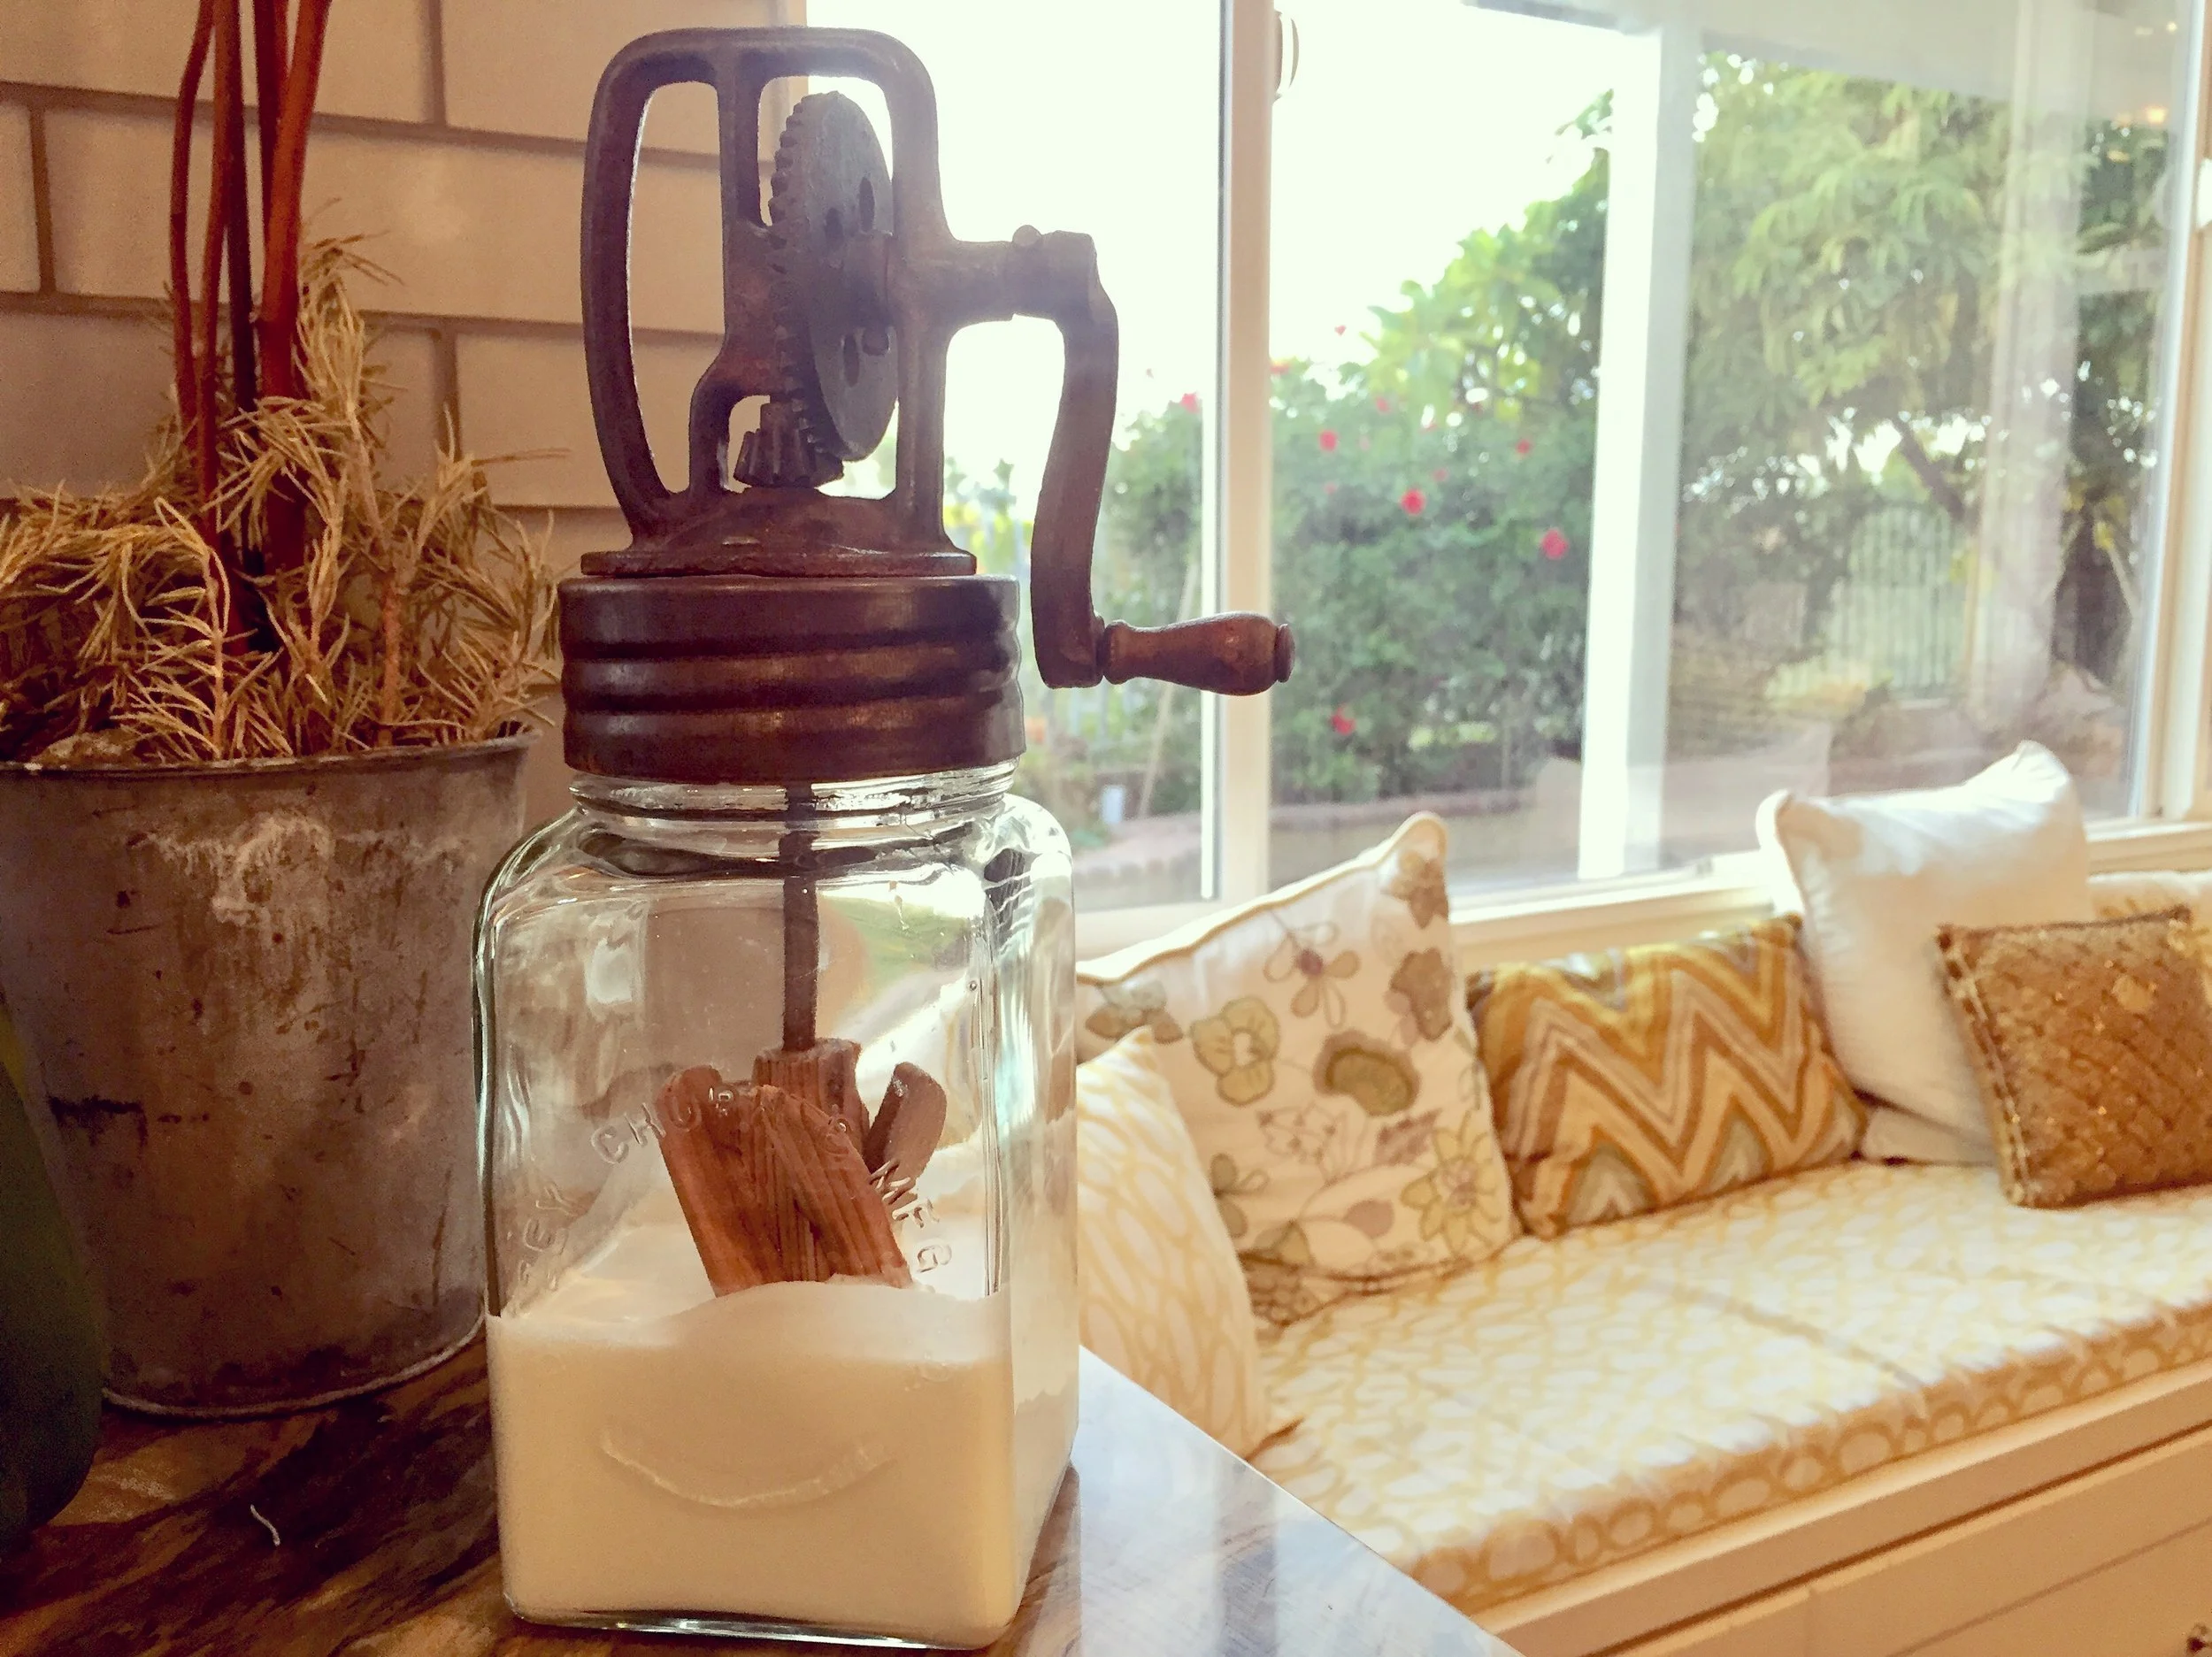
A few years ago, I wanted to buy a butter churn. I searched online and found this antique looking butter churn that was common in the 1800’s. You can imagine my surprised when it arrive, wrapped in newspapers, with cobwebs and silverfish inside…I had unwittingly purchased an antique! After washing it thoroughly, several times, I tried it out. It worked!
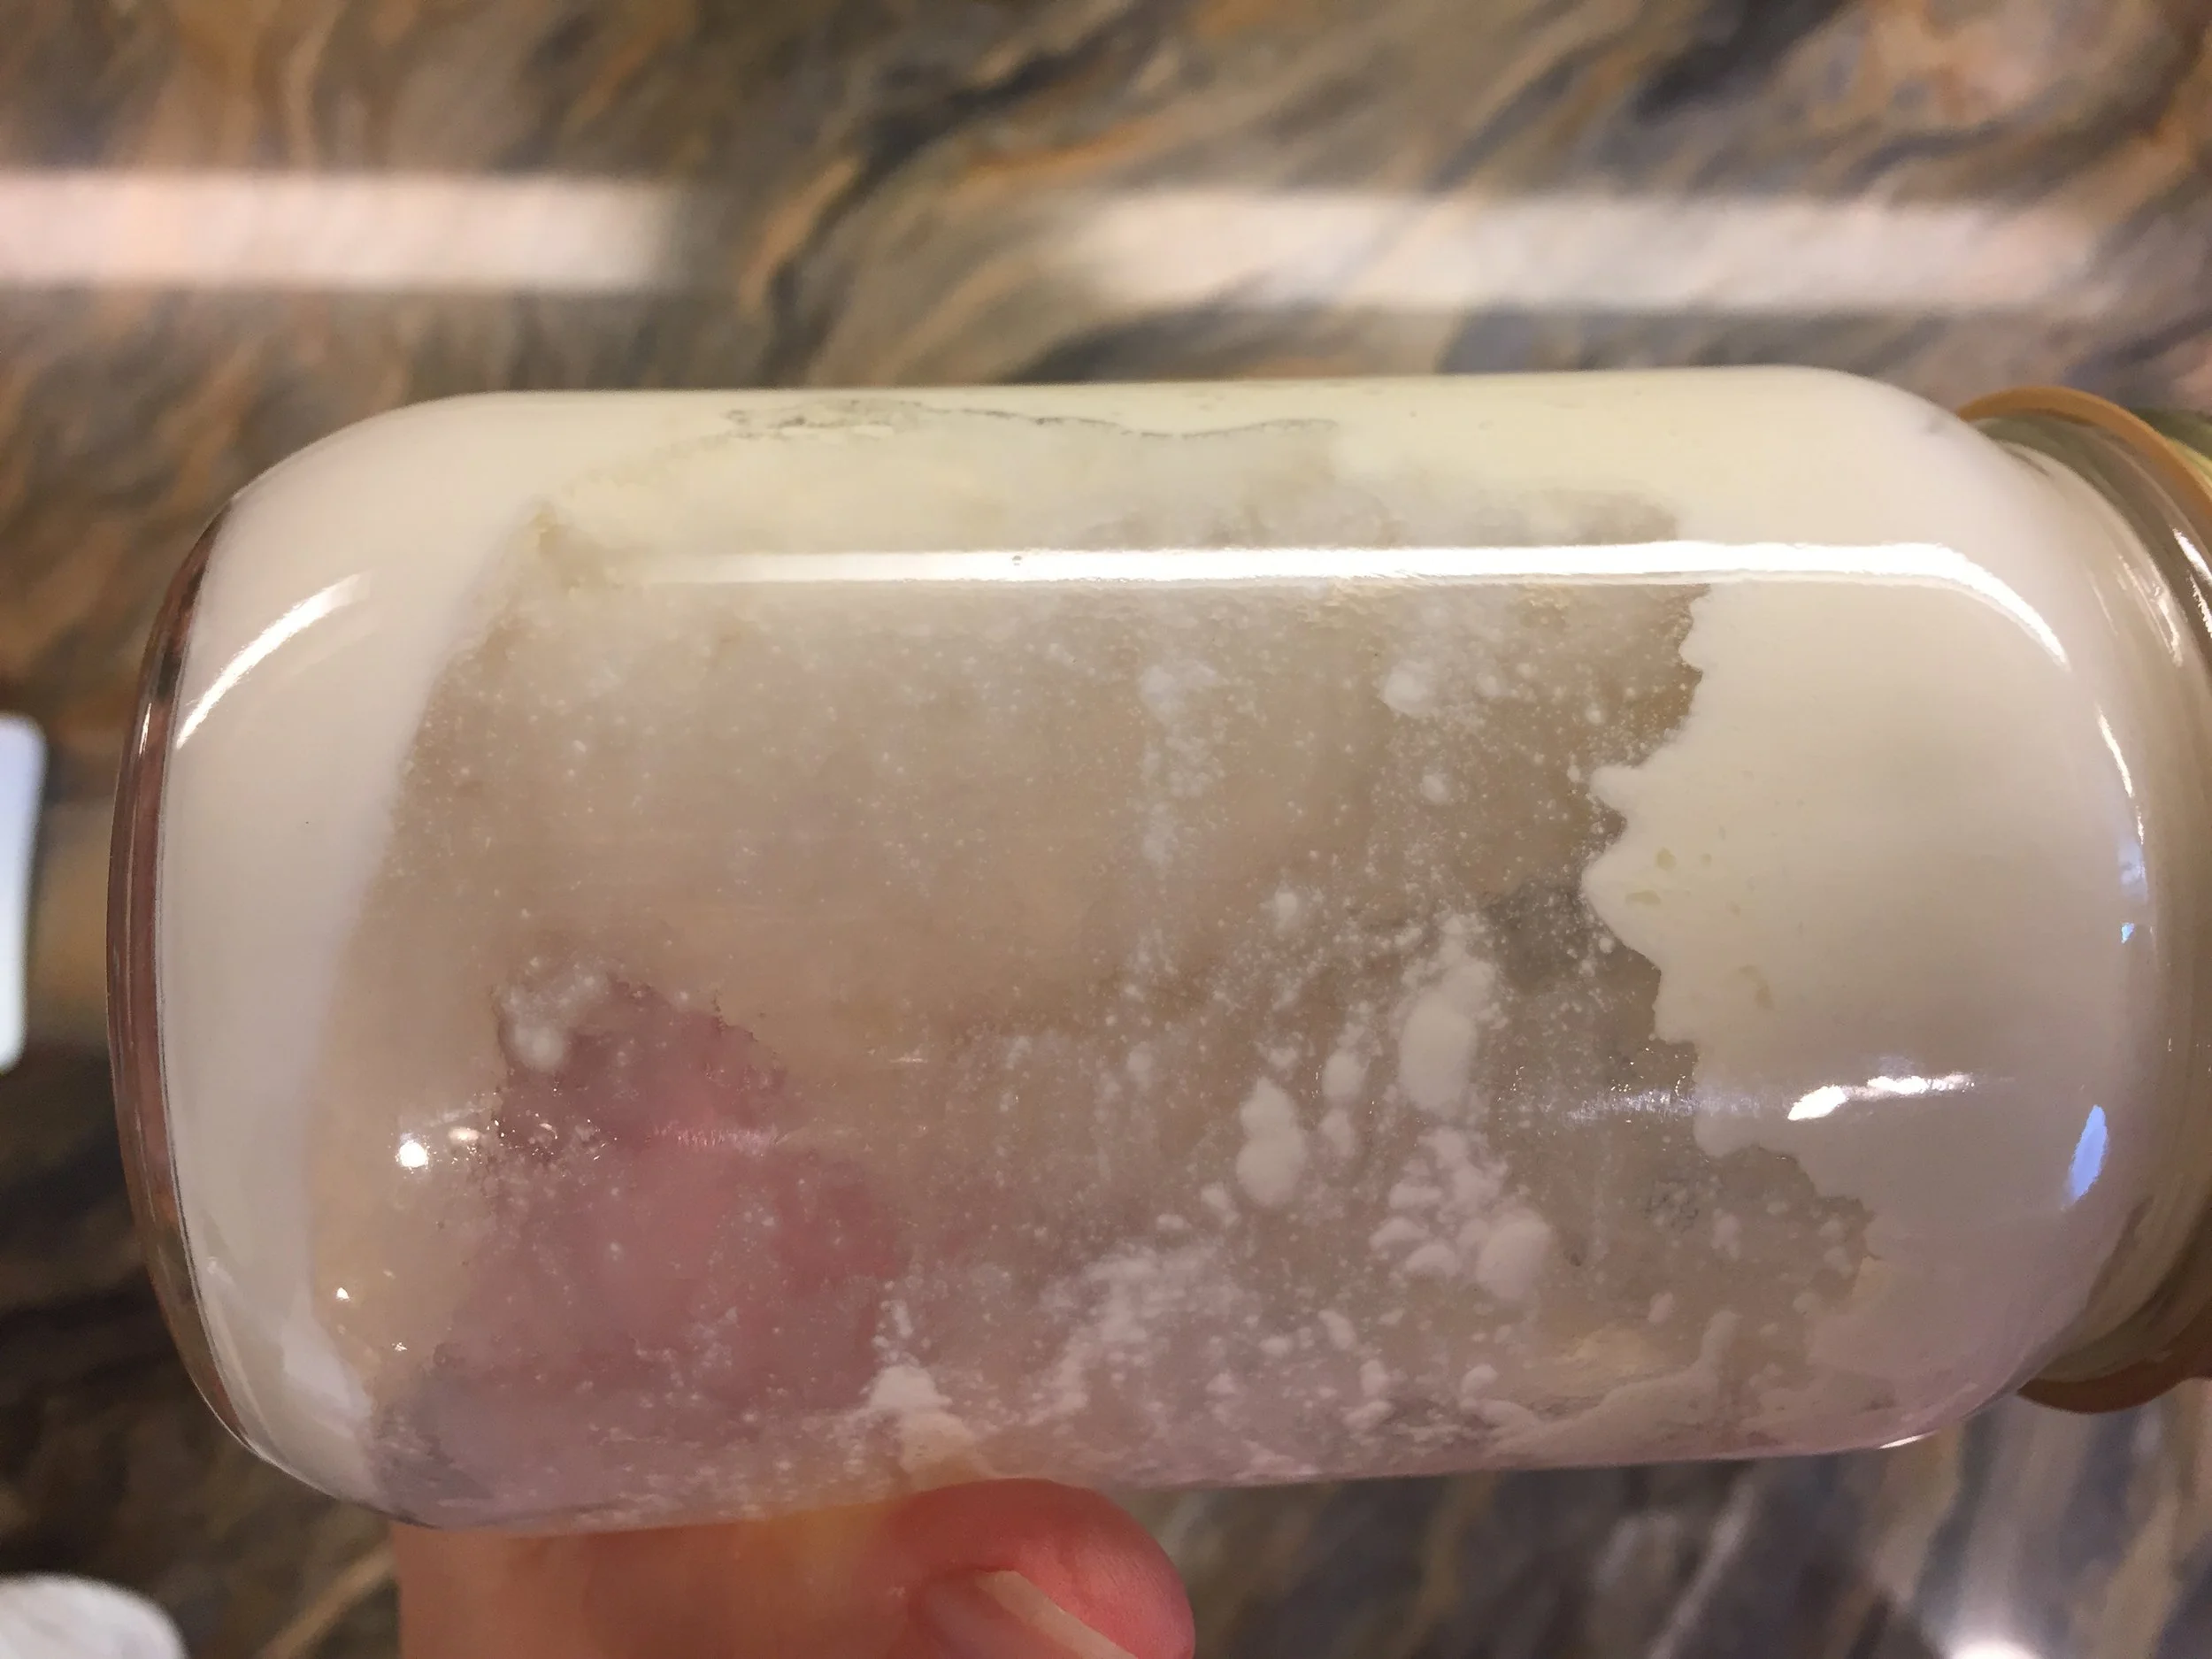
If you are making butter with children, you can definitely show them how a butter churn works, but you can also make butter in a glass jar. All you need is heavy cream. In a small 16-ounce mason jar, add about 3 ounces of heavy cream. Secure the lid and begin shaking. After about five minutes, the contents will become heavy and frothy. Congrats! You’ve made whipped cream. Keep shaking for another 2-3 minutes until you hear liquid sloshing around inside and hear and feel the thud of butter knocking around against the sides and lid.
Remove the butter by straining it in cheese cloth or with a strainer. You can keep the butter milk and use it in lei of water when making bread, or make cultured buttermilk with it. You can salt the butter or leave it plain. Just store the way you would store store-bought butter.


Roasted Potatoes
This isn’t just any roasted potato recipe, this happens to be one of my most requested recipes and one that’s always a winner, even when I don’t think they turned out so good. The recipe is simple and the prep work minimal, but the real reason behind the success of this recipe is the raw ingredients and spices. You can use golden potatoes or russet, but save the sweet potatoes and yams for a different recipe. One other note, the smaller you cut your potatoes, the less time they’ll need to cook and the crispier they’ll be. We like them like that. We also like them slightly more seasoned than how I showed in the video. Play around with the proportions until you find something that works.
Recipe: 3 pound of potatoes cut into small to medium cubes 1 teaspoon of garlic powder 1 teaspoon of cumin 1/2 teaspoon of cayenne pepper 1/2-1 teaspoon of salt Heavy drizzle of olive oil
Cube potatoes. Season with spices. Toss well until all potatoes are covered. Spread evenly over sheet pan. Bake at 430 degrees for 30 minutes. I used a convection bake oven, and I really think that’s why the potatoes turn out so good every time. Play around with it, but you want soft centers and crispy, flavorful exteriors.
How to Make Stuffed Eggs | aka Deviled Eggs
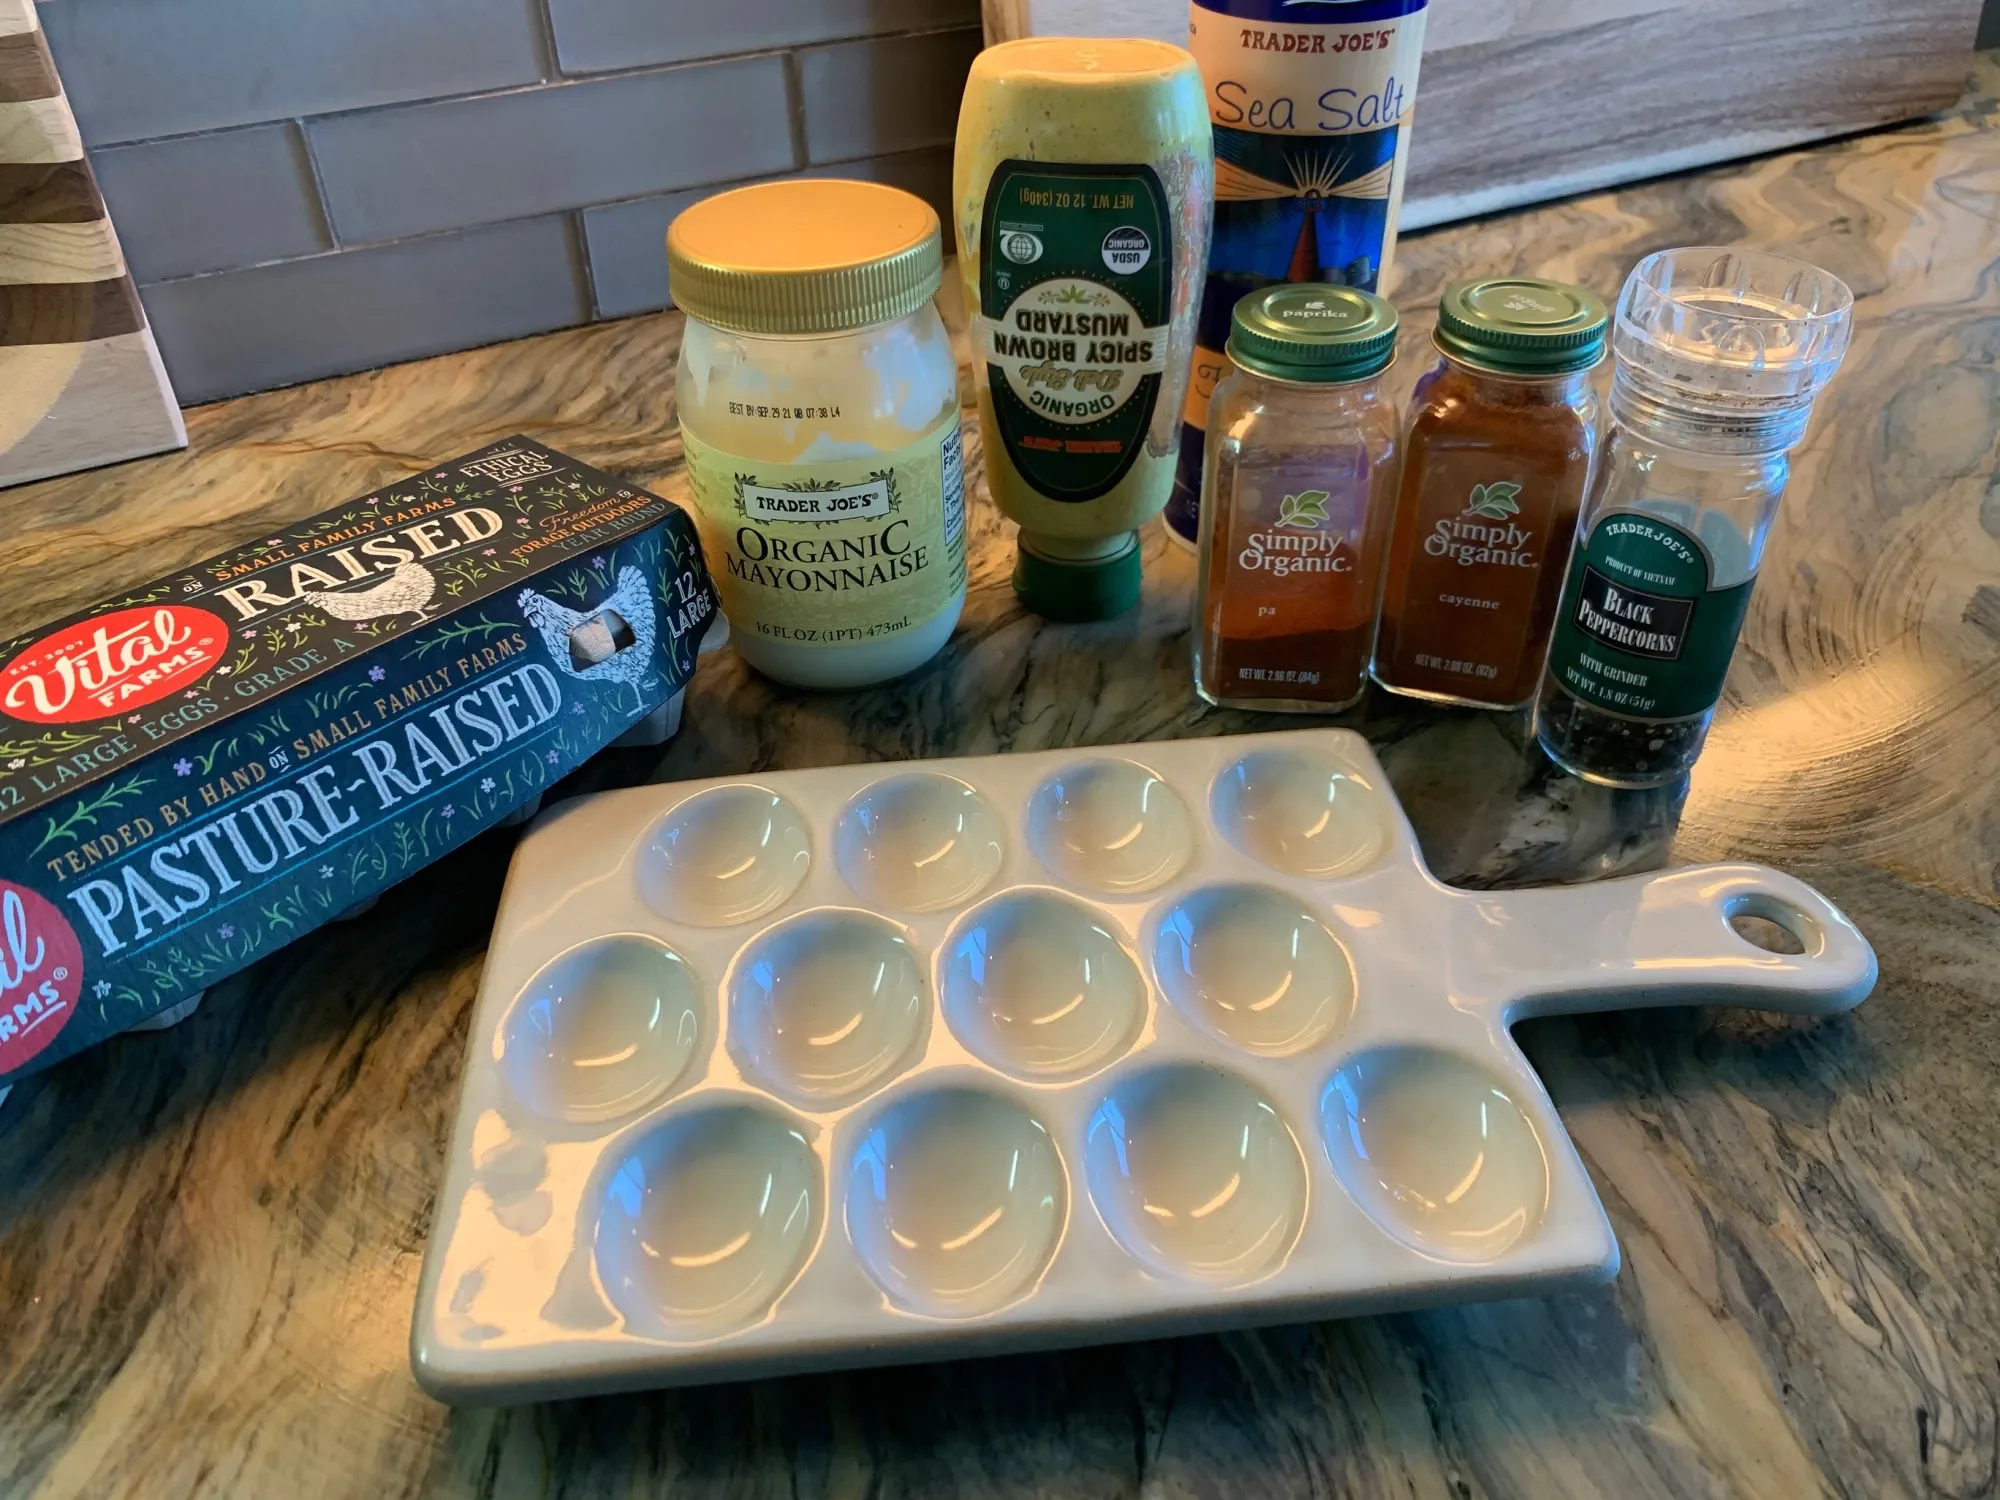
I like my eggs hot or as crepes, but chilled stuffed eggs is a healthy, filling and nutritious appetizer that's easy to make and easy to enjoy. Add these finger food, single bite options to a daytime gathering or to complement the chips and salsa for a nice balance to the food spread. This simple dish is quite versatile. You can add or omit just about anything to the yolks which make up the filling. My next attempt at stuffed eggs is a sweet version with vanilla and cinnamon.
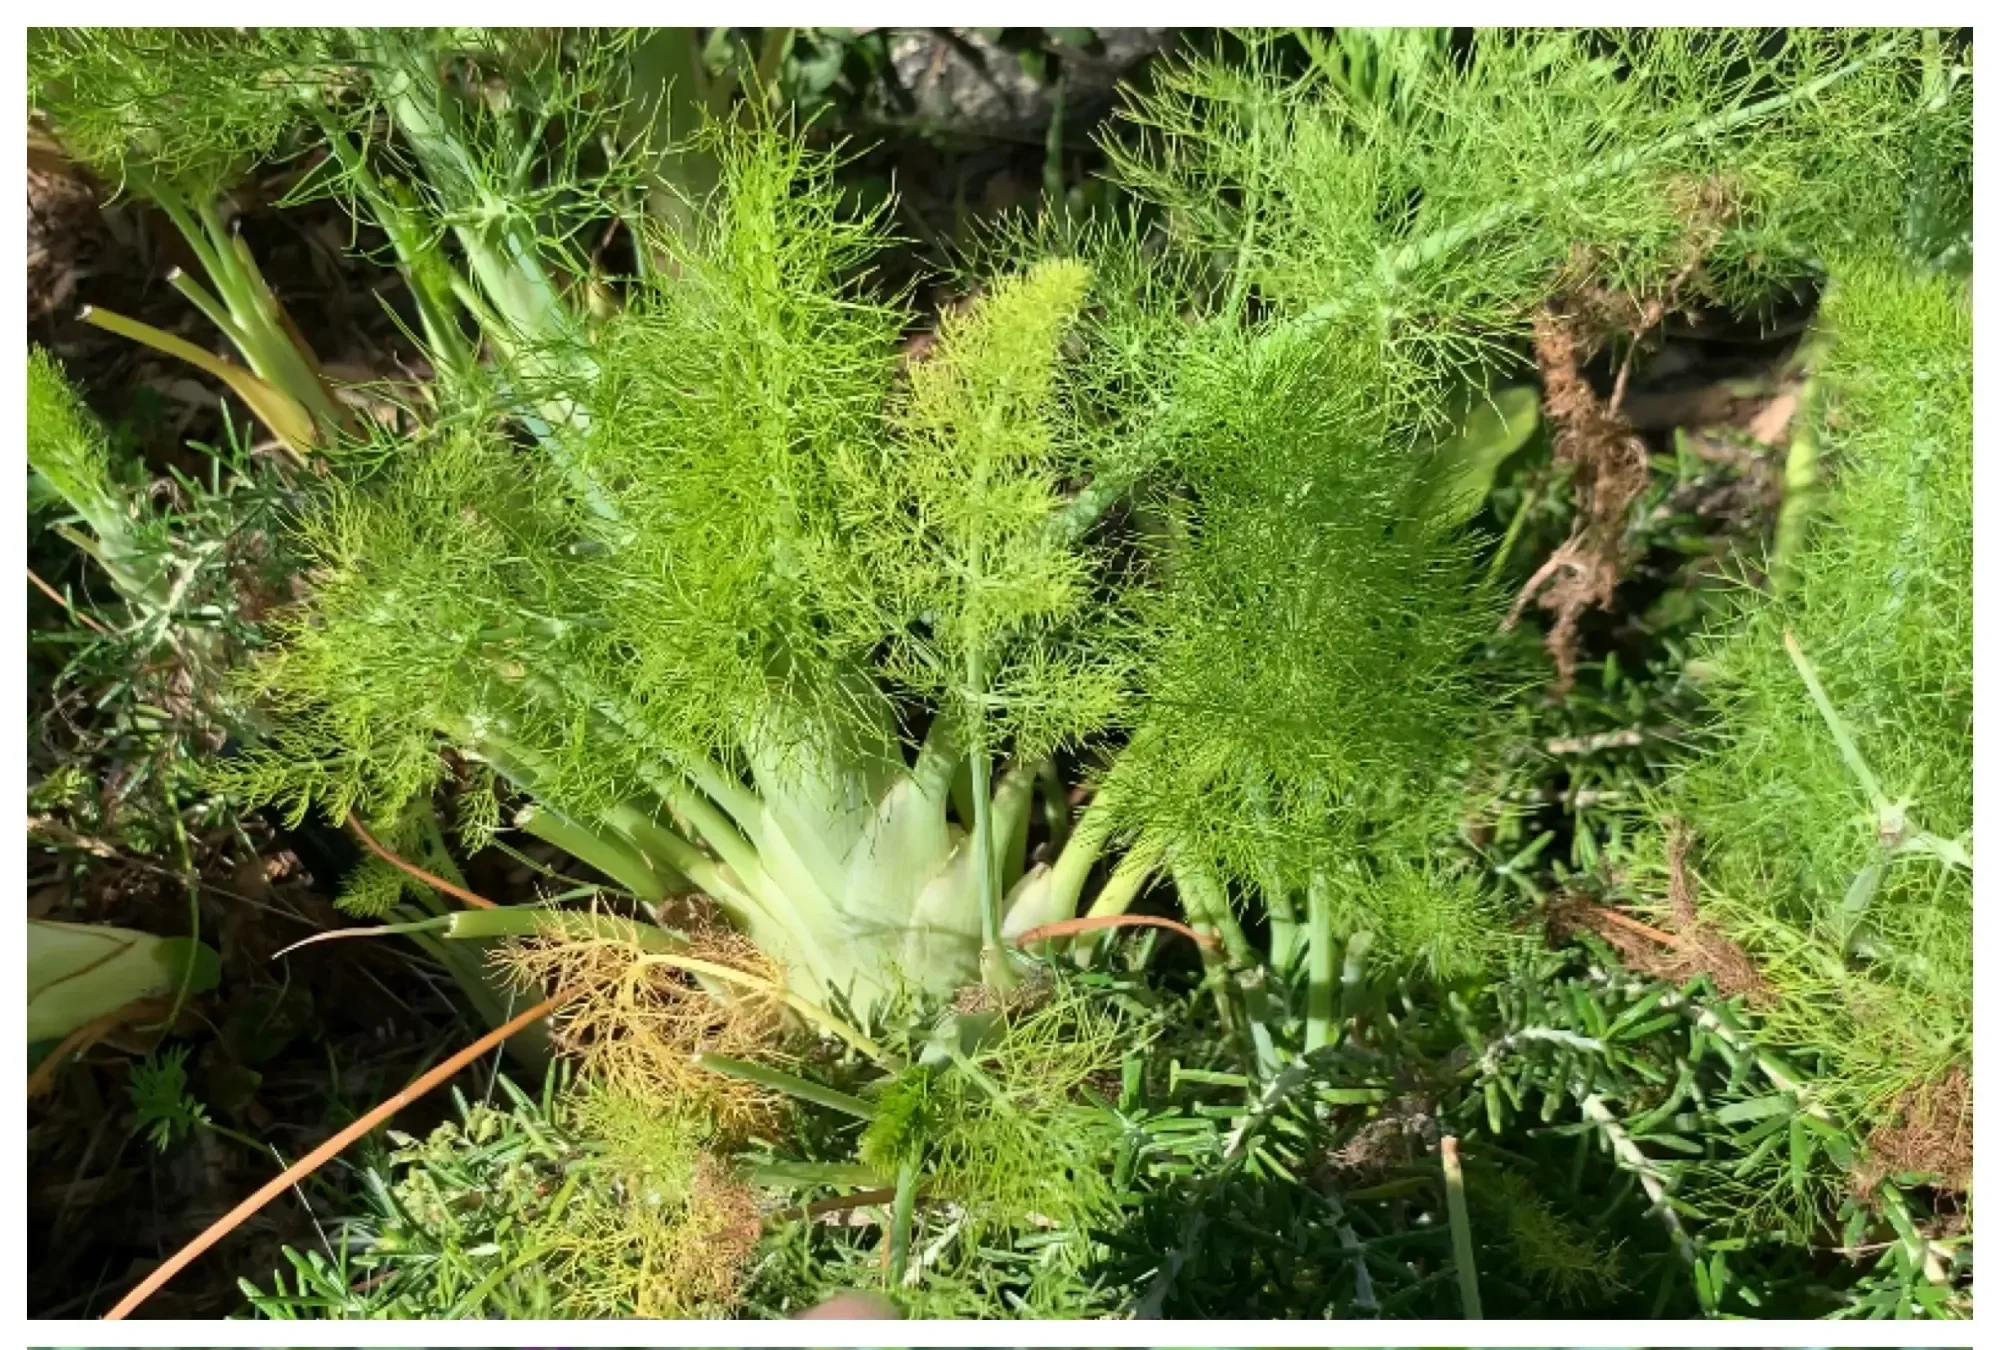
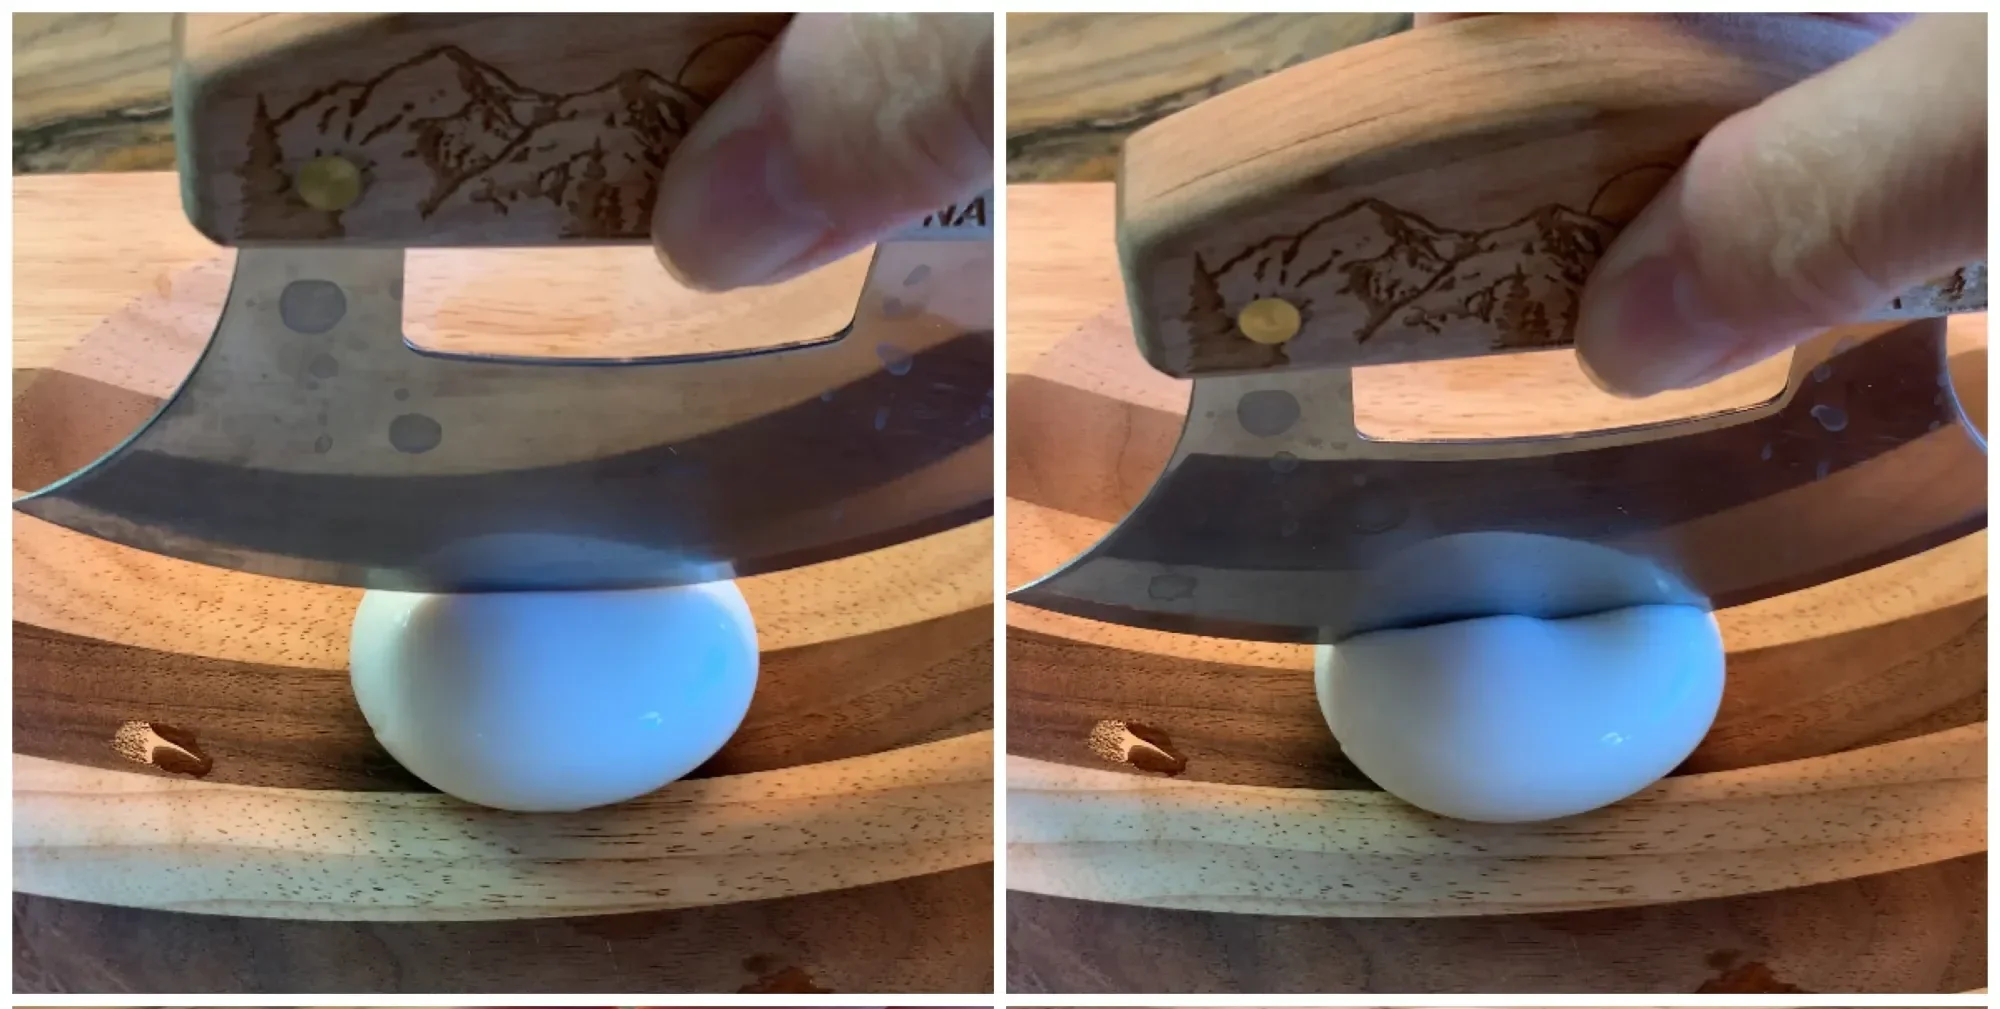
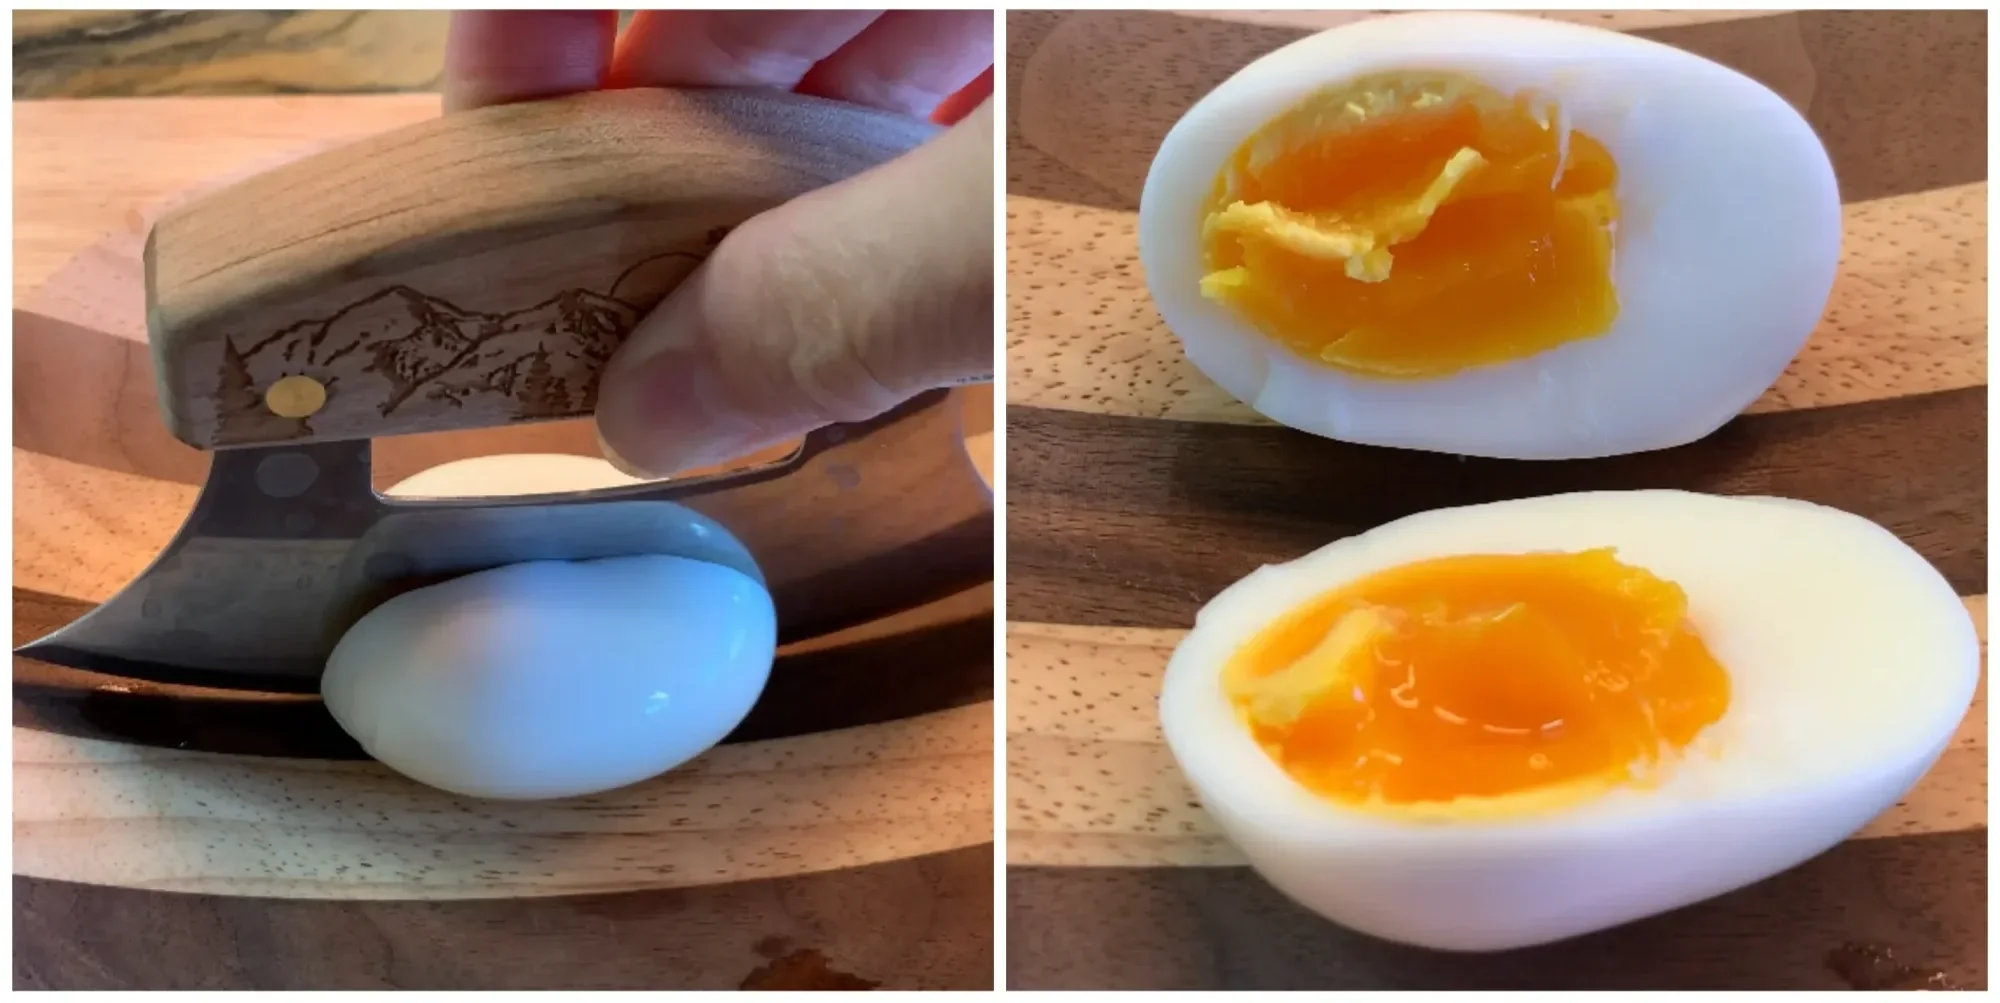
For this recipe, I used 6 eggs and steamed them for 7 minutes and then left them in the pan for another minute. This gives you a soft center. I recommend cooking for anther 1-2 minutes for a firmer yolk. I added 1.5 tablespoons of mayonnaise, .5 tablespoon of mustard, and a sprinkle of salt and pepper. My personal twist is to add a generous sprinkle of paprika and a sprinkle of cayenne. I garnished with fresh fennel and sweet pea flowers.



How to Make Hash Browns
Homemade hash browns or potato pancakes are great for breakfast, lunch or dinner. The only thing that prevents me from making these everyday is the time it takes to shred or grate the potatoes. Surely you could use a food processor with the correct attachment, but we're rocking the kitchen old school with a hand or box grater. Once you grate your potatoes, the rest is easy.
This recipe was inspired by the November 2013 issue of Better Homes and Gardens. Why do I have a magazine clipping from back then? Well a while ago, I had the brilliant idea of purging my magazine collection (if you want to know how i got a magazine collection, keep reading), but keeping all the articles I liked. So I spent quite some time perusing the magazines cover to cover and tearing out the things that interested me from recipes to home decorating pictures to projects. I three-hole punched them and slipped them into a binder. Then they sat in the school room for some time. On rare occasions, I would flip through it and think, "Oh yeah, I want to try that recipe," or "Oh right, I wanted to do that project." Did I do that project or make that recipe? Nope, not in all that time...until now, that is.
While cleaning out the school room at the close of the year, I opened up this binder and committed to making these potato pancakes.They were soooo good!! Oh my, with some garlic, salt and spices, they were the perfect warming addition to our tomato soup. Now my kids ask for them often. And if they want to grate the potatoes, I'm all for making them!
So why the huge magazine collection with included five different magazine titles? Well back in 2012-2013, we moved temporarily to Texas for nine months. I knew it was a temporary move from the start. We took only what fit in our van and lived the most minimal of a minimalistic life. At the same time, I saw a promotion for five magazine subscriptions for a ridiculously low price. I thought this would be the perfect thing to look forward to receiving in the mail during our nine month stay in which I choose not to have a social life (that's another story), Indeed receiving the magazines throughout the months was both exciting and motivating. But then I had all these magazine to deal with! After taking what I wanted from them, I gave them to a friend who eventually donated them when she was done. So that's my magazine story. I'm about to cancel my only remaining subscription, Martha Stewart Living. It's been a thrill getting them over the years, but it's time to actually put them to go use. I'll keep the ones I have but look over them when the month comes around again.
So back to this video! If you want to see the perfect side dish/soup recipe to accompany these potato pancakes, check out my super simple, pantry-to-the-rescue tomato soup recipe.
And for more recipes, you can check out the who playlist I have on food and cooking.
Apricots Appetizer
Easy healthy snacks that taste delicious? What's not to love! It doesn't get any simpler than this: half an apricot with whipped cream cheese. Top with a baby basil leaf and call it pretty and done! For an alternative to this recipe, try filling the apricots with whipped cream for a decadent treat. I like topping mine with something green for the look because the pop of green against the white and orange is striking.
Find more recipes here.
How to Cut Grapefruit
Having trouble cutting a grapefruit? No worries! This super simple method will having you eating grapefruit free of frustration in no time! Want to share a different method? Tell me in the comment section!
Find more recipes here.