Artistry
in Waldorf Lessons
Artistic representations of lessons is a common practice in Waldorf education. Often, main lessons will include an illustration. While we have used various art mediums from chalks to watercolors, we often settle with colored pencils in middle school and crayons in the early years. In addition to various art mediums, there are art techniques like wet-on-wet watercoloring, charcoal drawing, perspective drawing, and veil painting. The type of paper used for both art and artistic representations of lessons depends on the art medium and the goals of the project. While I have used both Strathmore and Fabriano watercolor papers the most in the years of homeschooling, recently I learned of the Mercurius line of watercolor and drawing paper and I have been loving them so much.
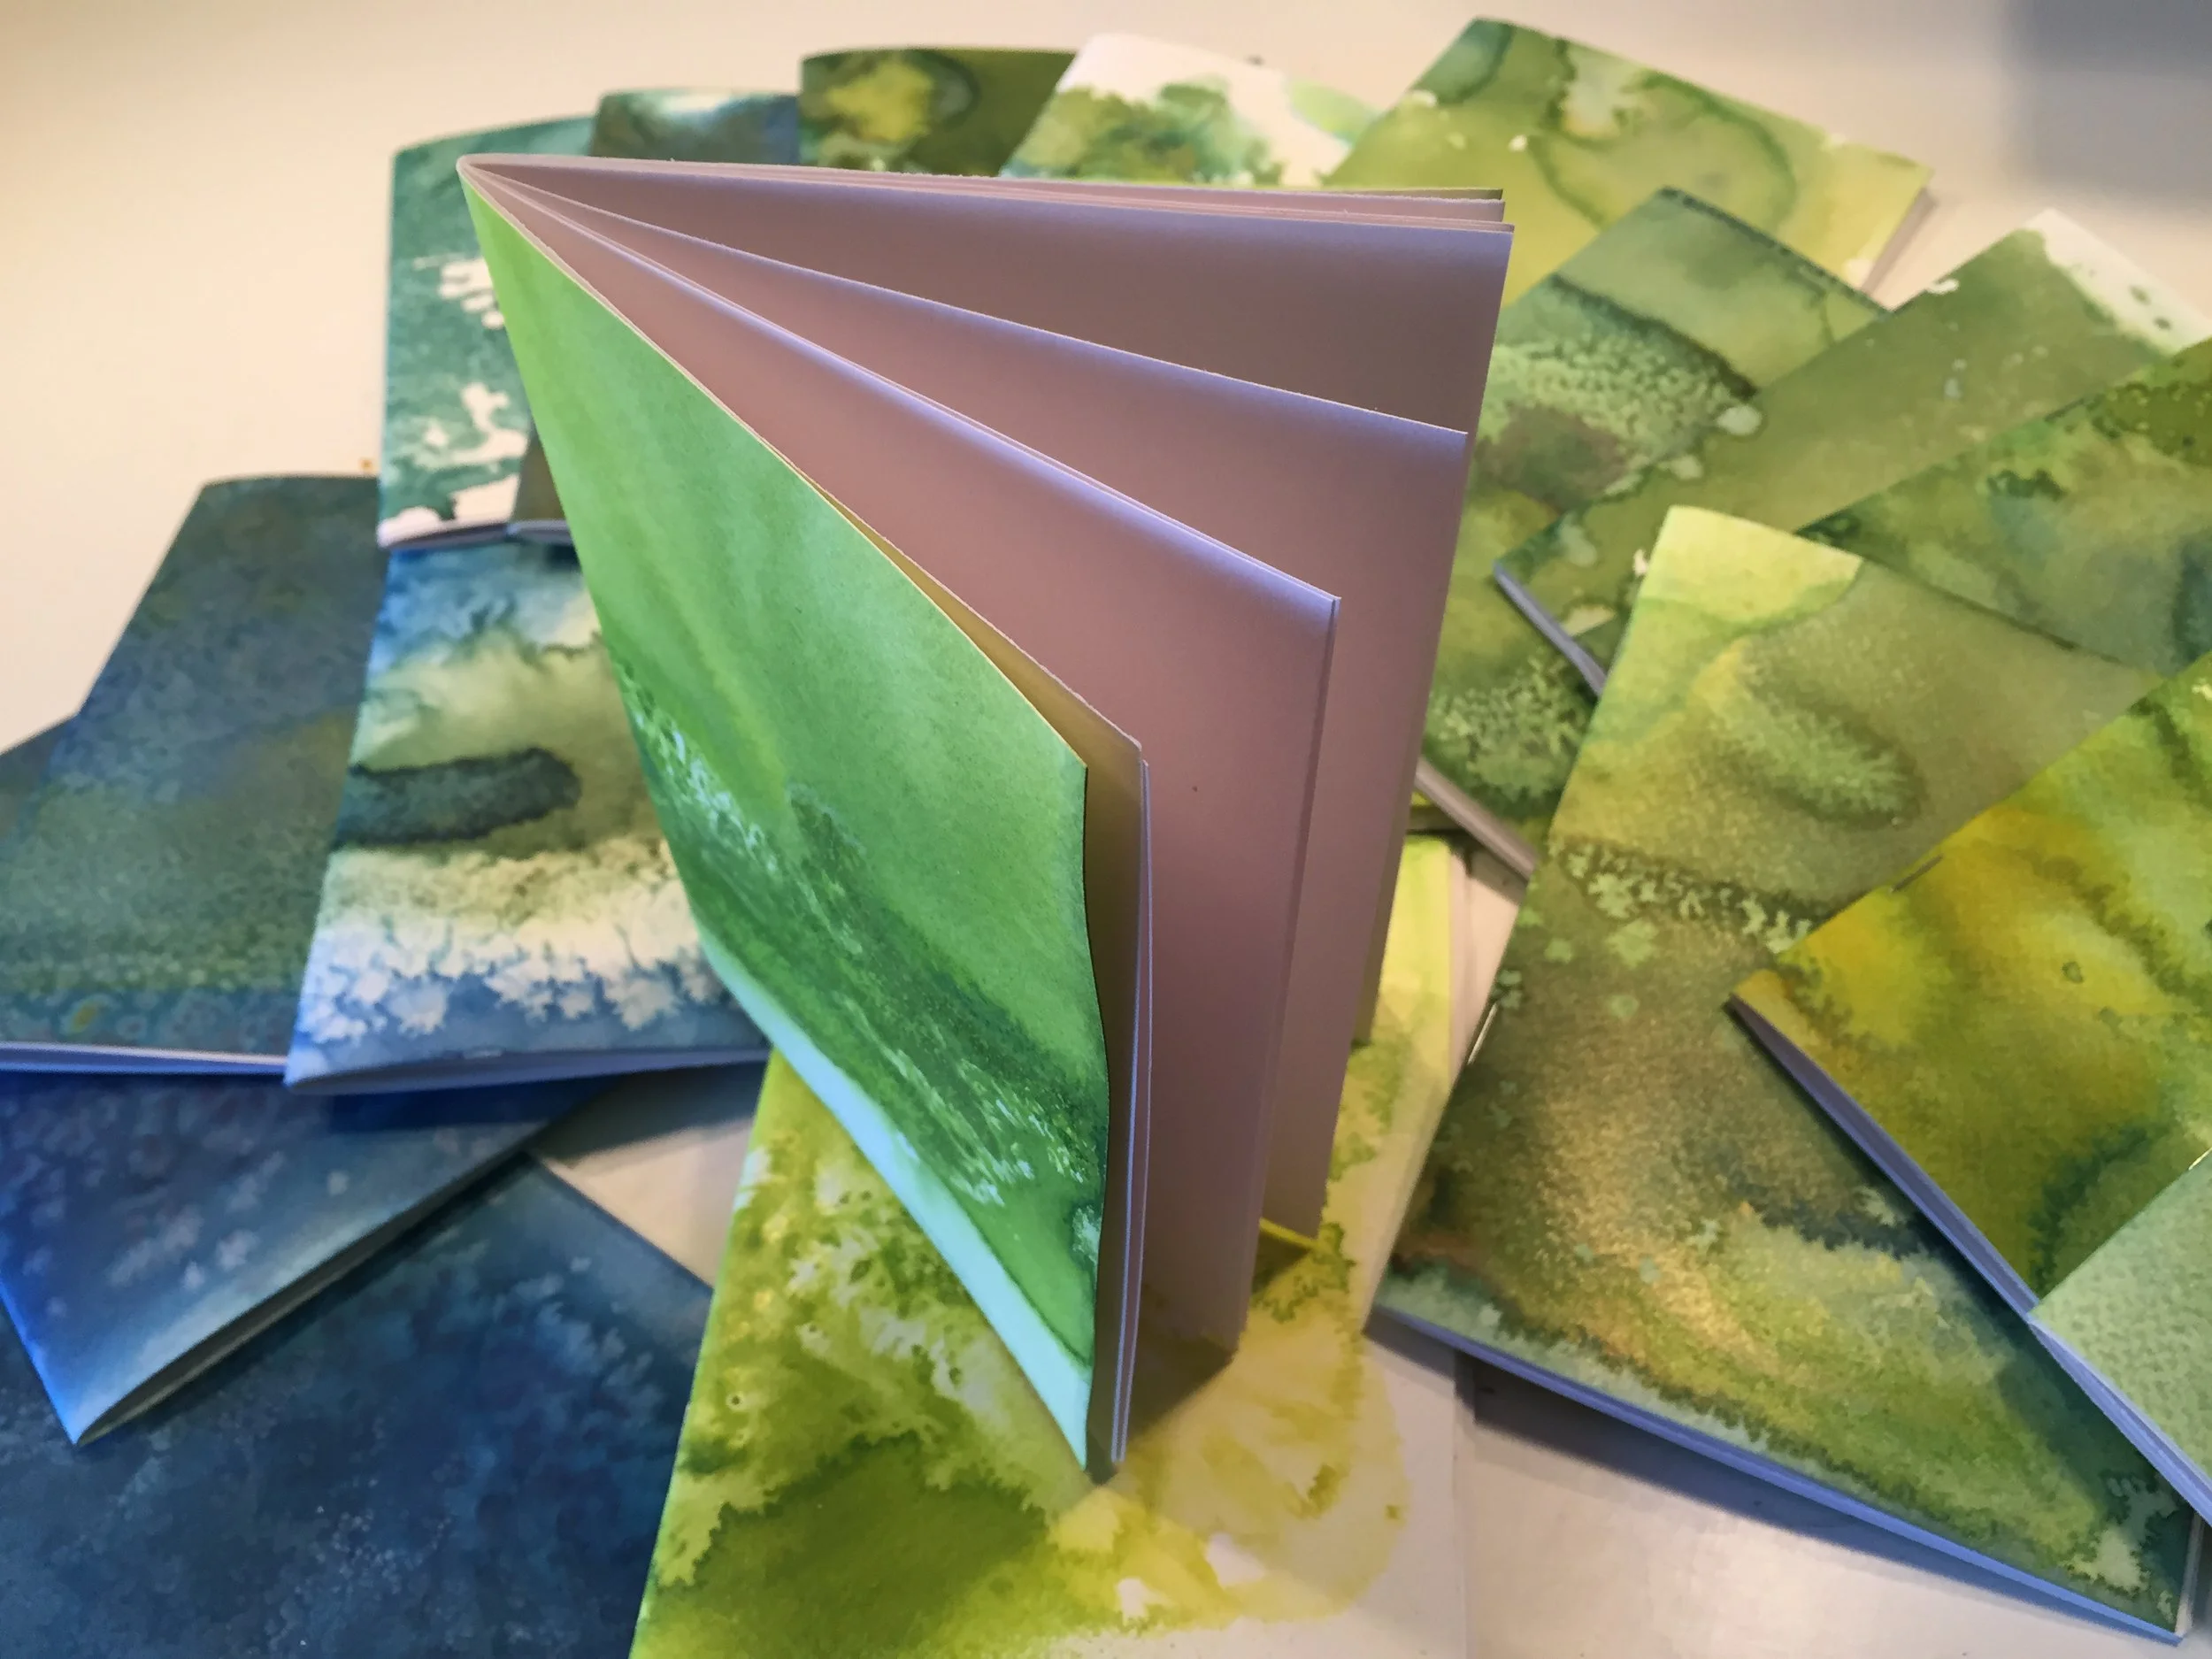
It all started when I went looking for the watercolor paper I used in Waldorf teacher training. The paper was large, but not as large as the big paper I use on special occasions, but it was larger than my everyday watercolor paper. It was good quality, but not thick. I loved how the paintings looks using and after. The paper is from Mercurius and it's just right for everyday projects, main lessons, and guided paintings. It's called Mercurius Watercolor Paper 150 gsm.
Waldorf Art Supplies
-
Mercurius Art Materials
Artistic representations of lessons is a common practice in Waldorf education. Often, main lessons will include an illustration. While we have used various art mediums from chalks to watercolors, we often settle with color pencils in middle school and crayons in the early years.
-
Watercolor Paint Palette
Ever wondered what the rainbow of Stockmar watercolor paints look like? For nearly 20 years, I thought these paints only came in six colors. I would use those colors to mix green, purple, plum and brown as well as variations within those colors.
-
Color Swatch Stockmar Watercolor Paints
Having a rainbow of colors for art isn't always necessary as many colors can be made when combining the primary colors. However, without white and black, some colors just simply cannot be achieved.
-
Watercolor Paper Comparison
Cold press or hot press? 90 lb. or 140 lb.? Which watercolor paper is going to be right for you and your projects? I share my experience with four types of watercolor paper by Fabriano. Hot press paper is smooth to the touch and I've used this paper for our geometry main lesson block. Because it's smooth, we can get clean arcs and lines with our pencil, straightedge and compass.
-
Homeschool Haul | A Child’s Dream
When it comes to homeschooling and educational supplies, A Child’s Dream is one vendor I’ve been shopping at for years. As we conclude our final years, I’m sharing some materials that have been especially useful throughout our years of education.
-
Stockmar Crayons
I am delighted to share with you 27 colors of 32 colors that Stockmar carries for their block and stick crayons. I'm swatching each color both lightly and intensely so you can see the variation in color intensity and color variety. When blending colors, go lightly so colors may layer well and bring out secondary colors.
-
How to Make a Crayon Holder
This quick tutorial will take the guesswork out of making a crayon case for any type crayon. We did fill ours with Stockmar crayons from A Child's Dream, but you can adjust the size of the pockets to fit any crayon or color pencil.
-
Block Crayon Case
I love block crayons because they are not easily snapped or broken. They just wear down to little blocks, but one thing I don't like is when other crayons rub off onto the crayons. Then when the child goes to draw something, multiple colors comes off of one block. To remedy this problem, a crayon case is a good solution.
-

Art, Drawing & Watercoloring Books
Painting and drawing in Waldorf schools and homeschools follows a specific pedagogy starting with wet on wet watercoloring with ethereal images that are not defined. This mirrors that developmental stage of students aged 6-8 years old.
-
Pencil Extenders
What happens when your pencil or color pencil gets so tiny, it's uncomfortable to use? It would seem reasonable to toss the color pencil at that point, especially considering that pencil extenders (at least the first set I bought years ago) can run anywhere from $5-$13 each! But if your color pencil set costs a lot too, what are you left to do?
-

Pencil Extenders: What Are They?
This quick video show you what pencil extenders (pencil lengtheners) are and how to use them. These particular extenders are made for Lyra brand color pencils and can be found at Waldorf Supplies.
-
How to Mix Watercolor Paint
Watercoloring is a quintessential activity you'll find in Waldorf school starting in kindergarten. And using Stockmar concentrated paints will help you achieve the lessons that are suggested in kindergarten and first grade. These paints come concentrated and need to be mixed with water.
-
Watercolor Pencil Comparison
Watercolor pencils are perfect for drawings you want to bring to life with vibrant color and superb blending. They are especially great for non-detailed drawing in which colors blending into one another enhances the project.
-
Color Pencil Comparison
Ever wonder which color pencil set you should get? Well, I can't make that decision for you, but I can show you the difference between these color pencil sets and hopefully this will give you a better idea which one will be right for you.
-
How to Make a Pencil Case
In this tutorial, I showed how to sew a wool felt pencil case for color pencils using felt from A Child’s Dream, pencils from Tombow, and a sewing machine. I started with an 18-inch red felt square, folded a 5-inch pocket, and used tape as a guide to sew straight lines for pockets 6 inches wide, large enough to hold two pencils each.
-

Art Haul | LOKTA Paper
I love using art supplies in our homeschool. I'm sharing with you some of the products we use often: Distress Inks, non-stick scissors and hand-made paper from Nepal. All the supplies were purchased from Blick Art Supplies.
-
Watercolor Comparison
Having trouble choosing the right paint for you wood pieces? There are many to choose from and while many peg dolls are painted with acrylic, there are other choices if you wish for the wood grain to show through your final project.
-

Storage + Organization for Scarves
Looking for a way to keep your play scarves, silks and wraps neat, organized and easy to get to? Look no further. I have a super simple solution you can do for just a couple dollars, as well as a more permanent slightly more expensive option.
Watercolor Lessons
-
![]()
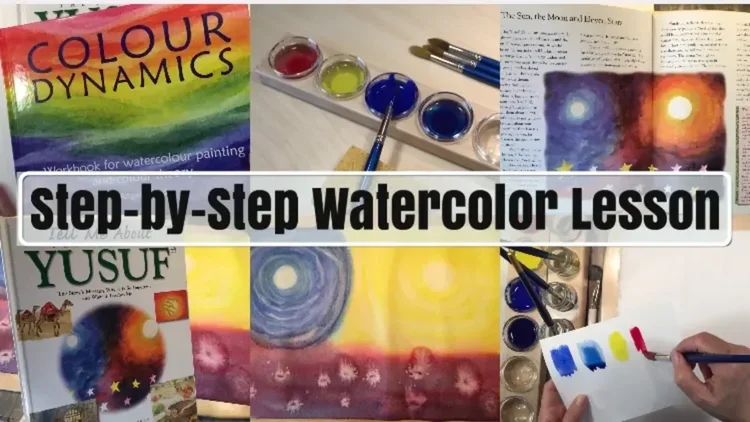
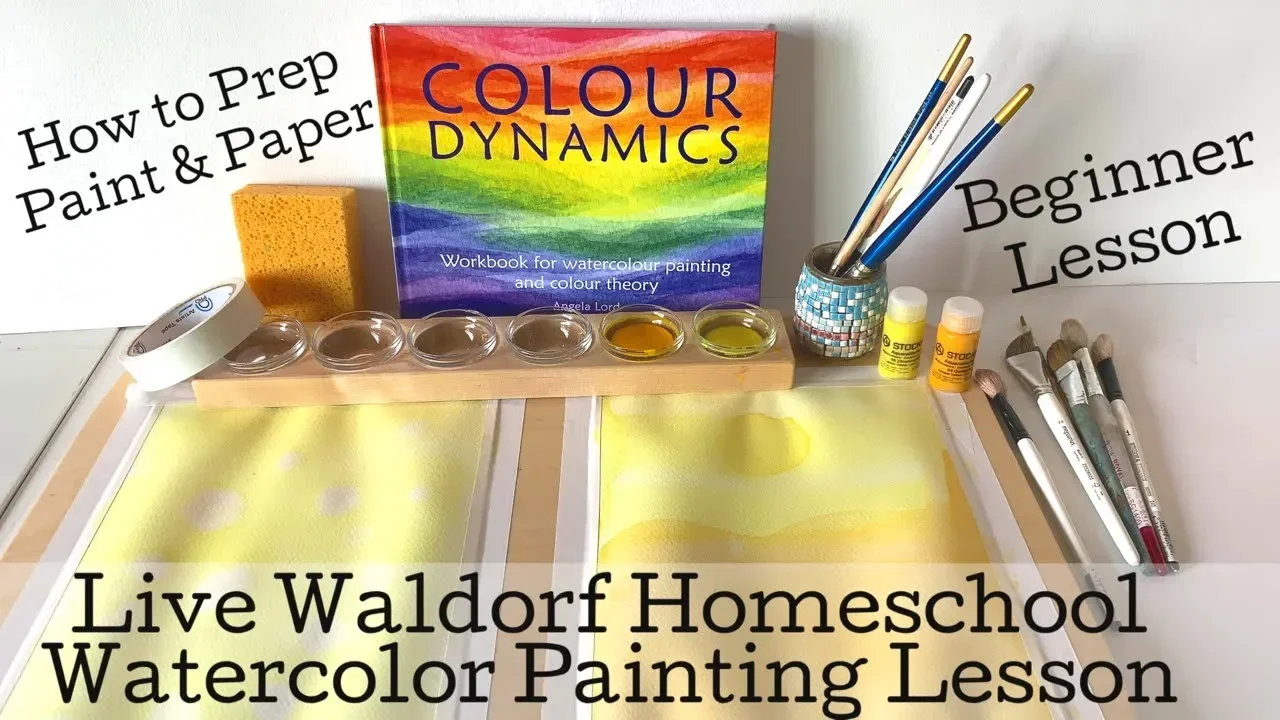
Step by Step Watercolor Instruction | Primary Colors
While this may be a step by step tutorial, you'll find that I made a number of mistakes while instructing my 7-year-old daughter. This is a live lesson with no edits, so you'll see the whole process from start to finish. I show how to mix Stockmar watercolors, which paper we use, how to mount the paper and which brushes work well.
-
![]()
Watercoloring Pumpkins | Kindergarten & FIRST GRADE
Have you ever limited your paint pallet to just yellow, red and blue? Having the freedom to choose from a myriad of colors is thrilling, but equally thrilling is being able to make a variety of colors with just the three primary ones.
-
![]()
Watercolor Lesson with Story Telling
At times this video is painfully slow and quiet. I decided to leave this as unedited as possible so you can see how a lesson proceeds from start to end with unexpected changes and challenges. At the end of the video, I share some reflections on the lesson. It seems like most recent watercolor lessons have been flops.
-
![]()
Watercolor Painting Course
Lately, I've been using open glass jars for our paints and they've worked well for one surprising reason: The paint doesn't mold! Instead, the water simply evaporates and and leaves a dried cake of paint which can be rehydrated for later use. This has worked out well for this series of lessons because, while we are working through lessons almost daily, we are not using all the colors at the same time, so some of them dry out and all we need to do is add a bit of water and get painting!
-
![]()
Lesson 1 Yellow
Lesson 1 is all about exploring the color yellow. It seems simple enough and yet in practice it was really challenging! I’m not sure if the challenge is universal and only felt with adults who have already spent their whole life working with colors rather than creating shades of a single one. What you might experience as you go through these lessons is that you, the teacher, are learning too.
-
![]()
Lesson 2 Shades of Yellow
In lesson 2, we dive further into the color yellow. Because the Stockmar paints come with a bright yellow and a warm golden yellow, this lesson lent itself well to exploring both yellows together. While this is a suitable second lesson, you may wish to continue exploring yellow on its own during this lesson, but use the golden yellow instead.
-
![]()
Lesson 3 Blue
In lesson 3, we explore the color blue. For this lesson we made arches in varying intensities of blue. You may find that some students and teachers are firm, defined and somewhat rigid. Can you tell between us which person was like that? If you look at the final paintings, you’ll see how beautifully my daughter’s shades blended into one another. Mine are so defined and in my opinion, not as beautiful to me for what I was wanting.
-
![]()
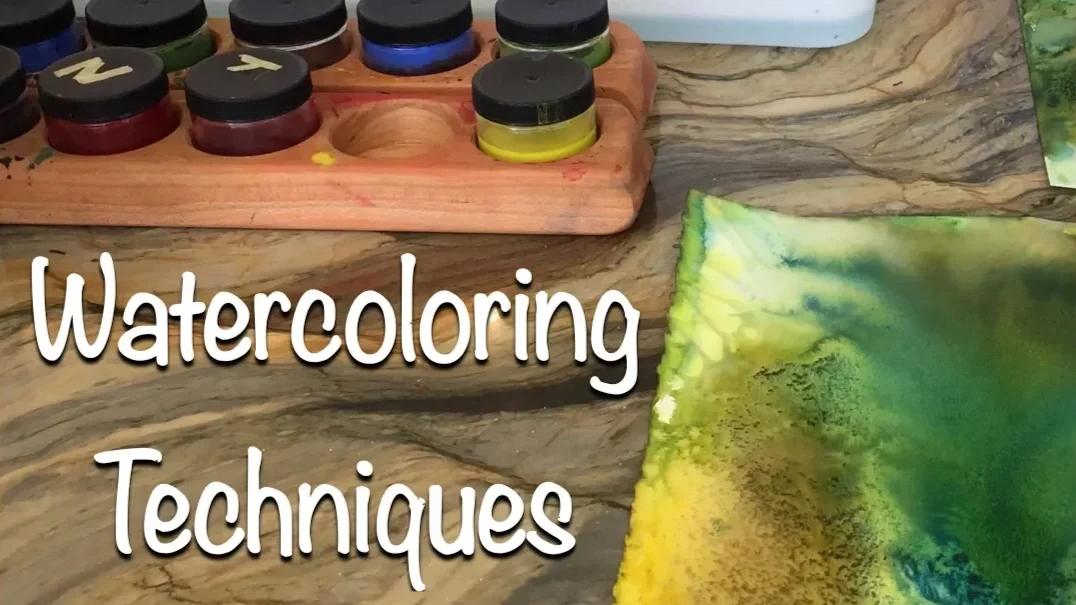
Watercoloring Techniques | Waldorf
Watercoloring is one of my kids' favorite artistic outlets. I'm going to show you a few different techniques that you can do using a typical Waldorf technique called 'wet on wet' watercoloring in which the watercolor paper is first wet with water using a sponge or dipping it into a basin of water.


Waldorf Art Supplies
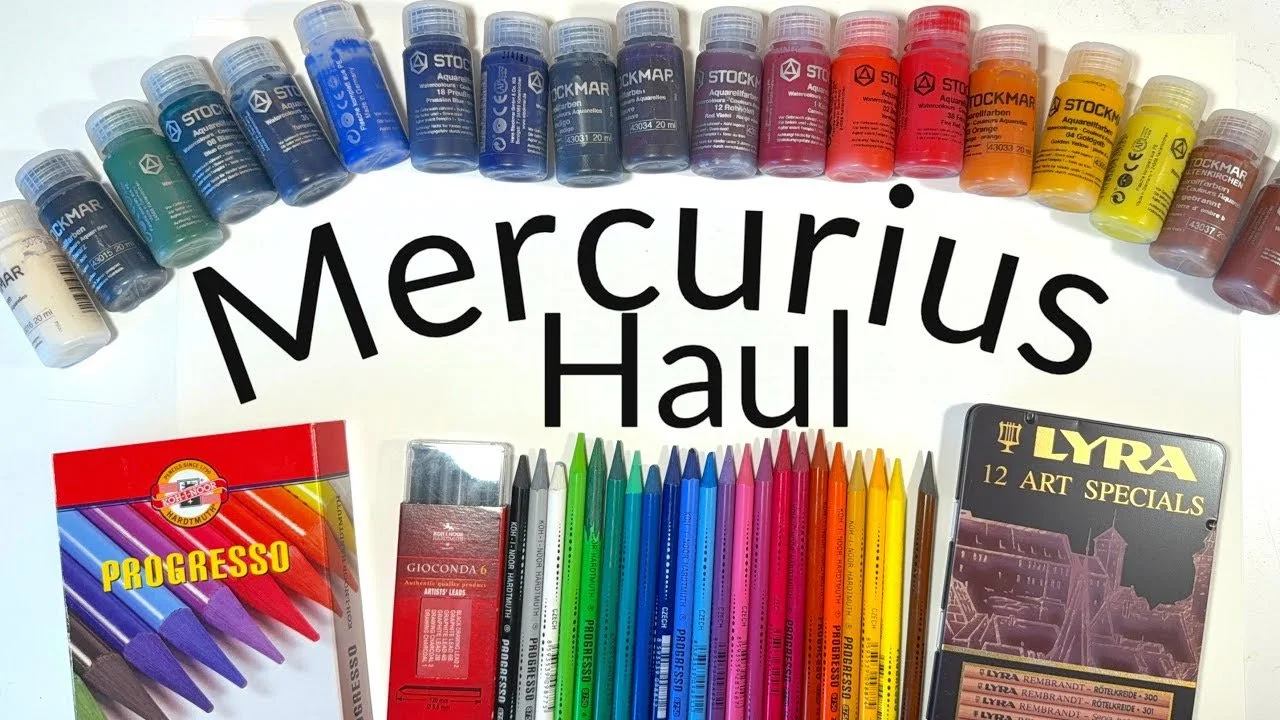
Mercurius Haul
Watercolor Paper Mercurius 150 gsm. A medium weight, watercolor paper, suitable for all painting boards. For best results use a smooth surface. Available in a smaller size and counts of 100 and 200 sheets. Acid-free.
I also used wax crayons during teacher training and loved the versatility of these crayons because they felt like color pencils. I went to buy them and accidently bought the wrong item. These oil crayons from the Danish company Filia have been a classic for decades. The lightfast colors are transparent and mix very well. They offer many interesting painting and drawing techniques. With a sponge and turpentine, it is possible to "watercolor paint" with these hard, oil crayons.
I also used wax crayons during teacher training and loved the versatility of these crayons because they felt like color pencils. I went to buy them and accidently bought the wrong item. These oil crayons from the Danish company Filia have been a classic for decades. The lightfast colors are transparent and mix very well. They offer many interesting painting and drawing techniques. With a sponge and turpentine, it is possible to "watercolor paint" with these hard, oil crayons.
I ended up getting color pencils by Koh-i-Noor and loved them! Progresso Lacquered Woodless Colored Pencils Box Koh-I-Noor. Progresso Woodless Colored Pencils have a thin outer coating in place of a wooden body. The color application is generous, allowing the artist to create multiple layers and to mix colors. Available in 12 or 24 assortments in a cardboard box. Cardboard box, 12 pencils, length: 6.1 inches (155 mm), diameter: 0.3 inch (7.5 mm), lacquered, 12 assorted colors. color: black | blue | brown | green | light blue | light green | magenta | orange | red | violet | white | yellow
Lyra Special Fine Art Pencil Set 12 Pack , Lyra Unlacquered Color Giant Skin Tones Assortment - 12 Assorted Skin Tones 12 Pack Graphite pencils, Graphite Charcoal pencils, and Drawing/Painting Paper 12.8" x17.3" 160 g 50 Sheets .
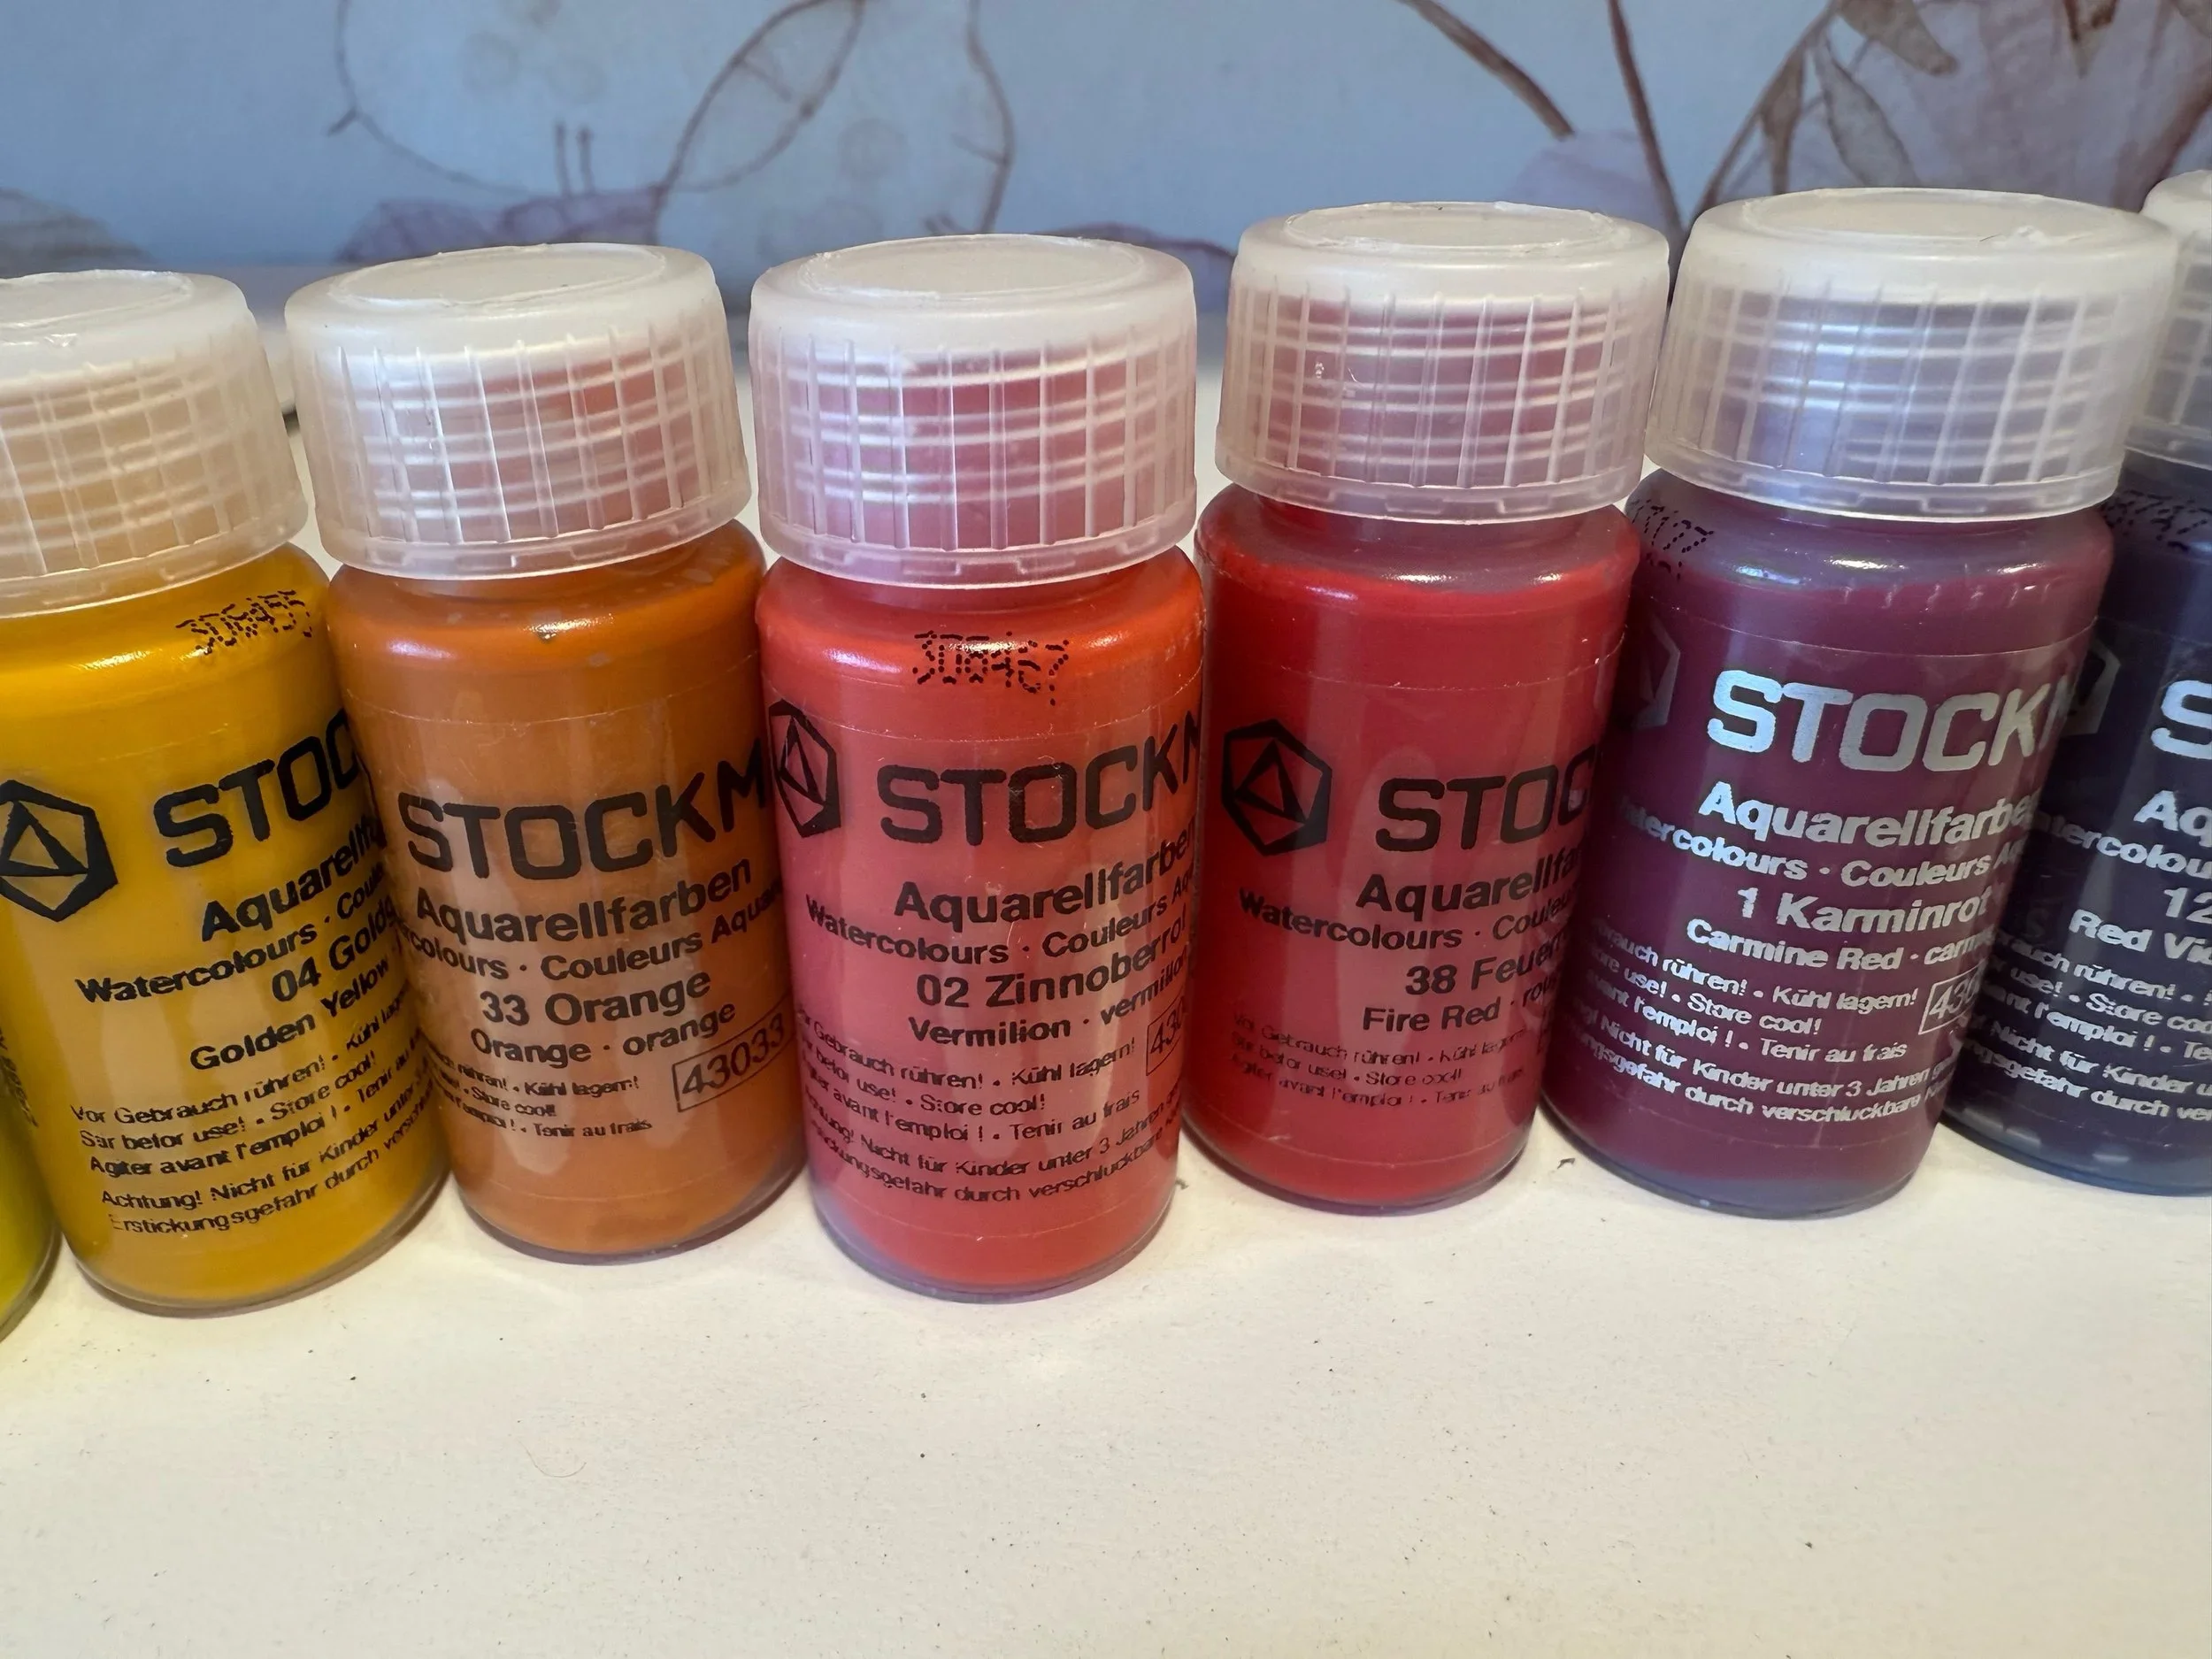
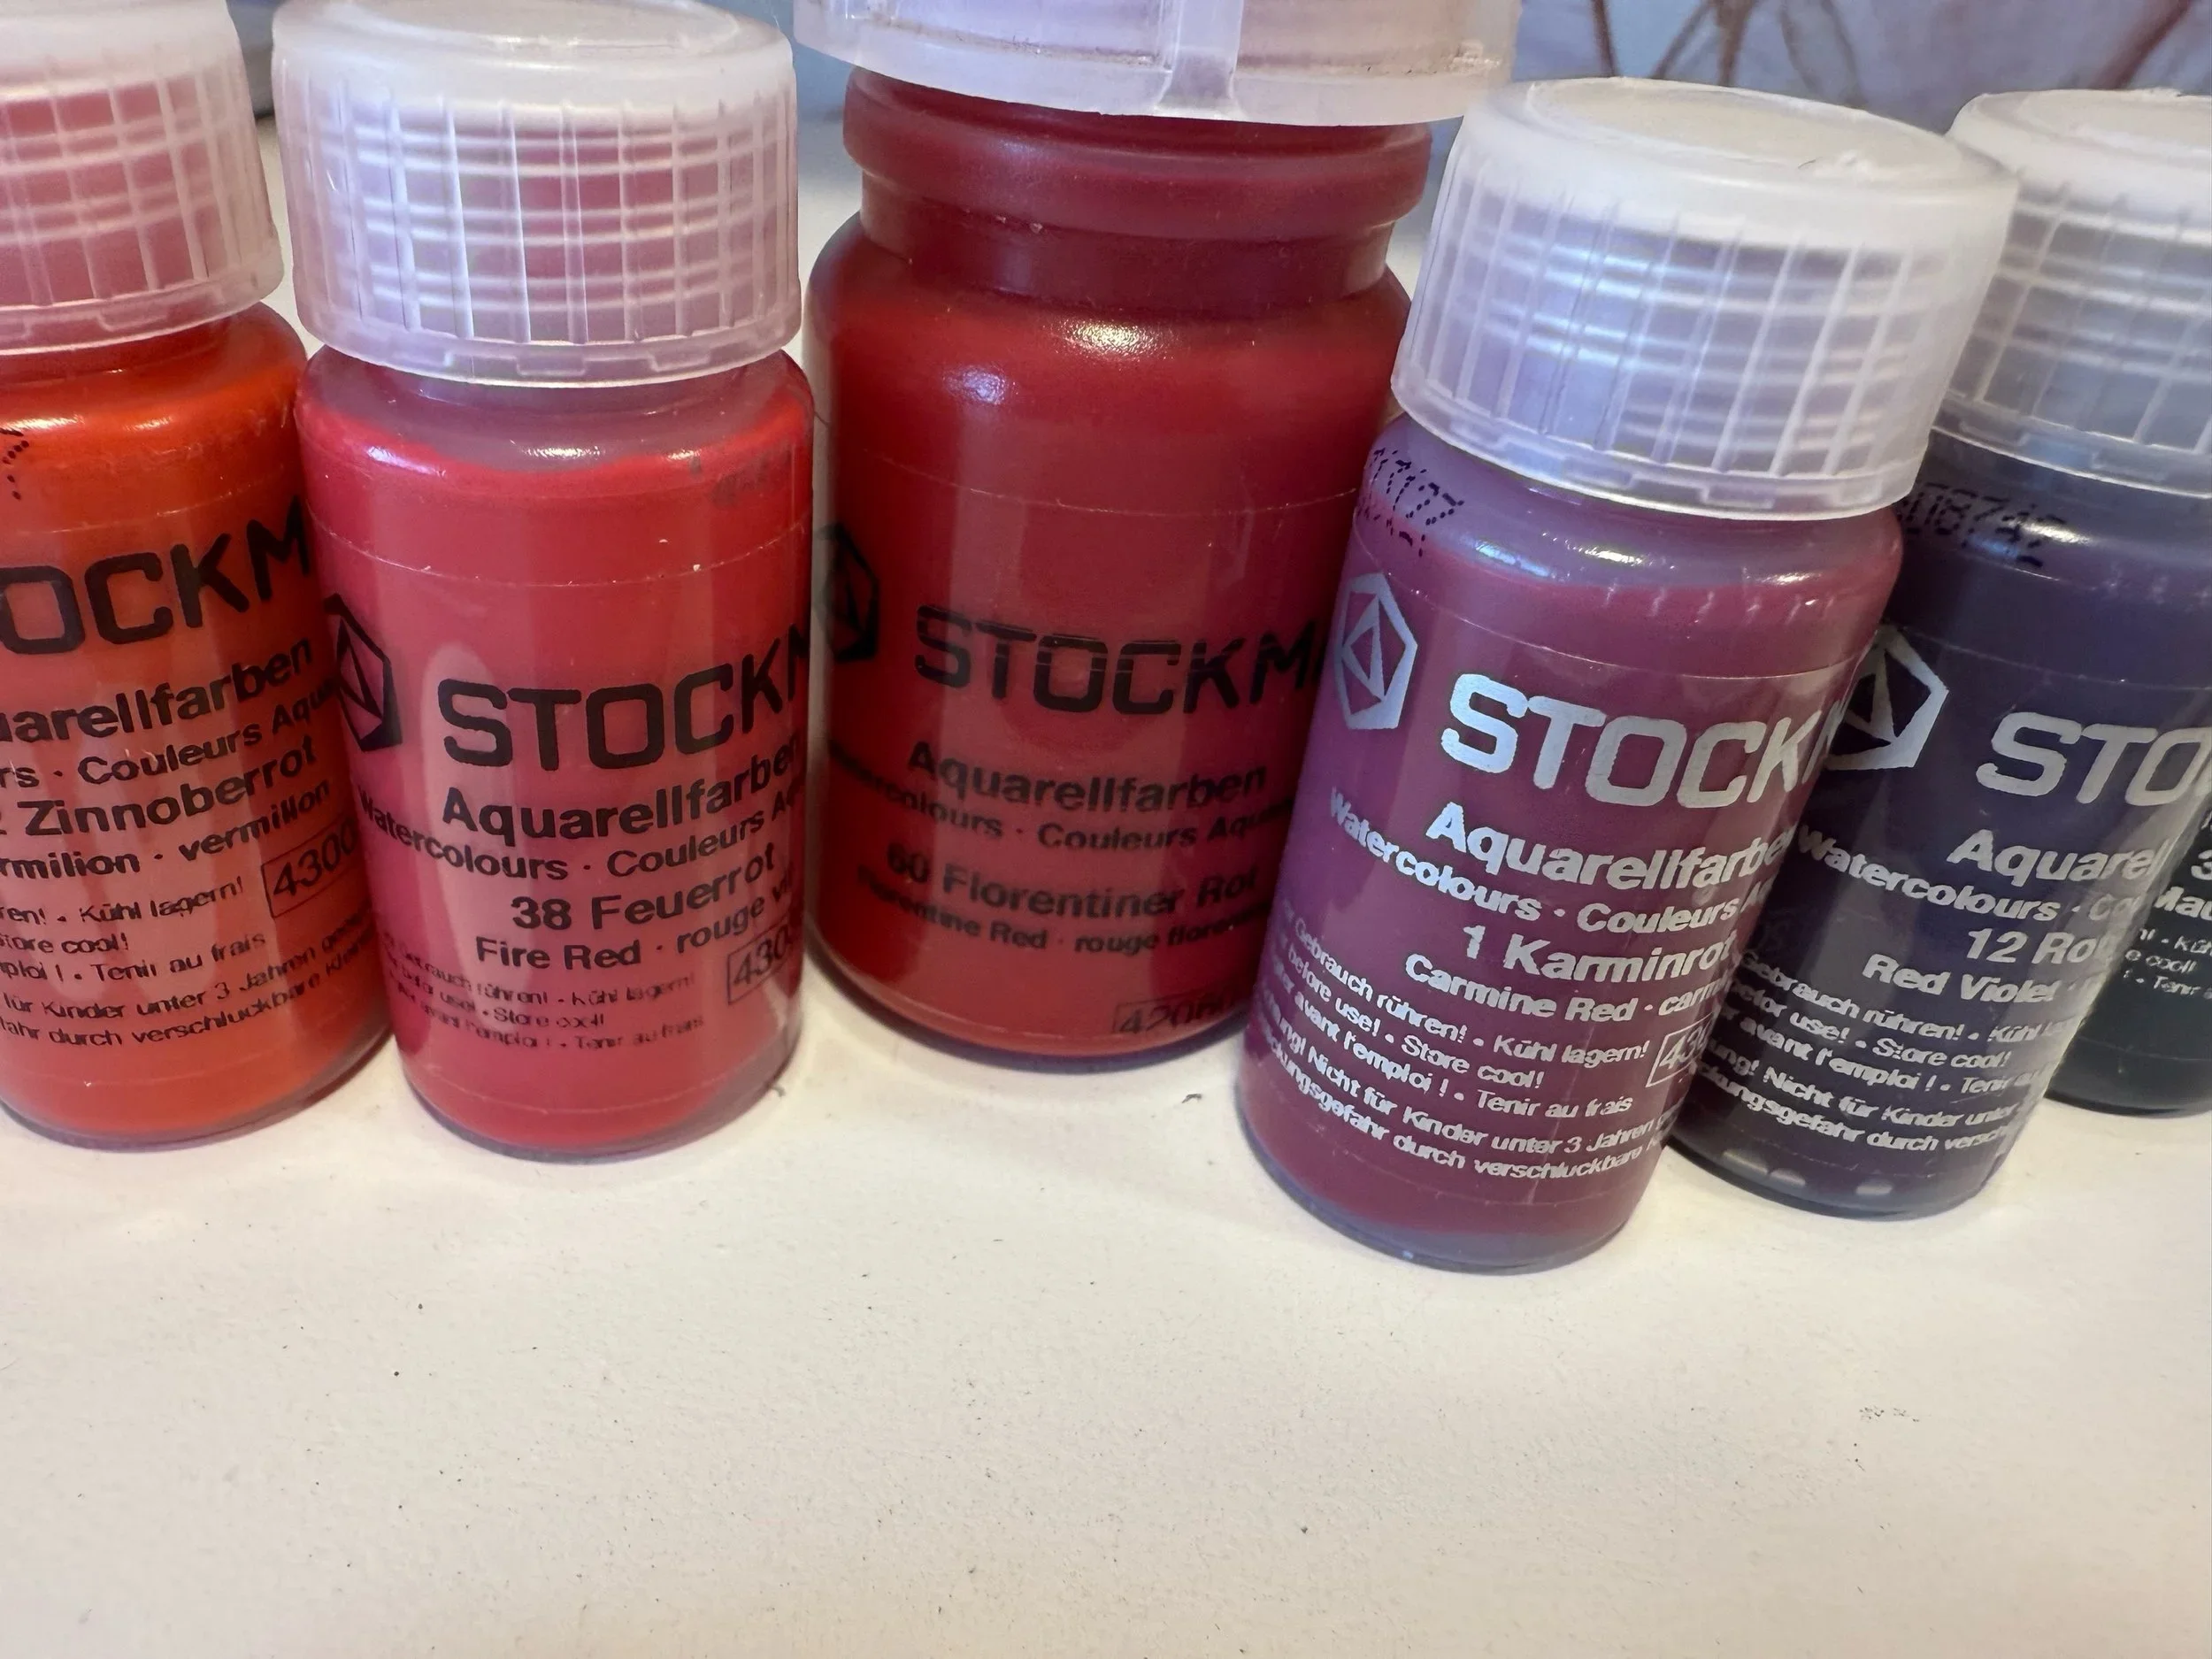
I love our Stockmar Paints and this time I got nearly every color! List of Stockmar watercolor paints Stockmar Watercolour Paint 20 ml
-Carmine Red Art. 85043001 Stockmar Watercolour Paint 20 ml
-Vermilion Art. 85043002 Stockmar Watercolour Paint 20 ml
- Golden Yellow Art. 85043004 Stockmar Watercolour Paint 20 ml
- Lemon Yellow Art. 85043005 Stockmar Watercolour Paint 20 ml
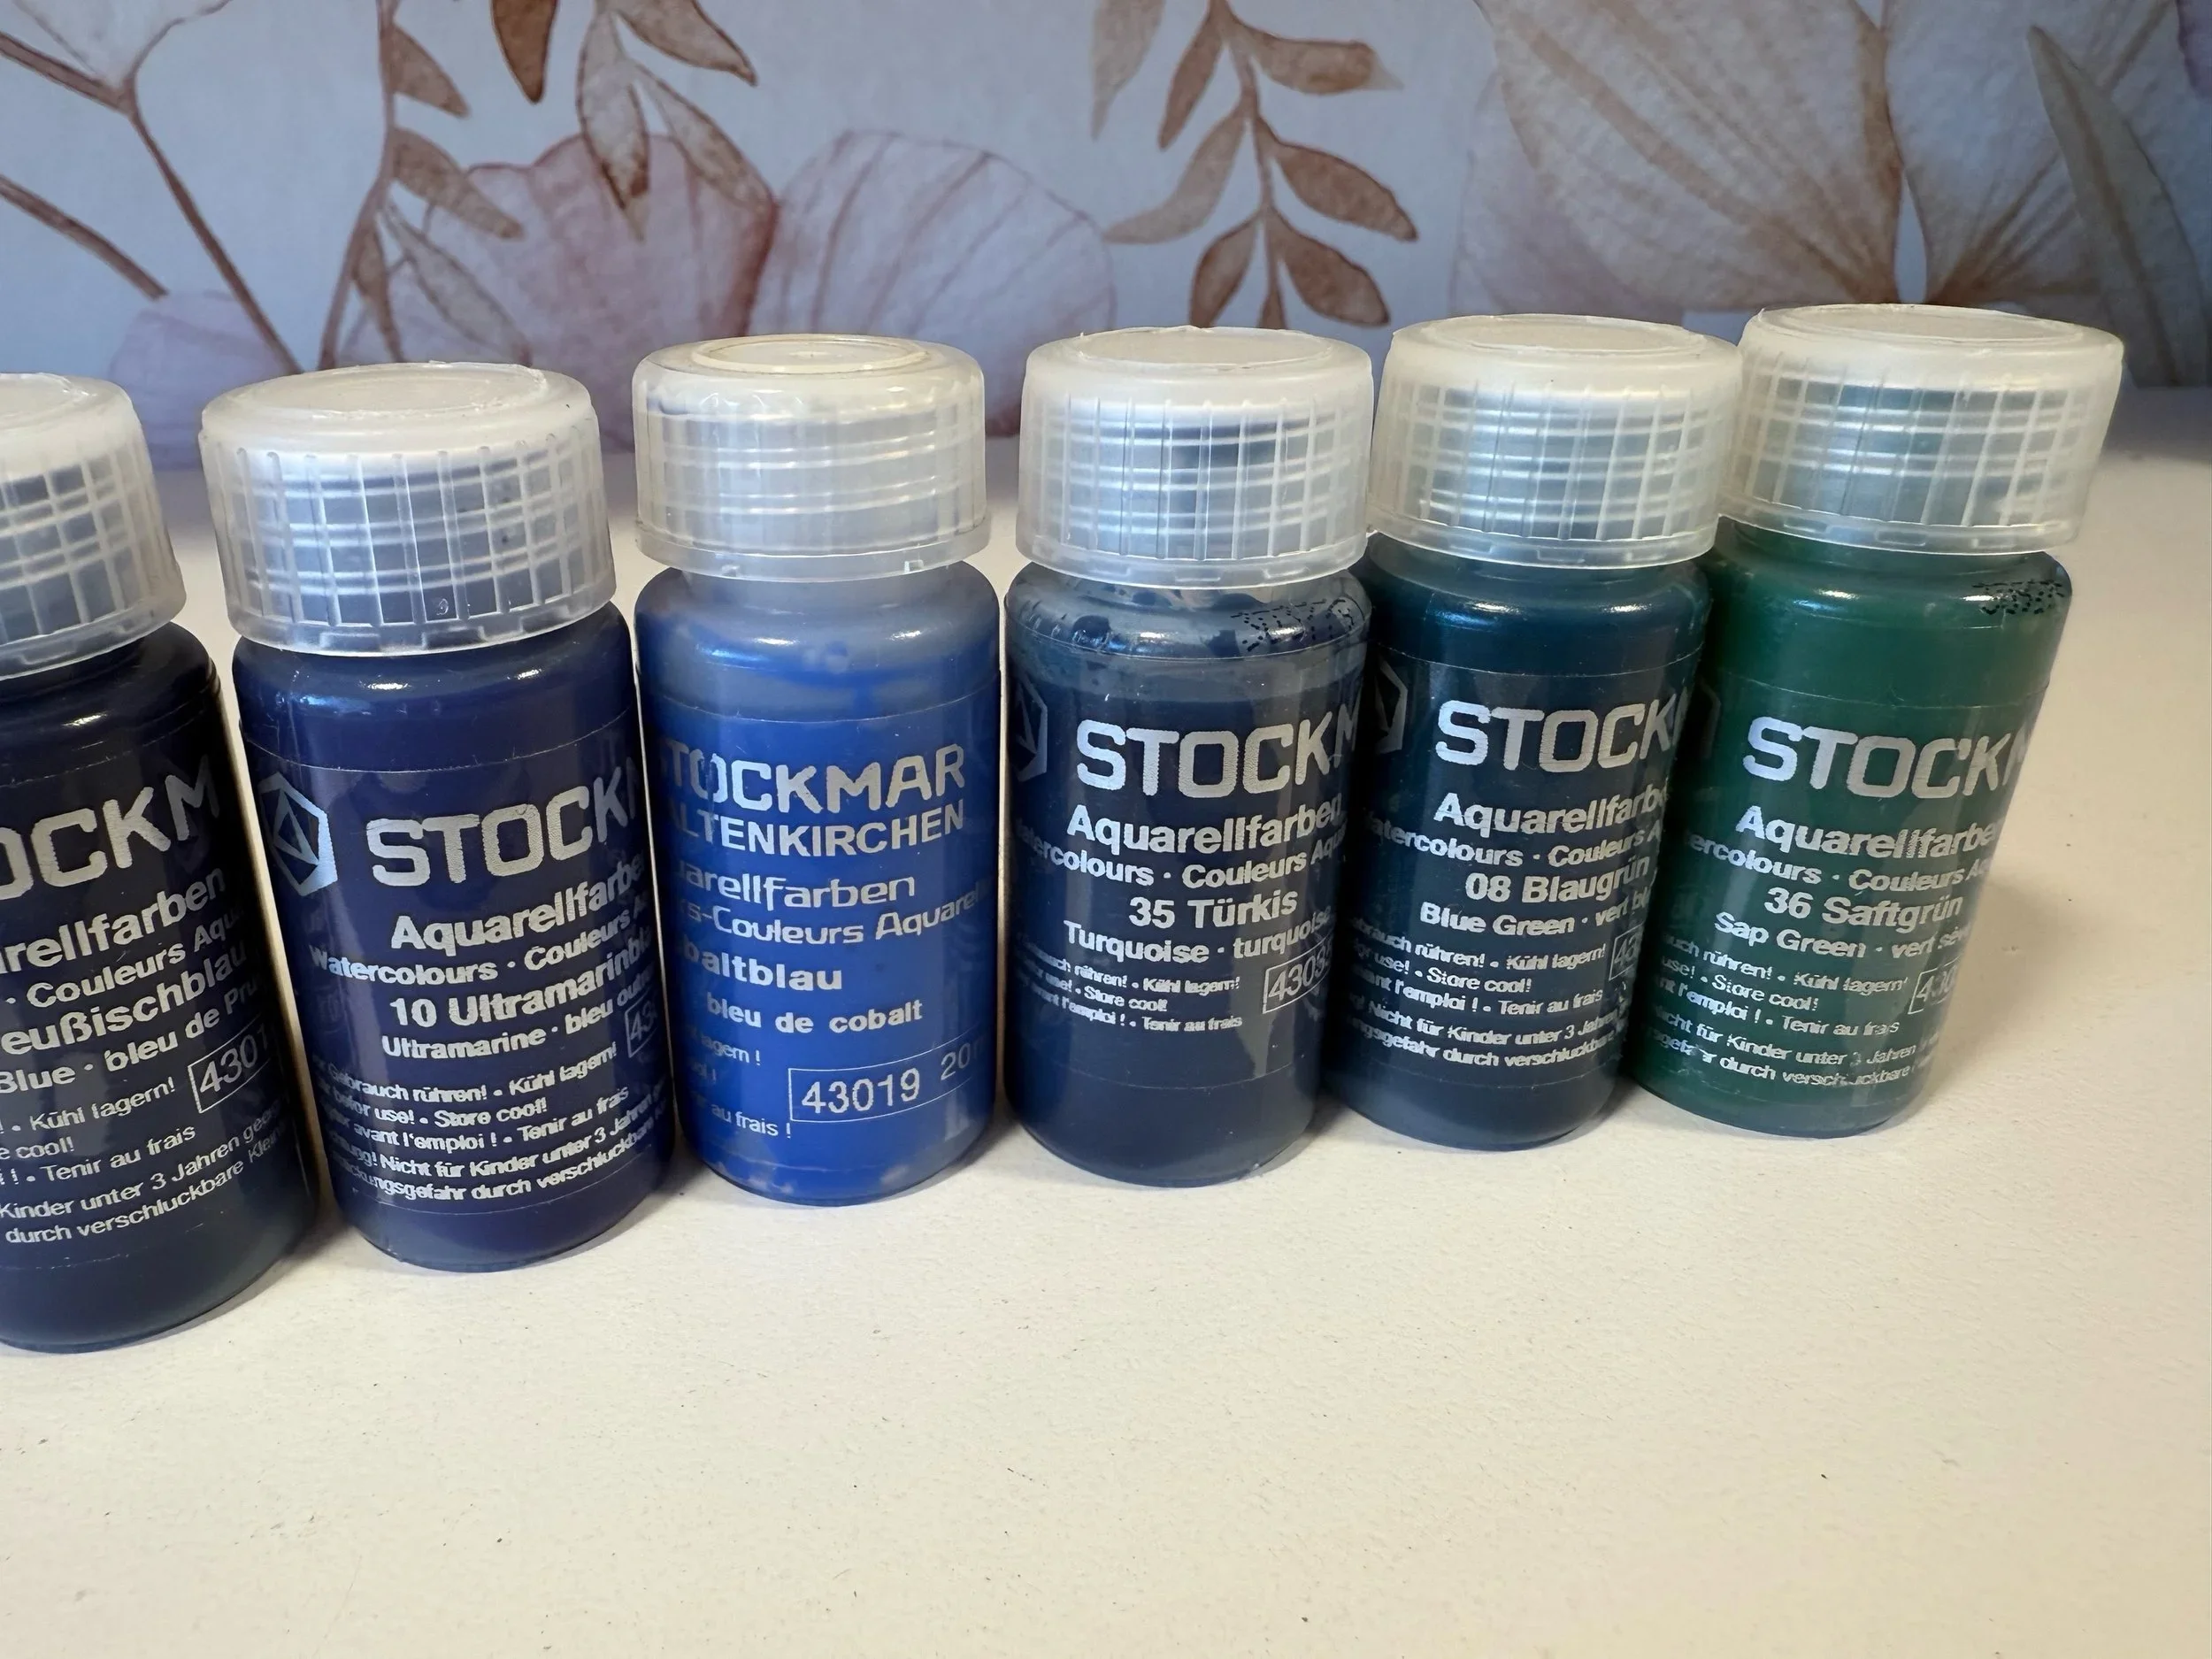
- Blue Green Art. 85043008 Stockmar Watercolour Paint 20 ml
- Ultramarine Art. 85043010 Stockmar Watercolour Paint 20 ml
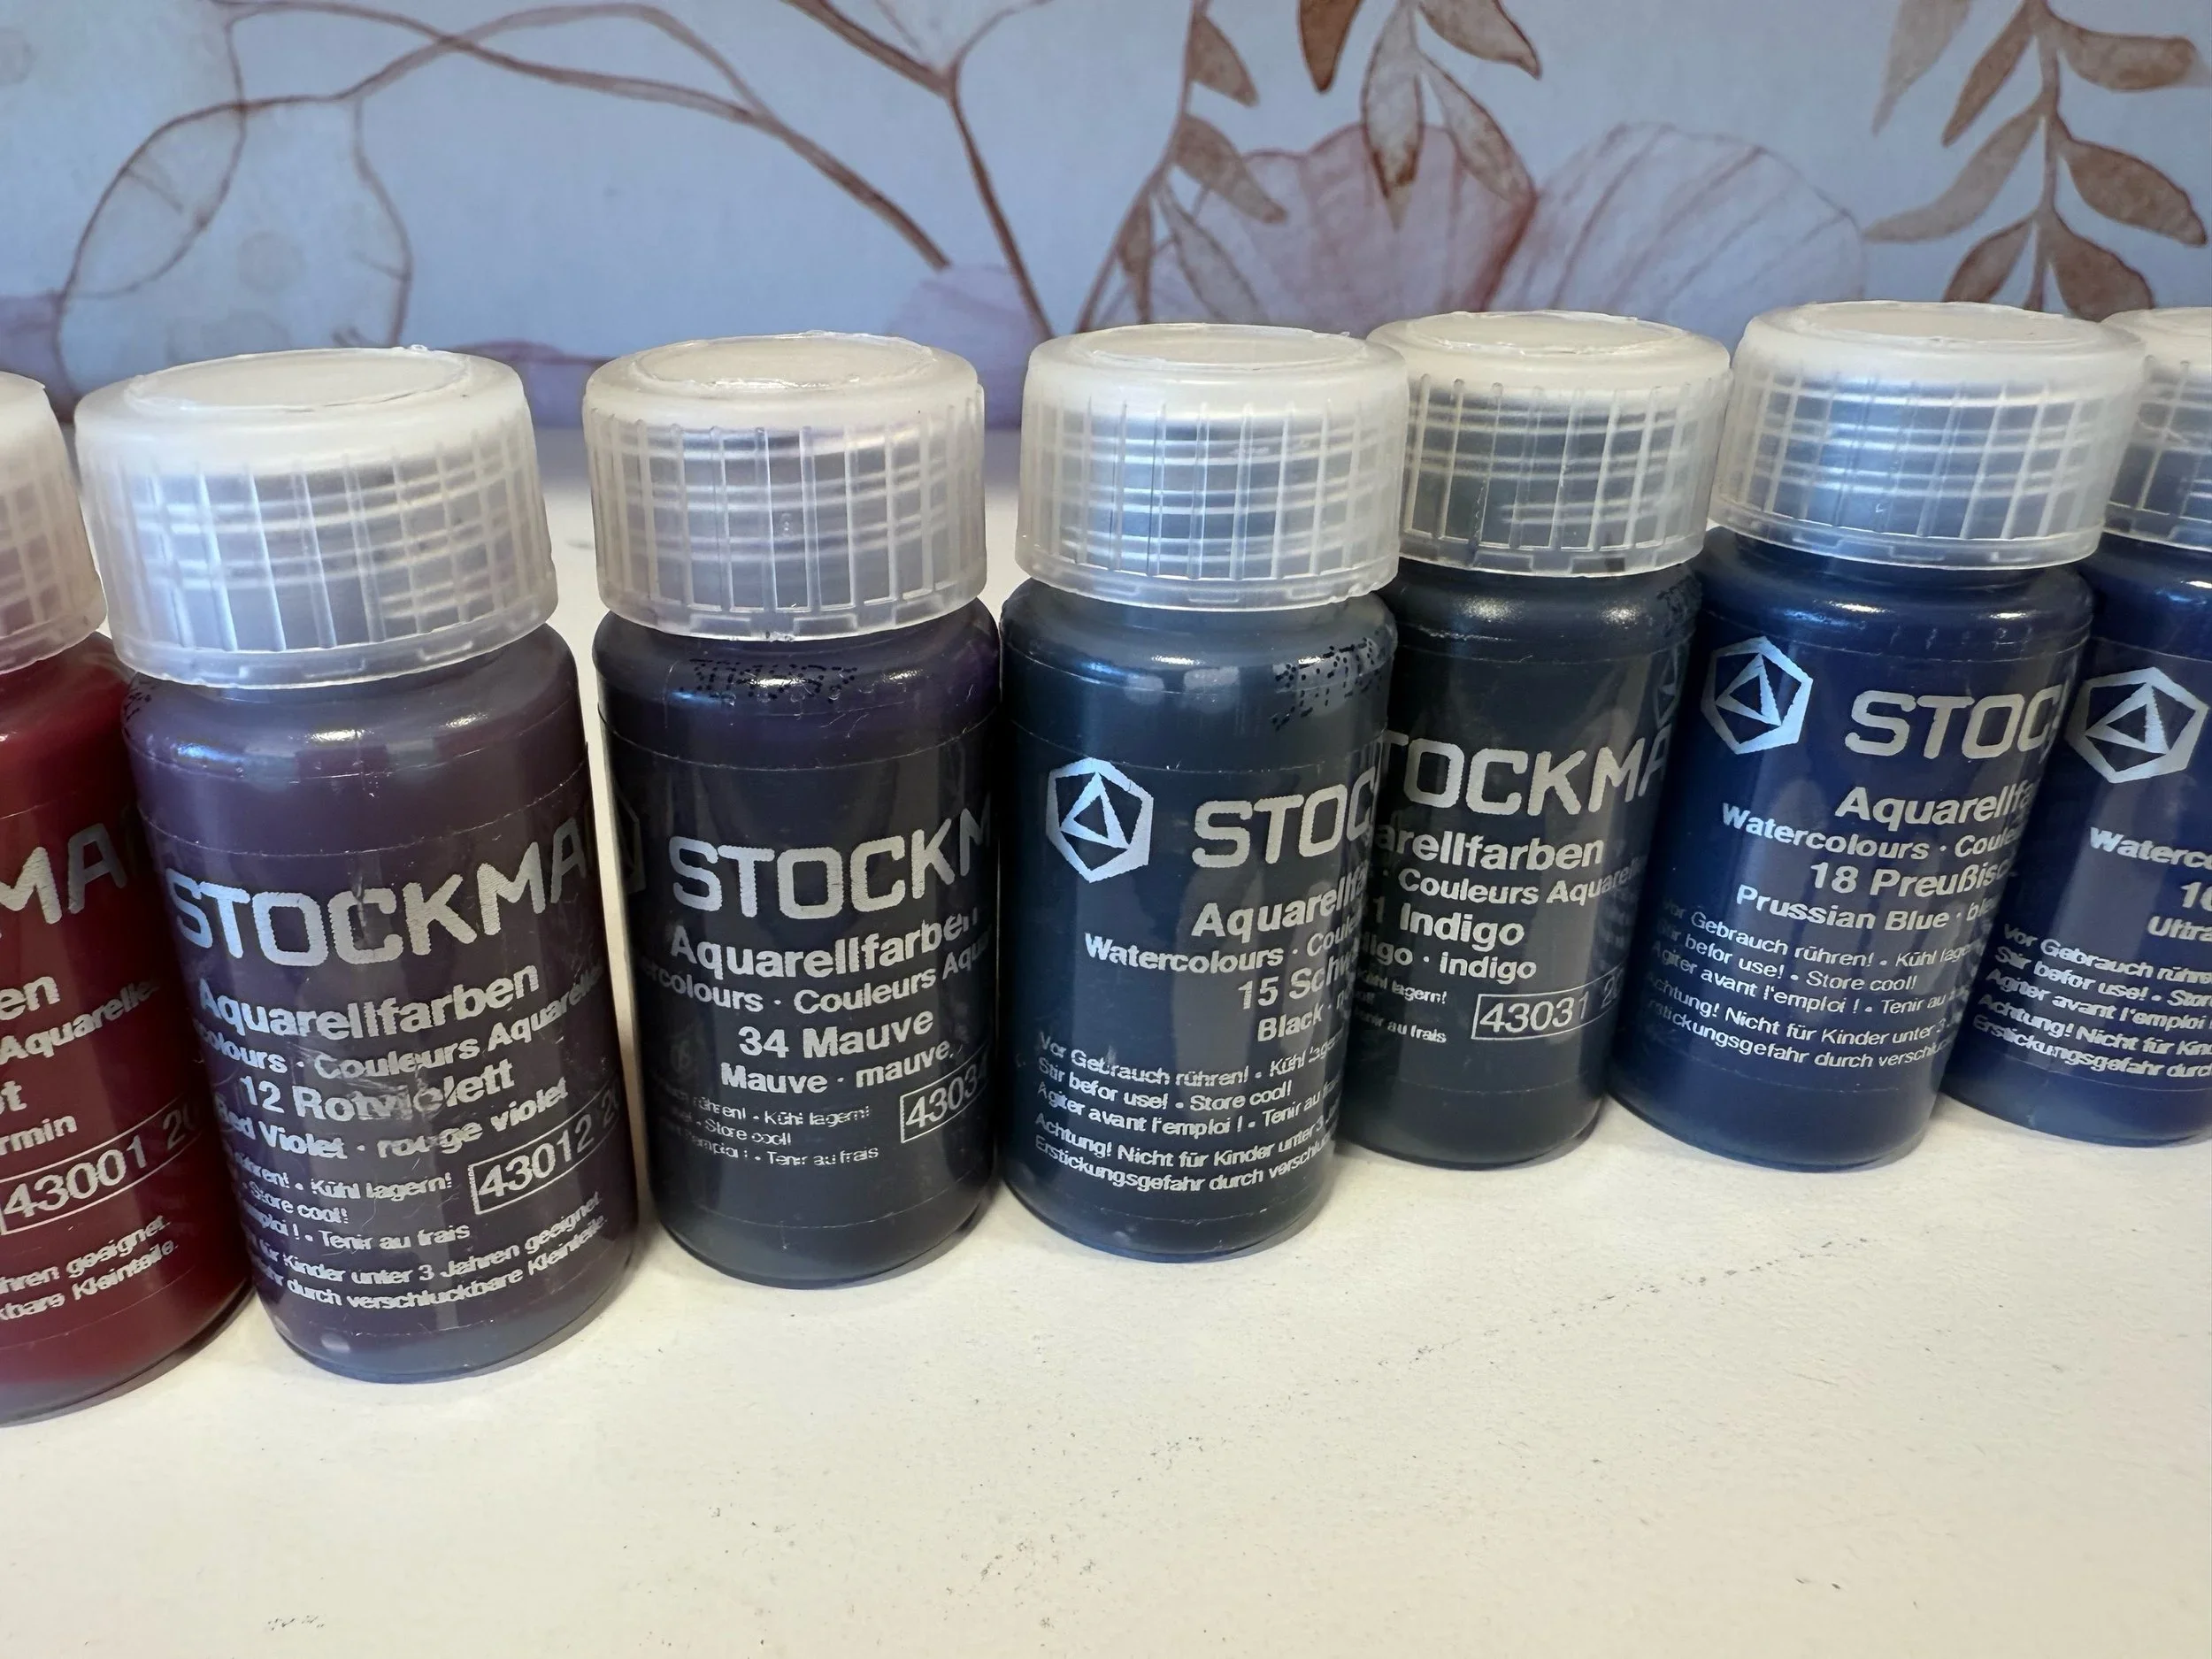
- Red Violet (Purple) Art. 85043012 Stockmar Watercolour Paint 20 ml
- Rust Art. 85043013 Stockmar Watercolour Paint 20 ml
- Black Art. 85043015 Stockmar Watercolour Paint 20 ml
- White Art. 85043016 Stockmar Watercolour Paint 20 ml
- Prussian Blue Art. 85043018 Stockmar Watercolour Paint 20 ml
- Cobalt Blue Art. 85043019 Stockmar Watercolour Paint 20 ml
- Indigo Art. 85043031 Stockmar Watercolour Paint 20 ml
- Orange Art. 85043033 Stockmar Watercolour Paint 20 ml
- Mauve Art. 85043034 Stockmar Watercolour Paint 20 ml
- Turquoise Art. 85043035 Stockmar Watercolour Paint 20 ml
- Sap Green Art. 85043036 Stockmar Watercolour Paint 20 ml
- Burnt Sienna Art. 85043037 Stockmar Watercolour Paint 20 ml
- Fire Red Art. 85043038 Stockmar Watercolour Paint 20 ml
- Circle Red Art. 85043051 Stockmar Watercolour Paint
- Florentine Red Art. 85043060 Stockmar Watercolour Paint 20 ml

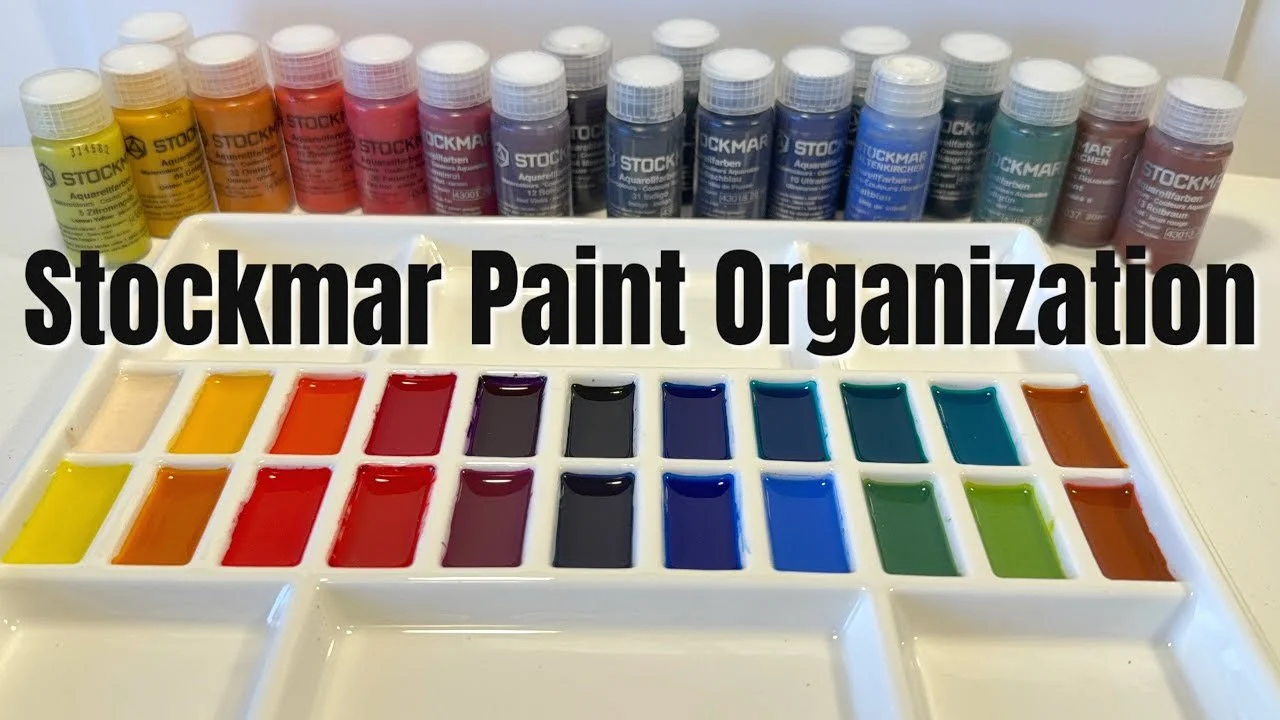
Watercolor Paint Palette
Ever wondered what the rainbow of Stockmar watercolor paints look like? For nearly 20 years, I thought these paints only came in six colors. I would use those colors to mix green, purple, plum and brown as well as variations within those colors. To my delight, I recently learned they come in far more colors! I ordered the whole rainbow plus black and white! The paint palette is ceramic and contains 22 wells for paints plus 6 large wells for mixing paints.
I wasn't sure how well putting the paints in this paint palette would work either short or long term, but so far it's been great! The paints dry up within a day or two which is perfect as I didn't want them growing mold or sloshing around if the paint pallet got moved or bumped. With a few drops of water, the paint is ready to do. With the large well, we can easily mix paint. The one thing we haven't done yet is clean it thoroughly and start again.
Color Swatch Stockmar Watercolor Paints
Having a rainbow of colors for art isn't always necessary as many colors can be made when combining the primary colors. However, without white and black, some colors just simply cannot be achieved. What I've noticed with the 20 colors of stockmar concentrated watercolors is that you can actually achieve a wide range of secondary colors with the three primary colors of lemon yellow, carmine red and ultramarine blue. If if you use prussian blue instead of ultramarine blue, you'll get a different green or purple.
You can certainly play with mixing colors, or you may buy the concentrated assortment of Stockmar watercolor paints which include white, black and my three favorites: rust, siena and indigo. While you may achieve the brown tones of siena and rust by mixing the primary colors together, you cannot get indigo. The deep blue of indigo is beautiful and versatile, but curiously, the blues mis lighter and less intense than the reds and yellows. While I found that a ratio of 1:6 paint to water was suitable, I needed a higher concentration of paint to water to get the richness I needed with indigo and the other blues.
Now you can conveniently buy the supplementary set of watercolors as well as the basic 6 from A Child's Dream. The supplementary set of watercolors includes blue green, red violet, rust, black, white, indigo in 20 ml tubes of concentrated paint. The Stockmar Watercolor Paints - Basic Set of 6 includes Lemon yellow, gold yellow, vermilion, carmine red, ultramarine blue, Prussian blue.


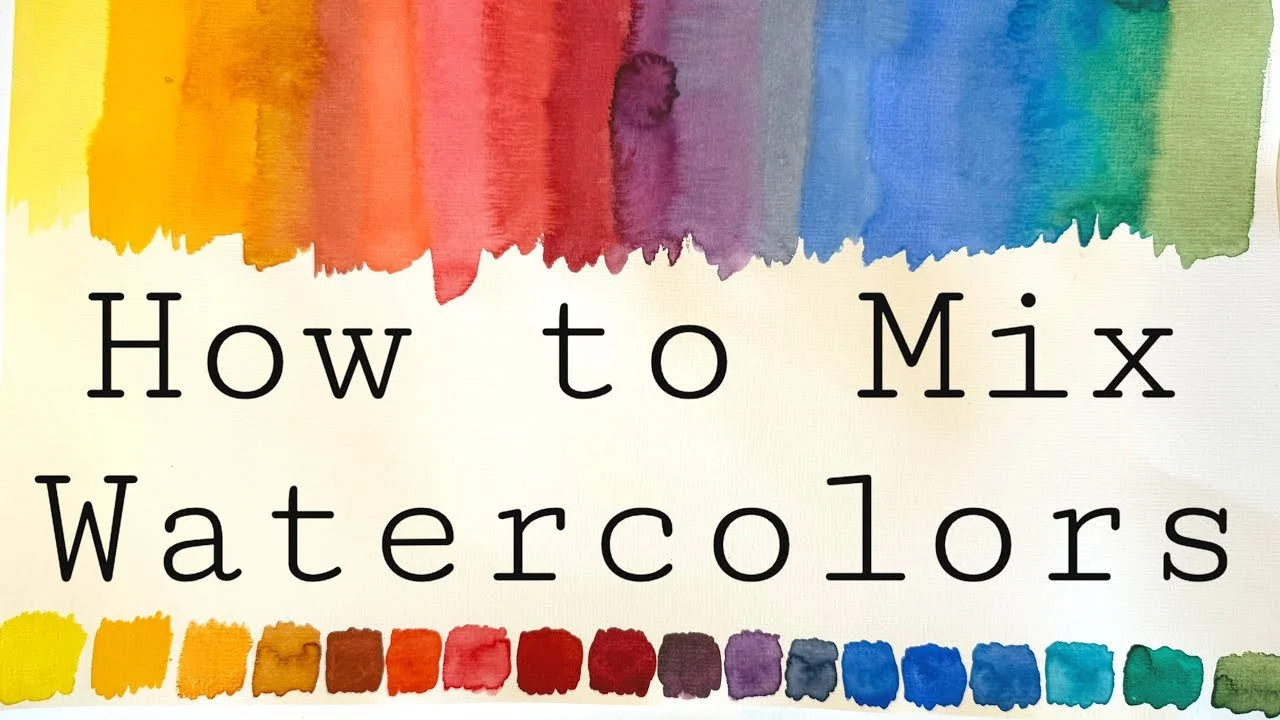
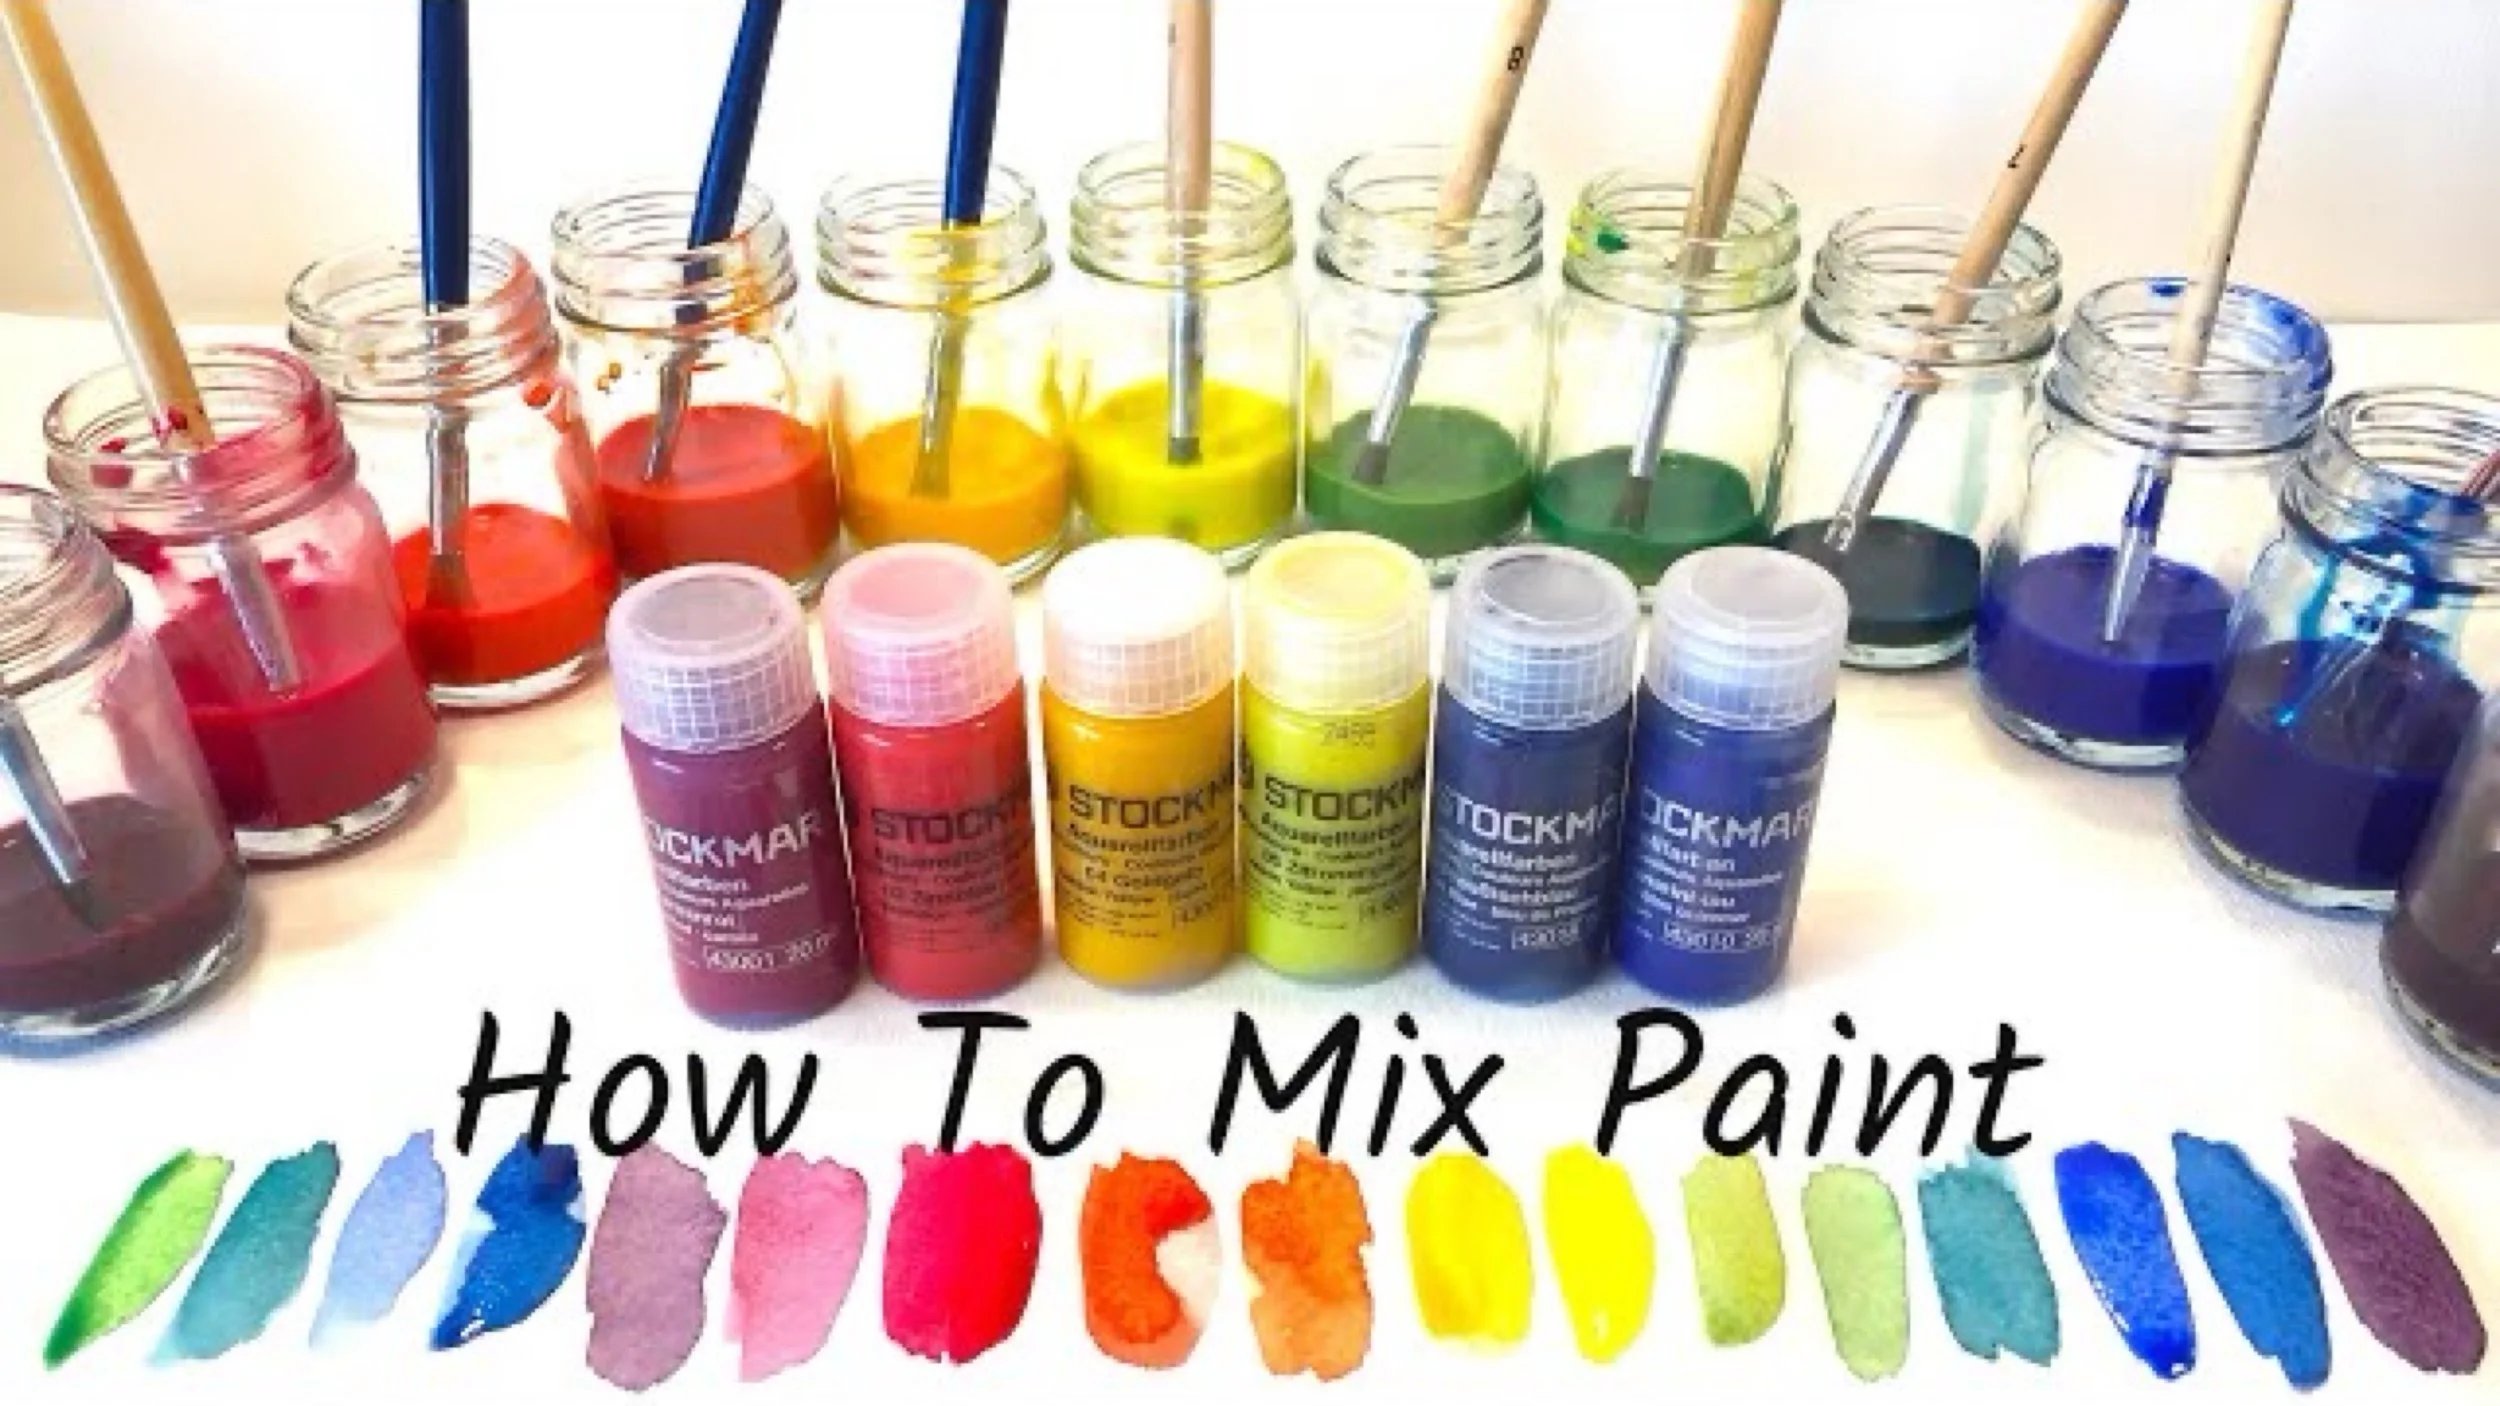
How to Mix Watercolor Paint
Watercoloring is a quintessential activity you'll find in Waldorf school starting in kindergarten. And using Stockmar concentrated paints will help you achieve the lessons that are suggested in kindergarten and first grade. These paints come concentrated and need to be mixed with water. I'll walk you through the steps of mixing the primary, secondary and some tertiary colors. Keeping your supply free of contamination and water ensures that your Concentrated Stockmar paints will last a long time. When you mix your colors, only mix as much as you think you'll use in about 2 weeks. Storing them any longer heightens the risk that your mixed paints will go bad. They will mold and smell like rotten eggs.
While the paints will still work and once dried the paints won't smell, but to avoid the paints going bad, only mix about 10-20 ml of paint. Depending on what projects you do, this amount should be enough to do several large wet on wet watercolor projects. If you feel that that amount is too much, only mix the primary colors: Lemon Yellow, Ultramarine Blue and Carmine Red. From these three colors, all other colors can be made. In the primary years, these three colors are not only adequate, but highly recommended to that the secondary colors are formed during the watercolor lessons. In fact, the first lessons are ones in which only yellow is used.
The following lessons introduce one other color to yellow: blue. Together, the child can see the magic of yellow and blue making green which is fascinating and beautiful. Starting in second grade, the secondary colors can be used without mixing the primary colors during the lesson, you can mix them ahead of time, or use the vermillion and golden yellow provided in the set. Stockmar paints come individually, as a set of three and set of six.
Yellow tends to go first as it is used for orange and green and seems like more yellow is needed compared to red and blue when mixing orange and green. Variation of green, orange and purple are achieved by adding more or less of each primary color. Variations on green and purple are also achieved by mixing carmine red and yellow with one of the two blues: Prussian Blue and Ultramarine producing a true purple or plum depending on which blue base was used. The color choices are nearly endless. Mix all colors together to make brown.
Check out some of the activities we did for Grade 1 YouTube Playlist.
Find Stockmar paints at Waldorf vendors online like A Child’s Dream.
Natural watercolor brushes from Waldorf Supplies.
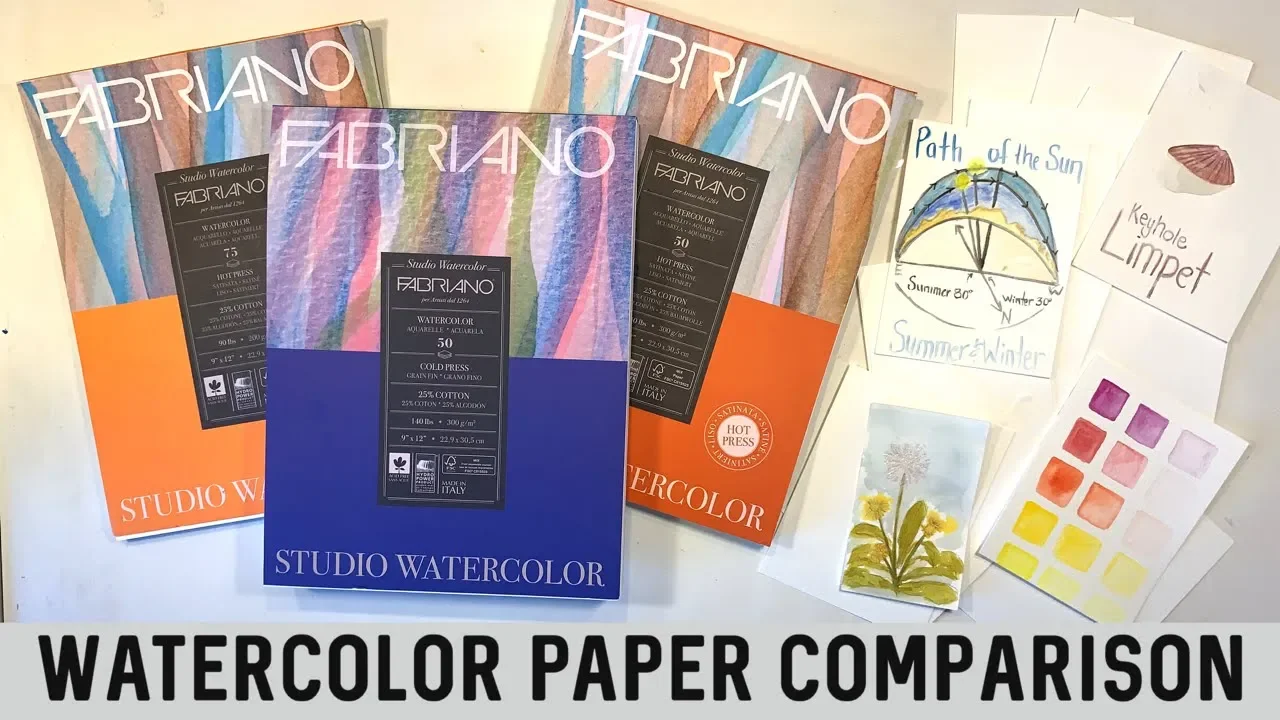
Watercolor Paper Comparison | Fabriano
Cold press or hot press? 90 lb. or 140 lb.? Which watercolor paper is going to be right for you and your projects? I share my experience with four types of watercolor paper by Fabriano. Hot press paper is smooth to the touch and I’ve used this paper for our geometry main lesson block. Because it’s smooth, we can get clean arcs and lines with our pencil, straightedge and compass. But because it’s watercolor paper, we can watercolor our images without fearing the paper will tear or pill.
Which weight paper is best for you? While I’ve been using the 90 lb. cold press watercolor paper by Fabriano for years for most of our homeschool projects, the 140 lb. paper is ideal for wet on wet watercoloring. For a wet on wet process, you want your paper wet but not sopping wet. You can either run your paper under the tap, spray with water or use a sponge to wet your paper. Then you can begin painting. The paint with move on the page with the water. It’s beautiful to see and just appropriate for young elementary students, especially in a Waldorf educational setting.
I tend to use the 9″x12″ paper for most of our homeschool needs, but Fabriano (and other brands) make larger paper. When working with young elementary students in a Waldorf setting, it’s preferred to use larger paper, in a heavy weight and if there’s cotton in the paper, it’s likely to hold much better to wet on wet techniques. However, for our daily watercolor needs, or practice assignments, I use the 9″x12″ paper by Fabriano because I find it to be an affordable mid range option.
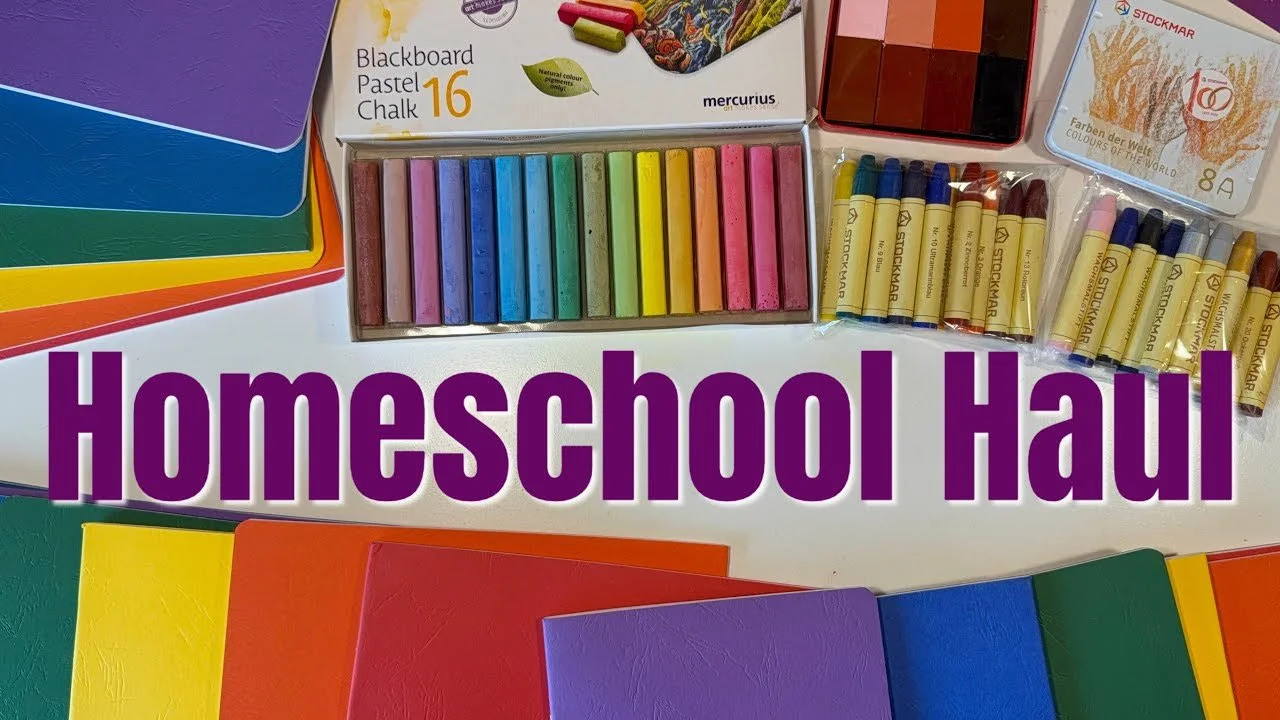
Homeschool Haul | A Child’s Dream
When it comes to homeschooling and educational supplies, A Child’s Dream is one vendor I’ve been shopping at for years. As we conclude our final years, I’m sharing some materials that have been especially useful throughout our years of education. The Stockmar crayons have been a mainstay for us for over 20 years. In fact, I still have my set from grade 1 back in the early 1980s. Granted my block crayons are no more than nubs, but they still work! In this homeschool haul, I share a new-to-me set of Mercurius chalks, the tried and true main lesson books (plus a couple new ones!), every Stockmar crayon color and a felt chalkboard eraser. Astronomy Blank Main Lesson Book, Main Lesson or Drawing Book – Portrait Format, Main Lesson or Drawing Book – Landscape Format, Main Lesson Book for Middle School, Main Lesson or Journal Book – Small.
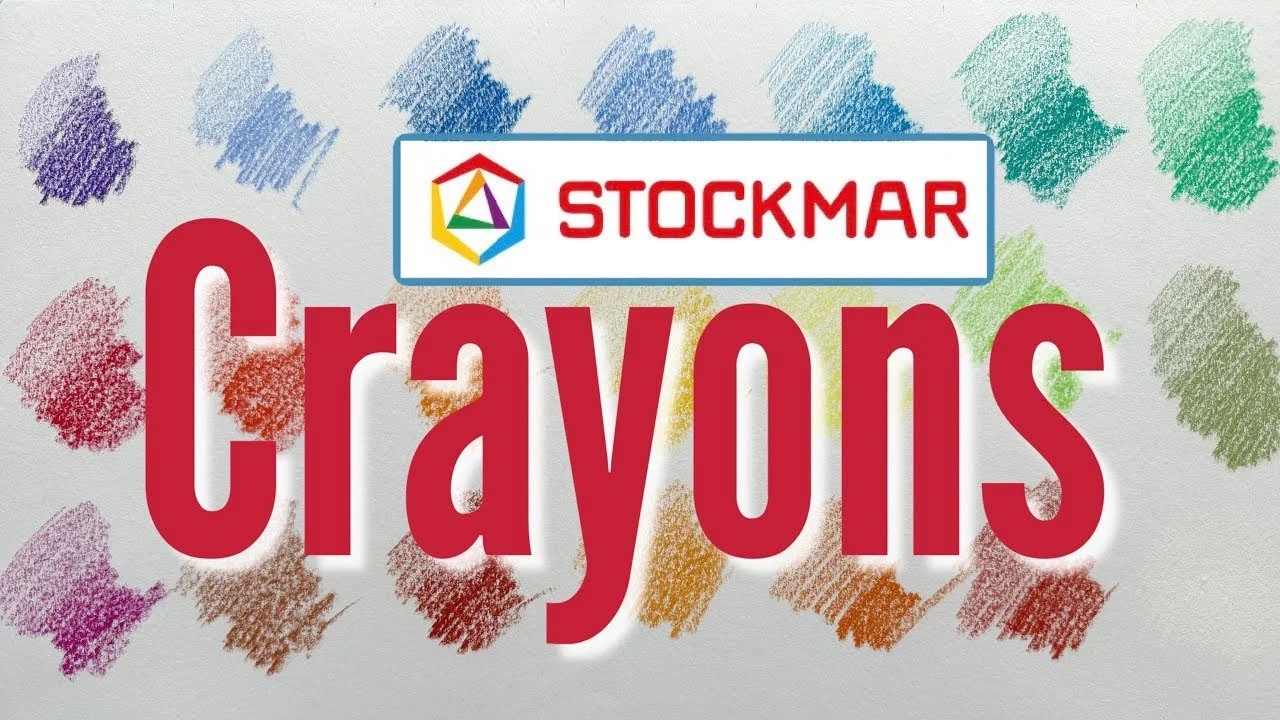
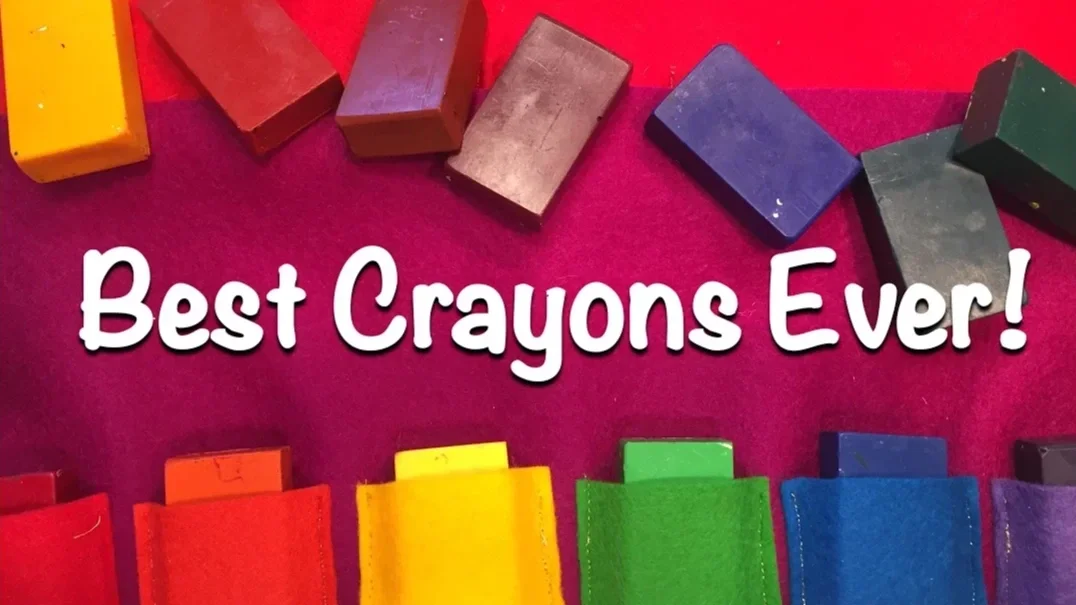
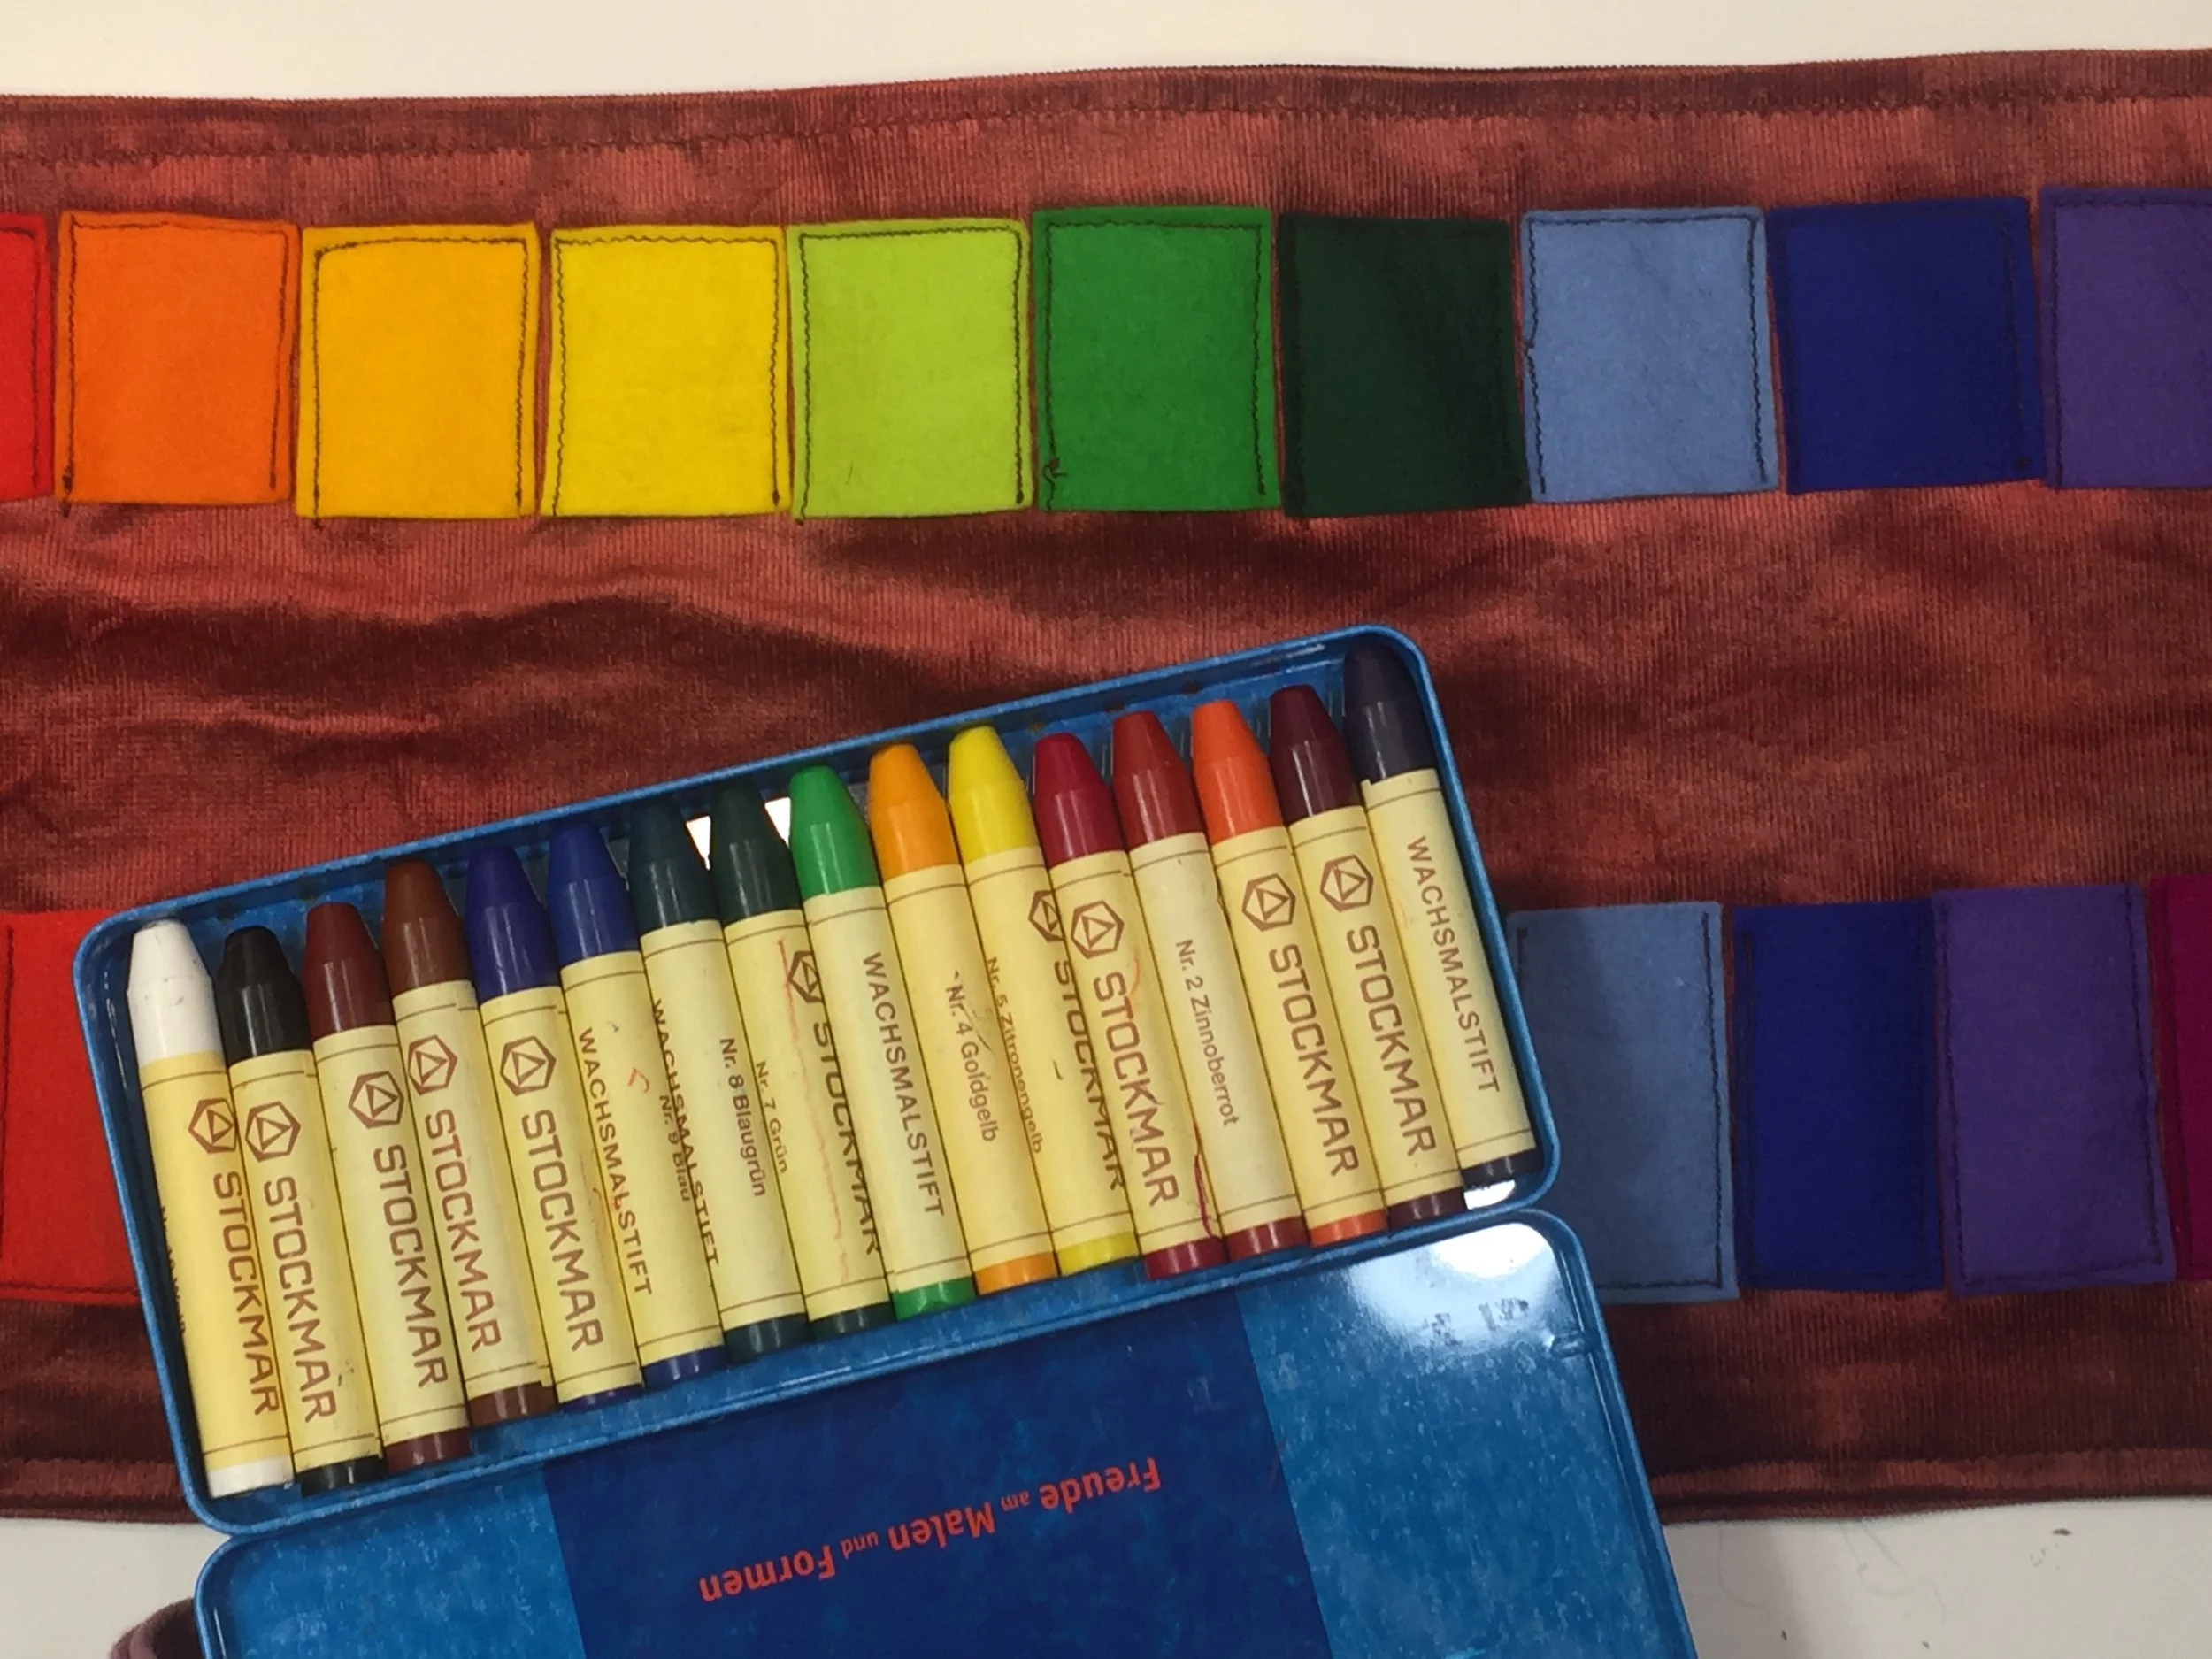
Stockmar Crayons
I am delighted to share with you 27 colors of 32 colors that Stockmar carries for their block and stick crayons. I'm swatching each color both lightly and intensely so you can see the variation in color intensity and color variety. When blending colors, go lightly so colors may layer well and bring out secondary colors. If you draw intensely with the crayon and layer up enough wax, you can carve into (careful not to pierce the paper) and create interesting designs. You may also decide to use the white crayon to make invisible drawings that spring into life when the paper is watercolored. Stockmar crayons come in tins of 8, 16 or 32 crayons or may be purchased by color individually in block or individually in stick or in bulk. The colors shown today are available at A Child's Dream conveniently as individual crayons so you can try them out or add to your collection.
Set of 8 Block Crayon in tin, Set of 8 Stick Crayon, Set of 16 Block Crayon, Set of 16 Stick Crayon.
Stockmar crayons are superior crayons made from high quality non-toxic materials. There's no smudging, crumbling or sticking with these crayons ensuring a excellent experience for you and your children.

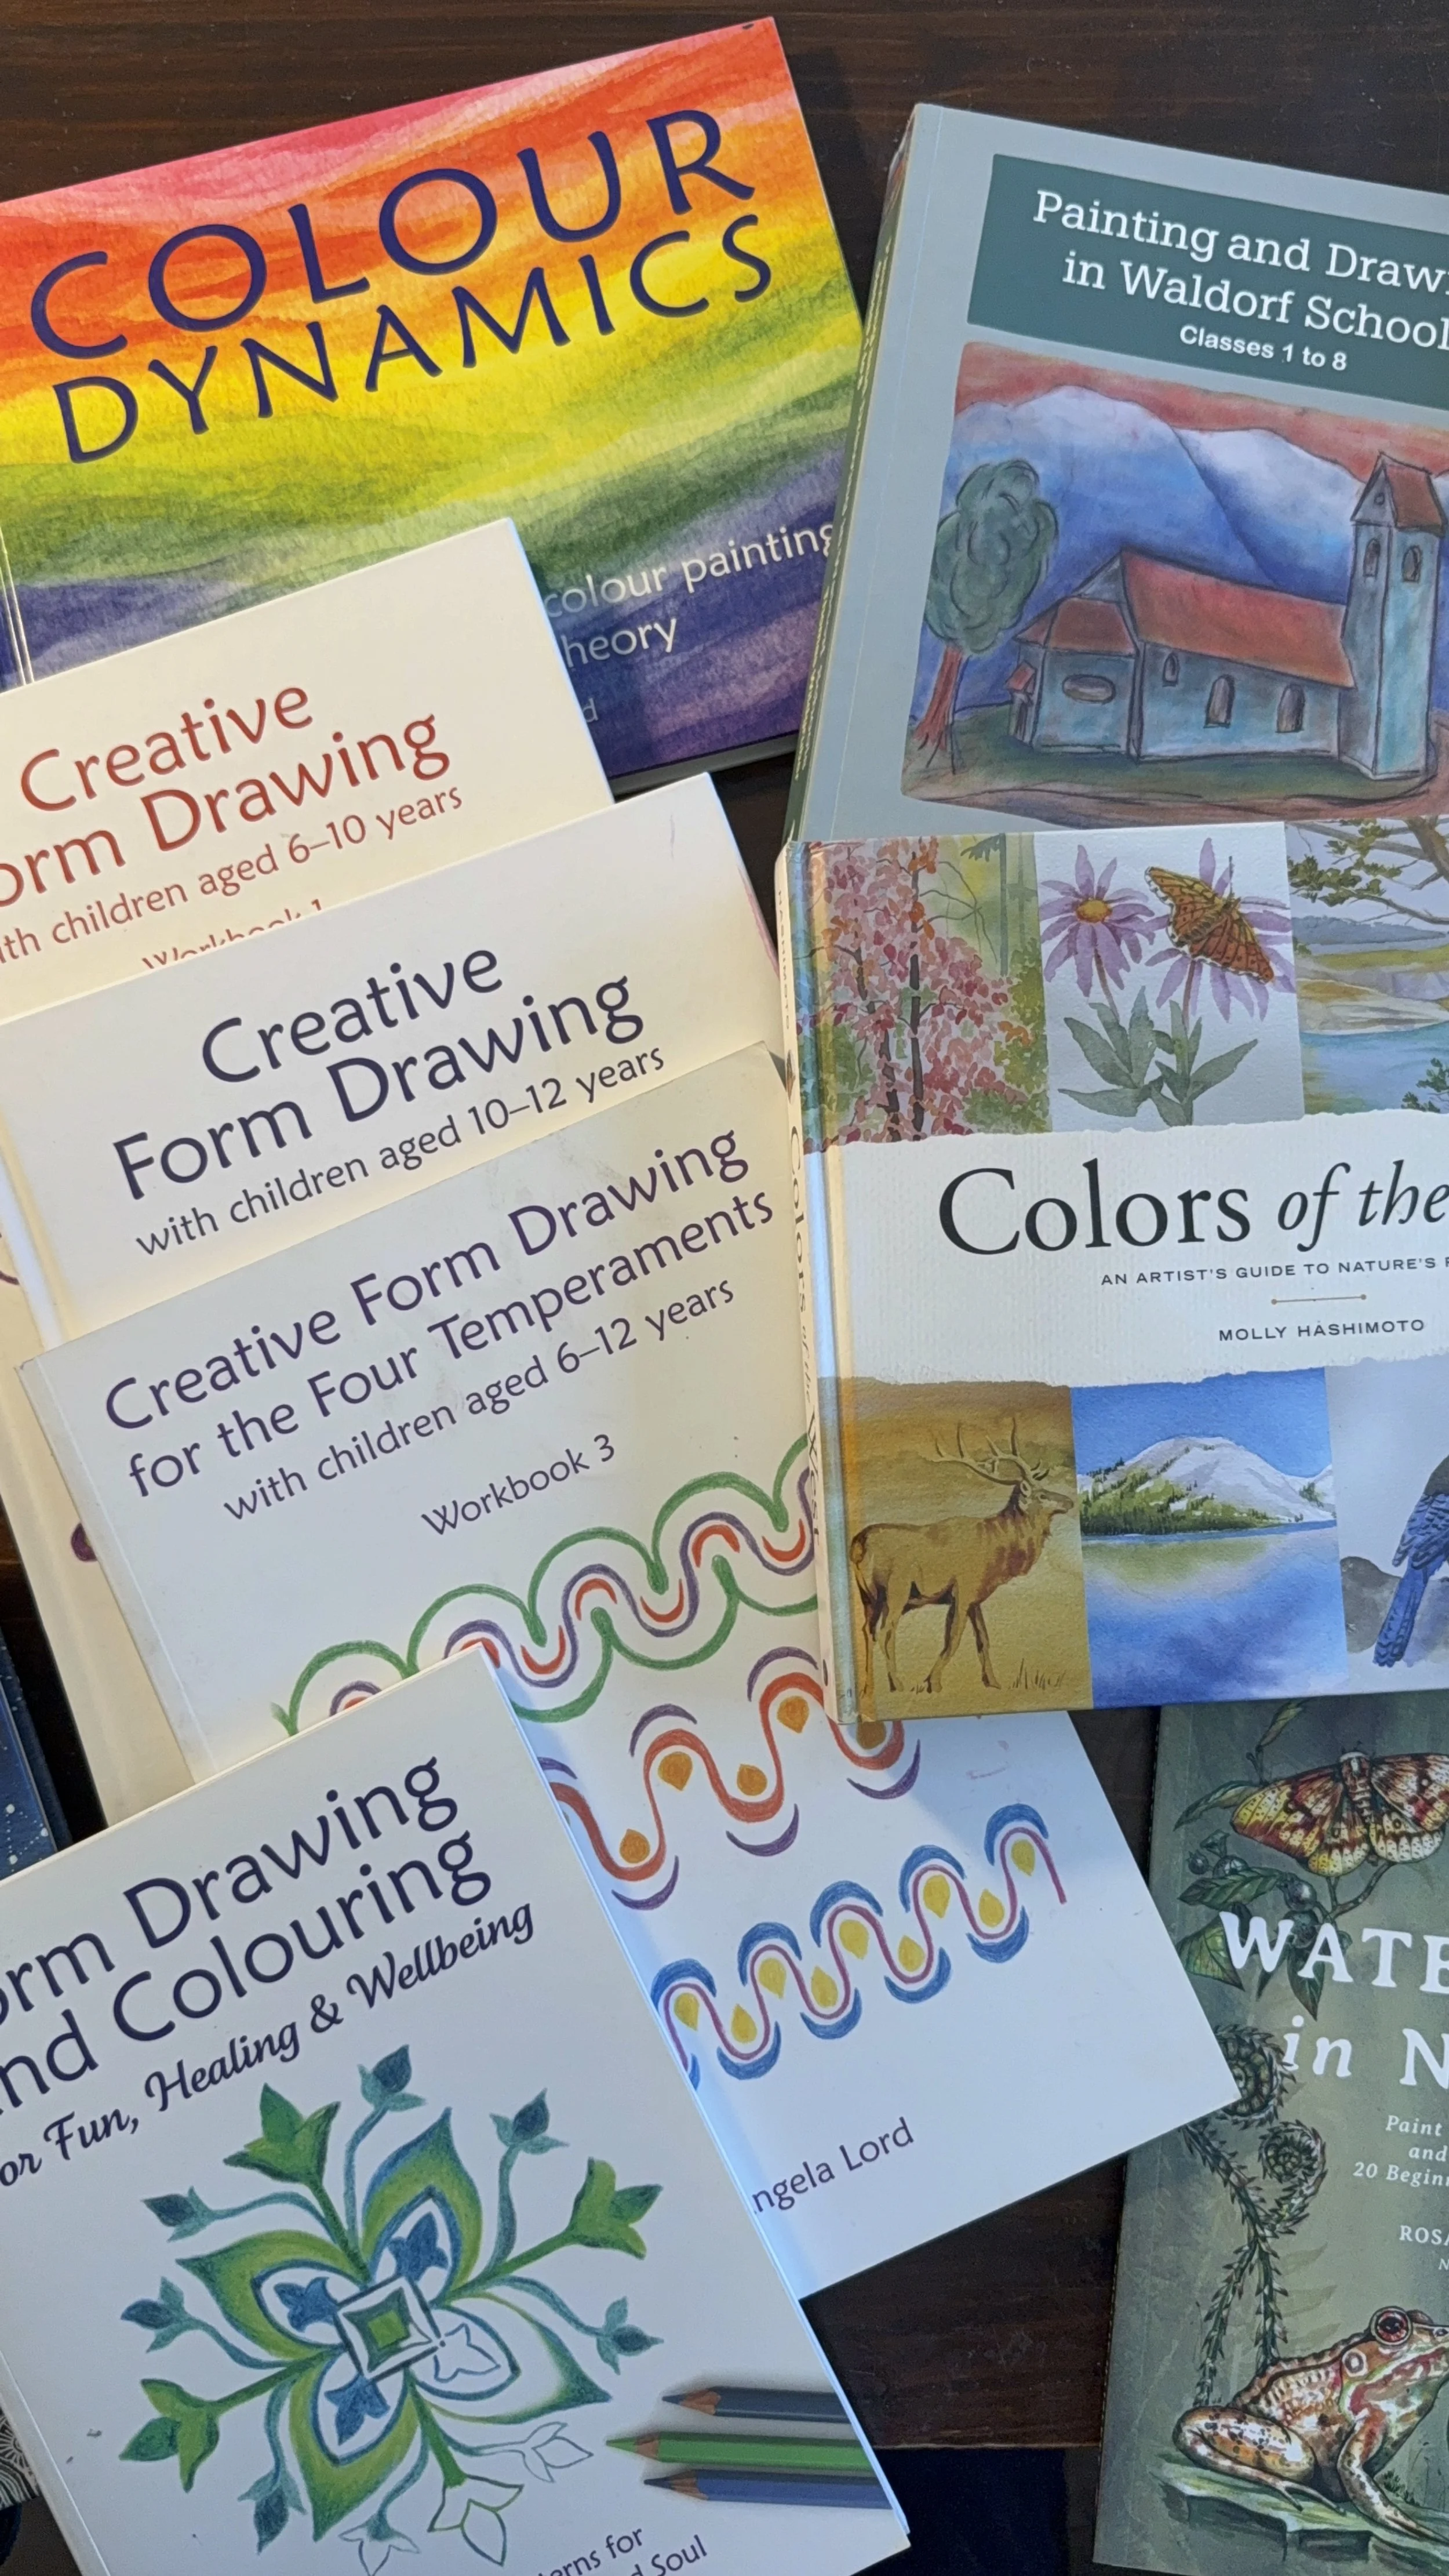
Art, Drawing and Watercoloring Books
Painting and drawing in Waldorf schools and homeschools follows a specific pedagogy starting with wet on wet watercoloring with ethereal images that are not defined. This mirrors that developmental stage of students aged 6-8 years old. The crayon drawings reflect the same design with pages filled with color yet avoiding sharp definition. As they grow, students explore veil painting, a technique in which watercolors are laid down in layers with each layer drying before the next layer is added. Charcoal and perspective drawing are part of the middle school experience when ideas begin to take shape with sharp contrast that often seem quite polarizing.
Art is used as part of the lesson expression more so than it is an art lesson focused on art technique and skills. However, many art techniques are naturally learned along the way and as well as an exploration of various art mediums like crayons, watercolors, oil paints, pastels, colored pencils, charcoal and more.
Here are a list of Waldorf books that may help you hone your artistic skills within the Waldorf pedagogy.
Creative Form Drawing with Children ages 6-10: Workbook 1 (Steiner / Waldorf Education)
Colour Dynamics: Workbook for Water Colour Painting and Colour Theory (Art and Science)
Creative Form Drawing with Children Aged 9-12 years: Workbook 2 (Steiner / Waldorf Education)
Art Resources
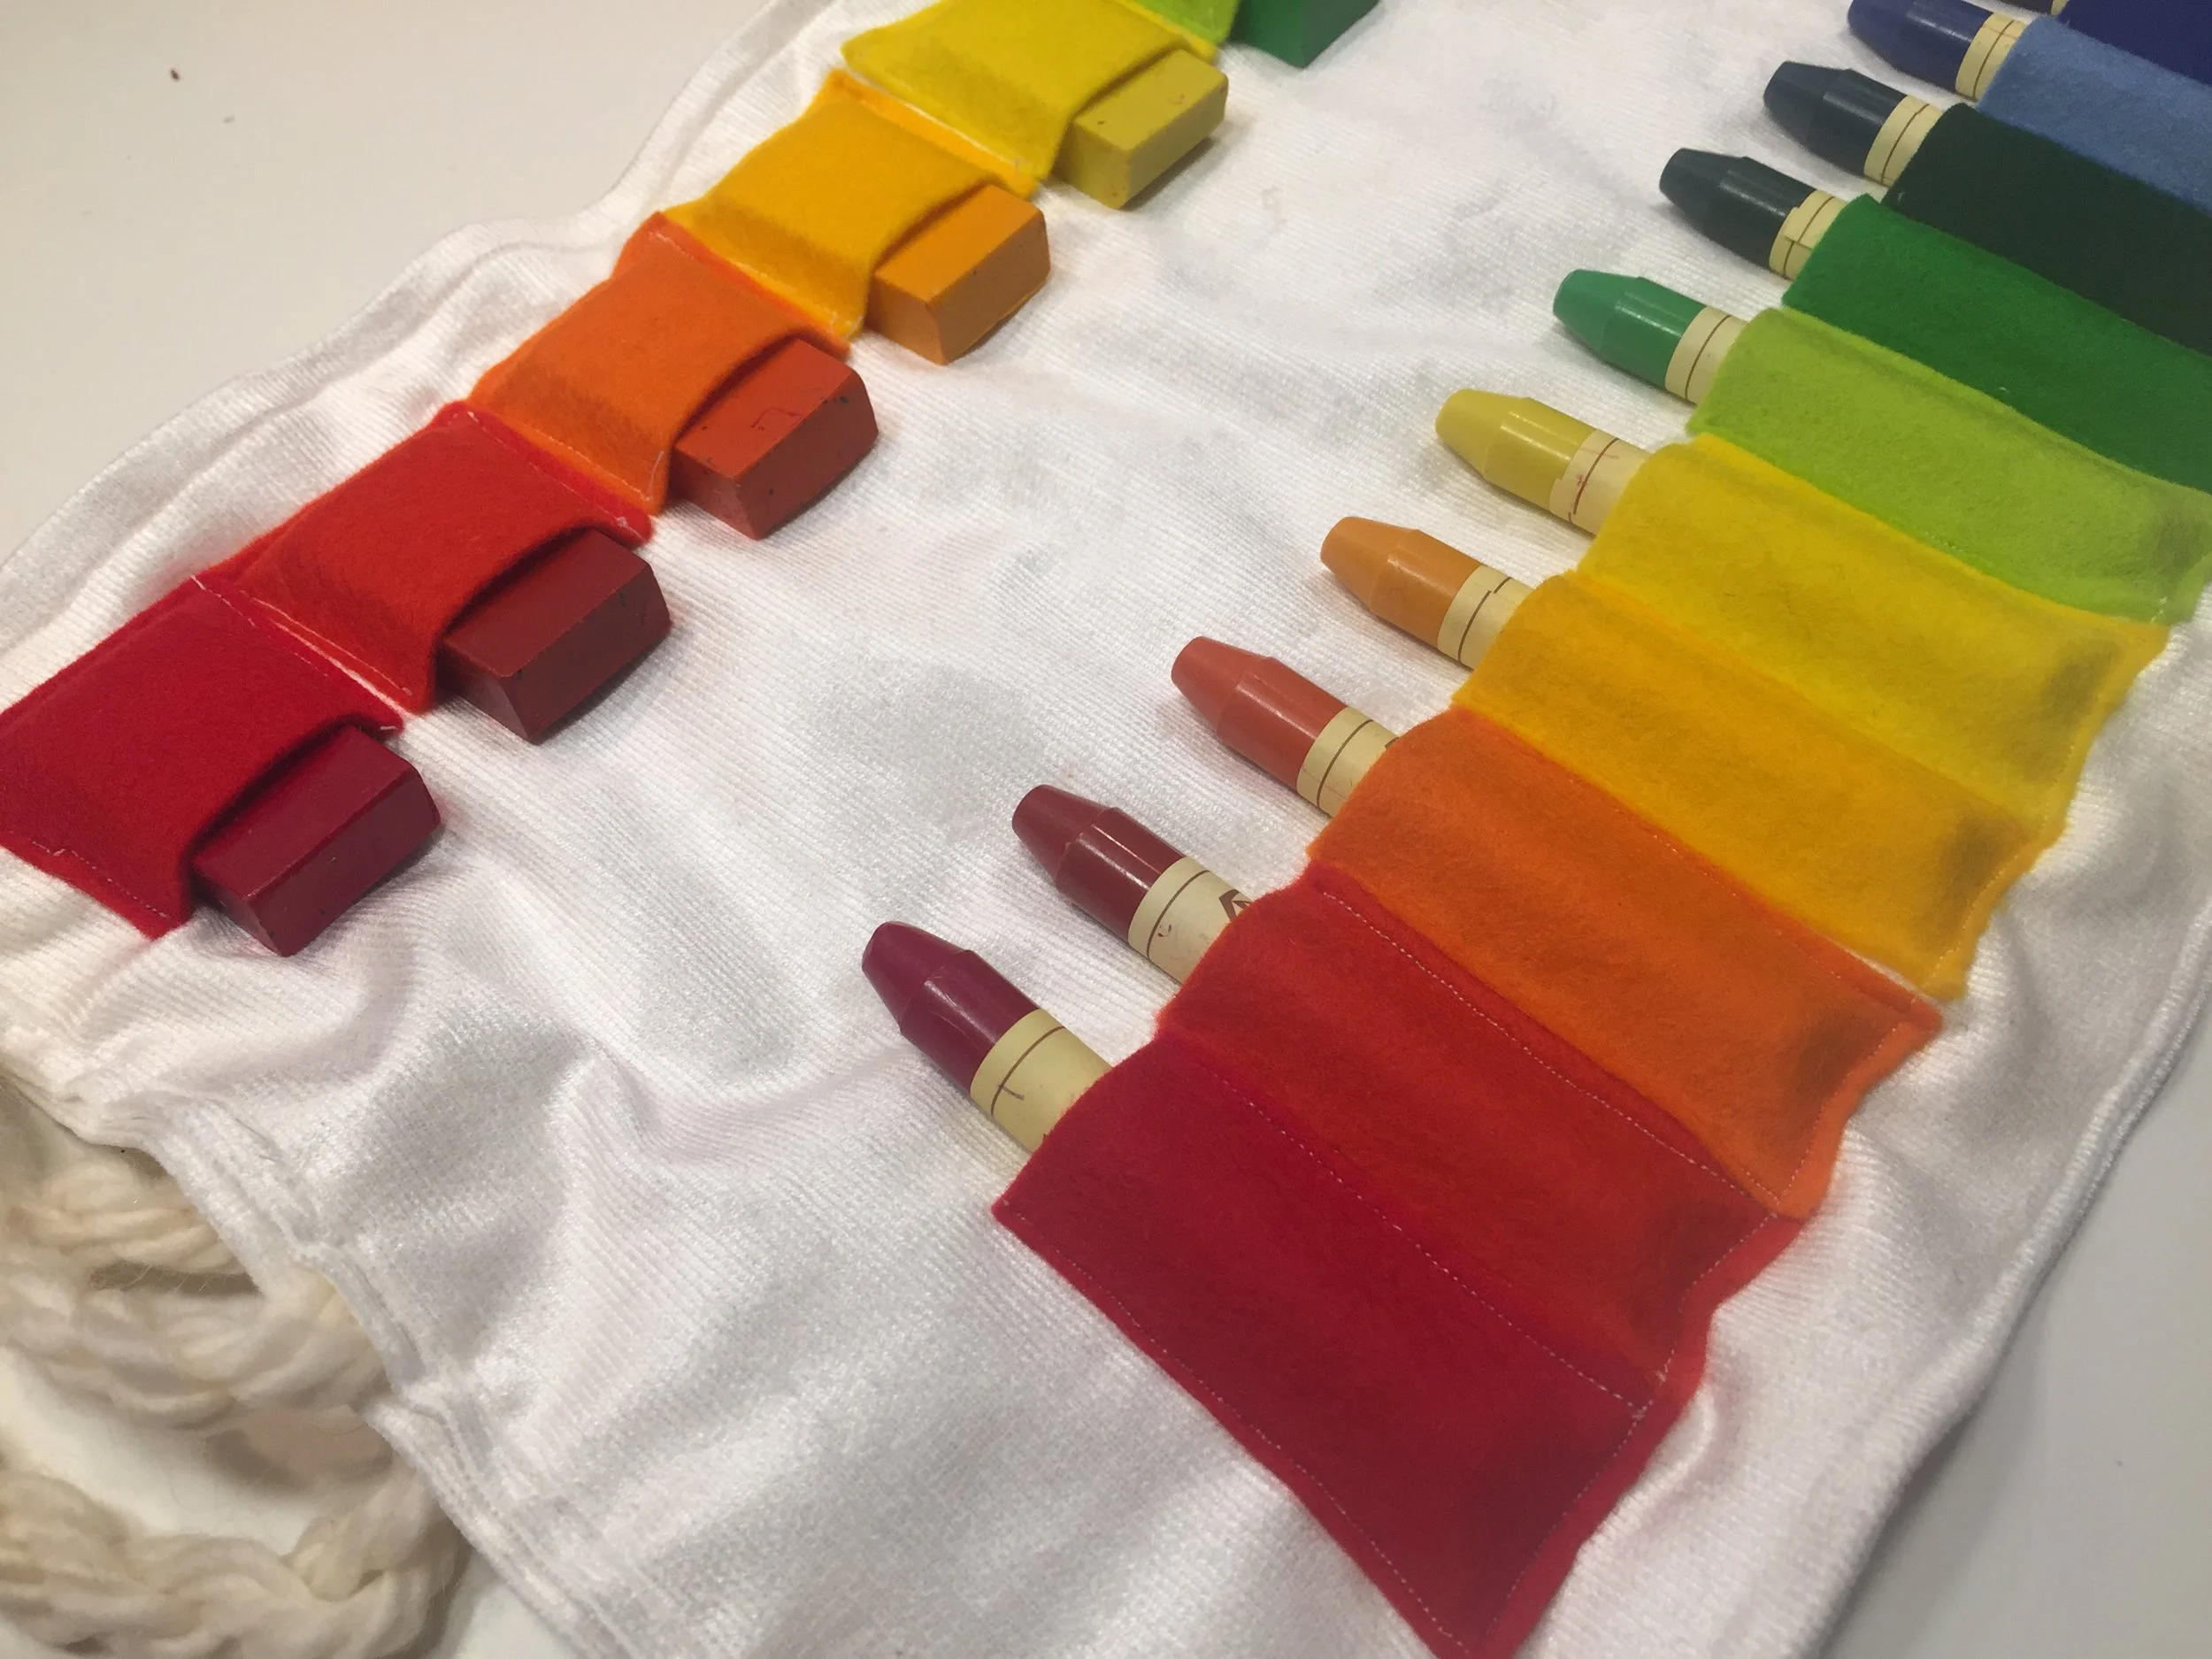
How to Make a Crayon Holder
When at first you don’t succeed, don’t worry, it’s just an another opportunity to get it right the second time around. That’s what happened with this project. I didn’t just mess up once, but three times. The last mistake on this project just couldn’t be fixed, and I chose to do it again. Of course, the second time around was much faster and easier, though slightly tedious. It seems had a contingency plan for such a thing happening, as I bought twice the fabric needed to make the crayon case…you know…just in case.
Well, I’m happy to tell you that I’m very pleased with the final outcome, even though it’s white and I anticipate it getting dirty with crayons pretty quickly. I do love white; however, so I’m really loving the way the crayon case looks, especially with the bright rainbow colored felt pockets.
Materials:
1/3 yard of corduroy fabric (60 inches wide)
multi colored wool felt (I happen to have enough colors for the complete set of Stockmar block and stick crayons)
2 yards of yarn (to make the twizzle)
optional: wood pieces for decoration
sewing machine, thread, iron, straight pins, and scissors
optional: dye to color your fabric
Directions:
cut pockets from felt: 1.25″x2.25″ for sticks and 1.75″x2.25″ for blocks
cut corduroy fabric 9.5″x25″
fold over the fabric .25″ all around and iron the fold
fold in half long ways and sew all four side, keeping a small section un-sewn on the side where the two pieces of fabric come together (this is where we’ll insert our yarn twizzle.
line up the pockets (stick on one side and block on the other) and pin in place
sew the pockets to the corduroy
make a twizzle from the yarn (it’s best to watch this)
sew the twizzle into the opening
decorate with wood pieces
fill the pockets with crayons and enjoy!
Stockmar crayons come in tins of 8, 16 or 32 crayons or may be purchased by color individually in block or individually in stick or in bulk. The colors shown today are available at A Child's Dream conveniently as individual crayons so you can try them out or add to your collection.
Set of 8 Block Crayon in tin, Set of 8 Stick Crayon, Set of 16 Block Crayon, Set of 16 Stick Crayon.
Stockmar crayons are superior crayons made from high quality non-toxic materials. There's no smudging, crumbling or sticking with these crayons ensuring a excellent experience for you and your children.


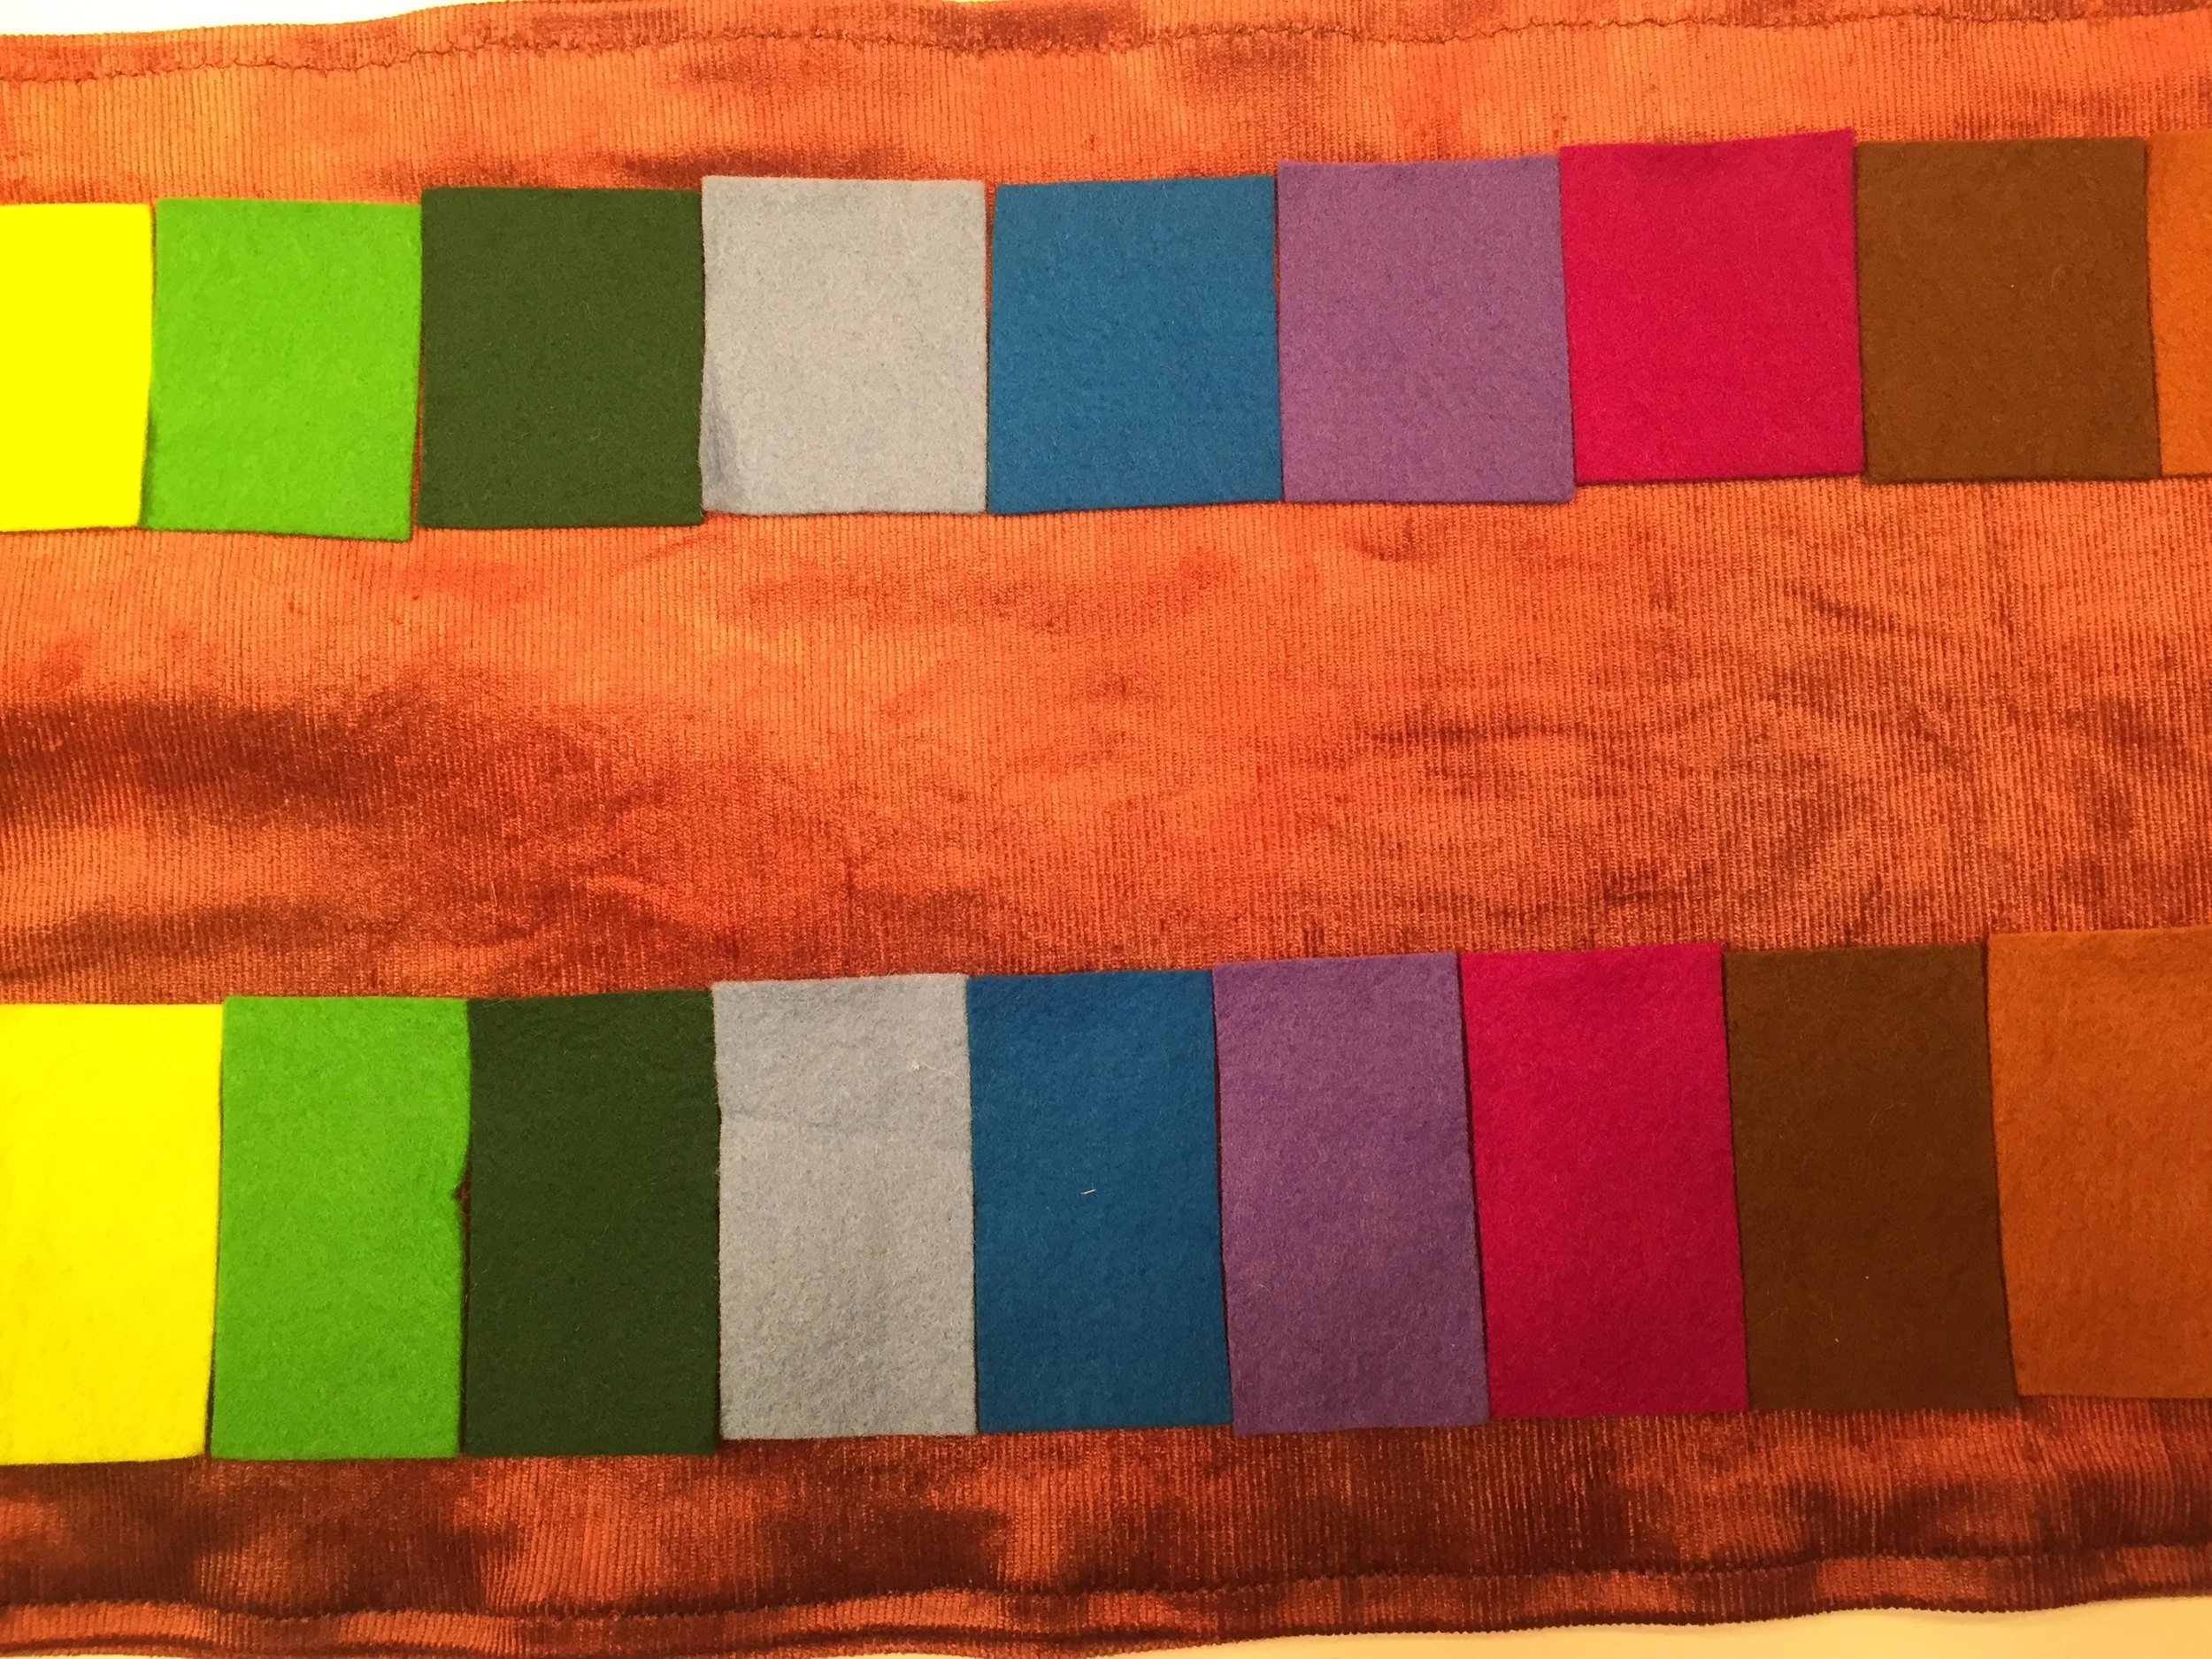


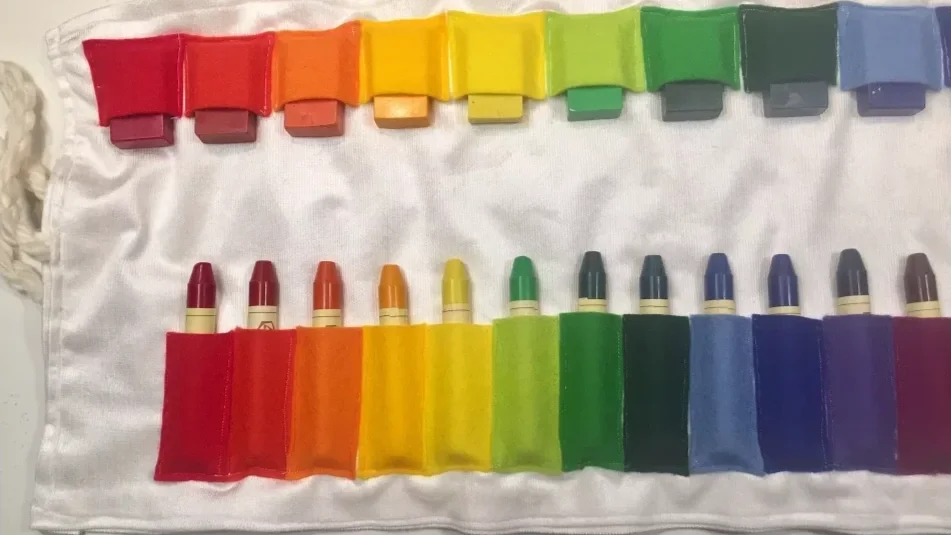
Block Crayon Case
I love block crayons because they are not easily snapped or broken. They just wear down to little blocks, but one thing I don’t like is when other crayons rub off onto the crayons. Then when the child goes to draw something, multiple colors comes off of one block. To remedy this problem, a crayon case is a good solution. For this crayon case, I make each felt pocket coordinate with the color of crayon it will hold making it look pretty and functional. Now, when the child goes to retrieve a color, it’s easier to spot which crayon to use, and likewise it makes putting the crayon away much easier.
Directions:
Cut a piece of felt 5″x12″ for backing
Cut pockets for block crayons 1 3/4″x2 1/4″
Sew pockets onto felt
optional: decorate with wood piece
Tip: Don’t use metallic thread because it tends to break more easily.
Stockmar crayons come in tins of 8, 16 or 32 crayons or may be purchased by color individually in block or individually in stick or in bulk. The colors shown today are available at A Child's Dream conveniently as individual crayons so you can try them out or add to your collection.
Set of 8 Block Crayon in tin, Set of 8 Stick Crayon, Set of 16 Block Crayon, Set of 16 Stick Crayon.
Stockmar crayons are superior crayons made from high quality non-toxic materials. There's no smudging, crumbling or sticking with these crayons ensuring a excellent experience for you and your children.


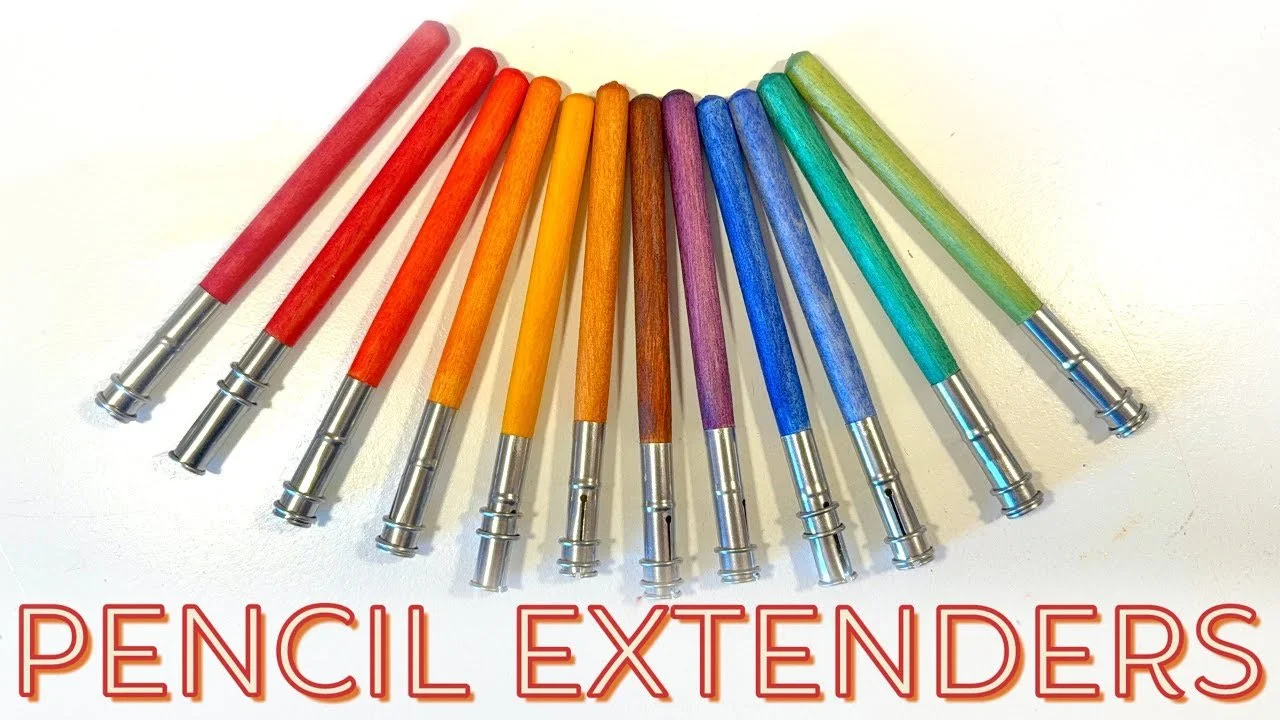
Pencil Extenders
What happens when your pencil or color pencil gets so tiny, it's uncomfortable to use? It would seem reasonable to toss the color pencil at that point, especially considering that pencil extenders (at least the first set I bought years ago) can run anywhere from $5-$13 each! But if your color pencil set costs a lot too, what are you left to do?
Recently, someone asked me about our pencil extenders and where to find them. I bought them years ago and the vendor no longer carries them. I looked around and found similar ones for no less than $5 each! However, after a quick search on Amazon, I found a budget set for less than $7 for 12 pencil extenders! What a fabulous option.
These pencil extenders are definitely not as nice as our original set. While I cannot tell what kind of wood they are, they are most certainly a cheaper choice, maybe pine or a soft wood. Our original pencil extenders were cut in a hexagonal shape with the metal piece fitting snugly into the barrel. The pencil extender may be adjusted with a metal ring. While our original set were too big for our Lyra colored pencils, I used a piece of tape on the pencil so it would fit more tightly.
These new pencil extenders are budget for sure! But considering they are about $0.60 each, I can work with them. The wood is basic and appears unstained or sealed making them perfect for personalization. The metal popped off on a few and had to be glued back and even with sanding and sealing, they are not as smooth as our original set.
I used Stockmar watercolors to paint the extenders and sealed them with Three BEEautiful Bees - Beeswax Wood Polish. Watercolors and beeswax can be found at A Child's Dream.
I recommend getting the opaque color pallet if you are not ready to invest in the concentrated Stockmar watercolors.
Stockmar Watercolor Paints - Set of 6, Stockmar Opaque Watercolor Paint Set, LYRA Natural Beech Wood Pencil Holder Extension, 12 Pieces Wooden Pencil Extenders Art. Check out the Original pencil extender video from October 2015
Pencil Extenders | What Are They and How Do You Use Them
This quick video show you what pencil extenders (pencil lengtheners) are and how to use them. These particular extenders are made for Lyra brand color pencils and can be found at Waldorf Supplies.
This is a great way to keep those color pencils going! For a video on how we made our pencil cases, click here.
Check out the color pencil comparison video to see the subtle and distinct differences in color pencils.
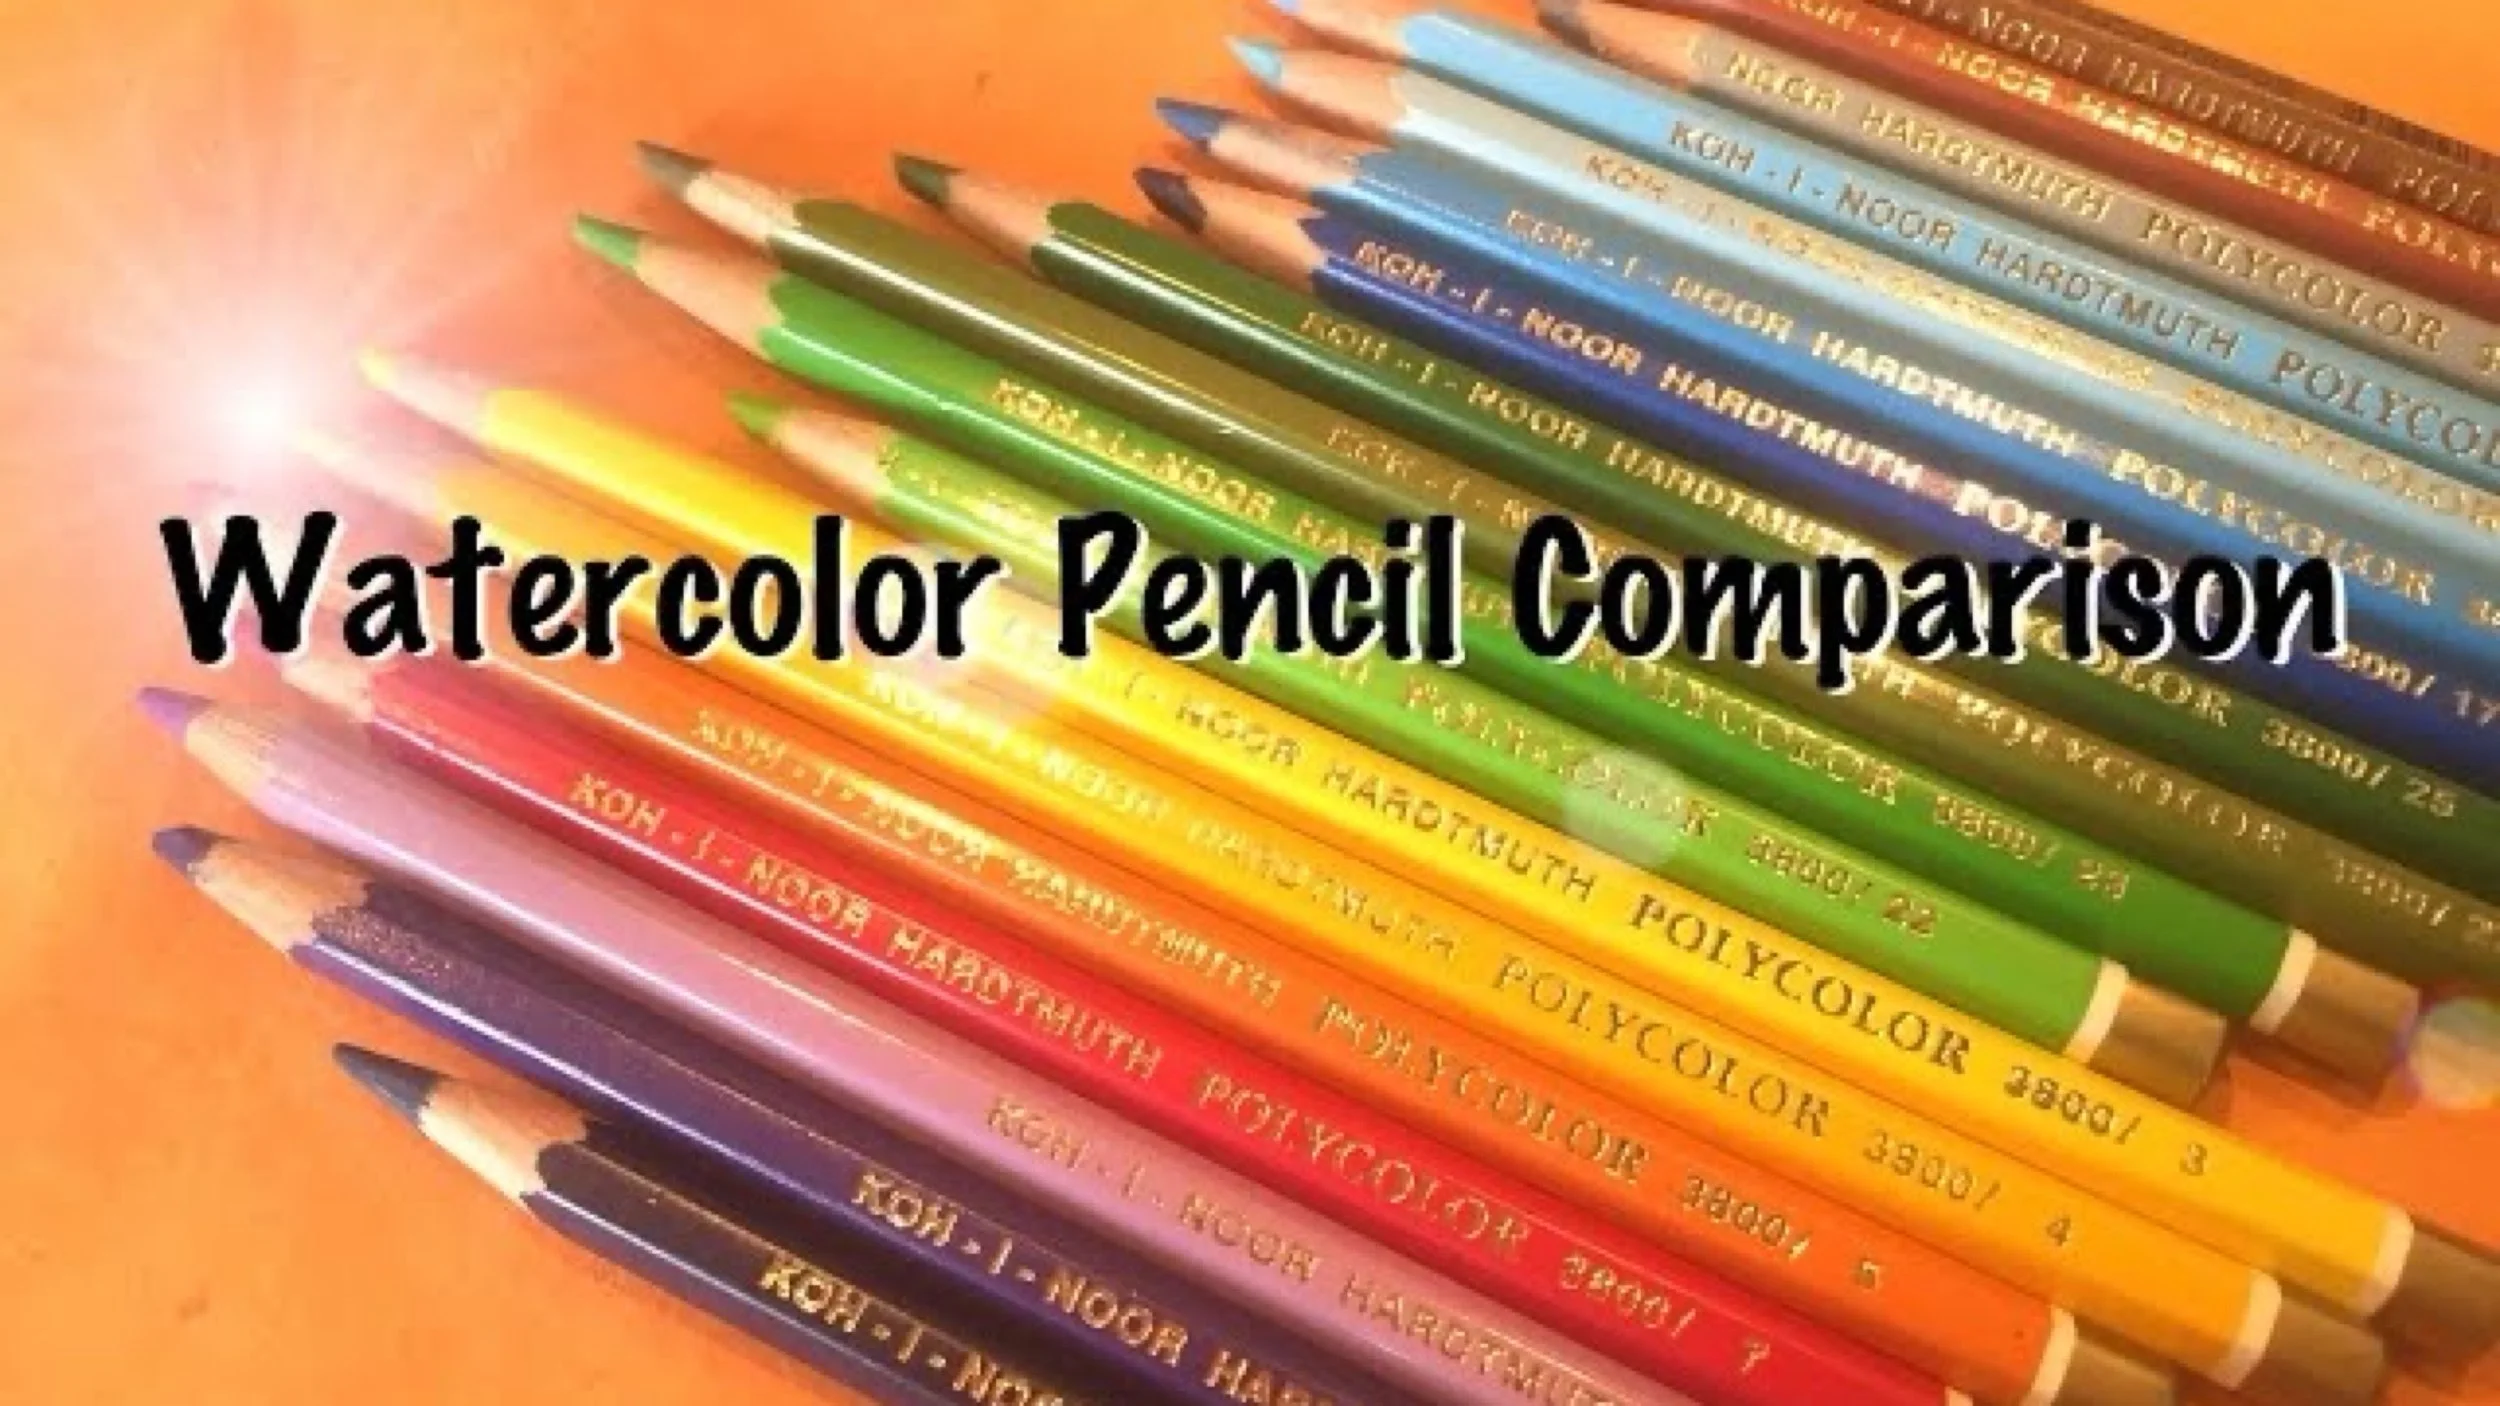
Watercolor Pencil Comparison | Derwent, Inktense, Graphitint, Koh-i-Noor
Watercolor pencils are perfect for drawings you want to bring to life with vibrant color and superb blending. They are especially great for non-detailed drawing in which colors blending into one another enhances the project.
I compare three sets of Derwent watercolor Pencils: the standard set, Inktense and Graphitint as well as Koh-i-Noor's watercolor set.
I love all four sets, so I can't recommend one over the other, but I would point out that the Graphitint set has limited colors focusing on greens, blues and grays with a limited ranch of other colors. Koh-i-Noor is brightly selected with a full ranch of vibrant colors, as do the Derwent Inktense set. The Derwent standard set is a great starter set with classic colors.
For a video on how we made our pencil cases, click here.
Check out the color pencil comparison video to see the subtle and distinct differences in color pencils.
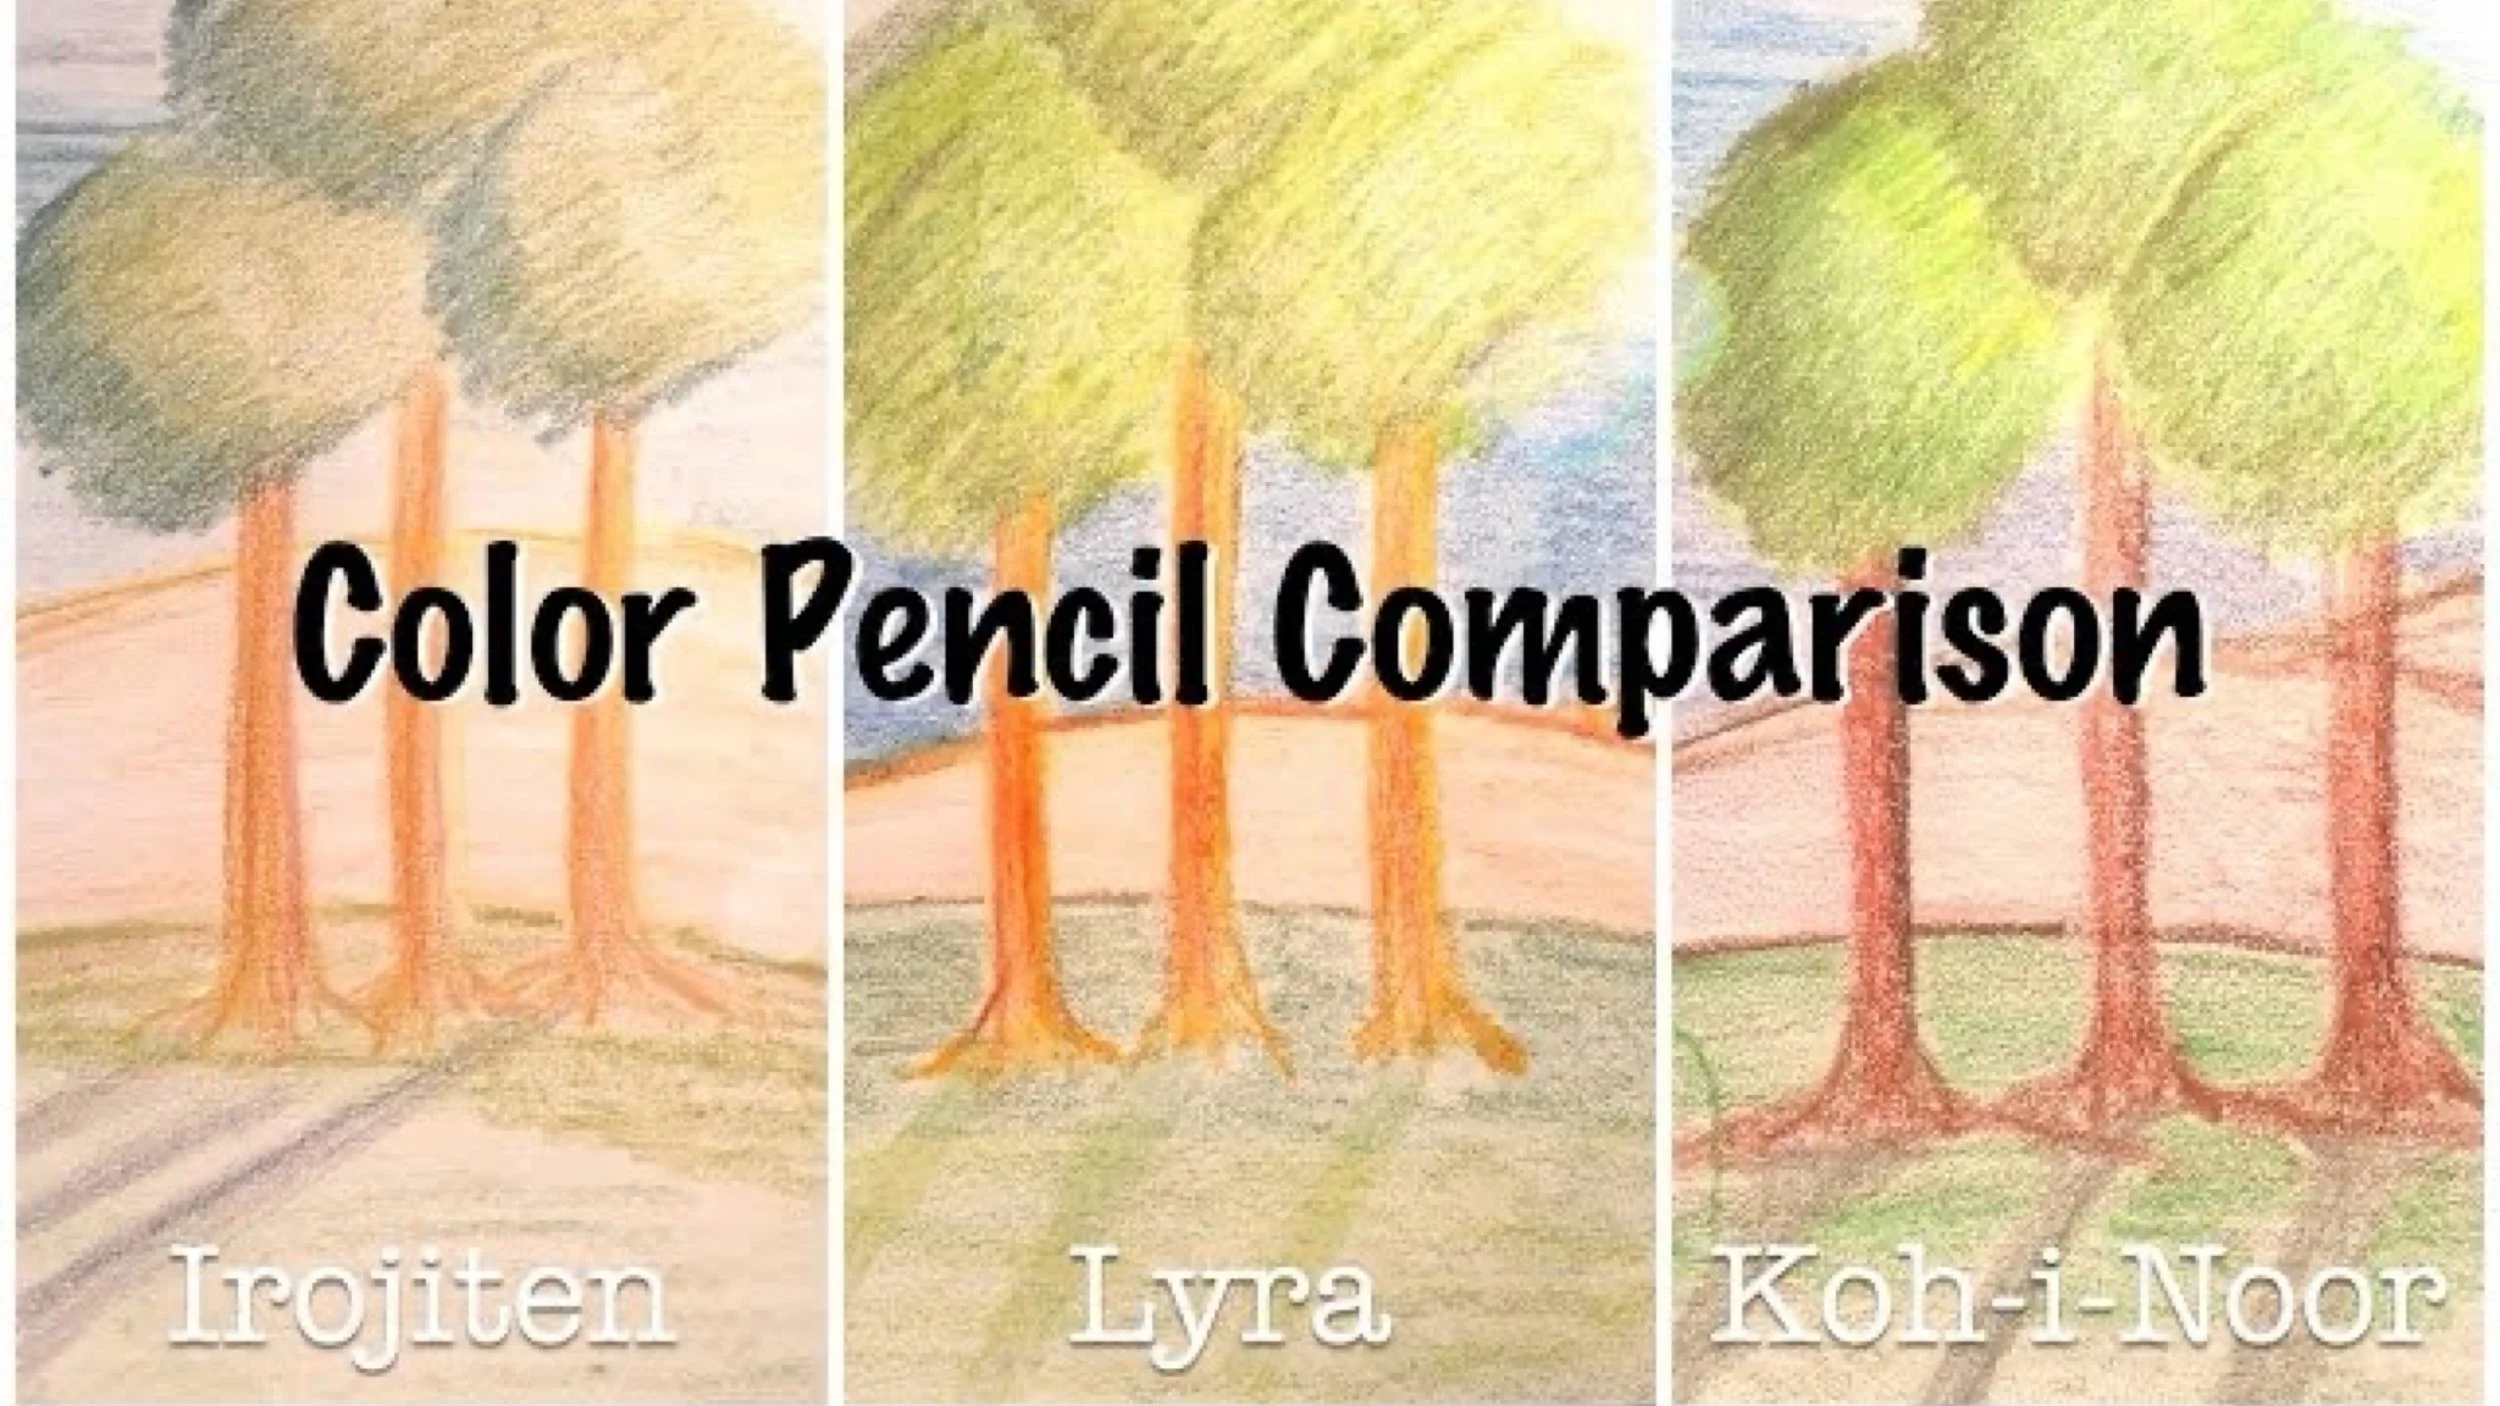
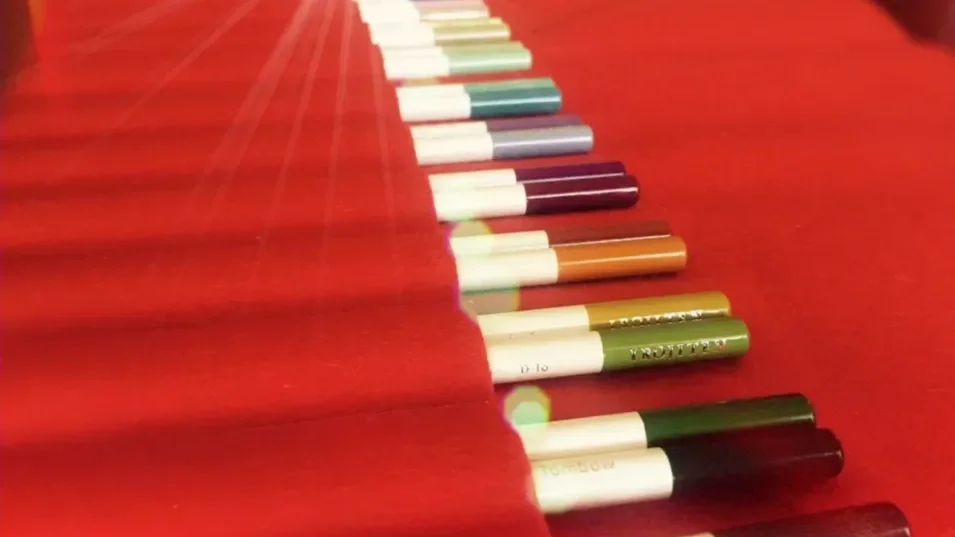
Color Pencil Comparison | Koh-i-Noor, Lyra, Tombow Irojiten
Ever wonder which color pencil set you should get? Well, I can't make that decision for you, but I can show you the difference between these color pencil sets and hopefully this will give you a better idea which one will be right for you.
I am comparing Koh-i-Noor, Lyra and Tombow (Irojiten). Koh-i-Noor is rich, vibrant and smooth. Lyra is colorful, blends well and has a wide ranch of colors. Tombow is muted, true to life and layers well.
And if you want to see our Solar System project, click here.
For a video on how we made our pencil cases, click here.
Check out the color pencil comparison video to see the subtle and distinct differences in color pencils.
How to Make a Pencil Case
In this tutorial, I showed how to sew a wool felt pencil case for color pencils using felt from A Child’s Dream, pencils from Tombow, and a sewing machine. I started with an 18-inch red felt square, folded a 5-inch pocket, and used tape as a guide to sew straight lines for pockets 6 inches wide, large enough to hold two pencils each. The finished case fits 30 pencils, perfect for sets of ten. I added a small butterfly label to identify it and store all the cases together in a red tin. I also shared a second version made from yellow felt for watercolor pencils, where I learned that marking with pencil was a mistake since it left visible lines. Even though I had to adjust the pocket sizes, the case still turned out well and now fits two pencils per pocket.
Today we are making some wool felt pencil cases for color pencils we got recently from Blick.
We are using wool felt from A Child’s Dream.
The felt is 18"x18" and the pockets are 5" deep and range from 1" to slightly larger than 1" in width. Each pocket holds two pencils.
We added little wood details to the pencil case for identification.
Supplies needed for this project: color pencils, felt or fabric, tape and thread.
Tools needed: scissors, ruler and sewing machine.
Art Haul | LOKTA Paper
I love using art supplies in our homeschool. I’m sharing with you some of the products we use often: Distress Inks, non-stick scissors and hand-made paper from Nepal. All the supplies were purchased from Dick Blick.
Distress stains, Distress Inks and reinkers, and Non-Stick scissors are all staples in our homeschool. Another great product is this Long-Reach Stapler from Demco that we use for make our own notebooks and journals.
We use distress inks for every unit study we do from geometry, to ancient Rome to astronomy. I love adding an artistic flare to our homeschool.


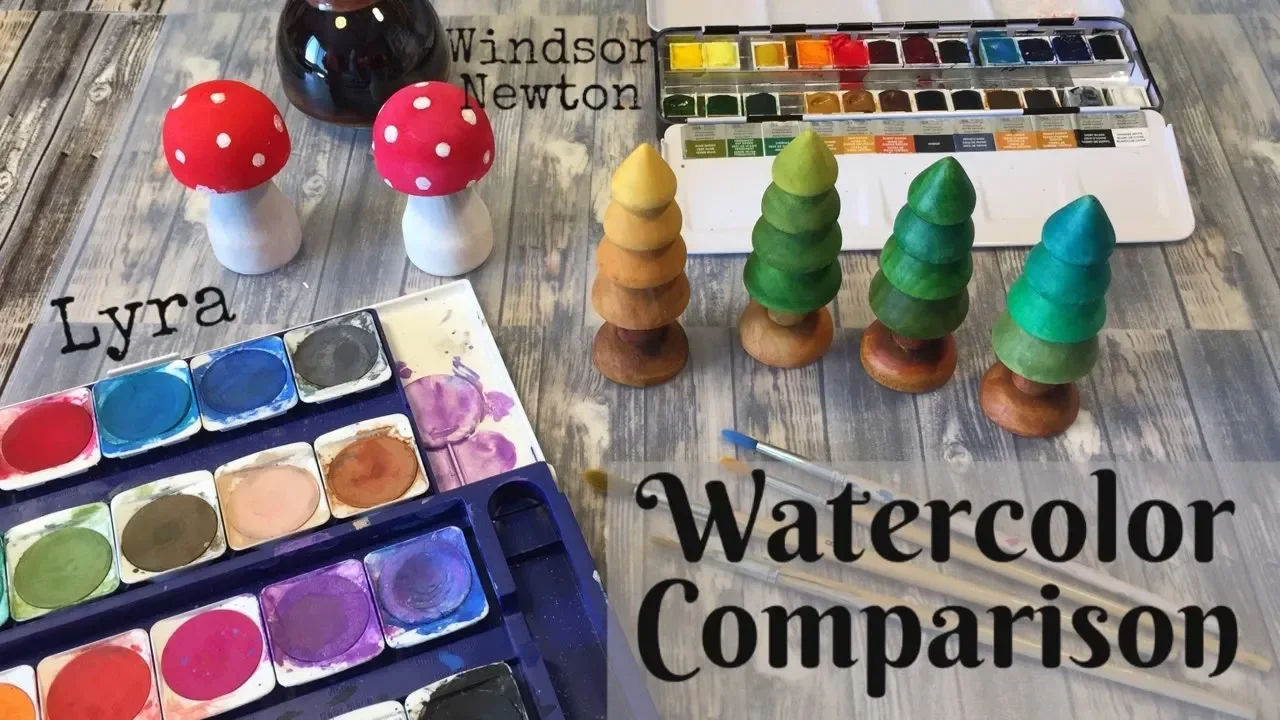
Watercolor Comparison | Winsor Newton and Lyra
Having trouble choosing the right paint for you wood pieces? There are many to choose from and while many peg dolls are painted with acrylic, there are other choices if you wish for the wood grain to show through your final project.
Today, I’m sharing the results of using Winsor-Newton watercolors and Lyra opaque watercolors. Each have their benefits and unique results. While the ultimate choice is one of preference, ease and cost, in this video, you’ll be able to see how each performs on wood pieces I got from Jo-Ann craft store. I also use a beeswax polish on each to show the difference if that’s something you wish to do. When using watercolors, you risk having color transfer if the wood gets wet. Sealing the wood gives a rich finish, but you will lose some of the matted look you get from using the Lyra opaque watercolors.
These projects were for my 7-year-old daughter. She loved them and plays with them with her peg dolls and finger puppets.
**This post is not sponsored. No products were received for free.
No affiliate links are used. Links to these products are for your convenience.**
Winsor-Newton watercolor
Peg dolls
Wood pieces from Jo-Ann (Make it Love it Brand):
Currently Unavailable or Discontinued
Storage + Organization for Scarves | Sarah's Silks
Looking for a way to keep your play scarves, silks and wraps neat, organized and easy to get to? Look no further. I have a super simple solution you can do for just a couple dollars, as well as a more permanent slightly more expensive option.
With just a dowel, shower curtain rings and some string, you can have a beautiful solution to how to store your scarves. Simple put your shower curtain rings onto the dowel and slip your scarves through the shower curtain ring. Hang your dowel anywhere using screws and some string. Silks are easy to retrieve and easy to put away. Hang at child's height so children can have easy access.
This helped solve the problem of crumpled silks and instead turns them into classroom decoration as well as playing inspiration!
You can find other organizing solutions here.
You can find Sarah's Silks at A Child's Dream.