Watercoloring
in Waldorf Education
Watercoloring in the Waldorf method of wet on wet painting is a skill honed and tool used in Waldorf settings. The at-home teacher may used these methods as well to enhance main lessons. Painting can be relaxing and meditative, but if it doesn’t feel that way to you or your child, don’t despair. You may just need some time to find your way while working with this artistic medium. Waldorf lessons, rhythms, and routines harmonize between ‘in-breath’ activities and ‘out-breath’ activities. While watercoloring may typically be considered an ‘out-breath’ experience, for some it isn’t. Having homeschooled my children since 2003 with a Waldorf inspired approach, I am finally completing my Waldorf teacher training and have learned through lectures and experience that many of the art expressions are not universally felt as ‘out-breath’ experiences. In fact, for some, the intensivity require, produced or experienced from watercoloring or drawing needs extra time to decompress following the lesson. If you find that your child is exhausting their willing, feeling or thinking forces, these lessons will need to be balanced with other activities.
Watercolor Lessons
-
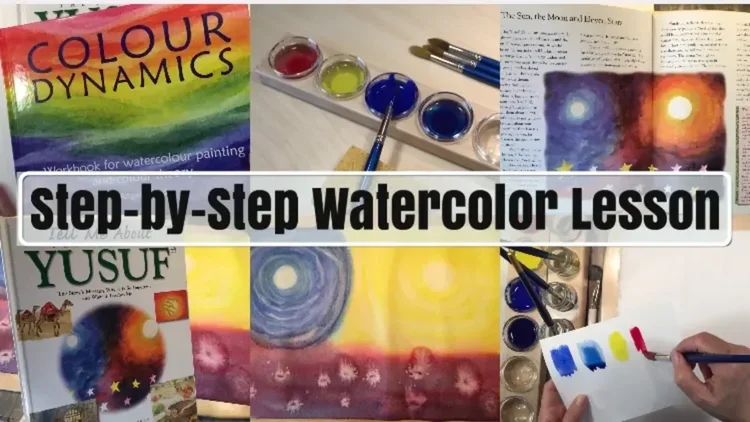
Step by Step Watercolor Instruction | Primary Colors
While this may be a step by step tutorial, you'll find that I made a number of mistakes while instructing my 7-year-old daughter. This is a live lesson with no edits, so you'll see the whole process from start to finish. I show how to mix Stockmar watercolors, which paper we use, how to mount the paper and which brushes work well.
-

Watercoloring Pumpkins | Kindergarten & FIRST GRADE
Have you ever limited your paint pallet to just yellow, red and blue? Having the freedom to choose from a myriad of colors is thrilling, but equally thrilling is being able to make a variety of colors with just the three primary ones.
-
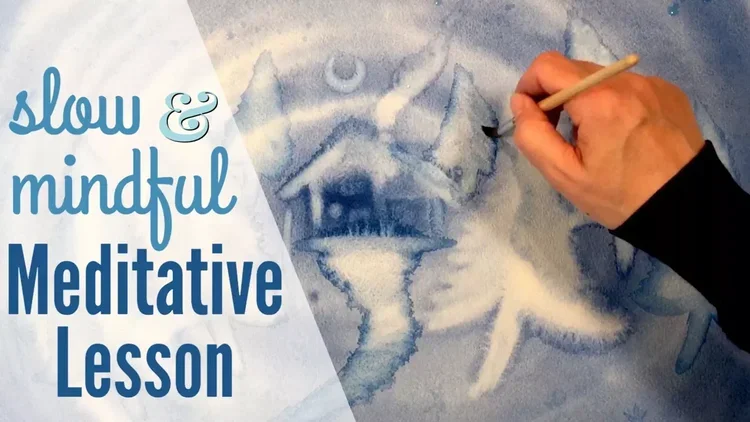
Watercolor Lesson with Story Telling
At times this video is painfully slow and quiet. I decided to leave this as unedited as possible so you can see how a lesson proceeds from start to end with unexpected changes and challenges. At the end of the video, I share some reflections on the lesson. It seems like most recent watercolor lessons have been flops.
-

Watercolor Painting Course
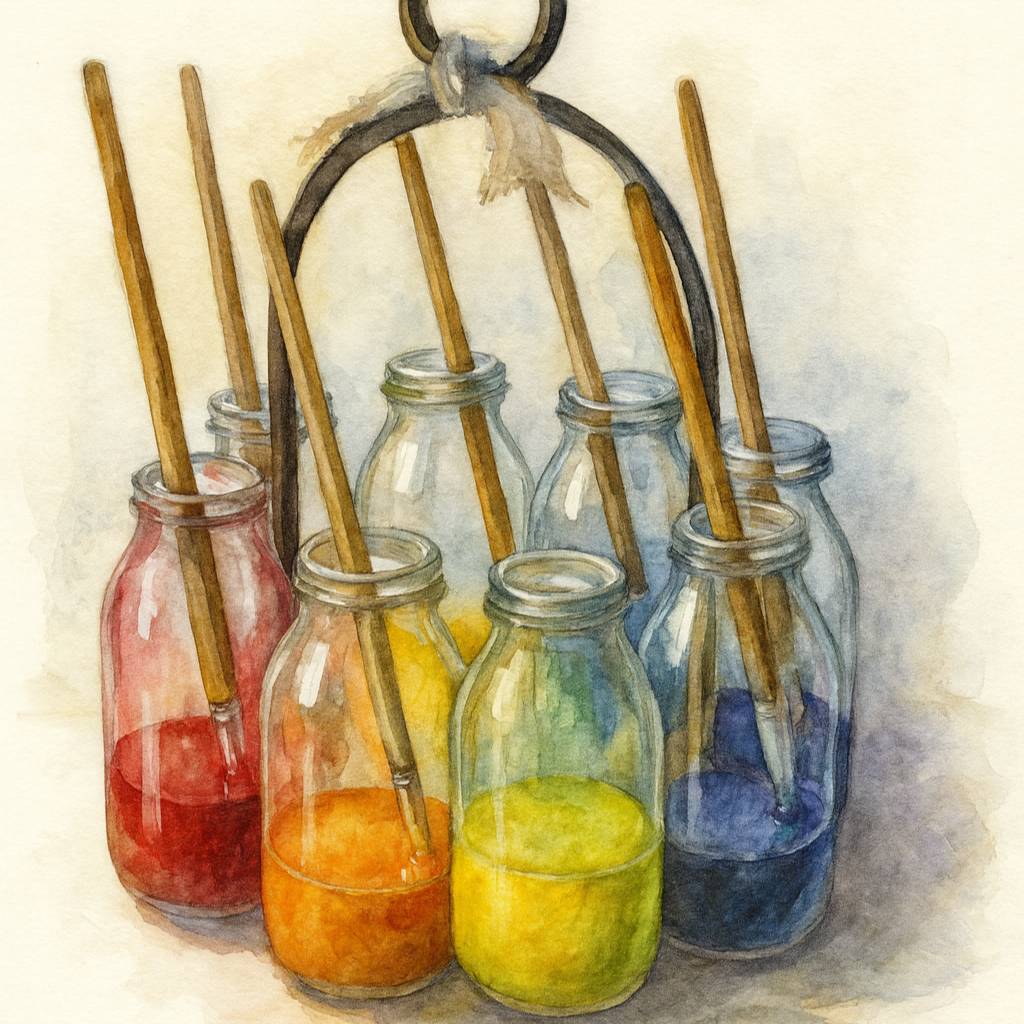
Lately, I've been using open glass jars for our paints and they've worked well for one surprising reason: The paint doesn't mold! Instead, the water simply evaporates and and leaves a dried cake of paint which can be rehydrated for later use. This has worked out well for this series of lessons because, while we are working through lessons almost daily, we are not using all the colors at the same time, so some of them dry out and all we need to do is add a bit of water and get painting!
-
Lesson 1 Yellow
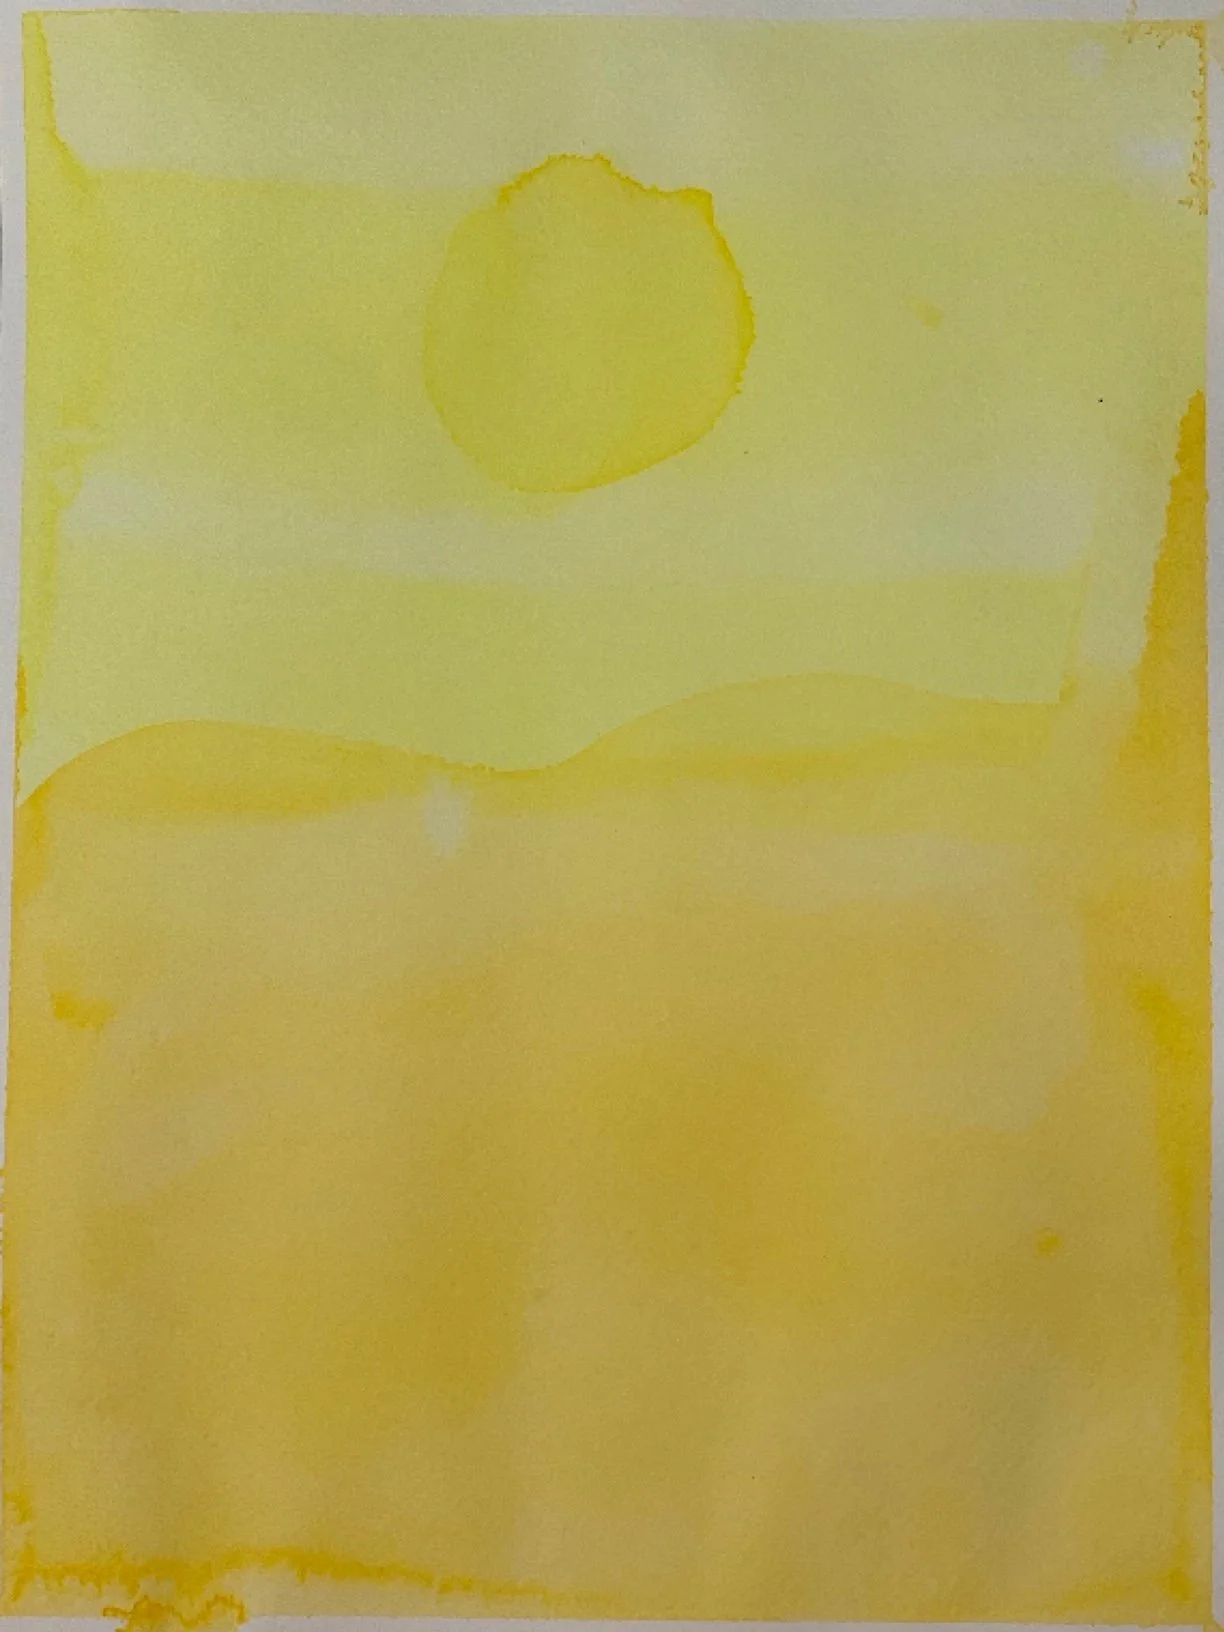
Lesson 1 is all about exploring the color yellow. It seems simple enough and yet in practice it was really challenging! I’m not sure if the challenge is universal and only felt with adults who have already spent their whole life working with colors rather than creating shades of a single one. What you might experience as you go through these lessons is that you, the teacher, are learning too.
-

Lesson 2 Shades of Yellow
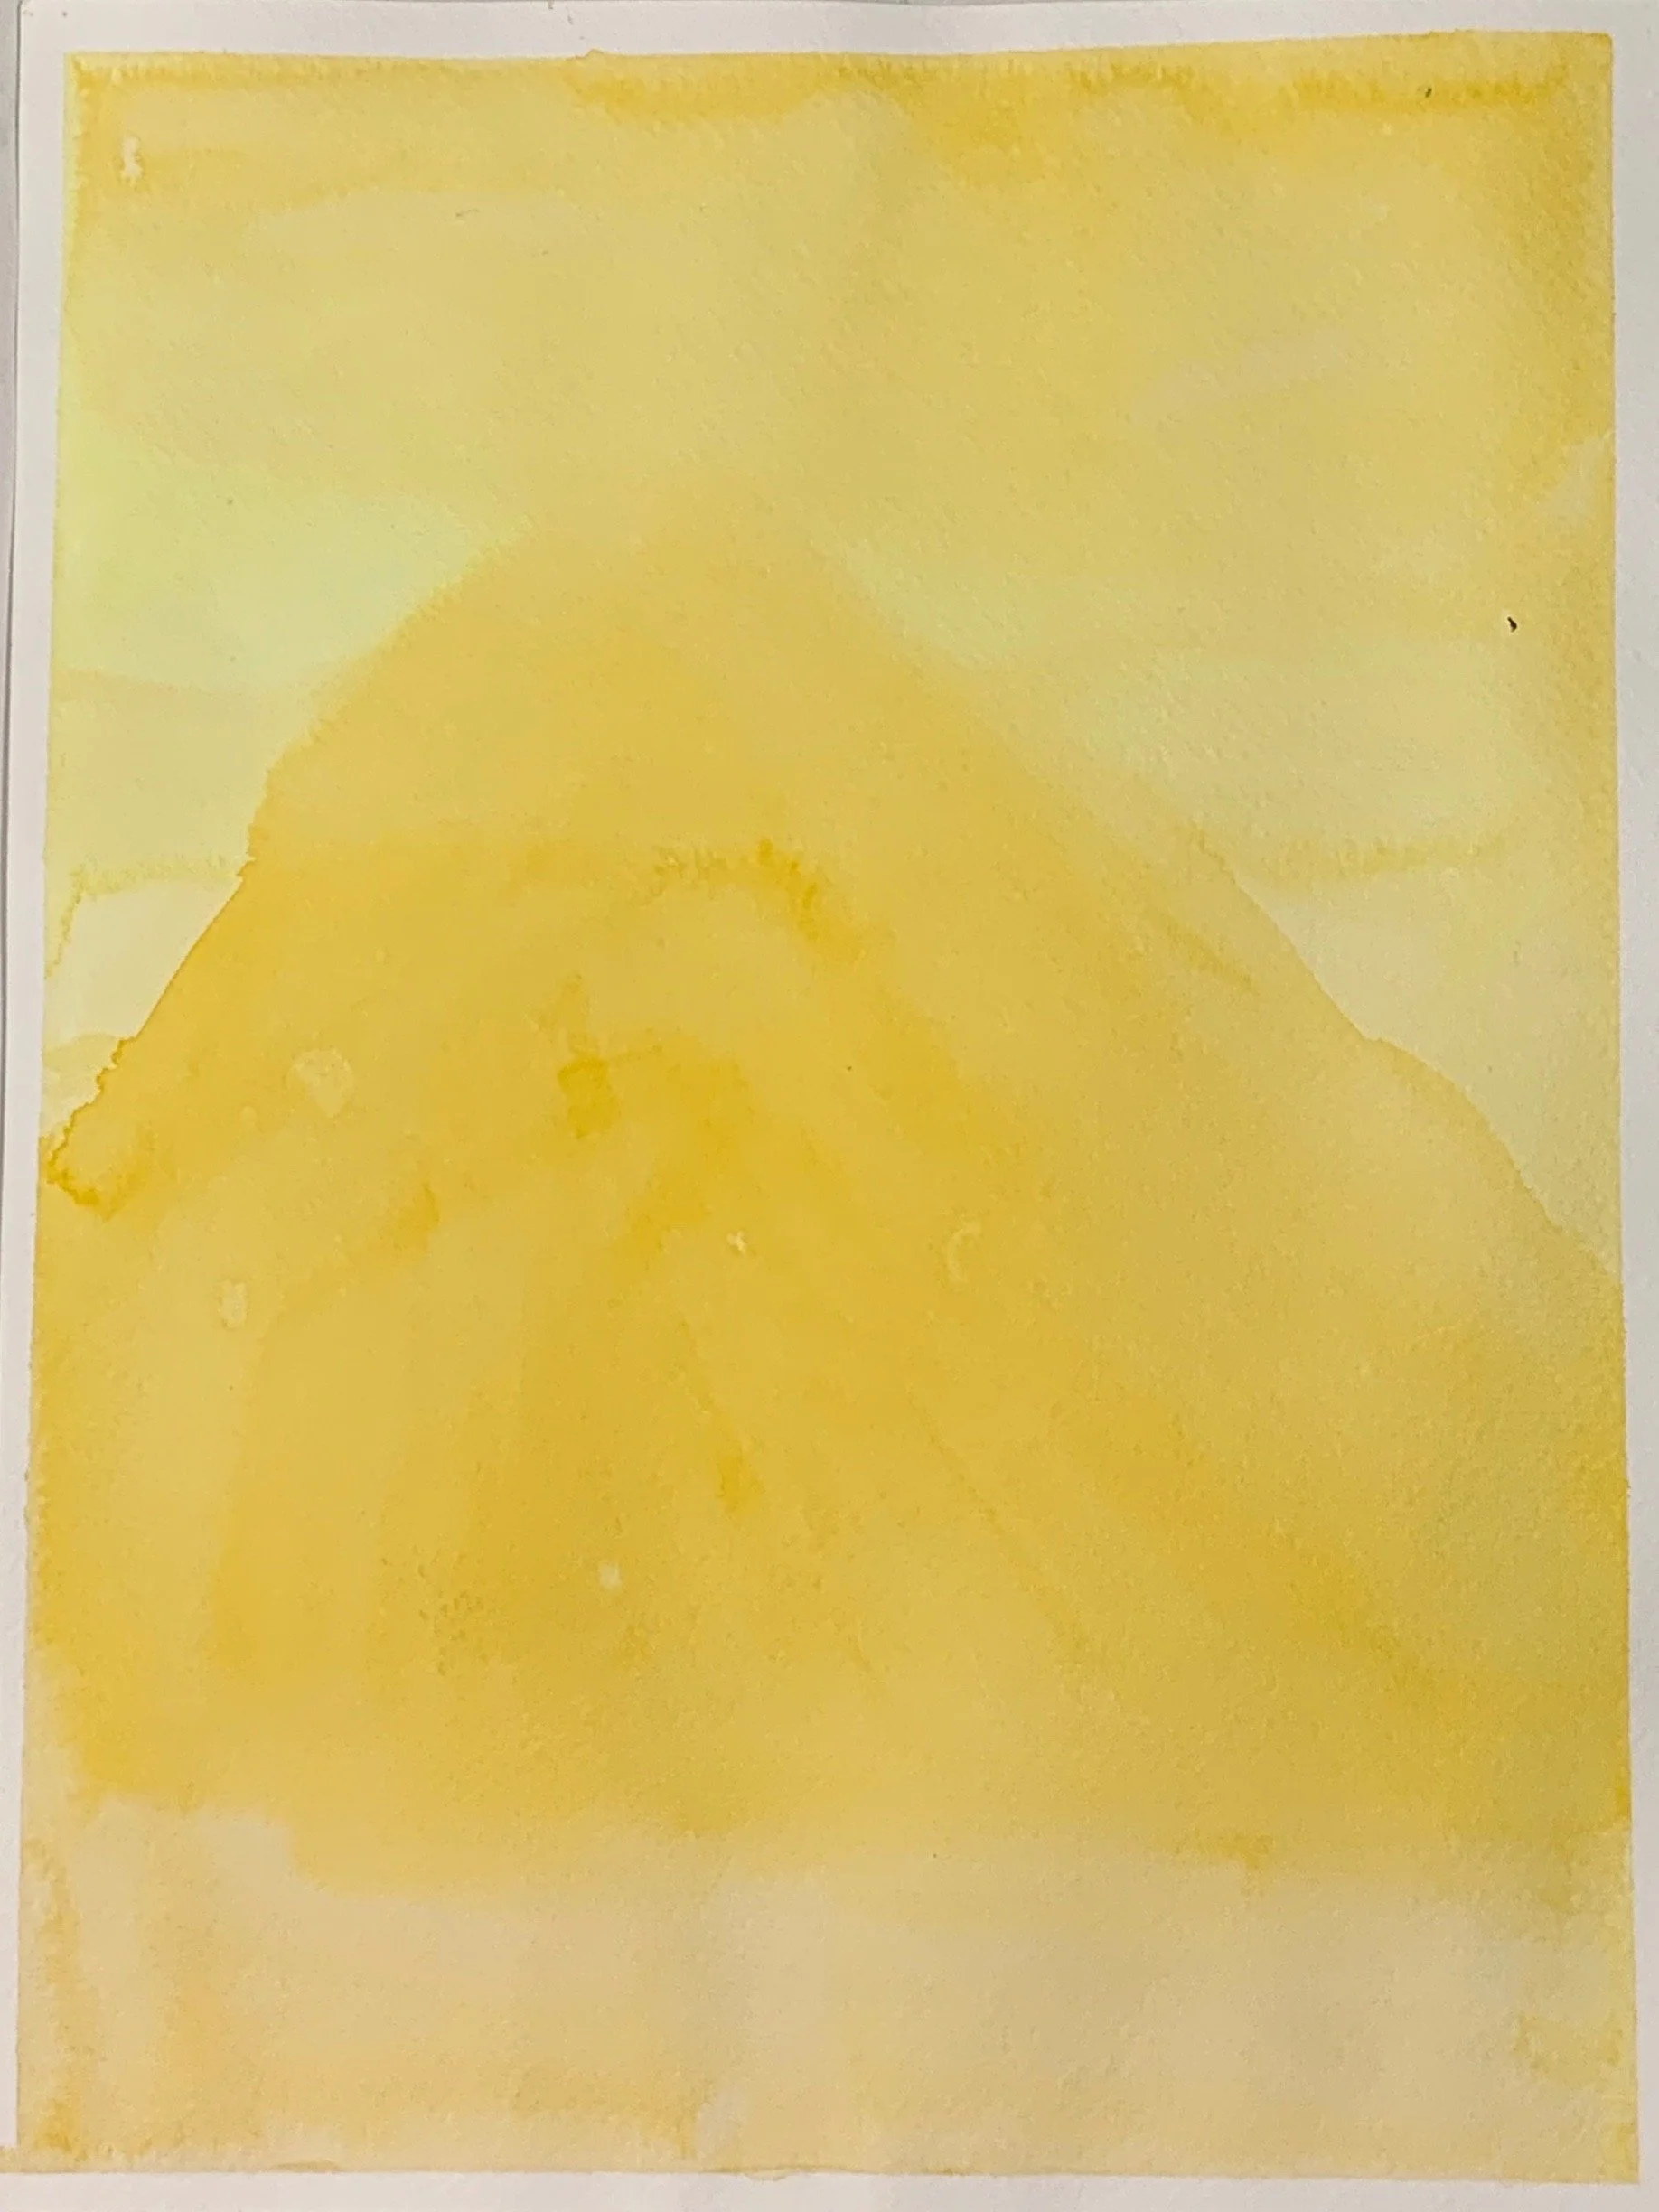
In lesson 2, we dive further into the color yellow. Because the Stockmar paints come with a bright yellow and a warm golden yellow, this lesson lent itself well to exploring both yellows together. While this is a suitable second lesson, you may wish to continue exploring yellow on its own during this lesson, but use the golden yellow instead.
-

Lesson 3 Blue
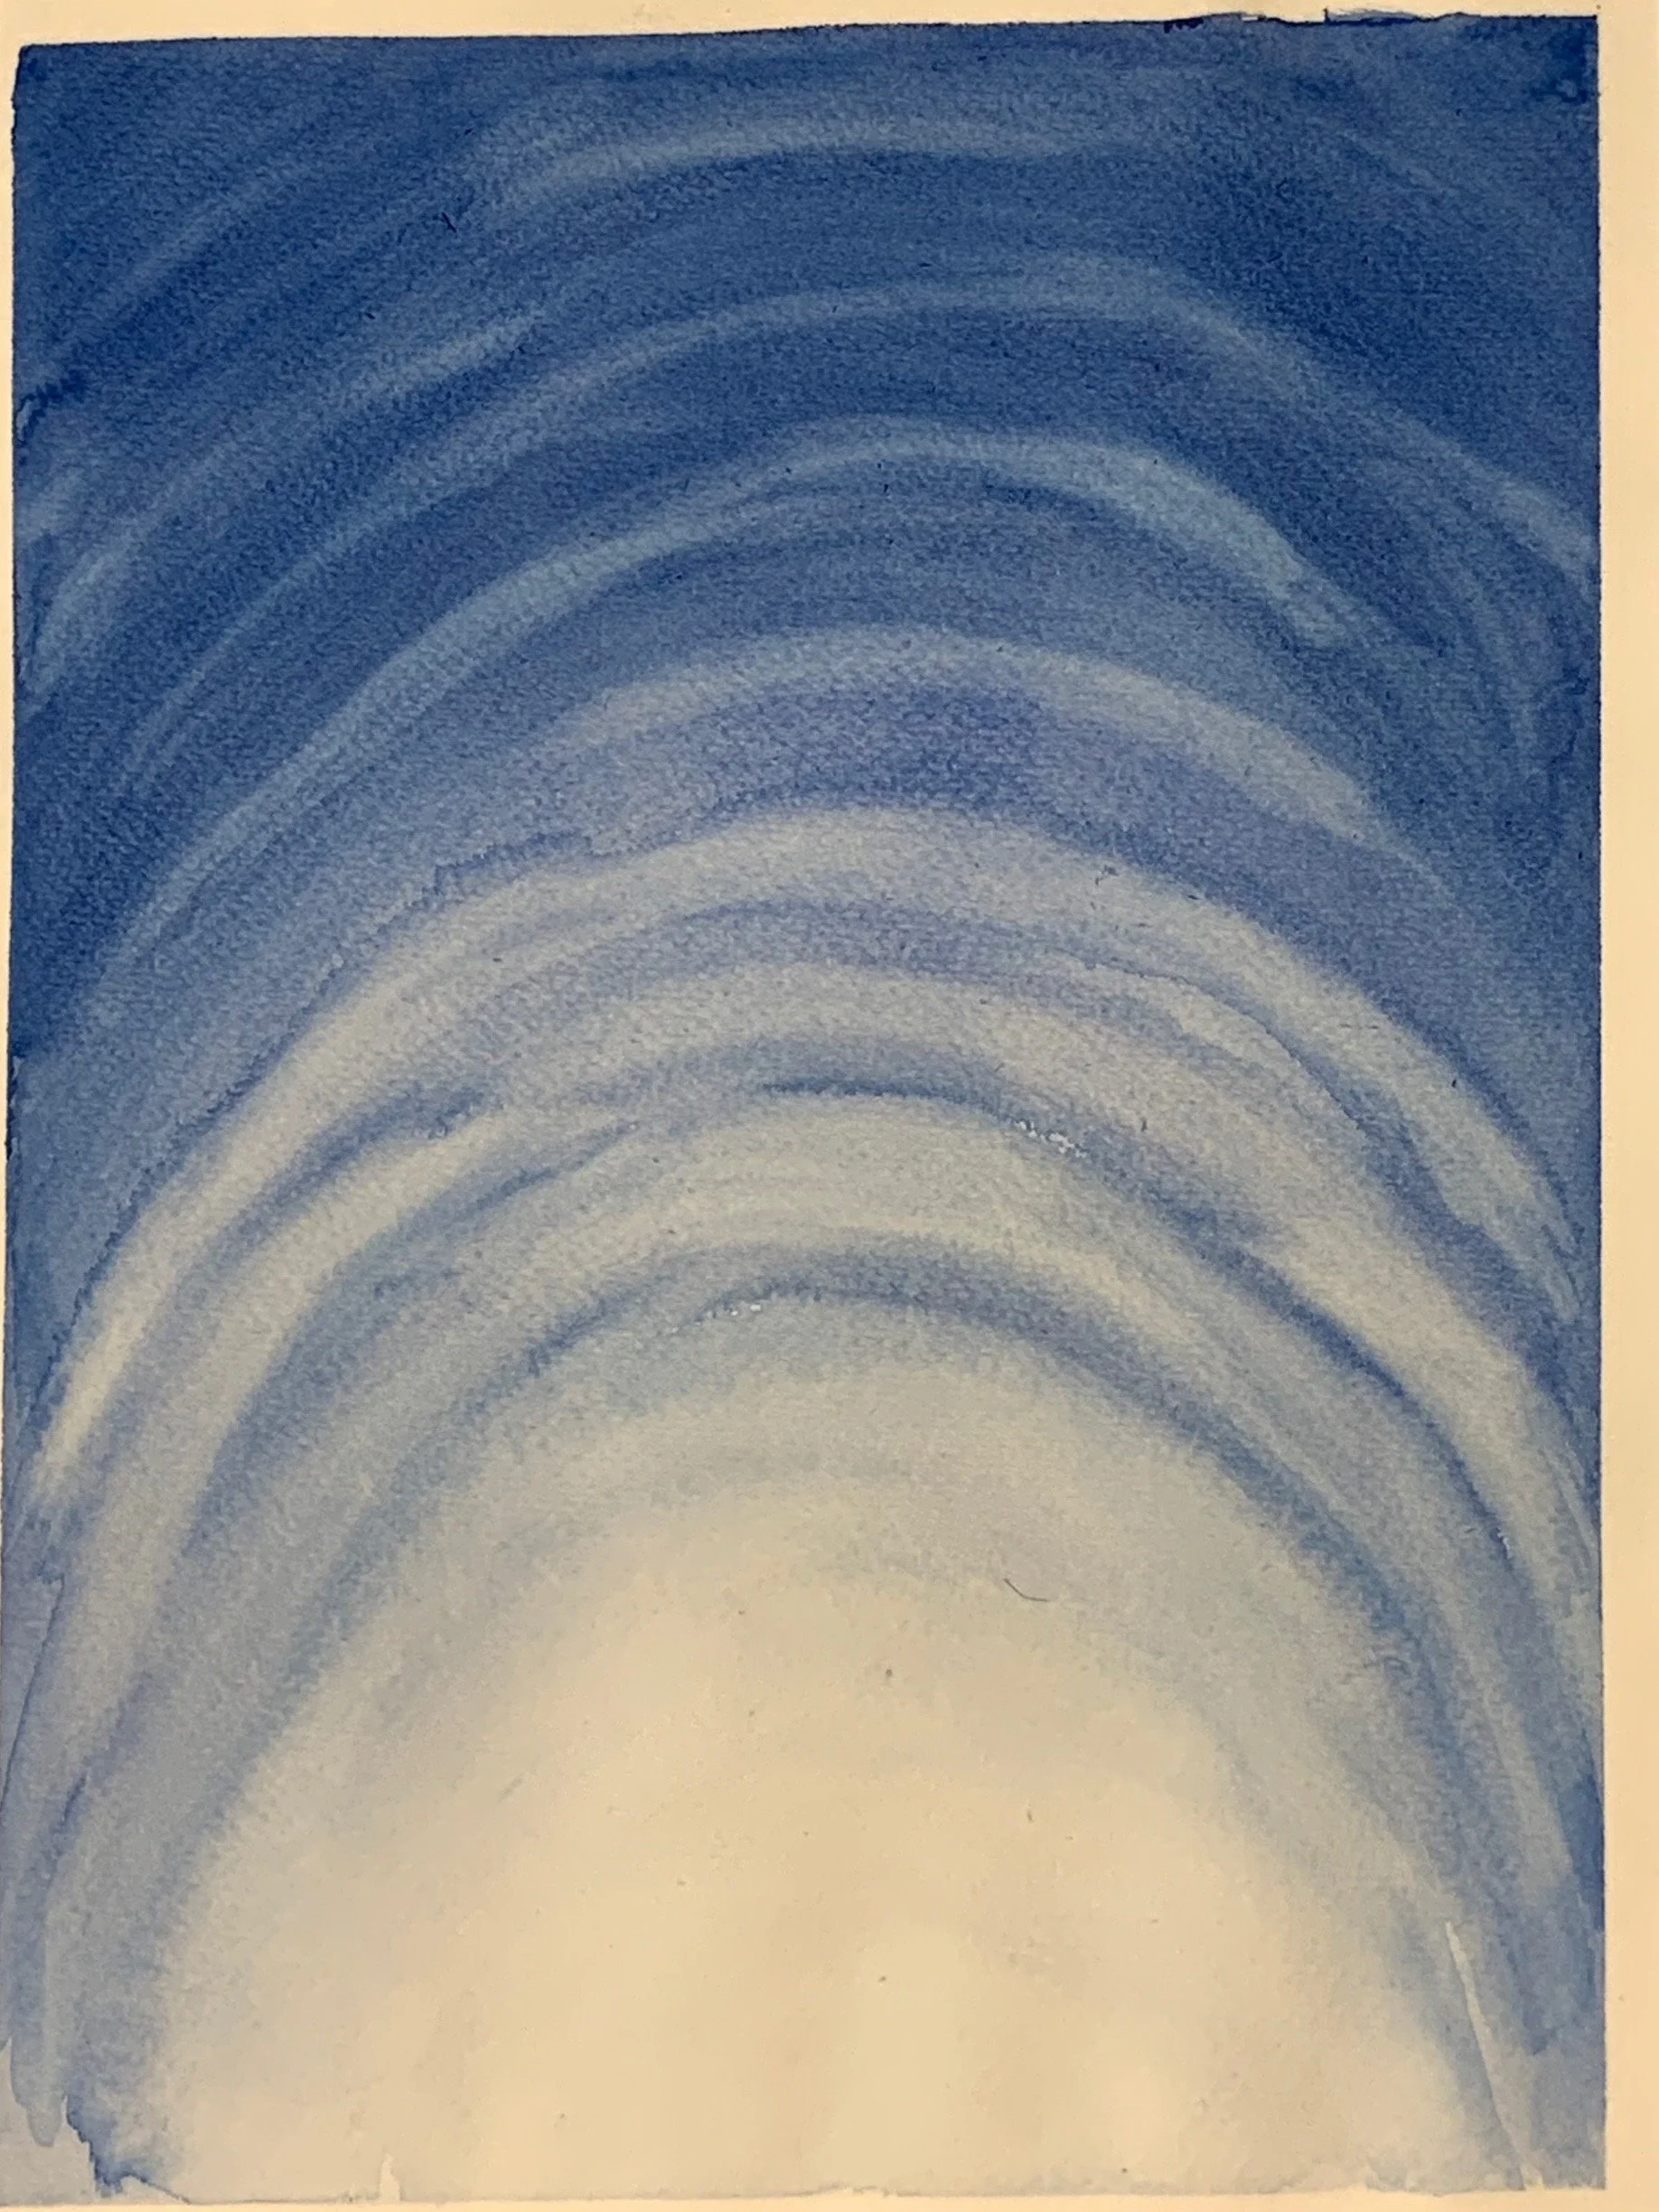
In lesson 3, we explore the color blue. For this lesson we made arches in varying intensities of blue. You may find that some students and teachers are firm, defined and somewhat rigid. Can you tell between us which person was like that? If you look at the final paintings, you’ll see how beautifully my daughter’s shades blended into one another. Mine are so defined and in my opinion, not as beautiful to me for what I was wanting.
-
Watercoloring Techniques | Waldorf
Watercoloring is one of my kids' favorite artistic outlets. I'm going to show you a few different techniques that you can do using a typical Waldorf technique called 'wet on wet' watercoloring in which the watercolor paper is first wet with water using a sponge or dipping it into a basin of water.
Watercolor Lessons
Step by Step Watercolor Instruction | Primary Colors
While this may be a step by step tutorial, you'll find that I made a number of mistakes while instructing my 7-year-old daughter. This is a live lesson with no edits, so you'll see the whole process from start to finish. I show how to mix Stockmar watercolors, which paper we use, how to mount the paper and which brushes work well.
This lesson is suitable for a grade 2 student, but works with a grade 1 or KG student as long as the student can handle the paint brushes properly.
Watercoloring Pumpkins
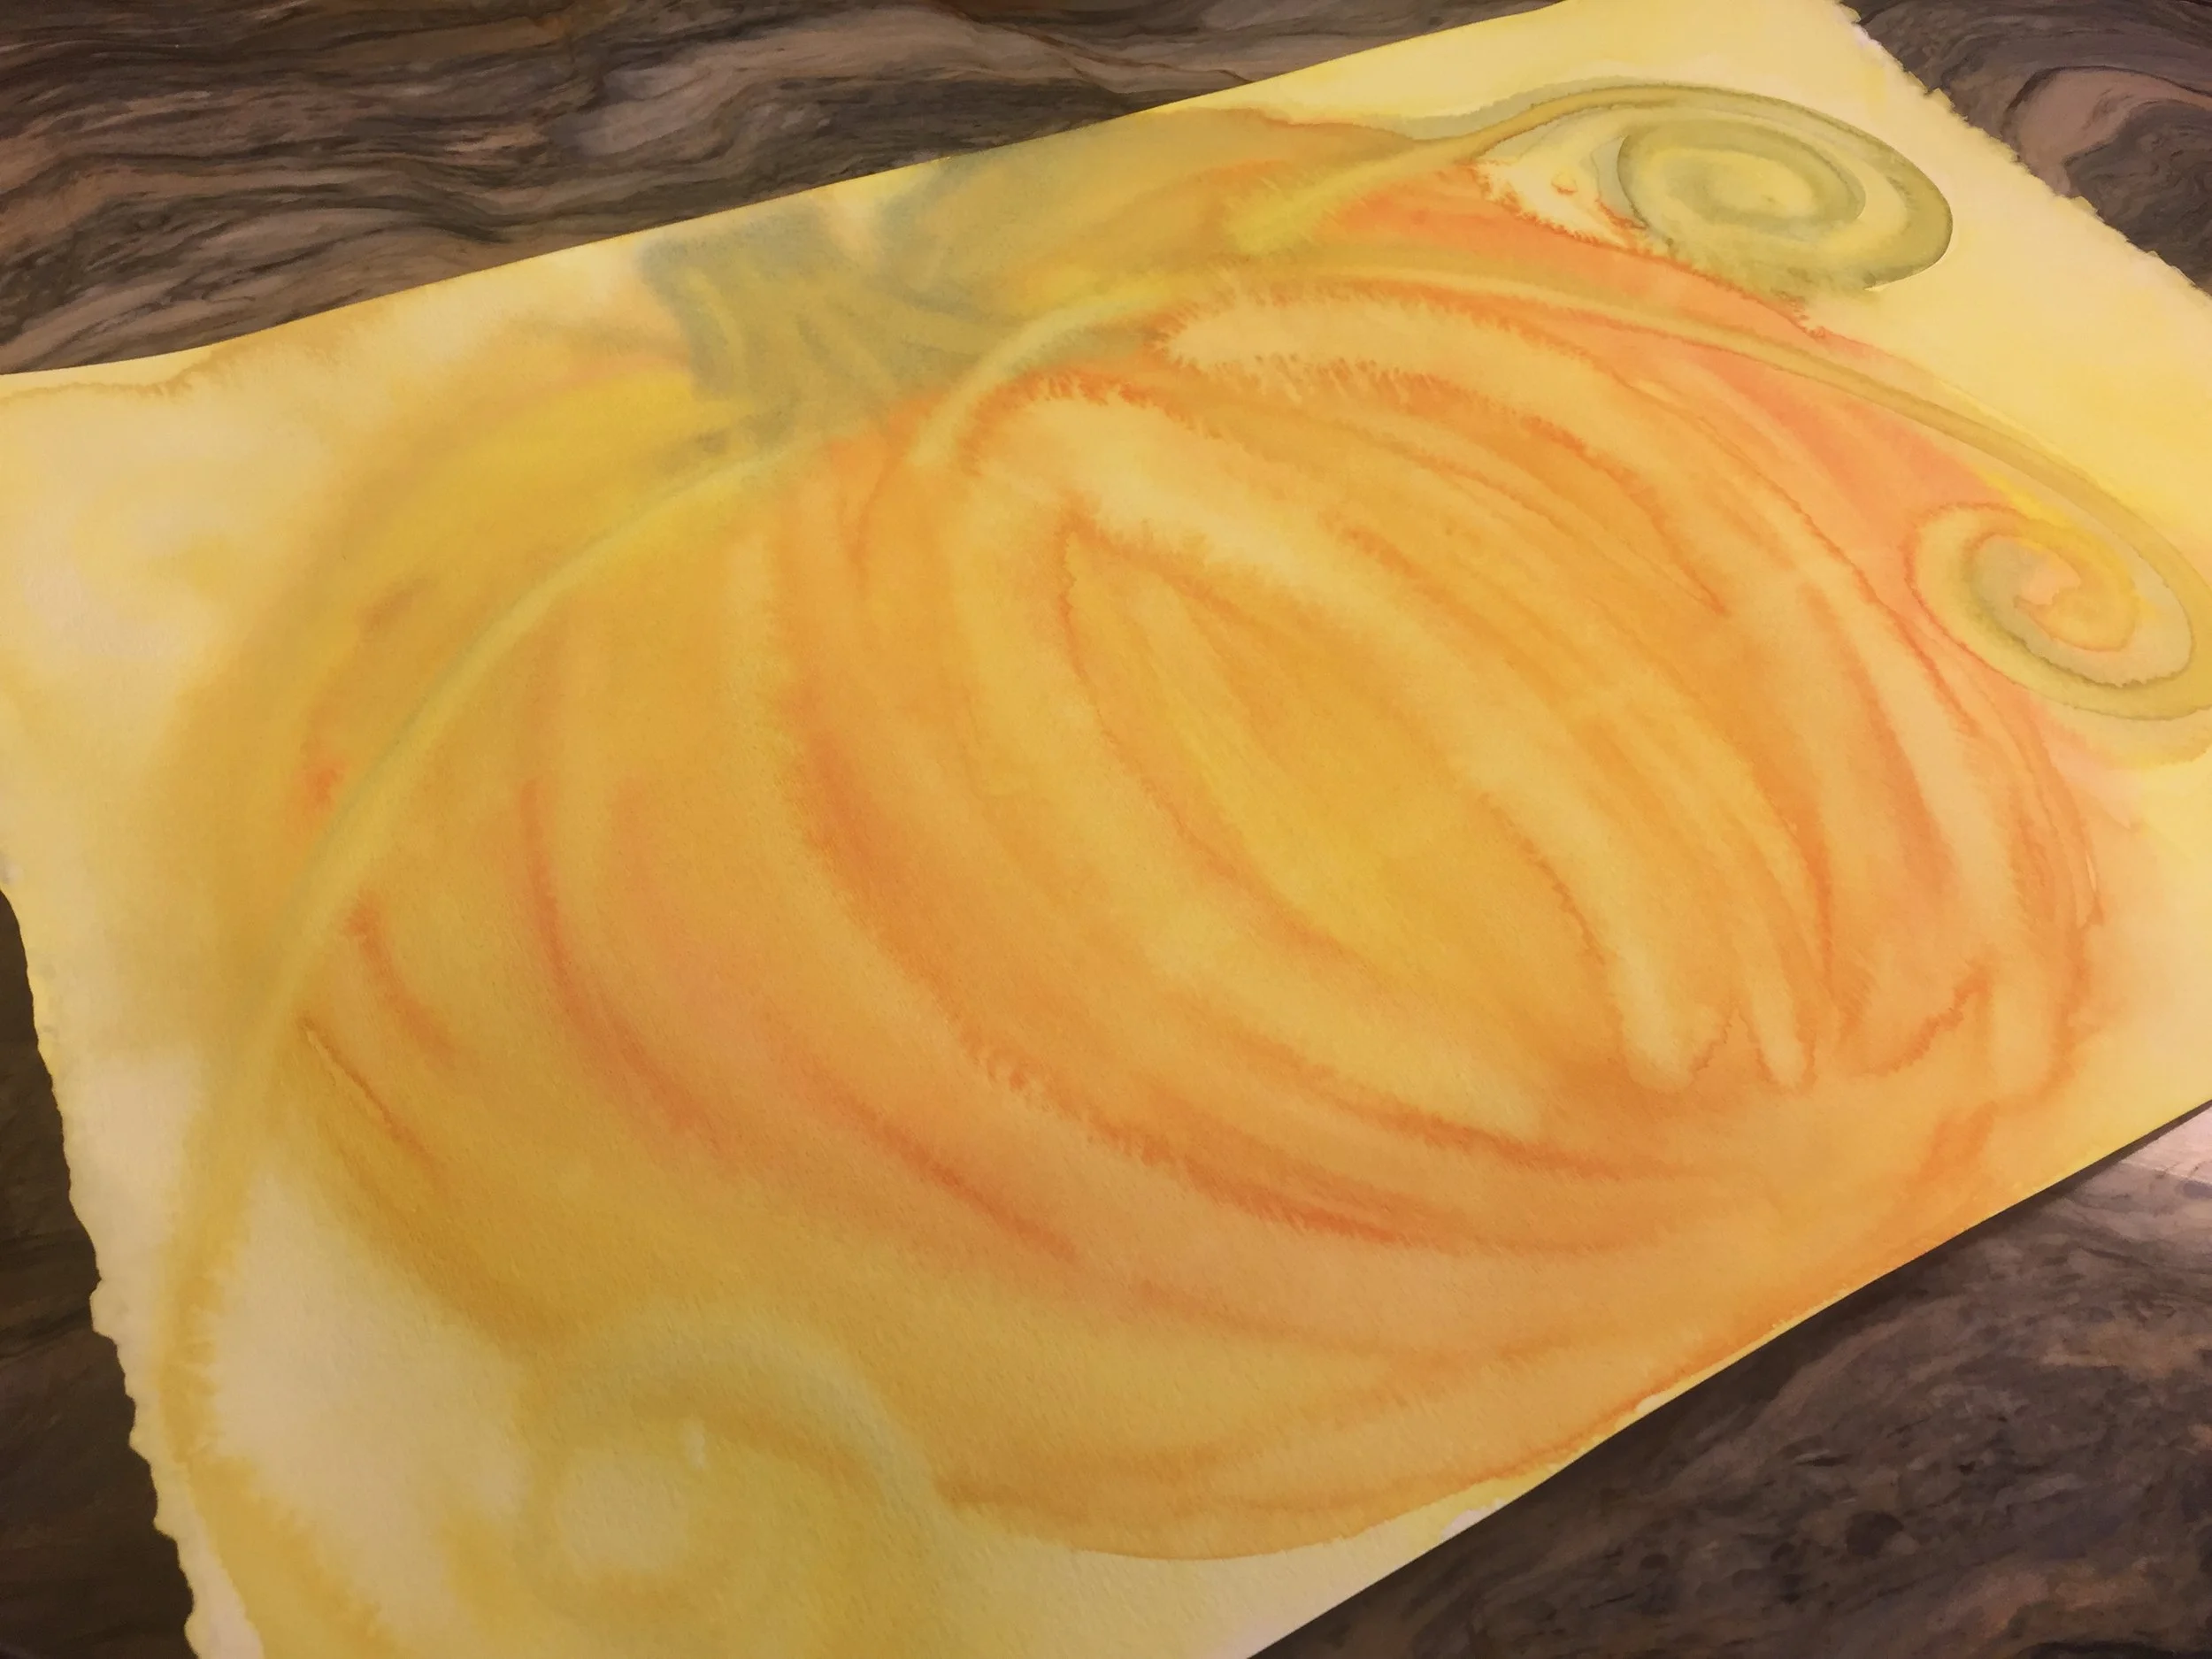
Have you ever limited your paint pallet to just yellow, red and blue? Having the freedom to choose from a myriad of colors is thrilling, but equally thrilling is being able to make a variety of colors with just the three primary ones.
Today’s project is making pumpkins using just three colors: yellow, red and blue. We begin by painting the whole paper yellow. This is a good opportunity to tell a story about the bright sun and how grateful the pumpkin seedling was for the warmth and sunshine. Next you add some watered down red to the yellow to make the pumpkin. A blazing sunset might represent the red, or the special transformation that occurred to the pumpkin when it grew from a flower into a pumpkin. Next add the blue to the yellow surrounding the pumpkin to make your leaf finishing off with a bit of red and blue to make the stem.
My kids and I loved this project and now our paintings (mine included) are hanging in our school room.
You can find the Stockmar paints and watercolor holder with jars at A Child’s Dream. Paint brushes and watercolor paper are from Waldorf Supplies.
Find me on Instagram where I post our projects almost daily!
October 2016


Watercolor Lesson with Story Telling
At times this video is painfully slow and quiet. I decided to leave this as unedited as possible so you can see how a lesson proceeds from start to end with unexpected changes and challenges. At the end of the video, I share some reflections on the lesson. It seems like most recent watercolor lessons have been flops. For a few reasons, this lesson didn't go as planned. Working with creating negative space was too challenging for my 7-year-old, but my 11-year-old managed just fine, though he didn't enjoy this lesson as much as other lessons. What's interesting to note is that while I saw this lesson as a 'failure', my kids didn't.
My daughter loves the result of her watercolor. I had fully expected to upcycle this project immediately and turn it into handmade paper! We used high quality 140lb. Strathmore watercolor paper, all-natural fiber wide paint brushes and Stockmar watercolor paint in Prussian Blue and Ultramarine Blue. This paper is very expensive, so when we work with it, it's for guided watercolor lessons. We have less expensive watercolor paper for everyday free expression. My kids do like the guided lessons for two reasons: it feels like school and they like the companionship and attention. While I didn't show my children's process as much as other lessons, know that I was looking in on theirs, speaking with them and helping them more than the video shows. Upon reflection, it looks like I'm lost in my own artwork. Because of space restrictions in my filming area, it was not possible to show all three projects at the same time.
For more real-time lessons, check out this playlist.
For our winter projects, check out this playlist.
For our first grade lesson, check out this playlist.
Material used
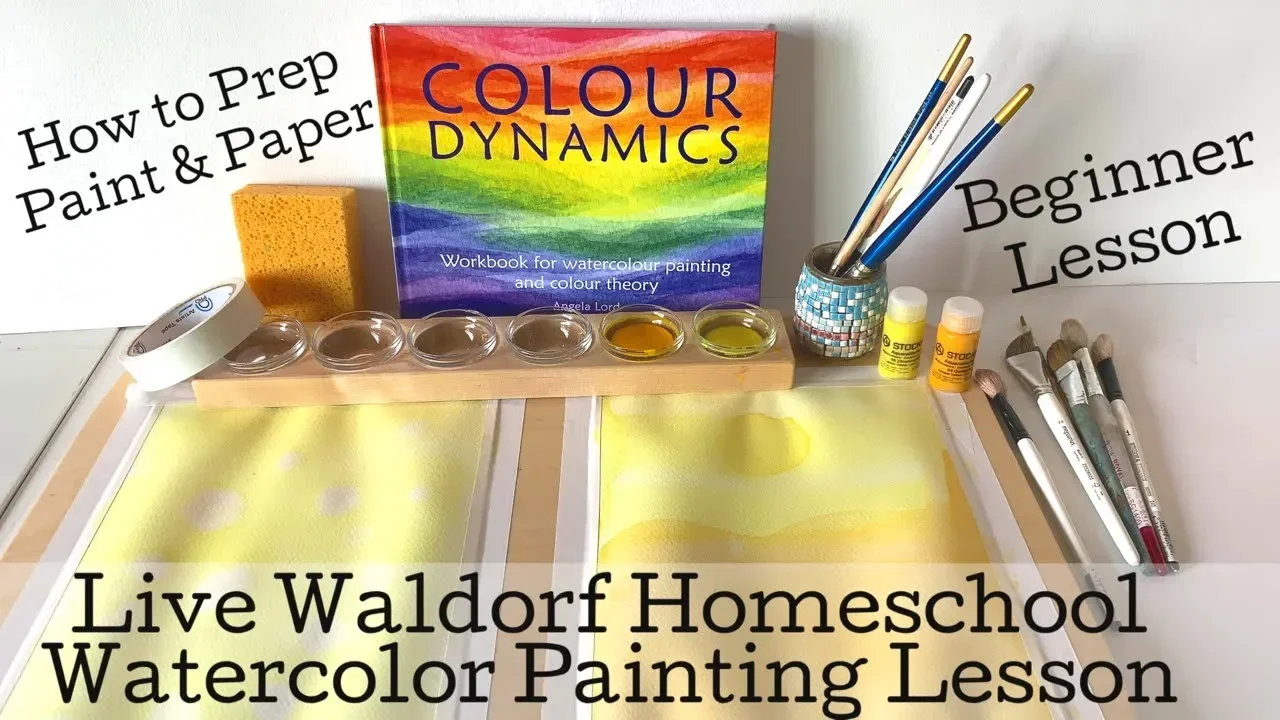
Watercolor Painting Course | Overview of Lessons Via IG Stories
Watercoloring in the Waldorf method of wet on wet painting is a skill honed and tool used in Waldorf settings. The at-home teacher may used these methods as well to enhance main lessons. Painting can be relaxing and meditative, but if it doesn't feel that way to you or your child, don't despair. You may just need some time to find your way while working with this artistic medium.
In this series, I'll share tips and reflections throughout the live video. I'm recording these videos live with no edits (with some exceptions) so you can see the whole process from set up through lesson and clean up. I walk you through the process of mixing paints, preparing your workspace, taping down your paper, explaining which paper to use and which brushes work best. Next, my 8-year-old daughter and I do the watercolor painting lesson. I walk my daughter through the lesson with me, but sometimes we make changes as we go.
For these lessons, we are using the book Colour Dynamics by Angela Lord. It has been a tremendous inspiration for these lessons. The book is gorgeous and features a number of examples from beginner level to advanced. You can find this book and others by Angela at my favorite Waldorf vendor A Child's Dream.
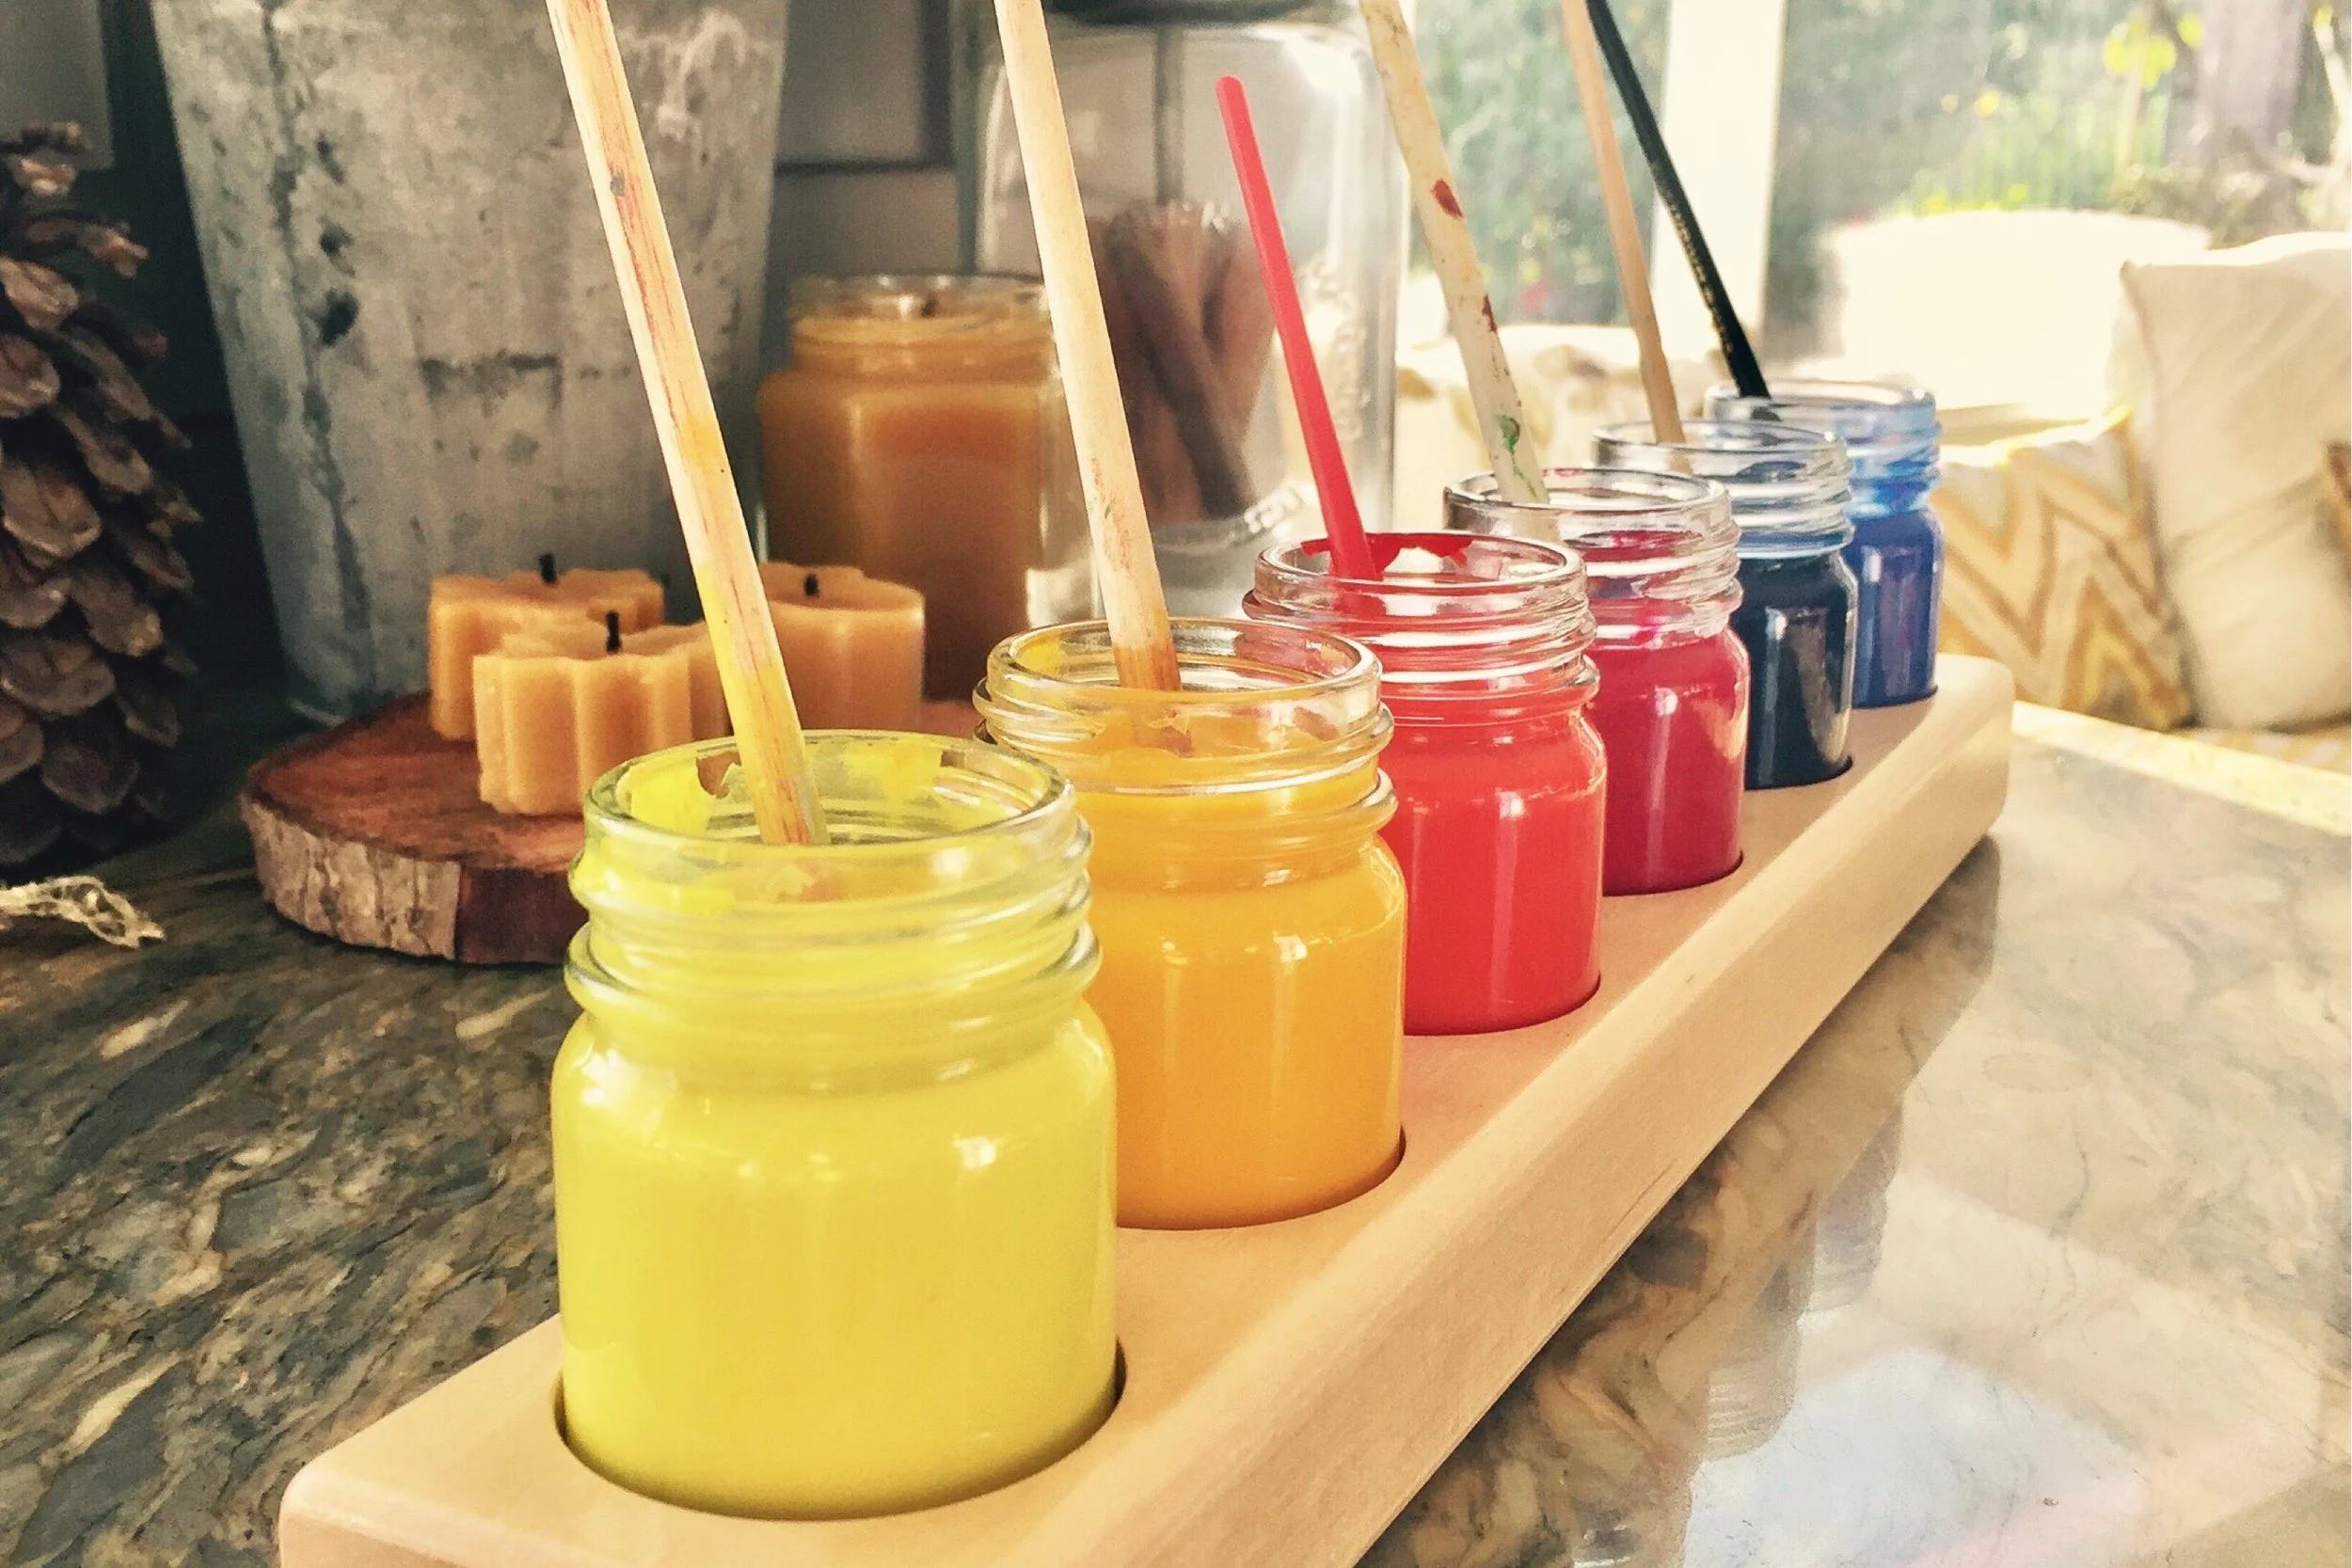
We are using Stockmar watercolor paints. These are concentrated paints need to be diluted with water before use. They don't last long, maybe a month or so, once mixed if they are covered, but you can put them in the fridge to prolong their life. Otherwise, these paints will mold and smell. For that reason, take care not to introduce water into you tubes. Mix paints in containers, adding about 1/8 of a teaspoon of paint for about 1/4 cup of water. Once mixed, check the paint to see if you have the desired richness. You can also add more water to lighten or more paint to deepen. These Stockmar watercolor paints and painting jars can be found at A Child's Dream and Waldorf Supplies as well as many other online Waldorf vendors.
Lately, I've been using open glass jars for our paints and they've worked well for one surprising reason: The paint doesn't mold! Instead, the water simply evaporates and and leaves a dried cake of paint which can be rehydrated for later use. This has worked out well for this series of lessons because, while we are working through lessons almost daily, we are not using all the colors at the same time, so some of them dry out and all we need to do is add a bit of water and get painting! Our new painting jar holder is from Mercurious. They are a fabulous vendor with high quality Waldorf supplies.
While I would love to use 140lb. Strathmore watercolor paper, it's beyond our budget to use that for every lesson. We reserve that paper for a main lesson or final project. You can find the superior watercolor paper at Waldorf Supplies. For our everyday use, I love the Fabriano line of paper. They have plenty to choose from, and our current favorites are the 90 and 140lb. cold press and hot press watercolor paper measuring 9"x12". You can find my favorite paper at one of my favorite art suppliers, Blick Art.
For this project we use, we used the 140lb. cold press watercolor paper. It's thick and textured and while it does still ripple and buckle, it can hold up satisfactorily to wet on wet watercoloring. Because we opted to tape down our paper on painting boards from Waldorf Supplies, we are not submerging our paper in water first. Instead, we wet our paper with a sponge or our paint brush. You want the paper wet but not sopping, glistening but not pooling with water. You can use a sponge to soak up excess water or a towel. When working during the summer or autumn months, I keep a spray bottle handy to wet my paper if it gets dry. On cooler days, the paper stays wet throughout our lesson.
If you opt not to tape your paper down, we may end up with paint seeping onto the backside of the paper. When my children were younger, I just quickly set them up on our granite countertops and got painting as we didn't have a lot of time for extra prep work. One perk of taping down is a nice border and a clean back so you can use the paper again.
We are using 1 inch wide paint brushes with all natural bristles. When working with young students, you want to use the largest paper you can afford and a wide yet full paint brush.
This is how I mix and prep paints for a full range of colors.
Lesson 1 Yellow | Waldorf Wet on Wet Painting
Watercoloring in the Waldorf method of wet on wet painting is a skill honed and tool used in Waldorf settings. The at-home teacher may used these methods as well to enhance main lessons. Painting can be relaxing and meditative, but if it doesn't feel that way to you or your child, don't despair. You may just need some time to find your way while working with this artistic medium.
In this series, I'll share tips and reflections throughout the live video. I'm recording these videos live with no edits (with some exceptions) so you can see the whole process from set up through lesson and clean up. I walk you through the process of mixing paints, preparing your workspace, taping down your paper, explaining which paper to use and which brushes work best. Next, my 8-year-old daughter and I do the watercolor painting lesson. I walk my daughter through the lesson with me, but sometimes we make changes as we go.
For these lessons, we are using the book Colour Dynamics by Angela Lord. It has been a tremendous inspiration for these lessons. The book is gorgeous and features a number of examples from beginner level to advanced. You can find this book and others by Angela at my favorite Waldorf vendor A Child's Dream.
We are using Stockmar watercolor paints. These are concentrated paints need to be diluted with water before use. They don't last long, maybe a month or so, once mixed if they are covered, but you can put them in the fridge to prolong their life. Otherwise, these paints will mold and smell. For that reason, take care not to introduce water into you tubes. Mix paints in containers, adding about 1/8 of a teaspoon of paint for about 1/4 cup of water. Once mixed, check the paint to see if you have the desired richness. You can also add more water to lighten or more paint to deepen. These Stockmar watercolor paints and painting jars can be found at A Child's Dream and Waldorf Supplies as well as many other online Waldorf vendors.
Lately, I've been using open glass jars for our paints and they've worked well for one surprising reason: The paint doesn't mold! Instead, the water simply evaporates and and leaves a dried cake of paint which can be rehydrated for later use. This has worked out well for this series of lessons because, while we are working through lessons almost daily, we are not using all the colors at the same time, so some of them dry out and all we need to do is add a bit of water and get painting! Our new painting jar holder is from Mercurious. They are a fabulous vendor with high quality Waldorf supplies.
While I would love to use 140lb. Strathmore watercolor paper, it's beyond our budget to use that for every lesson. We reserve that paper for a main lesson or final project. You can find the superior watercolor paper at Waldorf Supplies. For our everyday use, I love the Fabriano line of paper. They have plenty to choose from, and our current favorites are the 90 and 140lb. cold press and hot press watercolor paper measuring 9"x12". You can find my favorite paper at one of my favorite art suppliers, Blick Art.
For this project we use, we used the 140lb. cold press watercolor paper. It's thick and textured and while it does still ripple and buckle, it can hold up satisfactorily to wet on wet watercoloring. Because we opted to tape down our paper on painting boards from Waldorf Supplies, we are not submerging our paper in water first. Instead, we wet our paper with a sponge or our paint brush. You want the paper wet but not sopping, glistening but not pooling with water. You can use a sponge to soak up excess water or a towel. When working during the summer or autumn months, I keep a spray bottle handy to wet my paper if it gets dry. On cooler days, the paper stays wet throughout our lesson.
If you opt not to tape your paper down, we may end up with paint seeping onto the backside of the paper. When my children were younger, I just quickly set them up on our granite countertops and got painting as we didn't have a lot of time for extra prep work. One perk of taping down is a nice border and a clean back so you can use the paper again.
We are using 1 inch wide paint brushes with all natural bristles. When working with young students, you want to use the largest paper you can afford and a wide yet full paint brush.
This is how I mix and prep paints for a full range of colors.

Lesson 2 Shades of Yellow | Live Watercoloring Lesson
In lesson 2, we dive further into the color yellow. Because the Stockmar paints come with a bright yellow and a warm golden yellow, this lesson lent itself well to exploring both yellows together. While this is a suitable second lesson, you may wish to continue exploring yellow on its own during this lesson, but use the golden yellow instead. You’ll be pleasantly surprised at the results. Was working with golden yellow the same as bright yellow? Which did you prefer? How did this color make you feel? Golden yellow is one of my favorite colors. In fact, my first bedroom set when I was seven years old was a mix of white and yellow. Then 15 years later and hung color block curtains (one panel bright yellow and the other golden yellow) from IKEA in our bedroom. I loved them until I was pregnant with my third child when I had such a strong revolting feeling about the yellow, I swiftly removed the curtains and our pine furniture which had aged a beautiful yellow tone drove them straight to my mother’s house an hour away!
Watercoloring in the Waldorf method of wet on wet painting is a skill honed and tool used in Waldorf settings. The at-home teacher may used these methods as well to enhance main lessons. Painting can be relaxing and meditative, but if it doesn't feel that way to you or your child, don't despair. You may just need some time to find your way while working with this artistic medium.
In this series, I'll share tips and reflections throughout the live video. I'm recording these videos live with no edits (with some exceptions) so you can see the whole process from set up through lesson and clean up. I walk you through the process of mixing paints, preparing your workspace, taping down your paper, explaining which paper to use and which brushes work best. Next, my 8-year-old daughter and I do the watercolor painting lesson. I walk my daughter through the lesson with me, but sometimes we make changes as we go.
For these lessons, we are using the book Colour Dynamics by Angela Lord. It has been a tremendous inspiration for these lessons. The book is gorgeous and features a number of examples from beginner level to advanced. You can find this book and others by Angela at my favorite Waldorf vendor A Child's Dream.
We are using Stockmar watercolor paints. These are concentrated paints need to be diluted with water before use. They don't last long, maybe a month or so, once mixed if they are covered, but you can put them in the fridge to prolong their life. Otherwise, these paints will mold and smell. For that reason, take care not to introduce water into you tubes. Mix paints in containers, adding about 1/8 of a teaspoon of paint for about 1/4 cup of water. Once mixed, check the paint to see if you have the desired richness. You can also add more water to lighten or more paint to deepen. These Stockmar watercolor paints and painting jars can be found at A Child's Dream and Waldorf Supplies as well as many other online Waldorf vendors.
Lately, I've been using open glass jars for our paints and they've worked well for one surprising reason: The paint doesn't mold! Instead, the water simply evaporates and and leaves a dried cake of paint which can be rehydrated for later use. This has worked out well for this series of lessons because, while we are working through lessons almost daily, we are not using all the colors at the same time, so some of them dry out and all we need to do is add a bit of water and get painting! Our new painting jar holder is from Mercurious. They are a fabulous vendor with high quality Waldorf supplies.
While I would love to use 140lb. Strathmore watercolor paper, it's beyond our budget to use that for every lesson. We reserve that paper for a main lesson or final project. You can find the superior watercolor paper at Waldorf Supplies. For our everyday use, I love the Fabriano line of paper. They have plenty to choose from, and our current favorites are the 90 and 140lb. cold press and hot press watercolor paper measuring 9"x12". You can find my favorite paper at one of my favorite art suppliers, Blick Art.
For this project we use, we used the 140lb. cold press watercolor paper. It's thick and textured and while it does still ripple and buckle, it can hold up satisfactorily to wet on wet watercoloring. Because we opted to tape down our paper on painting boards from Waldorf Supplies, we are not submerging our paper in water first. Instead, we wet our paper with a sponge or our paint brush. You want the paper wet but not sopping, glistening but not pooling with water. You can use a sponge to soak up excess water or a towel. When working during the summer or autumn months, I keep a spray bottle handy to wet my paper if it gets dry. On cooler days, the paper stays wet throughout our lesson.
If you opt not to tape your paper down, we may end up with paint seeping onto the backside of the paper. When my children were younger, I just quickly set them up on our granite countertops and got painting as we didn't have a lot of time for extra prep work. One perk of taping down is a nice border and a clean back so you can use the paper again.
We are using 1 inch wide paint brushes with all natural bristles. When working with young students, you want to use the largest paper you can afford and a wide yet full paint brush.
This is how I mix and prep paints for a full range of colors.

Lesson 3 Blue | Live Watercoloring Lesson
In lesson 3, we explore the color blue. For this lesson we made arches in varying intensities of blue. You may find that some students and teachers are firm, defined and somewhat rigid. Can you tell between us which person was like that? If you look at the final paintings, you’ll see how beautifully my daughter’s shades blended into one another. Mine are so defined and in my opinion, not as beautiful to me for what I was wanting. If you haven’t already ‘met yourself’ in your children, as Melanie Hatch (veteran Waldorf handwork teacher) will tell you, “You meet yourself in your handwork.” You’ll have an opportunity to meet yourself in your painting too. I do… all the time. And it shows to me.
Watercoloring in the Waldorf method of wet on wet painting is a skill honed and tool used in Waldorf settings. The at-home teacher may used these methods as well to enhance main lessons. Painting can be relaxing and meditative, but if it doesn't feel that way to you or your child, don't despair. You may just need some time to find your way while working with this artistic medium.
In this series, I'll share tips and reflections throughout the live video. I'm recording these videos live with no edits (with some exceptions) so you can see the whole process from set up through lesson and clean up. I walk you through the process of mixing paints, preparing your workspace, taping down your paper, explaining which paper to use and which brushes work best. Next, my 8-year-old daughter and I do the watercolor painting lesson. I walk my daughter through the lesson with me, but sometimes we make changes as we go.
For these lessons, we are using the book Colour Dynamics by Angela Lord. It has been a tremendous inspiration for these lessons. The book is gorgeous and features a number of examples from beginner level to advanced. You can find this book and others by Angela at my favorite Waldorf vendor A Child's Dream.
We are using Stockmar watercolor paints. These are concentrated paints need to be diluted with water before use. They don't last long, maybe a month or so, once mixed if they are covered, but you can put them in the fridge to prolong their life. Otherwise, these paints will mold and smell. For that reason, take care not to introduce water into you tubes. Mix paints in containers, adding about 1/8 of a teaspoon of paint for about 1/4 cup of water. Once mixed, check the paint to see if you have the desired richness. You can also add more water to lighten or more paint to deepen. These Stockmar watercolor paints and painting jars can be found at A Child's Dream and Waldorf Supplies as well as many other online Waldorf vendors.
Lately, I've been using open glass jars for our paints and they've worked well for one surprising reason: The paint doesn't mold! Instead, the water simply evaporates and and leaves a dried cake of paint which can be rehydrated for later use. This has worked out well for this series of lessons because, while we are working through lessons almost daily, we are not using all the colors at the same time, so some of them dry out and all we need to do is add a bit of water and get painting! Our new painting jar holder is from Mercurious. They are a fabulous vendor with high quality Waldorf supplies.
While I would love to use 140lb. Strathmore watercolor paper, it's beyond our budget to use that for every lesson. We reserve that paper for a main lesson or final project. You can find the superior watercolor paper at Waldorf Supplies. For our everyday use, I love the Fabriano line of paper. They have plenty to choose from, and our current favorites are the 90 and 140lb. cold press and hot press watercolor paper measuring 9"x12". You can find my favorite paper at one of my favorite art suppliers, Blick Art.
For this project we use, we used the 140lb. cold press watercolor paper. It's thick and textured and while it does still ripple and buckle, it can hold up satisfactorily to wet on wet watercoloring. Because we opted to tape down our paper on painting boards from Waldorf Supplies, we are not submerging our paper in water first. Instead, we wet our paper with a sponge or our paint brush. You want the paper wet but not sopping, glistening but not pooling with water. You can use a sponge to soak up excess water or a towel. When working during the summer or autumn months, I keep a spray bottle handy to wet my paper if it gets dry. On cooler days, the paper stays wet throughout our lesson.
If you opt not to tape your paper down, we may end up with paint seeping onto the backside of the paper. When my children were younger, I just quickly set them up on our granite countertops and got painting as we didn't have a lot of time for extra prep work. One perk of taping down is a nice border and a clean back so you can use the paper again.
We are using 1 inch wide paint brushes with all natural bristles. When working with young students, you want to use the largest paper you can afford and a wide yet full paint brush.
This is how I mix and prep paints for a full range of colors.

Watercoloring Techniques | Waldorf
Watercoloring is one of my kids' favorite artistic outlets. I'm going to show you a few different techniques that you can do using a typical Waldorf technique called 'wet on wet' watercoloring in which the watercolor paper is first wet with water using a sponge or dipping it into a basin of water.
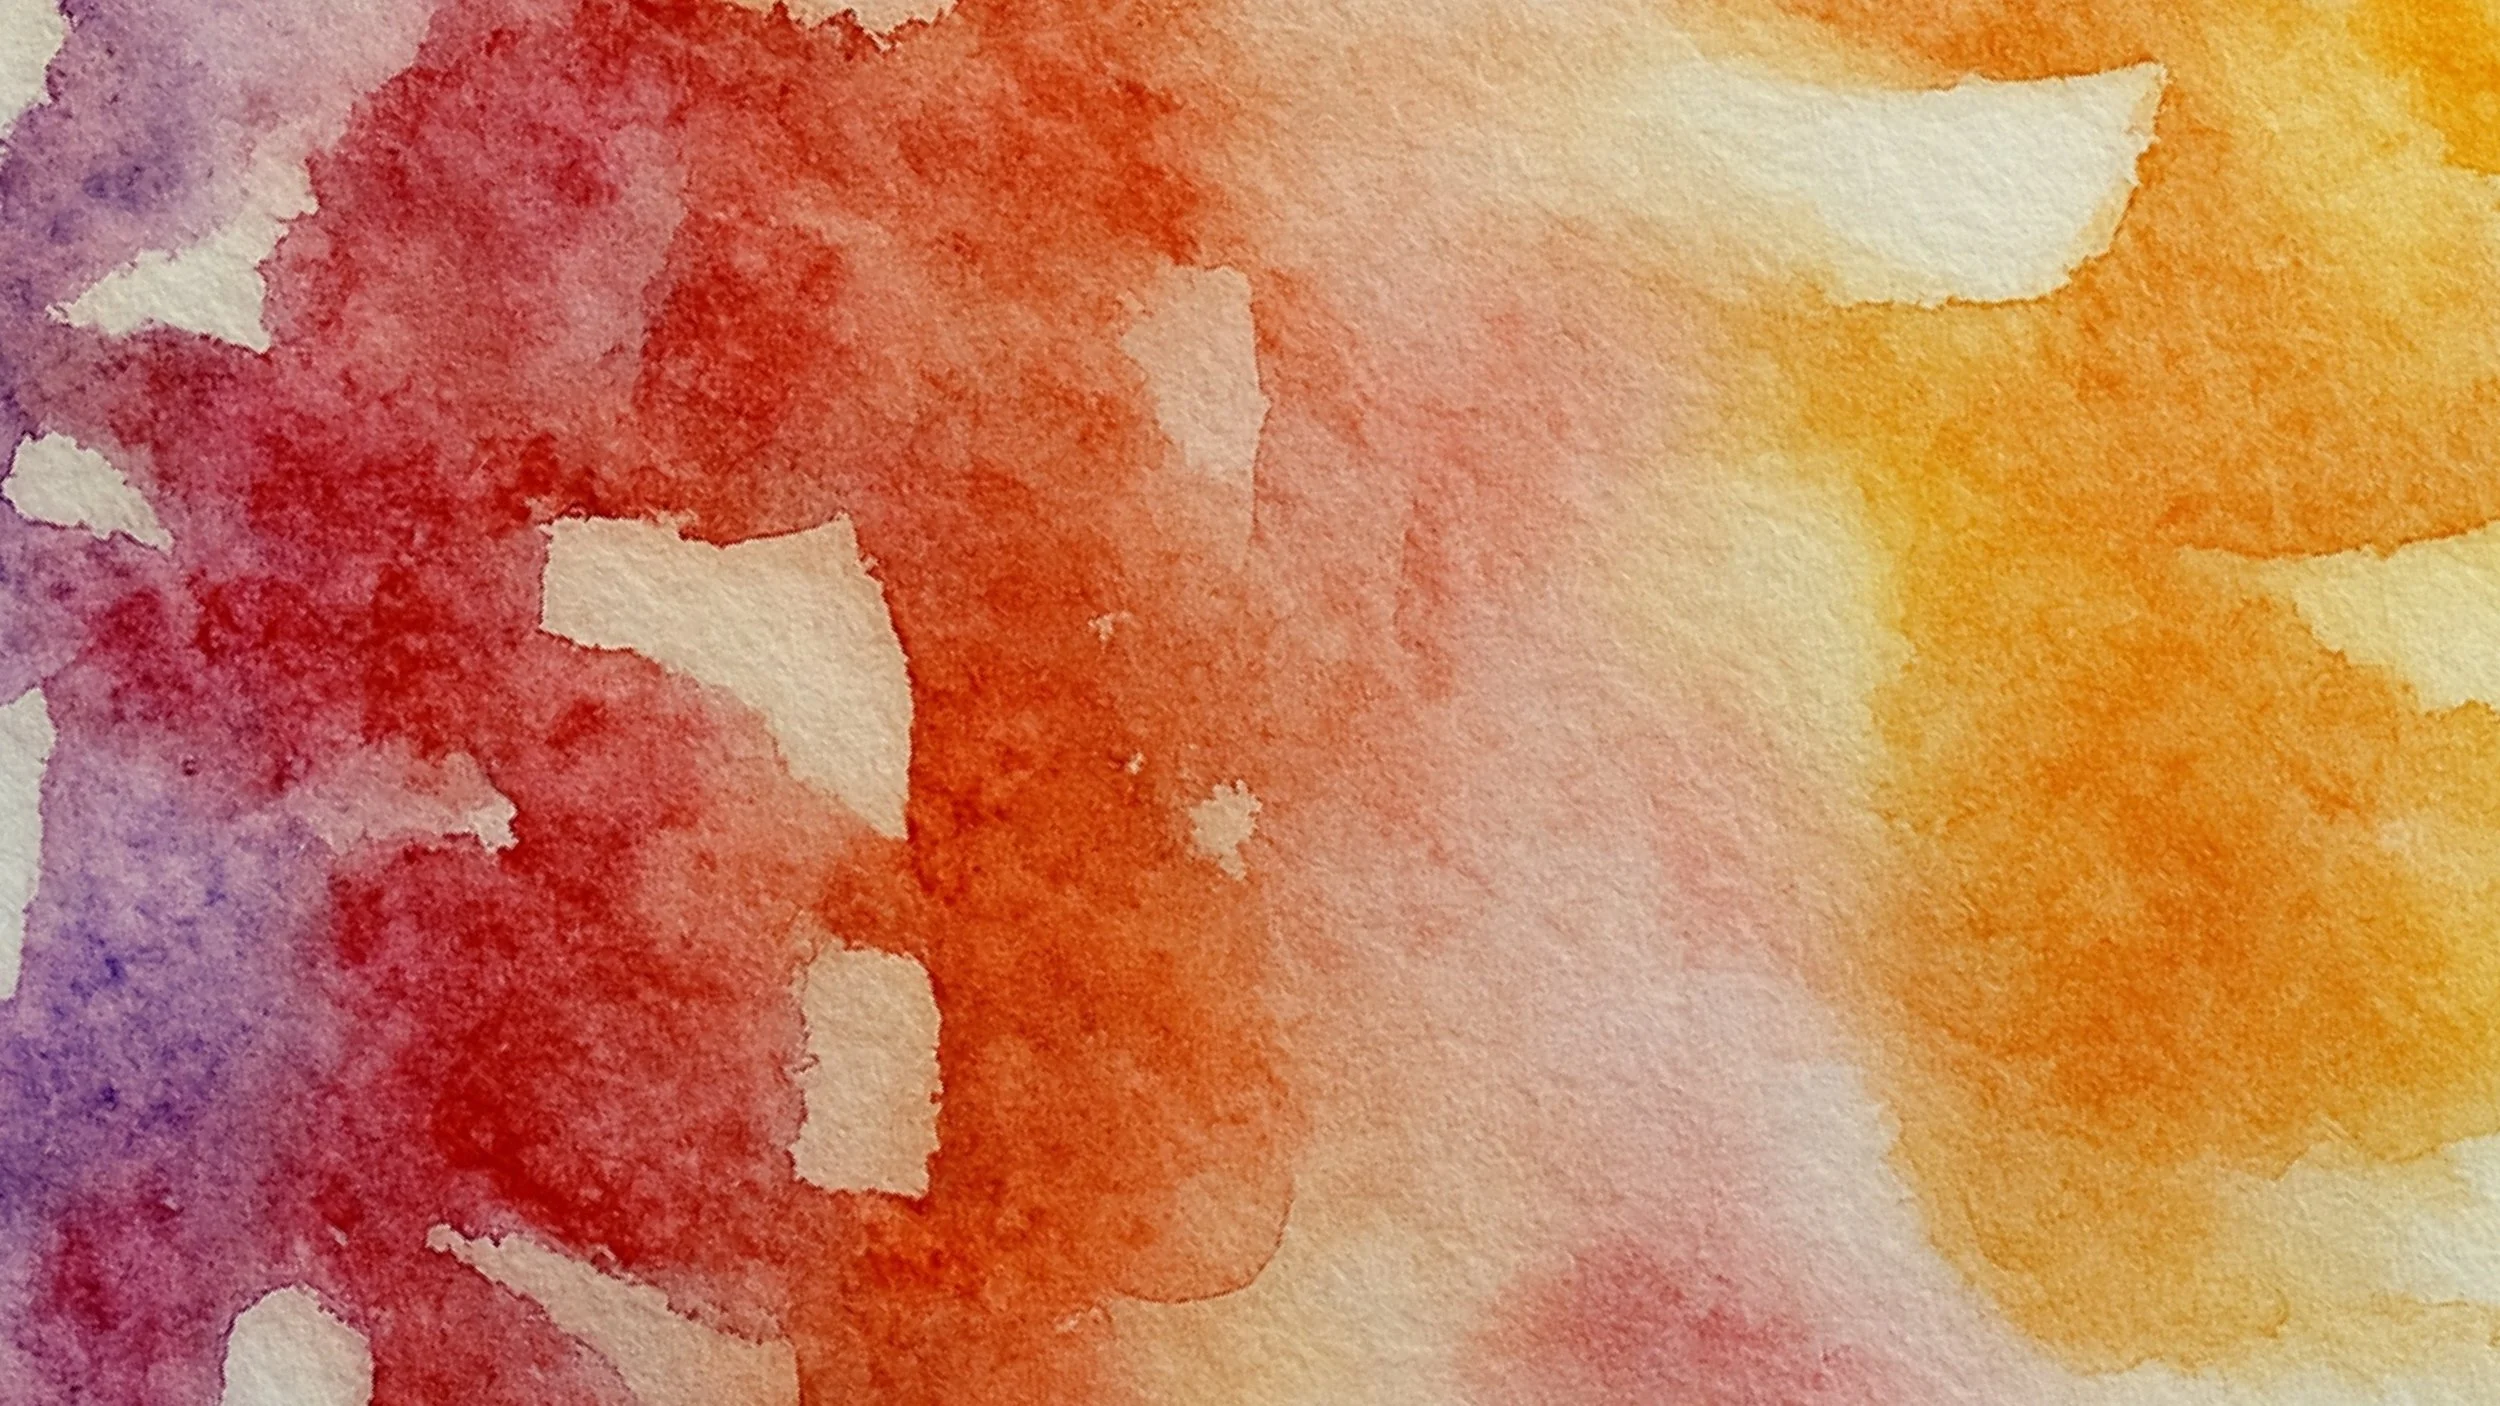
If you are working with young students, it is recommended that you use only the primary colors to begin with and allow the kids to discover the secondary and tertiary colors on their own. When doing this technique, the first color, say yellow, is placed in the center of the paper while the blue is place around. Because the paper was already wet, the colors begin to move on their own and, with a little help, eventually meet with resounding results.
Today, we not only played with a traditional Waldorf brand, Stockmar, but we also used Tim Holtz Distress re-inkers, Heidi Swapp Color Shine and Mr. Huey's sprays. With all these watercolors, we first wet the paper before adding color with the exception of 'mopping up the mess' at the end of our project in which we used dry sheets of paper directly on the counter to soak up the color that had spilled onto the counter from our projects.
We also used salt for a thrilling effect in which the water is pulled towards the salt granules leaving the area pale in color while concentrating color around the dissolved salt grain.
We also used a spray bottle filled with water to facilitate color movement or to dilute areas of concentrated color.
Level: 4 years and up
Duration: 1 hour or less
Cost: Initial investment of about $30 for 100 projects