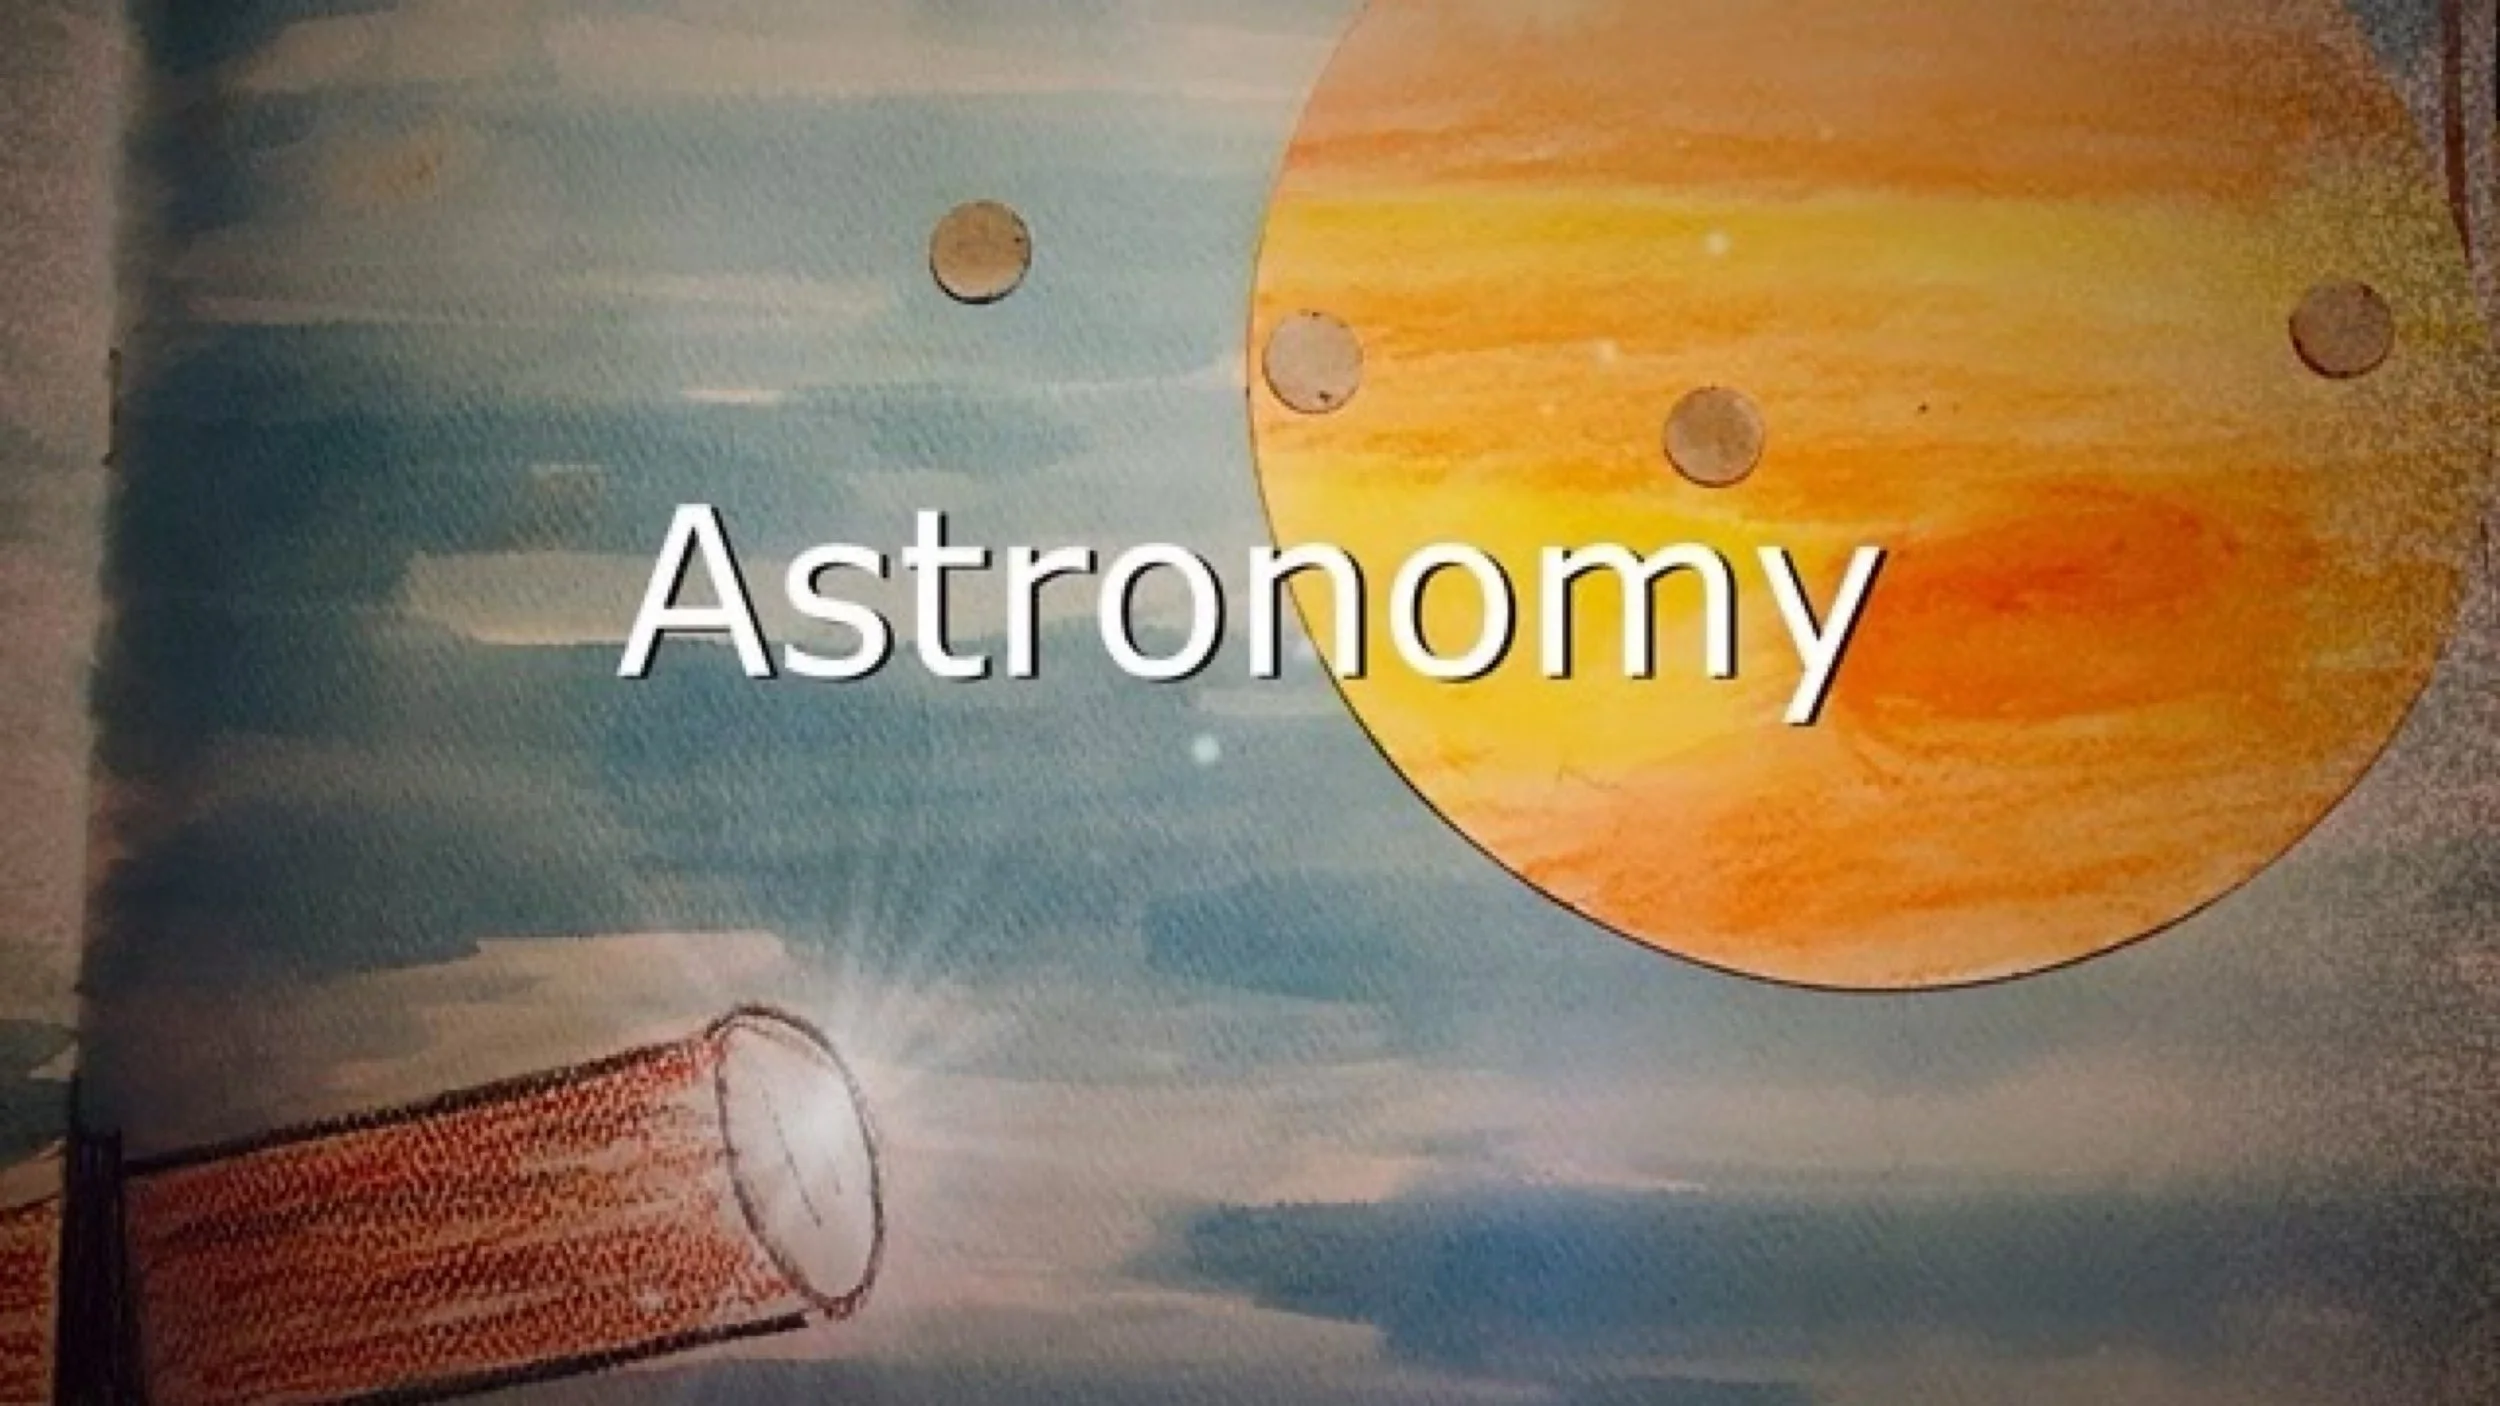
Astronomy Projects & Activities
Projects & Activities
We aim to do projects and activities with every main lesson block. Sometimes it’s easy to develop projects and other times it’s a bit more challenging. With our astronomy main lesson block, I found that we struggled a little bit more to do our hands-on projects and activities. While I really love what we did, I think that there are even more possibilities for this main lesson block.
When I’m at a loss for coming up with my own projects and activities for a main lesson block or unit study, I rely on project books or craft books or even better premade kits. I love when all the materials for a project, and directions, are included in a kit. Premade kids make it easy to include projects and activities. Whenever I’m struggling to come up with ideas, I usually go to Rainbow Resource and search for the topic we are studying.
Once on the website, I can find books, curriculum, workbook, and projects to support our unit studies and main lesson blocks. Nature watch and Acorn naturalist are two other vendors that have inspiring materials and lastly A Child’s Dream is a great resource for Waldorf inspired materials.
Just note that Rainbow resource is a religious company therefore, if you’re looking for a secular materials, you will have to choose accordingly
Projects & Activities
-
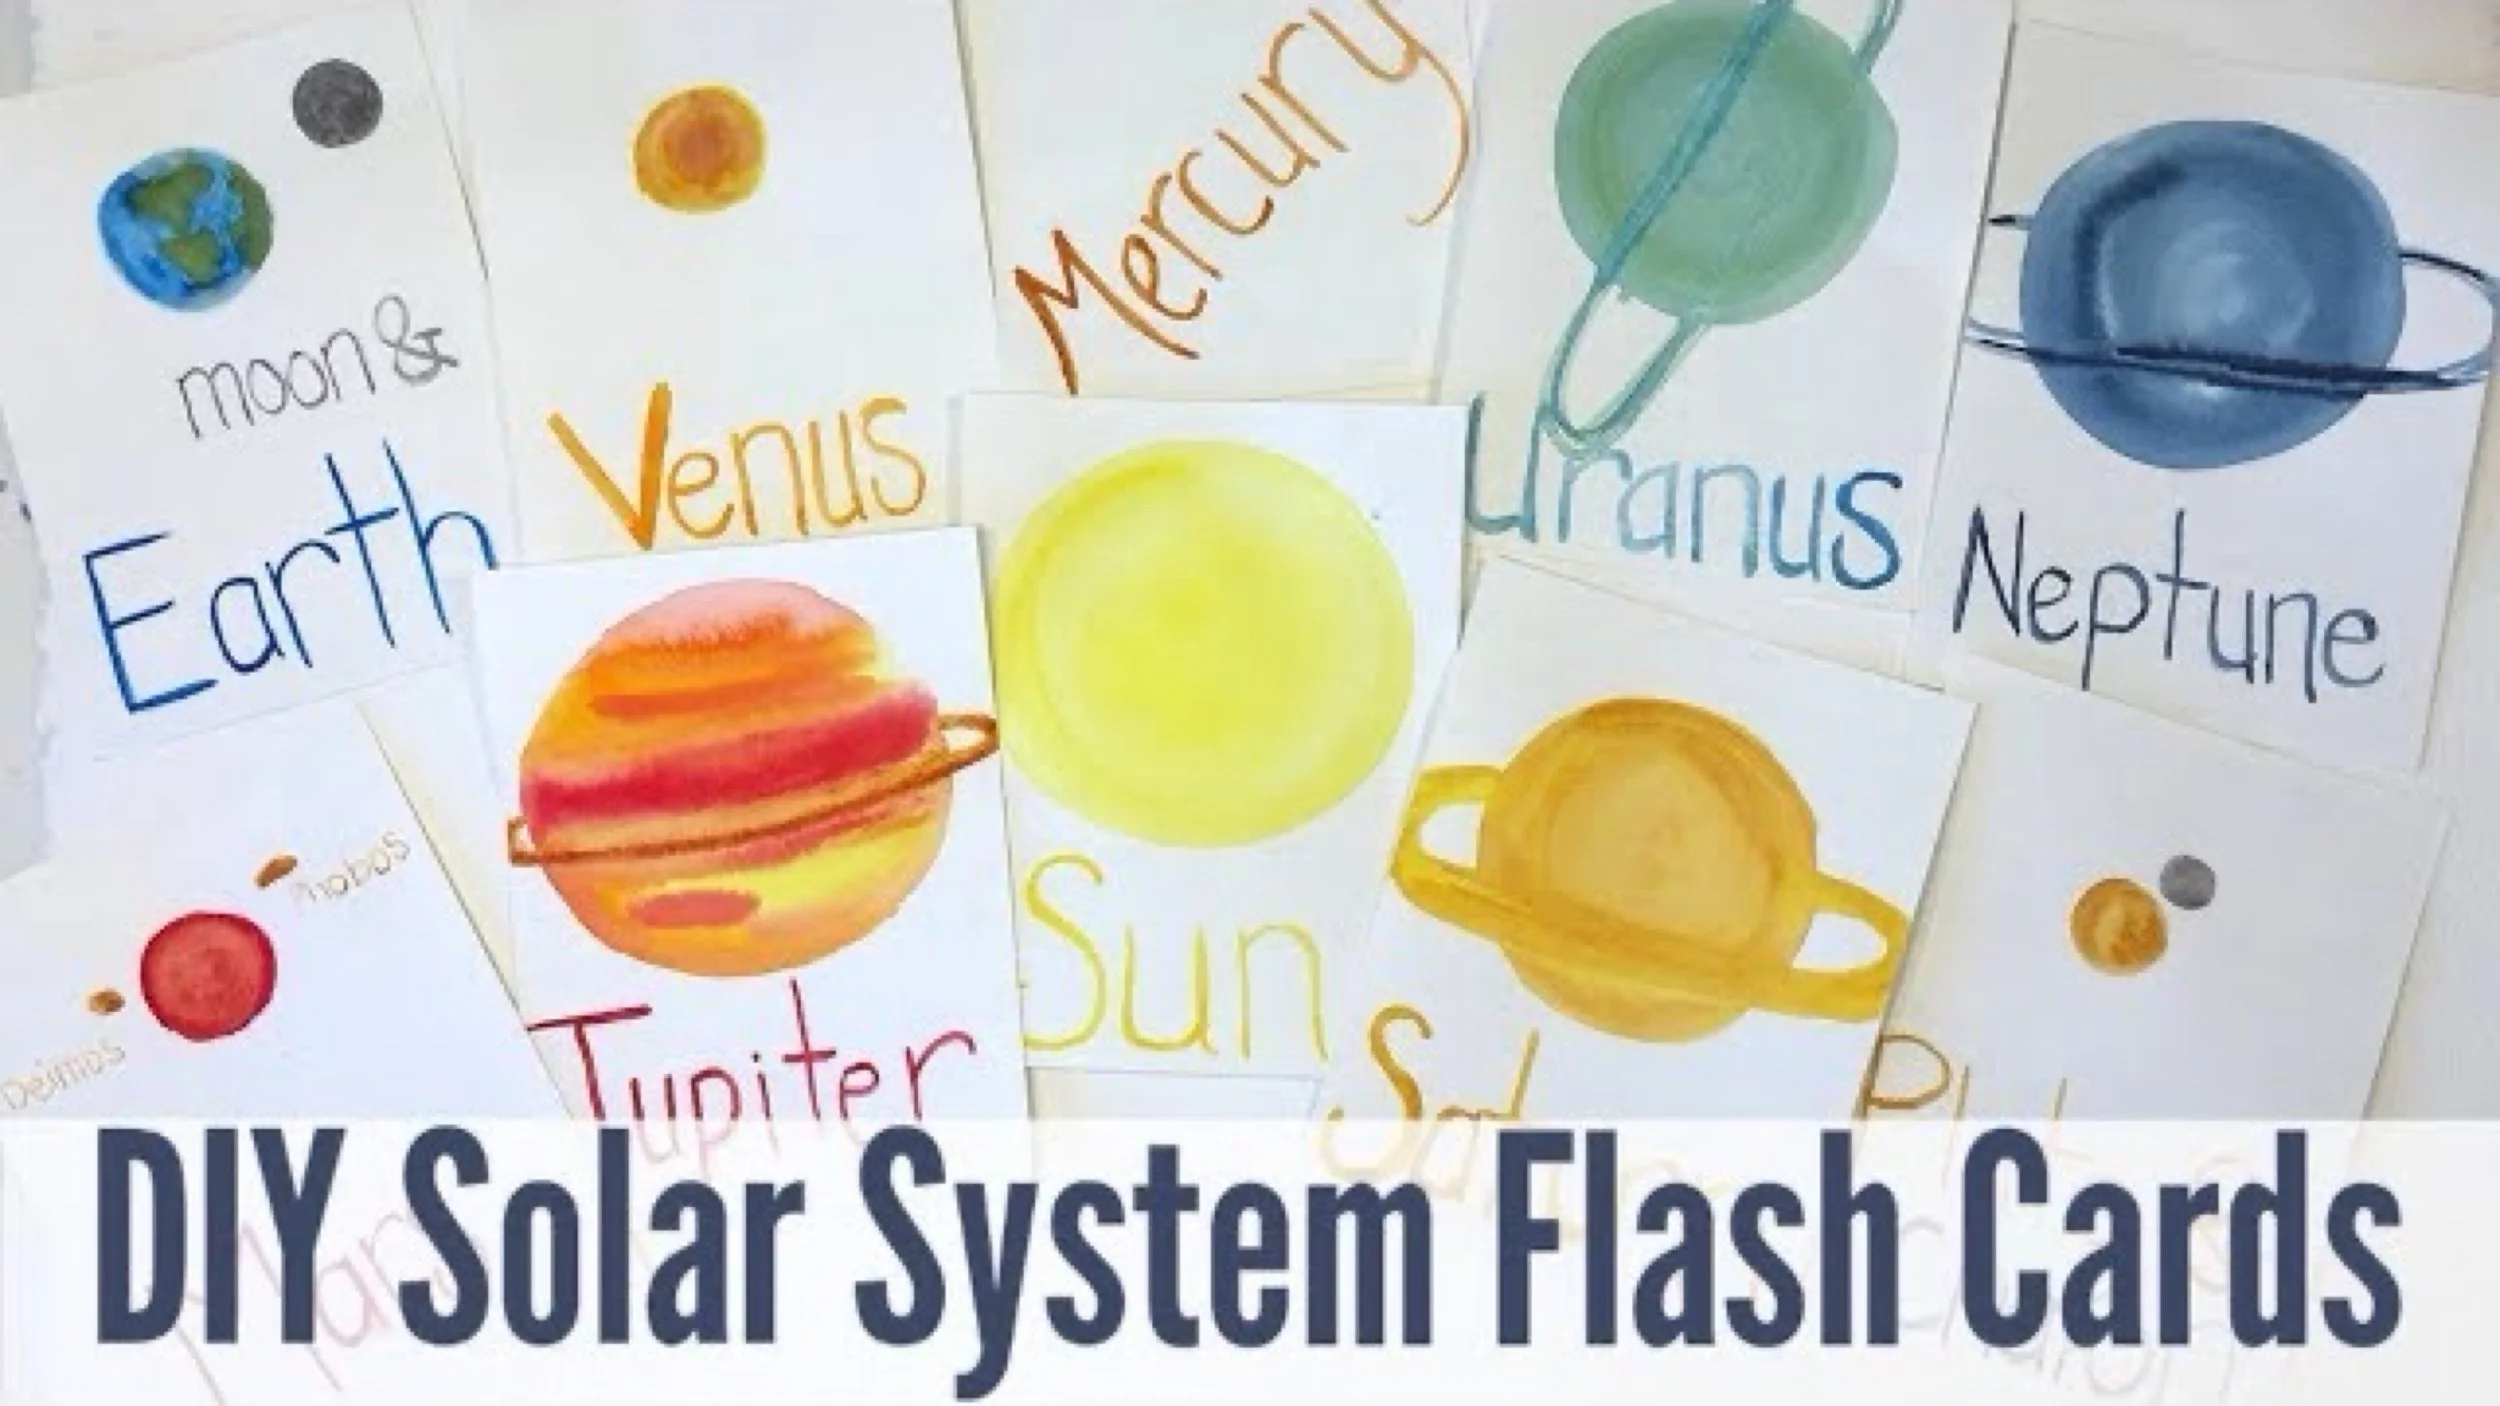
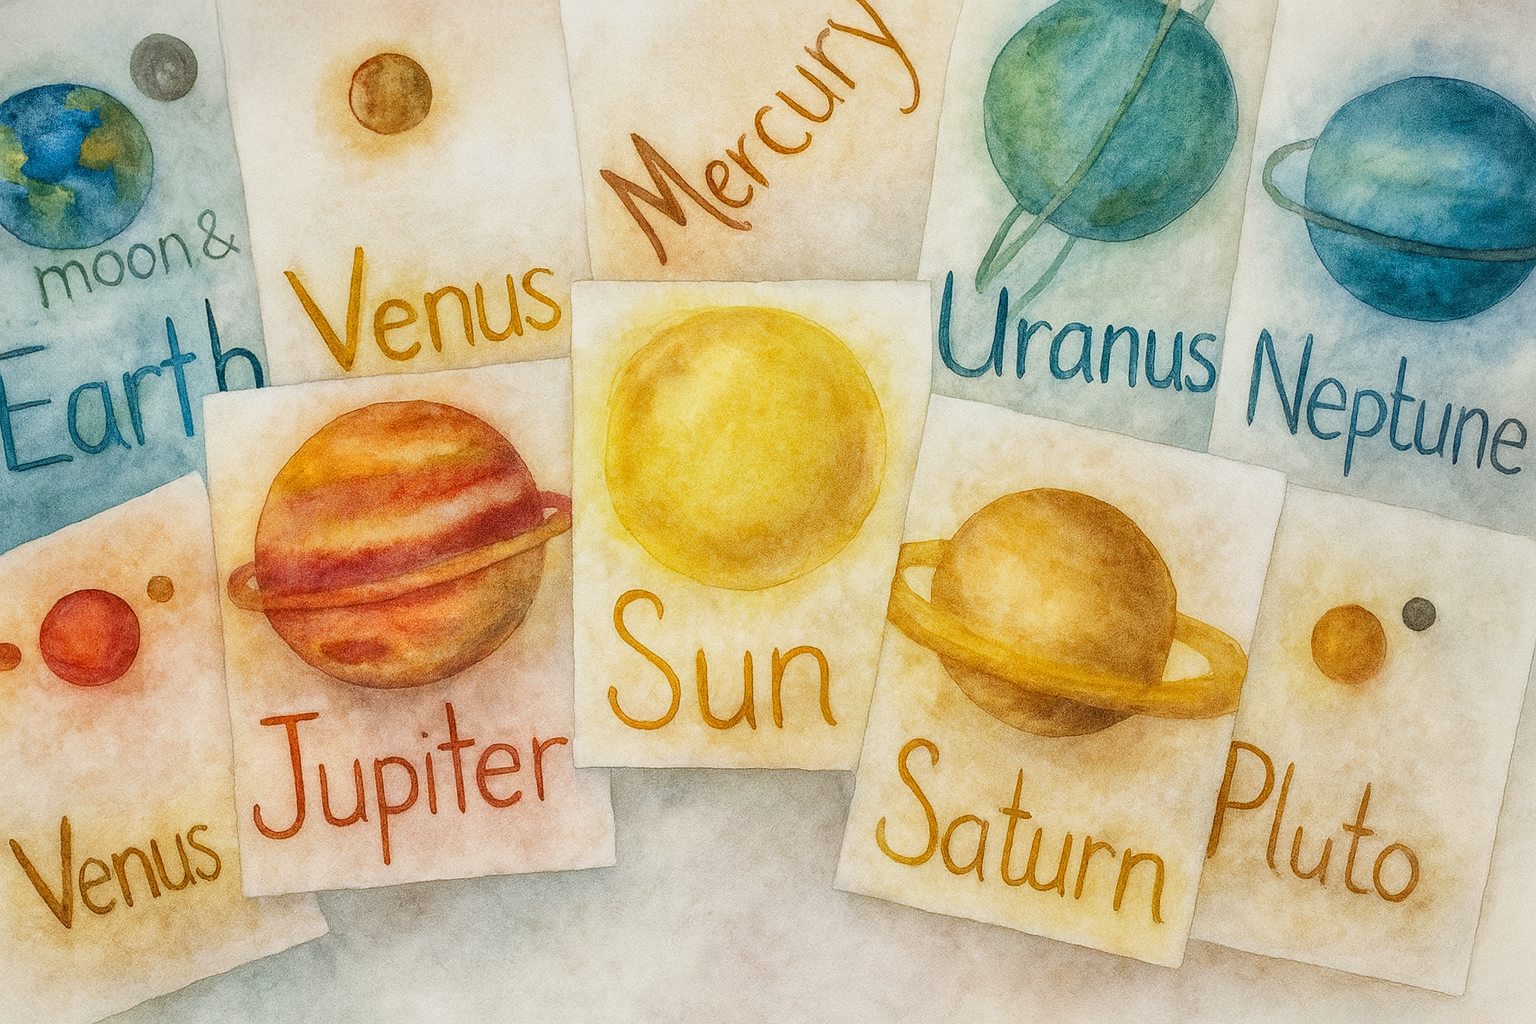
How to Make Astronomy Trivia Flashcards
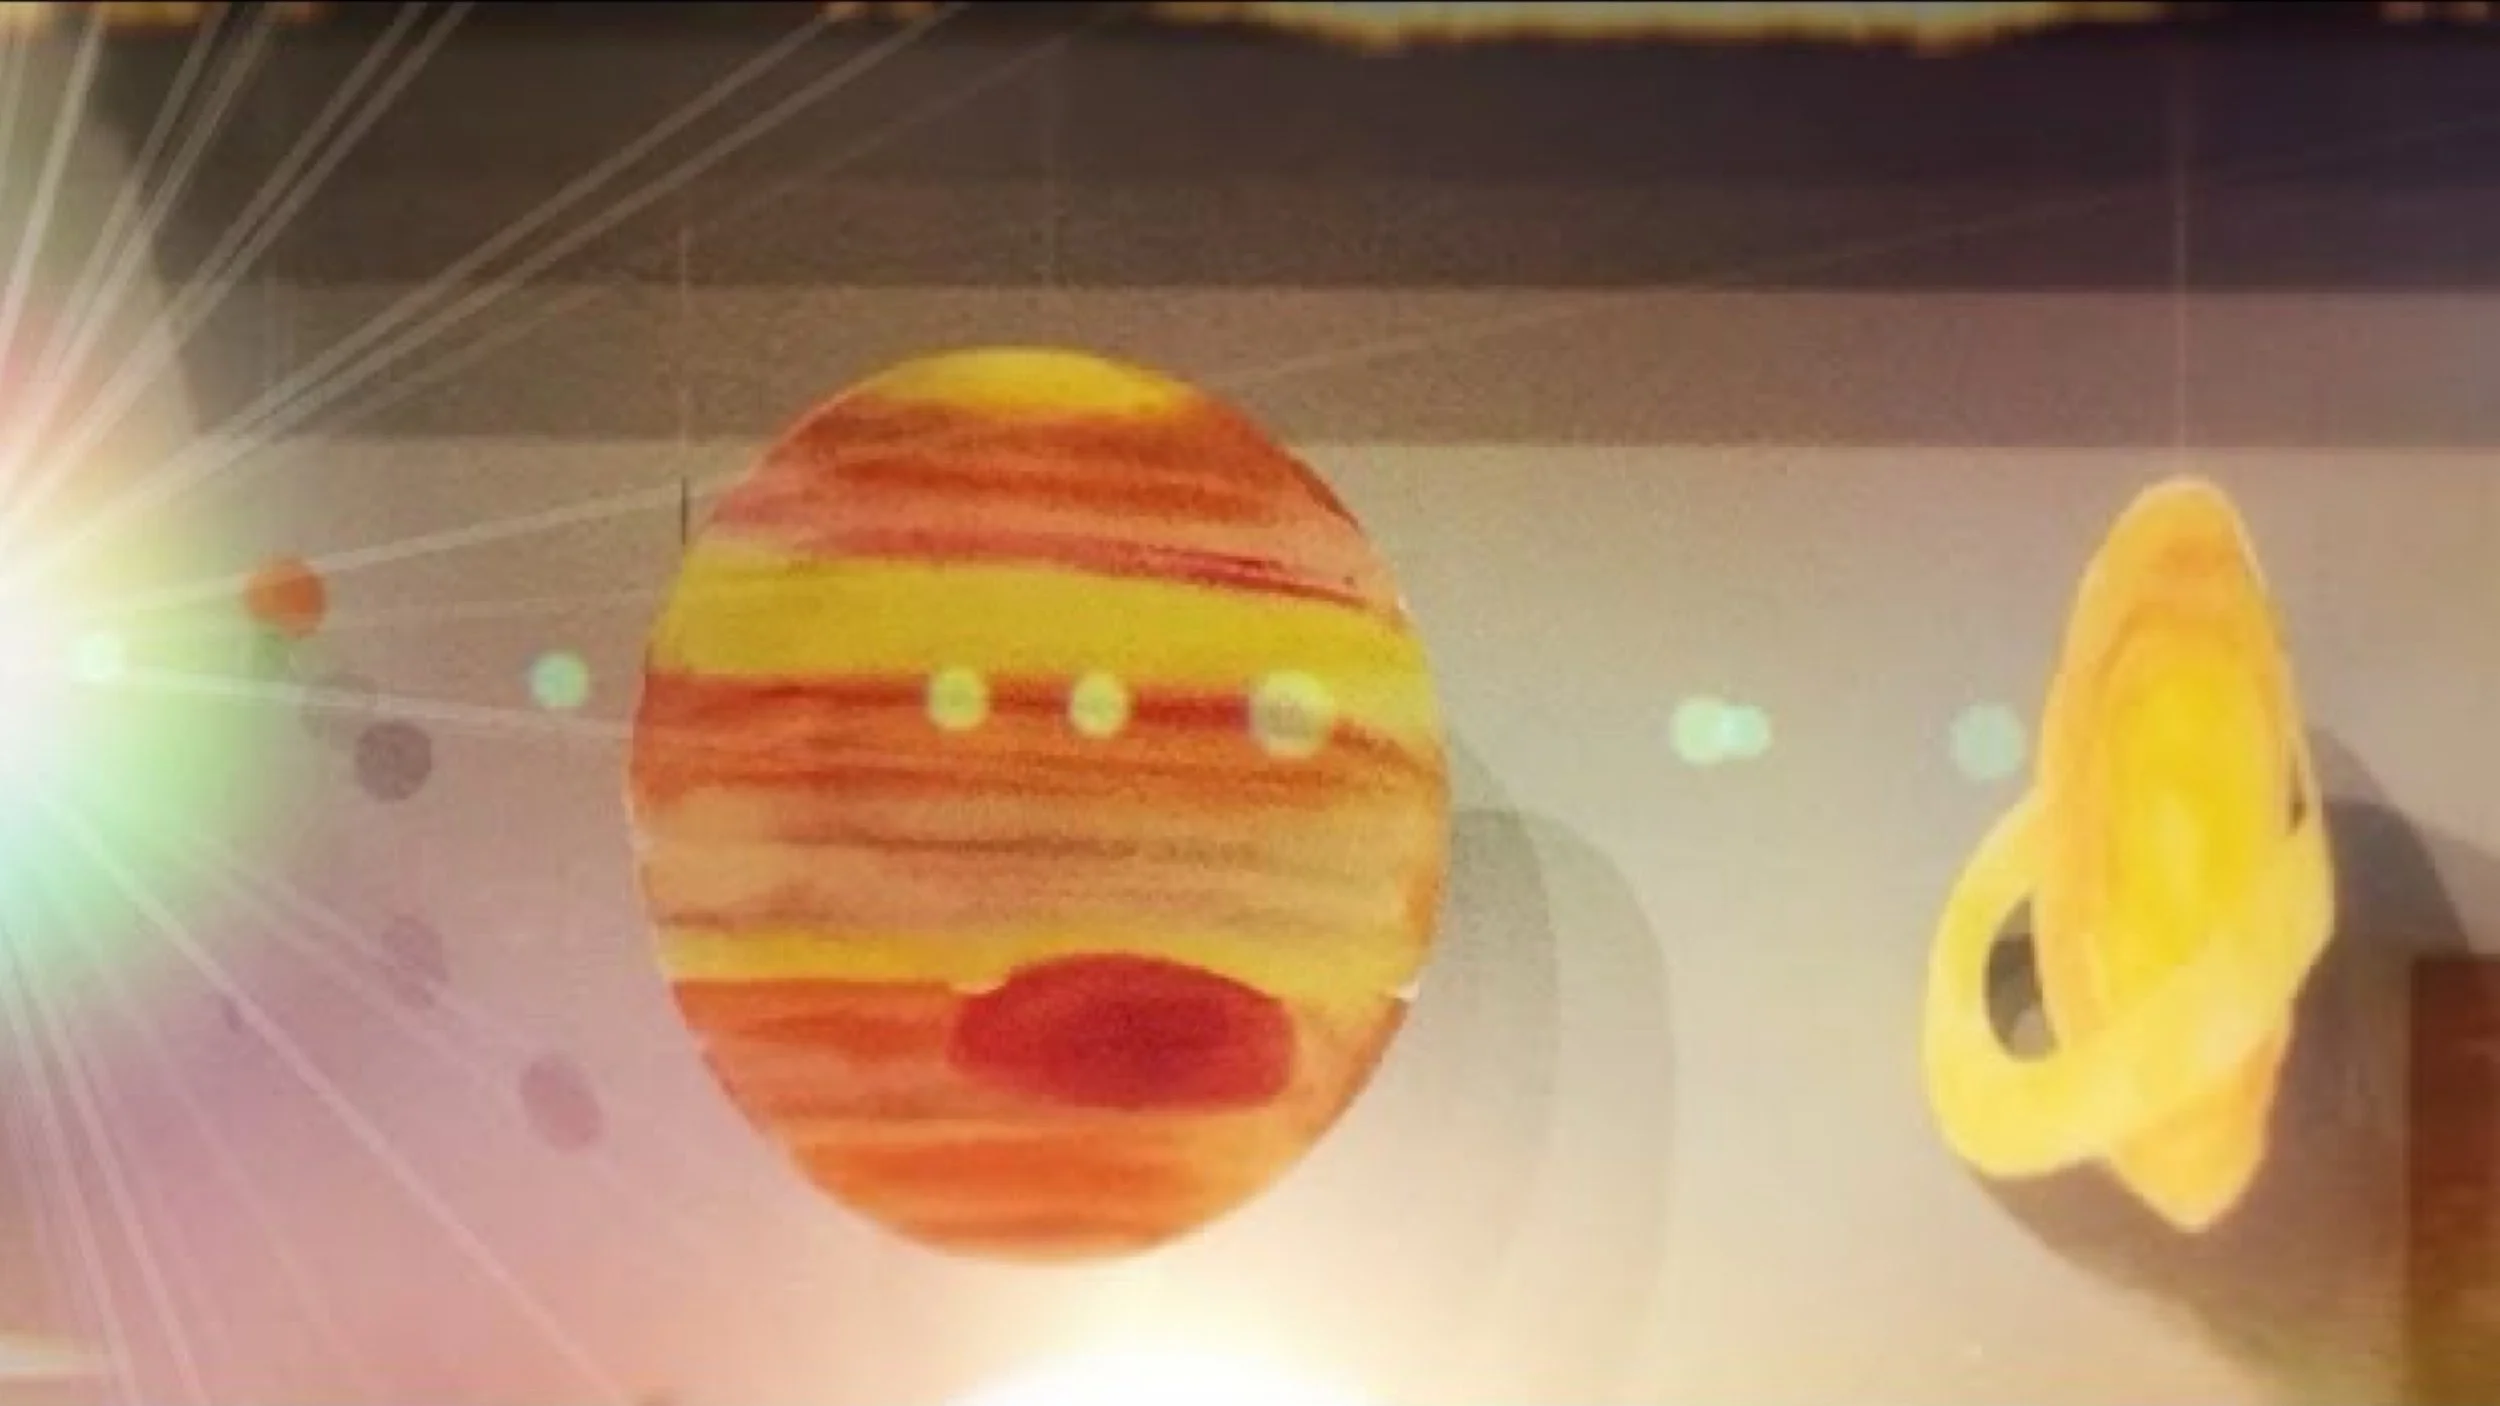
Making flash cards is probably one of the easiest homeschool DIYs. But I'll admit, if there's a way to add art to the project (and complicate it), you can be sure I'll find that way. Watercoloring the planets for this project is easy and enjoyable.
-
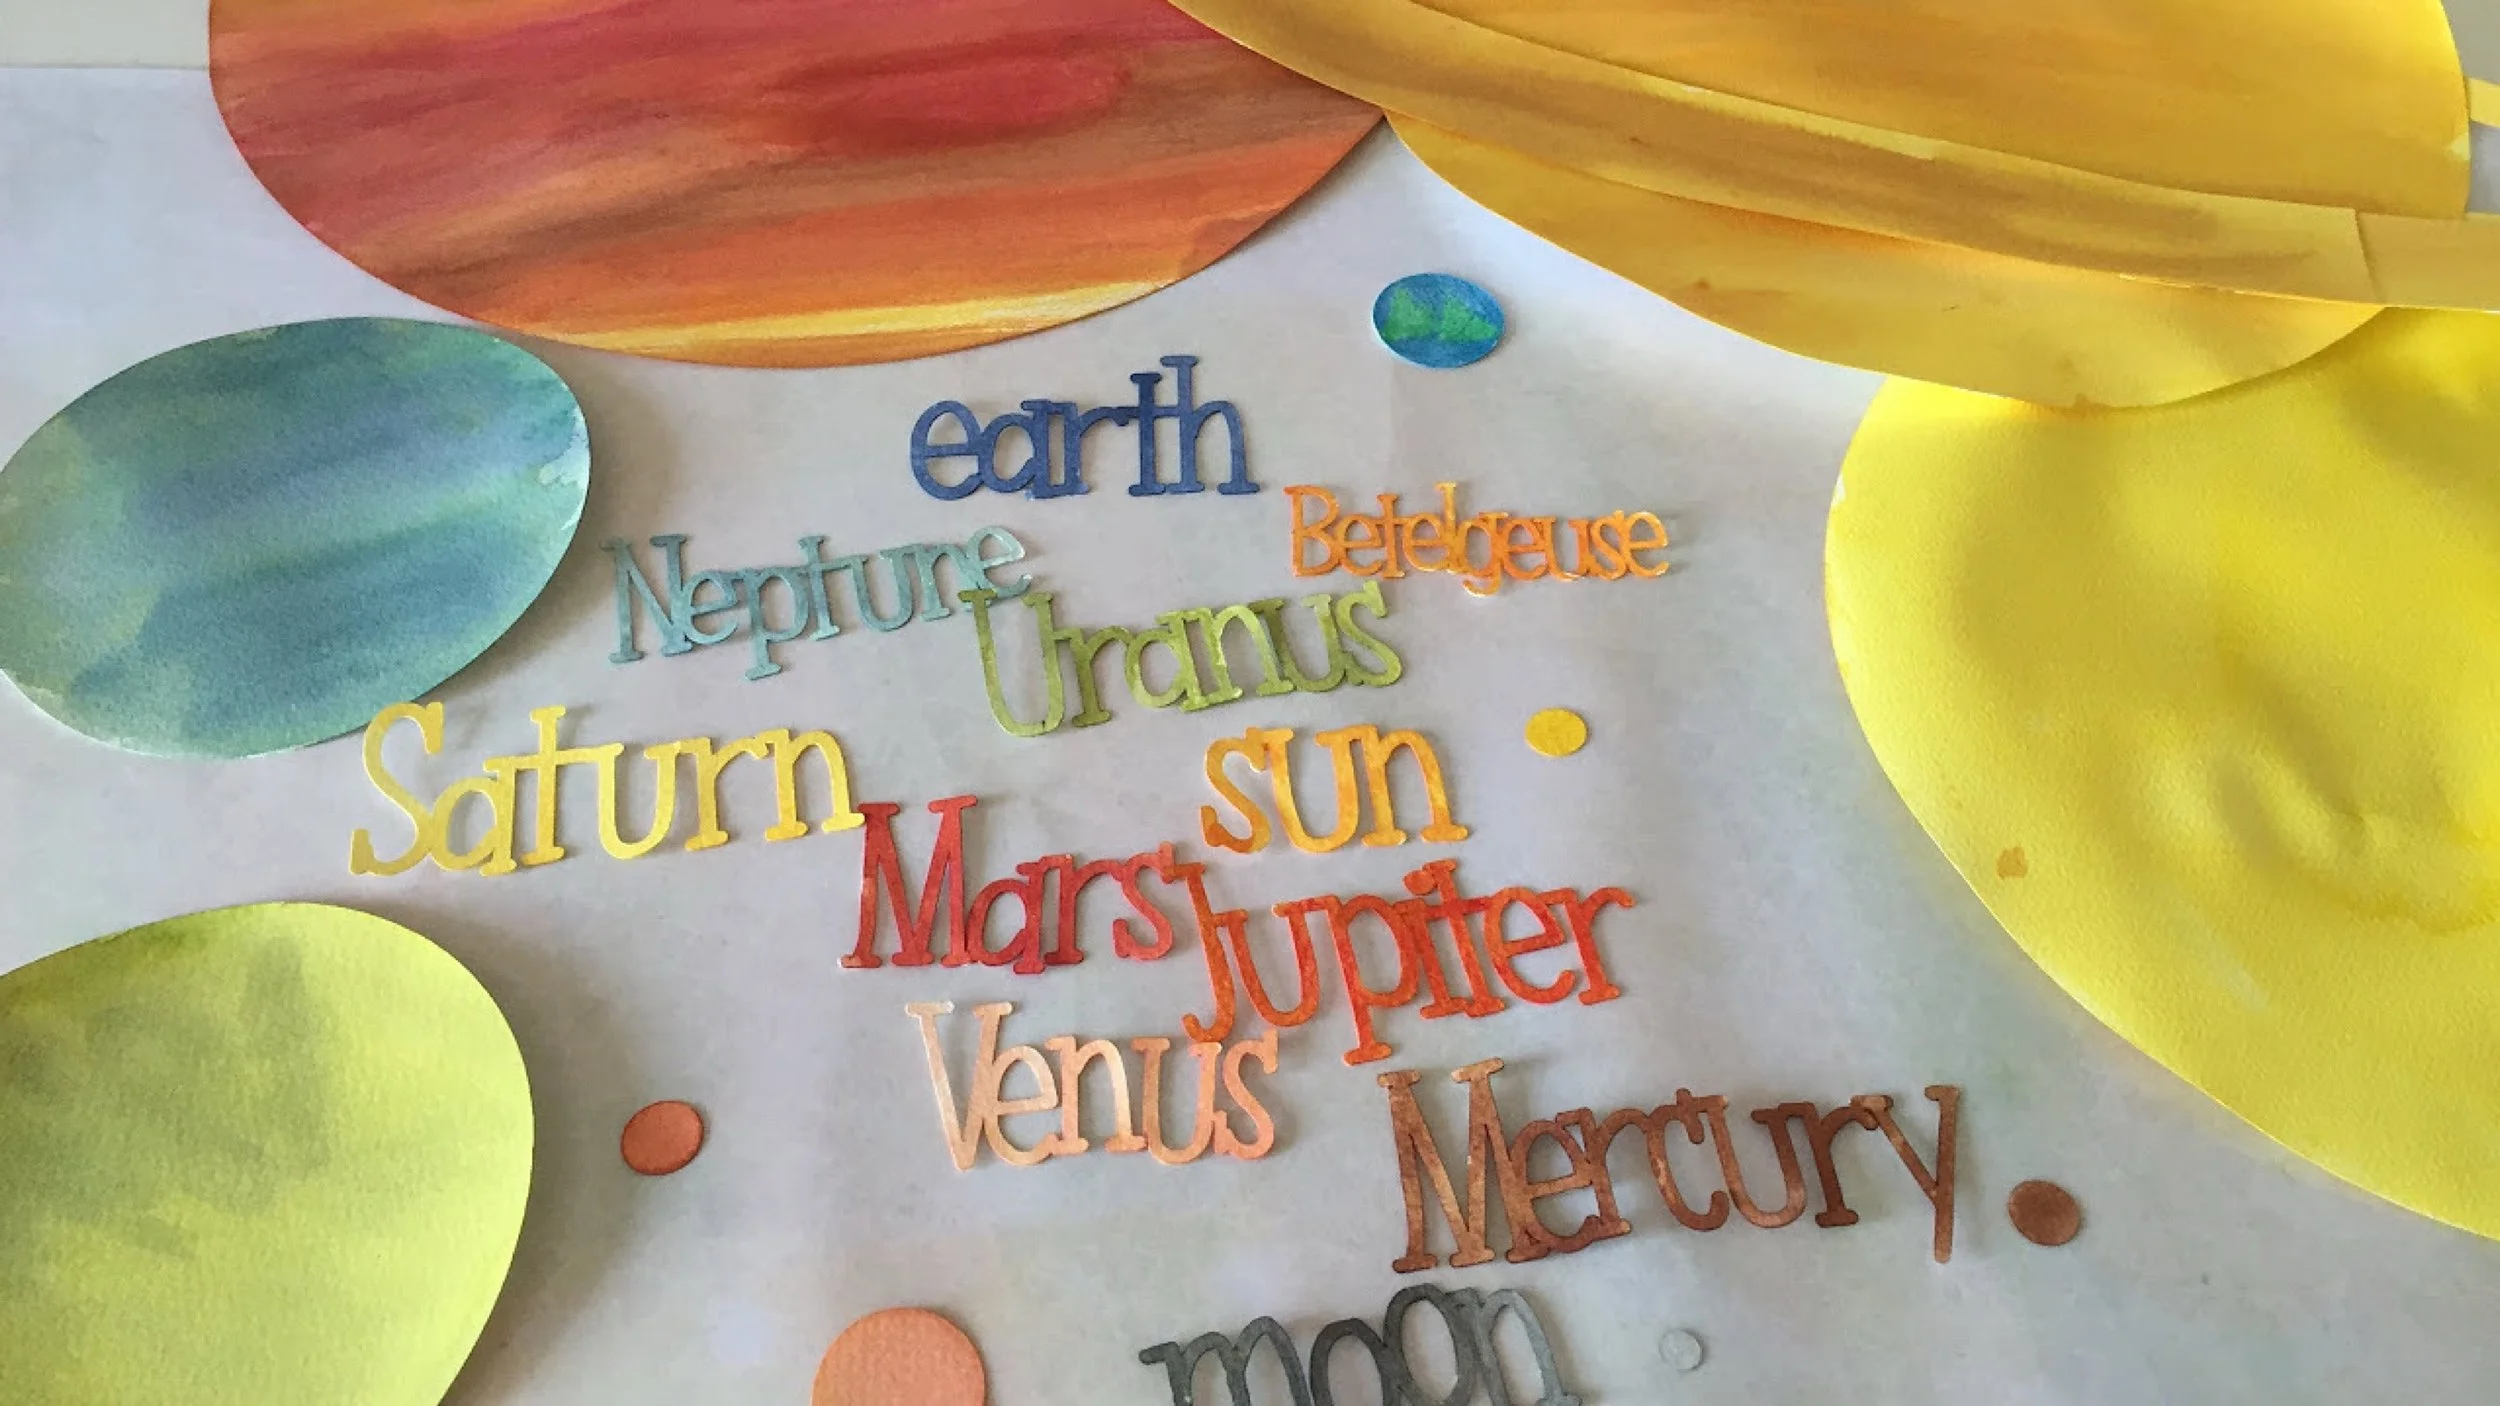
Solar System: A Homeschool Project
For our astronomy unit, we made these fold-out solar system books using two 10"x30" strips of light-weight watercolor paper cut from a large sheet. We adhered them together to make a fold-out book.
-
Hanging Solar System Mobile | Astronomy Project
We got this hanging solar system mobile project from the book "Classical Kids: An Activity Guide to Life in Ancient Greece and Rome" by Laurie Carlson. This activity works well for an astronomy unit or for an ancient Rome unit.
-

Tycho Brahe Quadrant
Ever wonder how the astronomers of the past observed the stars and planets? The basic components of the instruments are rather simple, and with a few items you probably already have around the house, you can construct a rudimentary quadrant to record the ascension of the stars and planets and track their path across the sky.
-
Galileo: A Homeschool Astronomy Project
For our astronomy unit we made these interactive books. We read the book "Along came Galileo" by Jeanne Bendick. We recreated the demonstrations Galileo made in the 1600's: dropping two objects of different weights and timing the swings of a pendulum. We made the books interactive with movable models. The kids love these books!
-
Phases of the Moon with Cookies and a Game
Edible learning is probably the most memorable of all educational experiences. It's not just hands-on, it takes all your senses into account when food's involved. You touch the cookie, smell the cream, hear it crunch in your mouth and then taste the yummy goodness. I'm sure you've seen this phases of the moon project from cookies and today we add a little twist to the activity.
-
Phases of the Moon | Nature Watch Kit
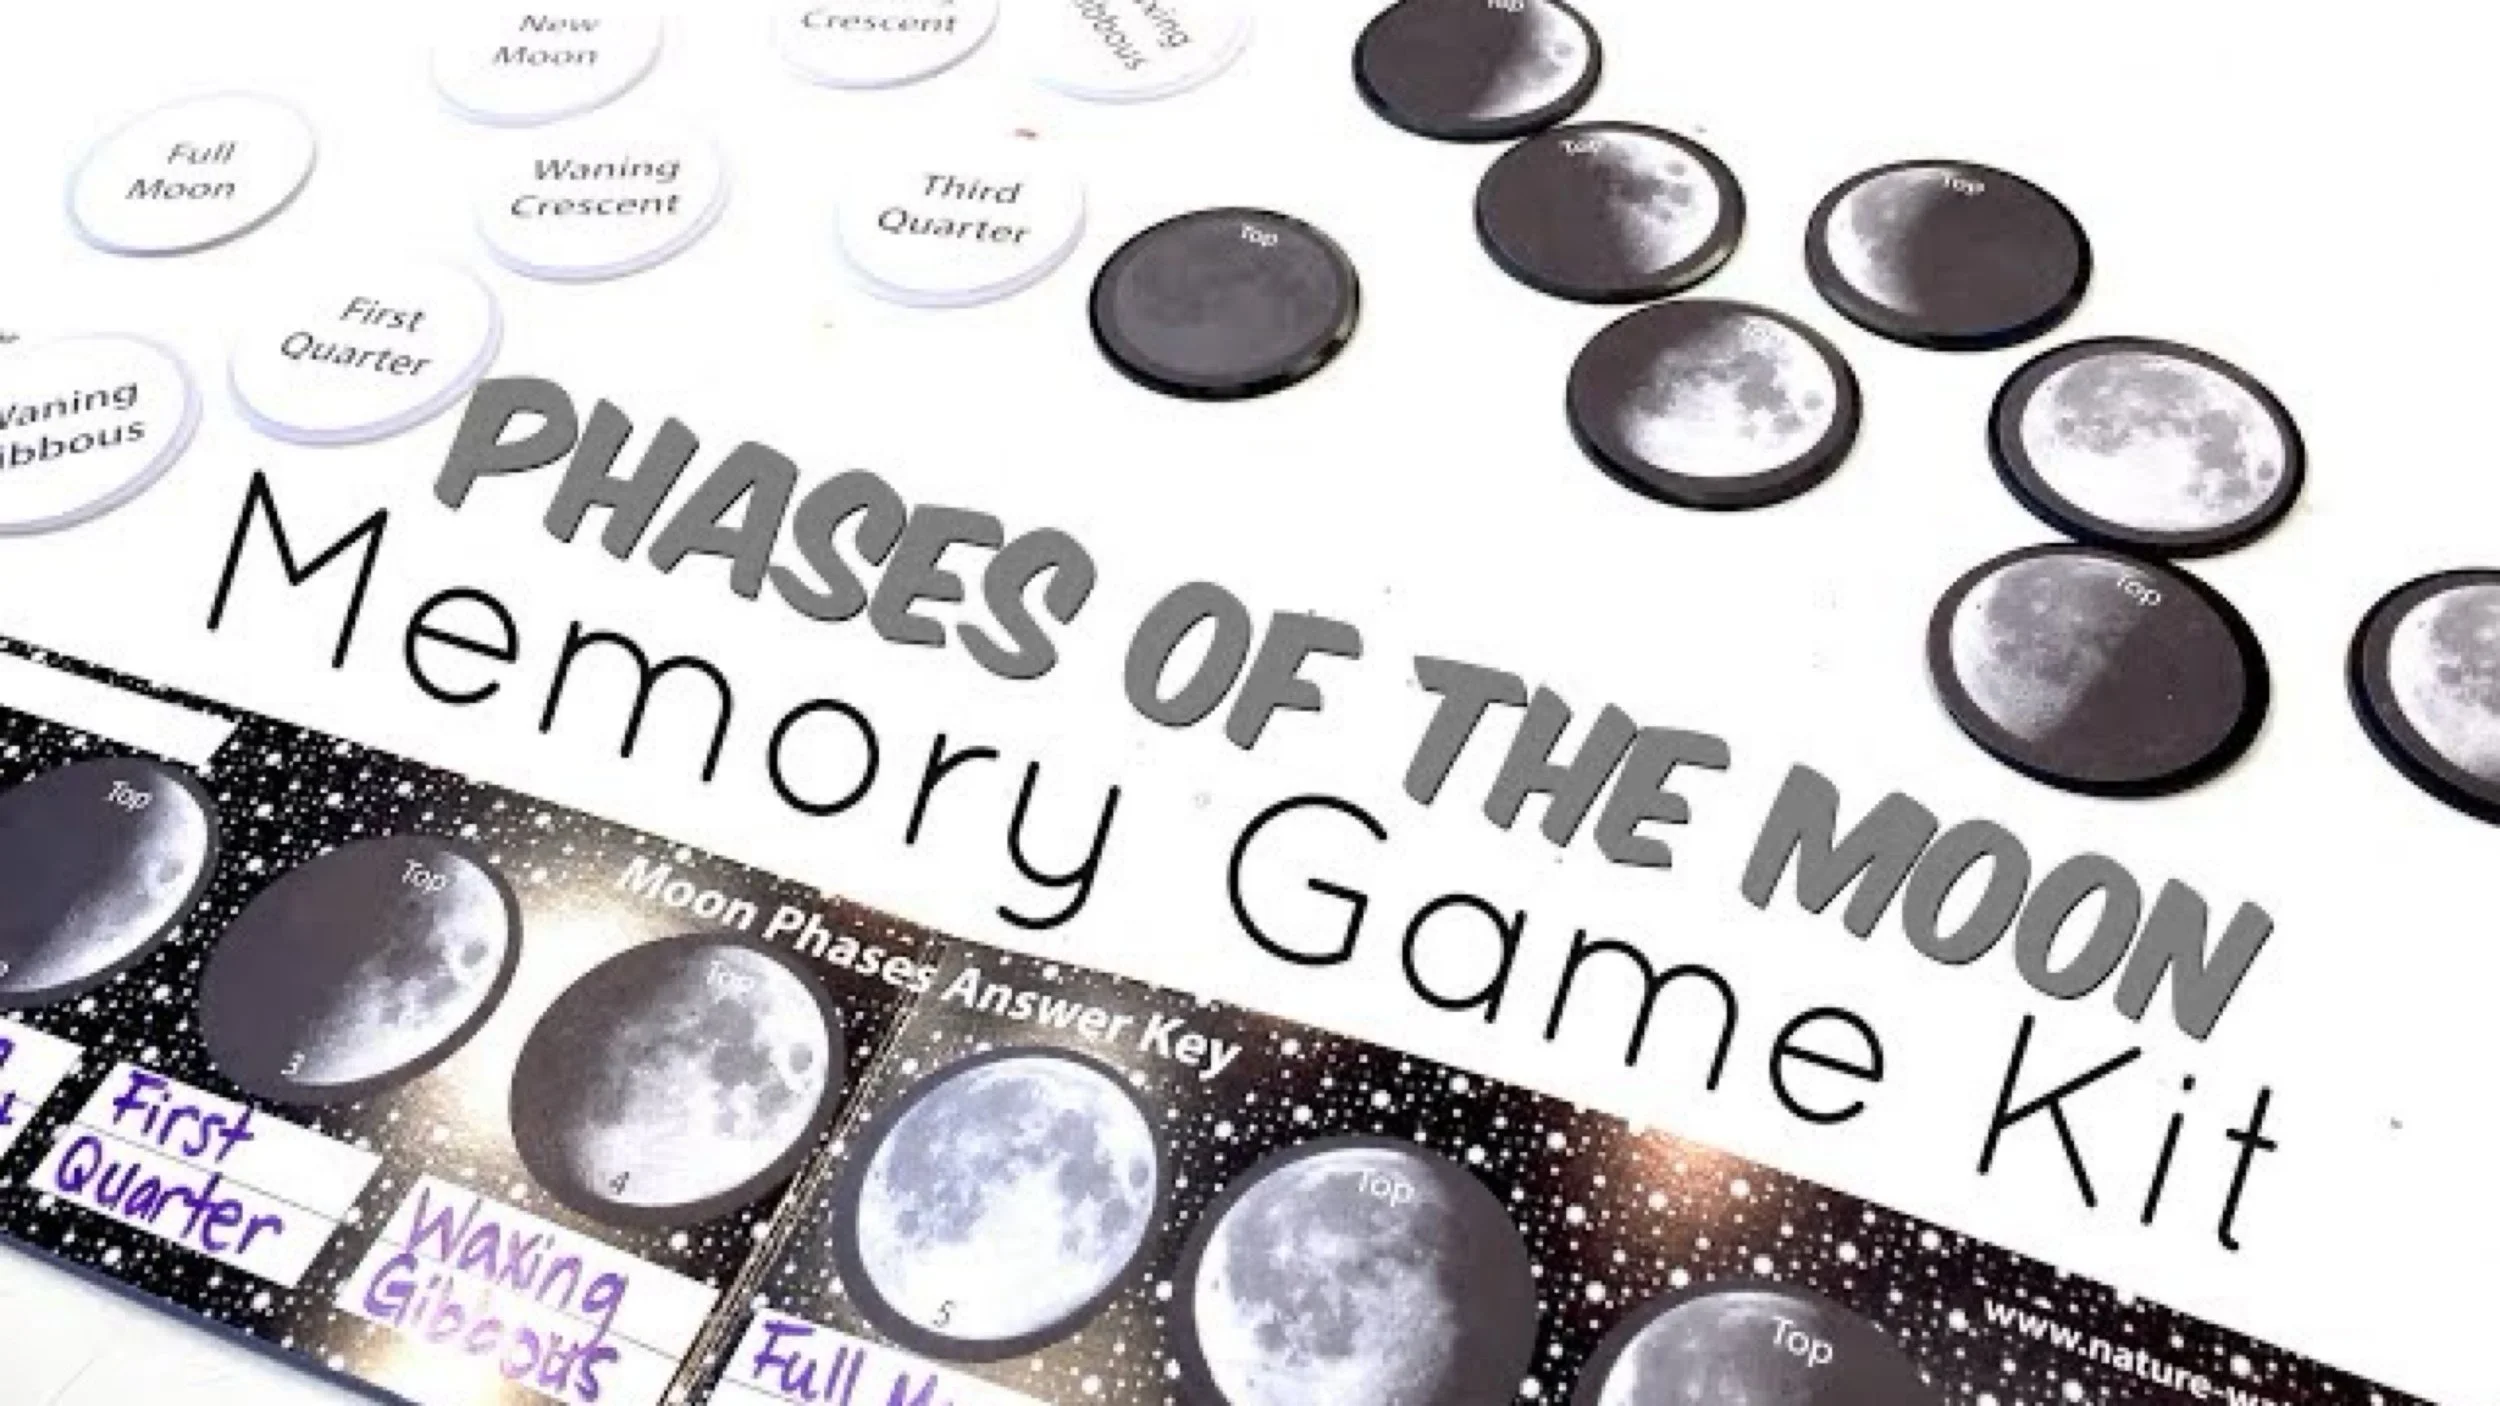
I'm sure you could DIY this Phases of the Moon memory game, but as much as I'm a crafting homeschool guru, I take full advantage of pre-assembled kits to make doing these kinds of projects easy and fast. There are certainly benefits to making things on your own.
-
Phases of the Moon | Painted Wood Craft
The study of the moon and its phases is not restricted to the month of Ramadan, but it seems that every year, that's when we focus our attention on this subject area. Each year we seem to add one more project or activity to help in our understanding of this subject.
-

Phases of The Moon Peg Doll Tutorial
These are probably the cutest peg dolls I've ever made! I actually made a complete lunar phase set to last an entire month! Granted it did get a little tedious and some crescents and moons look awfully similar to one another, but we got a complete set!

Projects & Activities
How to Make Astronomy Trivia Flashcards
Making flash cards is probably one of the easiest homeschool DIYs. But I'll admit, if there's a way to add art to the project (and complicate it), you can be sure I'll find that way. Watercoloring the planets for this project is easy and enjoyable. Even if you don't feel you can watercolor or draw, this is one project that is fail safe. We got creative with our colors as seen in the resources we used. Those books are listed below.
For this project you can use any watercolor paper or drawing paper if you decide to color rather than watercolor. I'm using Fabriano 90lb. watercolor paper measuring 9"x12". I'm also using Winsor Newton watercolors and some simple paint brushes I got from a local craft store. I buy most of my art supplies from Dick Blick, A Child's Dream or Waldorf Supplies, but you can source these or similar products are most craft stores. I'm also using my Cutterpillar Pro paper trimmer and my Minc machine as a laminator. Laminator sheets can be found at most office supply retailers.
For more Astronomy projects, check out this playlist. We love our astronomy units and main lesson blocks and find it thrilling to learn about the planets, constellations and beyond!
Here are a few of the resources we used:
Stars and Planets by David H. Levy, Book of Planets by Catherine D. Hughes, Neptune by Gregory L. Vogt, The Usborne Internet Linked Book of Astronomy and Space, Saturn by Robin Kerrod, The Book of Planet Earth by Clint Twist, Our Star: The Sun, by Barrons Educational Series, and A Book about the Planets and the Stars by Betty Polisar Reigot.


Solar System
For our astronomy unit, we made these fold-out solar system books using two 10"x30" strips of light-weight watercolor paper cut from a large sheet. We adhered them together to make a fold-out book. We placed the four outer planets on the outside panels and the inner planets on the inside panels with the sun being in the center of the folded book. We used our Silhouette Cameo to size and cut the planets and labels. We used "A Book About Planets and Stars" by Betty Polisar Reigot and The Usborne Internet-Linked Book of Astronomy and Space as reference books. Other supplies were Fabriano watercolor paper, Derwent watercolor pencils and Tim Holtz Distress Inks and Pads. All available from Blick Art Supplies. Tools used: Scissors, double-stick tape, stylus for folding paper, Silhouette Cameo and paint brushes. This project took about a week. We read information on two planets a day, plus the sun and moon. We watercolored the planets, adhered them in the fold-out book and then wrote final drafts about each planet, the sun and the moon.
Diameter sizes:
Mercury- .4"
Venus- 1"
Earth- 1"
Mars- .6
Jupiter- 12"
Saturn- 10"
Uranus- 4"
Neptune- 4"
We made one sun at 10" to fit snugly in the fold out book; we also made one that was 22" that folded out. If you want it to scale, the sun would have to be about 120".
Hanging Solar System Mobile
We got this hanging solar system mobile project from the book “Classical Kids: An Activity Guide to Life in Ancient Greece and Rome” by Laurie Carlson. This activity works well for an astronomy unit or for an Ancient Rome unit. We used watercolor paper, Tim Holtz Distress Inks, DMC metallic thread, paint brushes, spray adhesive, glue and scissors or a circle cutter (we used the Silhouette Cameo). Supplies can be found at Dick Blick and A Child’s Dream. Complete playlist for Ancient Rome and Astronomy.
Level: Easy
Duration 1-2 hours
Cost: $5 (unless you don’t have any products, then you’ll have to invest in a pad of paper and watercolors)
Diameter sizes:
Mercury- .4″
Venus- 1″
Earth- 1″
Mars- .6
Jupiter- 12″
Saturn- 10″
Uranus- 4″


Tycho Brahe Quadrant
Ever wonder how the astronomers of the past observed the stars and planets? The basic components of the instruments are rather simple, and with a few items you probably already have around the house, you can construct a rudimentary quadrant to record the ascension of the stars and planets and track their path across the sky. Today’s project is from the Astronomy main lesson book from the Live Education! Waldorf homeschool curriculum for grade 6. For this project, you need a dowel, straw, nail, washer, string and a protractor. You also need scissors, a hammer and glue. For more information on the curriculum we are using, you can check out the Live Education! website. This project accompanies our Astronomy unit and you can see the rest of the videos on YouTube. Find me one X, Instagram, Facebook, YouTube, and TikTok
Galileo
Astronomy Project
For our astronomy unit we made these interactive books. We read the book "Along came Galileo" by Jeanne Bendick. We recreated the demonstrations Galileo made in the 1600's: dropping two objects of different weights and timing the swings of a pendulum. We made the books interactive with movable models. The kids love these books!
The project took about two weeks from start to finish. We used products available from Blick Art Supplies. Supplies include: Lokta paper, distress ink, watercolor paper, spray adhesive, long reach stapler, scissors, and silhouette cameo.
Phases of the Moon with Cookies and a Game
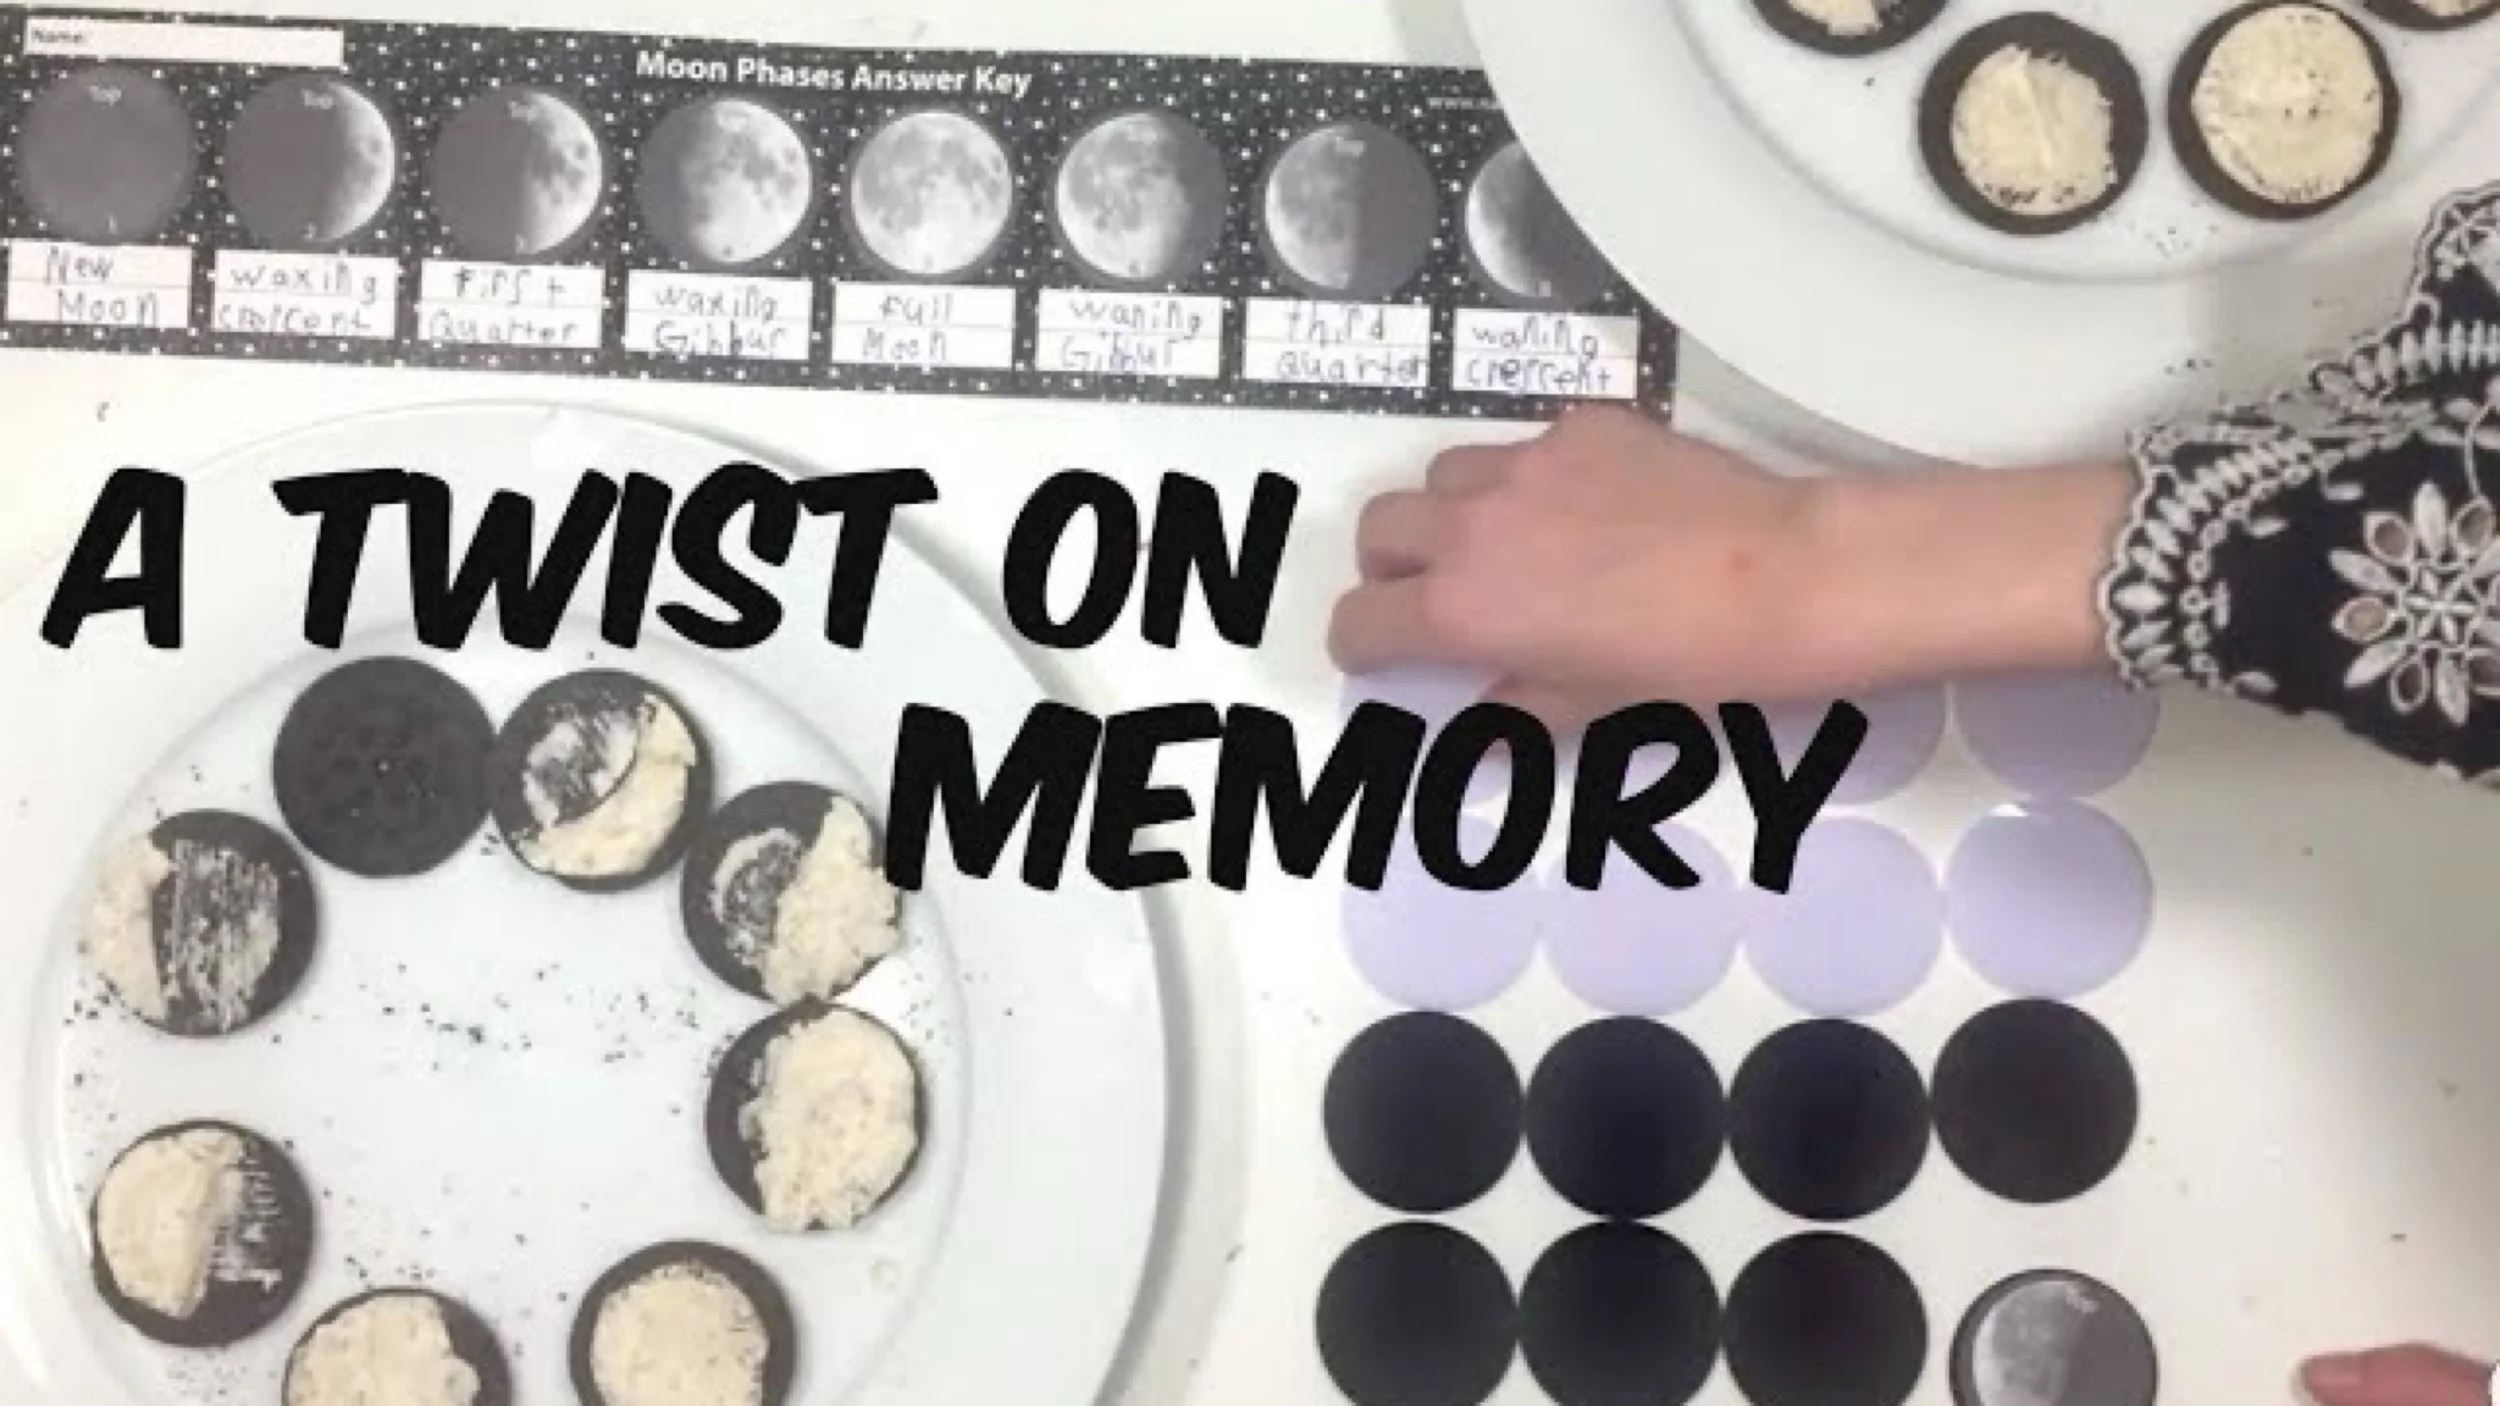
Edible learning is probably the most memorable of all educational experiences. It's not just hands-on, it takes all your senses into account when food's involved. You touch the cookie, smell the cream, hear it crunch in your mouth and then taste the yummy goodness. I'm sure you've seen this phases of the moon project from cookies and today we add a little twist to the activity.
Instead of just doing this project and eating the cookies, we added a memory game to the mix. Using the Phases of the Moon Memory Game kit from Nature-Watch, we designed cookies to look like the eight phases of the moon on the game pieces. Next we laid out the memory game tiles and my two children played the game. Whoever got a pair, got to eat the cookie matching that pair! It meant that some wins were better than others! And also, one child might get more cookies than the other. Indeed that happened. My six-year-old got 5 pairs while my 11-year-old got 3 pairs. They didn't eat the losses. Turns out the Jo-Jos from Trader Joe's aren't that tasty.
This project accompanies our Astronomy unit. Find other Nature-Watch kit videos. This project accompanies our Astronomy unit and you can see the rest of the videos on YouTube.
Phases of the Moon
Nature Watch Kit
I'm sure you could DIY this Phases of the Moon memory game, but as much as I'm a crafting homeschool guru, I take full advantage of pre-assembled kits to make doing these kinds of projects easy and fast. There are certainly benefits to making things on your own. I'm sure the children would be far more attached and proud of a project they did completely on their own from scratch, but when the point of a project is to do a hands-on activity, and you're not much of a DIYer, then the kits from Nature-Watch are a win! They come with all the materials you need to do the project as well as additional educational material for the teacher to use with the classroom. I prefer getting the classroom kit rather than the individual kits as the price is better and it gives us the opportunity to do the project again. But, in this case, it would have been better to just buy the individual kits. We have a lot left over to share with other homeschooling families. The classroom kits come with supplies for 25 students plus additional supplies for the teacher (like books, samples and booklet with info). The classroom kits range in price but end up costing about $1.50 per student. The Individual kits are about $6 a person. They do offer a homeschool kit with multiple projects in one kit. This project accompanies our Astronomy unit. Find other Nature-Watch kit videos. This project accompanies our Astronomy unit and you can see the rest of the videos on YouTube.
Phases of the Moon
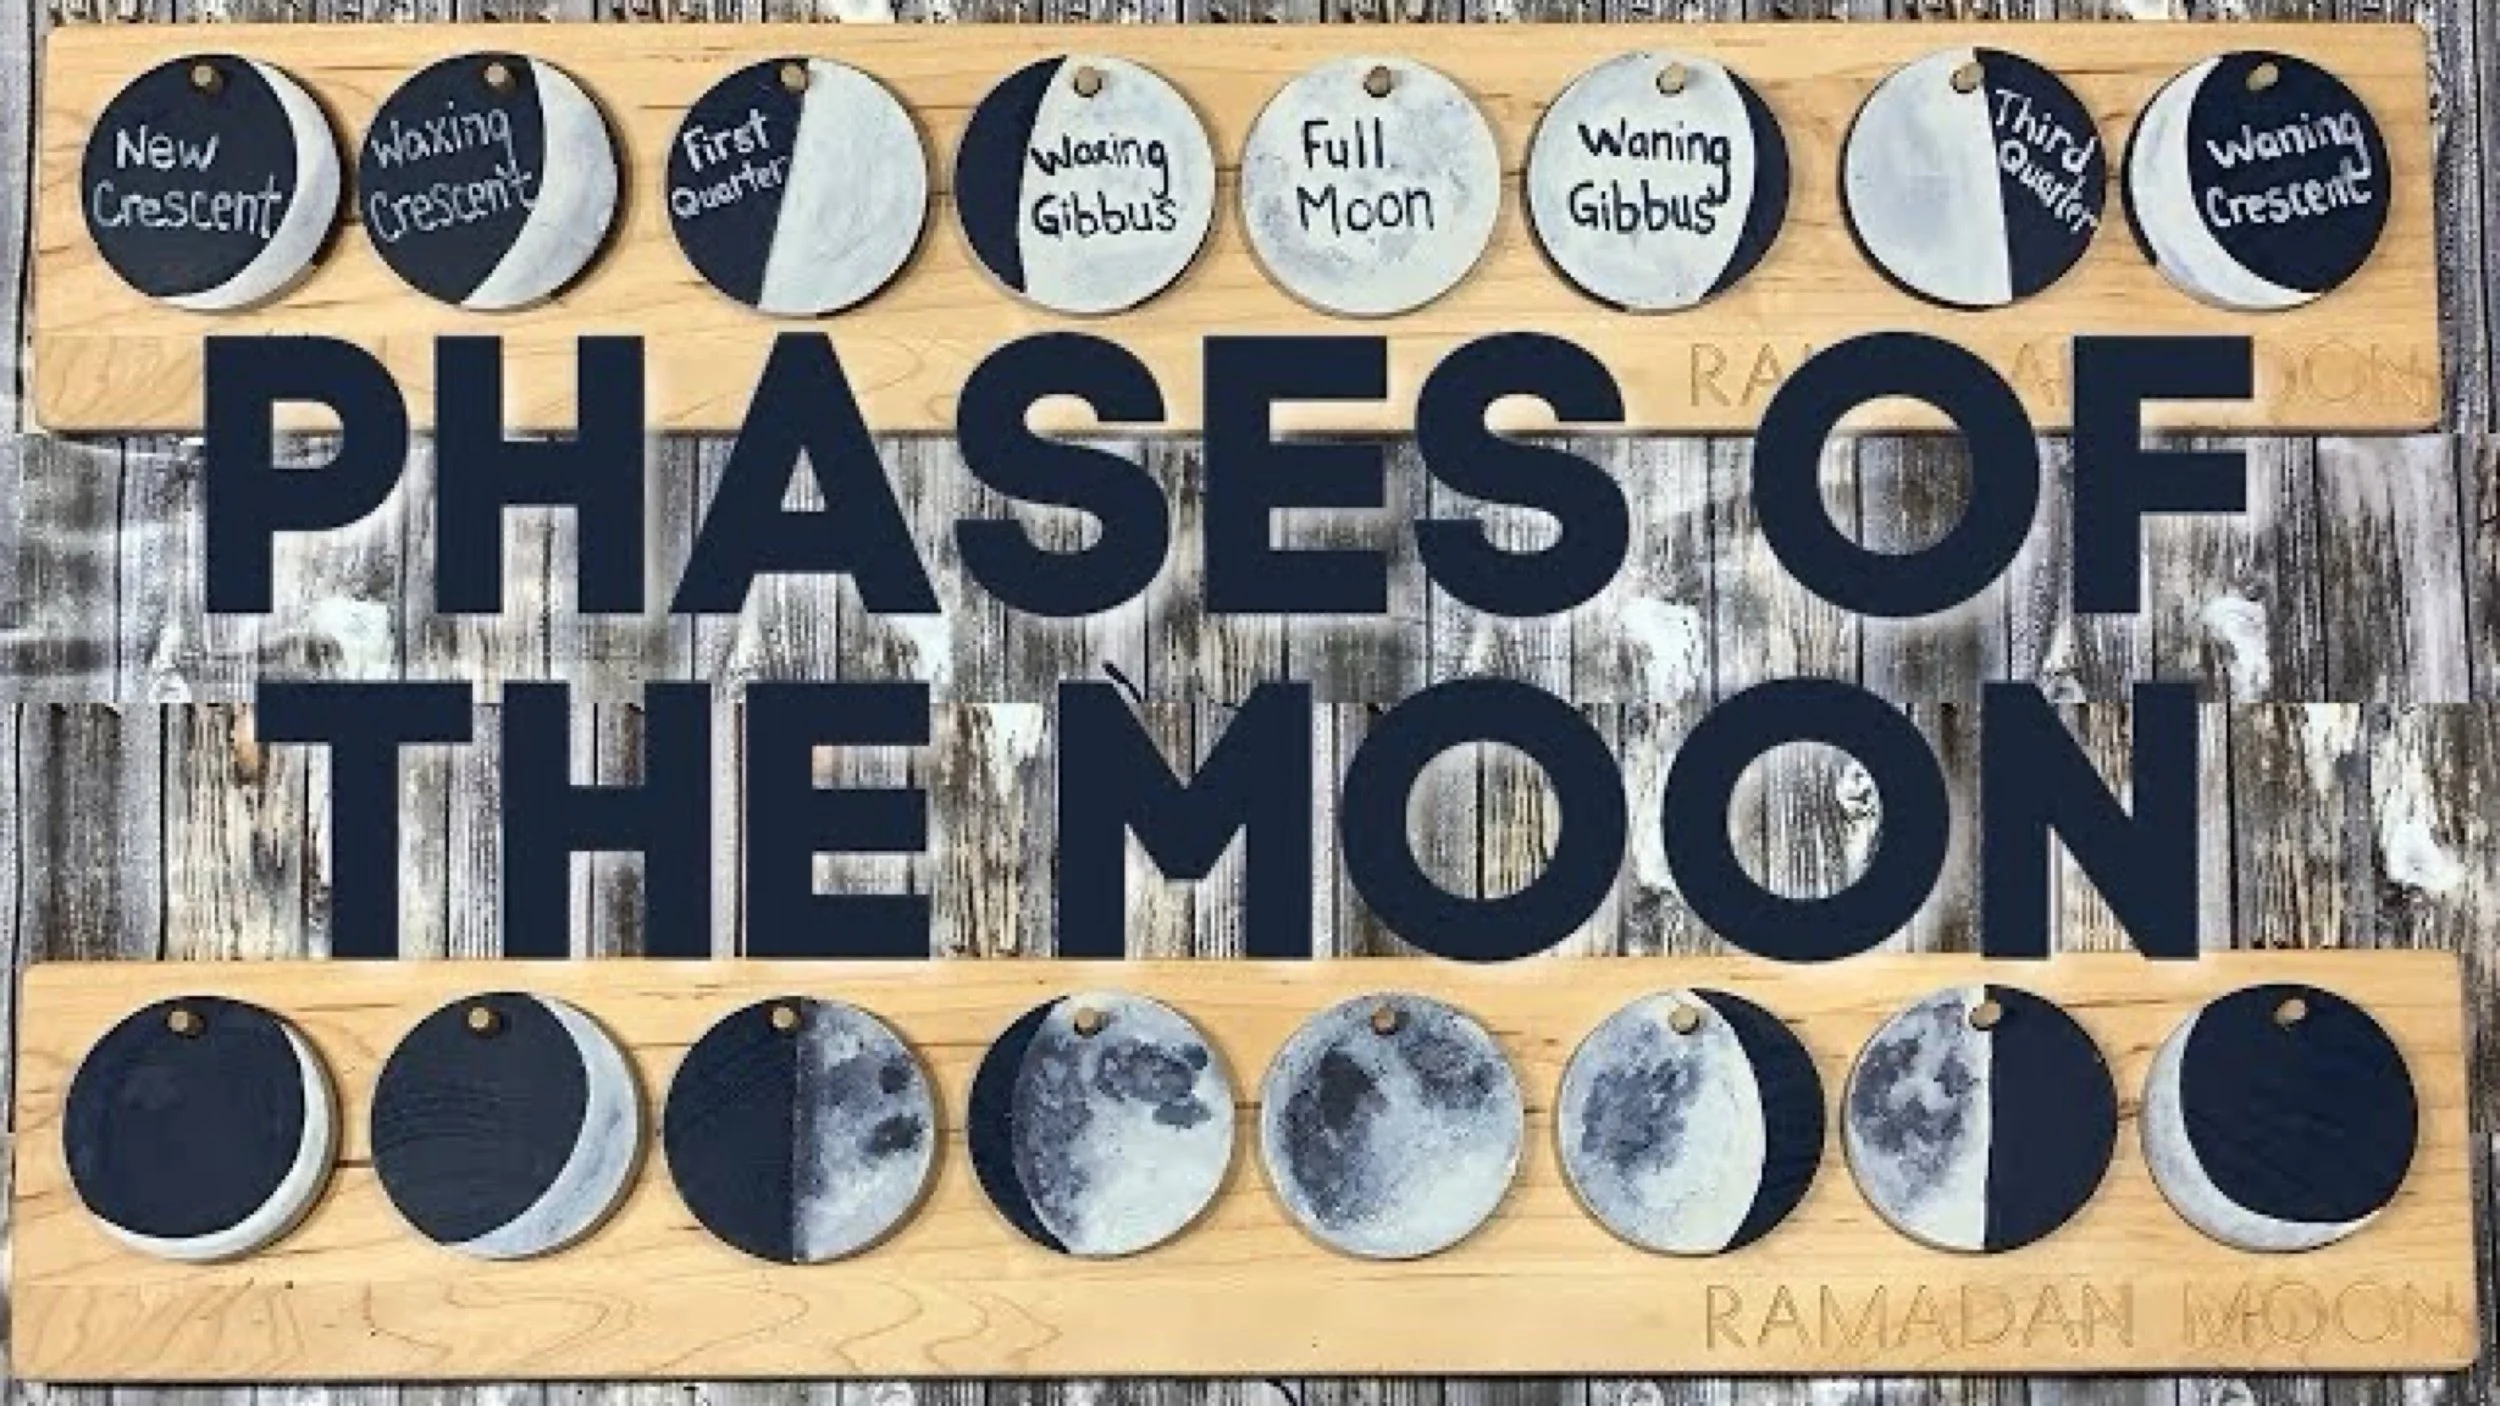
The study of the moon and its phases is not restricted to the month of Ramadan, but it seems that every year, that’s when we focus our attention on this subject area. Each year we seem to add one more project or activity to help in our understanding of this subject. In the past we’ve done phases of the moon with cookies, cut out a paper mobile of the phases of the moon, assembled a kit of the moon by Nature-Watch, painted peg dolls in the phases of the moon, and probably more that slip my mind. Today’s project was a joy to do, but did take a long time because I not only made mistakes, I complicated the project by painting both sides of the moon tile, added craters on one side and the names of the phases on the other. These additions turned a less-than-an-hour project into a two-day project. I show the whole process so you can see what I did and so that you can skip what doesn’t suit you. While the craters took forever to paint, they are my favorite feature. They really bring this project to life and make it look more authentic.
This kit comes with everything you need to make the phases of the moon, including paint, brush and directions. I happened to have missed the directions, and did them without, which ended up being a blessing because I brought personal touches and authenticity to this project, and I especially like the way it looked in the end. With directions, I’m sure you could do this project easily and quickly. I dipped into a Nature-Watch kit on the Phases of the Moon to help with the phases and how to paint them. I’m sure you’re familiar with the cookie phases of the moon. It’s a delicious project!
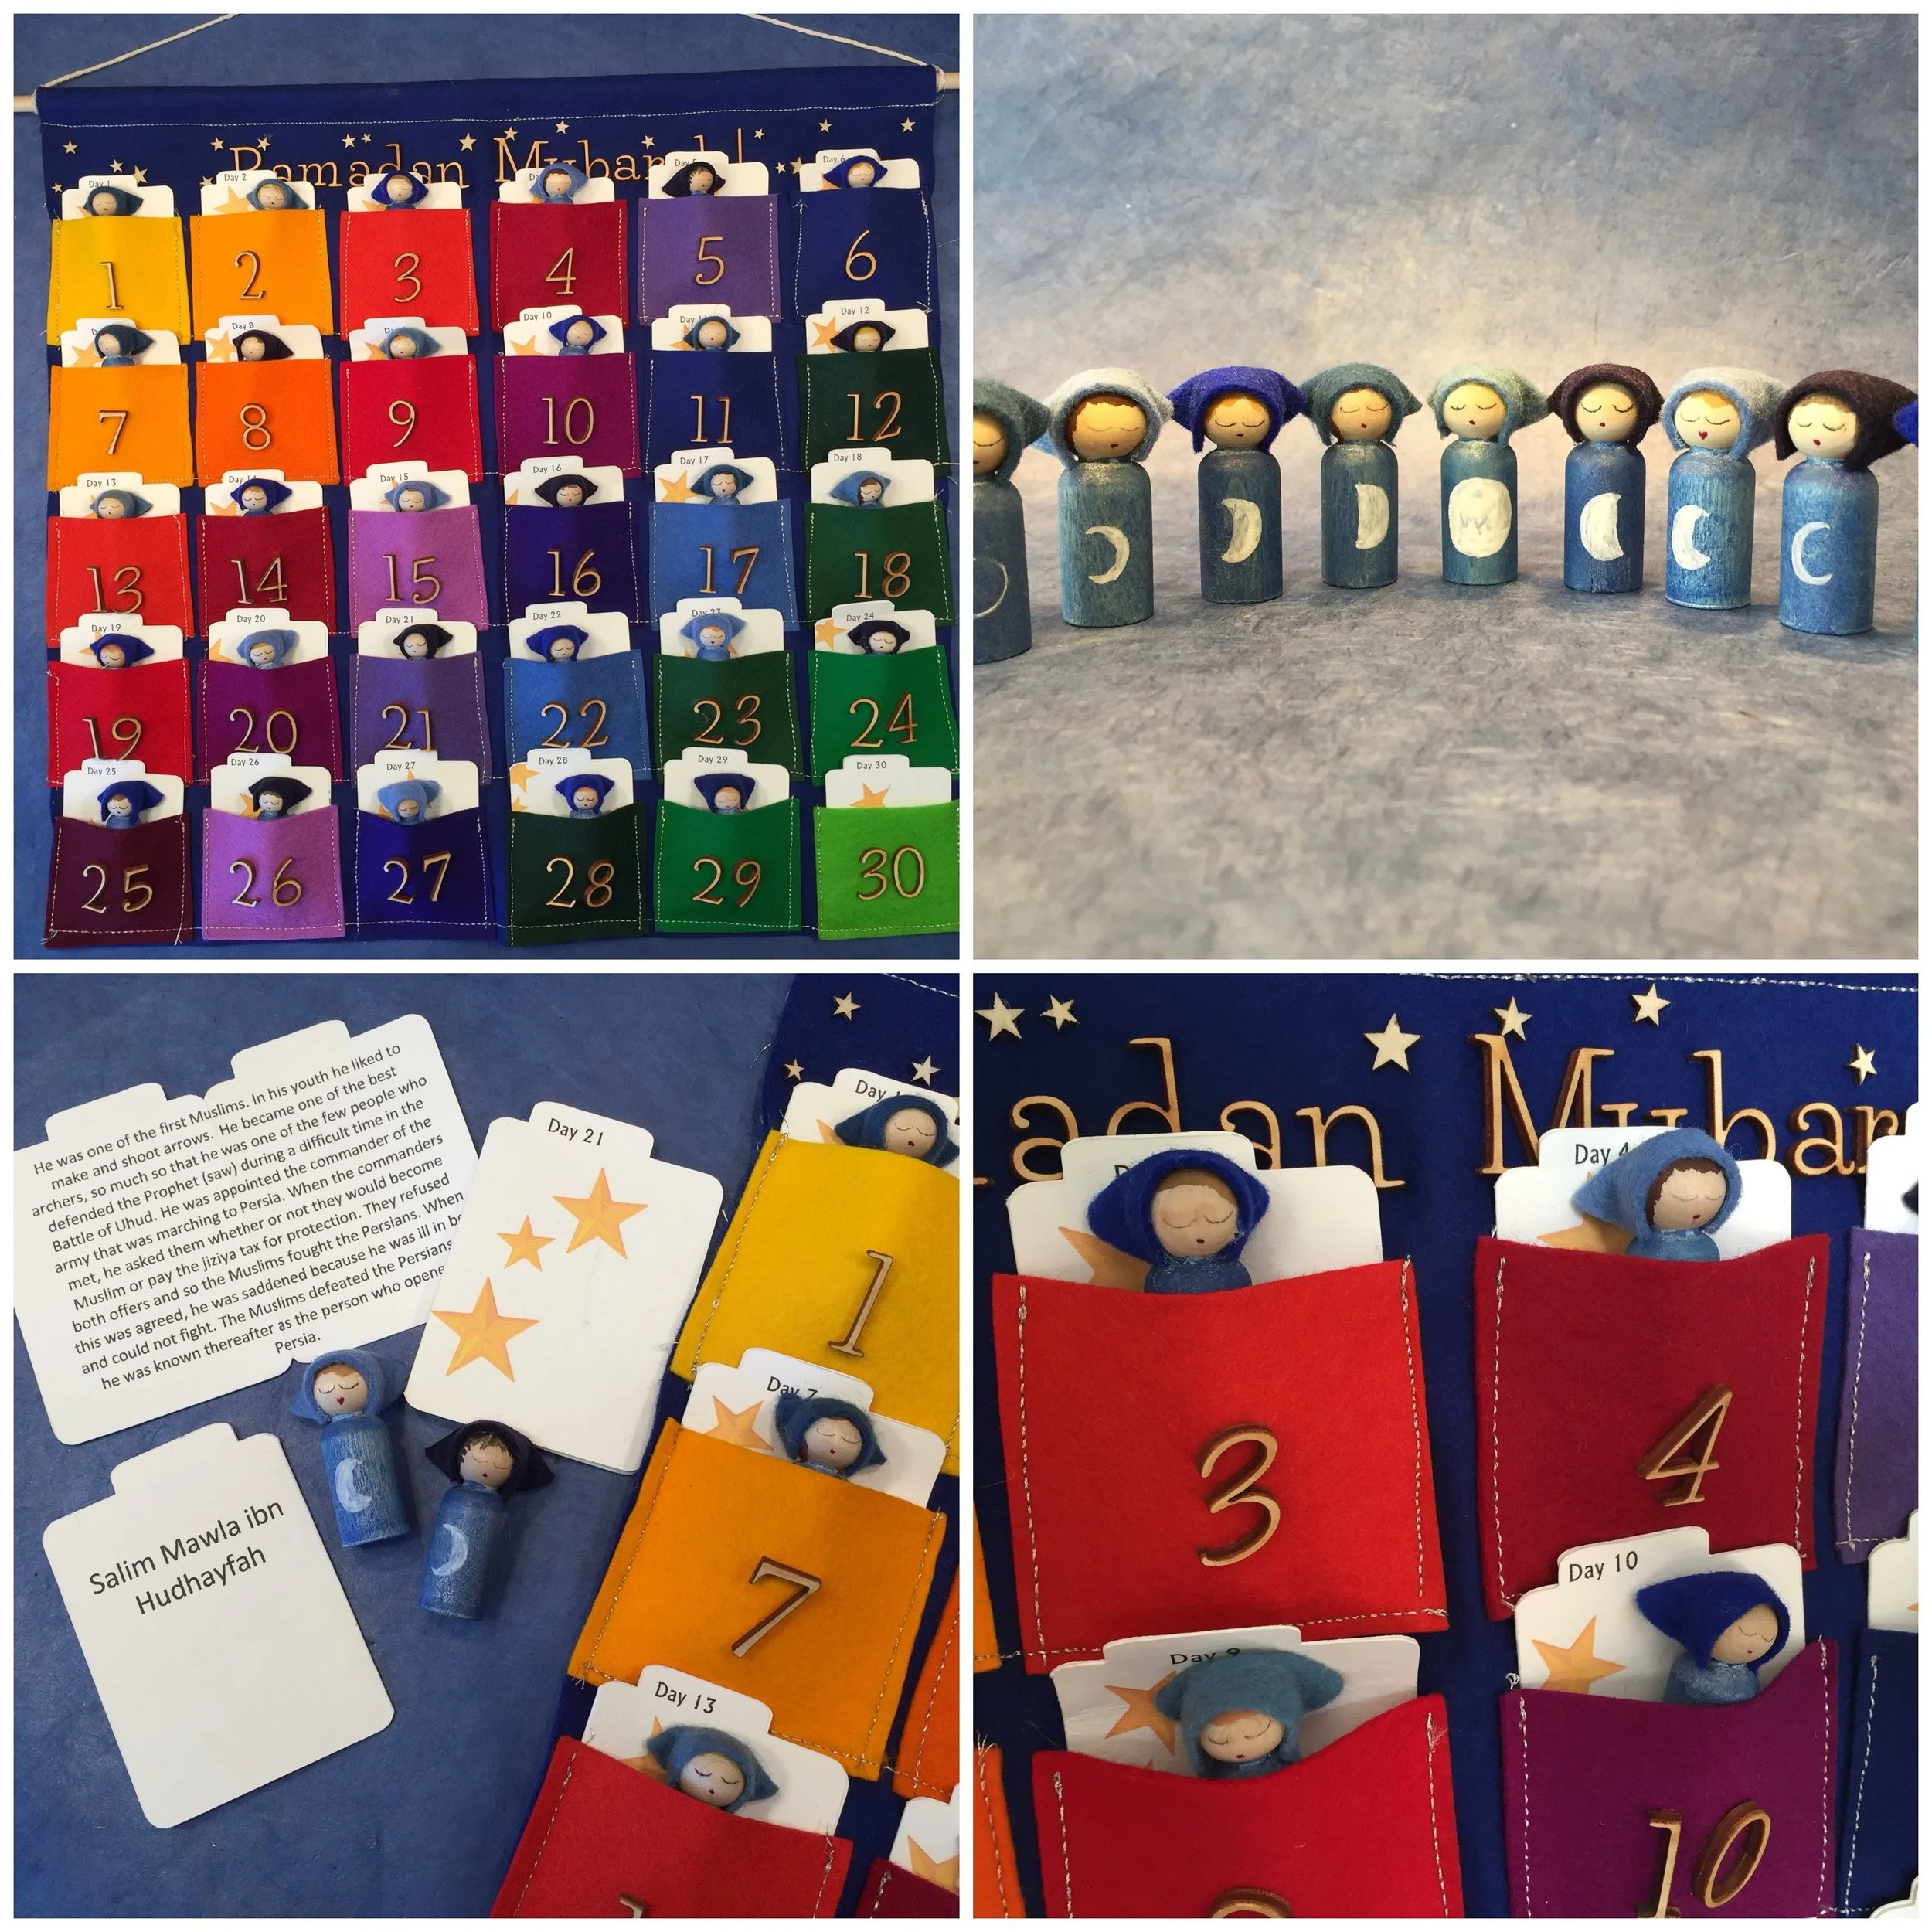
I love the new item we have this year which is the Ramadan Moon phases of the moon DIY wooden kit. It looks great hanging just above our Ramadan Table. Our Ramadan Calendar has been a staple in our home for many years, but originally we had a store bought calendar. While it’s common to put a little treat in each pocket, I have 20 non-candy alternatives you can put into each pocket. One year, I painted 30 peg dolls that depicted the phases of the moon. It was a labor intensive project, but I’m super pleased with the results. And, this is one project that can be used year round.
While I don’t have a print out of our sahaba stories, you can click here to see pictures of all of them.
I purchased The Ramadan Moon DIY Kit at the QuadM shops in March of 2019. While at the time, I purchased the last one available, I’m hoping they have been restocked. In the meantime, you can check out the other products by The Rustik Home.
Phases of The Moon Peg Doll
These are probably the cutest peg dolls I’ve ever made! Don’t be deceived by the thumbnail, I actually made a complete lunar phase set to last an entire month! Granted it did get a little tedious and some crescents and moons look awfully similar to one another, but we got a complete set! Now we can track the lunar cycle with these adorable moon phase peg dolls. Of course my 7-year-old will be playing with them, too.
I plan to put each peg doll into our Ramadan calendar for this year and each day we can remove the peg doll and display it on a wooden plaque.
Project details:
Duration: 5+ hours
Level: advanced (young children could do the base color, but details were challenging)
Cost: $20+
Direction: First I painted all the small peg dolls with a coat of blue from our Lyra Watercolor set. Once they were dry, I gave them all a coat of Mr. Huey’s Shine for a bit of shimmer. Before painting the phases of the moon, I polished each one with Beeswax Polish. Finally, I used the white opaque paint that comes with the Lyra watercolors set to paint the phases of the moon. I watered it down until it was smooth and easy to paint and I used a stiff, yet soft bristled pointed brush for best results. While the peg dolls dried, I worked on the wooden plaque. I watercolored it with various shades of blue and white opaque paint. I added Mr. Huey’s shine and let it dry thoroughly before added beeswax polish. Then I painted the faces and hair for each doll varying the hair color, but making all them with sleepy faces. To make the sleepy eyes, just draw two half circles. The circles should be stretched like ovals and should be midway down the face. I used a felt tip marker for most, but you can also use the black paint. For the mouth, I used a magenta colored Sharpie, but red paint for be just fine. I just dotted a little mouth. For the little caps, I cut an elongated semi-circle out of 100% wool felt in various shades of blue. It was a little trial and error till I got the size I wanted with no extra felt hanging over the sides or back. I used hot glue to adhere it to the completely dry peg dolls.