
Butterflies

Butterflies
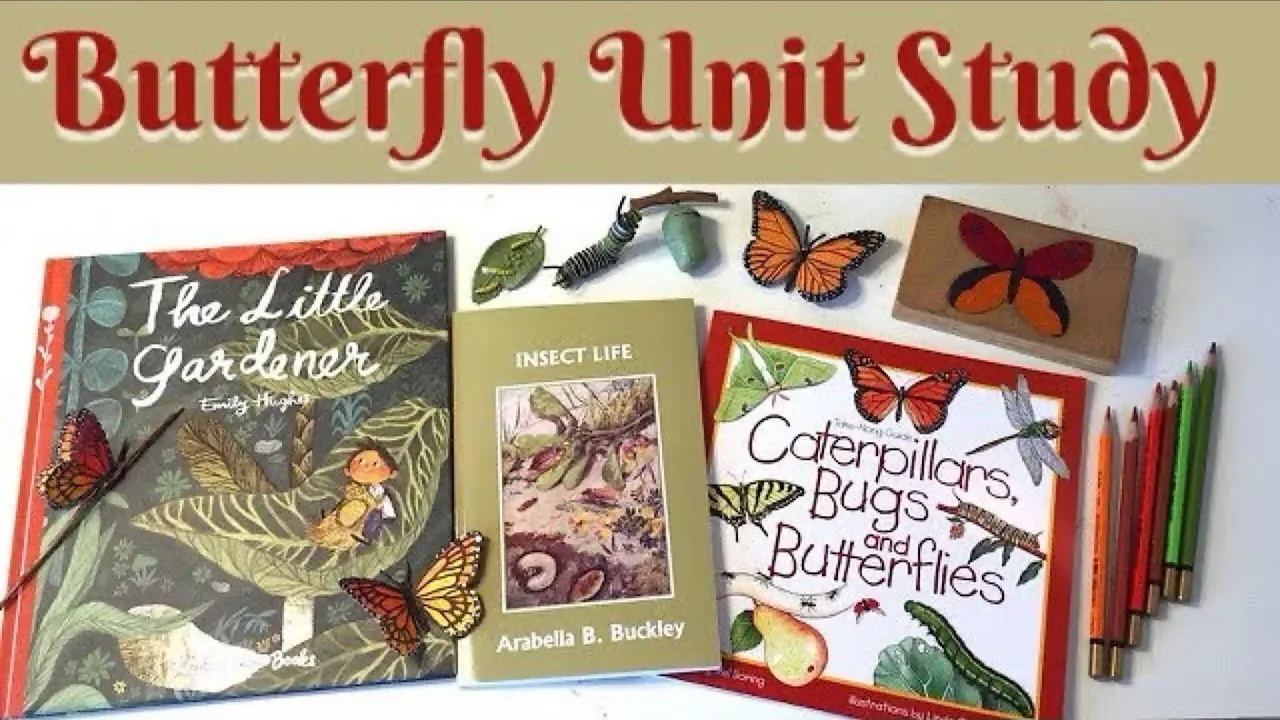
The study of butterflies is a wonderful spring activity. Watching the metamorphic change from chrysalis to butterfly mirrors the changes happening in nature at this time of year. What’s wonderful about making a unit study in a homeschool setting is that it will serve multiple ages at the same time. I love including picture books into our unit studies, especially non-fiction illustrated books. Everyone delights in listening to stories or reading living books. Including these resources into a unit study, supports the younger students with delightful stories and illustrations to look at, yet still being enjoyable and educational for older students. And the nonfiction, illustrated books serves as content for the older children while the younger children play and listen to the lesson. My older students would do written and illustrated work for the lessons, whereas my younger students may just do hands-on projects. This worked well for everyone and was a great opportunity for family learning.
Whenever I put together a new unit study, I often browse my own bookshelves for resources. But often I end up searching for new materials to support our unit study. Often I will have a homeschool haul, showcasing new books, materials and resources, including kits and other hands-on projects before putting together our unit study. This is a time for me to collect the materials and get inspired and excited about the upcoming unit.
Butterfly & Caterpillar Unit Study
-
Butterflies and Caterpillars Unit Study
If you watched my Nature Unit planning video, you know I scheduled a lot for this spring! It didn't work out though. It was too broad and too hard to plan, so I broke up that big unit into weekly units and it's been perfect!
-
How to Set Up a Unit Study Table
So if you follow me regularly, and if you catch the date with our calendar peg dolls, you'll know this video is a tad late. For the fun of it, post the date you notice with our calendar peg doll. Our nature table got refreshed.
-

Monarch Butterfly Suncatcher
Ever since we started making suncatchers, we've been enjoying this beautiful craft. I think my friends and neighbors enjoy it too because they can see out decorated school room windows from the street.
-
Anatomy of a Butterfly
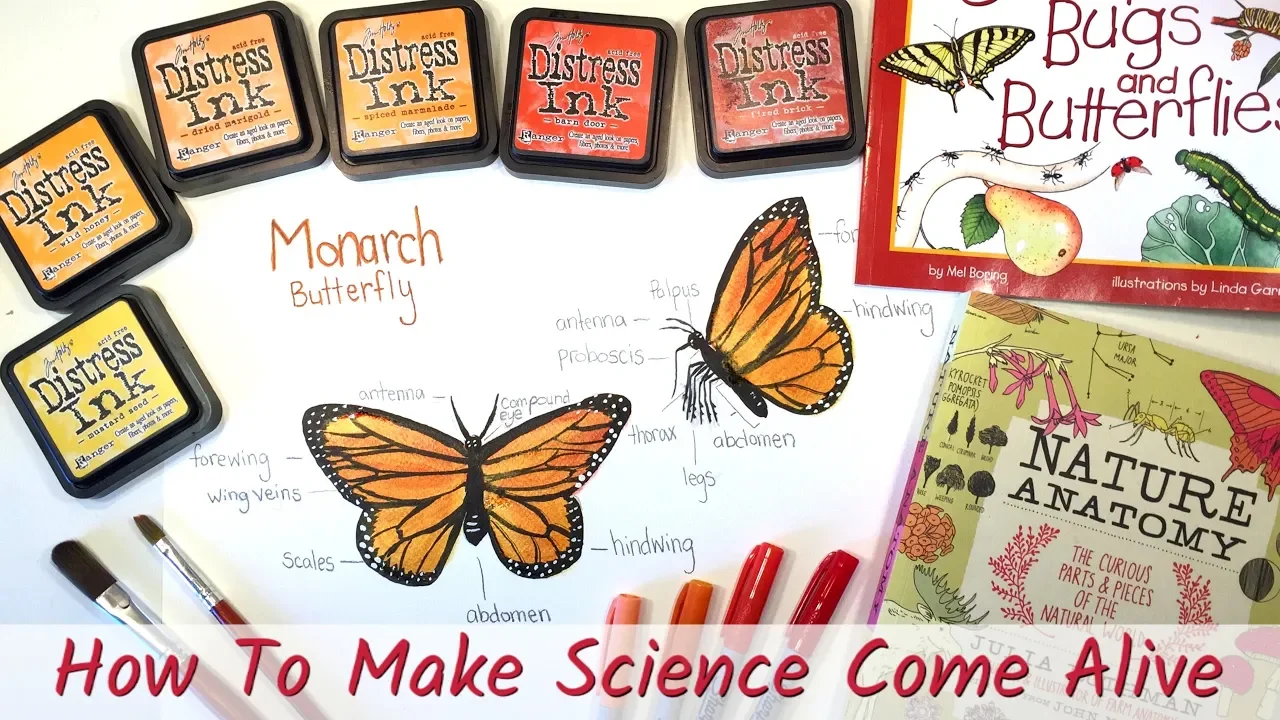
I love it when I can mix art and science or art and math for that matter. Any lesson is an opportunity to pull out the watercolor paper and art supplies. For this lesson we are using our Tim Holtz Distress Inks as our watercolor medium for our Anatomy of a Monarch Butterfly.
-
Life Cycle of a Butterfly | Oven Bake Clay
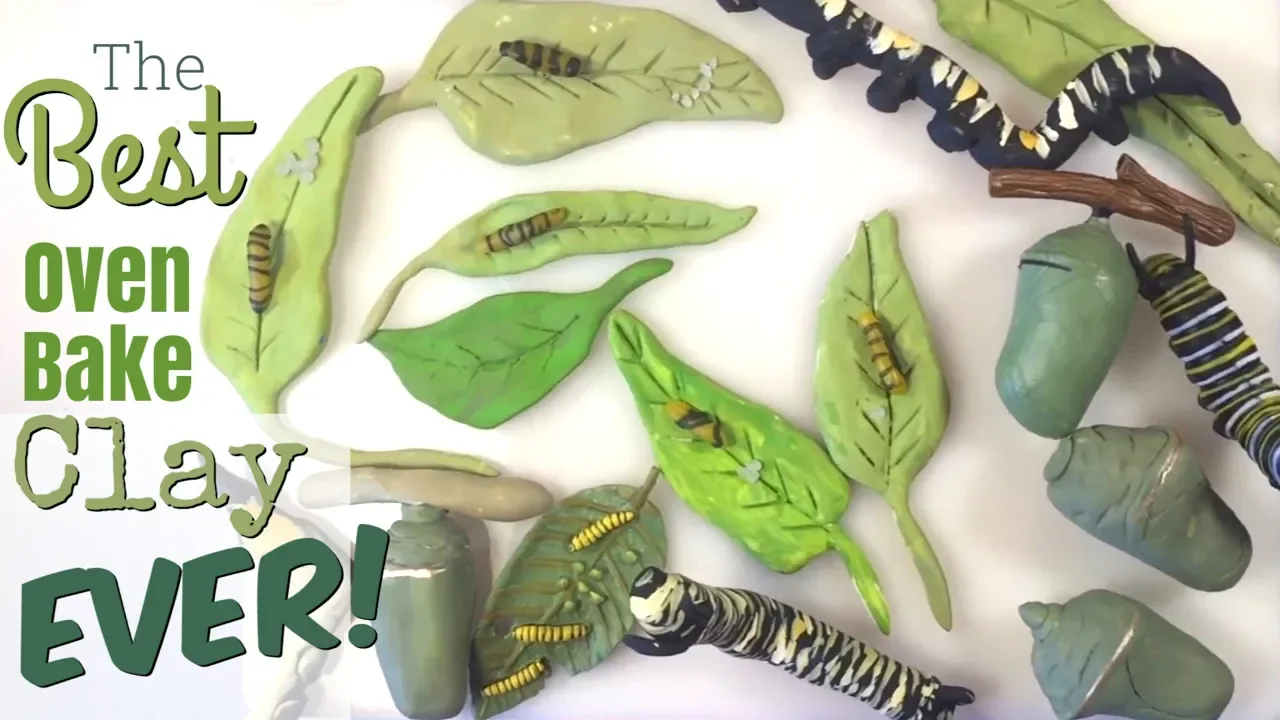
Sculpey Ultra Light oven bake clay is my new favorite modeling medium! It's awesome!! Let me tell you why this is a must have item for your art supply stash or homeschool supplies. It comes in white and can easily be painted with various art mediums.
-
Monarch Butterfly Paper Project
These monarch butterflies look so real, from a distance, you would think they were. We didn't intend to make so many. We just needed a few for a Life Cycle of a Butterfly project, but we (er, I mean I) got carried away and made about 20 of them! That's okay, I have lots of ideas on what to do with the extras.
-
Felted Caterpillar Tutorial
I'm always surprised when my children want to felt. It's not the easiest craft and it takes a while to felt, but their projects turned out so cute! Especially my 7-year-old's caterpillar.True to her spirit and personality, she did her own thing, and it turned out better than both my son's and mine combined. Hers looks like a little puppy with ears and a nose and a super long skinny body. I love it!
-
Watercolor Monarch Butterfly
I love adding watercoloring to our lessons when possible, and this monarch butterfly watercolor is a great beginner project. With just a couple of colors, you can make an extraordinary painting.
-
Life Cycle of a Butterfly
This started out as a simple project, but turned into a homeschool keepsake. I'm not even sure at what point it happened, but this project took on a life of its own! It pulls together three different projects we've done over the course of our Butterflies and Caterpillars unit.
-
Monarch Butterfly Peg Doll
Some peg dolls and fingers puppets end up looking super cute and charming while others look like a nice try. This peg doll is one such project in which all the extra time it took to make something I envisioned turned out pretty mediocre.
-
Curriculum Review | Science Unit Study | Butterfly & Caterpillar
I think this Butterflies and Caterpillars unit was one of our favorite units this year. Well, at least I know it was mine. For my children, because there was little writing and a lot of hands-on activities, I think I can safely say they liked it too.
Butterfly & Caterpillar Unit Study
Butterflies & Caterpillars Unit Study
If you watched my Nature Unit planning video, you know I scheduled a lot for this spring! It didn't work out though. It was too broad and too hard to plan, so I broke up that big unit into weekly units and it's been perfect! These are mostly project based units with minimal reading. Hey, the weather is great and we just want to be outside. Or, we just want to get crafting and working with our hands. We won't dispense with the books entirely, but you'll see a big reduction as well as many resources that we'll just dip into but not read cover to cover. This unit on Butterflies, Caterpillars and more is mostly project based and I'm eager to share all the projects with you. You can see them here as I add the tutorials to the playlist.
How to Set Up a Unit Study Table
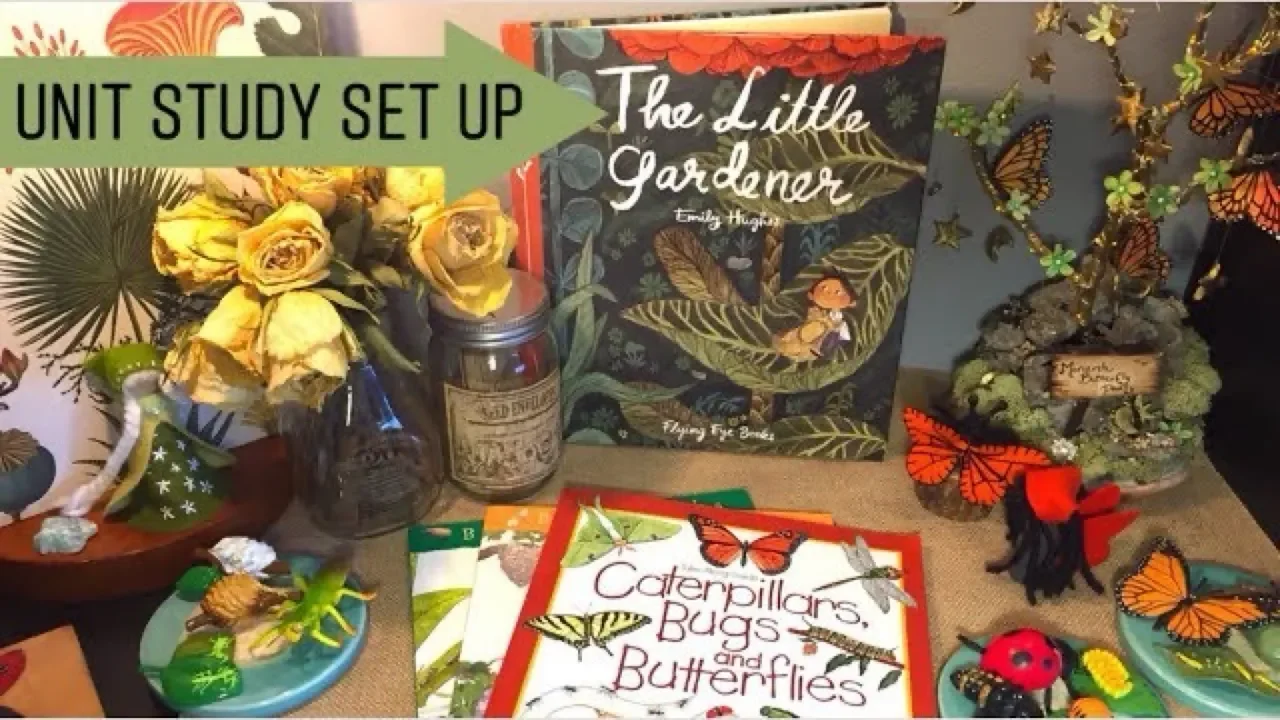
Spring Nature Table
So if you follow me regularly, and if you catch the date with our calendar peg dolls, you'll know this video is a tad late. For the fun of it, post the date you notice with our calendar peg doll. Our nature table got refreshed. I intended to make it a Ramadan inspired 'nature table', but instead, I decided to put it on the ledge under our chalkboard which finally got a new chalk drawing! This new unit study area is a place for us to display our books and hands on activities for this unit, but since it's small, we also have our other space under the window that has naturally become a mini Natural History activity center with various materials from our nature science unit studies over the last year or two. I actually really like it that way and when we tried putting some of our history books and activities there this year with our Ancient Roman main lesson block, it didn't have the same passionate energy. So while there may not be any major changes in our homeschool room, we are constantly making small changes to fine tune our homeschool experience. You can check out the entire playlist for our Butterflies and Caterpillars unit for more tutorials and projects.
Monarch Butterfly Suncatcher
Ever since we started making suncatchers, we’ve been enjoying this beautiful craft. I think my friends and neighbors enjoy it too because they can see our decorated school room windows from the street. It brightens our school room during the day as the sunshine streams in through the windows, and it brightens our home from the outside at night as the light from our school room shines through the darkness as all our suncatchers, stars and butterflies, sparkle in the night sky. It’s so pretty at night, I have to remember to snap a pic.
For our butterfly unit, I modified our typical star suncatchers to make a monarch butterfly suncatcher. I used my Silhouette Cameo to cut out two identical butterflies so I could sandwich orange kite paper in between. I sprayed the butterfly cutout with black Distress Ink Spray and added white dots along the edge using white correction ink, but white acrylic paint would work just fine. Although I used a glue stick and later a wet glue, I found that 3M Spray Adhesive works best. In later projects I just used the spray adhesive. Just make sure you do it in a well protected, well ventilated area.
This project is part of our Butterflies and Caterpillars unit.
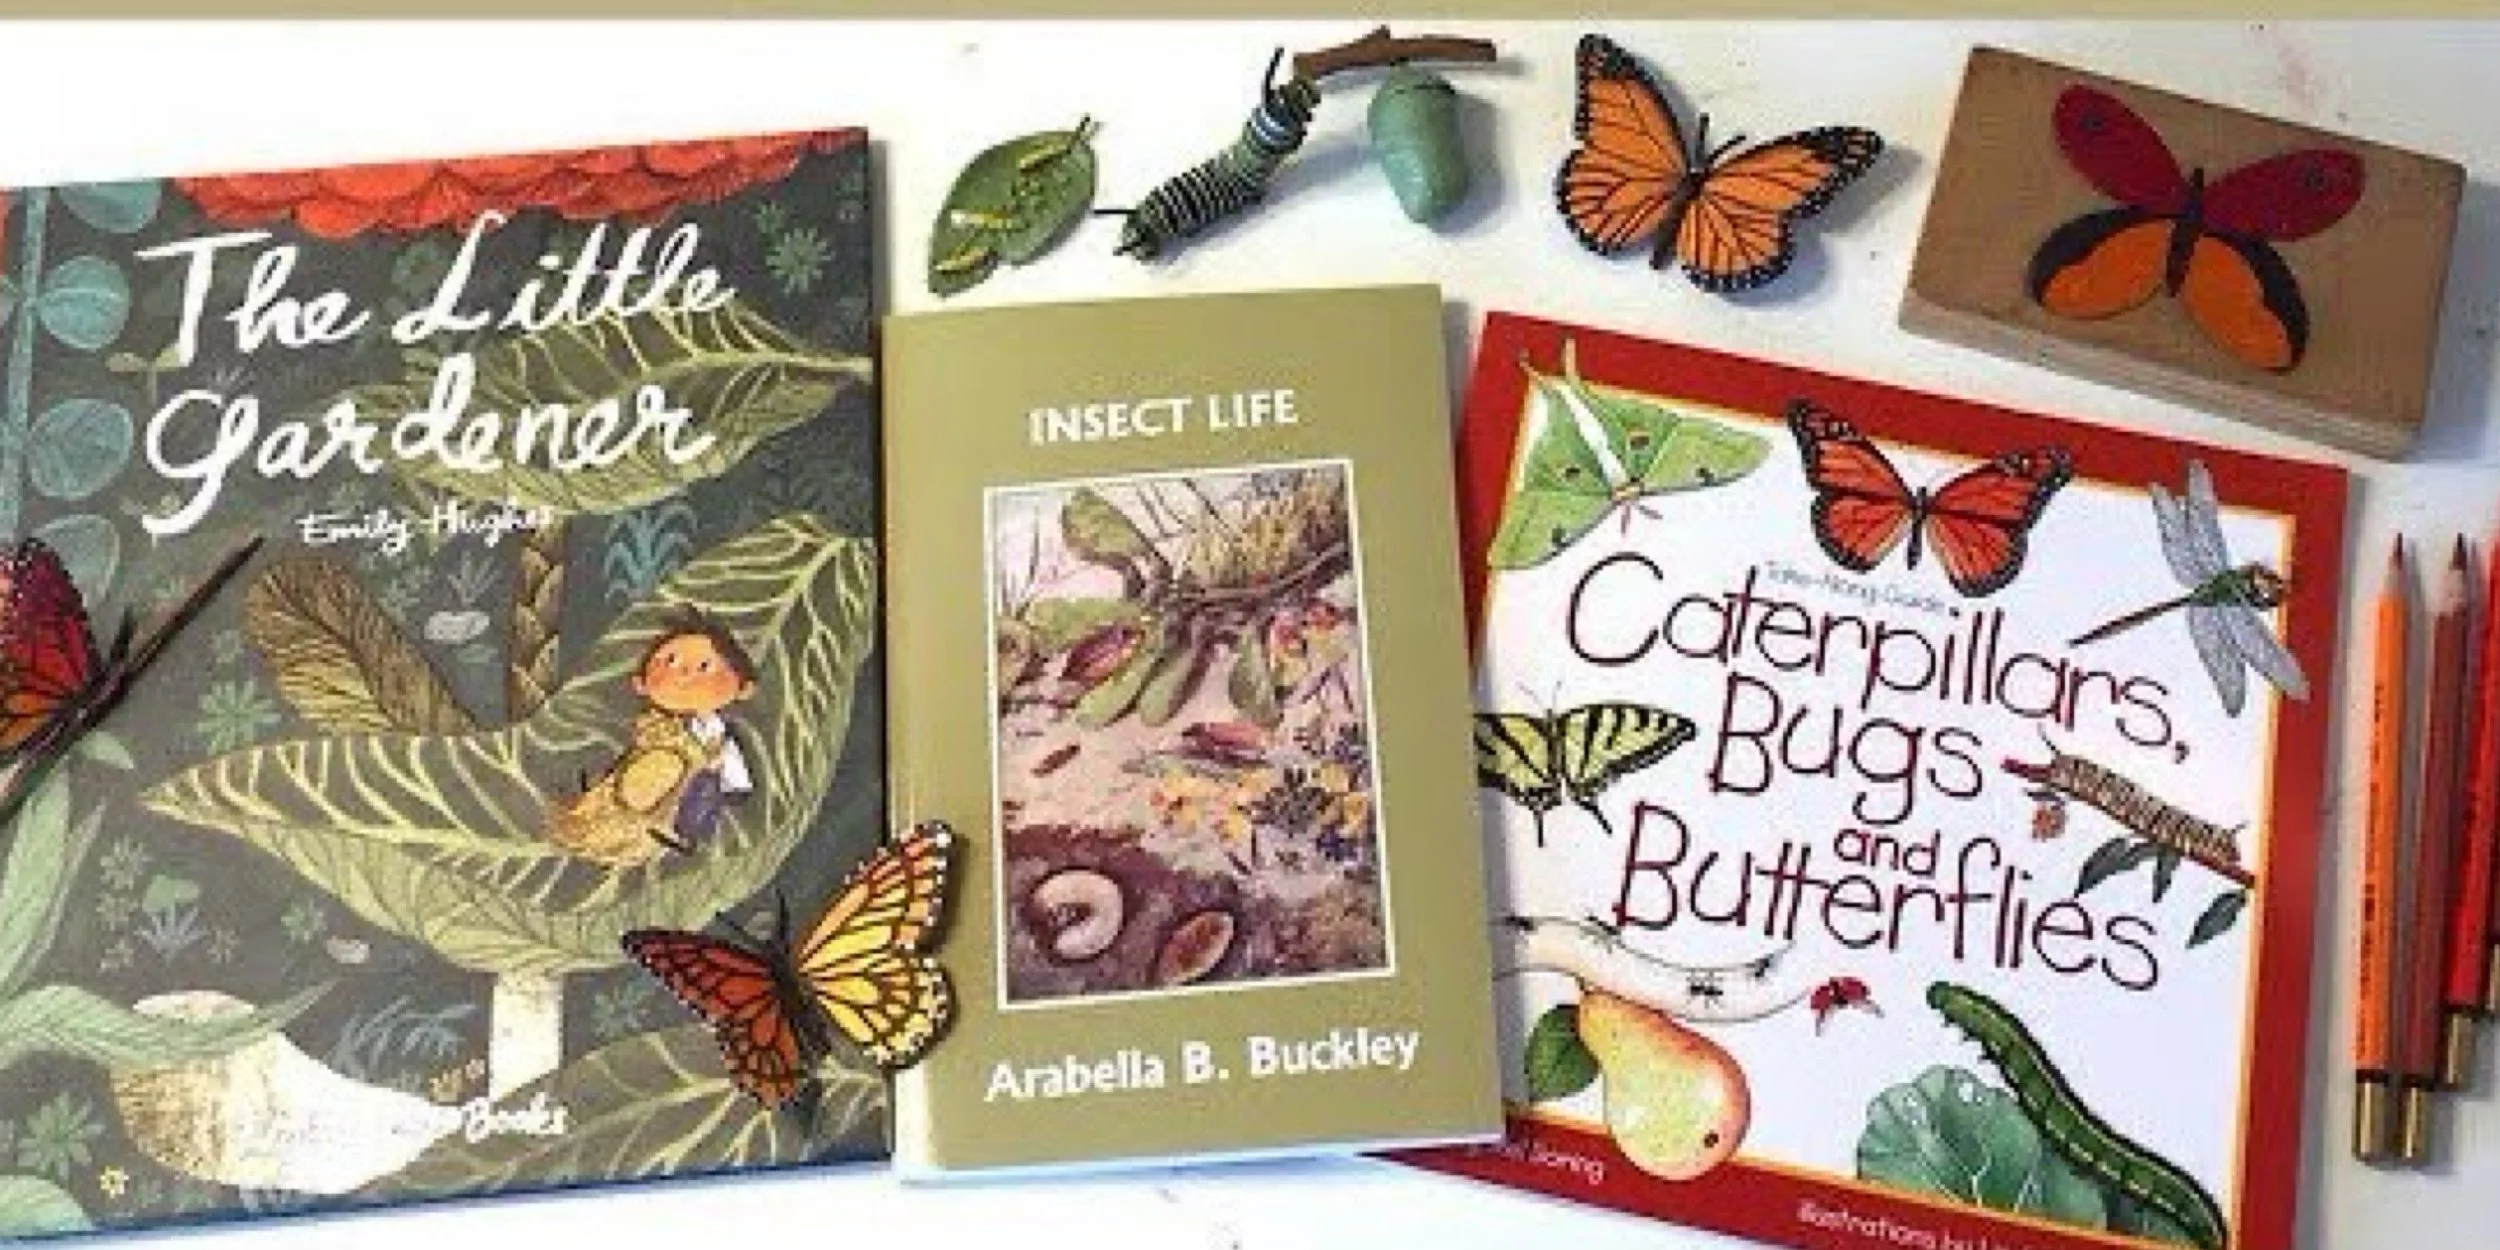
Anatomy of a Butterfly
I love it when I can mix art and science or art and math for that matter. Any lesson is an opportunity to pull out the watercolor paper and art supplies. For this lesson we are using our Tim Holtz Distress Inks as our watercolor medium for our Anatomy of a Monarch Butterfly. We used Wild Honey, Dried Marigold, Spiced Marmalade, Fired Brick and Barn Door. I used the Silhouette Cameo to cut a butterfly shape, but you could easily free hand this one. We also used Nature Anatomy by Julia Rothman as a science reference material when drawing and labeling our monarch butterfly. We did this lesson as part of our Butterfly and Caterpillars unit study. My 7-year-old and 11-year-old each worked on this project, but only my 11-year-old labeled all the parts. We also referred to Caterpillars, Bugs and Butterflies by Mel Boring for more information about monarch butterflies.
Oven Bake Clay
Life Cycle of a Butterfly
Sculpey Ultra Light oven bake clay is my new favorite modeling medium! It’s awesome!! Let me tell you why this is a must have item for your art supply stash or homeschool supplies. It comes in white and can easily be painted with various art mediums. That’s great, but what’s phenomenal about this clay is that it stays soft! Like forever!! It’s so easy to work with and it’s so soft and malleable, but bakes hard, sturdy and lightweight. The only other oven bake clay we’ve worked with is polymer clay by Staedtler which is harder and more crumbly and hardens over time. Plus the ones we have are already colored, so you have to buy a variety of colors to have a full palette. Since we don’t use the oven bake polymer clay often, a lot of the supplies I stocked up on are useless now because they are so hard to work with it (pun intended).
Working with modeling clay or wax is part of the Waldorf philosophy. While working with natural products like potter’s clay or beeswax is preferred, I think I’ll make the exception and have copious amounts of this clay on hand. We’ve all had a blast using it. The package advises you work with clean hands because dirt and stains easily transfer to the clay. But if you decide to paint it, I think it doesn’t matter as much, and indeed my hands had black ink stains that transferred to the clay! No big deal, it was easily covered with paint. This clay also stays soft even if it’s been left out for days making it very forgiving for the busy (sometimes absent-minded) homeschooling mom who accidently left the clay out for days…Can’t imagine who would do that! Hehe…
We used both acrylic paint and soy paint to paint these, and I’m so impressed at how well the clay took to the paint. We got a nice smooth matte finish. There are products you can add after to give it a sealed shiny look. We opted for a more natural look. We also added Tim Holtz Distress Ink Spray in Bronze to the detail on the chrysalis.
We make these pieces to accompany our homeschool project on the Life Cycle of a Butterfly. We made most of the pieces out of clay, but there were a few things we made from beeswax and wool. I have a tutorial on the wool felted caterpillar which we ended up using for our Life Cycle of a Butterfly rather than the clay caterpillar.
Inspiration for this project came from a plastic Life Cycle set for the Monarch Butterfly by that we got from Nature Watch.
This project was part of our Butterfly and Caterpillar unit study.
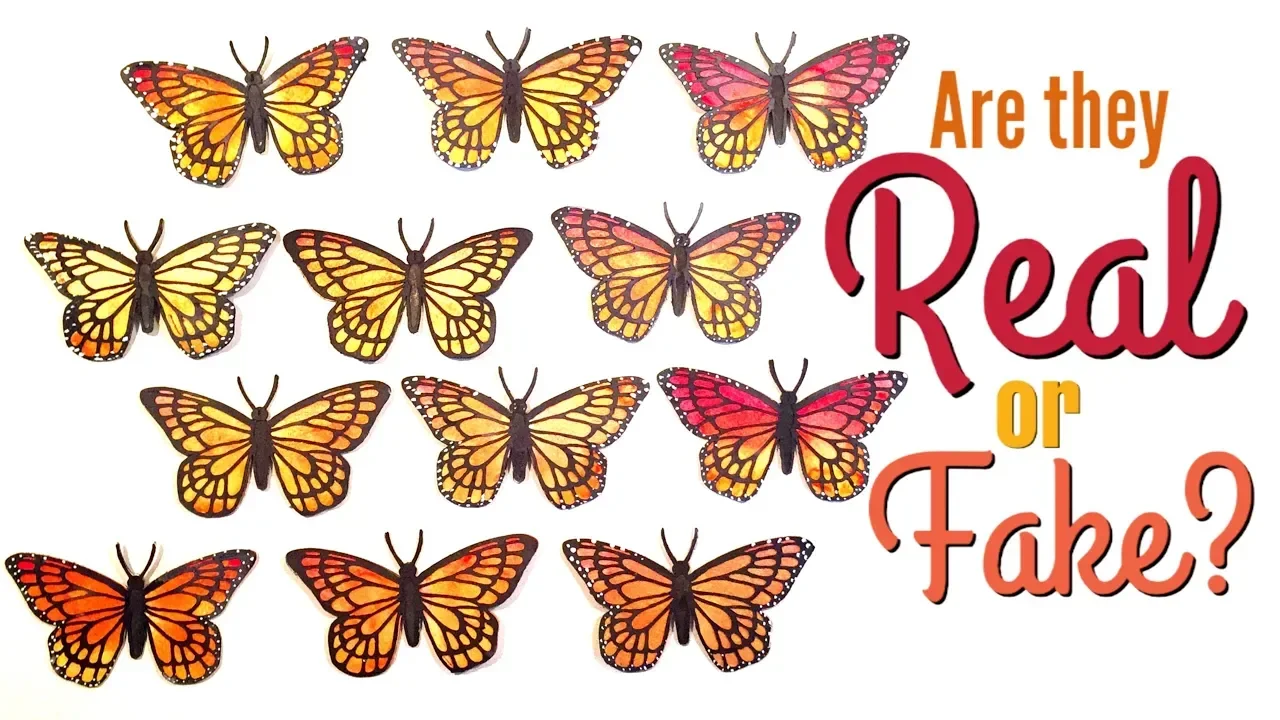
Monarch Butterfly Paper Project
These monarch butterflies look so real, from a distance, you would think they were. We didn’t intend to make so many. We just needed a few for a Life Cycle of a Butterfly project, but we (er, I mean I) got carried away and made about 20 of them! That’s okay, I have lots of ideas on what to do with the extras. When folded in half, and glued on a twig, they make the perfect embellishment for a card. Or take a bundle of twigs with butterflies scattered about for a stunning centerpiece. You can see the other project we’re using these butterflies with by checking the playlist below.
This project is part of our Butterflies and Caterpillars unit. You can see the other videos here.
For this project, I used my Silhouette Cameo digital die cutter. This machine connects to my computer and by using the Silhouette Cameo program, I can either design my own cut files, or purchase and manipulate ones I get from vendors that sell cut files. It’s been an innovative crafting tool that has gotten a lot of use in our homeschool. You can check out all the projects we’ve done using our Silhouette Cameo by checking out this playlist.
For this project, we used the monarch butterfly cut file available from the Silhouette Cameo online store. While I can’t remember the exact one I used, this one is very similar.
We also used Tim Holtz Distress Inks and Sprays. We used Spiced Marmalade, Fired Brick, Barn Door, Wild Honey and Dried Marigold. We used the black spray for the outlined butterfly. We got our Distress Inks and Sprays from Dick Blick.
I also used Heidi Swapp Color Shine in Gold for the gold details. I love this product because it takes your projects to the next level! Though it’s a spray, I just unscrew the top and dip my paintbrush in to get the paint medium. You do want to mix or shake it first because the shimmer settles to the bottom of the bottle.
I also used correction ink for the white details, but white acrylic paint would work even better.
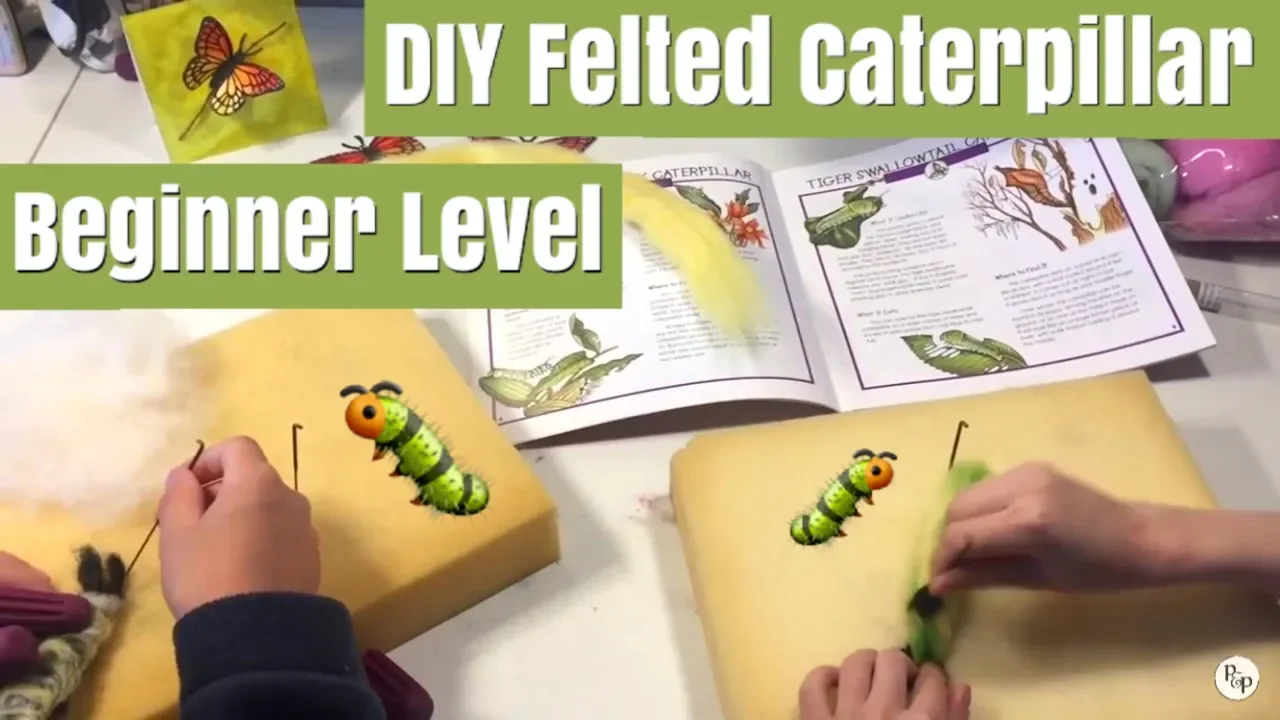
Felted Caterpillar Tutorial
I’m always surprised when my children want to felt. It’s not the easiest craft and it takes a while to, but their projects turned out so cute! Especially my 7-year-old’s caterpillar.True to her spirit and personality, she did her own thing and it turned out better than both my son’s and mine combined. Hers looks like a little puppy with ears and a nose and a super long skinny body. I love it!
This project accompanies our Butterflies and Caterpillars unit.
The materials needed for this project can be found at A Child’s Dream.
We used yellow wool from the pastel pack of Corriedale Wool, black Wool Top wool, undyed wool, felting needles, finger guards (optional, but recommended when children are felting) and a foam pad.
This project took about 20-30 minutes total including setup and cleanup and is geared to children about 10 years and up, but my 7-year-old managed this project wonderfully.
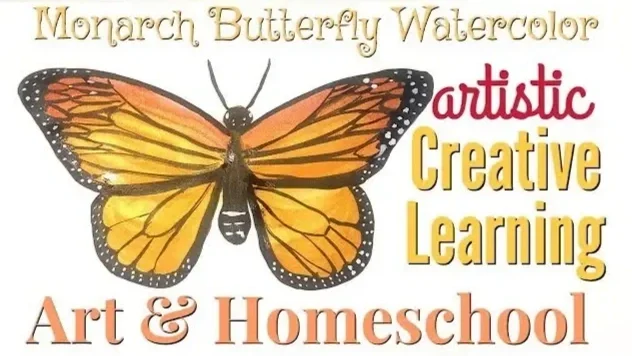
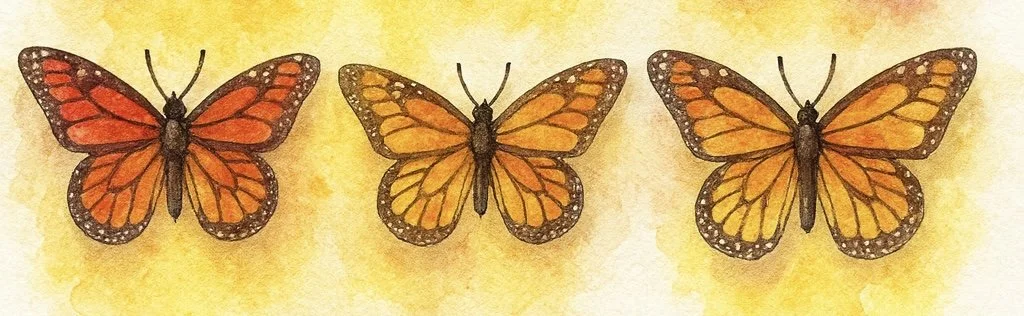
Watercolor Monarch Butterfly
I love adding watercoloring to our lessons when possible, and this monarch butterfly watercolor is a great beginner project. With just a couple of colors, you can make an extraordinary painting.
For this lesson we are using our Tim Holtz Distress Inks as our watercolor medium for our Anatomy of a Monarch Butterfly. We used Wild Honey, Dried Marigold, Spiced Marmalade, Fired Brick and Barn Door. I used the Silhouette Cameo to cut a butterfly shape, but you could easily free hand this one. We also used Nature Anatomy by Julia Rothman as a science reference material when drawing and labeling our monarch butterfly. We did this lesson as part of our Butterfly and Caterpillars unit study. We also referred to Caterpillars, Bugs and Butterflies by Mel Boring for more information about monarch butterflies.We did this lesson as part of our Butterfly and Caterpillars unit study.
This lesson took about 30 minutes and can work for various grade levels.
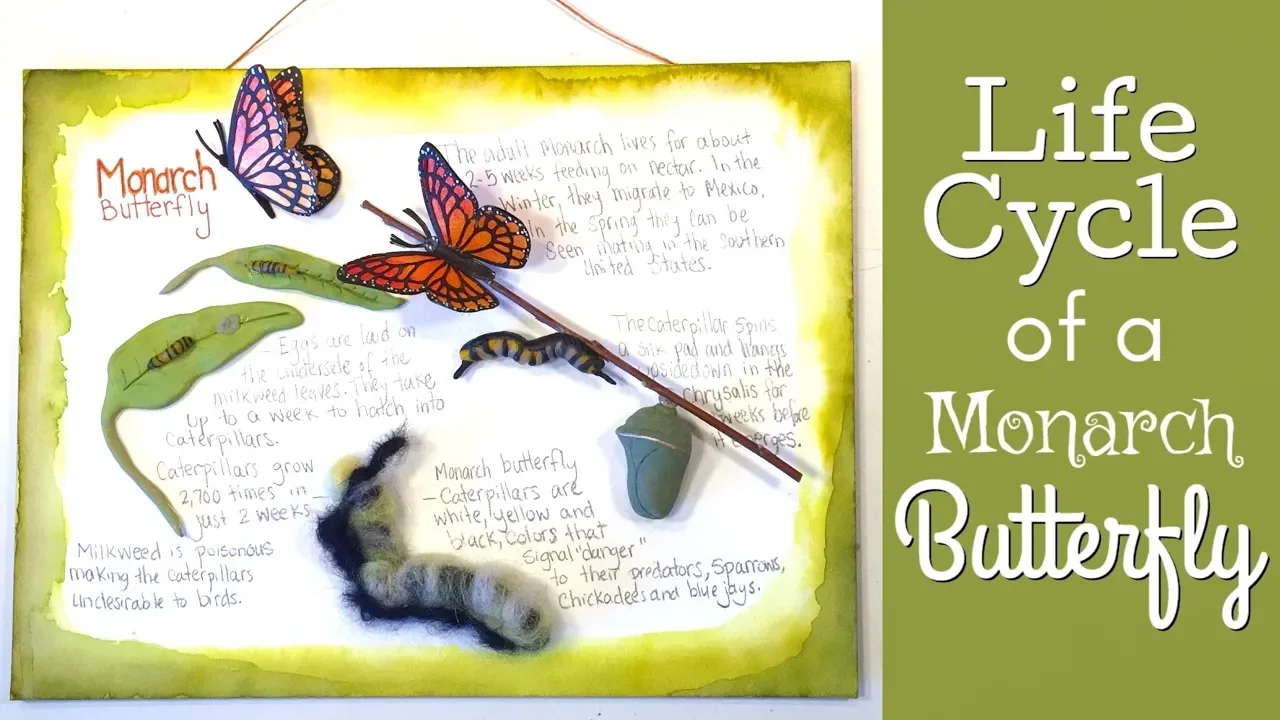
Life Cycle of a Butterfly
This started out as a simple project, but turned into a homeschool keepsake. I’m not even sure at what point it happened, but this project took on a life of its own! It pulls together three different projects we’ve done over the course of our Butterflies and Caterpillars unit. We made paper butterflies which ended up being more time-consuming that I expected, clay and felted caterpillars, and a clay chrysalis and leaves with wax caterpillars. I wanted to do this project after a Life Cycle of a Honeybee project we did during our last Spring Nature unit. I liked our previous one a lot, in part because it was educational, but more so because it was very pretty to see the project with all the dimensional pieces.
Admittedly, Life Cycle of a Honeybee was far easier to make, save the felted honeybee, than this Life Cycle of a Butterfly. I wasn’t sure how I wanted to do the leaf and chrysalis but thought that clay was a good option. So I went to my polymer clay box with supplies and clay and thought our Fimo clay had gotten too hard and was going to be difficult to mold, especially for my kids. When I bought all our clay, I also happened to buy some Sculpey Ultra Light Oven Bake Clay, and oh my goodness!! I love this clay! I plan to just order this clay next year because it was sooooo easy to work with. It’s so soft, and satisfyingly easy to work with. Plus it doesn’t dry out if you leave it out (at least in our experience). It bakes hard or flexible depending on the thickness, and it’s super easy to paint. We used both acrylic and soy paint, and the result was a soft matte finish that looks natural. The only downside I can see is that if you work with your clay with dirty hands, it will transfer to the clay. If you decide to paint it, no big deal, it won’t show, but if you decide to leave it white, then make sure your hands are very clean. I also noticed this clay didn’t crumble the way my FIMO clay does (granted ours are now a year old) and seemed simple to clean up if any did happen to fall on the floor.
Monarch Butterfly Peg Doll
Some peg dolls and fingers puppets end up looking super cute and charming while others look like a nice try. This peg doll is one such project in which all the extra time it took to make something I envisioned turned out pretty mediocre. When it comes to how long I invested in the monarch butterfly bunting baby peg doll, it comes in at rather lengthy taking about half an hour to complete. For all that time, you’d think the results would be stellar! Alas they weren’t. You may be wondering, “why show a tutorial in which you don’t like the end result?” Good question. I have a couple of answers. First, I went to Instagram and posted a poll on whether I should turn this into a tutorial. I had already recorded the process, so I didn’t have to do it again if you all were in favor if a tutorial. A large majority, 92%, said yes. So I went ahead and polished this video up for you. Second reason is because what I think is a fail is subjective. You may actually like the way this peg doll turned out, and indeed, the finger Puppet wasn’t so bad at all. And the third reason was because there are some techniques that I haven’t shown before like coloring a cotton pipe cleaner, “drilling holes” in a peg doll and adding a blanket stitch to butterfly wings.
I’m sure you can improve on this design and I can’t wait to see what you do. I’ve already been extremely impressed with all of your projects thus far. Share your work in Instagram using the hashtag pepperandpine. Don’t forget to tag me too!! When possible, I’ll repost your work or share it in my story.
This peg doll and finger Puppet were inspired by our Butterflies and Caterpillars unit. This was a unit that had almost all the work as hands-on projects and activities. While the concept was just in line with the kind of things we do in our homeschool, the results were disappointing.
You can see more peg doll tutorials and finger puppets tutorials. There are a lot of videos with a broad range of ideas and techniques.
For today’s project, I used bunting babies peg dolls, Lyra opaque watercolor paint, 100% Holland wool and cotton pipe cleaners. All these supplies can be found at my favorite Waldorf vendor: A Child’s Dream.
This blog post is not sponsored by A Child’s Dream nor do I receive free products.
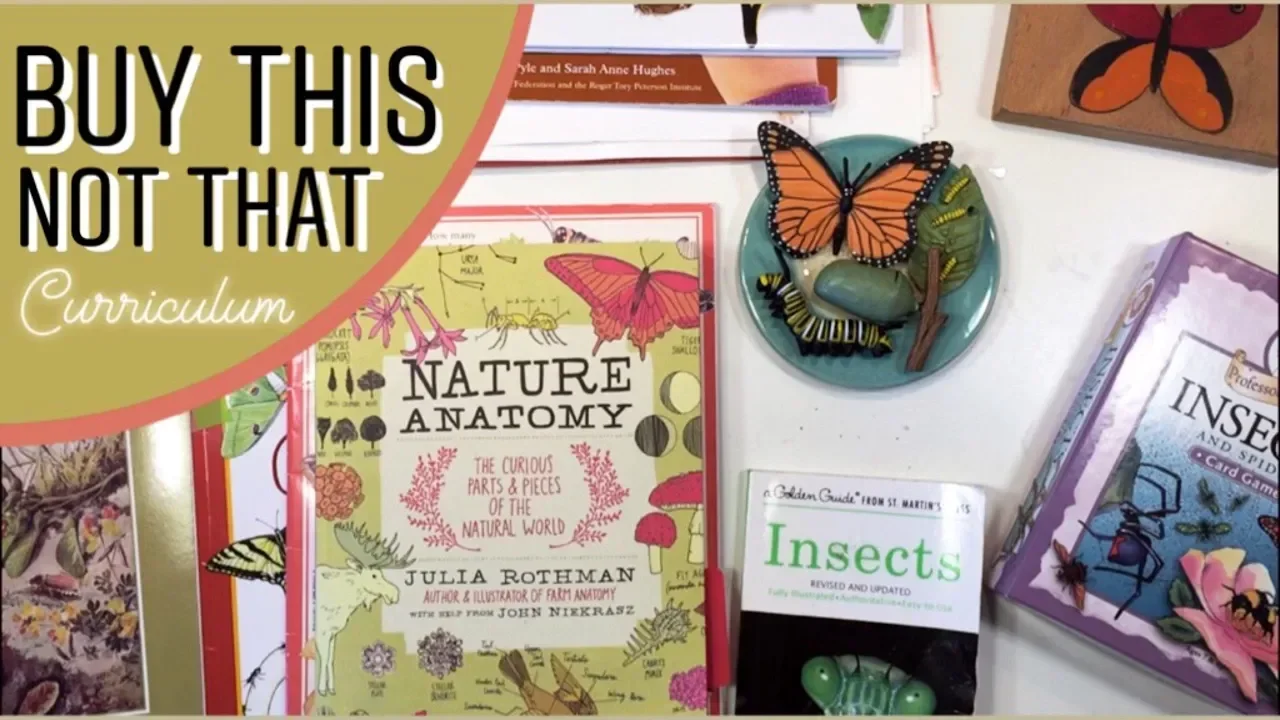
Curriculum Review
Butterfly Unit Study
I think this Butterflies and Caterpillars unit was one of our favorite units this year. Well, at least I know it was mine. For my children, because there was little writing and a lot of hands-on activities, I think I can safely say they liked it too. We used a number of resources for this unit, though most of them were reference materials that we referred to rather than reading from cover to cover. There are some favorite and not-so-favorite resources, and I hope to give you a fair review of the materials we used so you can best chose the supplies you need for your units. What I forgot to show was our lesson plan I created at the beginning of this unit which I showed in the video sharing our plans and resources for this unit.