Grade 5 Handwork
Grade 5
Grade 5 students are 11 years old and are in this “Golden Age” of childhood. This stage follows the tumultuous nine-year-change and is before the upheaval of puberty. Grade 5 is a time of harmony, balance and beauty. Before students stretch out and go through growth spurts where they have to reacquaint themselves with their own bodies, and after the mental and emotional turmoil of coming out of the fantasy of babyhood and early childhood and into pre-pubescence, children are in this bubble of perfection.
The core subjects reflect this in the study of geometry and Ancient Greek and Roman histories. Both subject areas, epitomize beauty and perfection.
Students in Grade 5 are ready to take on greater complexity with the skills they have learned in the previous four years. Now students will knit in the round with double pointed needles to create hats, socks, or mittens.
These projects require increased focus, patience, and determination. Once again, projects take on both utilitarian purposes, as well as are objects of beauty.
Through knitting in the round, students not only improve their manual dexterity and spatial awareness, but they learn the importance of accuracy and precision through a proactive application of math through pattern work. Students who struggle to pay attention will have to call upon their will forces to accomplish this task.
A lack of precision will not ruin a hat or mitten project, but it will make it imperfect and imbalanced. And as the Grade 5 student is striving for perfection, beauty and harmony in the world around him, he will strive to create that in the projects as well.
To create a well balanced hat with a beautiful pattern, students must pay attention to detail and keep track of the stitches, which increase in complexity. These challenges are balanced with the rhythmic and repetitive nature of knitting, which continues to support brain development and create an inner sense of calm and focus.
As with all of the projects so far, the Waldorf perspective is to value the process over the product. But once again, perseverance and completion are goals the teacher is encouraging in the student.
By this grade, the teacher is very familiar with the students who overthink their projects and take time much time mulling over color choices or become highly distracted and have a hard time finishing. By this point, the students may also recognize in themselves the challenges they face when doing handwork.
For those students who speed ahead to complete the projects quickly, they will need to slow down in order to meet the accuracy and precision necessary to complete a beautiful, well balanced project. For those who are slow and steady, they may end up with one beautifully constructed project but may pine away at other students’ creative choices or number of projects.

Handwork Projects | Grade 5
-

Knitting with 4 Needles
In grade 5, students begin working with 5 knitting needles to knit in the round. They work on hats and socks and may even complete the set with gloves and a scarf. To begin the year, students are likely to make their own knitting needles using hardwood dowels as they did in grade 1. This time around, they make the needles double pointed.
-
How to Knit a Scarf
Once you learn to knit, you can easily make a scarf. The only thing is that it takes a long time! For that reason, I offer this project when the students are older and can handle the perseverance needed to complete this project. It’s a great project for the students who get through their knitted hats quickly.
-

Knitted Beanie Hats
In this slow tutorial, I walk you through the basics of knitting so you can knit a hat or beanie for a peg doll. I have three patterns to share with you inspired by the pattern in the book Making Peg Dolls by Margaret Bloom on the Martinmas peg doll tutorial.
Knitted Hat


Handwork in Waldorf schools supports the development of the child and complements the curriculum. In grade 5, students begin working with 5 knitting needles to knit in the round. They work on hats and socks and may even complete the set with gloves and a scarf. To begin the year, students are likely to make their own knitting needles using hardwood dowels as they did in grade 1. This time around, they make the needles double pointed. They sand them down using progressively finer sandpaper. For this project, I used handmade knitting needles I made during the Handwork Conference. You can find more information about the conference by visiting Waldorf Handwork.
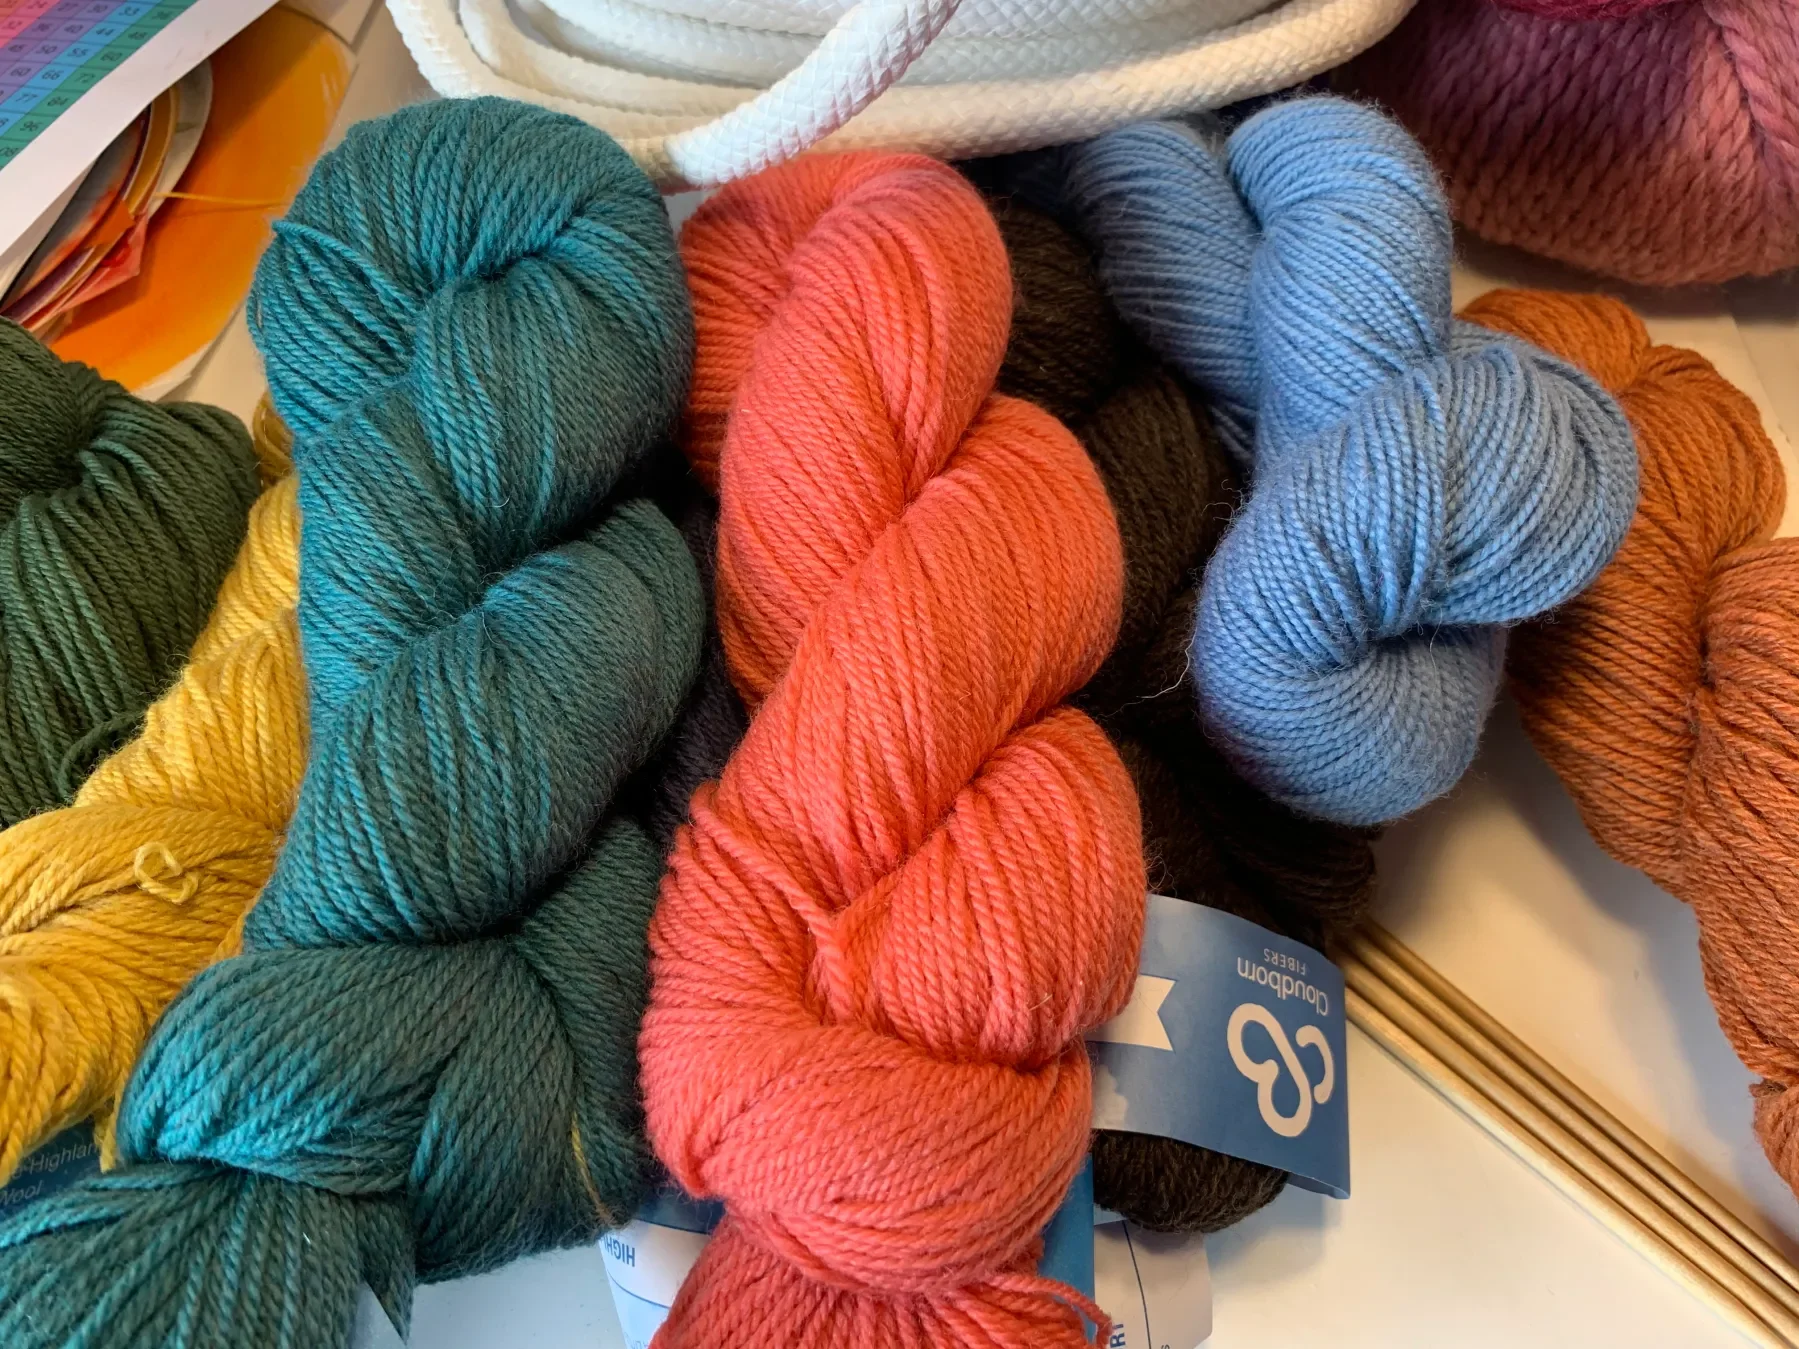
We used bulky weight yarn by Lamb's Pride in various neutrals. You can find Lamb's Pride at many online vendors, but I frequent A Child's Dream for most of our Waldorf needs. The following pattern is for a child's sized hat, but you can cast on the same number of stitches for a teen or adult sized hat as well, but you'll need to knit a couple more inches before decreasing. Cast on 24 stitches onto three needles. Knit 2 purl 2 for several rounds until you have about an inch of ribbing. Knit a total of about 4-5 inches before decreasing your stitches. You can choose any color and any design. Our design was based on the yarns we had, I alternated colors and when I ran low on them, I only knit a couple rows of them. The only other pattern I used for this hat was to alternate colors for one row, then knit a solid color (one of the alternating colors), then knit the third row with alternating colors again. When you are ready to decrease your stitches, add three markers (tie a contrasting piece of yarn to the needle) to each needle, one after every 8 stitches. Then knit two together after each marker, and then continue knitting normally until you get to the next marker. Slip the marker onto the needle and then knit two together. Once you've completed that round, knit two rows normally. Continue to knit this way until you have 6 stitches left on each needle. Then bind off and sew the top together with yarn. For this project, I learned three new skills: purling, knitting in the round (with 4 needles), and making a design with the yarn by strategically alternating colors.
How to Knit a Scarf


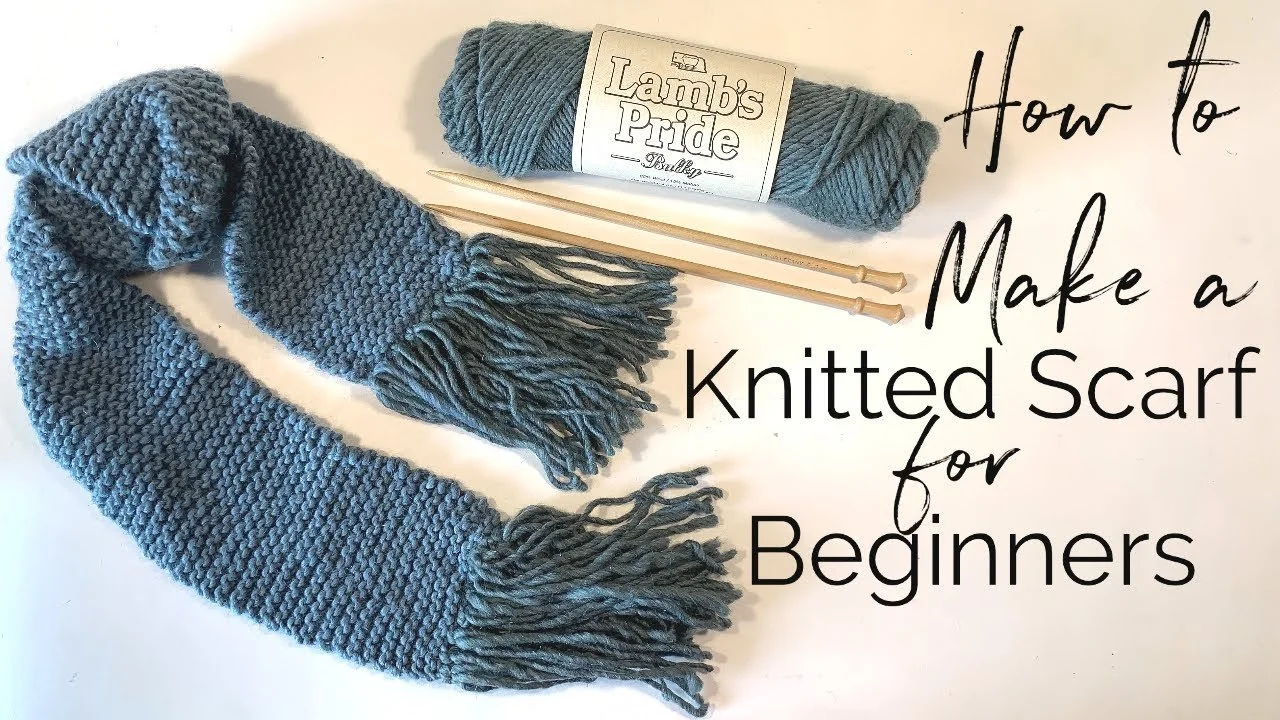
This was one easy but lengthy project! It did get a bit tedious, but it worked well with all the reading we did with our Alaska and Arctic unit. While I read, my 14-year-old son knit and sometimes, we would switch. I did cast on and bind off for him, though he is capable of doing that one his own and actually retaught his older 22-year-old brother when he made a scarf recently. I also added fringe to the end.
We used Lamb's Pride Bulky Yarn. I cast on 15 stitches but I think 12 would have been better. I used the whole skein and that made about 45 inches. I would have preferred 60 inches. I added a 5" fringe on each end which I think looks very nice and helps make the scarf longer.
The scarf took about 8 hours to complete and it was a group project between my son and myself. I used Blue Willow for the scarf and Smokey Sage for the fringe. I used size 10 knitting needles from A Child's Dream and purchased the yarn by Webs Yarn.
Knitted Beanie Hats for Peg Dolls


In this slow tutorial, I walk you through the basics of knitting so you can knit a hat or beanie for a peg doll. I have three patterns to share with you inspired by the pattern in the book Making Peg Dolls by Margaret Bloom on the Martinmas peg doll tutorial. We have gotten so much inspiration from this book. It's beautifully laid out with step by step instructions and simple patterns. Even if you are just getting into peg dolls and knitting, you'll find this hat tutorial is easy enough for new knitters and it's so satisfying to complete. I usually use hot glue to adhere the hat to our peg dolls, but you can keep them loose as well. For this tutorial I used my size 7 needles with highland sport weight yarn using one of the three patterns. When knitting with sports weight, the suggested needle size is 5. For worsted weight, you can use a size 7 needle. There is some flexibility as to the size needle you use for the weight of yarn. The way you knit will also affect the finished project. If you are a tight knitter, the hats will be smaller. If you are a loose knitter the hats will be bigger. If you use a worsted weight over a sports or sock weight, your hat will be bigger. If you use the larger of the three patterns (17 stitch cast on), your hat will be bigger. There are also several sizes of peg dolls and finger puppets. The mama/female peg doll has a small head, so use the smaller of the patterns with sock weight yarn to make a hat that will fit. If you are making hats for the finger puppet, use the larger pattern and a worsted weight yarn. The male/unisex peg doll is in the middle. Use a small pattern for a beanie, or the large pattern and worsted weight yarn for a hat that covers more of the head. I encourage you to make a few as the type of yarn, needle size, pattern and way you knit will all affect the final size of the hat.
Small pattern suitable for all yarns. This will make a small hat with sock/highland sport weight yarn and slightly larger hat when using worsted weight yarn:
Cast on 15 stitches
Knit 2 rows
Knit 2 together, knit 1 for whole row
Knit a row (you should be down to 10 stitches)
Knit 1, knit 2 together
Knit a row (you should be down to 7 stitches)
Knit 1, knit 2 together
Knit a row (you should be down to 5 stitches)
Kit 2 together, knit 1, knit 2 together
Now you should be down to 3 stitches
Bind off fold triangle and sew it together with a sewing knitting needle.
Medium pattern (slightly larger than the smaller pattern)
Cast on 17 stitches
Knit two rows
Knit 2 together, knit 1
Knit 1 row
[Repeat: knit 2 together, knit 1 knit 1 row] Until you have 3 stitches left
Bind off and sew hat together
Large pattern Same as medium or small, but add 1 additional knit row between each decreasing row.
If using sock weight, double all knit rows (so that's 4 rows in the beginning and 2 rows between each decreasing row) For pointier hat: Follow small pattern,
