
Grade 7 Handwork

Materials for
Waldorf Doll Making
Doll making is found in several grades in a Waldorf school. Starting in kindergarten, simple dolls will be played with and often even made by the teacher for the students. With a simple square cloth and a bit of wool and string, you can make a rudimentary doll by stuffing a bit of wool into the center of the cloth. Pinch it closed with some string and there you have a very simple doll. Add string to make arms and a body. Less is more when children are young so their imagination may be exercised. Faceless dolls are common through the younger years for then the expressions and emotions are brought to life by the child.
Handwork Projects | Grade 7
-

Waldorf Doll Making Supplies
Doll making is found in several grades in a Waldorf school. Starting in kindergarten, simple dolls will be played with and often even made by the teacher for the students. With a simple square cloth and a bit of wool and string, you can make a rudimentary doll by stuffing a bit of wool into the center of the cloth. Pinch it closed with some string and there you have a very simple doll.
-
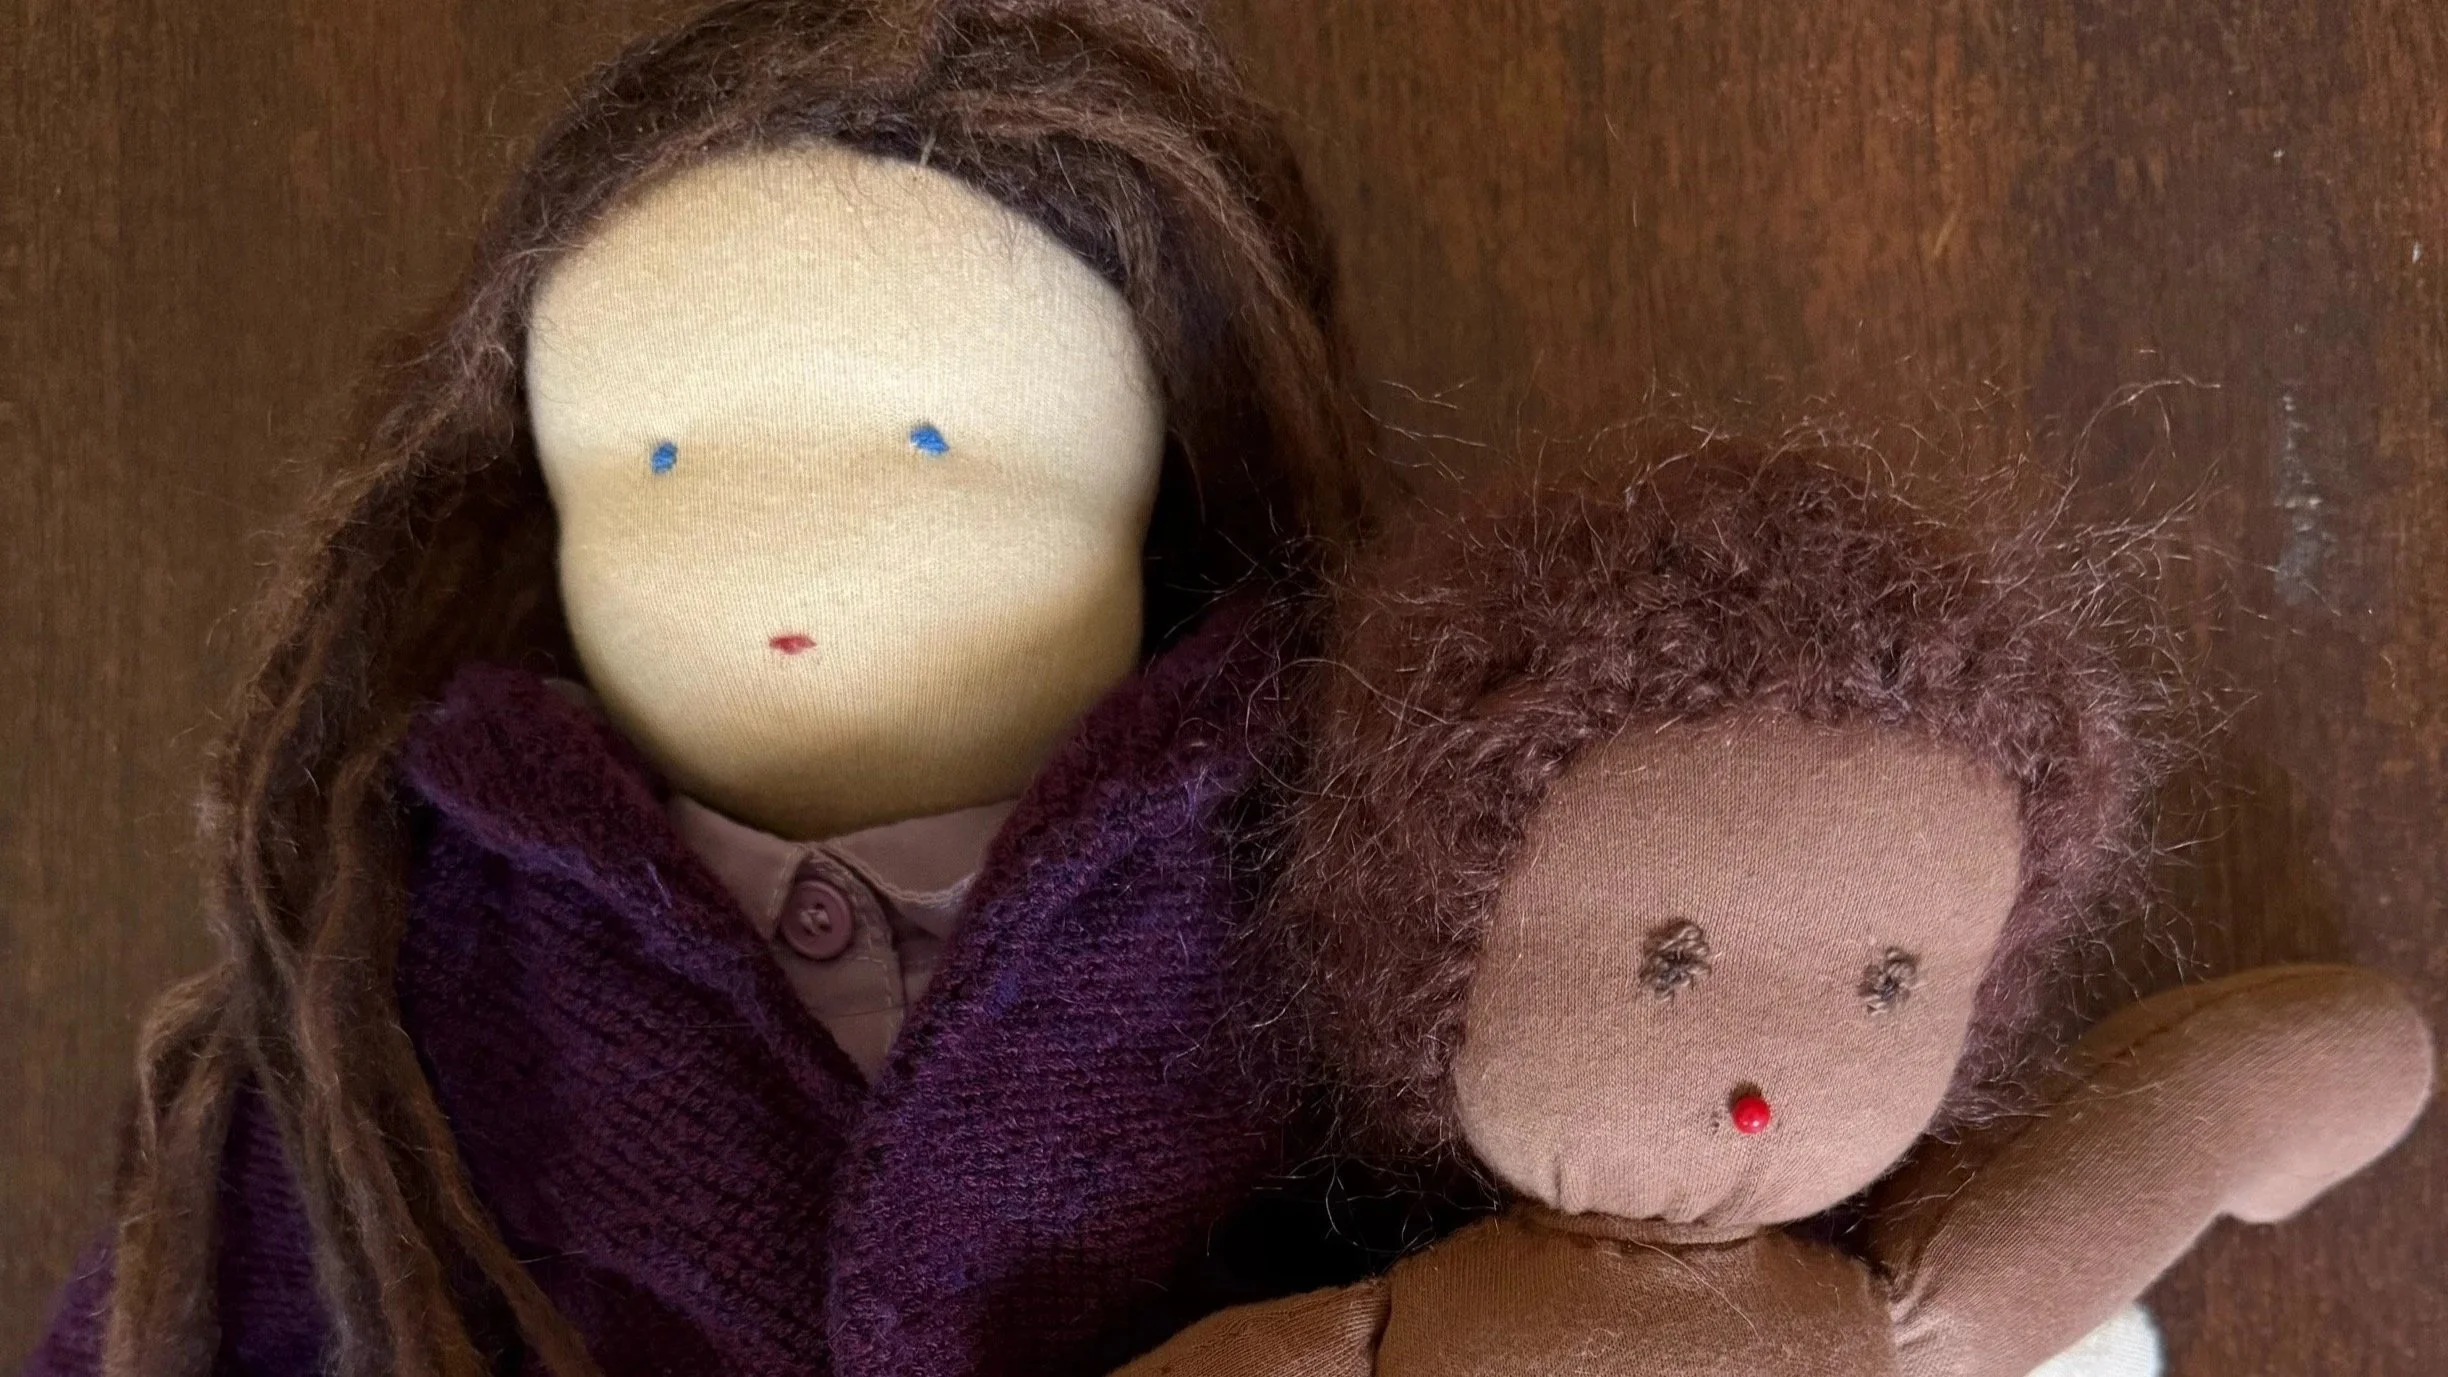
Doll Making
In Waldorf education, doll making is a soulful, hands-on process that nurtures the child’s creativity and deepens their connection to the human form. Students typically create soft, simple cloth dolls using natural fibers, often learning to stuff, sew, and shape the dolls by hand. This work fosters fine motor skills, patience, and imaginative play, while also offering a meaningful experience of nurturing care.
-

Shibori
Shibori is a traditional Japanese dyeing technique that involves folding, twisting, or binding fabric before submerging it in indigo dye to create intricate patterns. In a Waldorf setting, students explore Shibori as a meditative and artistic process that connects them to cultural traditions and the natural world. The hands-on, rhythmic folding and binding work beautifully with Waldorf’s emphasis on form, rhythm, and natural materials.
-

Sashiko
Sashiko is a form of Japanese functional embroidery that uses running stitches to reinforce or decorate fabric, traditionally with white thread on indigo cloth. In Waldorf handwork, Sashiko is introduced as a mindful, repetitive stitching practice that enhances both beauty and utility. Students develop rhythm, precision, and an appreciation for craftsmanship while honoring textile traditions that value repair, sustainability, and beauty in the everyday.
-
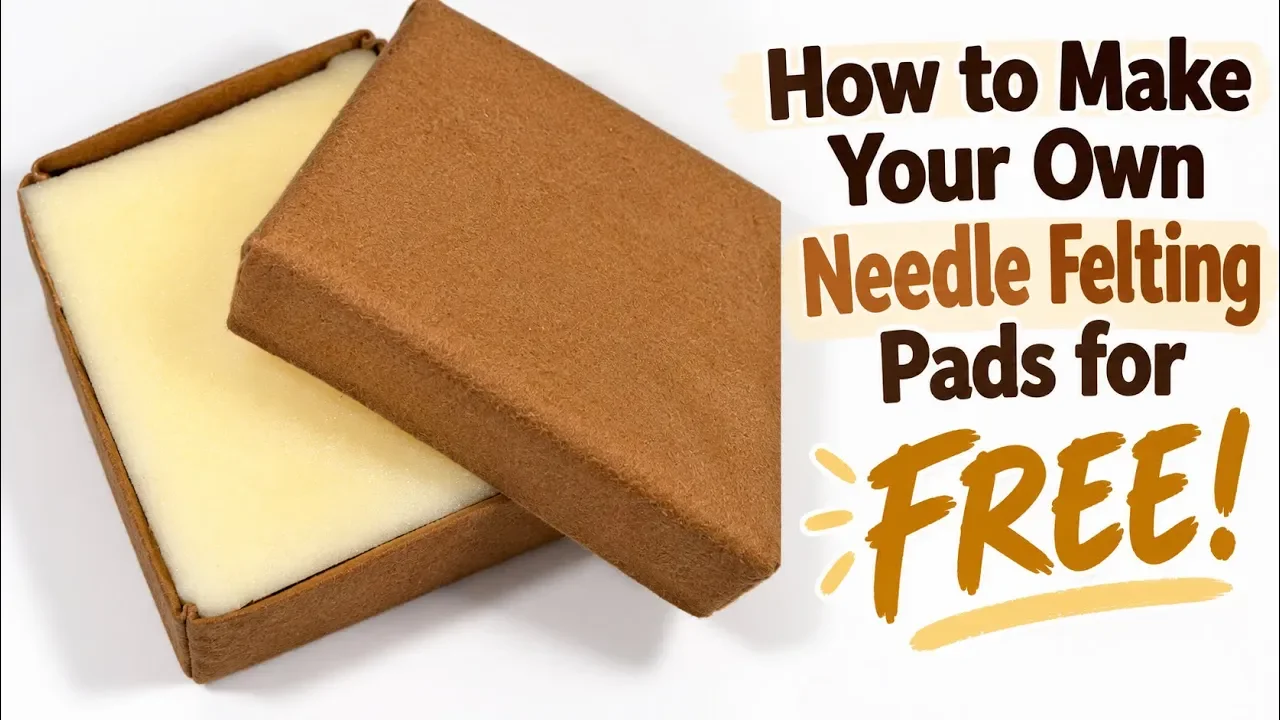
How to Make a Needle Felting Pad with Cover
Today I'm sharing a tutorial on how to make your own needle felting pads for FREE using foam from an old mattress! With over 25 students in my classroom, purchasing individual needle felting pads can get expensive, especially when they cost between $6 and $12 each. So when we replaced an old foam mattress, I knew exactly what I wanted to do with it rather than throw it away.
-
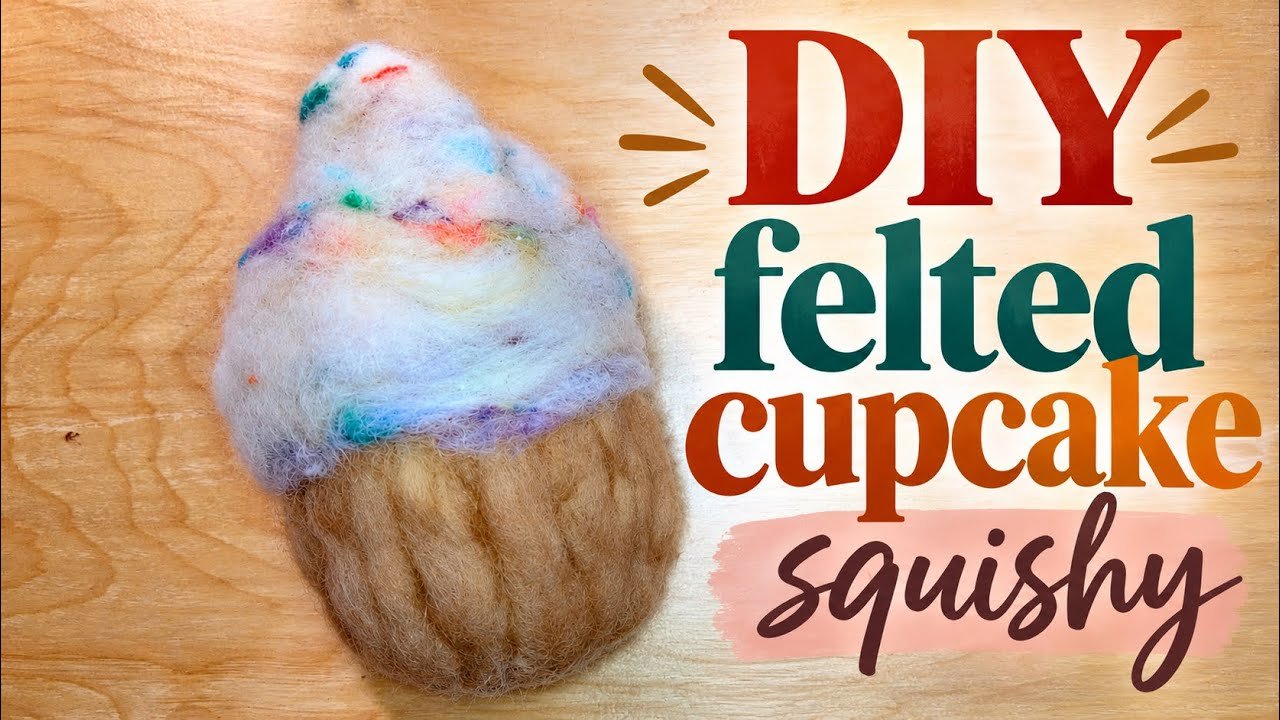
Needle Felted Cupcake Squishy
This delightful little cupcake squishy was inspired by one of my handwork students, and I couldn't resist bringing his idea to life! Using wool, foam, and a needle felting needle, we're creating a soft, squeezable cupcake complete with a beautifully textured liner and a swirl of colorful frosting.
Waldorf Doll Making Supplies
Doll making is found in several grades in a Waldorf school. Starting in kindergarten, simple dolls will be played with and often even made by the teacher for the students. With a simple square cloth and a bit of wool and string, you can make a rudimentary doll by stuffing a bit of wool into the center of the cloth. Pinch it closed with some string and there you have a very simple doll. Add string to make arms and a body. Less is more when children are young so their imagination may be exercised. Faceless dolls are common through the younger years for then the expressions and emotions are brought to life by the child.
How to Make a Doll
It may seem complicated and overwhelming to make a doll, but the steps are fairly simple and compared to other handwork projects, takes both longer and shorter than you expect. Very quickly you can get the body completed, especially if you use a sewing machine. But its the details and hair and clothes that can take time.


How to do Shibori
Handwork with Melanie was one of the sessions at the Live Education Summer Seminar held in beautiful Santa Cruz, California in July of 2017. This video features Melanie's handwork sessions. We did shibori using indigo on organic pima cotton from Japan. We used wood, clothespins and rubber bands among other things to provide resistance after folding the fabric in an according manner. The following day we did shibori using dye. The results were amazing!
How to do Sashiko
Sashiko is a form of Japanese functional embroidery that uses running stitches to reinforce or decorate fabric, traditionally with white thread on indigo cloth. In Waldorf handwork, Sashiko is introduced as a mindful, repetitive stitching practice that enhances both beauty and utility. Students develop rhythm, precision, and an appreciation for craftsmanship while honoring textile traditions that value repair, sustainability, and beauty in the everyday.
How to Make a Needle Felting Pad with Cover
Today I'm sharing a tutorial on how to make your own needle felting pads for FREE using foam from an old mattress! With over 25 students in my classroom, purchasing individual needle felting pads can get expensive, especially when they cost between $6 and $12 each. So when we replaced an old foam mattress, I knew exactly what I wanted to do with it rather than throw it away.
I started by cutting the foam with scissors, but at 2½ inches thick, it was much too difficult to cut evenly. That's when I discovered that the Hamilton Beach electric knife was the perfect tool for the job! I made an 8 × 10-inch template and used it to cut the mattress into individual needle felting pads. Once I got into a rhythm, it was surprisingly easy to cut through the foam, and I was able to make more than 30 pads for our classroom.
The foam was almost identical to what you would find in commercially available needle felting pads, and I even had some smaller pieces left over that will be perfect for smaller needle felting projects. Nothing needs to go to waste!
But I didn't want to stop with just the foam pads. I thought it would be lovely to make wool covers for each one, transforming something so ordinary into a beautiful and practical classroom material.
For the covers, I used a woven wool fleece with a soft, fleecy surface that works beautifully for needle felting. I experimented with a few different patterns before settling on a simple design that covers the top and sides of each pad while leaving the bottom exposed. The covers were sewn with simple straight stitches, and I reinforced the corners with backstitching to make sure they would be durable enough for daily classroom use.
There was a little trial and error along the way! I experimented with making the covers tighter around the corners, but I actually preferred the ones with straight, square corners. They looked neater and didn't distort the foam underneath. I also discovered that the adhesive left on the bottom of some of the foam pads actually helped prevent them from sliding around on the table. Sometimes those little imperfections turn out to be useful!
I may eventually add elastic to the bottom of the covers to help secure them, but for now, I'm going to see how they hold up in the classroom before making any additional adjustments.
In the end, I made over 30 needle felting pads with beautiful wool covers, and I couldn't be happier with how they turned out! What began as an old mattress destined to be discarded has become a collection of lovely, useful materials for the children to enjoy. Even the leftover wool scraps will be saved for another project, where I plan to turn them into wool balls.
I especially love projects like this because they remind us that we don't always need to purchase new materials to create something beautiful and functional. With a little creativity and resourcefulness, we can transform what we already have into something meaningful.
If you'd like to make your own needle felting pads, be sure to check out the accompanying blog post, where you'll find the pattern directions, additional information, and links to the resources I used.
I hope this tutorial inspires you to repurpose materials you already have and create something beautiful for your own home or classroom!
Directions:
Cut foam to 8"x10" (or your desired size). My foam is 2.5" thick so the dimensions I cut the fabric are 13" by 15". Then I cut 2.5" squares out of each corner. I sew up the corners and slip the cover onto the foam pad.
Materials and Supplies for DIY Needle Felting Pads
Materials
Repurposed foam mattress or mattress topper – This is what I used to make my needle felting pads for free!
High-density upholstery foam, 2–2½ inches thick – A store-bought alternative if you don't have an old mattress available. You can purchase foam sheets or larger pieces that can be cut to size.
Needle felting foam pads – Another alternative if you prefer to purchase foam specifically intended for needle felting.
100% wool felt fabric, nonwoven, 2–3 mm thick – For making the beautiful wool covers. Look for genuine wool felt rather than synthetic craft felt.
Sewing thread – Choose a color that coordinates with your wool.
¼–½-inch sewing elastic – Optional, for securing the covers around the bottom of the pads.
Tools
Electric carving knife – This was the most useful tool for cutting through the thick foam.
Cardboard template – I made mine 8 × 10 inches.
Cutting mat or protective work surface
Sewing machine
Choosing the Right Foam
For this project, I repurposed foam from an old mattress, making the needle felting pads completely free! If you don't have an old mattress available, you can purchase firm upholstery foam from a fabric or upholstery supply store. Look for foam approximately 2–2½ inches thick that is firm enough to support your needle felting projects but soft enough for the needles to penetrate easily.
You can also purchase foam specifically designed for needle felting. I recommend testing a small piece before purchasing enough for an entire classroom.
Choosing the Right Wool for the Covers
For the covers, I recommend 100% wool felt, approximately 2–3 mm thick. Look for nonwoven wool felt rather than woven wool fabric or inexpensive synthetic craft felt.
Wool felt makes a lovely surface for needle felting and doesn't have the woven threads that can become damaged by repeated needle penetration. I recommend testing a sample first to make sure the surface works well with your felting needles.
A Note About Cutting Foam
An electric carving knife makes cutting thick foam significantly easier than using scissors. This part of the project should always be completed by an adult. Be sure to work on a protected surface, as the knife can easily cut through the foam and damage whatever is underneath.
For my classroom, I made over 30 needle felting pads measuring approximately 8 × 10 inches, with additional smaller pieces left over for future projects.
This post contains Amazon affiliate links. As an Amazon Associate, I earn from qualifying purchases at no additional cost to you.
Needle Felted Cupcake Squishy
This delightful little cupcake squishy was inspired by one of my handwork students, and I couldn't resist bringing his idea to life! Using wool, foam, and a needle felting needle, we're creating a soft, squeezable cupcake complete with a beautifully textured liner and a swirl of colorful frosting.
We begin with a piece of foam from an unused mattress. I've been repurposing this mattress for several handwork projects, including needle felting pads for my students. The foam works surprisingly well for squishies, although therapeutic foam would be an even better option if you want something with a little more give.
I start by shaping the foam into a cupcake, making the bottom slightly narrower than the top. An electric knife makes cutting larger pieces of foam much easier, but for the finer shaping, I'm using scissors. It's a slow process, but taking the time to get the shape right makes all the difference.
Once I'm happy with the shape, I begin covering the foam with wool batting. I chose a muted tan color for the cupcake liner because I wanted the frosting to be the center of attention. I also love that the foam itself resembles vanilla cake, so if a little peeks through, it only adds to the effect!
Creating the ridges in the cupcake liner takes some patience. I'm using a single needle felting needle to work the wool into the foam, making sure it's securely attached. Since this cupcake will be handled and played with by children, I want the wool to stay in place even after plenty of squeezing.
Now comes my favorite part, adding the frosting! I'm using a beautiful sparkly confetti wool batt that I've had for some time. Unfortunately, the company that made it is no longer in business, but I've found several wonderful alternatives that would be perfect for cupcakes, birthday cakes, and other whimsical needle felting projects. You'll find those alternatives linked in the accompanying blog post.
Unlike the cupcake base, the frosting is made entirely of wool. This gives the finished cupcake two different textures: a squeezable foam base and a soft, woolly top. You could certainly add foam to the frosting as well, which might make the entire cupcake even more resilient.
One of the things I appreciate about this project is how easily it can be adapted. My students experimented with several different squishy designs, including butter, pumpkins, and cupcakes. Because we were using repurposed foam, everyone had the opportunity to create something without the expense of purchasing new materials.
Although needle felting requires patience and quite a bit of repetitive work, this cupcake came together relatively quickly. The most important part was making sure the wool was firmly attached, especially around the liner and frosting.
The finished cupcake turned out beautifully, and what made it even more special was seeing how delighted my student was to receive it. He was the only one who had requested a cupcake squishy, and I loved being able to turn his idea into something he could actually hold, squeeze, and enjoy.
I hope this tutorial inspires you to experiment with wool and foam and perhaps create a few squishies of your own. Be sure to visit the accompanying blog post for additional information, material alternatives, and links to the supplies used in this project.
Birthday cake wool by ColibriStudio
DIY Needle Felted Cupcake Squishy | Shopping List
All Amazon links include the Pepper and Pine affiliate tag. The only Etsy links are for the three frosting wool batt alternatives from Colibri Studio.
Materials & supplies
1. Natural Tan Wool Roving for Needle Felting – For covering the foam and creating the ridged cupcake liner.
2. Soft Upholstery Foam, 4 Inches Thick – For shaping the squeezable cupcake base. You can also repurpose foam from an unused mattress.
3. Memory Foam for Squishy Projects – An alternative for a softer, slower-rebounding squishy.
4. 38-Gauge Needle Felting Needles – For attaching the wool to the foam and shaping the cupcake liner and frosting.
5. Needle Felting Pad – For protecting your work surface.
6. Sharp Craft Scissors – For rounding and refining the foam.
7. Electric Carving Knife – Optional, but especially useful when cutting larger pieces of foam.
Frosting wool batts | Colibri Studio on Etsy
These three beautiful, blended wool batts would make lovely alternatives to the discontinued confetti wool used in the tutorial.
1. Birthday Cake Merino Wool Batt: Pastel Sprinkles – My favorite for recreating the colorful confetti cupcake frosting.
2. Sparkly Pastel Merino Art Batt – A lovely choice for soft, pastel-colored frosting with a little sparkle.
3. Birthday Cake Merino Wool Batt: Colorful Blend – A brighter, more colorful alternative for a whimsical cupcake.
The Colibri Studio links open shop searches for the named batts. Availability may vary.
Affiliate disclosure: As an Amazon Associate, I earn from qualifying purchases.
The Amazon links are tagged shopping searches rather than individual product listings, so readers can choose from currently offered products.
