Indian
-
![]()
Shamee Kebabs
I made a huge batch of shami kebabs! You can cut this recipe down quite a bit, but whenever I make these, because they are so labor intensive to begin with, I make a huge batch and freeze them for easy meals.
-
![]()
Coconut, Cashew & Curry Rice with Lime
I'm may not be a fan of rice by my family is! Being married to an Indian, I quickly learned how to make the perfect basmati rice from my mother-in-law. Thereafter, I sort of stalled in my skills for rice making and for years made simple basmati rice.
-
![]()
Keema | Ground Beef
If you're in a pinch to make dinner, I recommend learning this recipe! It's my fast version to making Indian ground beef (keema). It's usually served with rice, which could take 15 minutes to make, so if you are really short on time, serve it with naan which you can find in the frozen section of many grocery stores.
-
![]()
How to Cook Basmati Rice
There are three things I want my children to know how to cook well: Rice, fried onions, and eggs. It seems silly, I know, but these three simple recipes are often easily messed up and can be tricky at times. Today, I’m making basmati rice. I learned this method from my mother-in-law and have made it this way for many many years.
-
![]()
Garbanzo Bean Salad | Cholay | Chana Chaat
There are some dishes I tend to make just during Ramadan. This is one of them. It's an Indian inspired recipe was shared with my by my sister-in-law who knows how to make good food, fast! I even have a secret shortcut to this recipe that you can find on the blog post that accompanies this video tutorial.
-
![]()
Indian Fruit Salad | Fruit Chaat
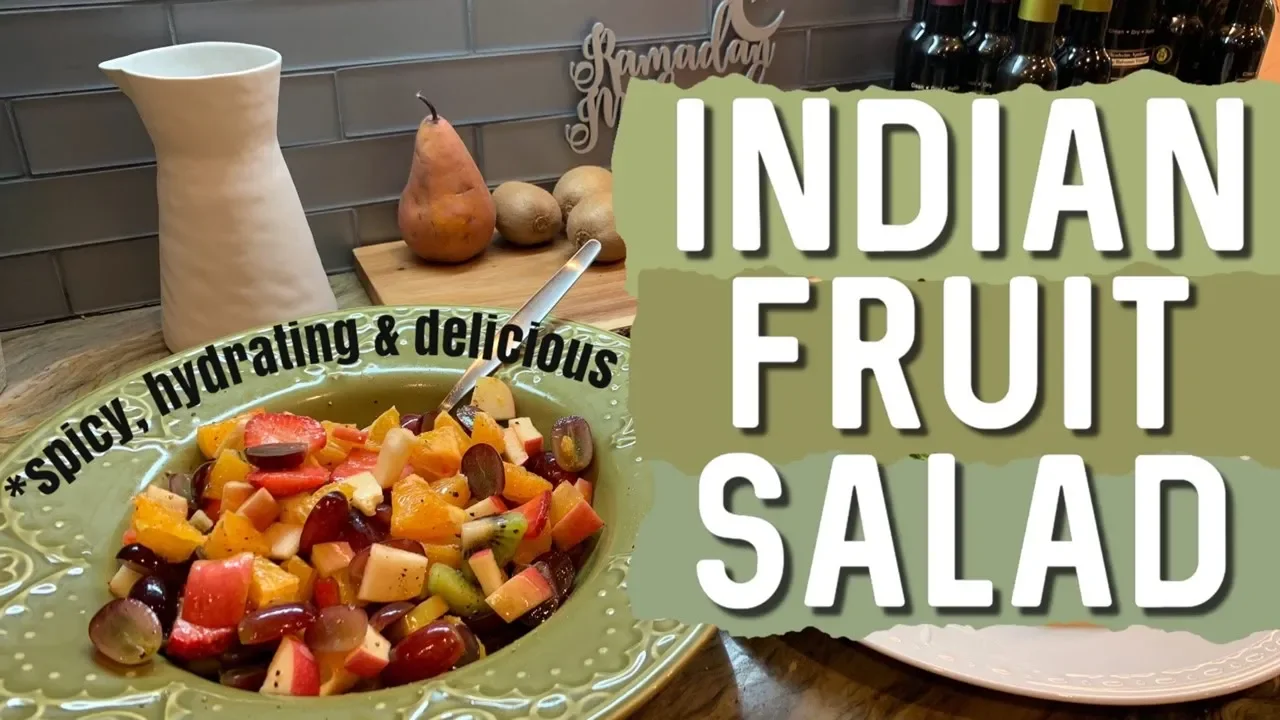
If you've never tried fruit salad with spices, I encourage you to try this. You fruit will get a kick out of it, and so will you! You'll impress your taste buds with cayenne, salt and pepper mixed with sugar and the sweetness of seasonal fruit and fresh juice. The recipe is on my website at the blog post that accompanies this video.
-
![]()
Yogurt Tortilla | Hyderabadi | Dahi Pulki
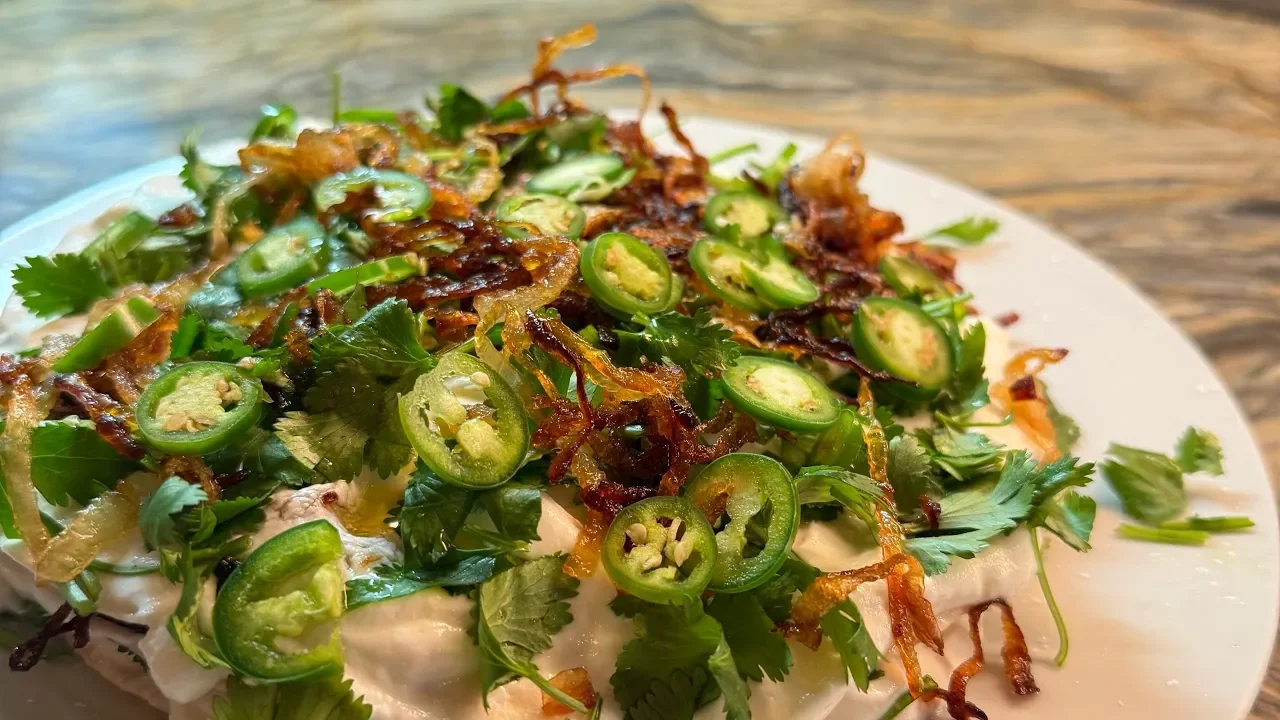
Dahi Pulki or Yogurt Tortilla is a family favorite, especially during Ramadan. We like to break fast with fruit chaat and this layered tortilla dish that's thick with yogurt and fried onions. While this appetizer is a Ramadan family favorite of ours, you could really have it any time of year. It's simple to make and other than frying the onions, it's really fast too.
-
![]()
Indian Red Lentil Daal | Dahl Recipe
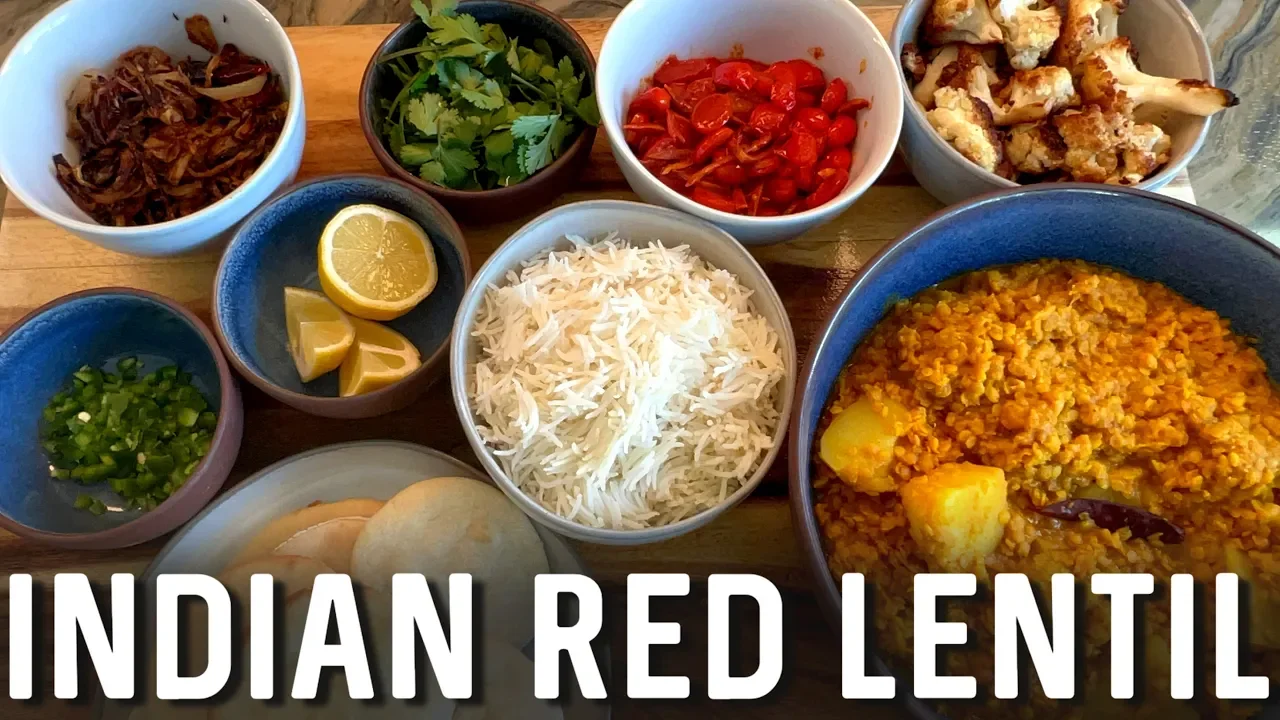
Are you looking for a tasty, filling vegan meal? Try Indian Daal! It's fast (if you use my fast recipe), nutritious and delicious. For this recipe, I included many toppings and garnishes we love to include when making Daal, but only if Daal is going to be the main dish rather than a side dish because all these extras that I show take a long time to make.
-
![]()
How To Make Samosas
So the thing is that I only make these during Ramadan, but really, you can make them any time of year. This year, I didn't make them once for Ramadan. And now that Ramadan is over, I'm making up for lost time and turning out samosas like it's nobody's business. This recipe utilizes leftover ground beef or freshly made with a sprinkling of Indian spices and good old fashioned Mission Tortillas.
-
![]()
Chai Tea
I've been both praised and despised for my tea. Praised because it always tastes so good, cursed because it's so strong that my tea drinkers are usually up until the wee hours of the morning, tossing and turning because they can't sleep. So with caution and fair warning, here's my tea recipe (which is a combination of tea recipes from my sister in law and a couple of close friends)
-
![]()
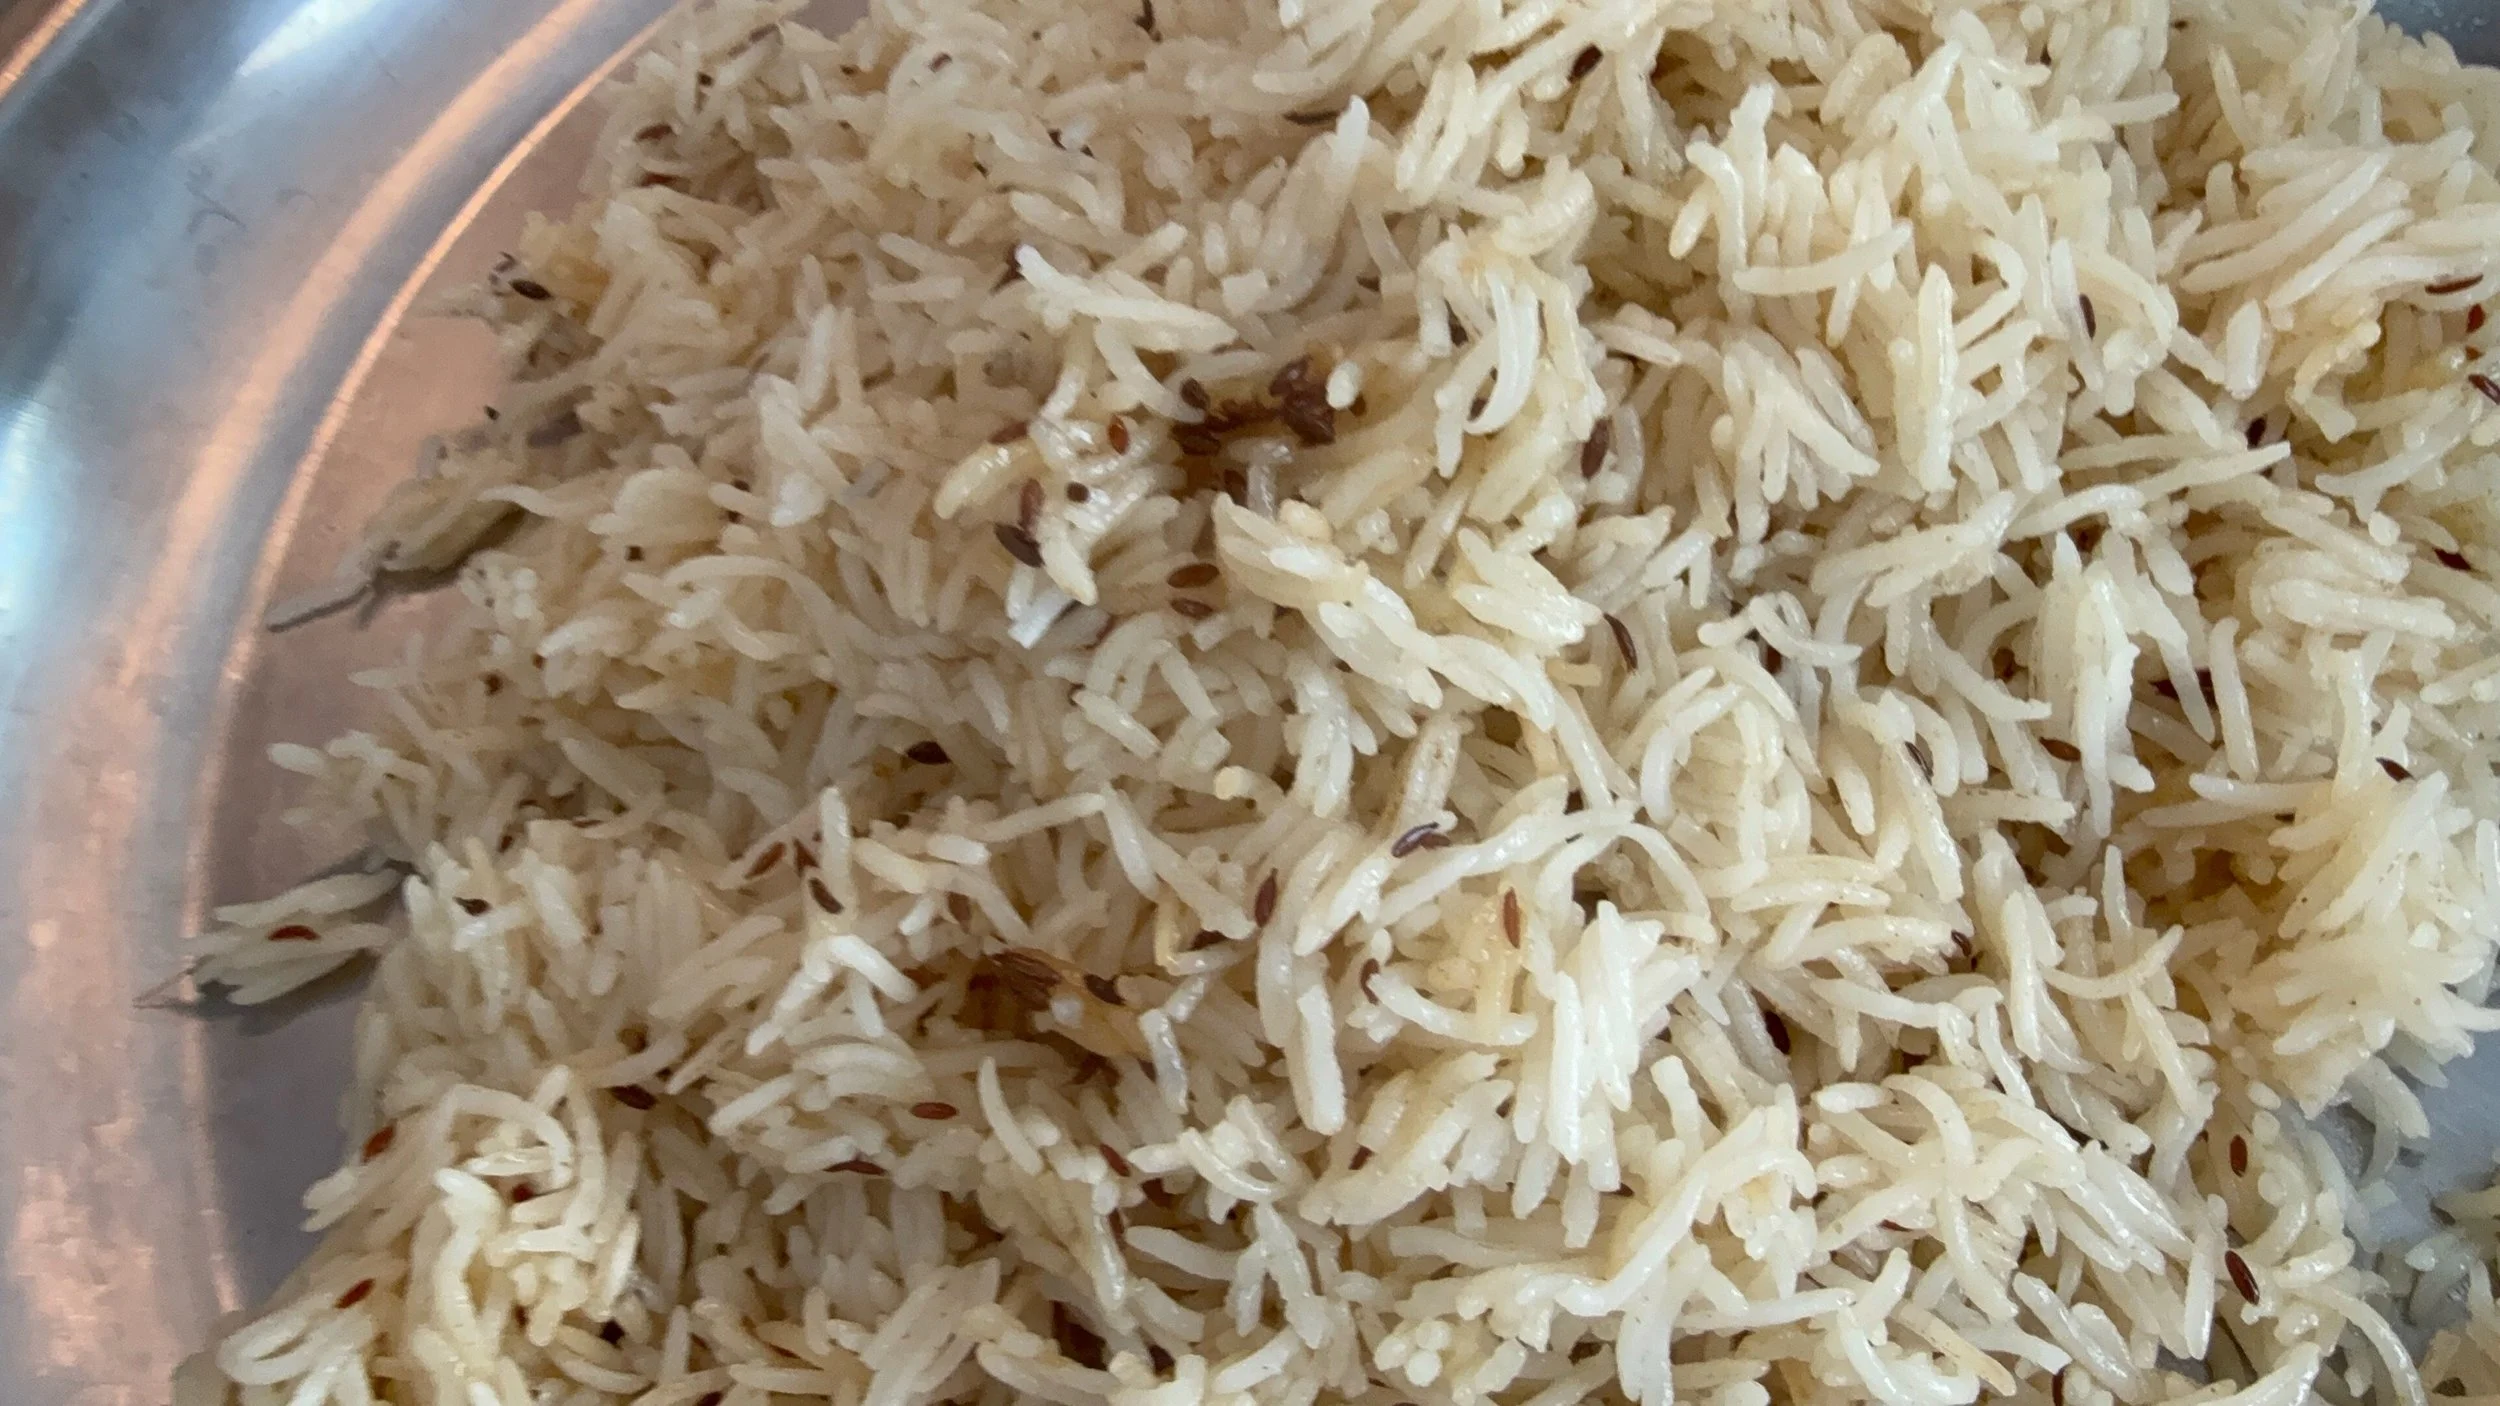
Zeera Rice | Cumin Seed Basmati Rice
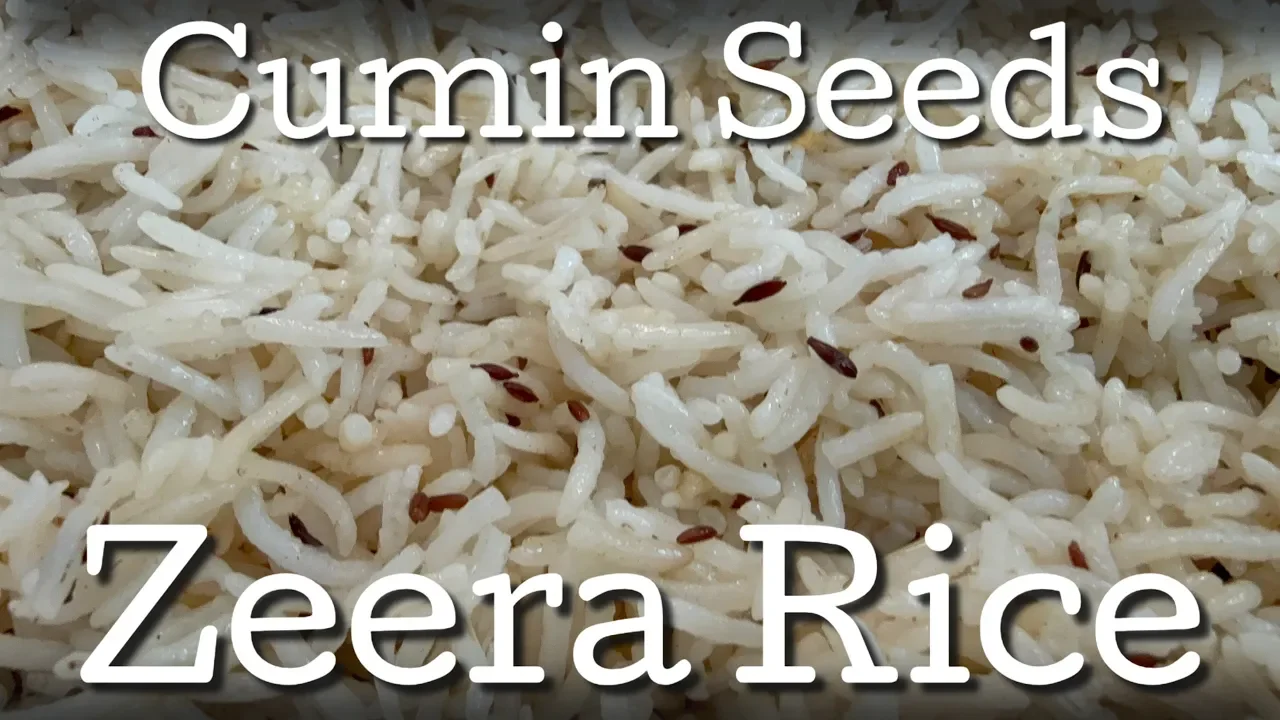
This is one of the simplest rice dishes that I make, but sometimes the simplest recipes are the most delicious. Zera rice is simply basmati rice flavored with cumin seeds, yet it is incredibly fragrant and makes the perfect accompaniment to so many meals.




Shamee Kebabs
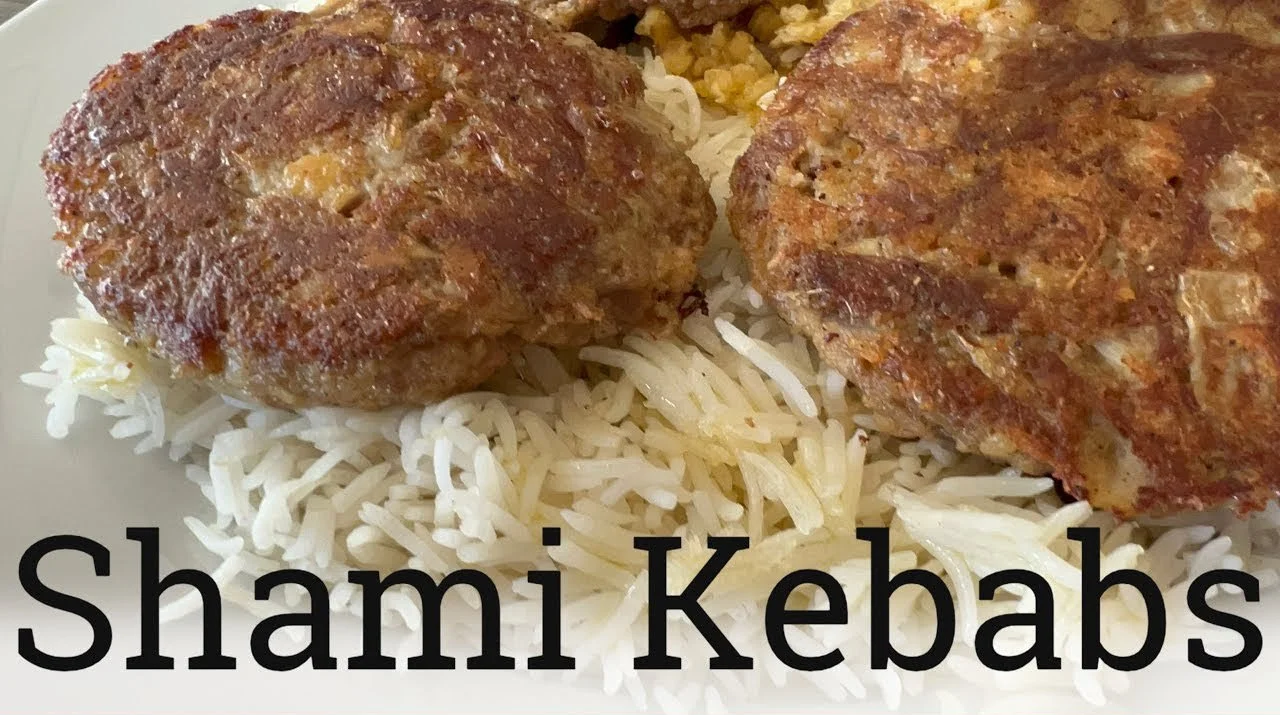
I made a huge batch of shami kebabs! You can cut this recipe down quite a bit, but whenever I make these, because they are so labor intensive to begin with, I make a huge batch and freeze them for easy meals. The trick is freezing them flat as kebabs so they freeze easily (once par-frozen on a sheet pan, I place them in a freezer bag), and defrost easily (and quickly) making them great for those days when we haven't planned a meal.
Shami Kebabs:
5 pounds lamb stew (cooked in pressure cooker for 40-50 minutes)
5 russet potatoes (peeled) (cooked until soft)
1 cup garbanzo beans (soaked with water and baking soda for at least 1 hour and cooked on high pressure for 1 hour)
1 cup red lentils toasted on stove until 1-2 brown, then let cool and blend to a flour in blender
2 large onions diced and sautéd
2 heads of garlic and equal amount ginger, ground to a paste
spice mix: salt and pepper to taste, cayenne pepper and/or chilis to taste, 5-8 black cardamom (just the seeds), 10 green cardamom (just the seeds), 3 tablespoons coriander, 2 teaspoons cumin seeds, 1 tablespoon black seeds, 1-2 tablespoons fenugreek seeds, 1 teaspoon of ajwain seed
Instead of using all the spices separately, I recommend a shami kebab spice mix. Or, to make it more simple, just use cumin and coriander along with salt and pepper to taste making it as spicy as you wish.
5 eggs lightly beaten
Once all ingredients are cooked and a bit cooled, mix them together with raw eggs. Form into patties and fry until golden brown. Serve with lentils and rice. Freeze kebabs flat then transfer to freezer bag.
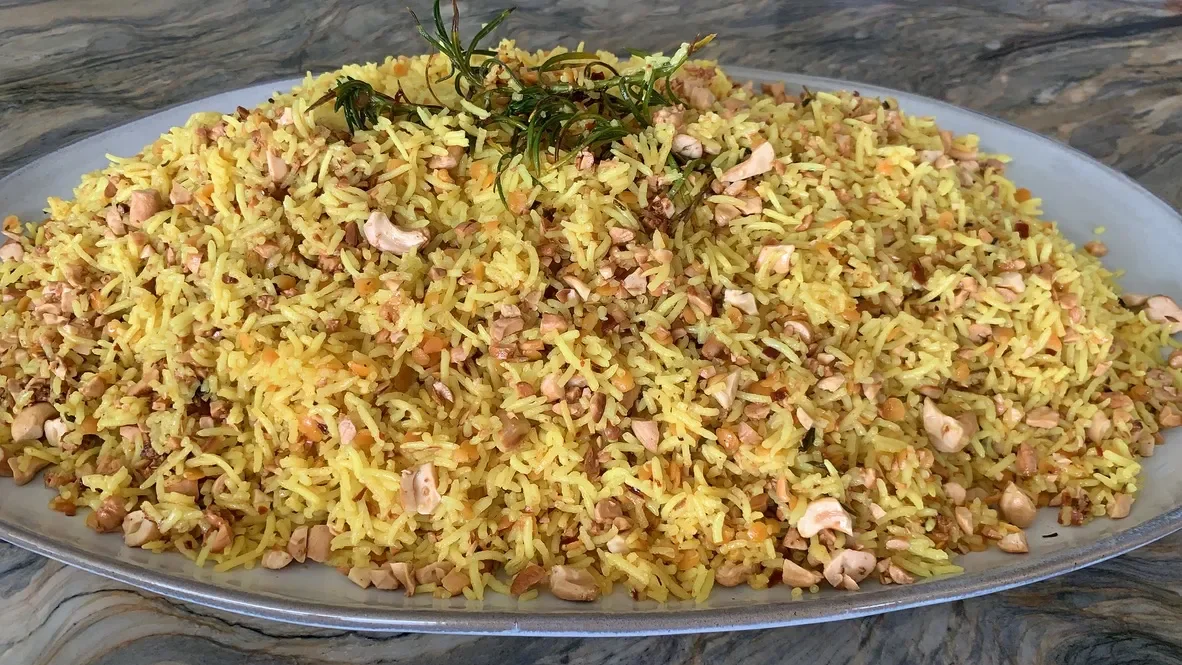
Coconut, Cashew & Curry Rice with Lime
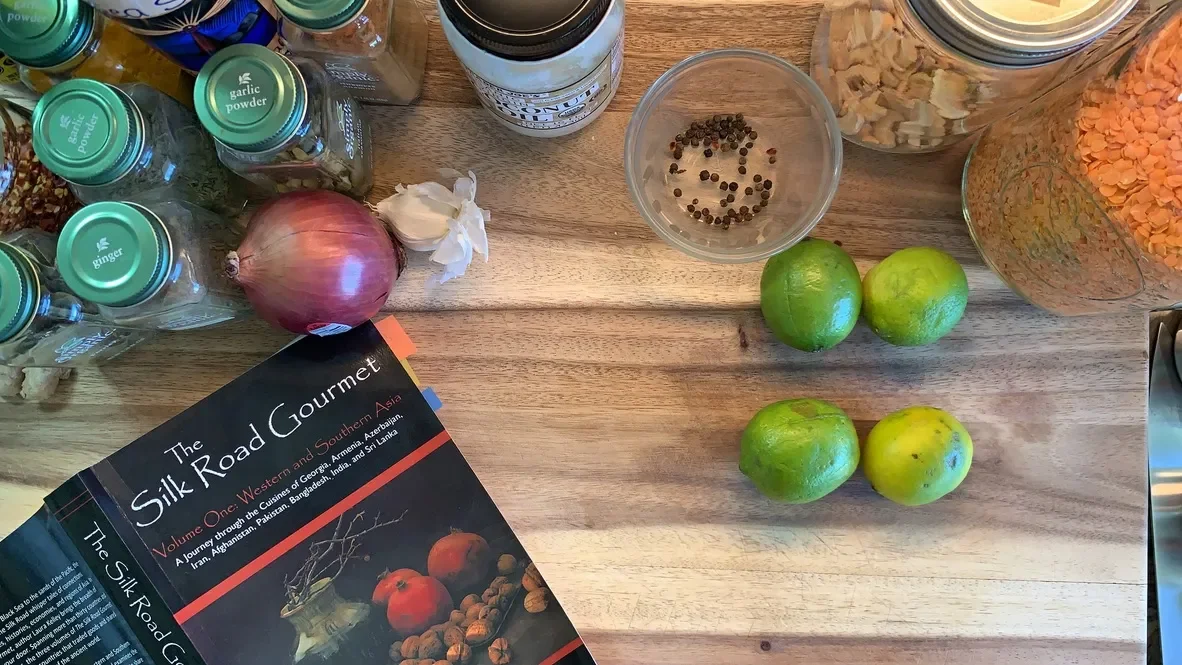
I’m may not be a fan of rice by my family is! Being married to an Indian, I quickly learned how to make the perfect basmati rice from my mother-in-law. Thereafter, I sort of stalled in my skills for rice making and for years made simple basmati rice. Then my Iranian friend, Teyebeh, taught me how to make several Persian rices and suddenly I had found a rice a liked! And now with The Silk Road Gourmet by Laura Kelley cookbook, I’m learning to make even more flavorful and robust rices. Ones that could be a meal by themselves.
Today’s recipe is inspired by the cookbook The Silk Road Gourmet by Laura Kelley. I say inspired by because I had to make a number of changes to the recipe to suit the ingredients I had on hand to suit our family’s dietary needs. In case I haven’t mentioned it before, when possible, I make our main dishes dairy free to accomodate my son’s dairy allergy. When it comes to Indian and Pakistani cooking, that’s actually more challenging than you think. We learned the hard way that most dishes have dairy in them, from the biryani to the chicken to the bread, even the meat, all of it has some form of dairy. I’ve learned alternatives throughout the years, and certainly it’s changed the flavor of the food.
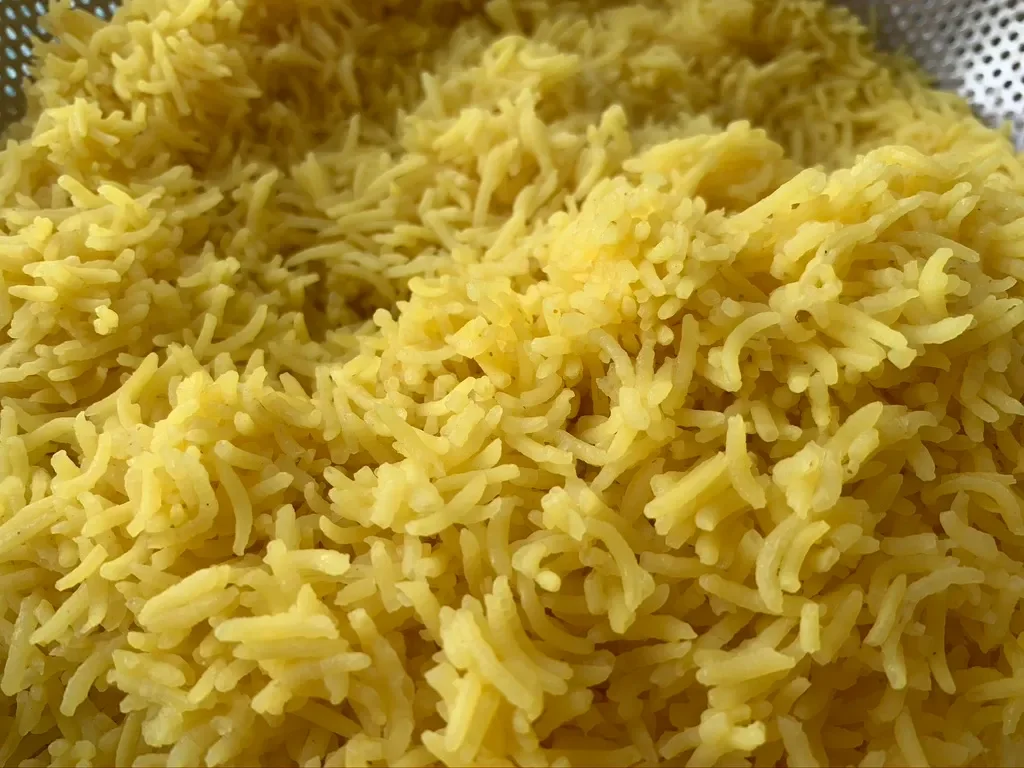
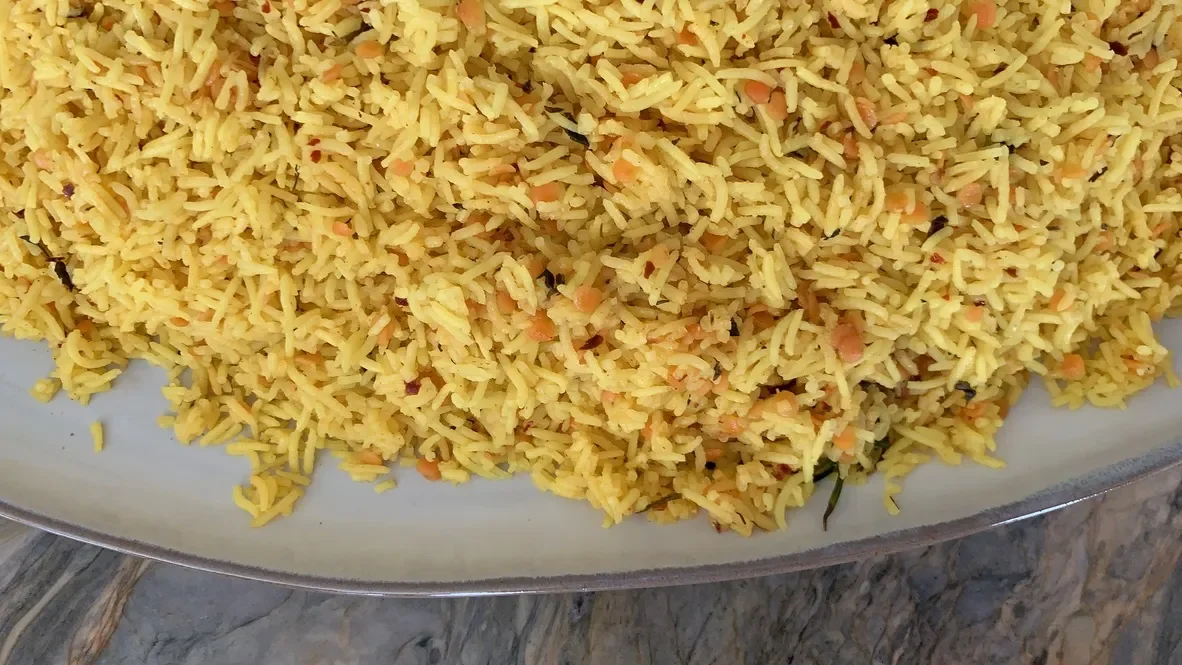
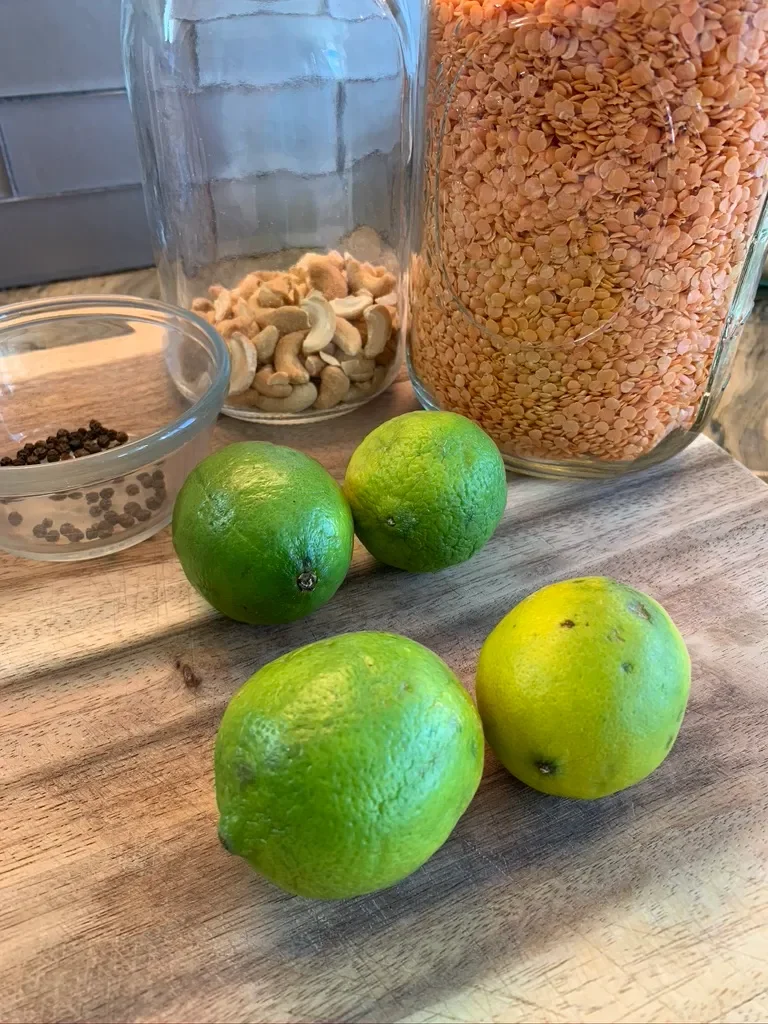
Today’s curry and lime rice calls for curry leaves which I didn’t have. However, years ago, I planted a curry bush, not to be mistaken for the tree/strub which the curry leaves come from. This curry bush I have resembles rosemary in form, but in smell and taste, it’s unmistakably curry. I’m adding a sprig or two of curry, plus 3 teaspoons of turmeric and 2 teaspoons of salt to a pot of boiling water. We are boiling and draining our rice similar to how you make pasta. So add enough water so that the rice can move freely. Once the rice is al dente, drain in and set it aside. I have soaked 3 cups of rice for this recipe and drained and rinsed it, but sometimes I don’t soak it first. In a separate saucepan, melt 2 tablespoons of coconut oil (that’s our coconut flavor, but the recipe calls for coconut pieces), and saute 2 teaspoons of fenugreek (the recipes calls for fenugreek seeds which I didn’t have), and 1-2 tablespoons of chili flakes (the recipe calls for red chilis which I can’t source easily here). To that quickly add 4 tablespoons of red lentils (the recipe calls for lentils that are ground and almost powdery or like flour, but mine didn’t grind well so I left them whole). Add the juice of 5 limes. I also added a sprig or two of curry and a dash of curry powder. Saute until softened. I added water and cooked them until they were soft. Next, add the lentil mixture to the rice in layers and toss gently until well incorporated. Do not mix! We don’t want to break the rice. Lastly, saute in coconut oil until brown a cup of cashews (I used unsalted and raw and another time I used salted and roasted), and add that to the rice as a garnish on top or mixed in.
Keema | Ground Beef
If you're in a pinch to make dinner, I recommend learning this recipe! It's my fast version to making Indian ground beef (keema). It's usually served with rice, which could take 15 minutes to make, so if you are really short on time, serve it with naan which you can find in the frozen section of many grocery stores. While my mother in law taught me how to make this using fresh ginger and garlic, I find that in a time pinch, using powdered ginger and garlic work just fine. In fact, they work even better if you have a child (or adult) who is picky about their food and doesn't like the stringy nature of fresh ginger or the bite of garlic.
Here's the super easy recipe:
For every pound of ground beef (you can use any fat content), season with:
1 teaspoon garlic powder
1 teaspoon ginger powder
1 teaspoon paprika (optional and not shown in the video)
1/2 teaspoon cayenne
1 teaspoon turmeric
1 1/2 teaspoon of cumin
Start by lightly frying a whole medium diced onion. Add beef with seasoning. Cook until nearly done (5 minutes or so), and add fresh chopped cilantro to finishing it off.
Check out my other cooking videos here.
How to Cook Basmati Rice
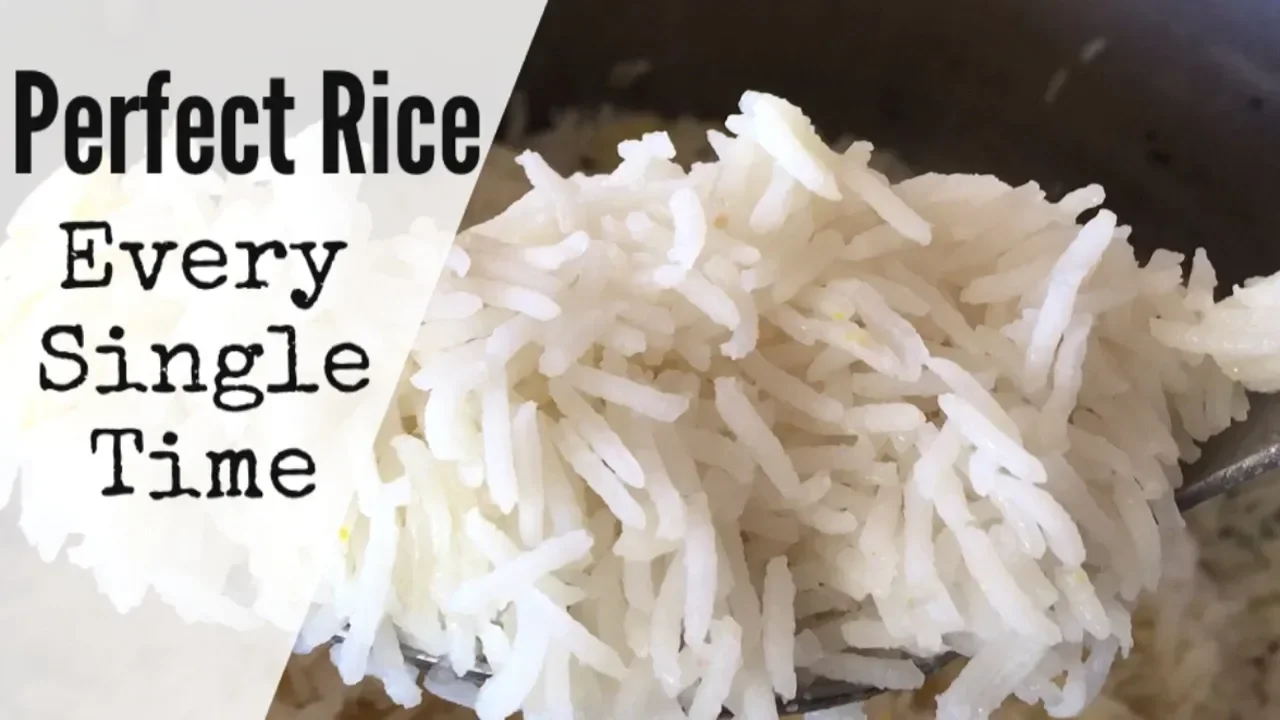
There are three things I want my children to know how to cook well: Rice, fried onions, and eggs. It seems silly, I know, but these three simple recipes are often easily messed up and can be tricky at times.
Today, I’m making basmati rice. I learned this method from my mother-in-law and have made it this way for many many years. Here’s how you do it:
First, rinse and soak your rice. This is optional, but rinsing your rice is good practice to remove arsenic and other pesticides or chemicals. If you are using an organic basmati rice, you can skip rinsing, but some rice connoisseurs swear by soaking. You can soak the rice for a few minutes to several hours.
In a large pot, fill several cups of water. You are going to be boiling the rice like you would pasta. You’ll need a lot of water so the rice has room to move around. You’ll want to salt your water and wait to put the rice in until the water is boiling.
Drain the rice of any excess water and add it to the boiling water. If you cover your rice to bring it back to a boil, watch it! It will boil over.
After 8-10 minutes check your rice. If it is firm, but soft. It’s done! If it’s still hard, give it another minute or two.
Drain the rice thoroughly and add it back to the pan. You can leave it with no heat or you can put the stove on the lowest temperature setting for just a few minutes.
Sprinkle saffron and salt over your warm rice and drizzle with olive oil and grapeseed oil. Give your rice about 5-10 minutes to rest before tossing it and serving it.
Troubleshooting tips:
Make sure you have enough water so the rice and move around.
If your rice is too soft, quickly rinse it with cold water to stop the cooking process.
If you drained the rice too early, put it back on the stove, cover it and put the temperature on low. Watch it for 3-5 minutes. The rice should soften up.
If your rice is too soft, drain it and put it back on the stove with NO heat. Leave it uncovered and let it sit for 10-15 minutes. It won’t be perfect, but it will allow the water to evaporate.
Pair this rice recipe with keema!
Check out my other cooking videos here.
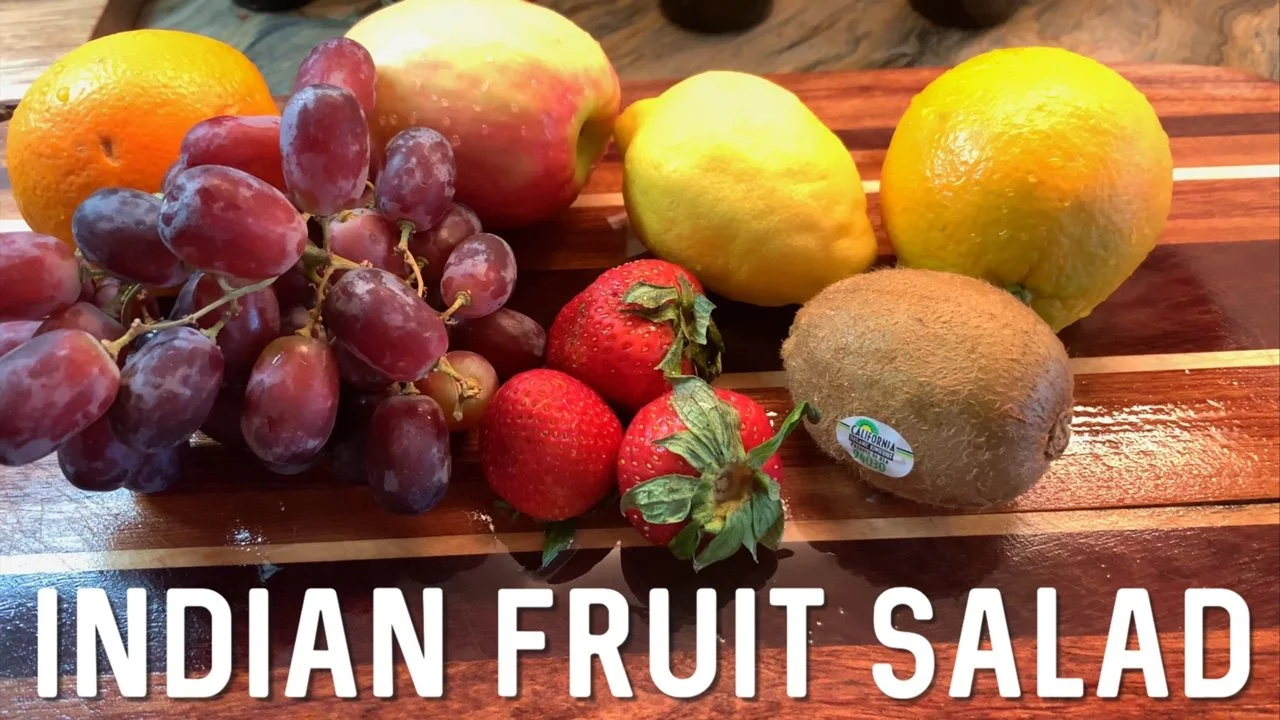
Indian Fruit Salad | Fruit Chaat
If you’ve never tried fruit salad with spices, I encourage you to try this. You fruit will get a kick out of it, and so will you! You’ll impress your taste buds with cayenne, salt and pepper mixed with sugar and the sweetness of seasonal fruit and fresh juice. Here’s the recipe:
Ingredients:
1 lemon-squeezed
1 apple-diced
2 oranges-diced
2 cups grapes-sliced in half
1 banana-sliced and reserved for just before serving
Season fruit like strawberries, kiwi or anything you’d like, I find melons don’t work as well with this recipe, but you may like the spicy/sweet combo!
2-3 tablespoons of juice
Cayenne pepper, black pepper, salt and sugar
You can see the cayenne pepper sticking to the fleshy parts of the fruit…yum!
Squeeze lemon into serving dish and remove seeds. Add apples and coat with lemon juice to prevent browning. Add oranges and grapes and other sturdy seasonal fruit if you wish. Add spices. Start with a sprinkle, you can always add more. But if you’ve added too much, don’t worry, you can wash your fruit or add more juice to dilute the spice. Add juice and toss salad.
You can store in the fridge for a few hours, but longer than that and the fruit won’t look as good. You definitely can still eat it and even save it for a day and still enjoy it, but I find the flavors mix too much by then. Just before serving (and after you’ve mixed the spices in), add your sliced bananas. If your banana is overripe, avoid tossing it, if it’s still firm, you can lightly mix. Serve and enjoy! If you plan on pre-making this fruit salad, wait to add the banana until you are ready to serve or eat it.
The first time I tried this salad, I was hooked! That was back in 2003. My sister-in-law made this salad, and I couldn’t get enough of it. I ate everyday for days. While I do like fruit, I don’t seem to eat a lot of it, so spicy, flavorful fruit salad like this certainly helps me get my five servings of fruits and veggies. What’s more, is that it’s hydrating.
I’ve found that fruit chaat is especially good during Ramadan or anytime of year in which you are fasting. Either to start or break your fast, this Indian inspired fruit salad will keep you hydrated longer than just drinking water, at least, that’s what I’ve experienced. There are so many varieties of this beloved Ramadan iftar recipe. I hope you find a combination you love as much as I love this one.
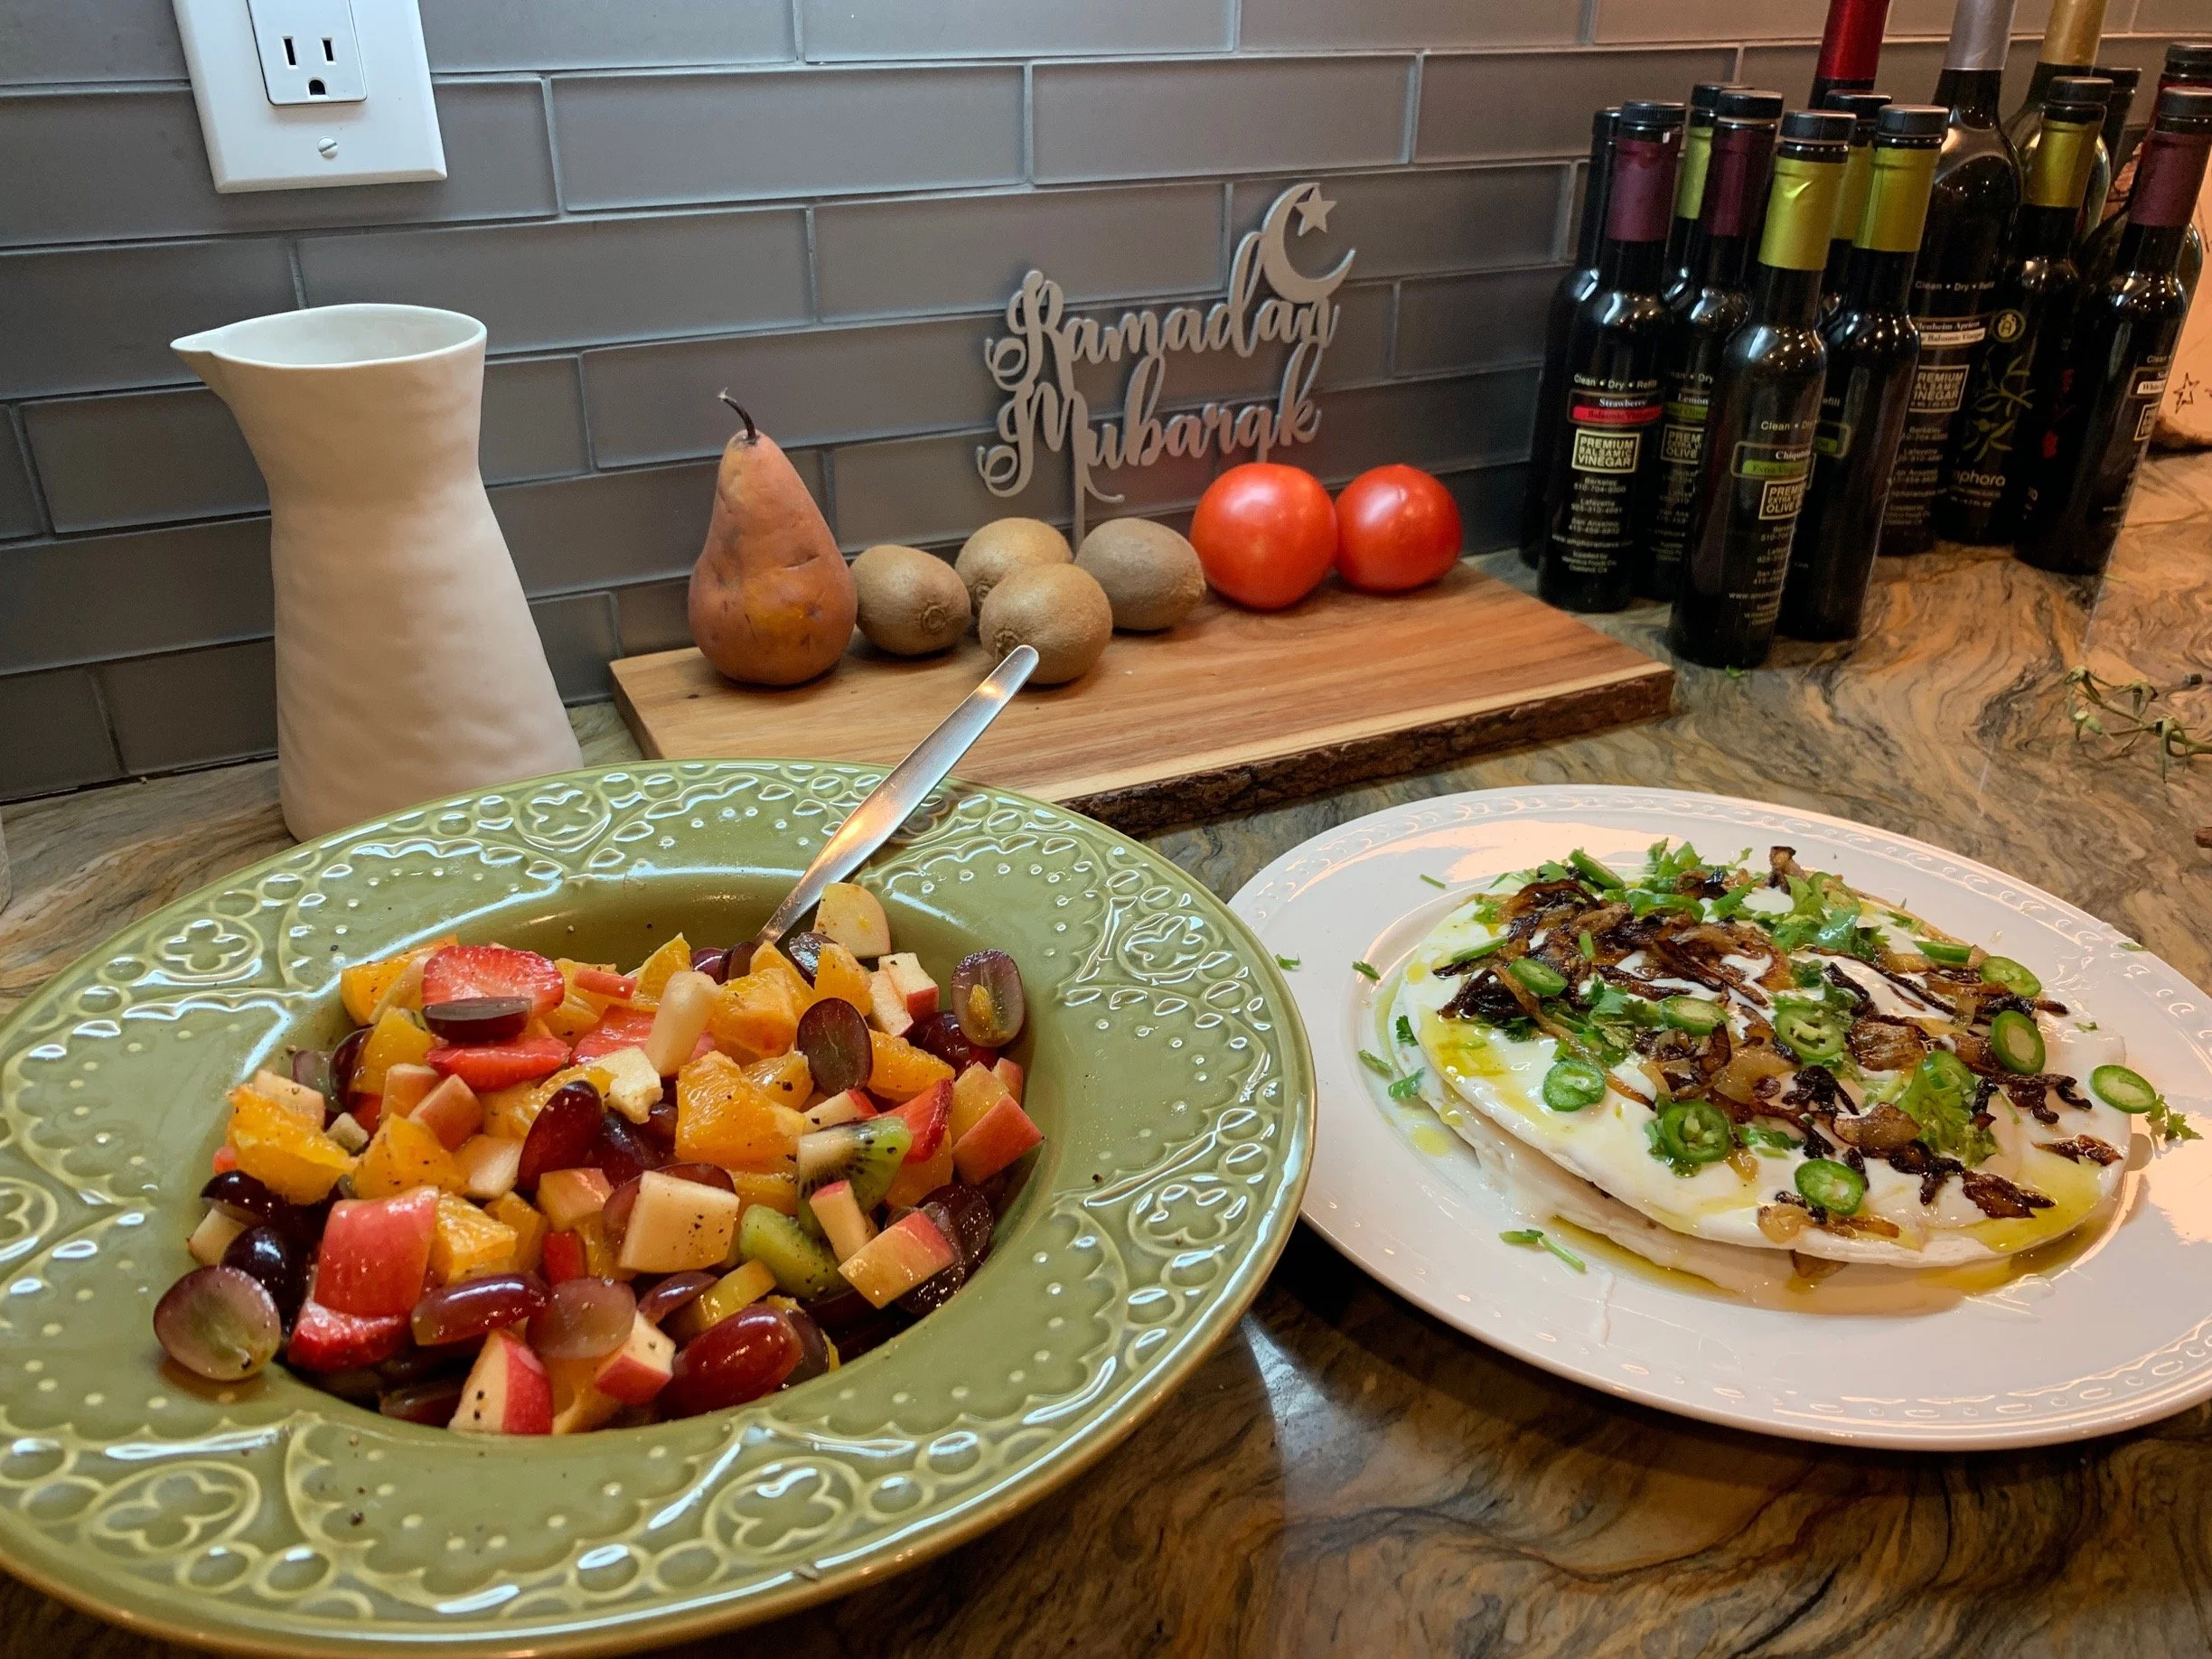
Fruit Chaat with Yogurt Tortilla. Two Ramadan family favorites for iftar.
Curious about the yogurt tortilla dish at the end of this video? That’s another Ramadan family favorite for iftar and while you can enjoy it any time of year, we tend to make it just for Ramadan.
Want to see more recipes? I keep adding recipes to a YouTube Playlist. You can find my most requested recipes as well as ones we hardly make anymore!

Garbanzo Bean Salad | Cholay
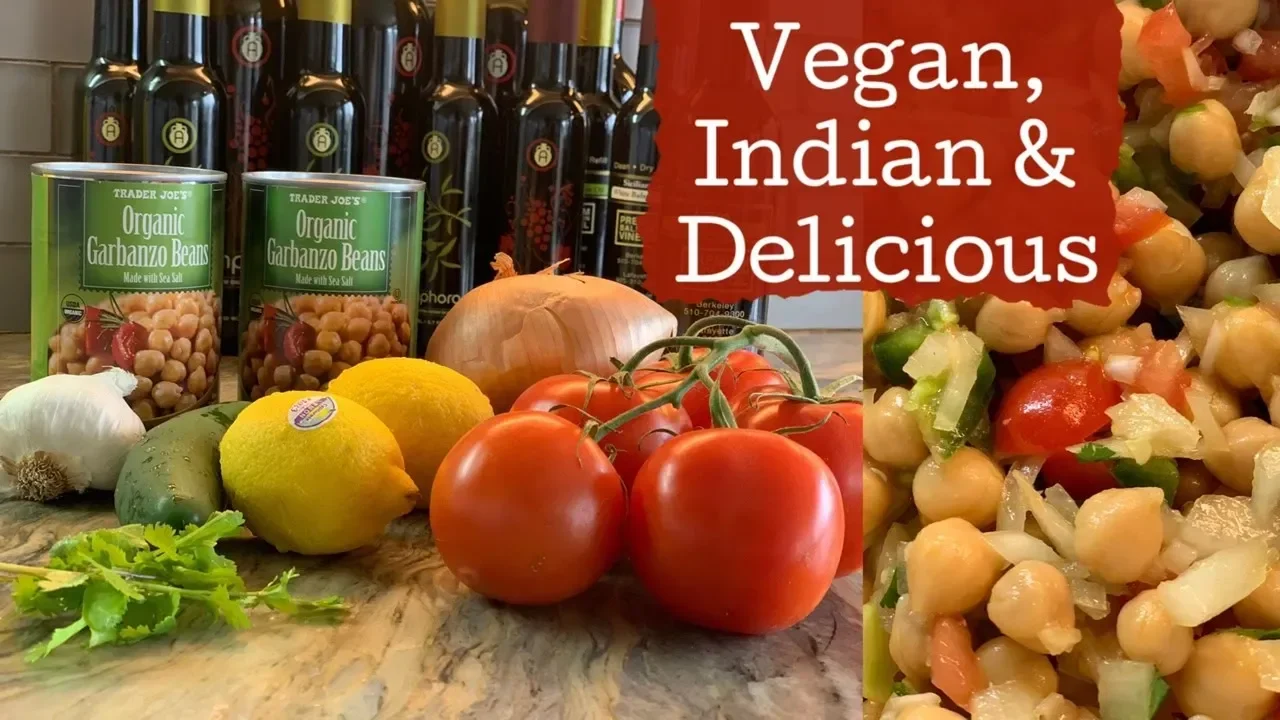
There are some dishes I tend to make just during Ramadan. This is one of them. It’s an Indian inspired recipe was shared with my by my sister-in-law who knows how to make good food, fast! I even have a secret shortcut to this recipe that you can find on the blog post that accompanies this video tutorial.
Cholay is a garbanzo bean side dish that can be served hot or cold and has several varieties. Today’s is a cold version that can be stored in the fridge for hours or even a day or two and the flavors just get better over time. This version may be better known at Chana Chaat. Either way, it’s a delicious protein rich side dish or a meal in itself.
Recipe:
2 cans of garbanzo beans
1 finely diced onion
4 cloves of mashed garlic
3-4 diced tomatoes
handful of chopped cilantro
1 finely diced jalapeno
2 lemons (squeezed)
season with salt, cayenne, cumin and paprika
Mix all ingredients together and drizzle with olive oil. Let sit for 15 minutes or refrigerate for up to one day before serving.
My sister-in-law is not only a great cook, she’s a smart cook. As a full time working mom of four, she knows just the shortcuts she needs to take in order to have nutritious fresh food without spending hours in the kitchen. Here’s her time-saving tip: Buy fresh salsa and mix it with a can of garbanzo beans, and voila! You have cholay!
To see more cooking tutorials, click here!


Yogurt Tortilla| Dahi Pulki
Dahinki Pulke or Yogurt Tortilla is a family favorite, especially during Ramadan. We like to break fast with fruit chaat and this layered tortilla dish that’s thick with yogurt and fried onions. While this appetizer is a Ramadan family favorite of ours, you could really have it any time of year. It’s simple to make and other than frying the onions, it’s really fast too. Wow your friends and family at your next dinner party with this crowd pleaser. It’s lightly toasted tortillas layered with yogurt, cilantro, jalapeño or serrano peppers, and fried onions. Layer three times and then let it chill or rest for 20 minutes until the tortillas are moistened by the yogurt. You can also prepare this up to one day in advance by storing it in the refrigerator, but I prefer to eat mine fresh. Just know that you don’t have to eat it directly after making it. The only thing difficult about this dish is cutting it! Oh and eating it! It’s a bit messy, but oh so worth it!
Indian Red Lentil Daal | Dahl Recipe
Are you looking for a tasty, filling vegan meal? Try Indian Daal! It's fast (if you use my fast recipe), nutritious and delicious.
Here's the fast recipe you can make in a mini rice cooker.
Are you looking for a tasty, filling vegan meal? Try Indian Daal! It's fast (if you use my fast recipe), nutritious and delicious. For this recipe, I included many toppings and garnishes we love to include when making Daal, but only if Daal is going to be the main dish rather than a side dish because all these extras that I show take a long time to make.
Let's start by getting the things that take the longest to cook on their way:
-Boil or cook in the Instant pot 2 peeling russet potatoes.
-Sauté a large yellow onion in oil of choice (on the side of the pan, I sautéd about 1/2 teaspoon of cumin seeds and 3 chili peppers)
-Soak 1.5 cups of red lentils.
-Cut half (or whole) cauliflower into medium pieces and fry or sauté until very brown. A lot of oil is needed for this, so you may choose to oven bake them if you prefer not to sauté or fry them, but honestly they taste amazing fried.
-smash 3-5 garlic cloves and equal amount of ginger and add to a hot pan with oil and 3 chili peppers. Add spice mix: 1/2 teaspoon of cumin, paprika and turmeric, season with salt, pepper and cayenne pepper to taste.
-Add rinsed lentils and 2 cups of water. Watch while cooking so it doesn't get too dry or overcooked.
-cut in half 1-2 cups grape or cherry tomatoes. Sauté 1 teaspoon-1 tablespoon of sliced ginger. Add tomatoes, salt and generous amount of paprika (about 1/2-1 teaspoon).
-Prepare garnishes: diced jalapeno, quartered lemon or lime, roughly cut cilantro.
Serve with basmati rice or pita bread, or naan or all!
How To Make Samosas
So the thing is that I only make these during Ramadan, but really, you can make them any time of year. This year, I didn’t make them once for Ramadan. And now that Ramadan is over, I’m making up for lost time and turning out samosas like it’s nobody’s business. This recipe utilizes leftover ground beef or freshly made with a sprinkling of Indian spices and good old fashioned Mission Tortillas. I’ve tried three different varieties of tortillas and the Mission brand is hands down the best. They are light, airy and soft and fry up really nice and crispy. These have been a family favorite and crowd pleaser for many years now.
I have my mother in law to thank for this recipe (and many besides). The ingredients and directions are simple, and if you are only making enough for your family, not too time consuming. I’ve made these in the past for big dinner parties, and that’s quite the commitment.
Here’s what you need (for this recipe, but you can cut it down easily): 2 pounds ground beef (I used 15% fat, but I’ve used ground sirloin with only 5% fat) 1-2 teaspoons of the following spices (I recommend starting with 1 teaspoon of each and tasting as you go until you reach the desired flavor). Cayenne, cumin, turmeric, ginger, garlic, salt and paprika You can use a serrano pepper or a jalapeno pepper for added kick and for a rich authentic flavor, you can use fresh ginger and garlic or ginger garlic paste. 1 large onion diced, or two small onions Add hidden veggies in the form of 1 green bell pepper or a zucchini. Dice them small and sauté with the onion. 10 tortillas flour and water oil
Directions: Sauté onion in a large flat pan with oil of your choice. Meanwhile, rinse ground beef and break it up so it’s smooth. Use a metal strainer to keep from losing the meat. Drain well. I usually work the meat with a wooden spoon and let is rest in the sink draining while the onions fry. Fry other veggies at this time too. Prepare the spice mix by adding 1 teaspoon of each spice into a small dish. You can add more to taste once the meat starts cooking. Turn the heat up to high and add the meat to the browned onions. Work the meat and add the spices. It takes about 5-10 minutes to cook down. Remove from heat and allow the meat to cool so you can work with it. If there’s too much liquid, continue to cook it until the liquid evaporates. Avoid draining the liquid because the flavor will drain with it.
While the meat cools, prepare the tortilla and ‘glue’. Cut the tortillas in half and set aside. In a small bowl add 1 cup of flour and slowly add 1 tablespoon at a time of water until you create a thick paste. If the paste is too runny, it won’t seal the tortillas.
Add a thin line of paste along the edge of half the tortilla. Add about 1-2 heaping tablespoons of meat (keema) to the tortilla and fold the tortilla over and seal it shut. Let it rest for a bit to make sure the seal keeps.
To a pan add as much oil as needed to fry samosas. Heat to medium heat, but watch it constantly. If it’s too hot, it will burn or brown quickly, but the inside will be cool or not warm enough. If the oil is too cool, it’ won’t fry properly and absorb too much oil. Make sure the samosas are sealed completely before frying. Fry for a minute or so on each side. Remove and let drain on metal rack or paper towel. Serve hot with your choice of garnish. I like them plain, but some of my kids enjoy ketchup.
For more recipes, check out this playlist.
How To Make Chai Tea | Indian Tea
I've been both praised and despised for my tea. Praised because it always tastes so good, cursed because it's so strong that my tea drinkers are usually up until the wee hours of the morning, tossing and turning because they can't sleep. So with caution and fair warning, here's my tea recipe (which is a combination of tea recipes from my sister in law and a couple of close friends):
2-4 cups of water
5-8 peppercorns
2-3 crushed green cardamom
3-6 cloves
1 cinnamon stick or a generous sprinkle of cinnamon powder
2 teaspoons of loose black tea
2 tablespoons of brown sugar or more or less of your desired sweetener
3 tablespoons of heavy cream or similar creamer
Add all spices (not tea, sugar or cream) to a pot of water. Bring to a boil. Cover and let simmer for as long as you'd like (sometimes I give it 5 minutes, other times, I put it on the lowest flame and leave it for 30 minutes or more while I do something else). Add tea and cover. Remove from heat and let it steep for 3-5 minutes. Next, add cream and sugar and bring back up to a boil. Reduce heat and let it simmer for a couple minutes. Using a strainer, pour into a cup and enjoy!
You can get creative with your chai! Some people like a bit of fresh ginger as well. You can also make this tea with tea bags. In my experience, you need more tea bags than typical to get the desired strength and color.
Zeera Rice | Cumin Seed Basmati Rice
This is one of the simplest rice dishes that I make, but sometimes the simplest recipes are the most delicious. Zera rice is simply basmati rice flavored with cumin seeds, yet it is incredibly fragrant and makes the perfect accompaniment to so many meals.
The process begins with two cups of long-grain basmati rice. I like to rinse the rice several times until the water runs mostly clear. I don't soak it for very long because I find that if basmati rice sits in water too long, the grains tend to break more easily during cooking. Since I want long, beautiful, intact grains of rice, I may let it sit for five or ten minutes at most, but that's really all it needs.
While the rice rests briefly, I prepare the cumin seeds in the Instant Pot using the sauté function. I heat a little olive oil and add the cumin seeds right away because the pot gets very hot very quickly. There are different ways to toast the cumin. You can lightly fry the seeds so they still retain some of their color, or you can let them become quite dark and deeply fragrant. I learned to cook them until they are almost black, which gives the rice a wonderful flavor.
Once the cumin seeds are ready, the drained rice is added to the pot. It sizzles immediately before the temperature settles down. Then I add cumin powder, salt, and water. Because the cumin seeds have already been cooked in olive oil, that flavor works its way through the entire dish, although you can certainly add a little extra olive oil if you'd like.
One of the reasons I love making this recipe in the Instant Pot is that it produces perfect rice every single time. As soon as the rice is finished cooking, it's important to vent it and fluff it right away. Tossing the rice allows the excess moisture to escape and helps keep the grains separate and light, with each grain beautifully coated.
This rice is incredibly simple, but it is also so flavorful and satisfying. If you want to elevate it even further, you can top it with fried onions, which adds another layer of sweetness and richness. It's an easy, everyday recipe that pairs beautifully with so many dishes and proves that a few humble ingredients can create something truly delicious.
Zera Rice (Afghan Cumin Rice)
Zera rice is a simple Afghan rice dish made with fragrant basmati rice and toasted cumin seeds. The cumin infuses the rice with a warm, earthy flavor, making it the perfect accompaniment to grilled meats, kabobs, curries, and vegetable dishes.
Serves: 4–6
Ingredients
2 cups long-grain basmati rice
2 tablespoons olive oil
1 tablespoon cumin seeds
1 teaspoon ground cumin
1 teaspoon salt
2 cups water
Optional for serving:
Extra olive oil for drizzling
Fried onions
Instructions
1. Rinse the Rice
Place the basmati rice in a bowl and rinse several times until the water runs mostly clear.
Drain the rice and let it sit for about 5–10 minutes if desired. Avoid soaking the rice for too long, as it can cause the grains to break apart during cooking.
2. Toast the Cumin Seeds
Set the Instant Pot to the Sauté function.
Add the olive oil and allow it to heat for a minute. Add the cumin seeds immediately.
Cook the cumin seeds, stirring frequently, until fragrant and lightly toasted. Some prefer to cook them until they become very dark, almost black, for a deeper, smokier flavor.
3. Add the Rice
Drain the rice well and add it to the pot. Stir to coat the grains in the cumin-infused oil.
Add:
Ground cumin
Salt
Water
Give everything a gentle stir.
4. Cook
Seal the Instant Pot lid and cook on High Pressure for 4 minutes.
Allow the pressure to release naturally for 10 minutes, then carefully vent any remaining pressure.
5. Fluff the Rice
As soon as the rice is vented, fluff it gently with a fork or rice paddle. Tossing the rice immediately helps release excess steam and keeps the grains light and separate.
If desired, drizzle with a little additional olive oil.
Optional Variation
For extra flavor, top the rice with fried onions before serving.
Serving Suggestions
Zera rice pairs beautifully with:
Afghan chicken kabobs
Kofta and grilled meats
Curries and stews
Roasted vegetables
Yogurt and fresh salads
The result is fluffy basmati rice with perfectly separated grains and the warm, aromatic flavor of toasted cumin throughout.