Educational | Tutorials
Educational tutorials include simple and practical projects like repurposing watercolor paper to make pencil holders, so personalizing wooden arches to represent the unique landscape of your home. These tutorials are a small sampling of what you can expect to find on the pages dedicated to each subject area.
Educational Tutorials
-
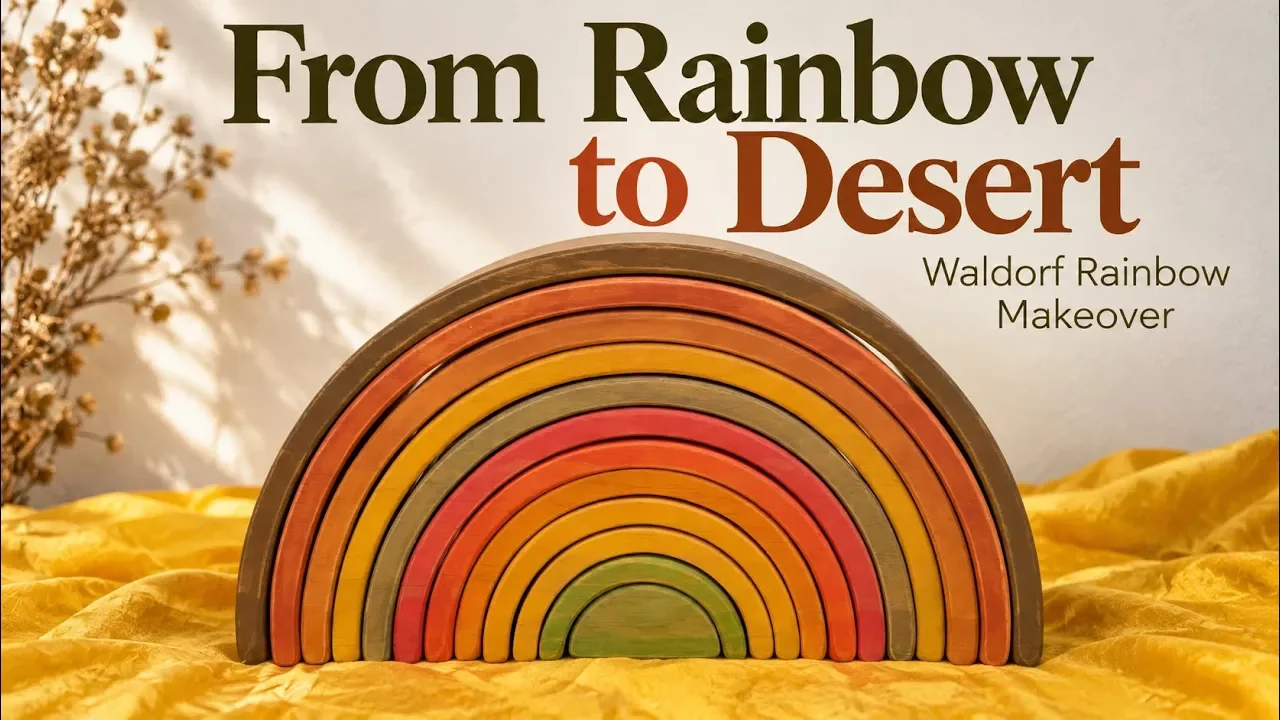
Wooden Rainbow Arch
I have always loved wooden rainbow arches, but for our kindergarten I wanted something a little different. We already have a traditional rainbow, so I decided to paint another set in beautiful desert colors inspired by the chaparral and desert landscapes that surround us.
-
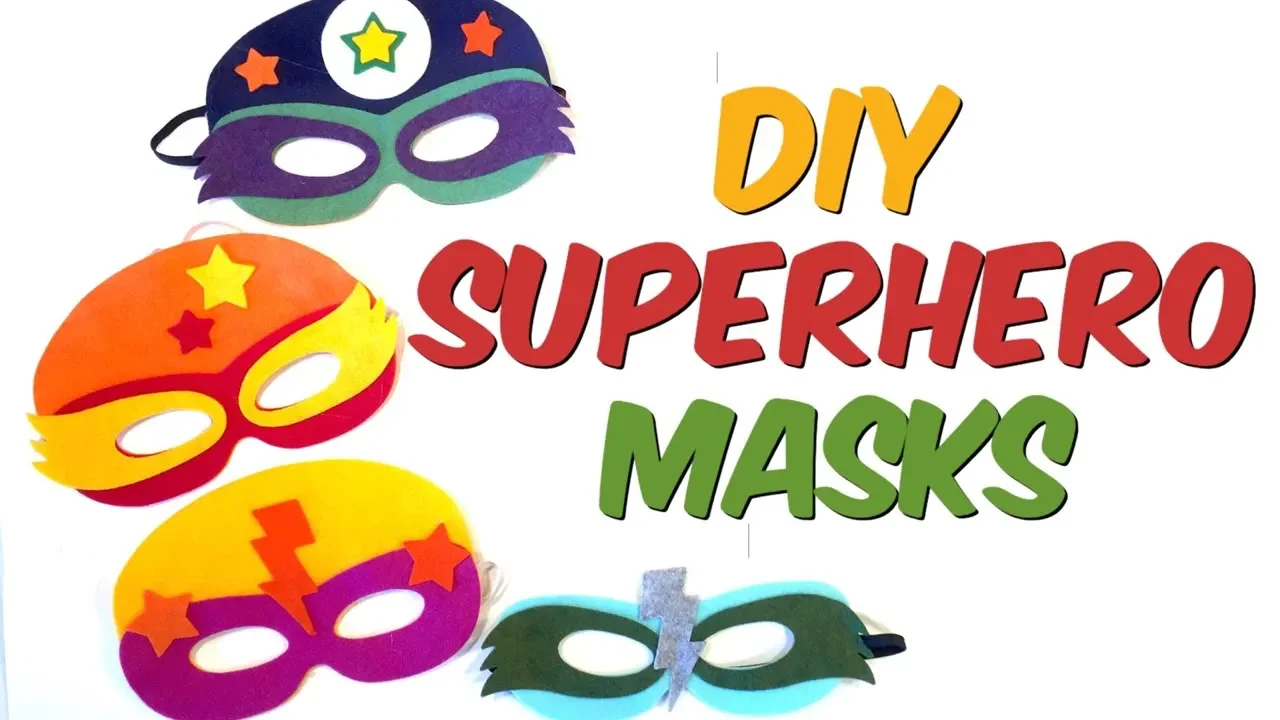
DIY Superhero Masks | Tutorial
I didn't think making our own superhero masks was going to be as fun as it turned out, but it was awesome!!! My kids started out by making three masks each, but quickly asked to make more. I got in on the fun and made one, too, then another and then a few more!
-
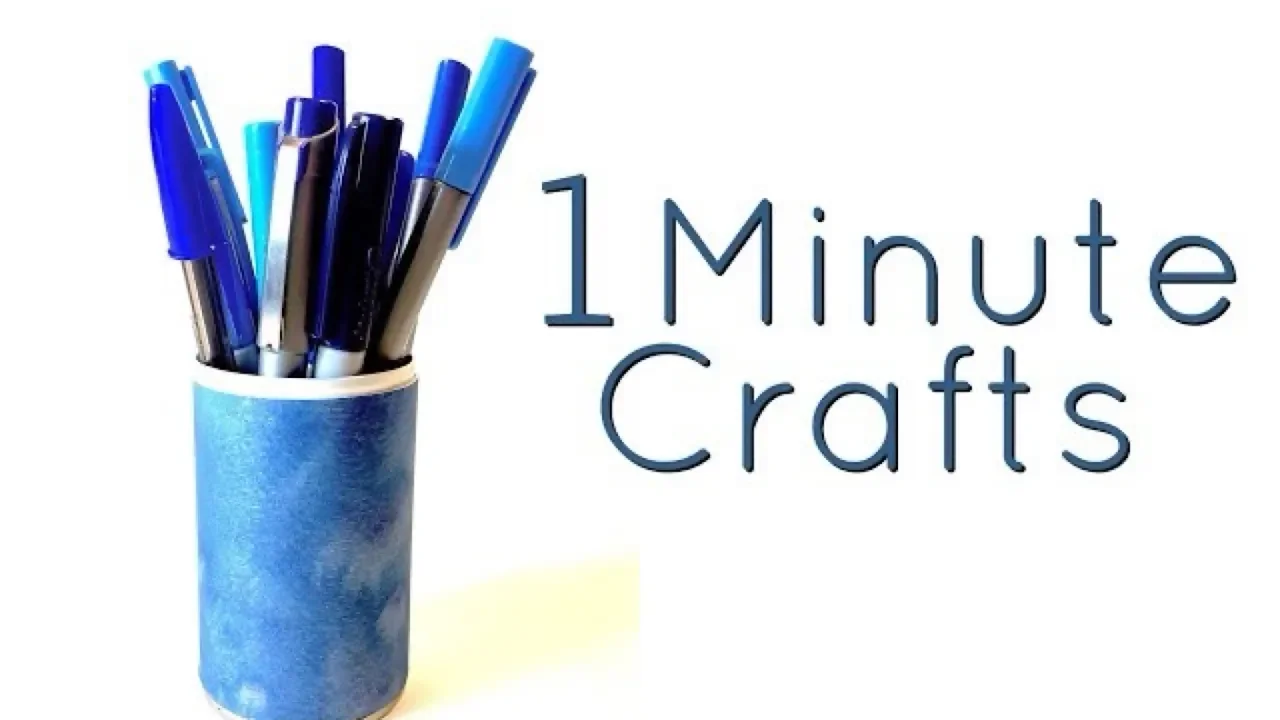
1 Minute Crafts | Upcycle Tin Can
This is a super easy upcycling craft you can do with any tin can and some decorative paper. Just use electric tape along the edge of the can to protect yourself from sharp edges. File down any protruding edges before applying tape. Use double stick tape to adhere scrapbook or watercolored paper to the outside of the tin can. Be sure your can is thoroughly cleaned inside and out before taping your paper in place.
-
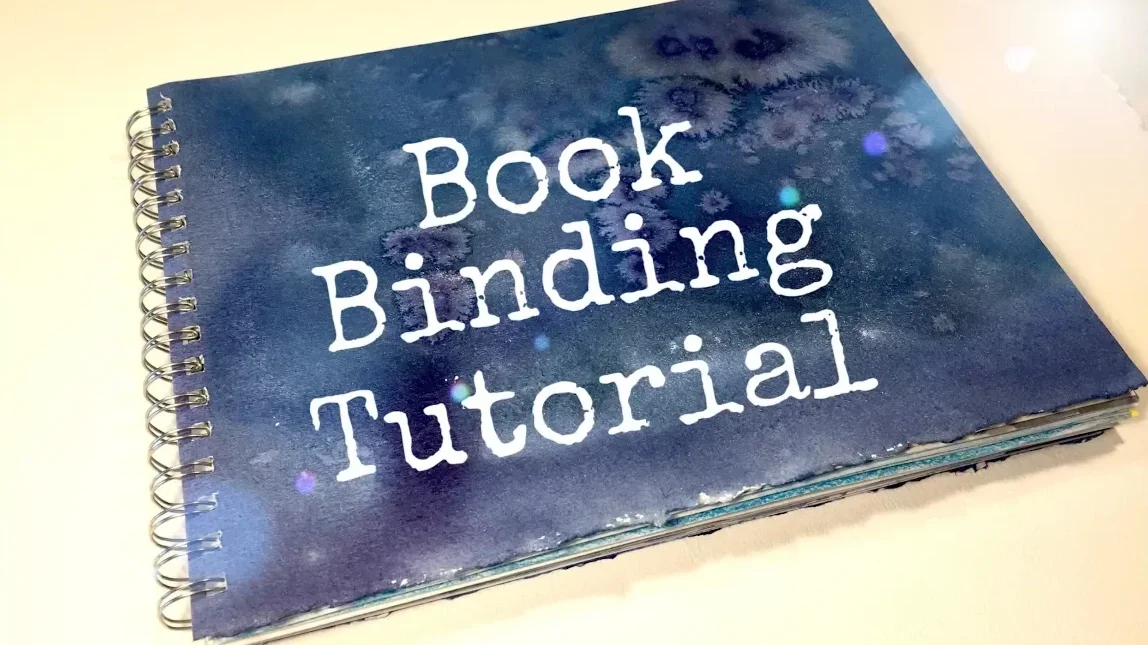
How to Bind a Book
Here's one way to bind a main lesson book after you've completed your work. If you wish to use multiple art mediums for a main lesson block or if you are working with watercolors, binding your loose sheets of papers along with your narrations after the block is over is one way to do it. You can bind the papers easily with a three-hole punch and a binder if you use 8.5x11 inch paper, or you can do a staple binding.
-
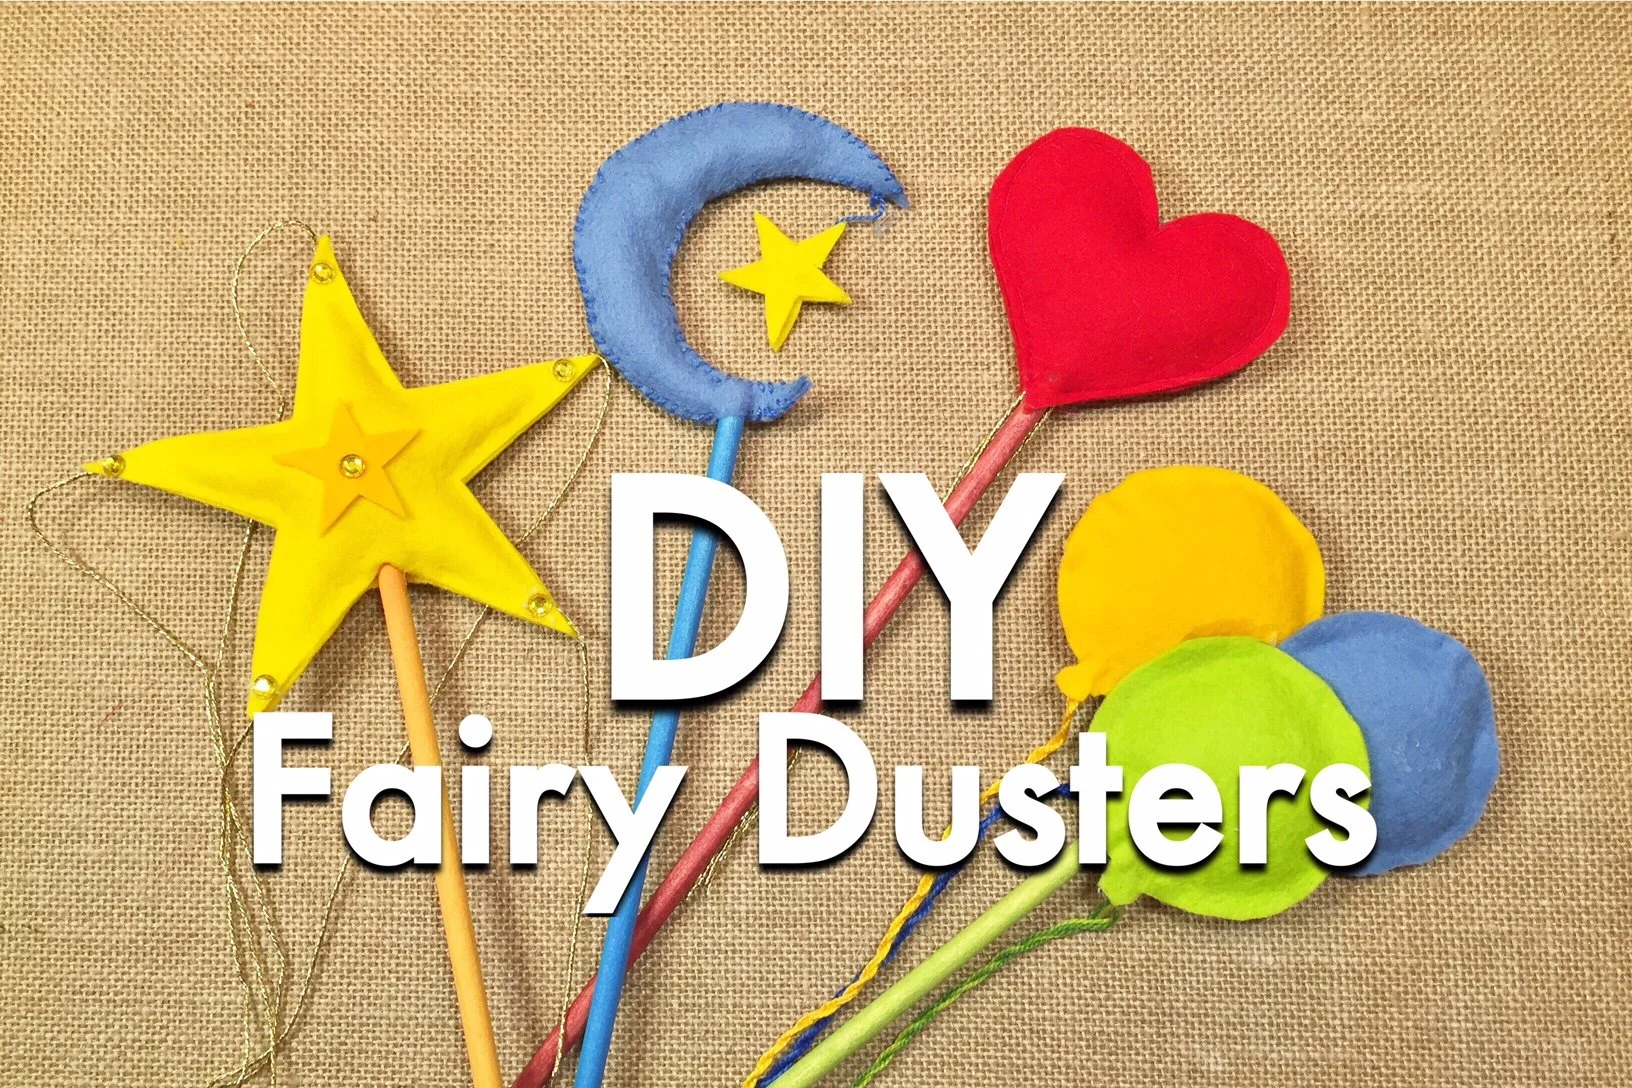
DIY Fairy Wands
I love making things for my children, and this craft delighted them! I'm going to show you four different ways to make these wands. This project is fast, easy and affordable. You can find all supplies at your local craft store and with four methods to choose from, you'll find one that suits your skill level.
-

How to Use chalkboard Paint
I love having a large chalkboard, but over the years, the texture was smoothed out from repeated use. This made drawing with pastel chalk very frustrating as none of the chalk would stick when we did our Waldorf inspired chalk drawings.
-
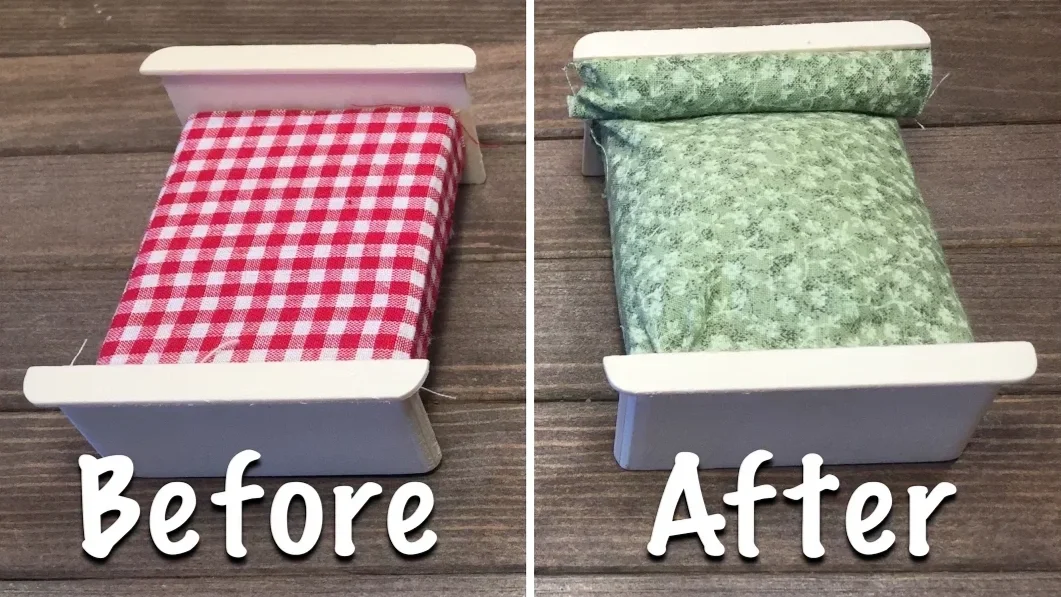
Dollar Tree Craft | Doll Furniture
It feel it’s hit or miss when buying toys from Dollar Tree, but these dollhouse furniture pieces are definitely a win! I’m impressed with the quality and durability of these pieces, not to mention they are made of wood!
-
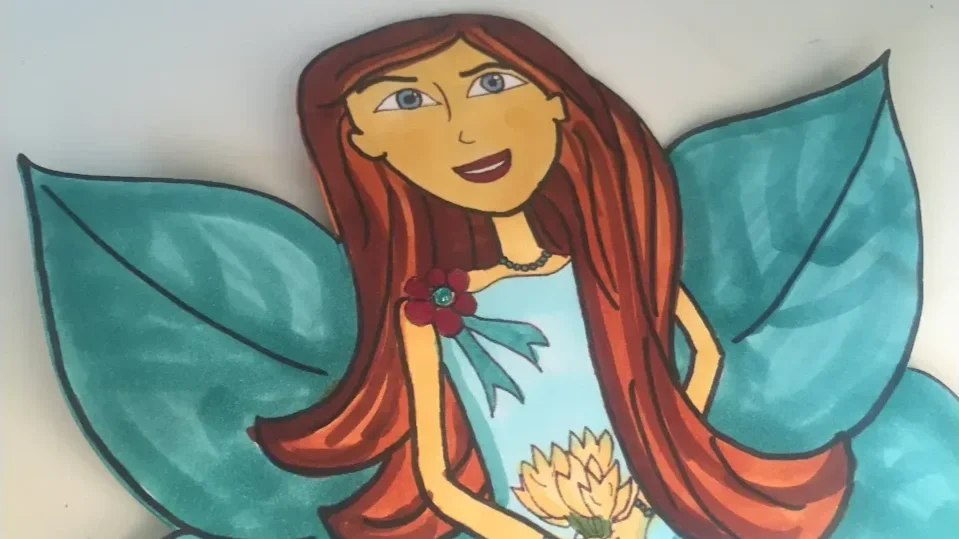
How to Make Fairy Paper Dolls
Inspired by the paper dolls from the book "How to Get Hijab Ready", I made for my daughter a set of paper fairy dolls because she wanted fairies with wings! I don't know how to draw so I copied (somewhat) the dolls available for download.
-
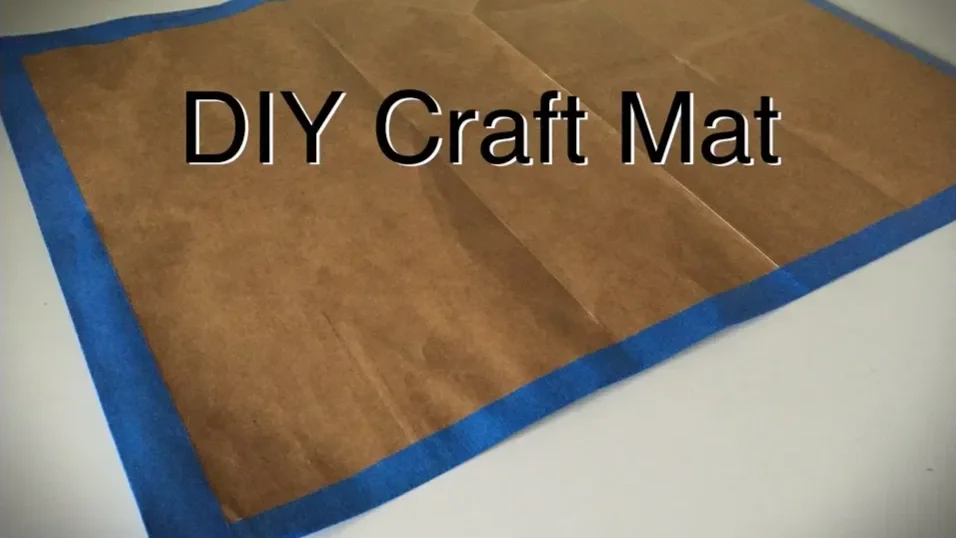
How to Make a DIY Craft Mat
I learned how to make these craft mats from another YouTuber years ago; the only alteration I make to them is to add Con-Tact paper to one side to make a non-porous craft mat for watercolors. These craft mats are made from paper bags you get from the grocery store. Additional supplies are painter's tape or masking tape, and Con-Tac paper (optional). You'll also need a pair of scissors.
-
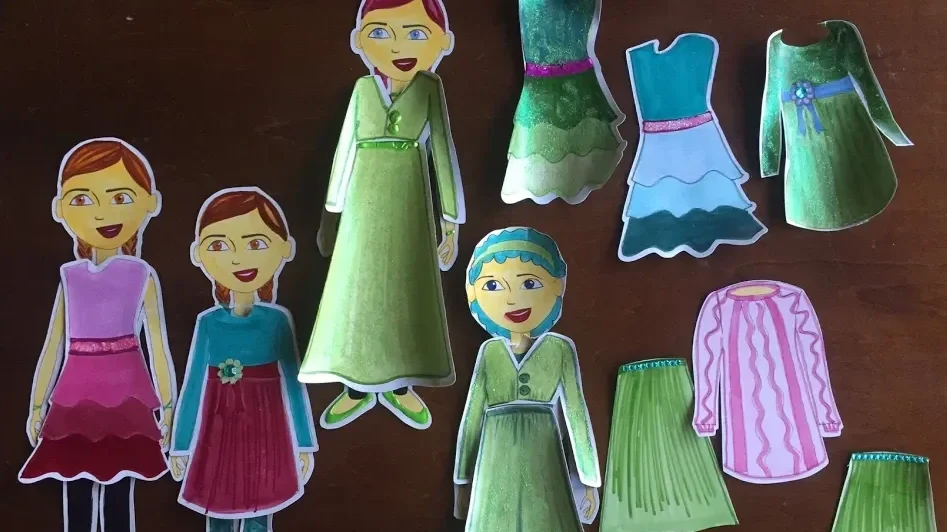
How To Make Paper Dolls
Print out paper dolls on glossy paper backed with magnetic sheets so paper dolls can have interchangeable outfits! I thought the idea was perfect for these paper dolls I downloaded.
-
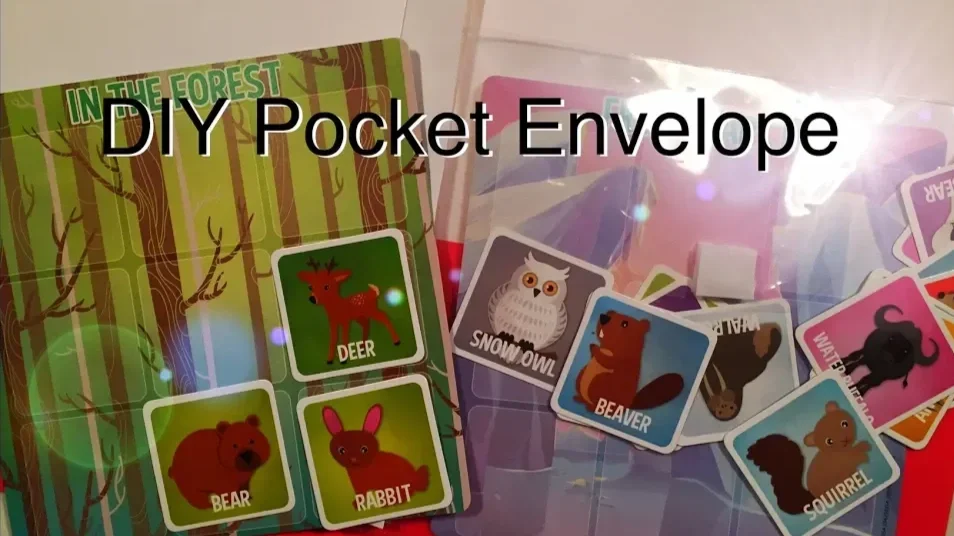
How to Make Pocket Envelopes for File Folder Games
If my curriculum isn't stored well, it doesn't get used; or, it gets lost or ruined. I came up with an idea to easily access and use some new activities I picked up from Target's Dollar Spot. I made pocket envelopes from 8.5x11 inch sheet protectors and stored them in inexpensive file folders with three-ring prongs. I slipped in my new supplies into the pocket and put it into the file folder. All of them are now stored in a hanging file drawer.
-
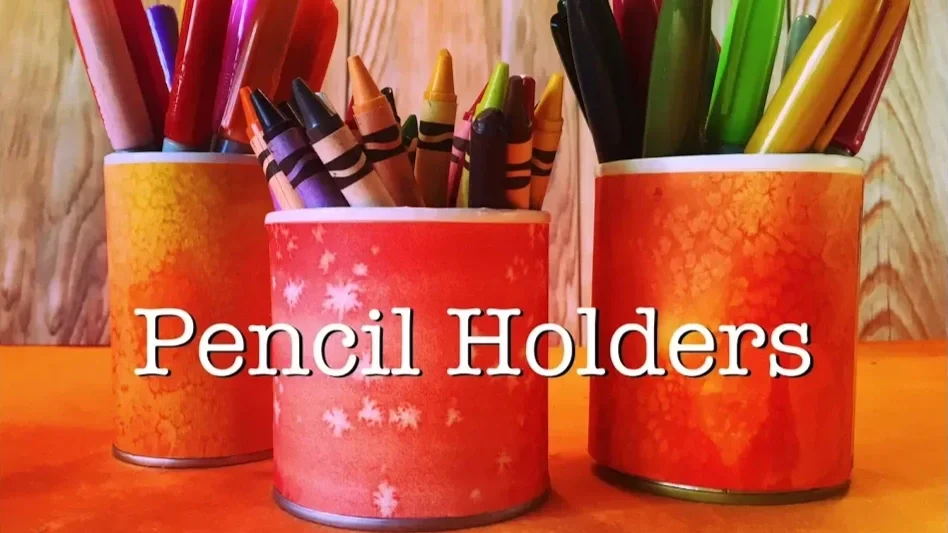
Upcycle Project | How to Make Pencil Holders from Tin Cans
Take any tin can and transform it into a pencil holder. Or use it to organize your art supplies! This super easy project is so satisfying and easy. Cover your cleaned tin can with construction paper, cardstock or make your own with watercolor paper.
-
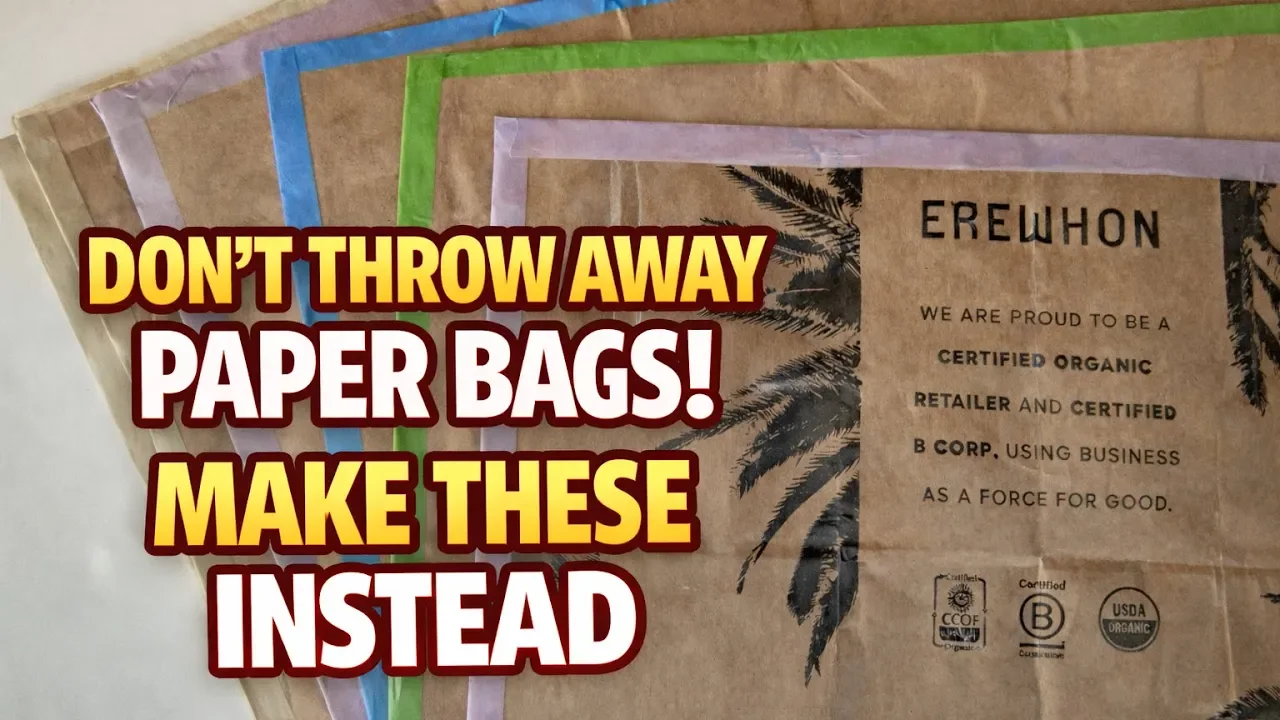
Paper Craft Mat Tutorial
Save your paper bags! And turn them into craft mats using simple materials like tape, scissors and contact paper. This is something I do regularly; I collect paper bags over time, and once I have a few, I turn them into craft mats for my students. They last for a while, and when they get heavily used, I simply discard them and make new ones.
Painted Wooden Rainbow Arch
I have always loved wooden rainbow arches, but for our kindergarten I wanted something a little different. We already have a traditional rainbow, so I decided to paint another set in beautiful desert colors inspired by the chaparral and desert landscapes that surround us. These warm earth tones remind me of the rocks, minerals, sage greens, golden grasses, and those incredible Southern California sunsets that fill the sky with rich reds, oranges, and yellows.
Rather than painting the arches myself, I wanted this to become part of our kindergarten experience. My triplet nephews, who are four years old, along with their 11-year-old brother, each chose an arch and a color and painted the first coat themselves. I love including projects like this because instead of presenting the children with a finished material, they become part of creating the environment where they'll learn and play throughout the year.
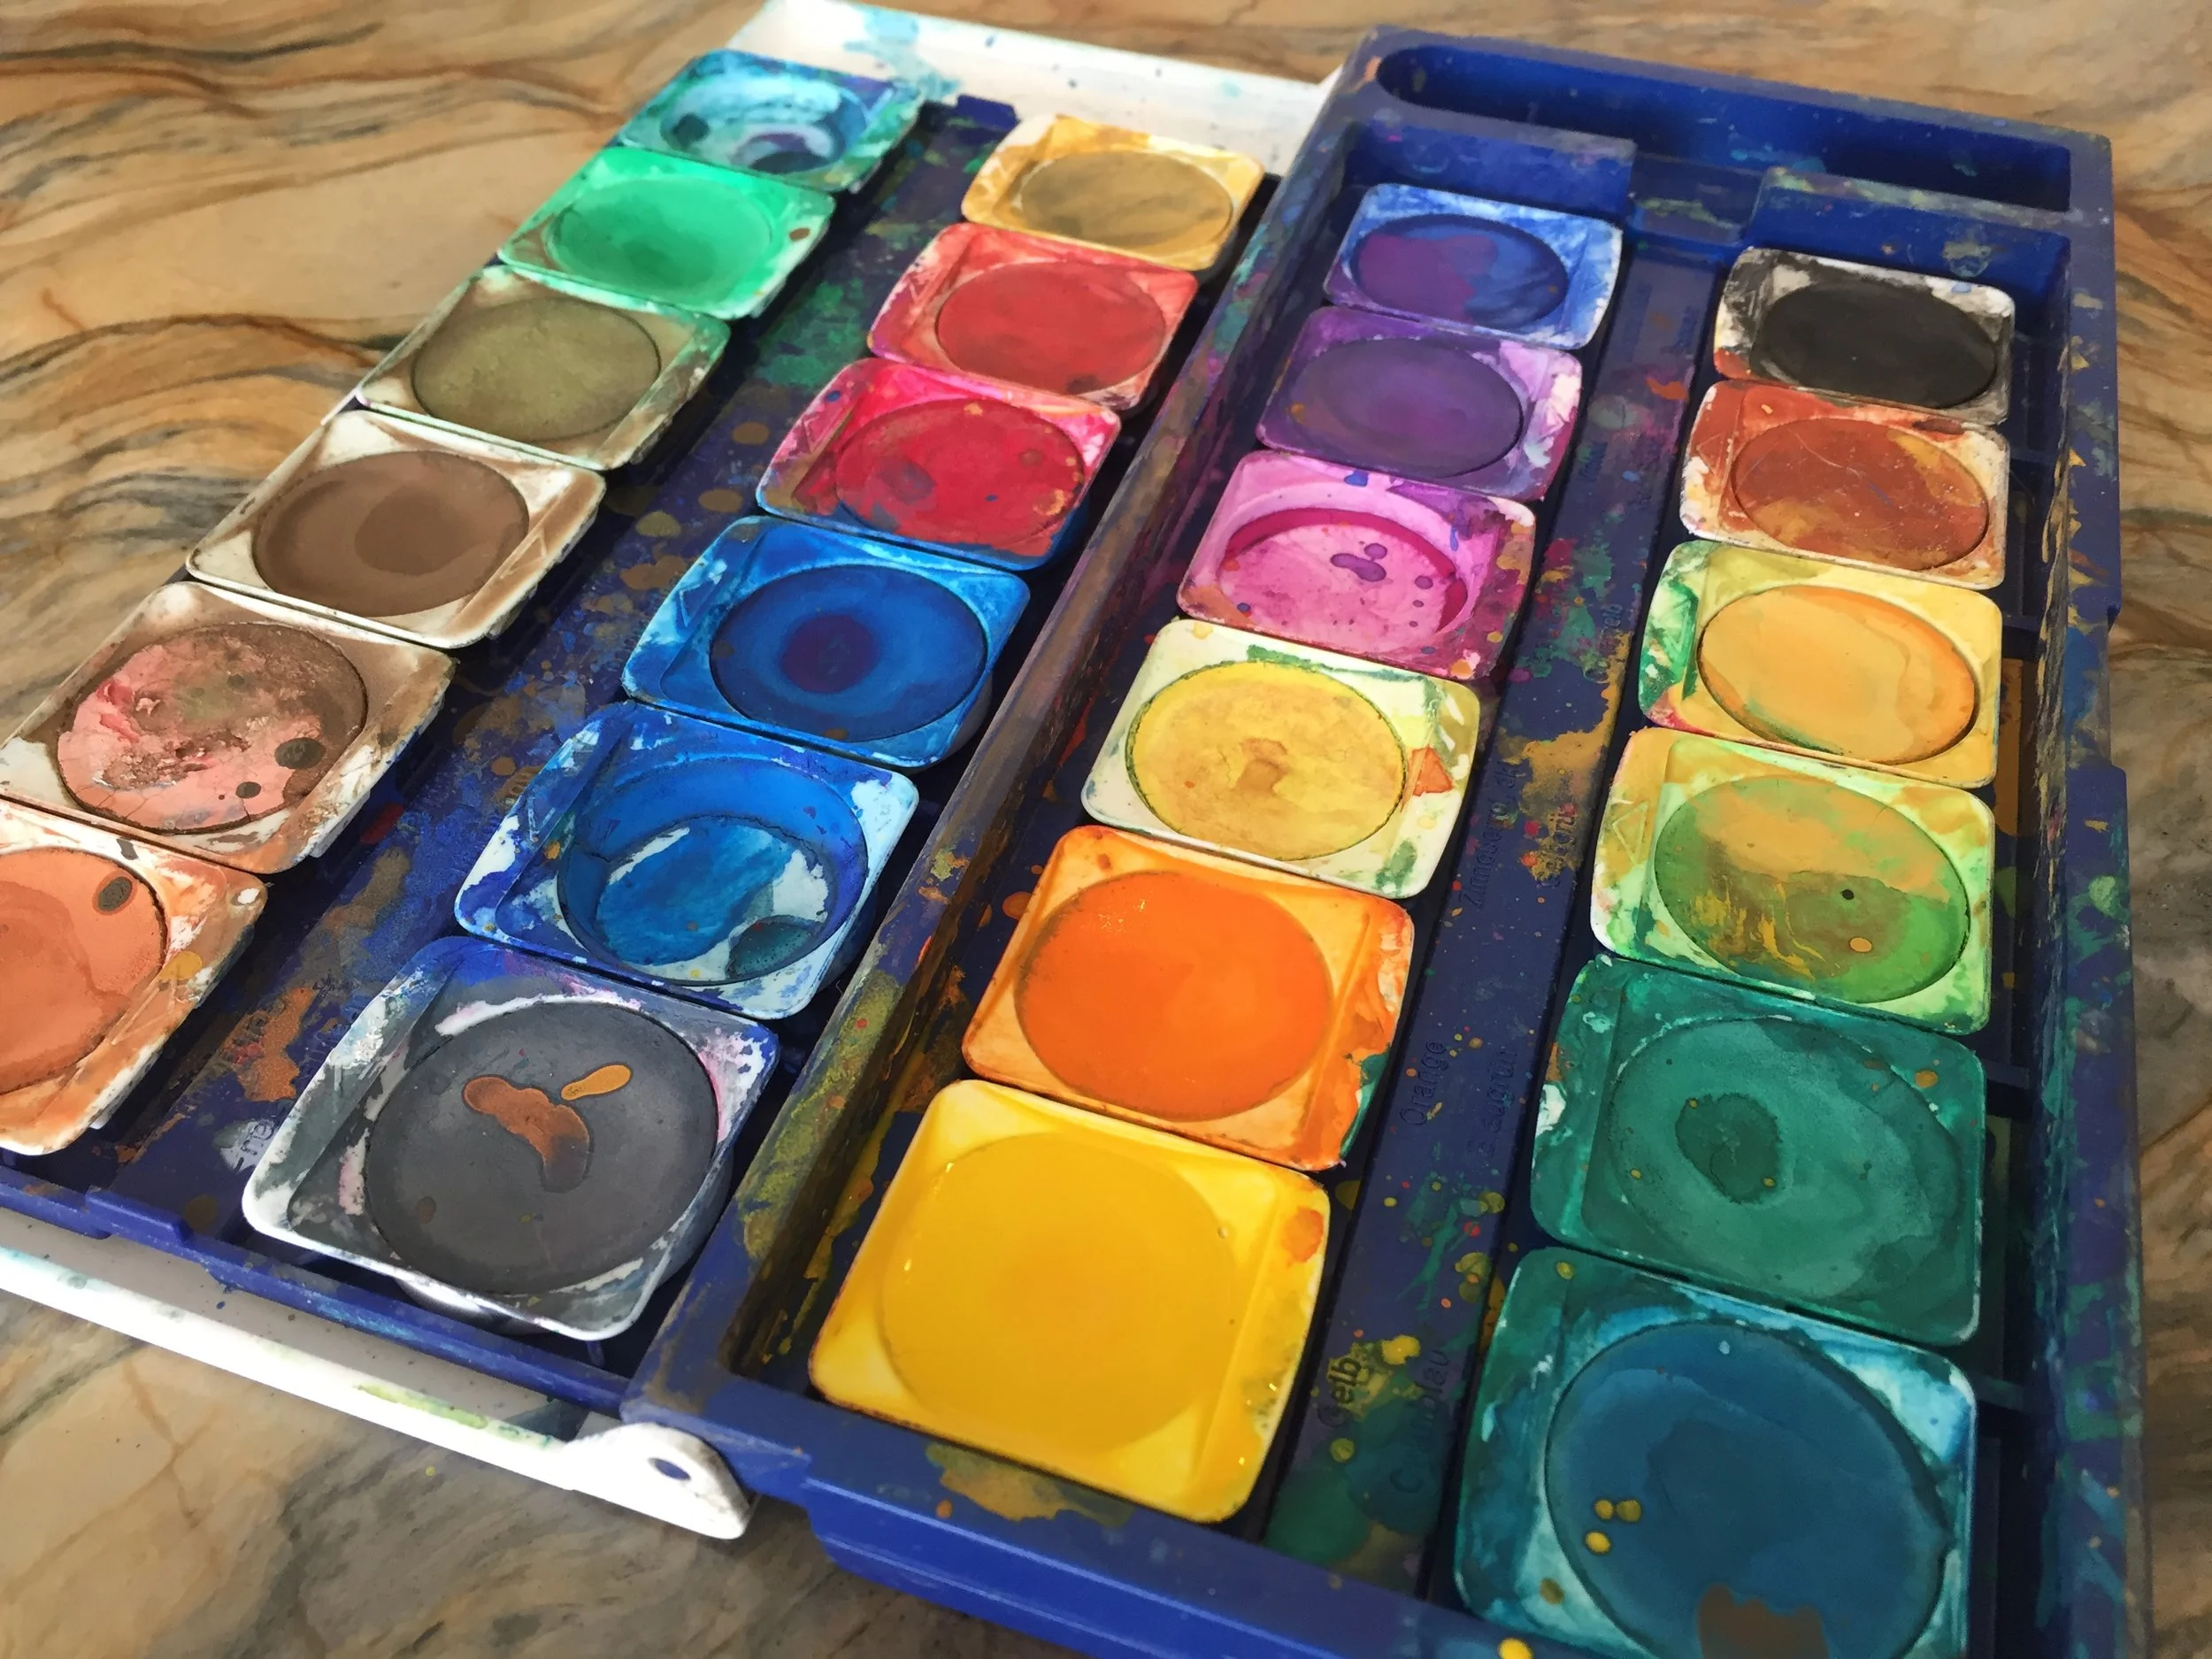
We used Lyra opaque watercolor paints, which I absolutely love because they still allow the beautiful wood grain to show through. As soon as the paint touches the wood, though, it absorbs very quickly. One coat gives a lovely transparent look, but after everything dried it was clear that two or three coats would create a richer, more even finish while still preserving the character of the wood.
As I continued painting, the creative process really took over. I started with a progression of yellows, oranges, reds, and browns, but eventually realized the colors were too similar. They needed a little more contrast. That's when I decided to introduce a soft olive green. At first it was just one arch, but I loved it so much that I added another green. Suddenly the whole palette came alive. Instead of simply looking like a muted rainbow, it began to feel like the landscape itself.
One of the things I love about watercolor on wood is how much the colors change as they dry. The wet paint always looks much darker, especially the yellows, so it takes a little patience before deciding whether another coat is needed. Some colors, especially the rich ochres, oranges, and earthy browns, covered beautifully. The lighter yellows took a little more work, but layering the colors created exactly the soft variation I was hoping for.
Once everything had dried, the raised wood grain became much more noticeable, which is completely normal whenever you use a water-based paint on unfinished wood. I lightly sanded every piece with 400-grit sandpaper until they felt smooth again, taking extra care around the edges where it's very easy to sand away too much paint. After removing the dust with a dry cloth, I had to make one final decision, whether or not to seal the arches.
I debated leaving them with their beautiful soft chalky finish because I absolutely loved the look. In the end, I decided to use an all-natural beeswax wood polish. It deepened every color, brought out the richness of the wood, and protected the arches for years of imaginative play. At first I applied it with my hands, but I quickly discovered that a microfiber cloth worked much better, giving a more even finish while allowing the wood to absorb the polish beautifully.
Looking back, I honestly love both versions. Before the beeswax, the arches had a soft, velvety appearance. After polishing, the colors became deeper, richer, and more vibrant. I think both finishes are beautiful, and when we make another set for winter, I'll probably leave those with the natural chalky finish just for a different look.
What I love most is that these arches no longer represent only a rainbow. They now reflect the landscape around us. They can become hills, canyons, deserts, bridges, caves, mountains, or anything the children imagine. That open-ended quality is exactly what I was hoping for, and I can't wait to watch these beautiful arches become part of our kindergarten stories and imaginative play.
Materials
Sarah’s Silk
Wooden Toys & Loose Parts
Waldorf Learning Materials
DIY Superhero Masks
I didn't think making our own superhero masks was going to be as fun as it turned out, but it was awesome!!! My kids started out by making three masks each, but quickly asked to make more. I got in on the fun and made one, too, then another and then a few more!
This superhero mask kit is from Over The River Felt. I asked if they would send me this kit because I thought it was brilliant and wanted to share it with you. This kit didn't disappoint! It was everything I hoped and more! This was make a fantastic party activity. Be a birthday or end-of-year party, this kit would be a perfect make-n-take. Instead of buying pre-made party favors, you could make them! The kids would definitely have more fun making them, and I guarantee they will cherish them far more and far longer than any store bought mask. And added perk is that this felt is a good quality wool blend which is a big step up from your craft store acrylic felt. This wool blend (20-35% wool and 80-65% rayon) ensures that your project will be durable, last longer and wear better. Though there may be some pilling over time, it's nothing compared to the pilling that occurs with low quality acrylic felt that looks used and ratty in no time, especially with excessive use.
We assembled our masks using hot glue (not included in the kit), but everything else we needed was included. If you wanted to add some bling, you could glue on some rhinestones for unique look. We also glued the elastic using hot glue and so far, it's held up just fine. If you were concerned, you could stitch the elastic in place.
We made 15 masks with enough spare materials to make two more. I highly recommend this kit. It's good for all ages, but if young children are making them, they will need assistance to stitch or glue their masks.
You can find more of our tutorials here.
Check out this kit here.
Upcycle Tin Can
This is a super easy upcycling craft you can do with any tin can and some decorative paper. Just use electric tape along the edge of the can to protect yourself from sharp edges. File down any protruding edges before applying tape. Use double stick tape to adhere scrapbook or watercolored paper to the outside of the tin can. Be sure your can is thoroughly cleaned inside and out before taping your paper in place.
You can find more of our tutorials here.
How to Bind a Book
Here's one way to bind a main lesson book after you've completed your work. If you wish to use multiple art mediums for a main lesson block or if you are working with watercolors, binding your loose sheets of papers along with your narrations after the block is over is one way to do it. You can bind the papers easily with a three-hole punch and a binder if you use 8.5x11 inch paper, or you can do a staple binding. If you want to take it up a notch, head over to your office supply store and have them do a coil or spiral binding. It's fairly easy and affordable.
Today, I'm showing you how to use a home binding system to bind a book. I'm using the Heidi Swapp Cinch machine available online and at local Michael's craft stores. You buy metal binders in white, black or silver in sizes ranging from .5 inch to 1.5 inches.
If you want to see the projects we did for our Ocean Main Lesson block, you can click here.
You can find more of our tutorials here.
DIY Fairy Wands
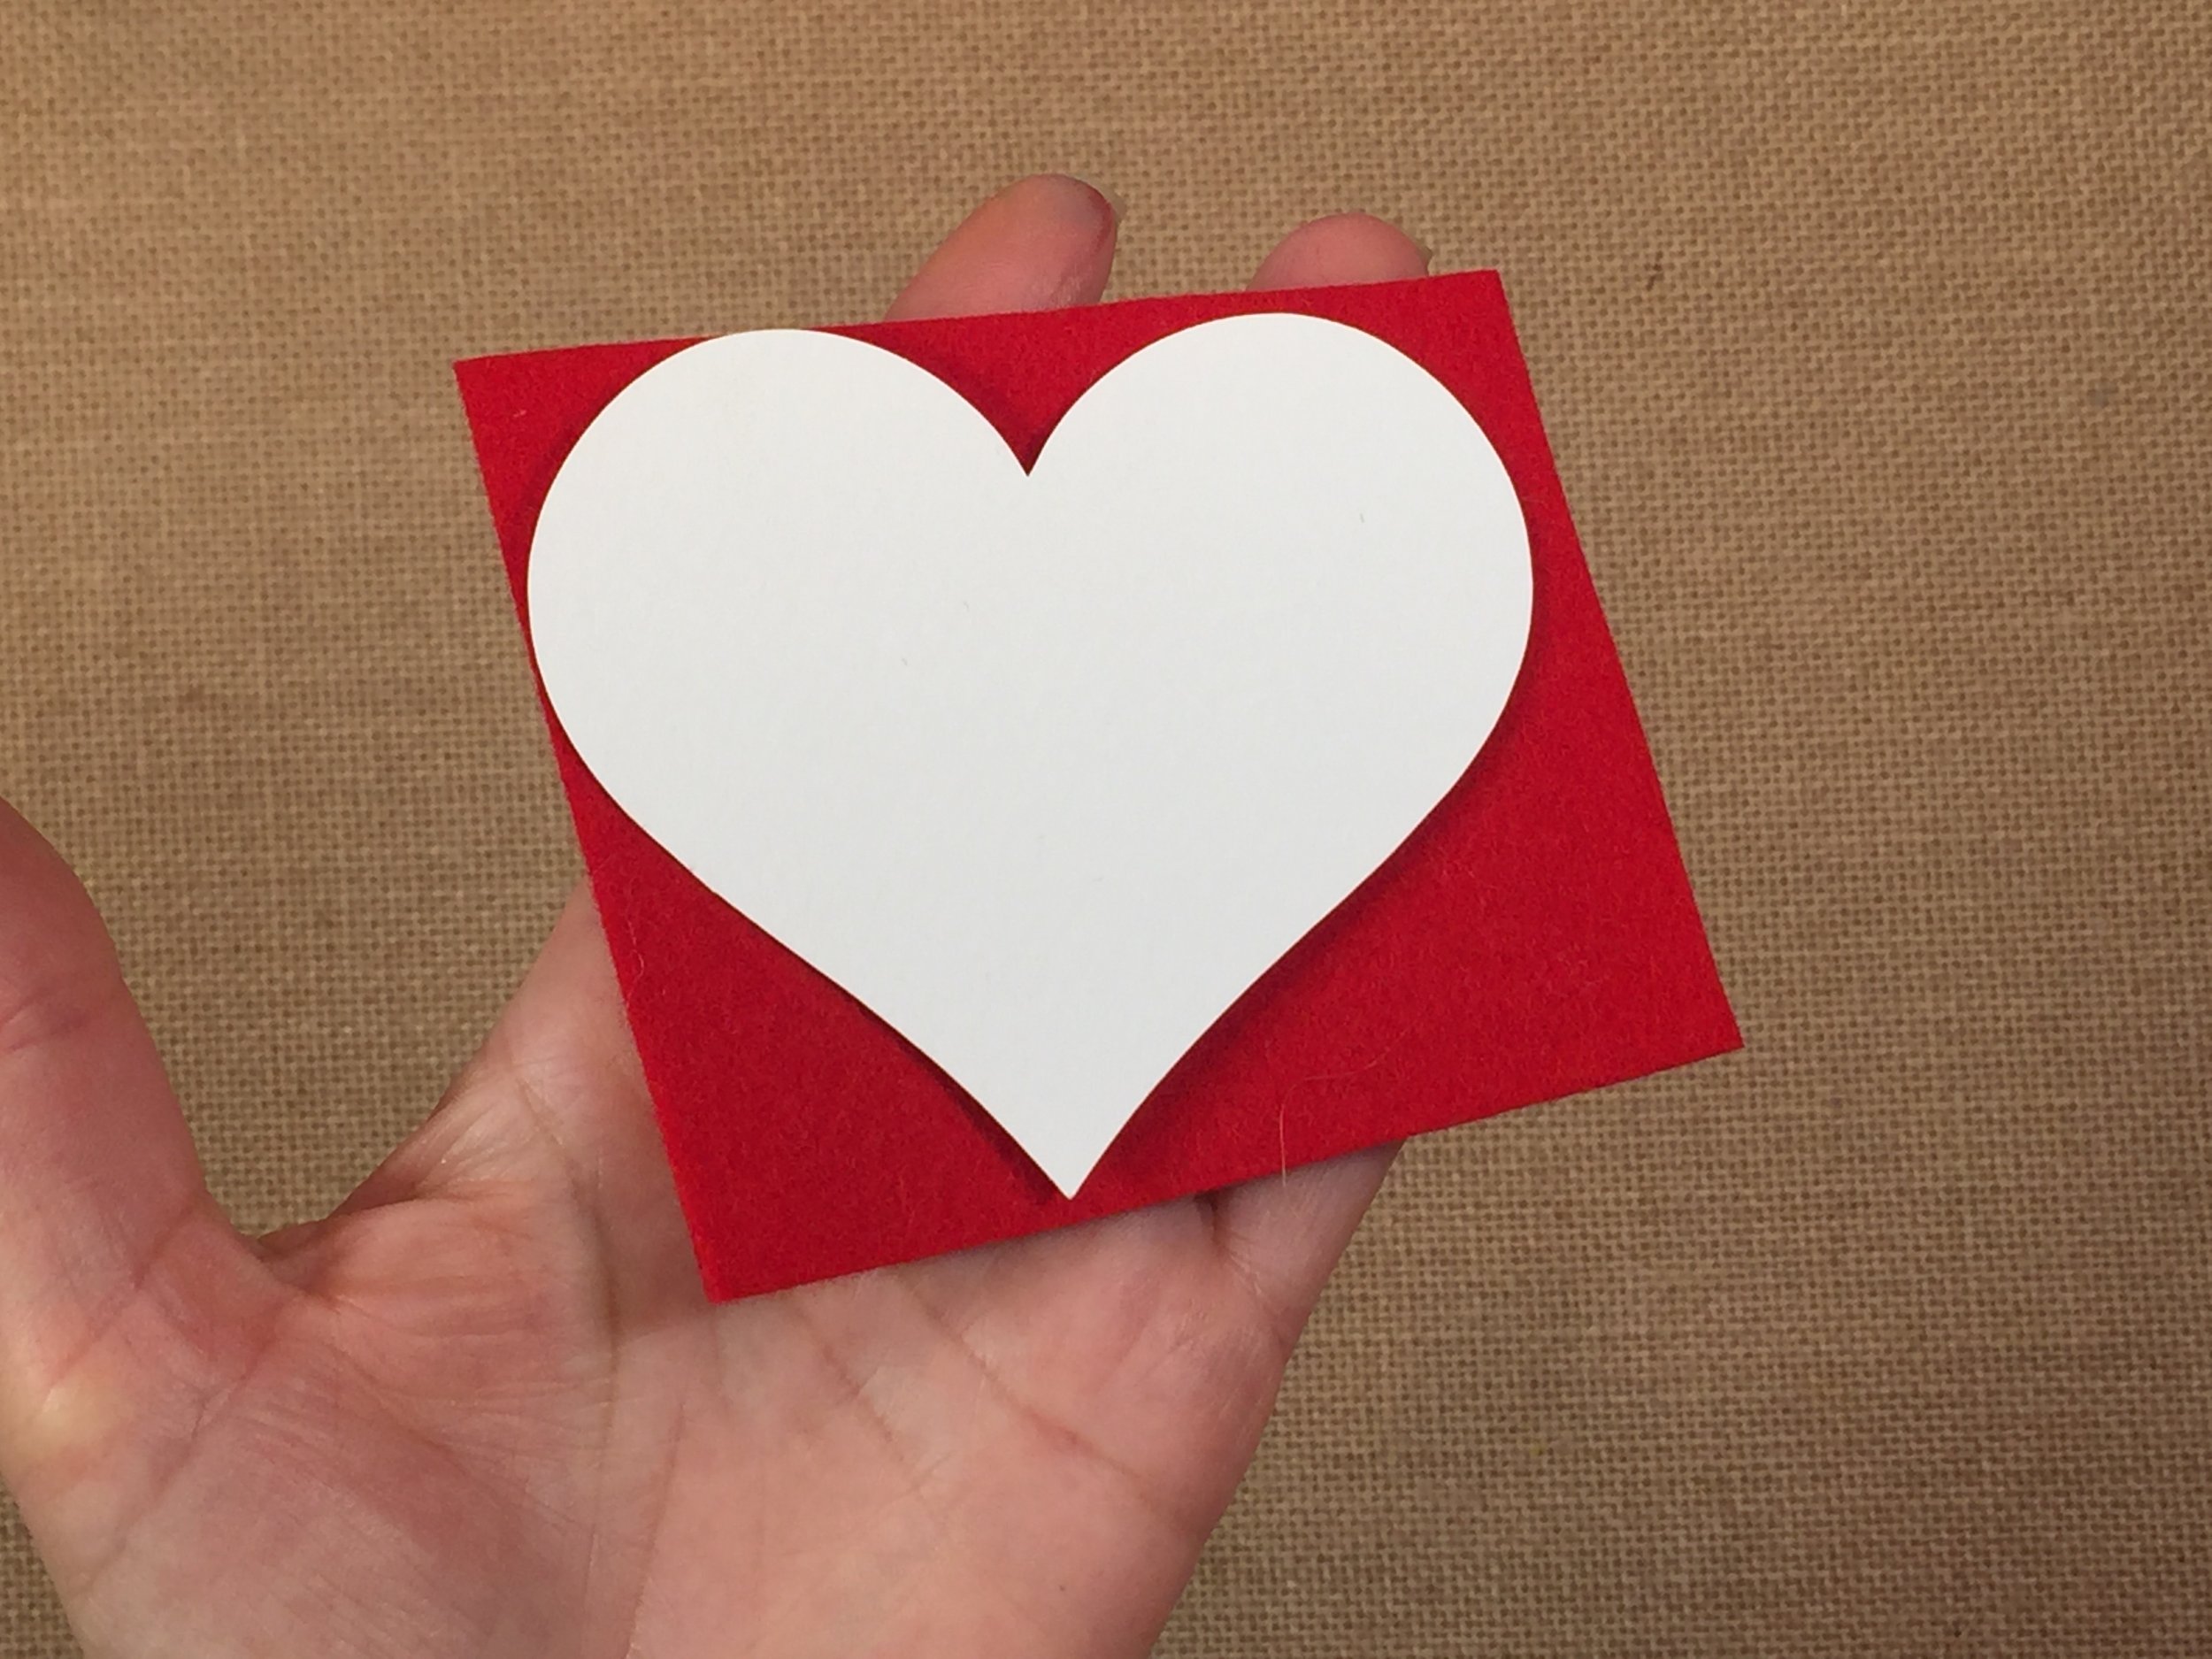
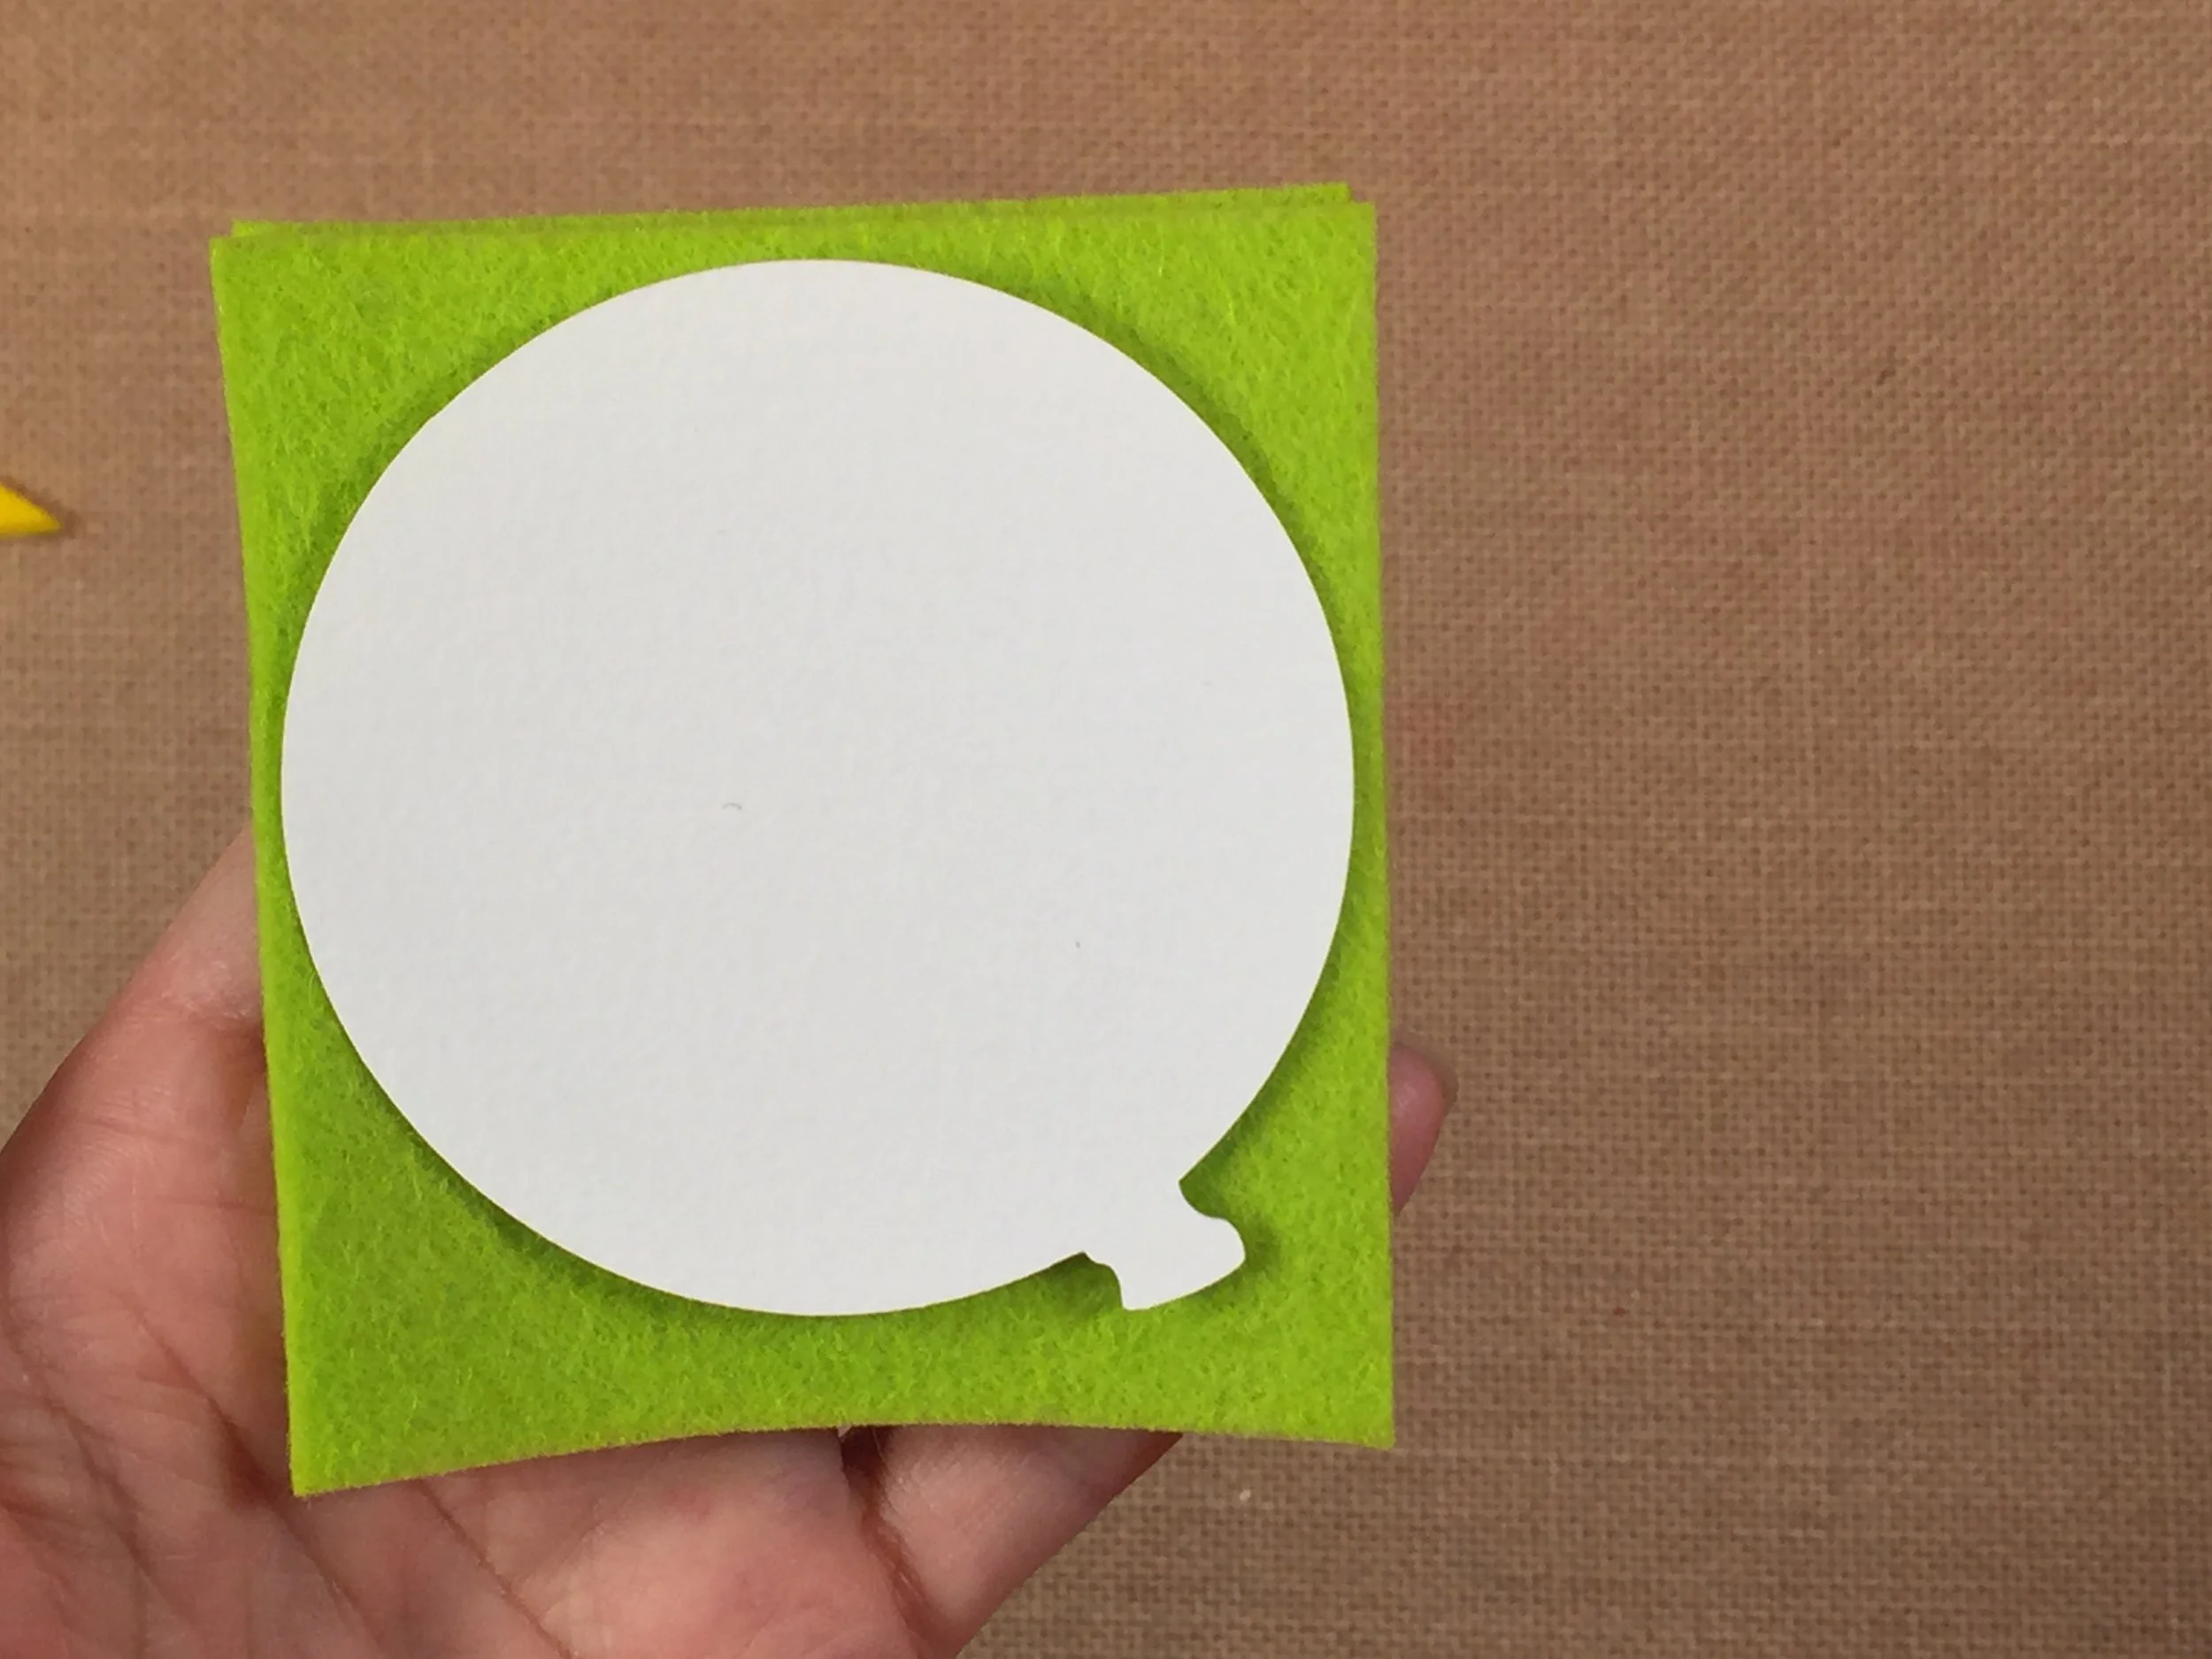
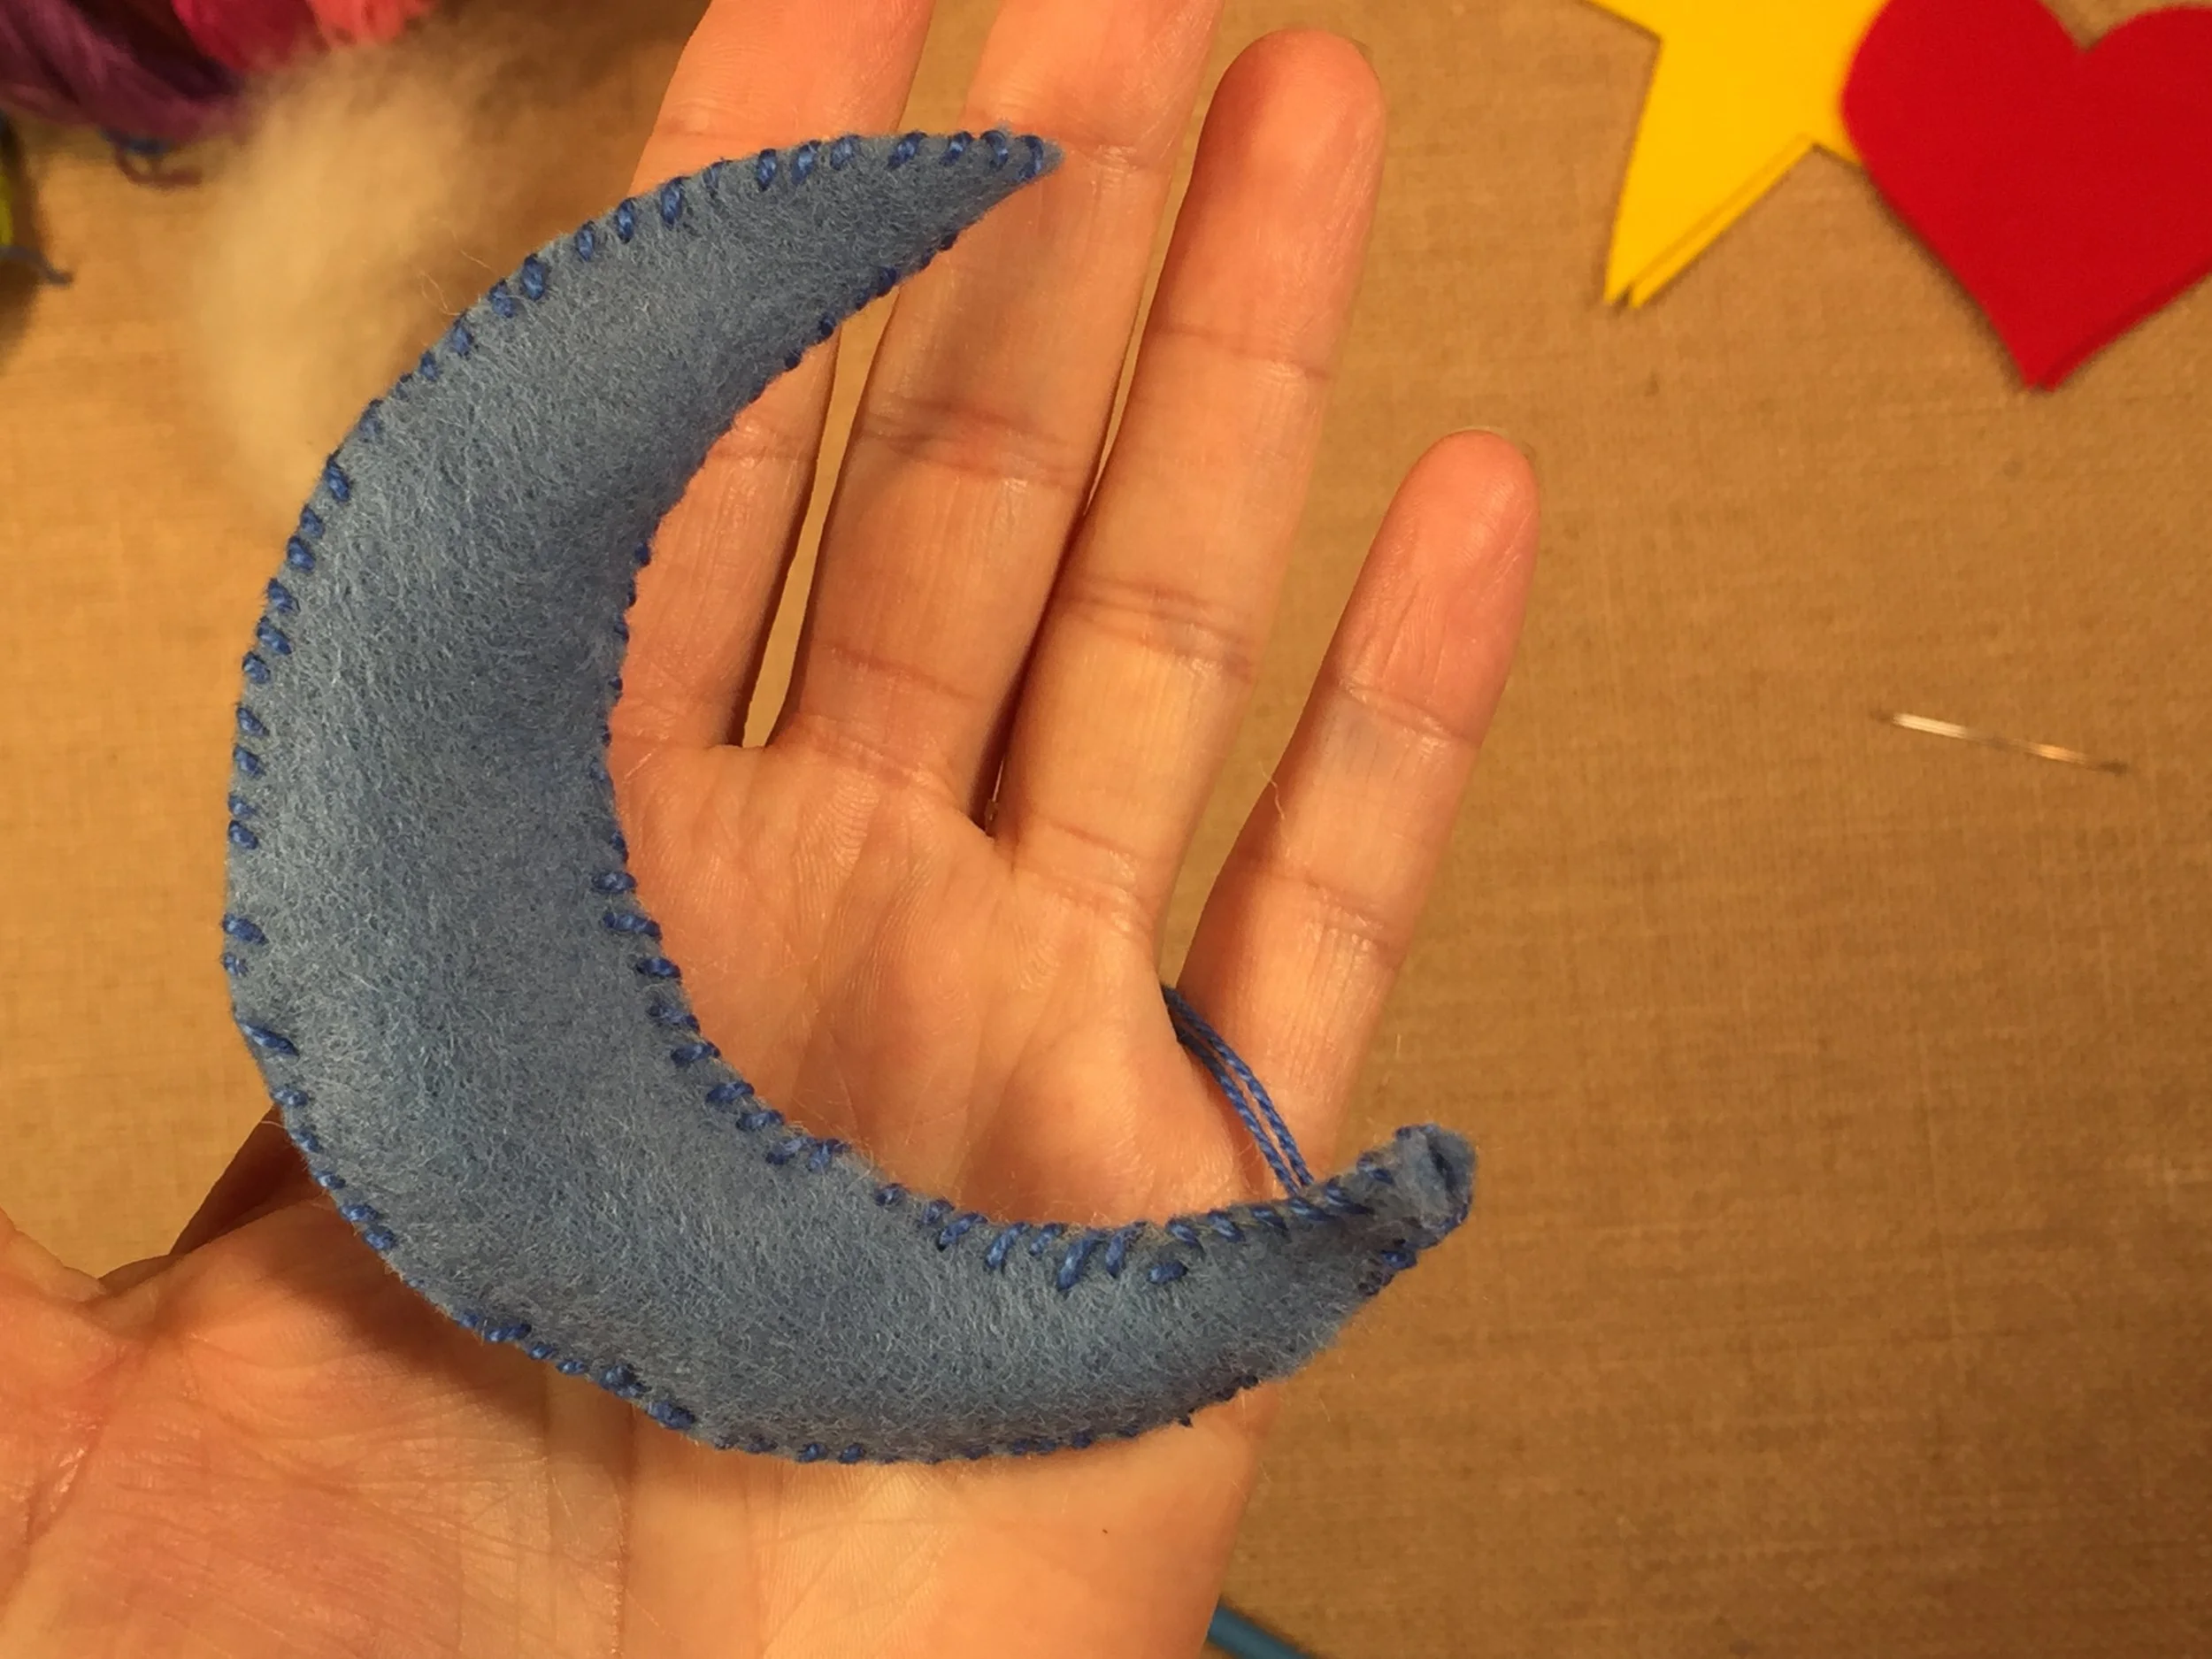
I love making things for my children, and this craft delighted them! I’m going to show you four different ways to make these wands. This project is fast, easy and affordable. You can find all supplies at your local craft store and with four methods to choose from, you’ll find one that suits your skill level.
These Fairy Wands or Fairy Dusters are a crafty durable solution to plastic wands found at most stores. You can decorate and accessorize to meet your child’s needs. These toys help facilitate hours of creative open-ended play your children will love. Play is an important building block in the development of a child.
Supplies:
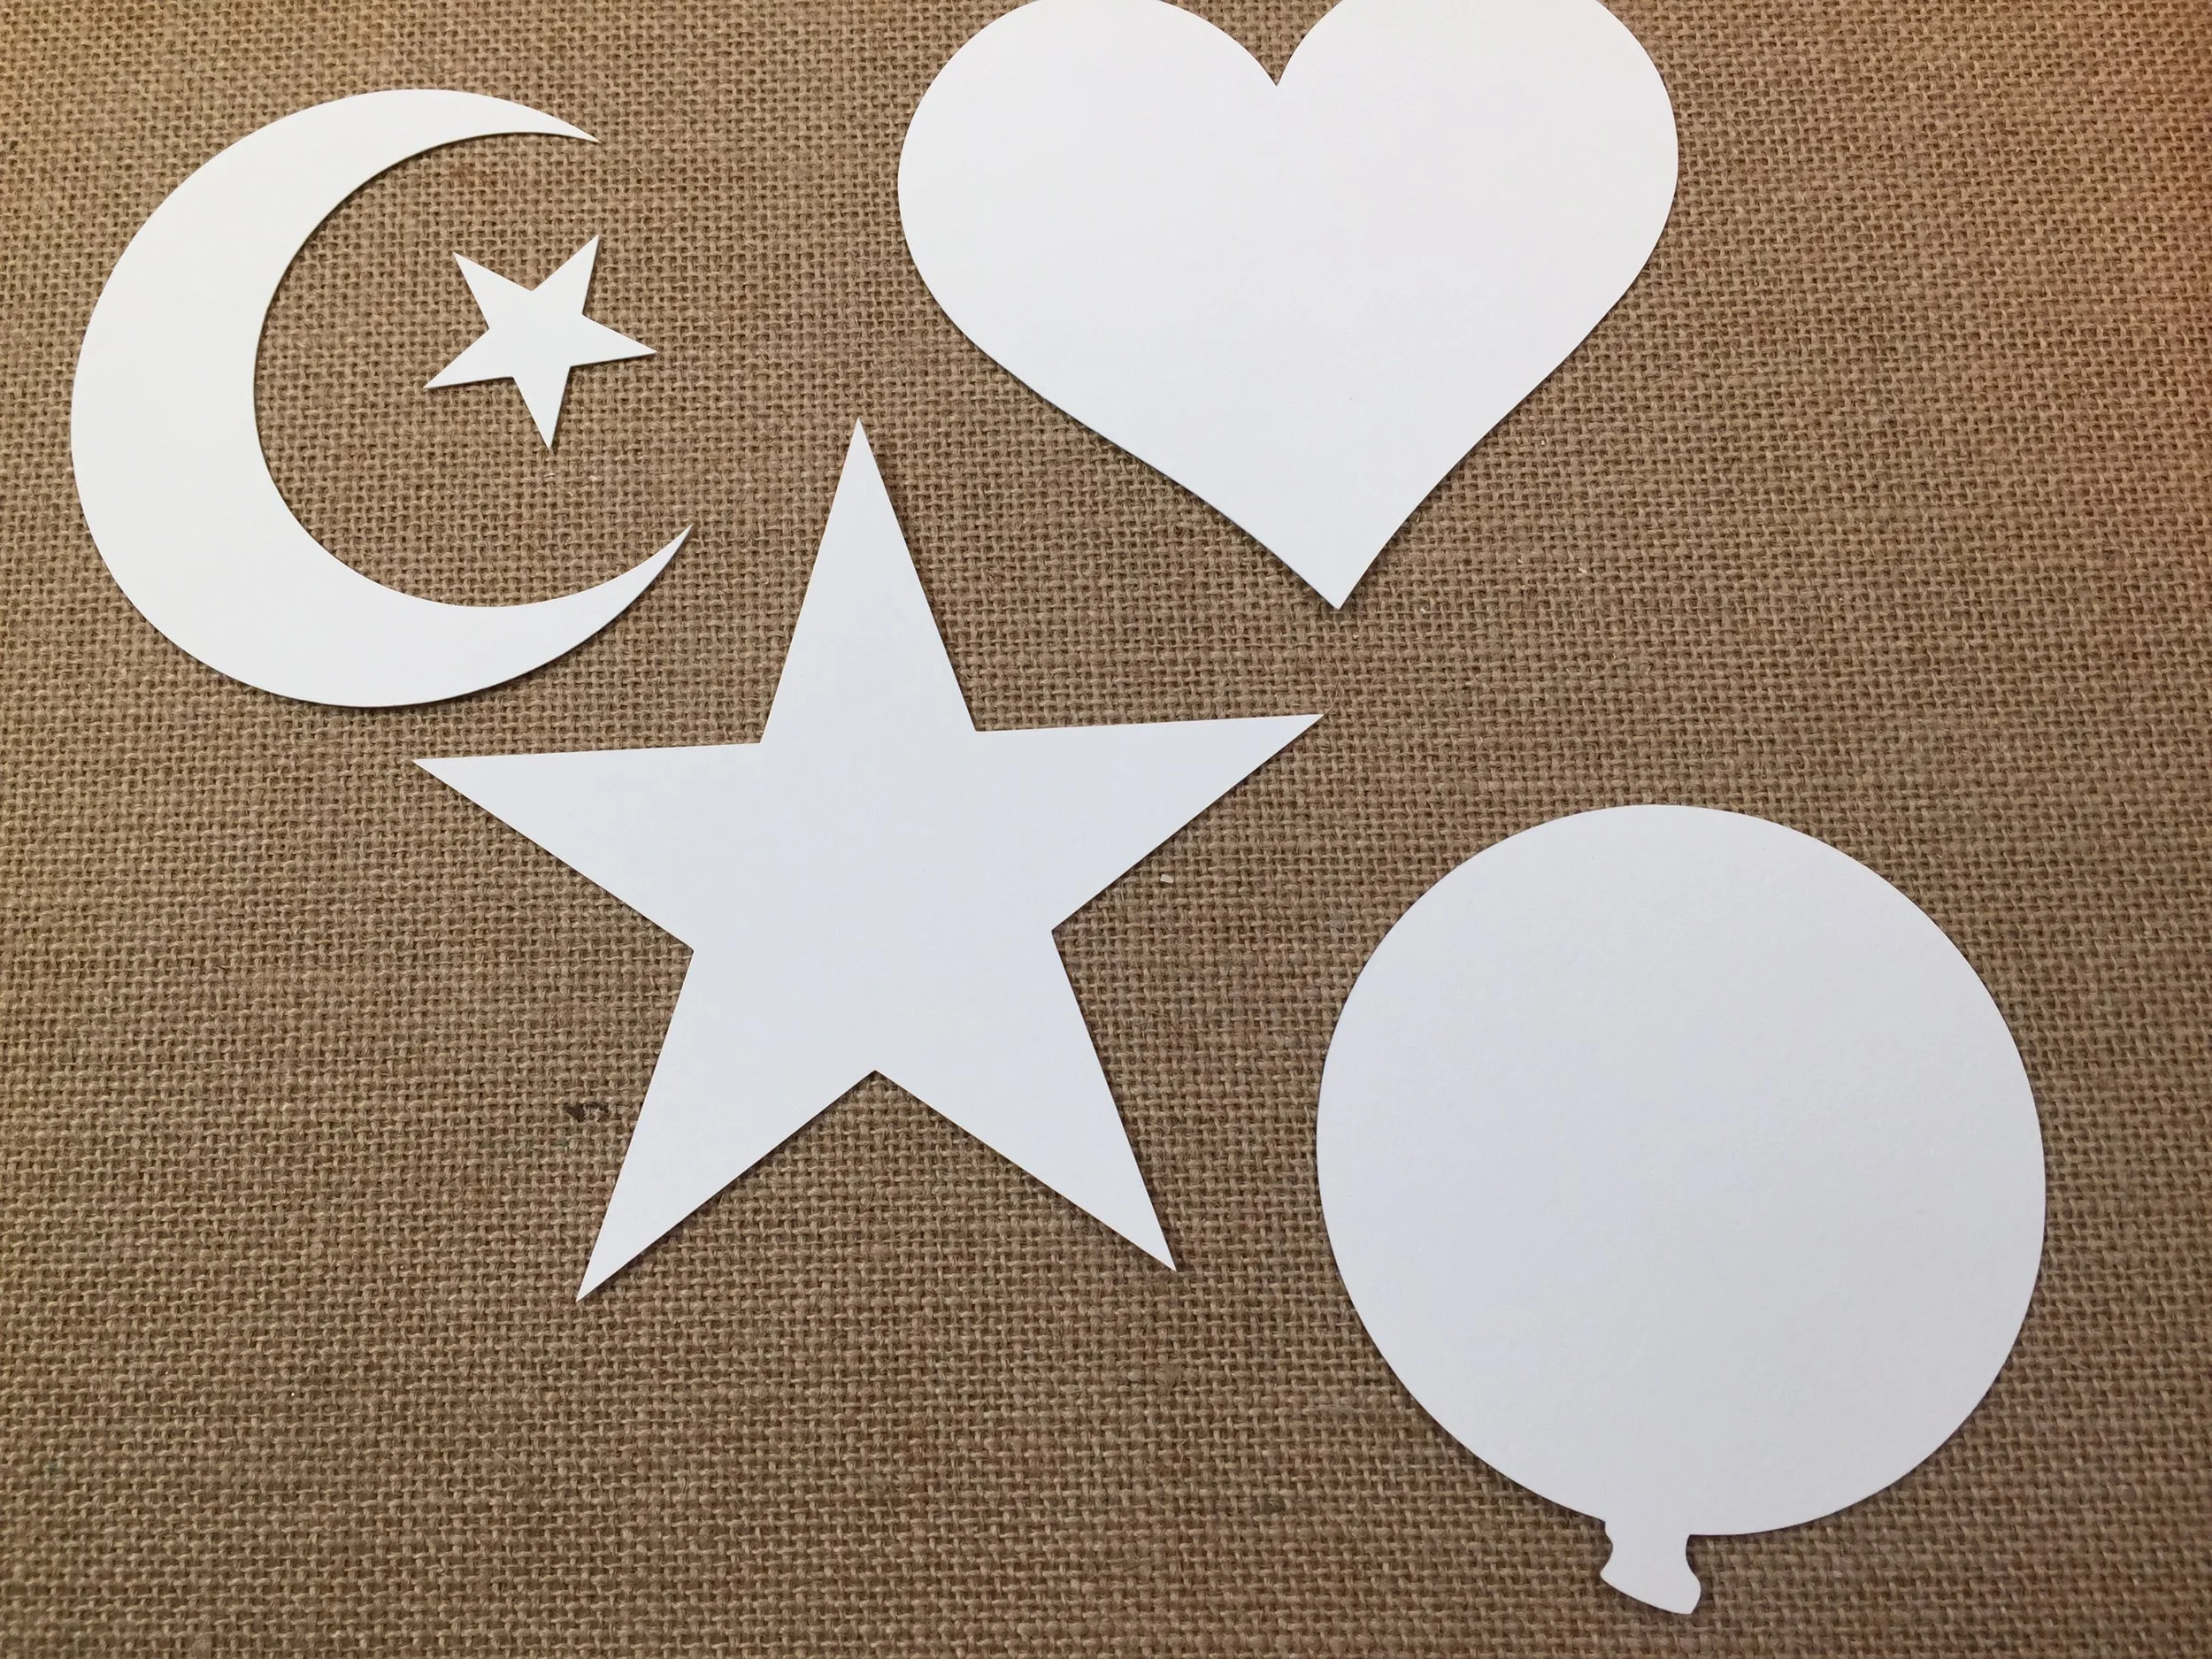
Dowels 1/4″x12″ (one for each wand), paint or markers, wool or cotton balls, felt, accessories like gold twine, gems, embroidery floss and sequence, scissors, template, glue gun and glue, and needle if you plan to sew your felt.
Directions:
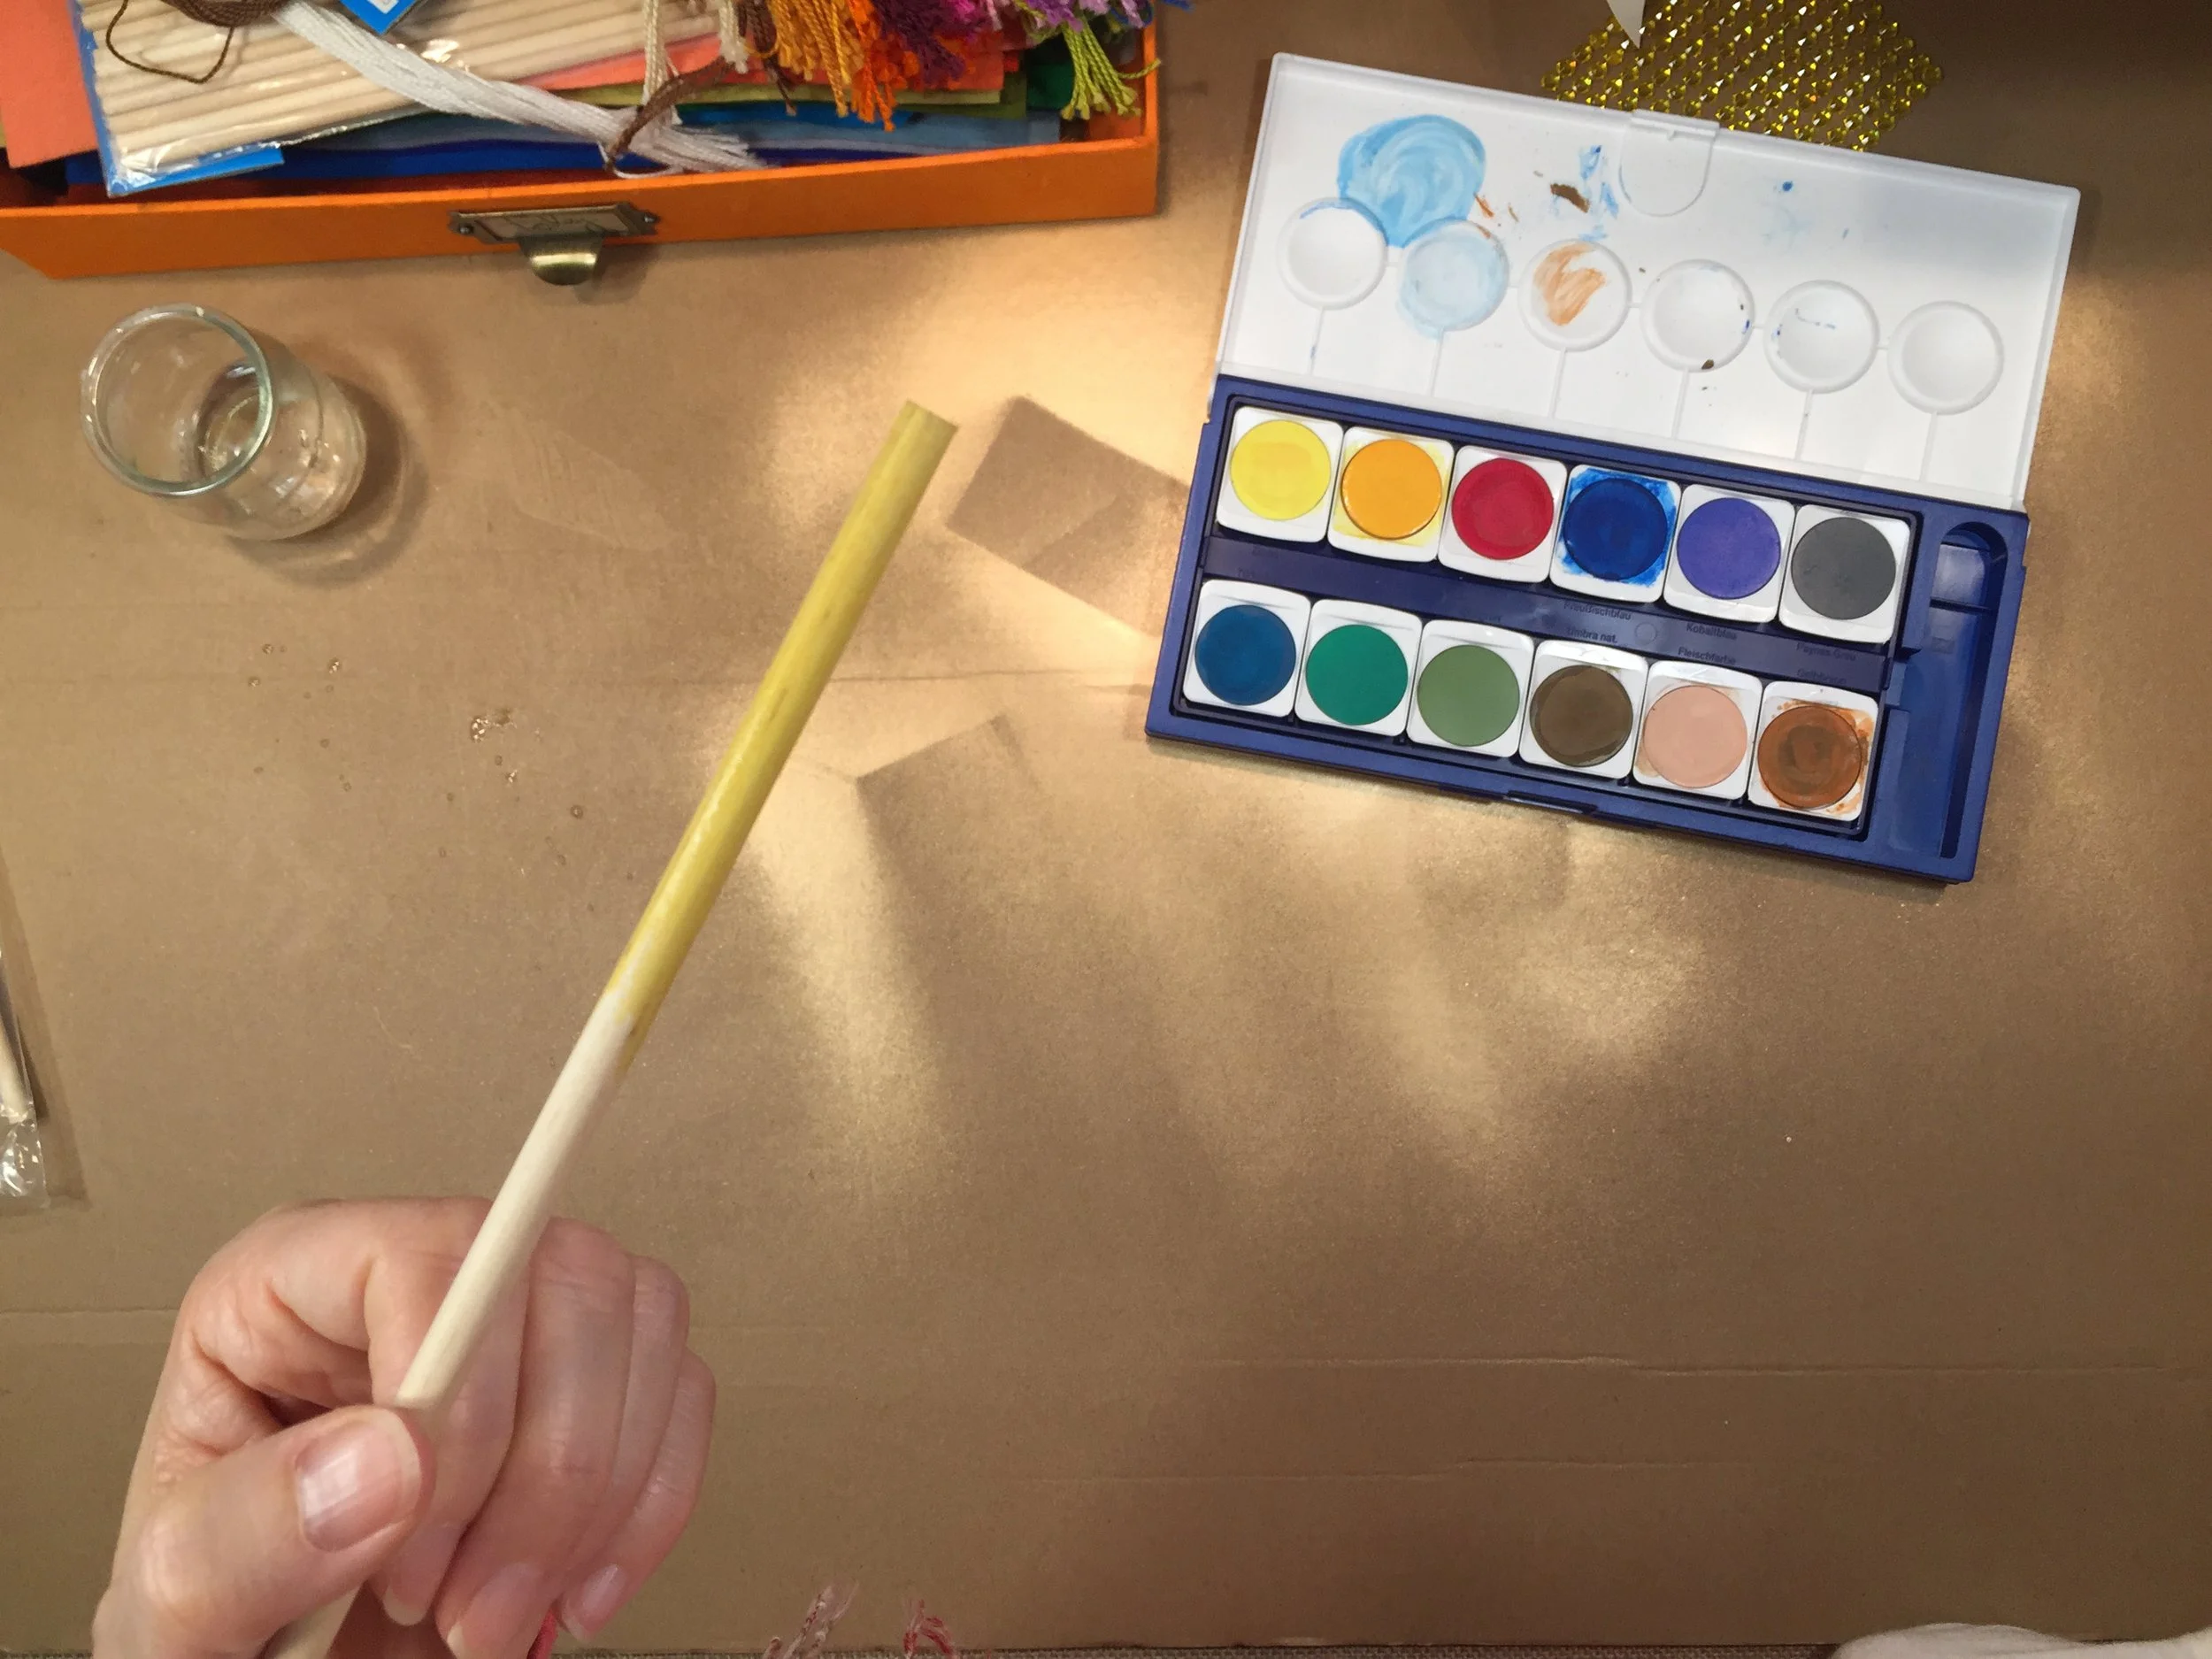
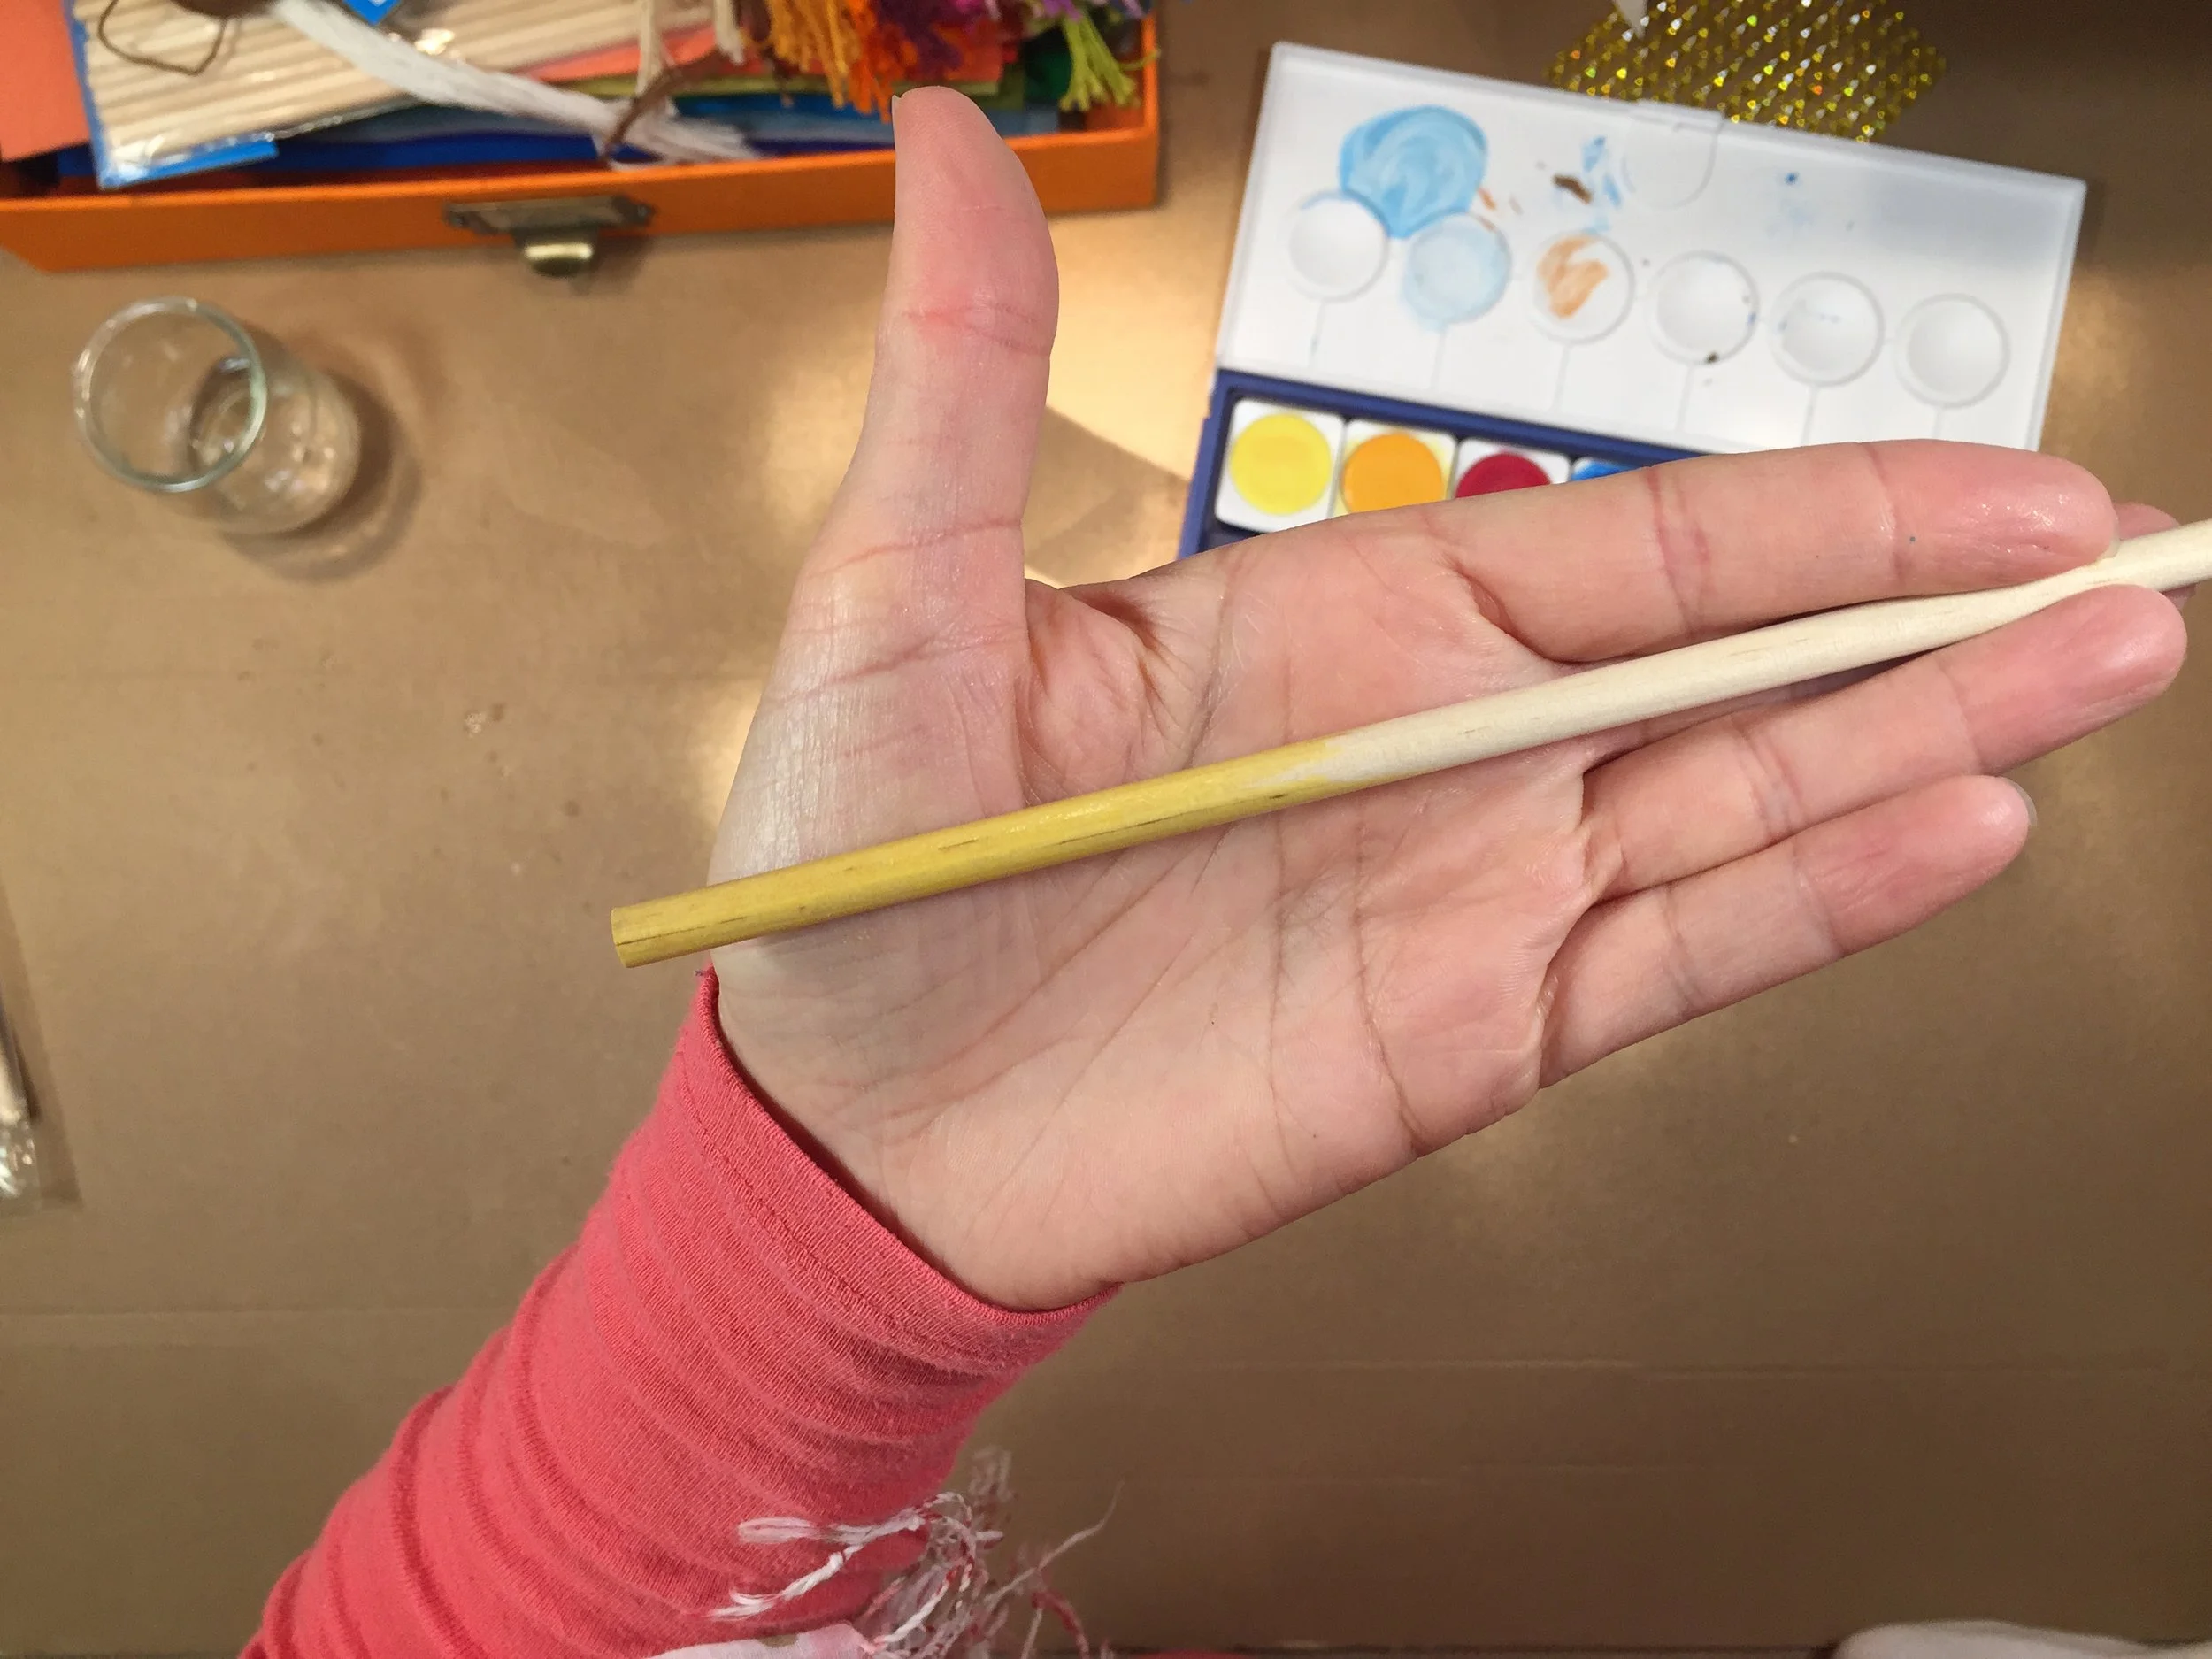
Plug in glue gun. Paint dowels and set them aside. Cut templates and felt. Begin gluing felt, leaving an opening for wool or cotton balls and the dowel. Fill design with wool and add a generous amount of glue inside design. Slip dowel in and secure the edges with more glue. Add accessories to finish off the fairy wand. Enjoy hours of play!








How to Use chalkboard Paint
I love having a large chalkboard, but over the years, the texture was smoothed out from repeated use. This made drawing with pastel chalk very frustrating as none of the chalk would stick when we did our Waldorf inspired chalk drawings. The chalkboard was just too smooth. I called the company who makes the chalkboards and asked what I could do and basically there was nothing I could do. And if I painted it with chalkboard paint I would ruin it. So for another four years, I lived with it, ever more frustrated and annoyed each time I attempted a chalk drawing. Finally this week I resolved to paint the chalkboard. It was becoming useless, and I saw no other way.
So, I went over to Home Depot and bought a can of Rust-Oleum chalkboard paint. I had them mix it while I was there for good measure, then drove home and painted. Well, first I agonized over it just a wee bit longer. My 14 year helped me unmount our chalkboard and take it to the balcony, so I could paint in a well ventilated area.
I looked at the paint questioningly, then finally started. There was no going back. I painted a single coat that evening, and another one the following morning. Later the next day I remounted it. Watch and see whether it was a huge success or a big failure!
Doll Furniture
This is one super simple craft to personalize a little bed from the Dollar Tree.
It feel it’s hit or miss when buying toys from Dollar Tree, but these dollhouse furniture pieces are definitely a win! I’m impressed with the quality and durability of these pieces, not to mention they are made of wood! I think it’s balsa wood which is soft and lightweight and easily damaged, so care is still needed when handling these pieces. But the plus side is that if anything breaks off, at least you can glue it back together…not so with plastic toys, especially the cheap ones which tend to break easily and right away! There were several pieces of furniture available: dinning room table, chair, bed, short dresser, tall dresser and high table. The pieces are are charming, detailed and seem pretty durable for something from the Dollar Tree.
For this project, we altered a bed with a bit of fabric left over from the rag dolls I made my daughter, some wool and hot glue. This is a very quick and simple craft and and it’s a great way to personalize a store bought item.Materials: Dollar Tree bed, fabric, wool or cotton balls, glue
Cost: less than $2
Level: easy
How to Make Fairy Paper Dolls
Inspired by the paper dolls from the book "How to Get Hijab Ready", I made for my daughter a set of paper fairy dolls because she wanted fairies with wings! I don't know how to draw so I copied (somewhat) the dolls available for download here.
I drew the fairy on a piece of paper, erasing a lot as I went along!! Once I was satisfied with the design, I outlined it with a sharpie. I then scanned it and uploaded it in to my Silhouette Cameo program so I could trace the design so it could be cut. I printed out the design on glossy magnetic paper, then sent it through by Cameo to cut. I used Copic markers to color the fairy and G-Studio glitter glue for accents.
Copic markers are alcohol based markers that can be found at Blick or local craft stores.
I also used glitter glue and some bling you can find at Michaels or other craft stores.
Level: Easy
Duration: 20 minutes
Cost: under $5 for the magnetic sheets (markers are about $5 each)
See the book that inspired the paper dolls.
How to Make a DIY Craft Mat
I learned how to make these craft mats from another YouTuber years ago; the only alteration I make to them is to add Con-Tact paper to one side to make a non-porous craft mat for watercolors. These craft mats are made from paper bags you get from the grocery store. Additional supplies are painter's tape or masking tape, and Con-Tac paper (optional). You'll also need a pair of scissors.
Duration: 5 minutes or less
Level: Easy
For more pictures.
Here’s how to make your own upcycled craft mats using simple materials you already have at home. This quick project takes less than five minutes and works perfectly for art and watercolor activities.
Materials
Paper grocery bags
Painter’s tape or masking tape
Contact paper (optional)
Scissors
Optional: a craft knife or ruler for straight edges
Step 1: Prepare the Paper Bag
Start by removing the handles from your paper bag. Tear them off gently rather than cutting to avoid ripping the paper. Separate the front and back panels of the bag by carefully pulling or cutting along the seams. Cut away the bottom section so you are left with one large, flat piece of kraft paper.
Step 2: Fold and Tape the Edges
Fold the paper in half so that the edges line up evenly. This creates a thicker and sturdier surface. Use painter’s tape or masking tape to seal all four edges. The tape adds strength and gives a neat border. Trim any extra tape with scissors. At this point, your basic craft mat is finished and ready to use for painting, gluing, or other projects.
Step 3: Optional Contact Paper Version
For a water-resistant option, cover one or both sides with contact paper. Peel and stick carefully, smoothing out air bubbles as you go. Repositionable contact paper is best if you want to make adjustments. It is not ideal for young children since the edges can be tempting to peel. This version creates a non-porous surface that works well for watercolor and ink art.
Step 4: Use and Clean the Craft Mat
You can use the contact paper side for watercoloring or blending inks. Press ink pads onto the surface, spray or drip a little water, and mix your colors directly on the mat. When you are done, simply wipe it clean with a damp paper towel. The other side of the mat can be used for cutting, drawing, or other dry crafts.
This project turns a simple paper bag into a durable, reusable art mat that is inexpensive and easy to customize for any homeschool or craft space.
How To Make Paper Dolls
Print out paper dolls on glossy paper backed with magnetic sheets so paper dolls can have interchangeable outfits! I thought the idea was perfect for these paper dolls I downloaded here.
Turns out my four year old daughter wanted the outfits permanently attached to each doll! So much for my creative inspiration, but maybe you'll find this project just the ticket for your paper dolls.
I used Copic markers to color dolls and and outfits. The glossy paper took the markers really well, and I am really pleased with the final outcome. Copic markers are alcohol based markers that can be found at Blick or local craft stores.
I also used glitter glue and some bling you can find at Michaels or other craft stores.
Level: Easy
Duration: 20 minutes
Cost: under $5 for the magnetic sheets (markers are about $5 each)
See the book that inspired the paper dolls.
Pocket Envelopes for File Folder Games
If my curriculum isn't stored well, it doesn't get used; or, it gets lost or ruined. I came up with an idea to easily access and use some new activities I picked up from Target's Dollar Spot. I made pocket envelopes from 8.5x11 inch sheet protectors and stored them in inexpensive file folders with three-ring prongs. I slipped in my new supplies into the pocket and put it into the file folder. All of them are now stored in a hanging file drawer.
Supplies needed: File folders, sheet protectors, scissors or X-acto knife and cutting mat, score board, hot glue gun & glue, and Velcro.
Duration: less than 5 minutes each
Level: intermediate (just because you might not have these supplies on hand)
To see my homeschool haul from the dollar spot, tap here.
Pencil Holders from Tin Cans
Take any tin can and transform it into a pencil holder. Or use it to organize your art supplies! This super easy project is so satisfying and easy. Cover your cleaned tin can with construction paper, cardstock or make your own with watercolor paper.
I'll show you two techniques using Tim Holtz Distress Inks as watercolors.
For this project you'll need clean tin cans (any size) watercolor paper, watercolors, paint brushes, double-stick tape, clear tape, electrical tape, scissors and salt (optional).
This is a great upcycling project that kids and adults will have fun doing.
Craft Mats From Paper Bags
Save your paper bags! And turn them into craft mats using simple materials like tape, scissors and contact paper. This is something I do regularly; I collect paper bags over time, and once I have a few, I turn them into craft mats for my students. They last for a while, and when they get heavily used, I simply discard them and make new ones. It’s an easy, affordable process, and it works really well for our homeschool.
I start by preparing the paper bags. If the bag has handles, I remove them first. Then I separate the bag along the glued seam and tear the bottom so it’s easier to cut away the base. This leaves the edges a little jagged, but that’s okay because I clean them up later. Bags vary in size, but I still fold them over in half. I use a bone folder to create a nice crease, but you can also use your fingernail or a ruler. This size works well as it fits nicely on a child’s desk and is the right size for most of our projects, but you may take two paper bags and tape them together for a double sized craft mat.
For one version of the craft mat, I add contact paper to make one side waterproof. Cut the contact paper slightly larger than the bag and carefully peel it back, making sure to keep it smooth and avoid air bubbles. Line it up at the top and gently work your way across. Go slowly and use the back of a ruler to help it adhere, being careful not to press too hard. Once it’s in place, trim off the excess contact paper so the edges are clean.
Next, use tape around all four edges to create a border and hold the folded bag together. I like using a grippy tape from the hardware store because it holds really well. This gives the mat a nice weight and makes it durable. One side has the contact paper, which is great because it can be wiped clean if we use paint, ink, or watercolors. The other side is just the paper bag, which works fine for many projects but can’t be wiped down in the same way.
Every so often, I make a whole set of new craft mats for my students. They don’t take long to make, especially if you skip the contact paper, but the contact paper does make them more versatile because they can be wiped clean. Other than the cost of tape, this is a very affordable project, and it’s a great way to reuse paper bags.
Blue Tape: ScotchBlue PROSharp Painter's Tape 1.5 Inch Wide (1.41 in x 60 yd)
Green Tape: FrogTape Multi-Surface Painters Tape with PAINTBLOCK, 1 Inch Wide (0.94 In. x 60 Yds)
Purple Tape: Scotch Delicate Surfaces Painters Tape, 1.41 in x 60 yd