
Grade 6 Handwork
Grade 6
In Grade 6, handwork evolves to meet the developmental changes of the pre-adolescent child. The Grade 6 student is 12 years old and while some students may have gone through puberty, many may not have just yet.
As students become more capable of logical thought and precision, their projects shift to reflect these growing capacities. Handwork becomes more detailed and structured, challenging students to work with greater independence and purpose. Through increasingly complex techniques, students refine their fine motor skills, cultivate focus, and gain confidence in their ability to bring a thoughtful creation into form.
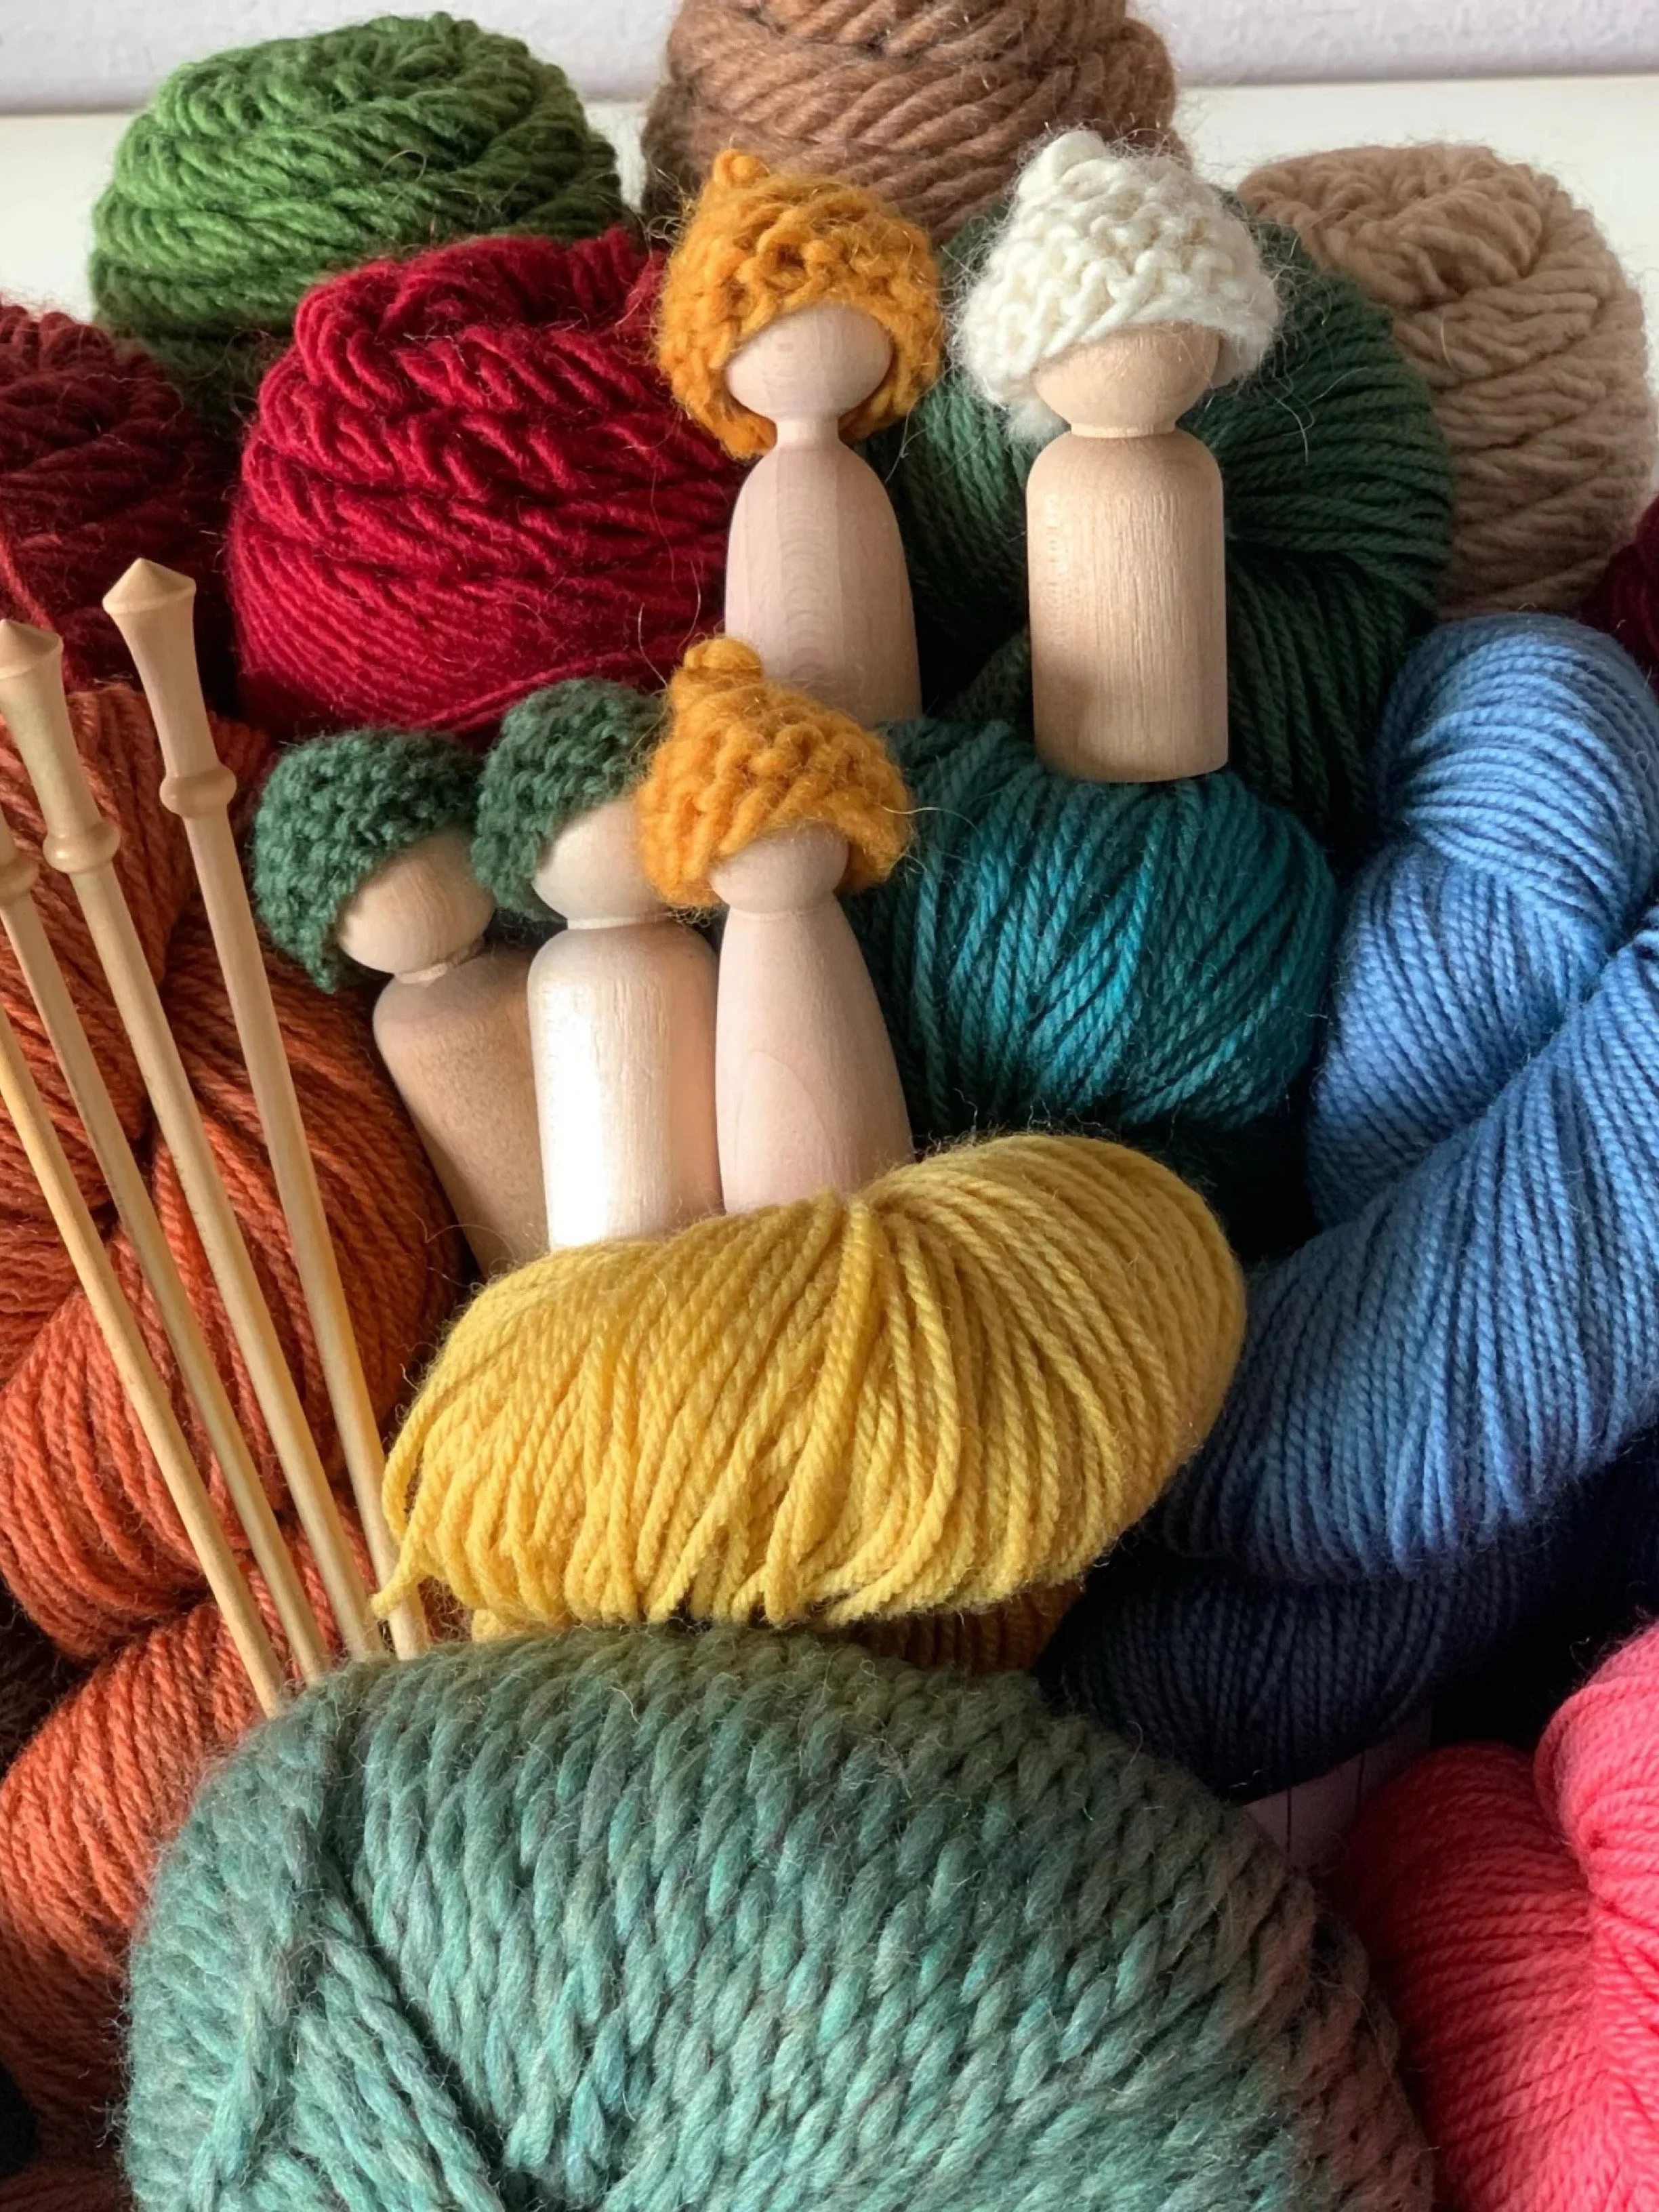
Grade 6 is an exciting time in handwork: Students will create and use their own patterns. They will spend class time choosing their favorite animal, drawing it and observing it if possible. Once they've drawn it, they will draw a silhouette of the animal. The hard part about turning a two dimensional pattern into a three dimensional animal is the gusset — a pattern piece you find under the animal which gives the animal its width.
Rather than relying on commercial patterns, students are guided through the process of designing their own pattern, often starting with simple sketches and progressing to more complex shapes. When we did this project in our Waldorf Practical Arts Training, we observed a mouse and drew it with simple colored pencils. The following task was to draw a simple silhouette. This trains you to break down the form of the animal into its basic shape. Next we drew a gusset. The challenge I had was that I made everything too small. Because it will be sewn and turned out, the pattern must be bigger than you think as the finished project will be smaller. The process of designing your own pattern deepens spatial awareness and problem-solving skills while allowing for artistic expression and imaginative interpretation.
Throughout the year, handwork in Grade 6 continues to serve as a grounding, therapeutic activity amid the intellectual growth and emotional shifts of adolescence. Handwork strengthens the students’ will in Grade 6 as it has in the previous years and brings balance to their developing thinking through purposeful, rhythmic work.
As they complete their hand-sewn animals or hand-knit garments, students not only gain practical skills, but they also experience the satisfaction of creating something beautiful and useful with their own hands. In this way, Waldorf handwork continues to nourish the whole child: head, heart, and hands. This threefold nature of the human is deeply rooted in the Waldorf pedagogy and influences the scope and sequence of the Waldorf approach.

Making Hand-Stitched Animals
In Grade 6 Waldorf students often make hand-stitched animals. They design their own patterns, turn the fabric inside out and stuff them with wool batt. There are very intentional pedagogical reasons behind this.
In the Waldorf pedagogy, at around the age of 11 to 13 years, children are undergoing a major developmental shift. They are moving from the dreaming and passive consciousness of early childhood towards the more grounded reality-based thinking. They are beginning to develop critical thinking, independent judgment, and self-awareness. At around the age of puberty, a shift becomes apparent. Leading up to puberty, children begin to experience this change in their thinking and in their self awareness.
Starting at around Grade 6, the development of the will and inner strength can be experienced through handwork by sewing a hand-stitched animal, especially in making the pattern themselves. This demands careful planning, precision, patience and follow through. All these qualities work on the “will” forces or the capacity to take an idea and steadily carry it through to completion. Sewing helps bridge the thinking and doing which is an important integration at this stage of development.
Hand-stitching helps strengthen fine motor skills and dexterity. While children starting in Grade 1 will have been honing their skills in handwork and increasing their fine motor skills and dexterity, hand-stitching involves more precision than students have previously needed when doing handwork. In the younger years, children have focused on gross motor skills through their play, gradually increasing their fine motor skills through handwork and handwriting. Now the middle school student will be fine tuning fine motor skills through hand-stitching their own animal from their own pattern. They are designing, turning the fabric (which can be tricky), and neatly stuffing the form. This all exercises delicate controlled hand movements, which are neurologically connected to cognitive development, especially skills like organization, spatial reasoning, and logical sequencing.
By Grade 6, students are capable of greater artistic individuality, they’re able to express their artistic choices through color and design, thereby awakening an aesthetic sensibility that has been developed by creative endeavors. Designing their own animal pattern encourages creativity but within the real world constraints of form, proportion and function. Prior to this, creativity may have been limited to color and design. In creating a pattern based on the form of an animal, students in Grade 6 must considered not only how it will look, but how it will be constructed. This exercises not just artistic thinking, but also practical problems solving skills.
Turning stitched fabric inside out is a symbolic moment as well. It represents transformation. This is an important theme for the 12-year-olds who are beginning their own transformation from childhood to adolescence and adulthood.
Though students up to this age have worked diligently on their handwork projects, which has cultivated a sense of responsibility, perseverance, and follow through, the handwork projects, and practical art projects that begin in middle school call upon the students will force in a new way they expose the capacity of a student to not only learn a new skill, but develop a practice of problem-solving that will carry them through the next phase of their learning.
Handwork Projects | Grade 6
-

Stitched Sea Star
This is a very easy beginner's stitching project. You can free hand a sea star or download a pattern for this project. I used Holland felt in 100% wool in the color Tea Rose.
-

Stitched Seahorse
Try your hand at pattern making! For simple silhouettes, this project is great for beginners and as an intro to making your own projects. Watch as I work my way through this project while giving you tips.
-

Stitched Dinosaur
The kit comes with a pattern you cut out, high quality embroidery thread, a needle, three pieces of wool felt and wool batting. It's all packaged in a beautiful box with color print of final project as well as detailed directions.
-

Stitched Rabbit
If you’d like to try and make your own animal from start to finish, begin with a silhouette drawing of your animal. The primary thing you’ll need for your pattern to make it 3-dimensional is a gusset. The gusset is what gives your animal ‘body’. The more simple, the better.
-
How to Make a Mouse
Did you know that you can draw and animal, make a pattern, cut your fabric and stitch your animal in less than 2 hours? Stitching animals based on patterns the students make on their own is a grade 6 handwork project you'll find in many Waldorf schools.
-
Heart Garland
The wonderful thing about this project is that you can do this in kindergarten and again in grade 6 when students pick up hand stitching again in the curriculum. Once you make one heart, it's so easy to get into a good rhythm, and before you know it, hours have passed and you have nearly 20 stitched hearts made from wool felt.
-
How to Make a Dolphin
For this hand stitched project, I worked alongside my 14-year old daughter to design and stitch our own stuffed animal from scratch, and she chose to make a dolphin.
This is a very easy beginner's stitching project. You can free hand a sea star or download a pattern for this project. I used Holland felt in 100% wool in the color Tea Rose. Cut two sea star shapes. Line them up so they are the same. Use embroidery thread in a the color of your choice to stitch the edges using a blanket stitch. You can separate the embroidery thread for it to be thinner. After stitching one arm you can beginning filling it with filler. I used wool, but you could use anything from fill from an old pillow to cotton balls. Alternatively, you could add some details to one side of the sea star before stitching it together. I found this to be quite time consuming and had my kids skip this step. My 11-year-old son opted to do it anyway, but only did some bumpy stitching around the center.
Hand Stitched Sea Star
Try your hand at pattern making! For simple silhouettes, this project is great for beginners and as an intro to making your own projects. Watch as I work my way through this project while giving you tips. See how I fix little mistakes and make alterations on the spot. The results are darling in the end, so I know you can achieve success, too!
For this project, I hand sketched a silhouette of a seahorse. I referred to images online for help and made some changes to make it easier. I gave my pattern a rough cut and then pinned it to my felt and cut both pieces of felt and the pattern at the same time. It actually worked really well! And it ensured that the patterns were exactly the same. Next, I stitched using embroidery floss (I separated three of the six strands out) all around the perimeter using a loop stitch. I filled with wool batt as I stitched. I finished off with two black eyes and the project was complete!
Check out how I store my floss for ideas on how you can store your fibers. The materials I used for this project are the following: Embroidery needle, Embroidery floss in color 352, Holland wool felt in Salmon, and Wool batt stuffing. Wool/rayon felt blend vendors: Over The River Felt and ThreadFollower for felt and intermediate kits.
Stitched Seahorse
The second I saw this kit by ThreadFollower at A Child's Dream, I knew my kids would love it. I purchased the Brontosaurus Kit (featured here today) and the Bunny Kit (featured on A Child's Dream channel). The kit is fantastic! It comes with everything you need to make a super adorable stuffed animal. You can squeeze two projects out of the kit with just one spare piece of green felt which I had on hand.
I made one dinosaur for my daughter and as a sample for my 10-year-old son. I also made a lot of mistakes! But now I know, and hopefully this video tutorial will help you avoid the mistakes I made.
The kit comes with a pattern you cut out, high quality embroidery thread, a needle, three pieces of wool felt and wool batting. It's all packaged in a beautiful box with color print of final project as well as detailed directions.
The brontosaurus kit is a Level 2 kit intended for ages 10 and up and up and up ;)
This project took me almost 2 hours whereas my son's took about an hour. Though his is less precise, it turned out just as nice and most importantly, he loves it! As I write this, my 6-year-old daughter and 10-year-old son are playing with their stuffed dinosaurs.
I made a number of mistakes with this projects, and some of them I caught in time to explain what to do in the video and others I didn't! For instance, when sewing the legs together, knot the thread on the outside of the felt, not the inside as I showed in the video because you will be turning that piece out and the knot will end up showing on the outside.
Stitched Dinosaur
These adorable kits by ThreadFollower can be found at A Child's Dream. They come complete with everything you need to sew a charming little rabbit. Materials are high quality and plentiful and the directions are easy to follow. These kits are perfect for beginners and advanced sewers alike.
If you’d like to try and make your own animal from start to finish, begin with a silhouette drawing of your animal. The primary thing you’ll need for your pattern to make it 3-dimensional is a gusset. The gusset is what gives your animal ‘body’. The more simple, the better.
Stitched Rabbit
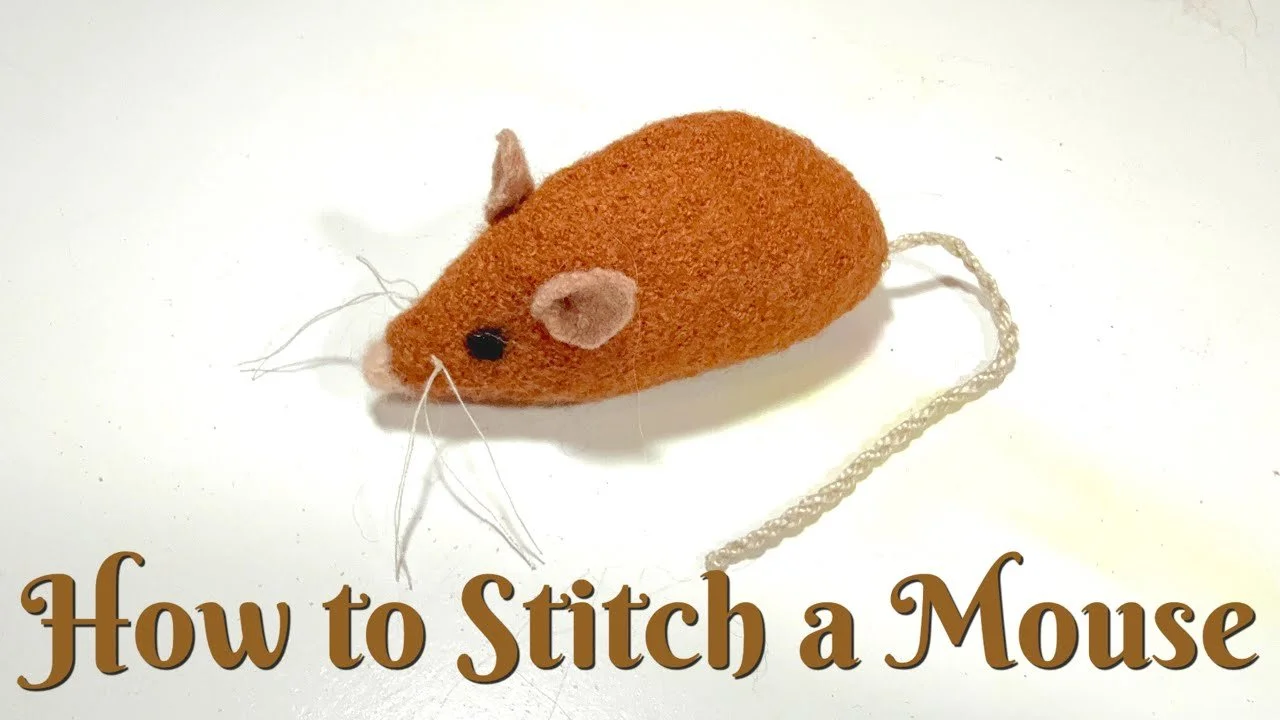
Did you know that you can draw and animal, make a pattern, cut your fabric and stitch your animal in less than 2 hours?!
Stitching animals based on patterns the students make on their own is a grade 6 handwork project you'll find in many Waldorf schools. While you can teach the student to make their own patterns, I have also done the same work with a kit that comes with all the materials and pattern to make a small animal.
In the past we've made a bunny and a dinosaur. And while those projects were great for my child, working through the pattern making process was amazing! While the pattern for a mouse is simple, the pattern we later made for a dolphin and camel had its challenges.
When making an animal, there are three main steps: draw your animal, draw a silhouette of your animal, draw your pattern. Once you get that far, the rest is hard work and time consuming, but the main parts are complete and once you have your pattern, you can use it over and over again.
When drawing the silhouette of your animal, you want to draw it without any details, or if you do have details, you want those drawn separately and sewn onto your animal. For instance, if you want to make a fox with a big bushy tail, you'll want to make a separate pattern for the tail. You will remove ears and even paws if the animal is small like a rodent. Once you have your silhouette, you'll want to make it big enough so that you still retain the over shape of the animal even as you lose width to sewing.
Once the silhouette looks good, you'll want to add a dashed or dotted line 1/4 inch around your pattern. This is where you will cut your pattern. I recommend you label your pattern with the animal it's for and any additional info. When I was sharing my camel pattern with classmates, I added my name and date as well.
Now, you have to work on the gusset. The gusset is what makes your animal three dimensional. In some cases you may use the animal pattern to fashion the gusset out of it. In the case of the mouse, we want our gusset to be as long as the pattern, but how wide it is will depend on how big we want our final result to be.
Once your pattern is complete, it's time to cut it out and pin it to your fabric to cut out. I've been using wool felt for many years for this kind of project and for other handwork projects, but recently I was exposed to boiled wool during a Waldorf practical arts training. In the training, Mona Lewis, author of Nature's Paintbox, provided boiled wool for this project. She explained why it was a good fabric for making animals and while I wasn't keen to use it at first, I absolutely love it now. Boiled wool is so easy to use, it's forgiving, stretchy and durable. I wasn't a fan of the texture, but actually I think it's wonderful for stitched animals.
How to Make a Mouse
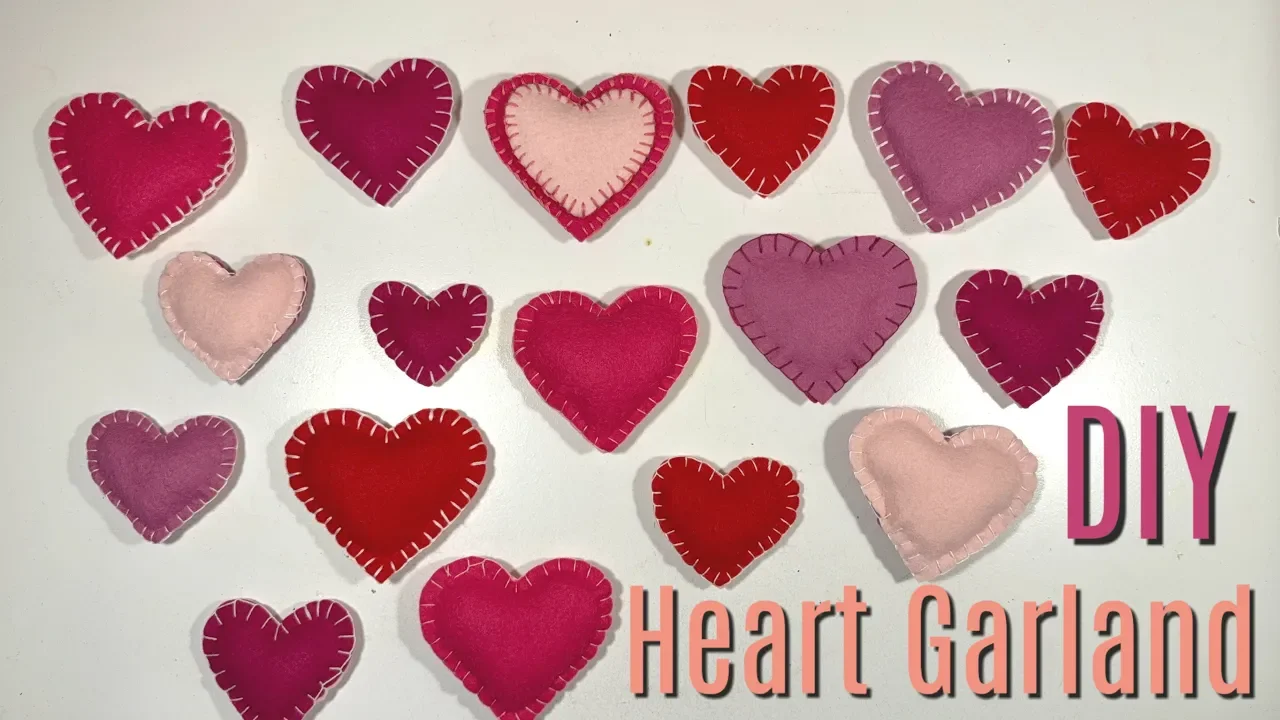
The wonderful thing about this project is that you can do this in kindergarten and again in grade 6 when students pick up hand stitching again in the curriculum.
Once you make one heart, it's so easy to get into a good rhythm, and before you know it, hours have passed and you have nearly 20 stitched hearts made from wool felt.
For this project, I used Holland wool felt in various pinks, reds and purples. You can find 100% wool felt at a Child's Dream as well as other craft stores. I also used wool to fill these hearts just enough to give them some shape. I used 3 strands of a 6-strand cotton embroidery floss to stitched the hearts together using the blanket stitch. I varied the sizes of the hearts for some interest, but really all the same size would have been just as lovely as once they were hung those details (size alternation) were not especially noticeable. The small hearts measure 6.5 cm across and the large hearts measure 10 cm across. Also unnoticed are the various floss colors I tried out. From afar, only highly contrasting colors show and if you want it o be more pronounced, you opt to double your floss for a thicker stitch.
As this project will be enjoyed from a distance and won't be played with by children, it's a good time to use a wool blend or acrylic felt which is far more affordable than 100% wool felt. Alternate filling may be used as well.
One benefit of using wool is its warming quality and distinct feel (acrylic felt as an almost slippery feel). Since my collect of felt is still rather robust, I will continue to use our wool felt until it runs out, but recognize that the expense may be out of budget for some.
To string them together, I 'sewed' them using 6-strand embroidery floss. I used a brand new floss as much of my embroidery floss has been trimmed down for storage and ease of use. with one long piece of floss, I can easily adjust the spacing of the hearts. I sewed one peak of the heart, then down to the center then back up to the other peak ensuring that the hearts would not twist downward. You may also make this into a mobile hanging from a circular metal frame.
Download your template here.
How to Make a Heart Garland
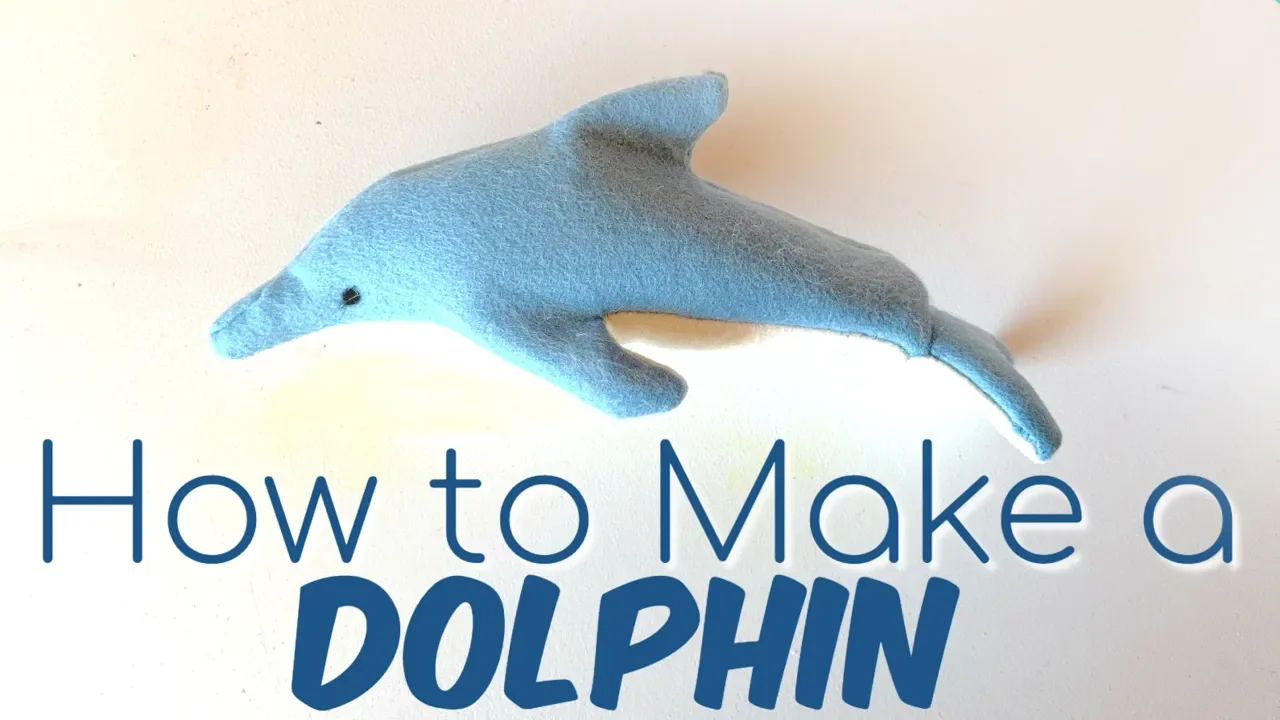
For this hand stitched project, I worked alongside my 14-year old daughter to design and stitch our own stuffed animal from scratch, and she chose to make a dolphin. While this is not the simplest first project, I really wanted to honor her inspiration and let her work with something she was passionate about. What I learned later after speaking with a seasoned Waldorf Handwork teacher is that making a dolphin or other sea mammal is discouraged as a first project because it's actually easier! Because the limbs are different than land mammals, often a dolphin or whale is technically easier. However, I felt differently from experience having previously made a camel, hedgehog, and two mice. So rather than discouraging this project because it's too easy, I would discourage this project because it was too hard!
We began by studying illustrations and drawing our dolphin, keeping the shapes simple but large enough to work with felt and hand stitching. From that drawing, I created the pattern by tracing the silhouette and adding a seam allowance. One of the most important parts of this process was designing the gusset, which is the piece that allows a flat pattern to become three dimensional. This part required careful thought, especially around the belly, the rostrum, and eventually the tail, and it involved a lot of trial and error as I worked to visualize how the flat pieces would come together into a sculptural form.
Once the pattern was complete, I pinned it to the felt, cut out the pieces, and began stitching everything together using a back stitch. This entire project was done by hand, which is such an important part of Waldorf handwork because it builds patience, precision, and care. It was a slow and sometimes tedious process, especially as I worked to align the gusset and manage areas where multiple pieces came together. Turning the dolphin right side out was particularly challenging, and I quickly realized that the tail had been designed incorrectly. Instead of leaving it as it was, I went back, redesigned the tail flukes, created a new gusset, and stitched the new piece into place. This added a visible seam, but the process itself was so valuable. Working through mistakes like this builds understanding in a way that simply following a perfect pattern never could.
After everything was stitched and turned, I stuffed the dolphin with wool batting and closed the opening using a ladder stitch so the seam would be nearly invisible. I finished the project by needle felting small black eyes into place, which really brought the dolphin to life. While the project was challenging, I was so happy with how it turned out, and it gave us both a deeper appreciation for the design and handwork process. I also learned that fabric choice makes a huge difference, and materials like boiled wool or repurposed sweaters are much easier to work with than stiff felt. This project, along with others like the camel and hedgehog I made, reflects the beauty of creating something entirely by hand, from the first drawing all the way to the finished animal.
How to make a mouse tutorial.
How to Make a Hand Stitched Dolphin
