Home & Bath | Tutorials
Ever thought about making your favorite all-natural home freshener or customized lip balm? Aside from the creative enjoyment, the confidence you gain in knowing you can make practical everyday items makes the experience totally worth it! From rosemary infused oil, to bar lotion to bath bombs, here is a small collection of the things we’ve tried and continue to use.
Tutorials & DIY
-

How to Make Bar Lotion and Lip Balm
This is hands down the best lotion ever! I’ve upgraded the ingredients, and this time around, I’m loving this even more than the first time we made bar lotion. This formula is super simple and the supplies are easy to find. I purchased everything from Amazon except the coconut oil which I got from Trader Joe’s.
-
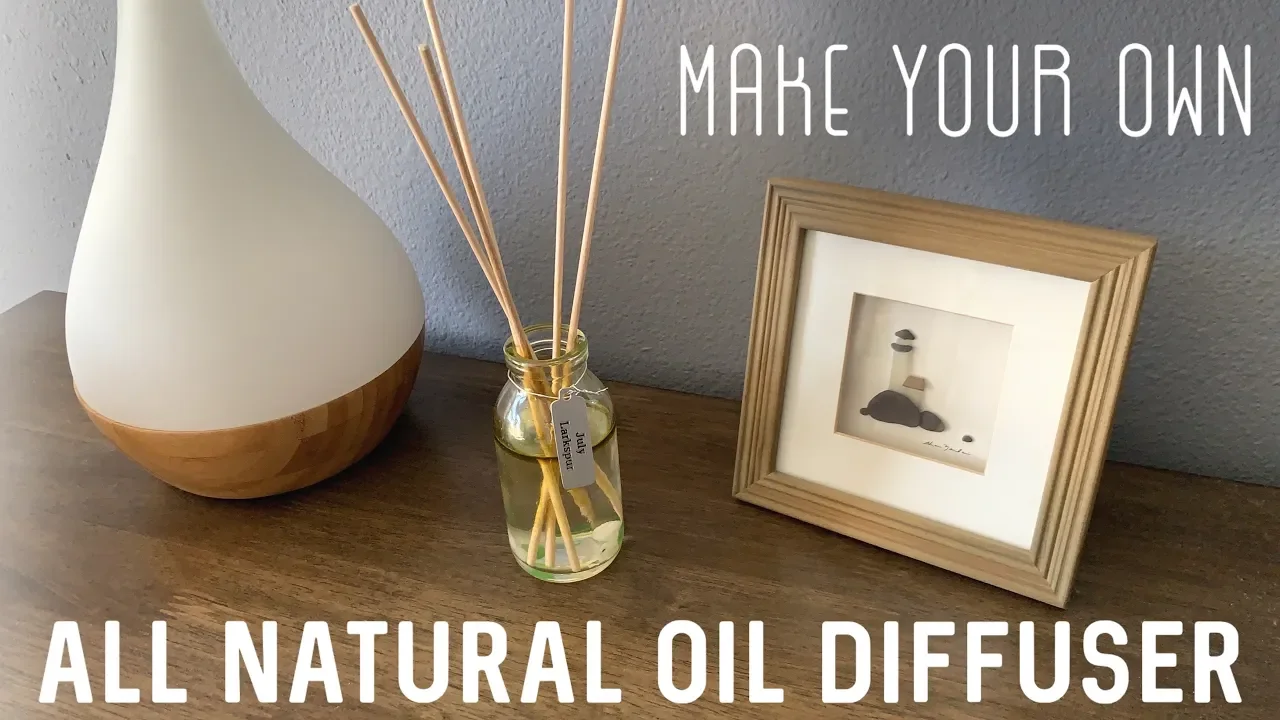
How to Make an Oil Diffuser
Recently a friend gifted us a diffuser. The ones with sticks in a jar. My 10-year-old daughter loved it! And asked if we could make them. As a homeschooler and avid crafter, not only did I say yes to the idea, we did it right then! I repurposed various supplies and thankfully, I had everything on hand. We used old honey jars and other decorative jars we had been saving, I have a variety of essential oils to choose from, we used 1/8 inch dowels (you could use bamboo skewers) which I bought to make double pointed knitting needles.
-
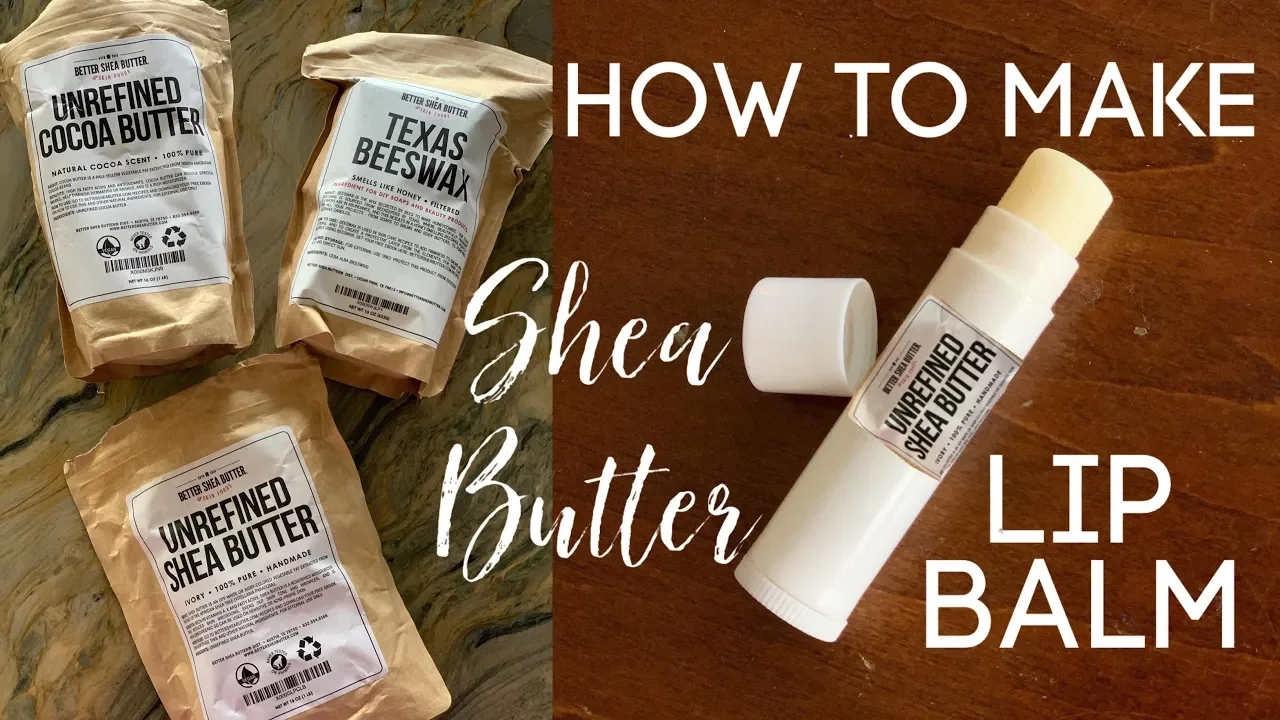
Lip Balm Tutorial
Making lip balm is more simple than I thought. With a few basic materials, you can make dozens of lip balms in just the right consistency and flavor. Plus, you can mind your ingredients so you're using the best ones available. For this project, we are using shea butter, coconut oil, beeswax and cocoa butter.
-
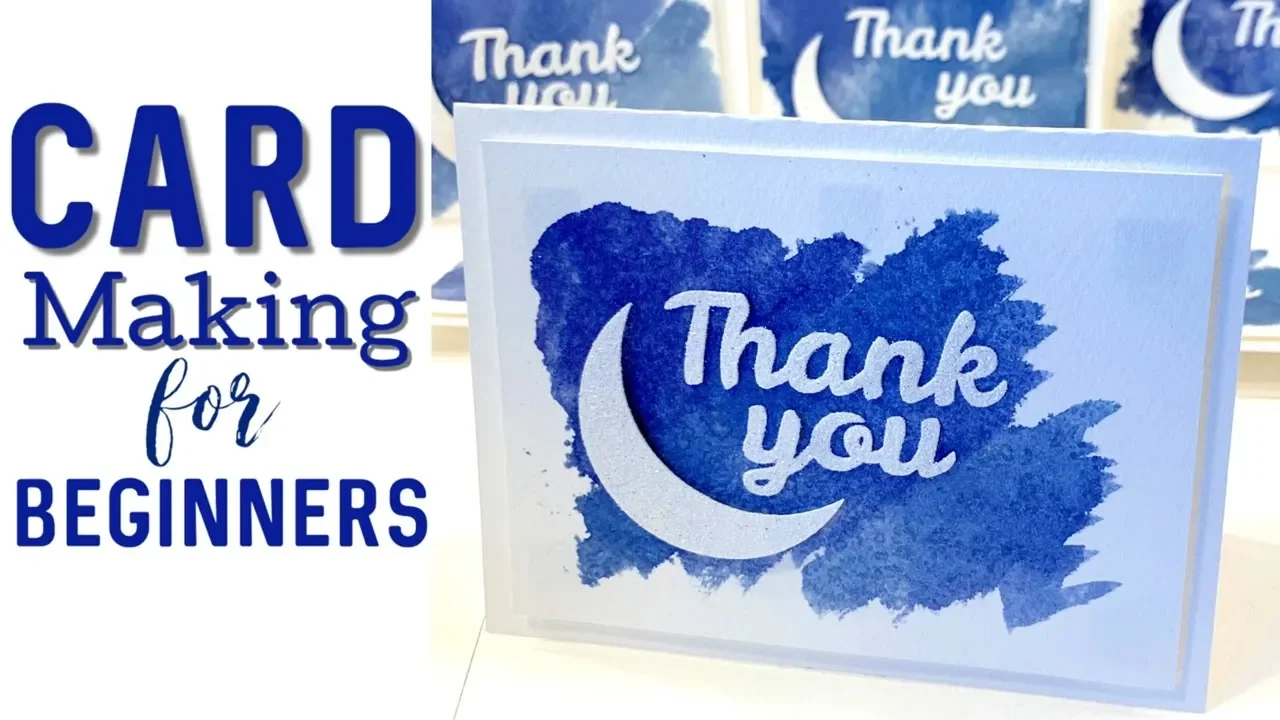
How to Make Greeting Cards
I love dipping into our supplies for projects that serve two purposes: art and education. These simple Thank You cards with an astronomical design (crescent moon on a night sky) were a fun excuse to pull out our Distress Inks, glitter and our Silhouette Cameo machine.
-
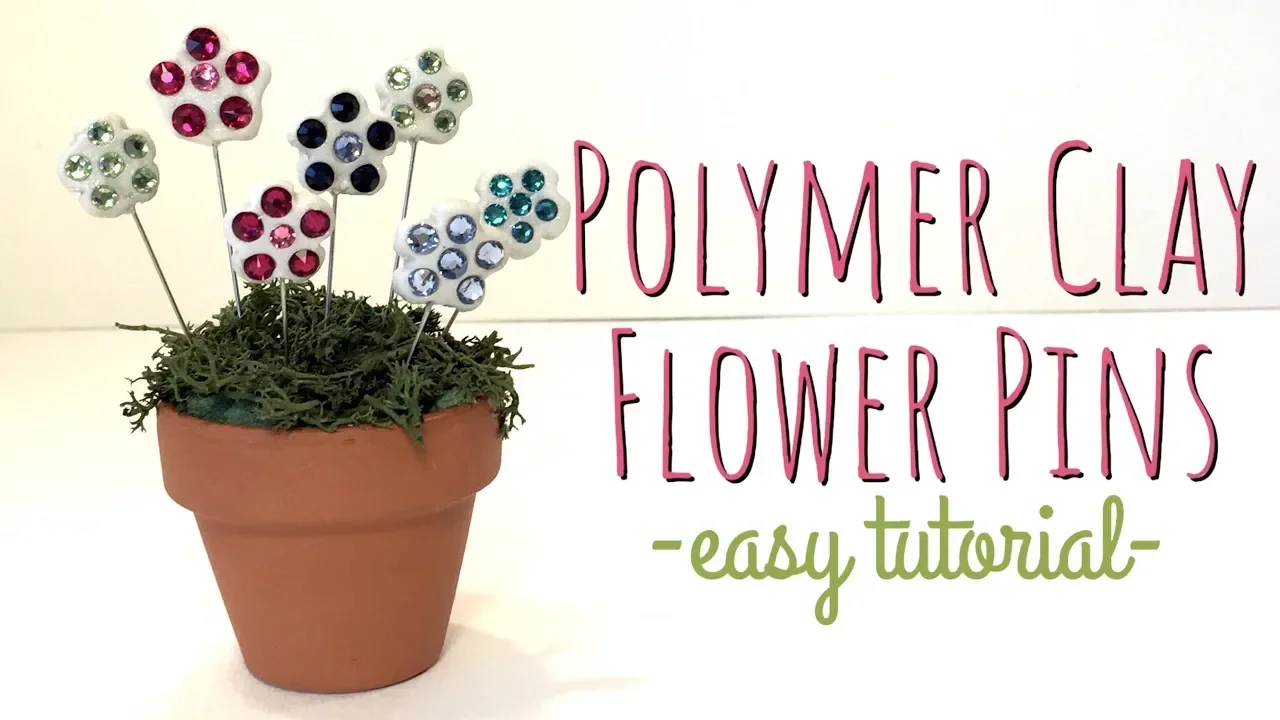
Scarf Pin Tutorial
If you want a super cute way to store scarf pins, try this little clay pot filled with florist foam and topped with moss. Make your own flower pins to complete this super adorable look. The scarf pins are just straight pins that can be used to keep your hijab in place, or you can use these pins to keep notes on a cork board.
-

How to Make Bath Fizzies
Bath Fizzies with mystery toy surprises inside?! What's not to love! This is a fun twist on bath bombs and sure to delight those reluctant bath takers. I made these with my 11-year-old son and 7-year-old daughter, and they had a great time doing this project. I was surprised how much my 11-year-old liked making these and more so found him to be quite a good helper.
-
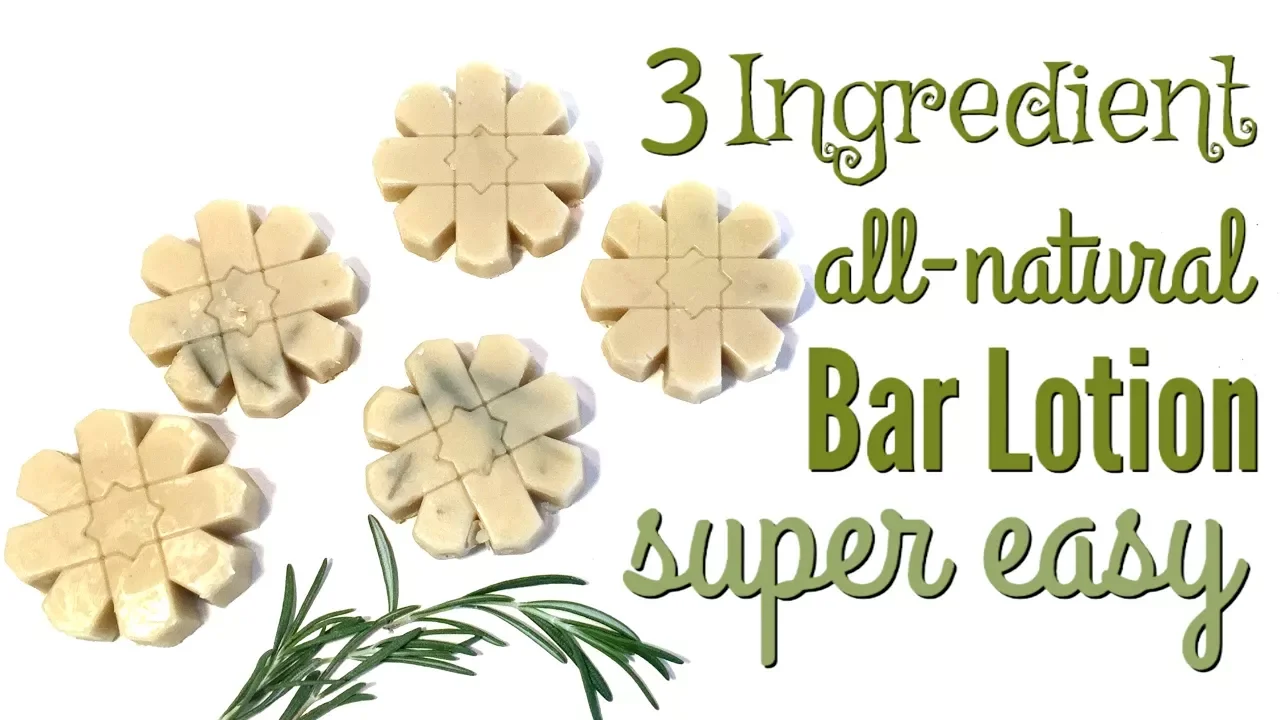
How to Make Bar Lotion for Beginners
This bar lotion is so easy to make, with no special equipment, you're sure to be making your own in no time. Made with just three all nature ingredients, these luxurious bar lotions will be your favorite in no time. They also take no time to make! With about 5 minutes of prep, 15 minutes to melt and another 10 minutes to pour, set and clean up, you're likely to be making these often and for everybody!
-
What is Project Life?
Ever wonder what Project Life is all about? Even if you're not crafty, I think anyone can do Project Life scrapbooking. It's so easy. All you need is an album, sheet protectors and a Project Life kit. That's it!! I'll show you the different products you need to complete an album.
-
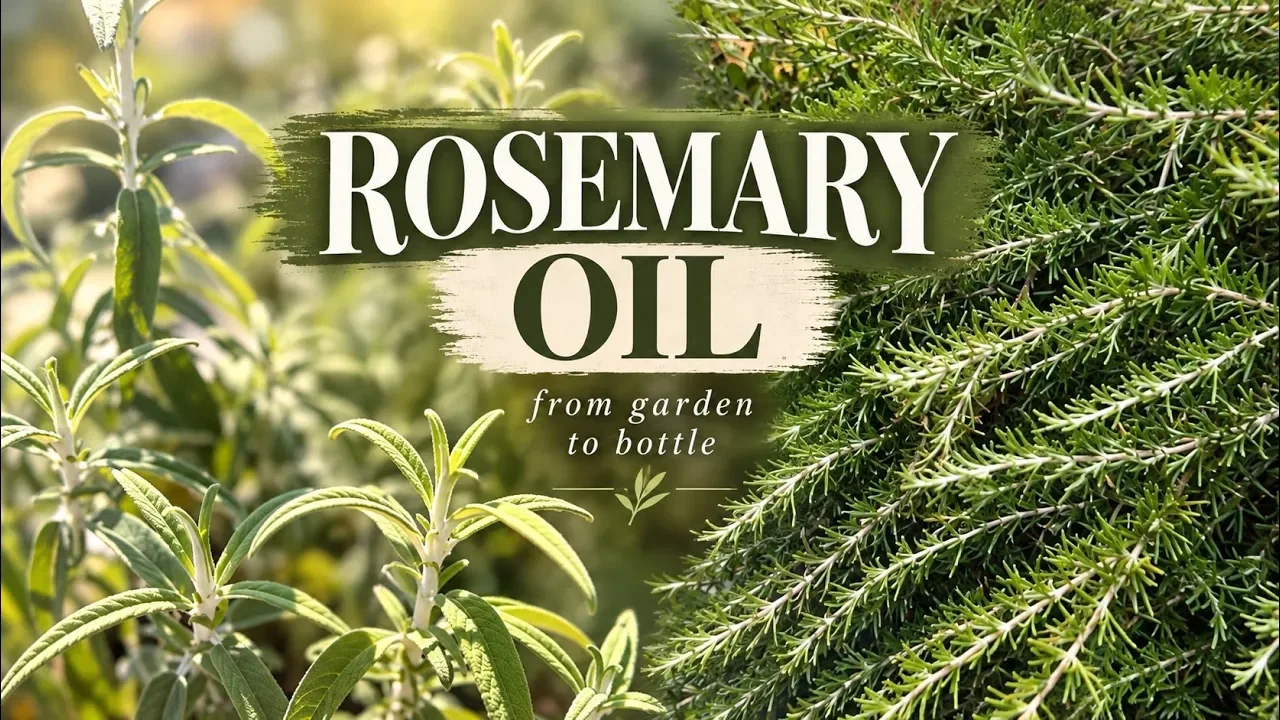
Rosemary Oil
Rosemary grows abundantly in our garden and is well suited for the Southern California climate. Aside from using it occasionally for cooking, I haven't enjoyed the benefits of fresh rosemary as much as I hoped. While I like rosemary essential oil for the health benefits, I didn't make use of fresh rosemary until now. It turns out it's quite easy!
How to Make Bar Lotion & Lip Balm
This is hands down the best lotion ever! I’ve upgraded the ingredients, and this time around, I’m loving this even more than the first time we made bar lotion. This formula is super simple and the supplies are easy to find. I purchased everything from Amazon except the coconut oil which I got from Trader Joe’s.
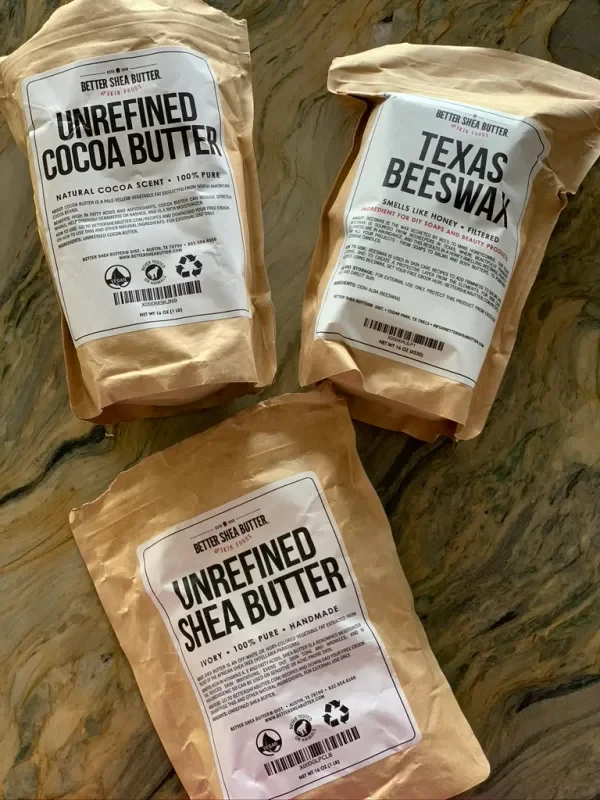
Bar lotion formula: 1:1:1 ratio of Coconut Oil, Texas Beeswax, and Shea Butter. I used 1/2 cup of each with 2 teaspoons of lavender oil for the bar lotion. For the lip balm, I used 1/4 of each ingredient and 2 teaspoons of peppermint oil.
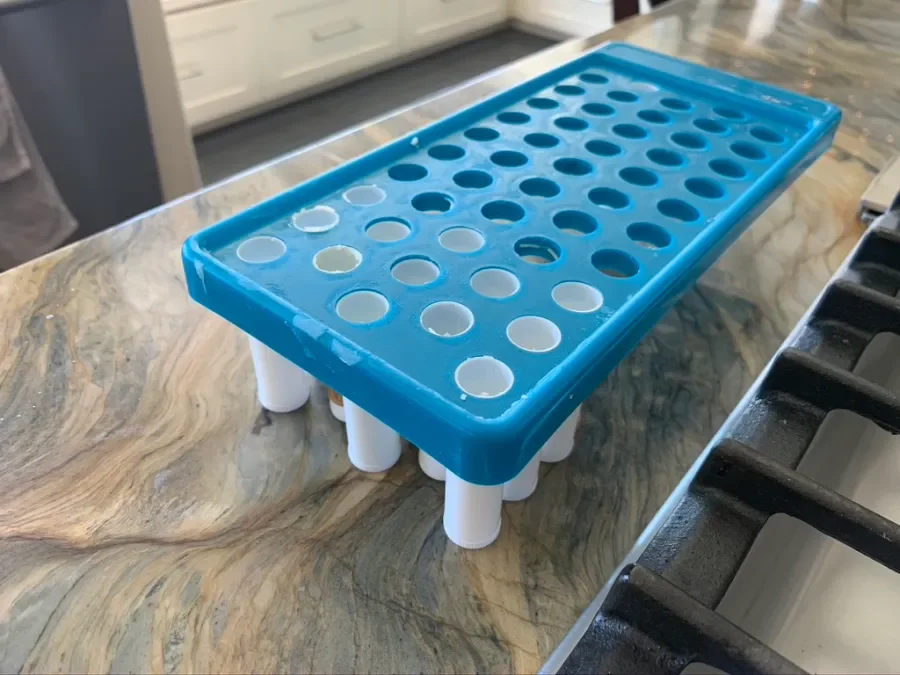
For this project we used a lip balm kit which included a tray, scraper, lip balm tubes and labels. To store the bar lotion, I bought metal tins that hold about 4 tablespoons of lotion and it makes the finished product look so professional!
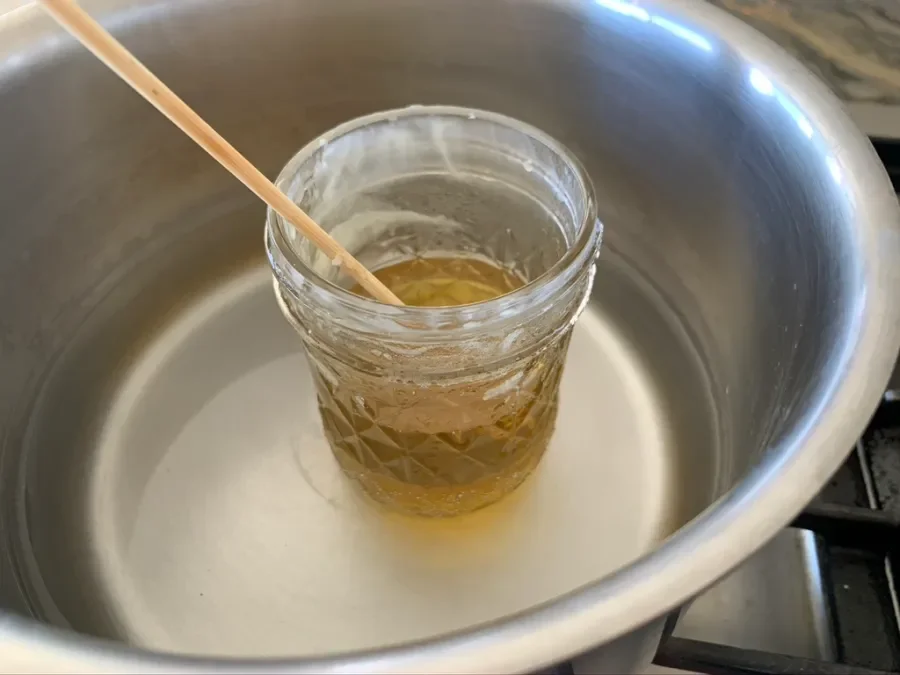
Here are a couple tips while making bar lotion and lip balm. First, you can use equipment you already have, so there’s no need to shop for a special pan or jars. I used a saucepan with with a couple cups of water. I put it on the stove on medium heat. To the pan I added a glass jar for the ingredients.
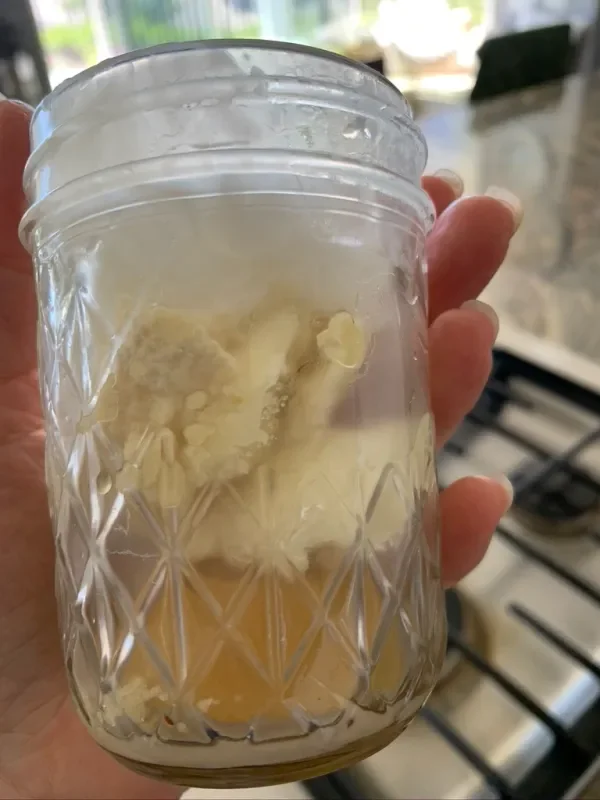
If the ingredients are solid, you may need to melt them to measure them. Since I already have a candle making pan, I used it to melt the beeswax. You can buy beeswax pellets if you want to avoid that. They’ll melt faster and they’re easier to measure. I placed the jar of coconut oil in the same pot I used to make the lotion and warmed it enough to measure out what I needed. Once everything is measured, add it to the jar (I used an old honey jar) in the pot with hot water. Keep an eye on it. Once everything is heated all the way through, let it cool, but not harden before adding the essential oil. In my opinion, I think it keeps the oil from evaporating. Next, you can fill the metal tins or lip balm tubes.
Be sure you let the liquid cool if you are filling lip balm tubes. If you fill the tubes with liquid that too hot, it may seep out of the tubes. I highly recommend the kit we got. The tray and scraper made filling the tubes easy and clean. Plus, you can reuse any of the mixture that cools on the tray by scrapping it and warming it up again.
While the metal tins didn’t come with labels, the lip balm tubes did. I decided to make my own using adhesive kraft paper and my silhouette cameo. You can download my template and cutfile and customize it if you wish!
You can play around with the amount of beeswax you use if you wish to have a softer bar lotion. If you live in a warm area, making a harder bar lotion will ensure that it stays solid. Since doing this project, I’ve learned about other essential oil formulas to help with specific issues like headaches, stress and growing pains. My current favorite is lavender for calming and peppermint for headaches.


How to Make an Oil Diffuser
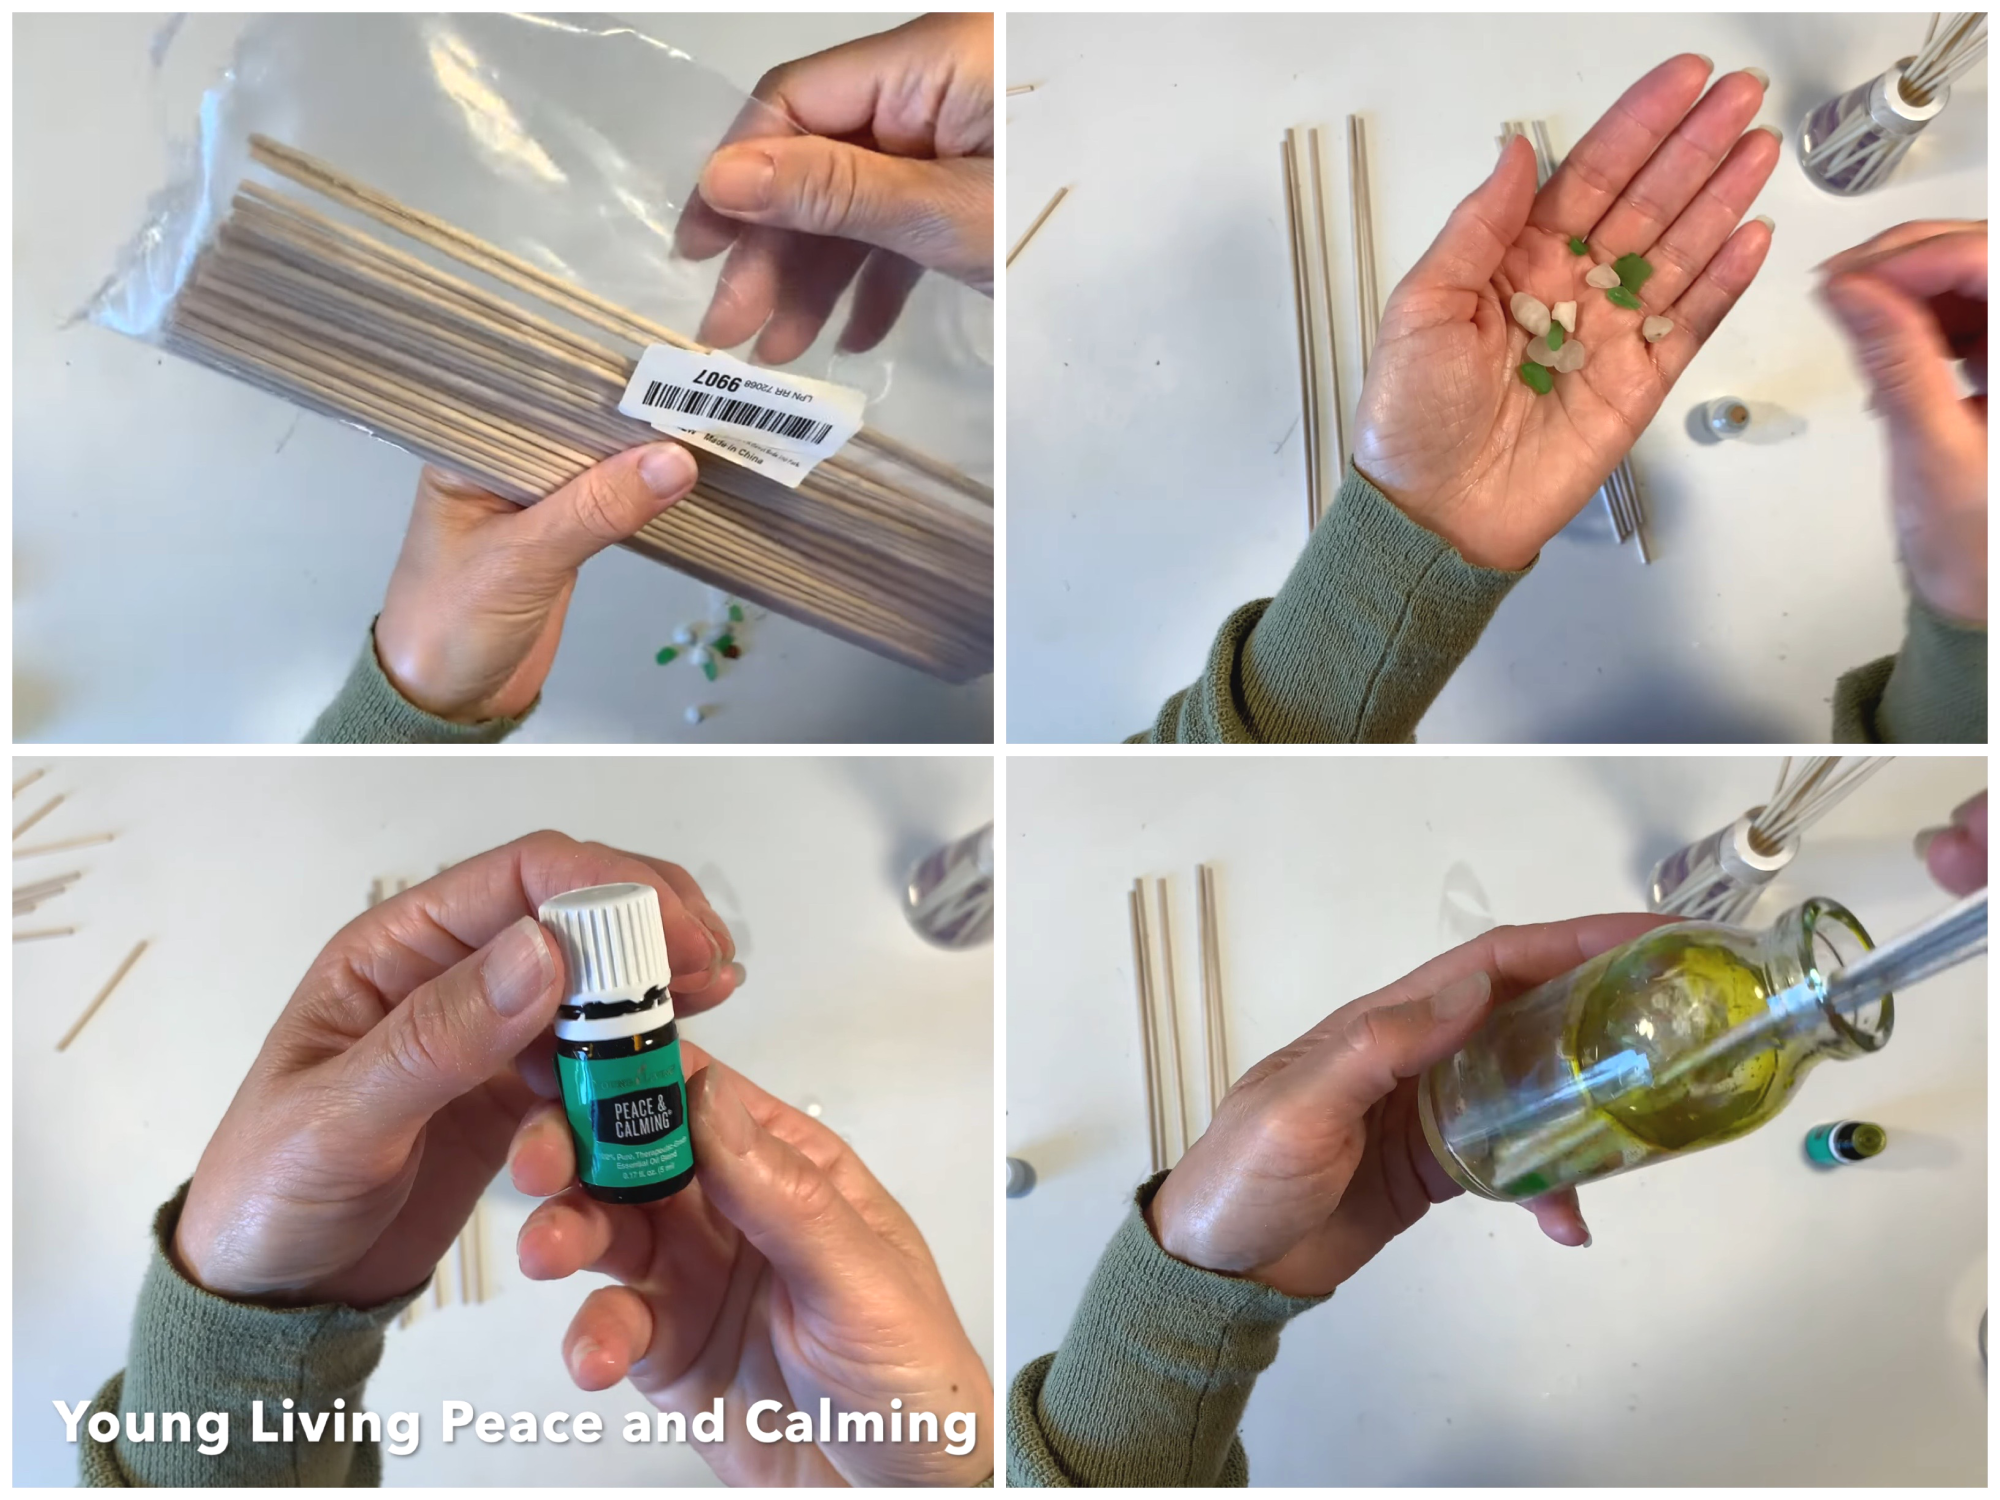
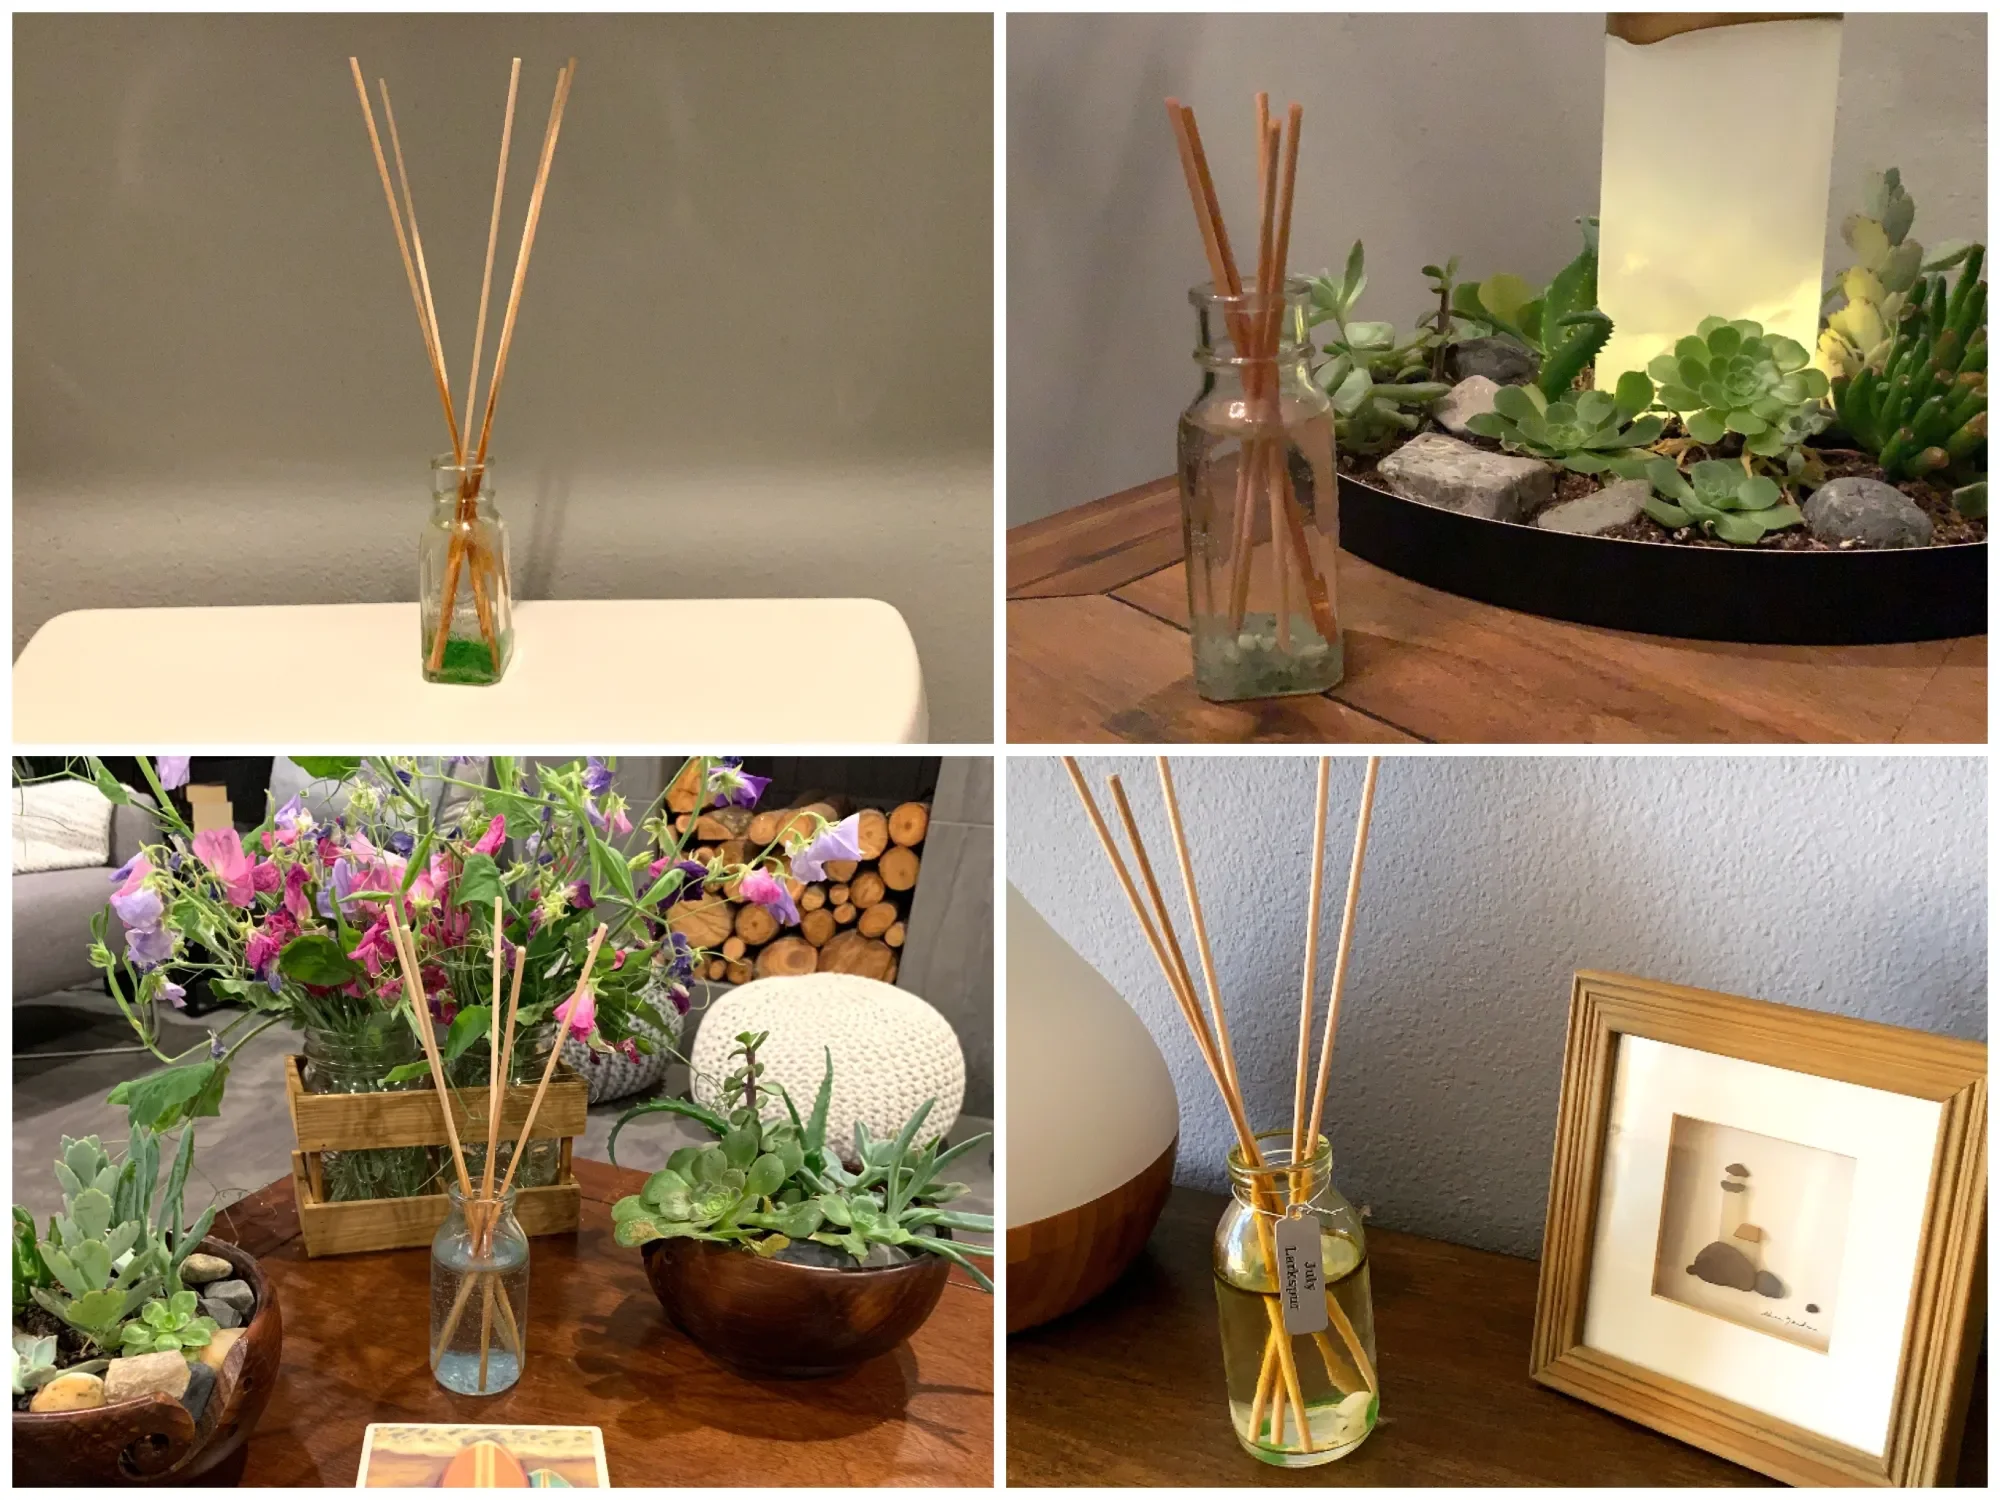
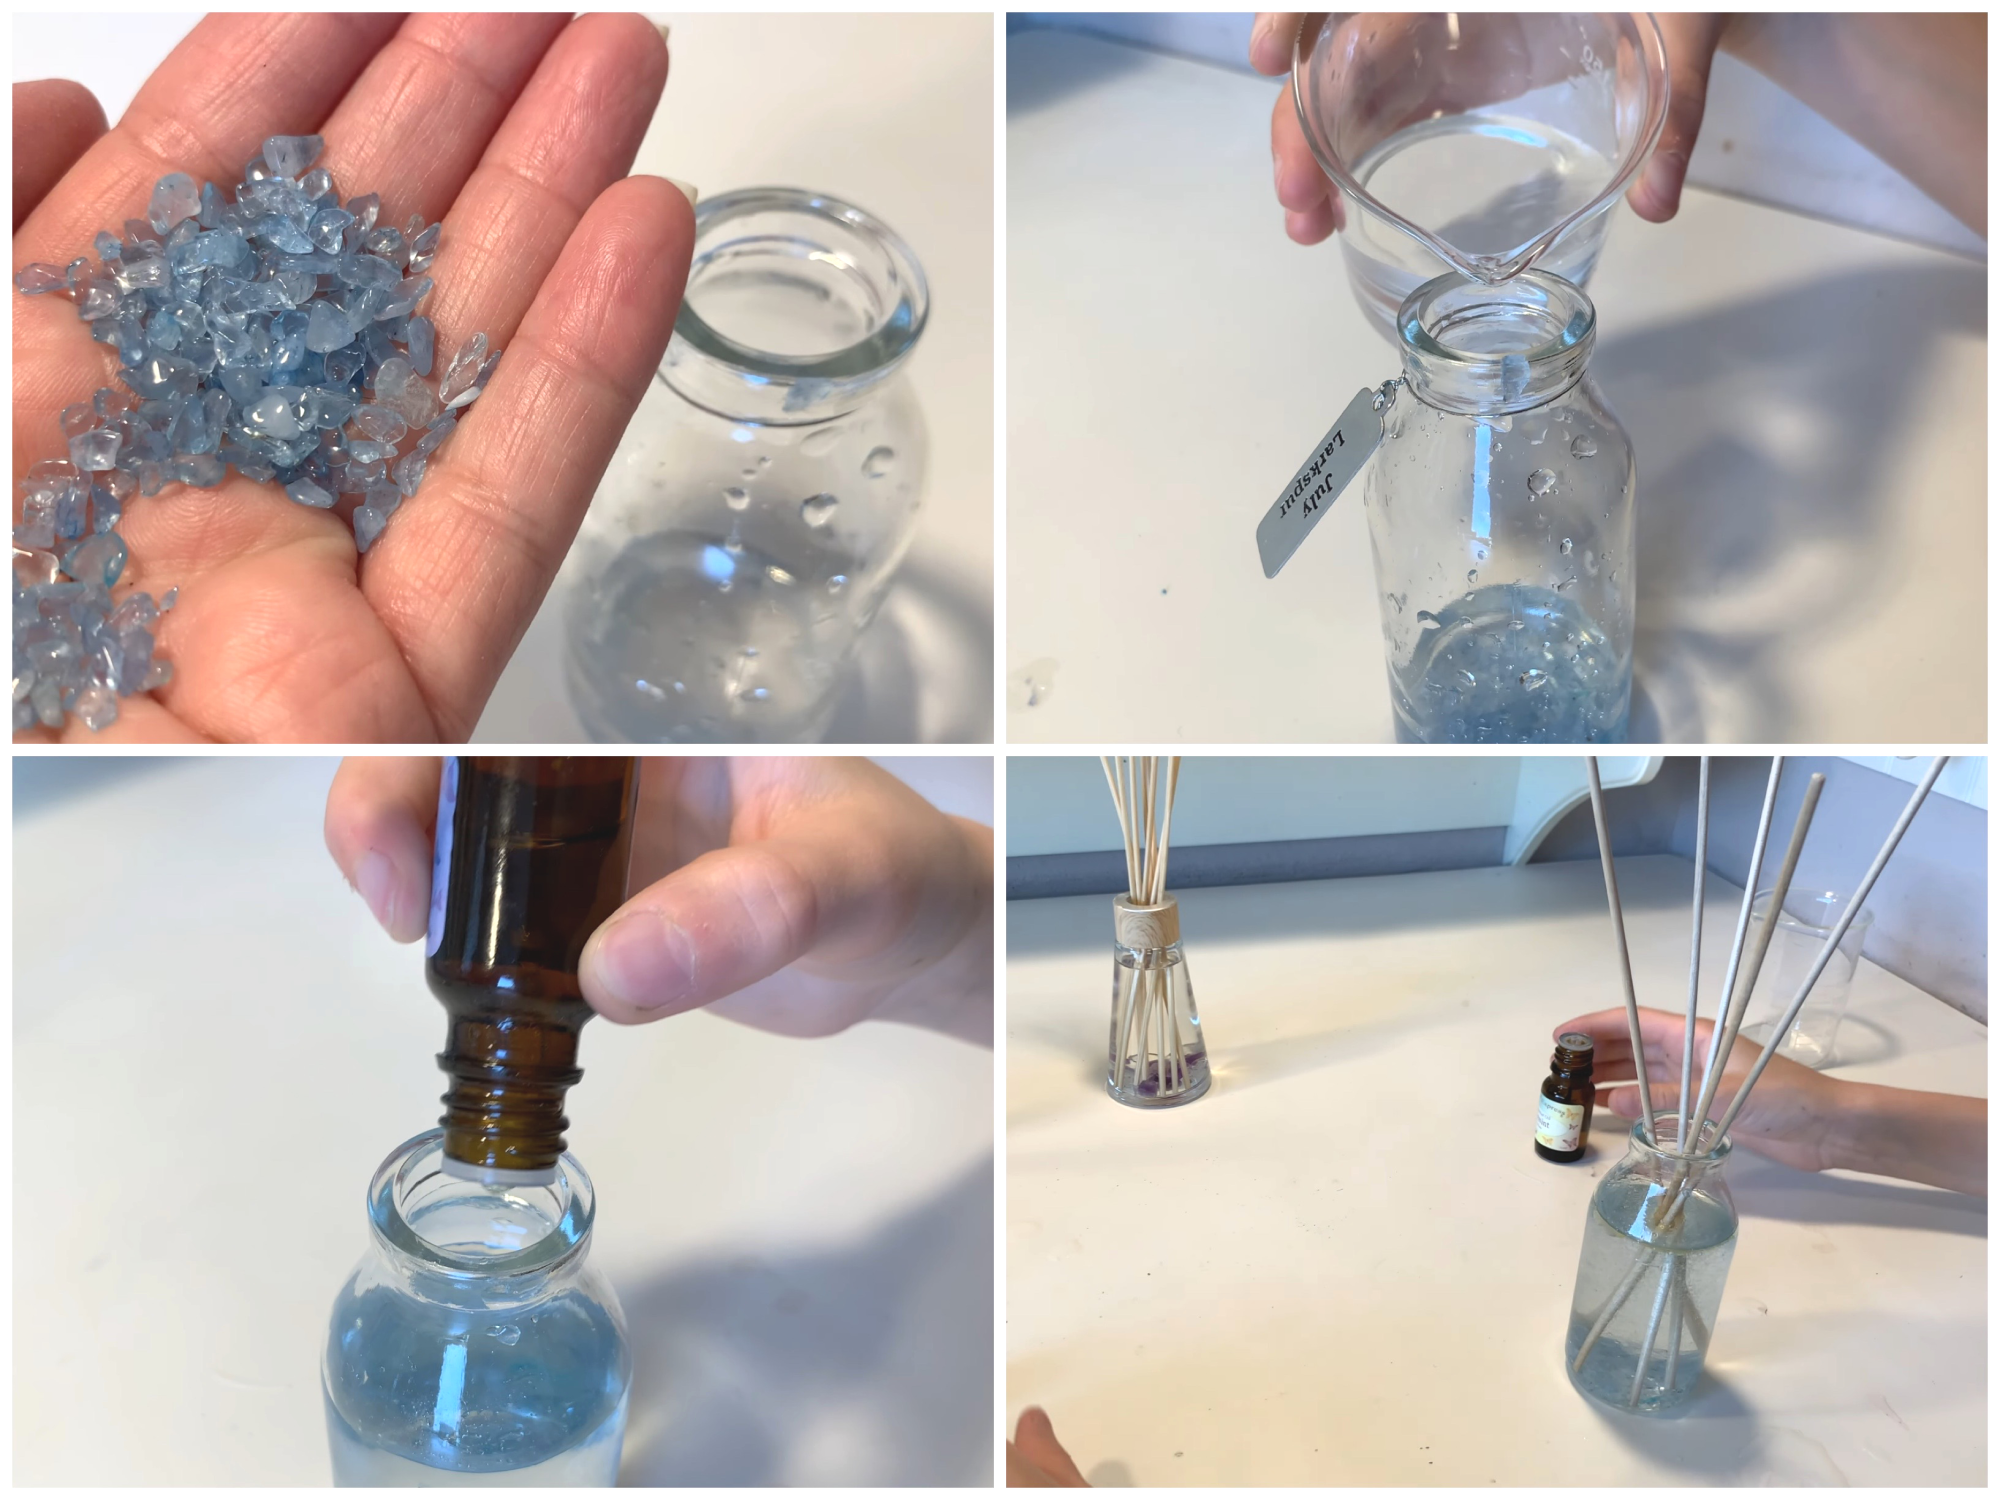
Recently a friend gifted us a diffuser. The ones with sticks in a jar. My 10-year-old daughter loved it! And asked if we could make them. As a homeschooler and avid crafter, not only did I say yes to the idea, we did it right then! I repurposed various supplies and thankfully, I had everything on hand. We used old honey jars and other decorative jars we had been saving, I have a variety of essential oils to choose from, we used 1/8 inch dowels (you could use bamboo skewers) which I bought to make double pointed knitting needles, I had sea glass from our visits to the beach and gems and crystals from our geology unit for homeschool.
I trimmed down the dowels using a hand saw to 9 inches, but you can choose any size. The ones we bought were 12 inches long. I added decorative stones and gems or sea glass to the jar and filled it with water. I added 10-20 drops of essential oils. I used Young Living Peace and Calming and my daughter use Butterfly Express Spearmint. We inserted the dowels and stirred the oil into the water. It will naturally rest on top and eventually the water and oil will creep up the dowels.
After about 12 hours, your space will fill with the scent of your diffuser. Air circulation will affect the reach of the scent. I find them to be quite strong, especially in a small space like a bathroom. We put them all around the house. I like that they are all natural as I'm sensitive to perfumes and strong smells. We've only just made these so I don't know how long they will last, but you can leave a comment if you are curious, or you can message me on Instagram.
This project was super fast and my daughter ended up making 5 within an hour. To make it easier for her, she skipped trimming the dowels. She looked around the house for jars and would have made more if she had found more jars. I think they make a great gift and find them to be a wonderful project for children because it's so easy. Adult supervision is necessary when working with essential oils.
Lip Balm Tutorial
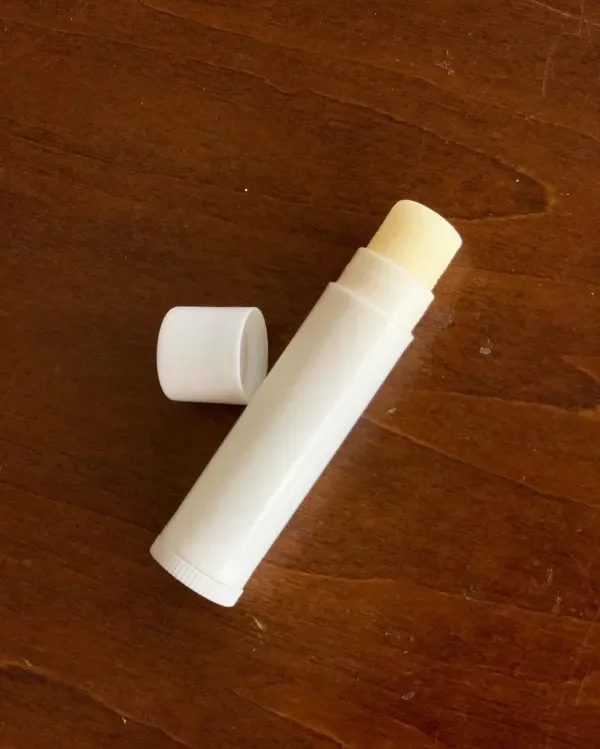
Making lip balm is more simple than I thought. With a few basic materials, you can make dozens of lip balms in just the right consistency and flavor. Plus, you can mind your ingredients so you're using the best ones available. For this project, we are using shea butter, coconut oil, beeswax and cocoa butter. We chose to make lip balm using shea butter because we learned that shea butter was a natural resource in West Africa. For our West Africa main lesson block, we ran short on ideas for projects and and hands-on activities. While this project may be a stretch, I do think that shea butter was likely used as a moisturizer in ancient times. And seeing as is was readily available in the dry regions, it seems perfectly logically that it would have been used in this way and likely other ways as well. For this project we also used a lip balm tray and lip balm containers. If you wanted, you could put your lip balm in a tin or plastic container and use your finger to apply the lip balm. We also used essential oils to scent our lip balm. Since we've made lip balm and bar lotion before, we didn't follow a recipe, and estimated measurements and proportions. In the end, our lip balm is smooth, all natural and smells good!
How to Make Greeting Cards
I love dipping into our supplies for projects that serve two purposes: art and education. These simple Thank You cards with an astronomical design (crescent moon on a night sky) were a fun excuse to pull out our Distress Inks, glitter and our Silhouette Cameo machine.
Using the Silhouette Cameo digital die cutting machine, I designed a crescent moon and Thank You script that would be easy to cut and adhere to a card base. Merging the letters so that it was one clean cut made it easier to add to the card versus adhering each letter.
We used three colors of Distress Inks on our card base which is my go-to watercolor paper: 90 lb. Fabriano watercolor paper. This is a hot press paper that contains 25% cotton. While it's not great for all watercoloring projects, it works well with Distress Inks and techniques that don't require a lot of water (otherwise the paper can buckle and if it's worked too much, it can tear). We used Faded Jeans, Chipped Sapphire and Stormy Sky. All these materials as well as the Silhouette Cameo can be found at Blick.
Once we watercolored the card base with wide brush strokes, we sprayed the wet paint with Heidi Swapp Color Shine spray in pearlized white shimmer. The resulting look was stunning.
Once it dried, we adhered the sentiment and crescent using 3M spray adhesive.
I used foam adhesive to back the watercolor to the card base.
We turned a simple art project into an educational project by writing thank you cards. My 12-year-old son and 8-year-old daughter used these cards to write thank you notes. It was a great penmanship and writing lesson, not to mention a great addition to a lesson on manners and behavior.
Scarf Pin Tutorial
If you want a super cute way to store scarf pins, try this little clay pot filled with florist foam and topped with moss. Make your own flower pins to complete this super adorable look. The scarf pins are just straight pins that can be used to keep your hijab in place, or you can use these pins to keep notes on a cork board. Whatever you decide to do with these scarf pins, keep some of them in this clay pot for constantly blooming bunch of flowers.
The products I used today can all be found at Michaels craft store, or a similar craft store. I used the following materials:
Clay pot, florist foam, moss, straight pins, polymer clay (I prefer the clear kind), Swarovski crystals and Tombow mono adhesive glue.
You will also need to bake the polymer clay.
Check out some of my other projects and tutorials here.
How to Make Bath Fizzies
Bath Fizzies with mystery toy surprises inside?! What’s not to love! This is a fun twist on bath bombs and sure to delight those reluctant bath takers. I made these with my 11-year-old son and 7-year-old daughter, and they had a great time doing this project. I was surprised how much my 11-year-old liked making these and more so found him to be quite a good helper. Once he made the first batch with me, he went on to make another three batches on his own! He and his sister filled them with tiny unicorns, fairies and princesses. The toys were purchased from the Target Dollar Spot for $3.00 for each tub. Since our Mr. Teal’s epsom salt was already scented, I opted to not add any essential oils, but playing around with different combinations is half the fun. I also opted to leave them un-dyed for health and to ease clean up.
This recipe is easy, and most things can be found in the grocery. Citric acid is probably the hardest thing to find, but we got ours from a local grocery store. Amazon not only sells all the supplies you’ll need including essential oils, they have a nice assortment of bath bomb molds. While we chose to supplies we had on hand, after doing this project, I fully intend to invest in some medium metal bath bomb balls.
The recipe I used was inspired by one I found on the Popular Science website. The DIY bath bomb article was easy and helpful and the changes we made were small. Here’s our recipe:
Materials:
Epsom Salt- 1/2 cup
Corn Starch 1/2 cup
Baking Soda- 1 cup
Citric Acid- 1/2 cup
Coconut Oil- 2.5 Tablespoons
Water- 1 Tablespoon
Optional: Essential Oil- 1 teaspoon
Molds
Directions:
Thoroughly mix dry ingredients. Mix wet ingredients. Very slowly pour wet ingredients into dry ingredients. Shape and compact it with your hands. Release from mold and let dry completely for 24 hours before using. Store in a dry place.
Troubleshooting tips. If your mixture isn’t holding together, try packing it hard in your mold first. If it still crumbles out, let it set for a few hours. Or, if you don’t want to do that because you only have a few molds, add an additional 1/2 teaspoon of water mixed with 1/2 teaspoon of coconut. Avoid adding too much more. Additional coconut oil may prevent the fizzing process and too much water will dissolve your bath fizzies before they get used.
Want to see more tutorials? Click here!
How to Make Bar Lotion
This bar lotion is so easy to make, with no special equipment, you’re sure to be making your own in no time. Made with just three all nature ingredients, these luxurious bar lotions will be your favorite in no time. They also take no time to make! With about 5 minutes of prep, 15 minutes to melt and another 10 minutes to pour, set and clean up, you’re likely to be making these often and for everybody!
This recipe calls for one to one to one ratio of beeswax, shea butter and coconut oil. We used unrefined filter beeswax from a local distributor (Topanga), organic coconut oil from Trader Joe’s, and unfiltered raw shea butter from a distributor on Amazon. While the coconut oil and beeswax smell amazing, the shea butter takes some getting used to. It also overpowers the other flavors and makes it hard for the essential oils to come through. I used about 1-2 teaspoons of essential oil for every batch which is 1/2 cup of beeswax, 1/2 cup of coconut oil and 1/2 cup of shea butter.
Once the ingredients are placed in a glass jar, put it in a pot of simmering water. The higher the water level, the quicker it will melt. Stir occasionally. Once the mixture is fully melted, remove from the water and let sit for no more than a few minutes before adding your essential oils. I added about 2 teaspoons. Mix and pour into your molds, jars or tin cans. It cools very quickly and depending on how thick your mold is, the bar lotion can solidify within 15-30 minutes. You can use it right away! Store in a cool place if it is not enclosed in a jar. If it’s enclosed, and you leave it in a warm place, your lotion will liquify. Don’t worry! You can still use it. To use, add a generous amount to hands, arms, legs and feet. You can scoop it out of the container or rub the bar lotion in your hands to warm it up or rub directly onto your skin.
Here are some more projects and tutorials you might be interested in.
What is Project Life
A Simple Scrapbooking System with Project Life
Ever wonder what Project Life is all about? Even if you're not crafty, I think anyone can do Project Life scrapbooking. It's so easy. All you need is an album, sheet protectors and a Project Life kit. That's it!! I'll show you the different products you need to complete an album. The cards are so beautiful you don't need any other embellishments, but if you want, you certainly can decorate the cards with die cuts, stickers and more.
Scrapbooking has been one of my favorite hobbies for many years, and over time I've found that the simpler my system is, the more likely I am to actually keep up with it. Project Life has become my favorite way to preserve our family memories because it takes away so much of the time and pressure that often comes with traditional scrapbooking.
The system is incredibly simple. All you really need is an album, a set of divided page protectors, your photographs, and a collection of Project Life cards. The divided pockets make putting pages together so easy because you simply slip your photos and journaling cards into place. There's no complicated designing, cutting, or measuring, yet the finished pages still look beautiful.
Project Life comes in several different sizes, so you can choose the format that works best for you. I enjoy using both the 6×8 album and the larger 12×12 albums, depending on the project. The larger page protectors come in several pocket layouts, giving you lots of flexibility for arranging photos, while the smaller albums are perfect if you're looking for something a little more compact.
One of my favorite things about the system is the variety of card collections. You can purchase a large core kit with hundreds of journaling and decorative cards, or start with one of the smaller kits if you simply want to try it out. There are also adorable 4×4 albums with coordinating cards and divided page protectors that are perfect for smaller projects or preserving favorite everyday moments.
Beyond the basic supplies, there really isn't much else you need. A few printed photographs and a pen are enough to create pages you'll treasure for years. If you enjoy adding more creative details, you can always include stamps, stickers, or a few embellishments, but they're completely optional. The beauty of Project Life is that it works just as well with a very simple approach.
One of the reasons I've continued using this system for so many years is because it allows me to focus on preserving memories rather than worrying about making every page perfect. It's a practical, flexible system that makes documenting everyday life enjoyable, and it's one that has worked especially well for our homeschool albums over the years. I love being able to look back through those pages and remember not only the big milestones, but all of the ordinary moments that made our homeschool journey so special.
Project Life Scrapbooking Resources
Albums
Page Protectors
Journaling Cards
Project Life Core Kit (600+ cards)
Project Life Value Kit (starter kit)
Basic Supplies
Optional Embellishments
Learn More
Rosemary Oil
Rosemary grows abundantly in our garden and is well suited for the Southern California climate. Aside from using it occasionally for cooking, I haven't enjoyed the benefits of fresh rosemary as much as I hoped. While I like rosemary essential oil for the health benefits, I didn't make use of fresh rosemary until now. It turns out it's quite easy!
Rosemary infused water and oil may be used for hair and scalp health. Some have noted that it helps with hair growth. The benefits of herbs in general are well known, but each herb has unique qualities.
I have used Argan oil for years ever since a friend brought some back from Morocco, a country known for their Argan oil. To make rosemary infused oil for hair and scalp health, I opted to use argan oil. I cut a few sprigs of rosemary from my yard. I did not wash it, but if you choose to wash it, make sure it's completely dry before adding oil.
I cut mine up and placed it in a mason jar. I emptied a small jar of argan oil over the rosemary ensuring that all the rosemary was covered. There are a couple methods to infuse oil. You may leave it covered outside in the sun for 2 weeks, or put it in the oven for 2 hours. I placed it in a barely warm oven (about 150 degrees) and left the oven door open. I left for about 2 hours, then let it cool down naturally. The following day I poured off the oil back into the jar.
If you prefer to decant your oil into a smaller jar (let's say you are buying your oil in bulk), I found glass bottles with pipet dropper from the Dollar Tree.
Next, you may use the oil on your hair or scalp. The rosemary scent is light, but distinct.