Mineralogy, Geology & Earth Science
Projects & Activities
Projects & Activities
Hands-on projects are some of my favorite ways to encourage curiosity and learning with my students. Some students respond quickly and enthusiastically to hands-on projects and activities while other students are not as interested. Sometimes there is a window of opportunity for hands-on projects. Other times certain temperaments are more engaged in these projects versus other temperaments. Because we did our mineralogy, geology, and earth science units several times over the years, we have an assortment of lessons, projects, and hands-on activities. There was one year, where the majority of our lessons were exclusively hands-on projects, balanced by read-alouds from living books. Conversely, our most recent mineralogy main lesson block included primarily delivered lessons, reading from living books, and written work, which included illustrations in the main lesson notebook.
When doing our hands on activities and projects, I especially love utilizing premade kits. While some of these kits are no longer available, similar ones are available. And for the projects that we created on our own, is possible that the specific materials are no longer available, but definitely similar materials are available. One of my favorite kinds of books to include in a main lesson block, especially science or history, our project and activity books that include ideas for hands-on projects. In this case, the book Mountains and Volcanoes: Geography Facts and Experiments by Barbara Taylor, is an excellent example of a book that contains a rich collection of simple projects as well as relevant content. While this book is out of print, it is still available secondhand. However, finding books that are similar to it will provide ideas on how you can put together some hands-on activities for your mineralogy, geology, or earth science main lesson block.
Of all of our projects, the most enjoyable one was breaking open geodes. While this was less educational and more exciting, it’s still one that holds a special place in my children’s hearts, even years later.
One note, the volcano projects, which include the acid, vinegar and the base, baking soda, are not technically geology projects. Those are chemistry projects. However, we did include them for entertainment purposes, but it should be noted that that chemical reaction is best served in a chemistry Lab during middle school.
Geology Projects & Activities
-

Layers Of The Earth | Geology Unit
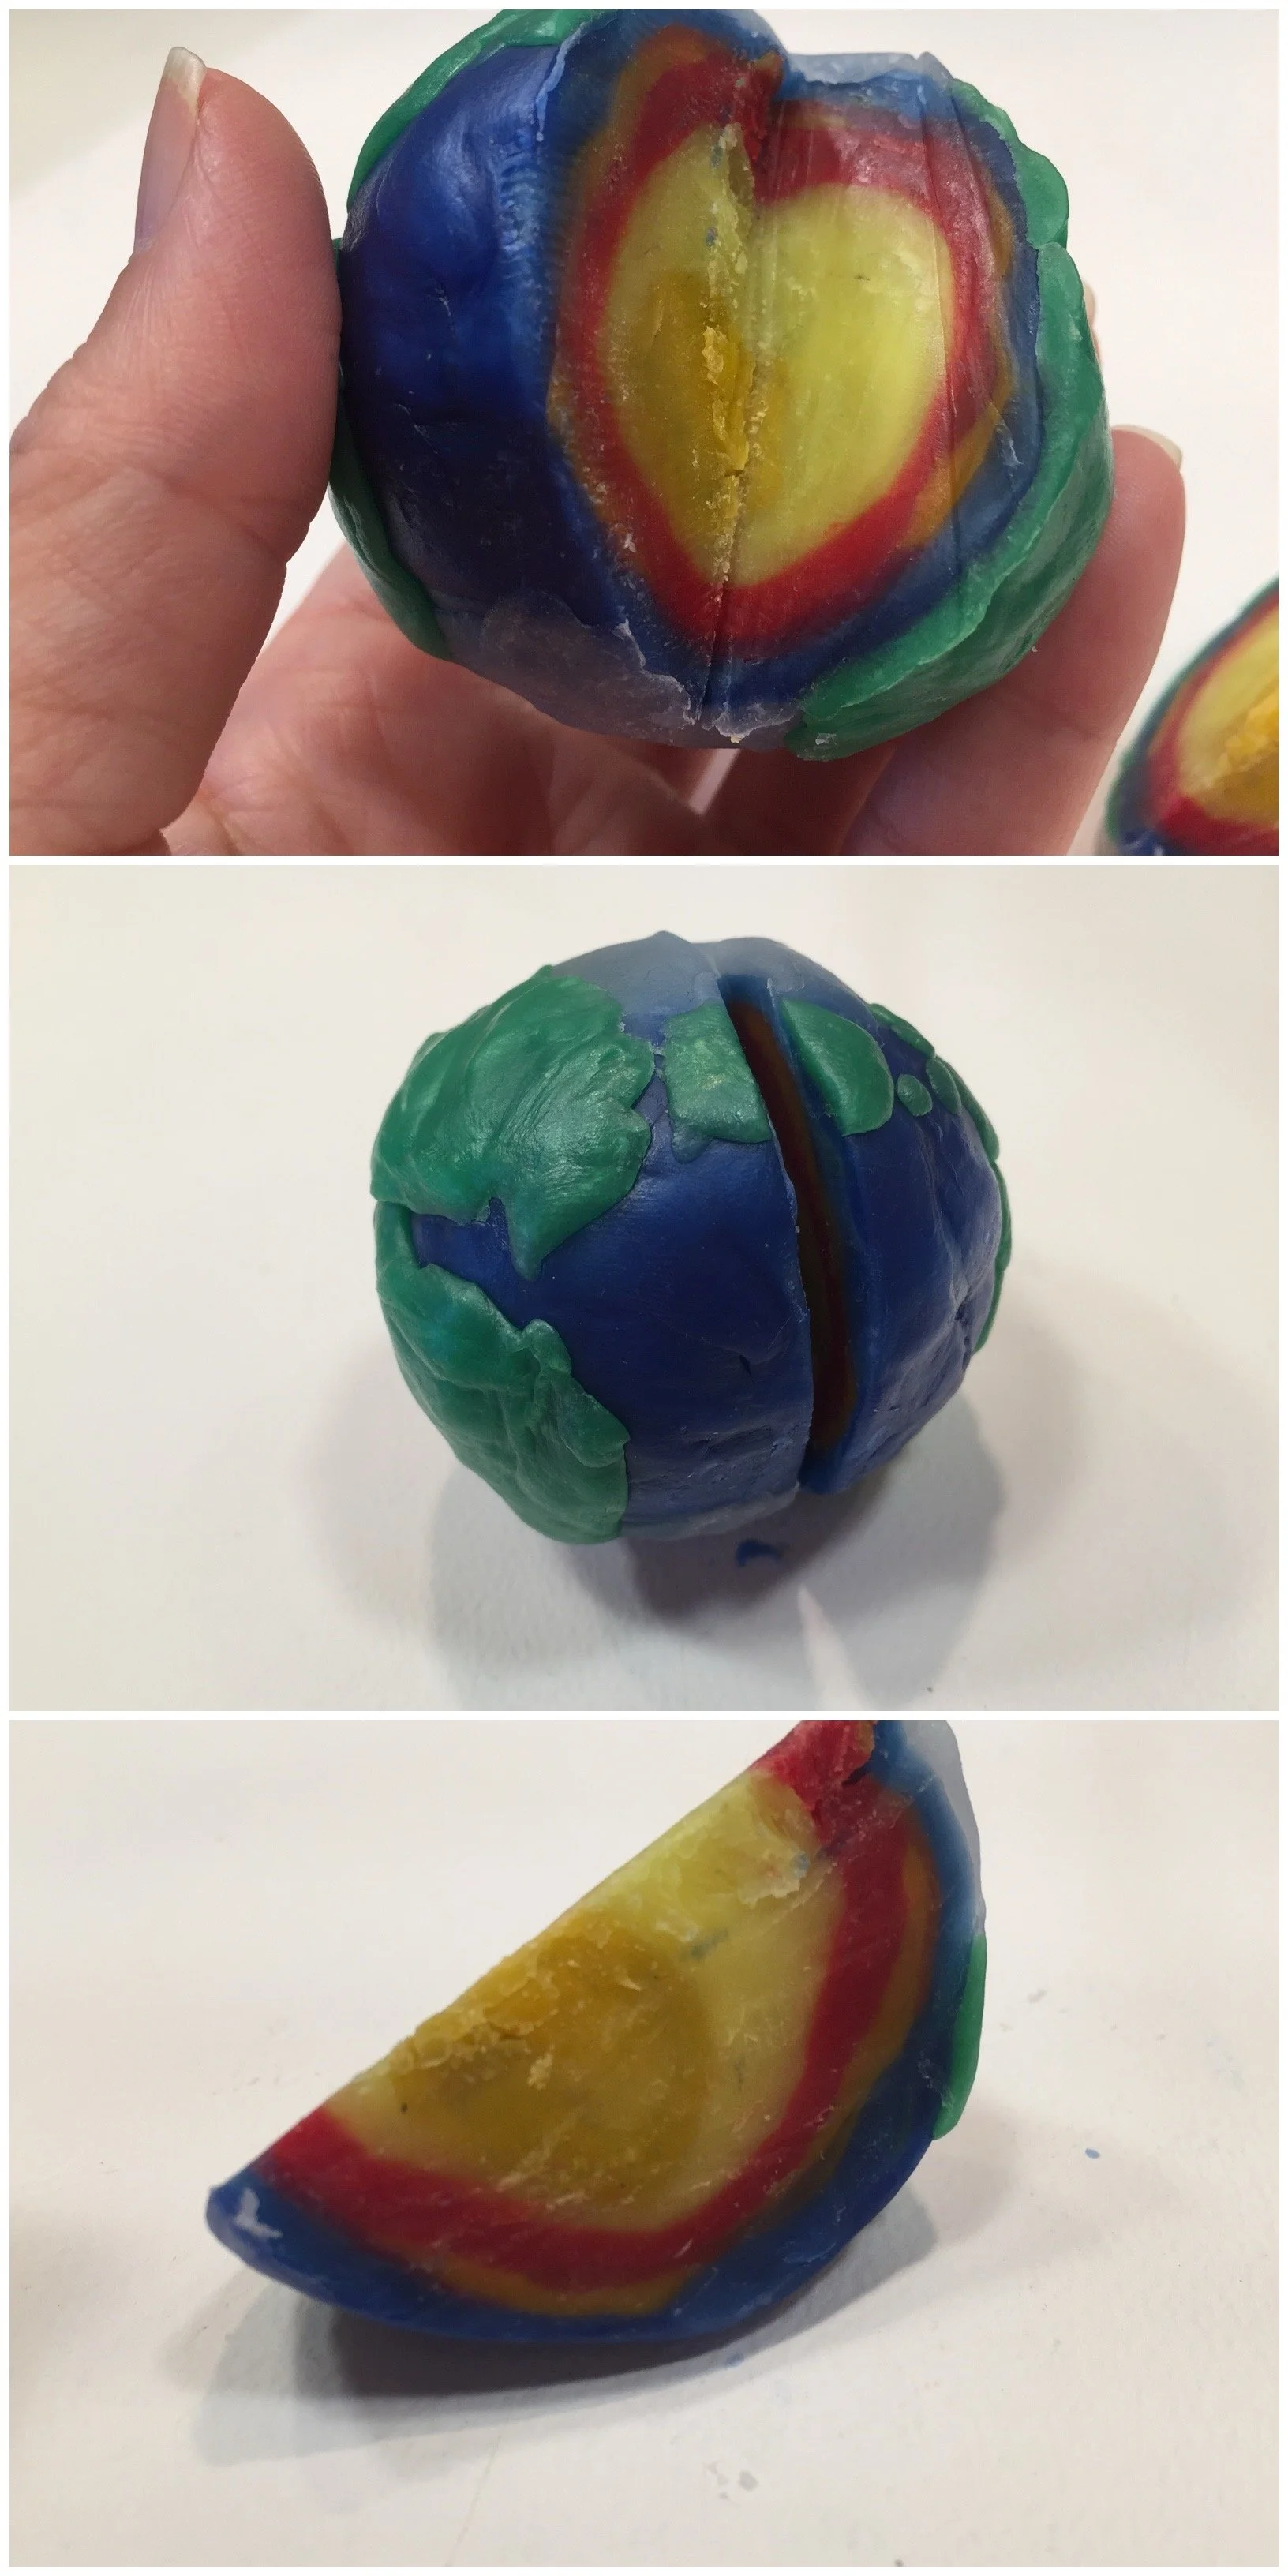
We are working on our geology unit and finding inspiration for projects from Barbara Taylor's book Mountains and Volcanoes. We began by warming the wax in our hands; it was easy because the weather is warm. We rounded up a yellow ball to represent the inner core then wrapped the orange ‘outer core’ around it.
-
DIY Mountain Project | Geology Unit
This is a super easy, super affordable and very educational activity. We were inspired by the book Mountains and Volcanoes by Barbara Taylor, but took the project one step further by gluing the layers of paper together to make it a permanent 'fold mountain'. We also did the activity using very thin modeling beeswax by Stockmar from A Child's Dream.
-
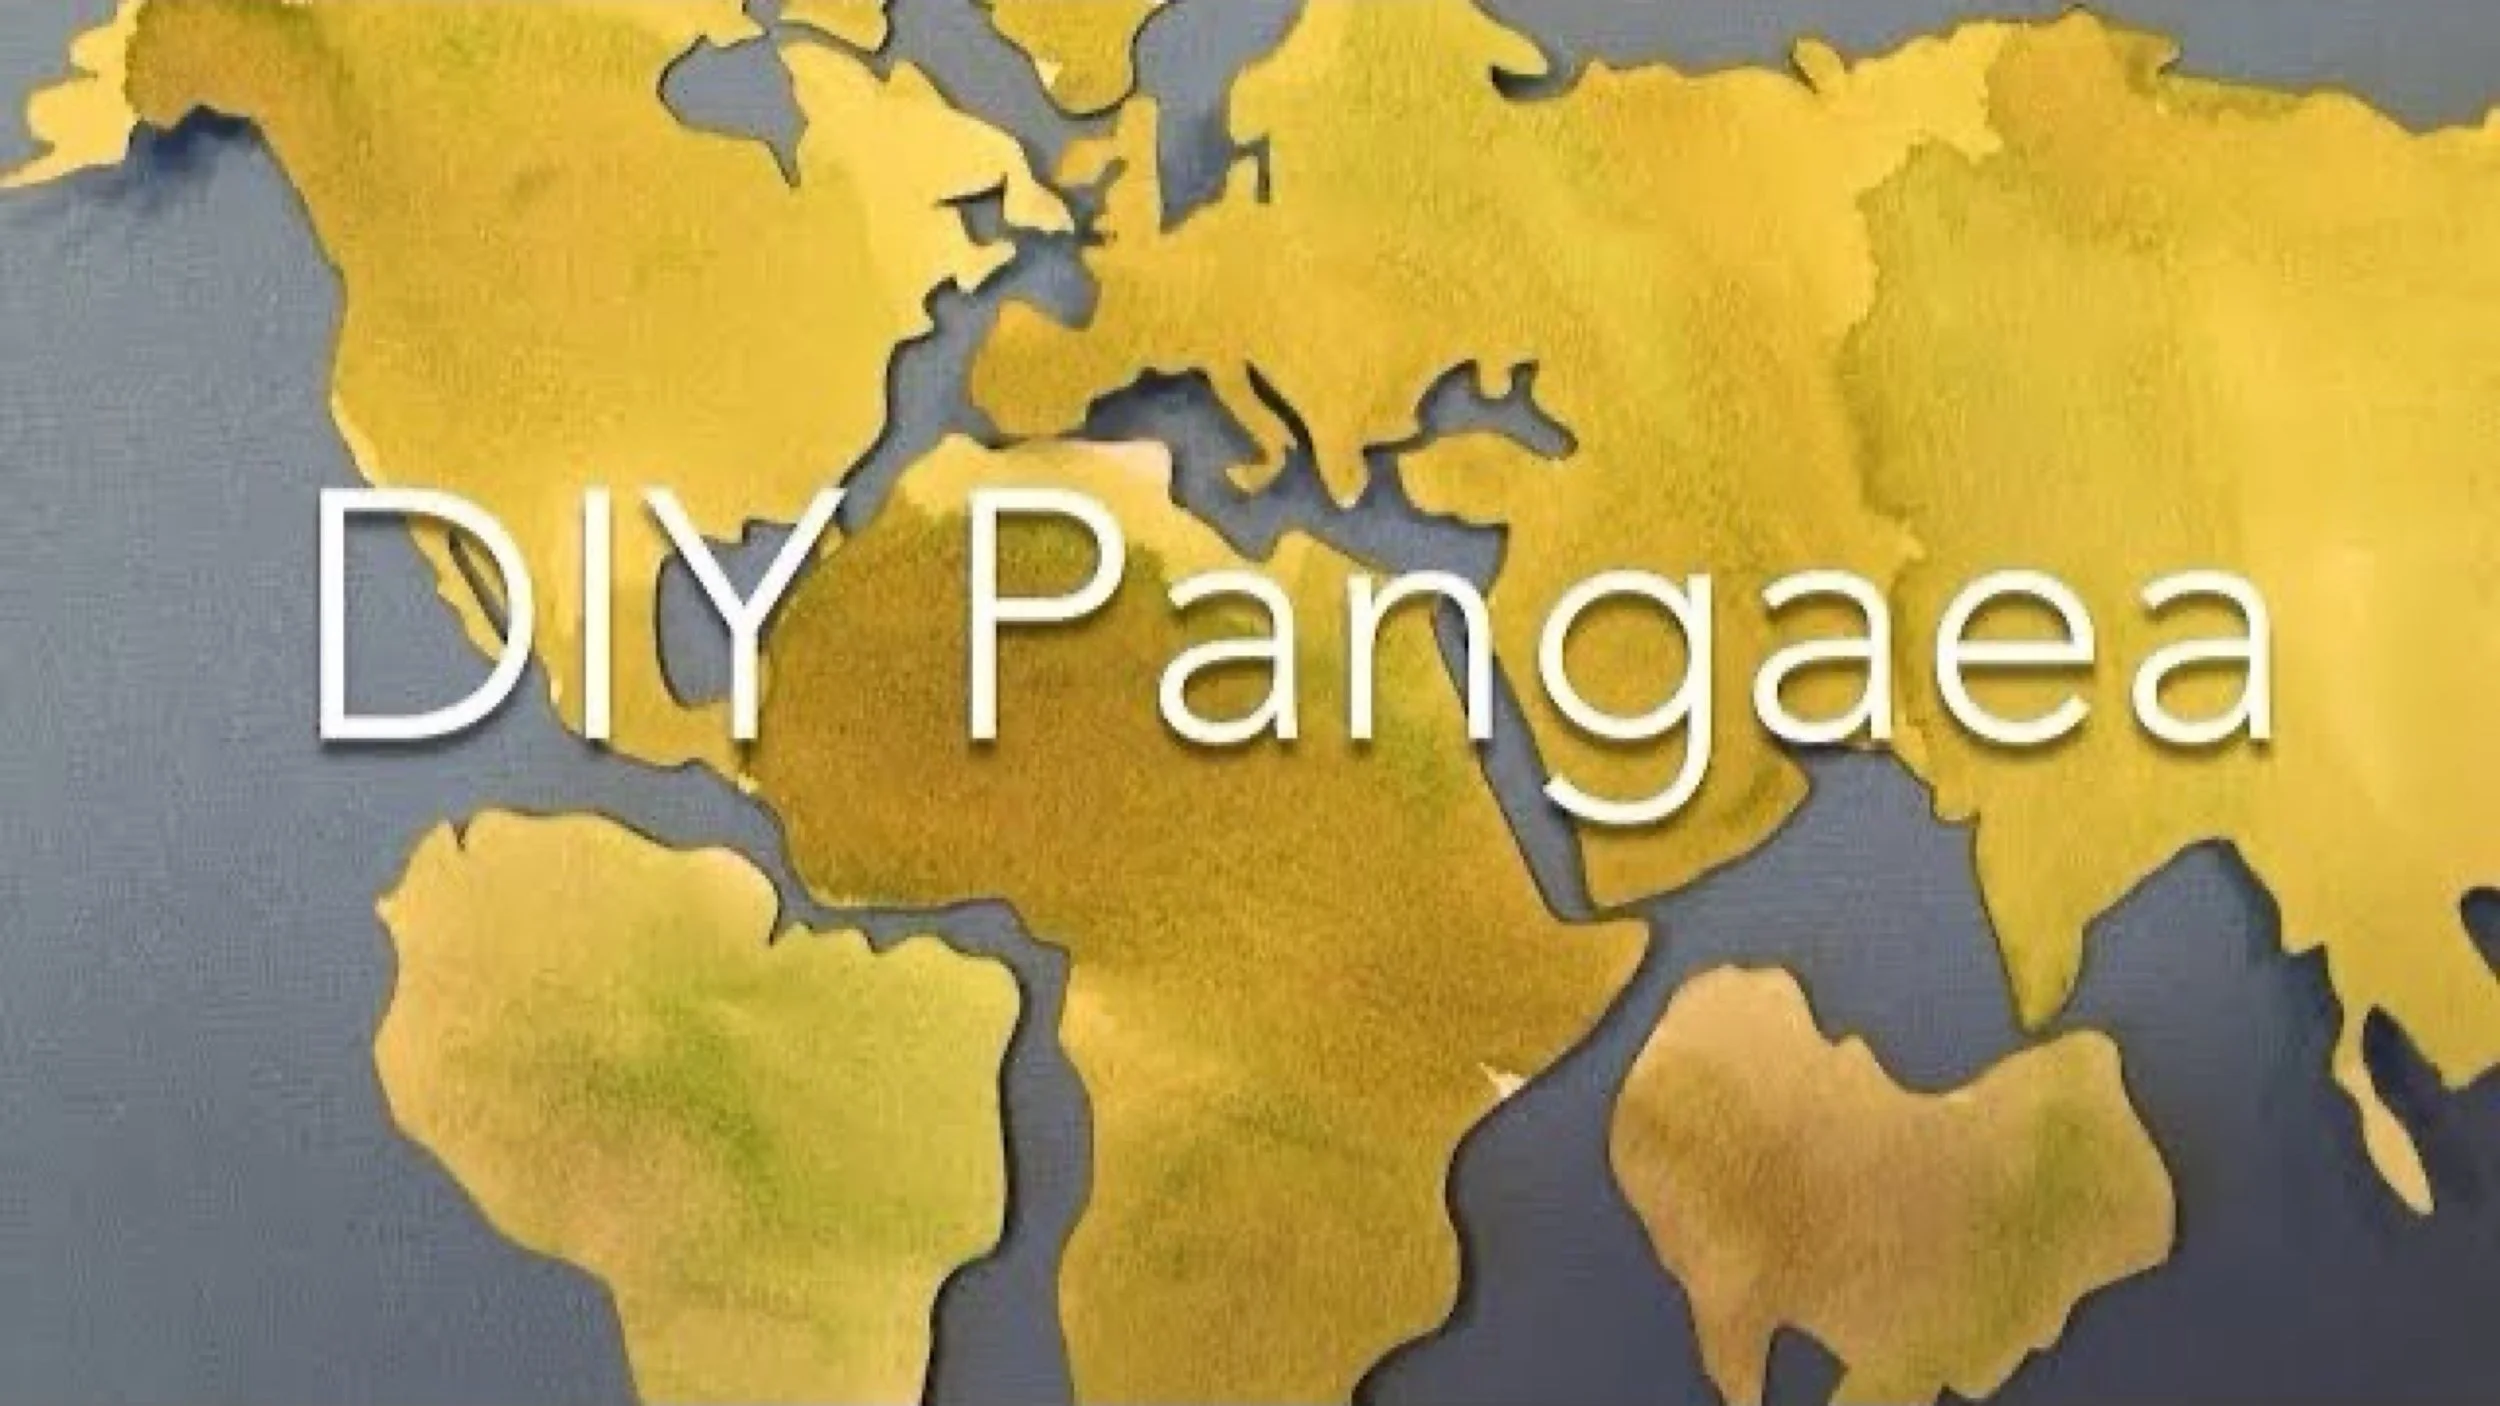
How To Make Pangaea | Geology Unit
I'm going to show you two ways to demonstrate how the continents once belong to one supercontinent Pangaea.
-
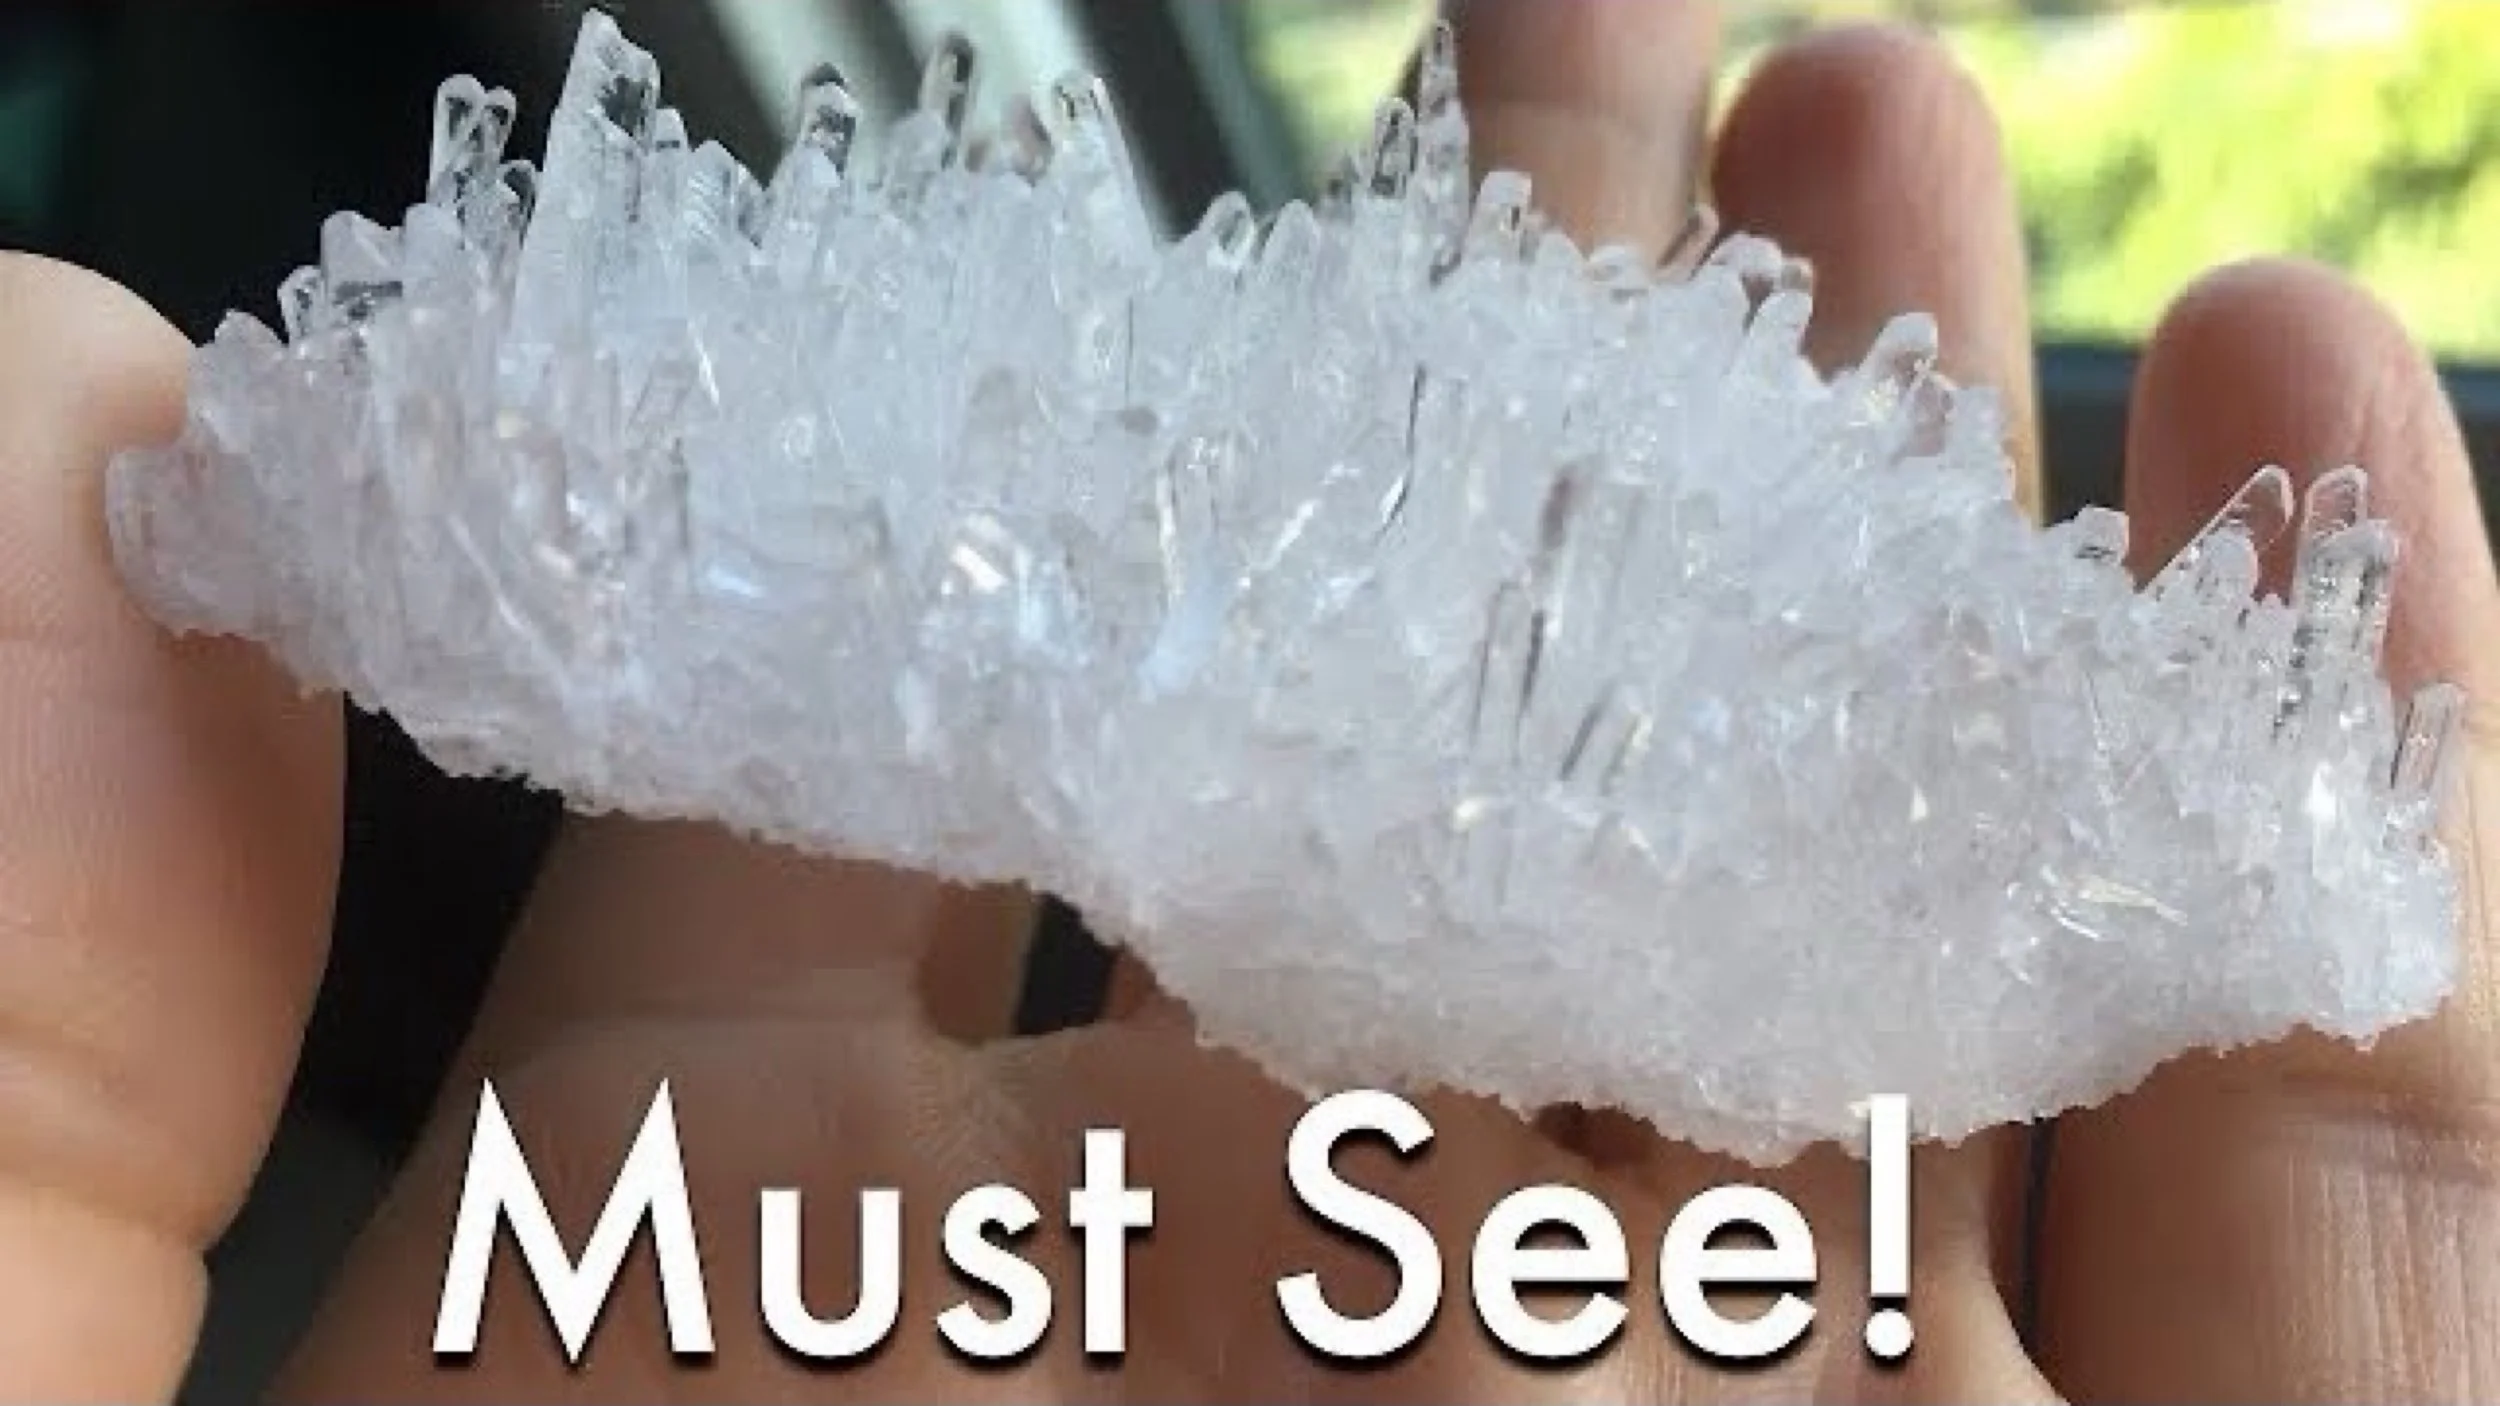
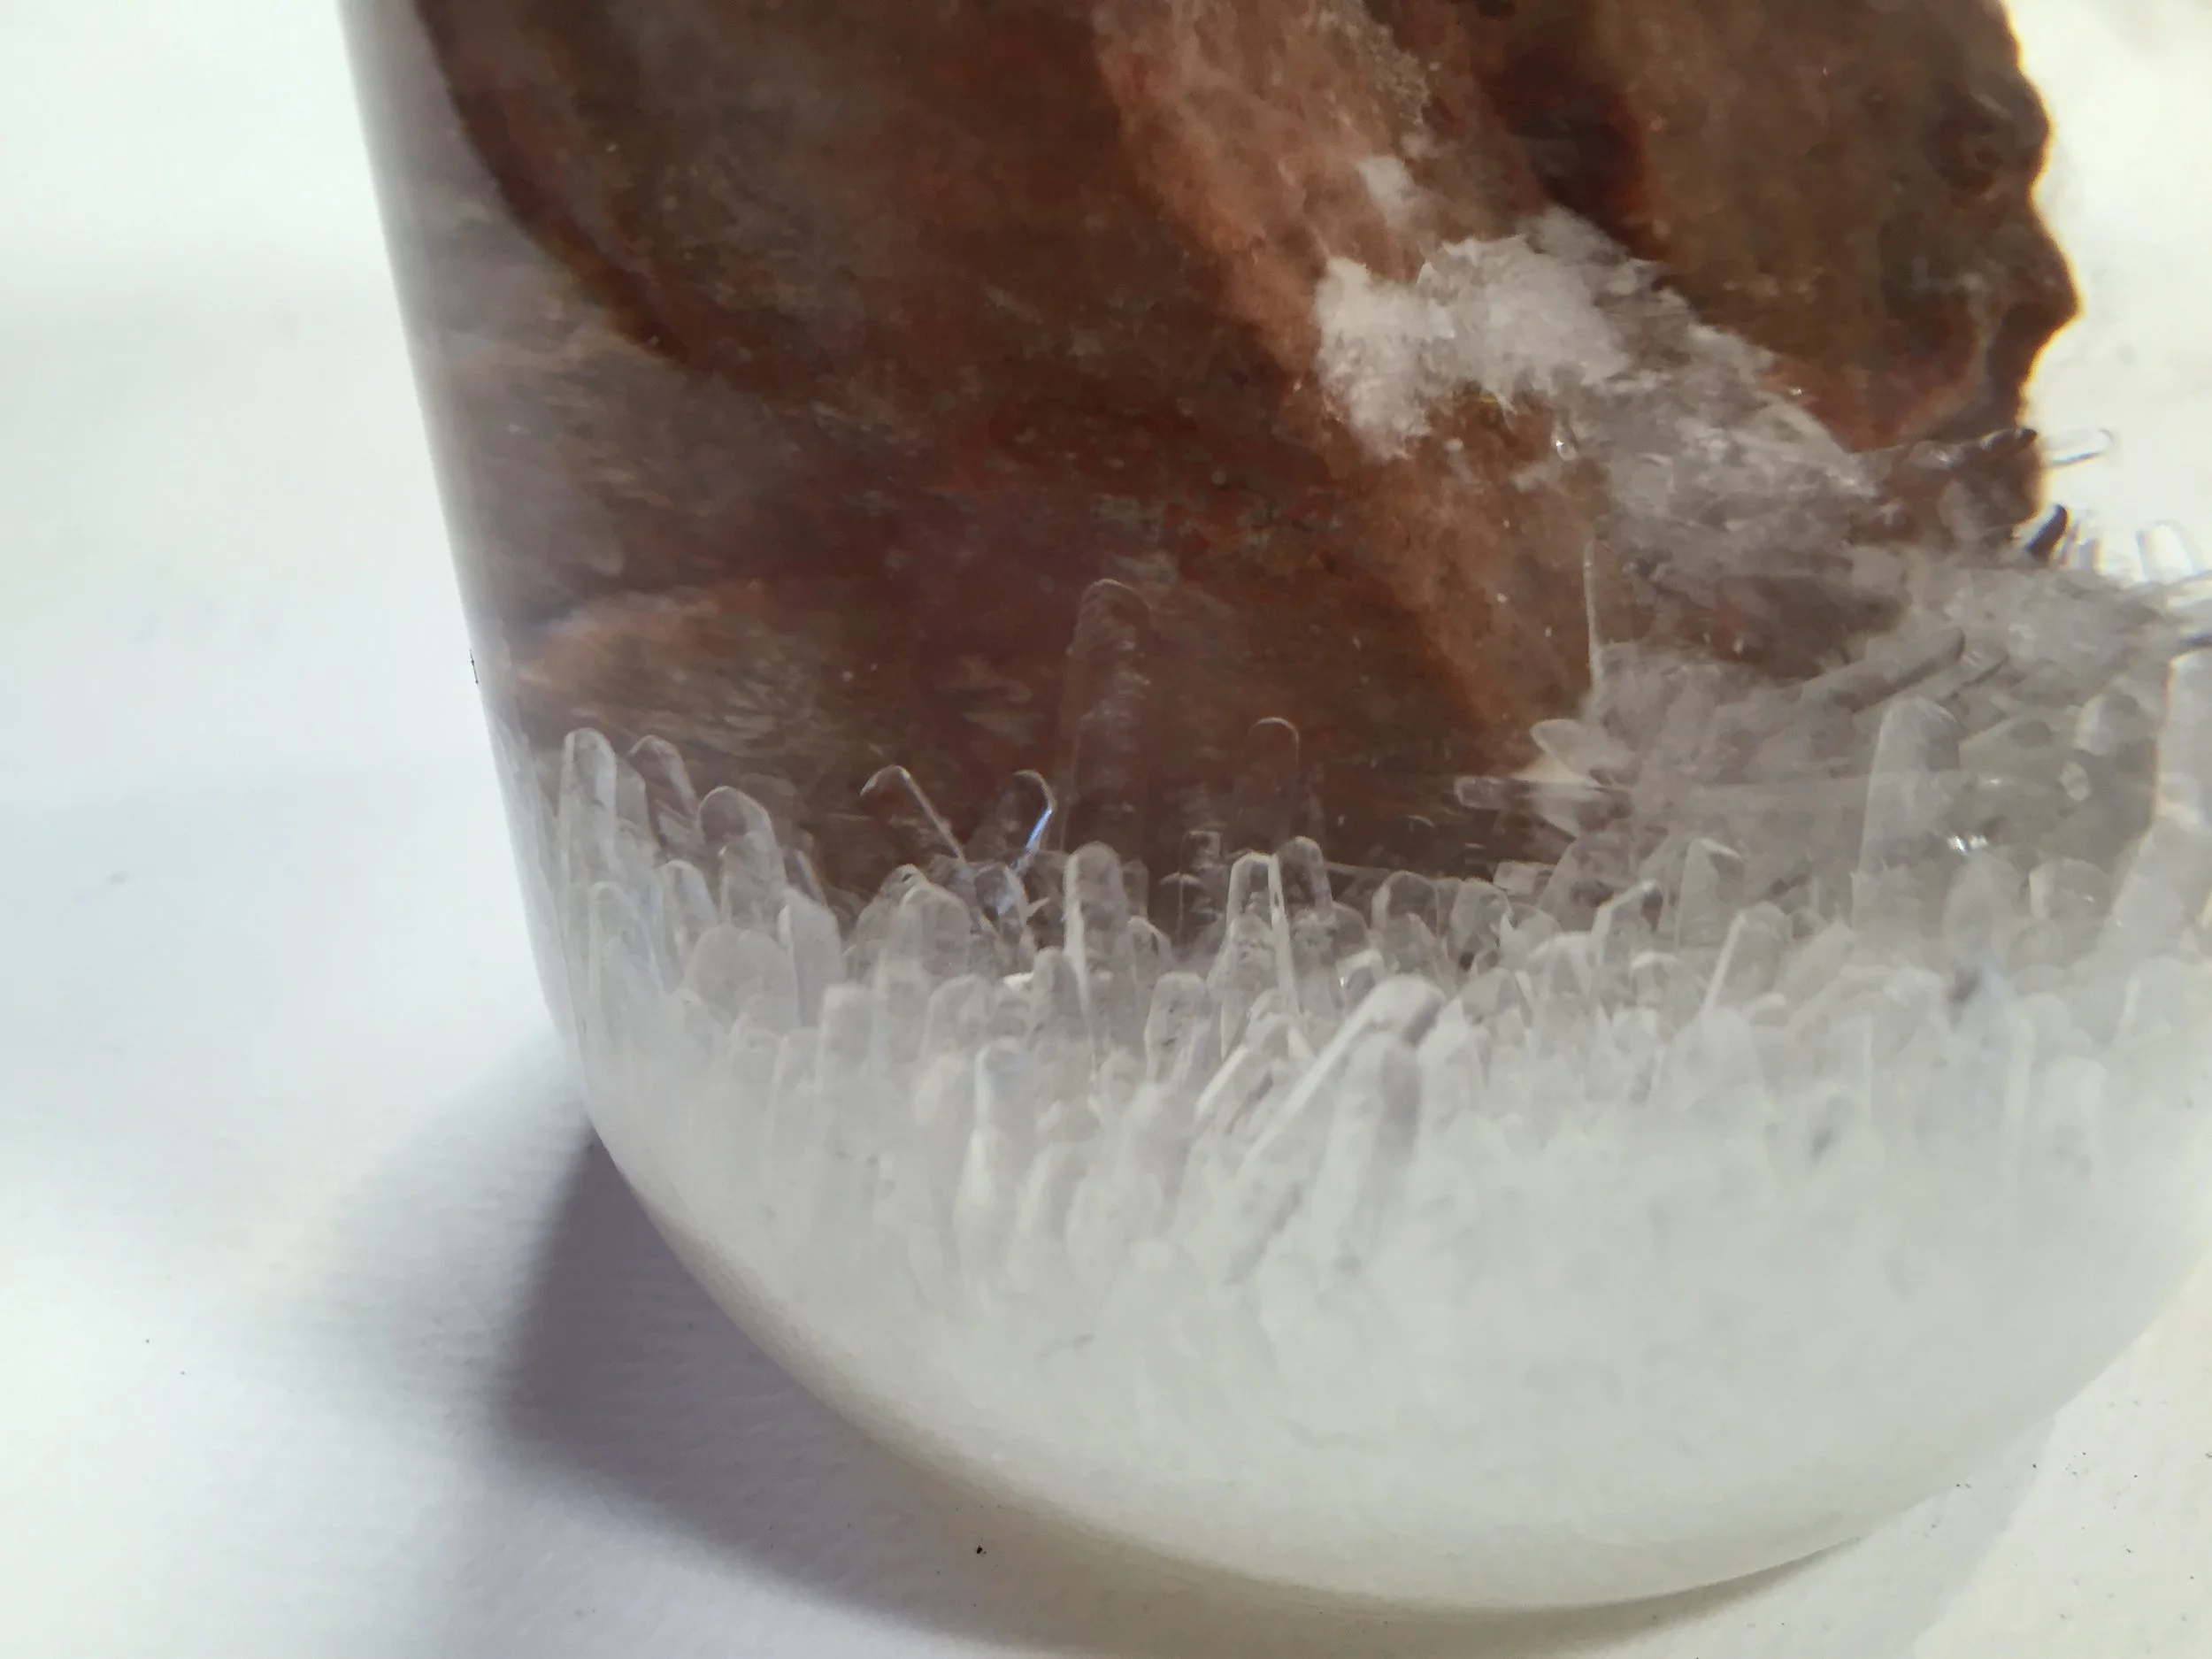
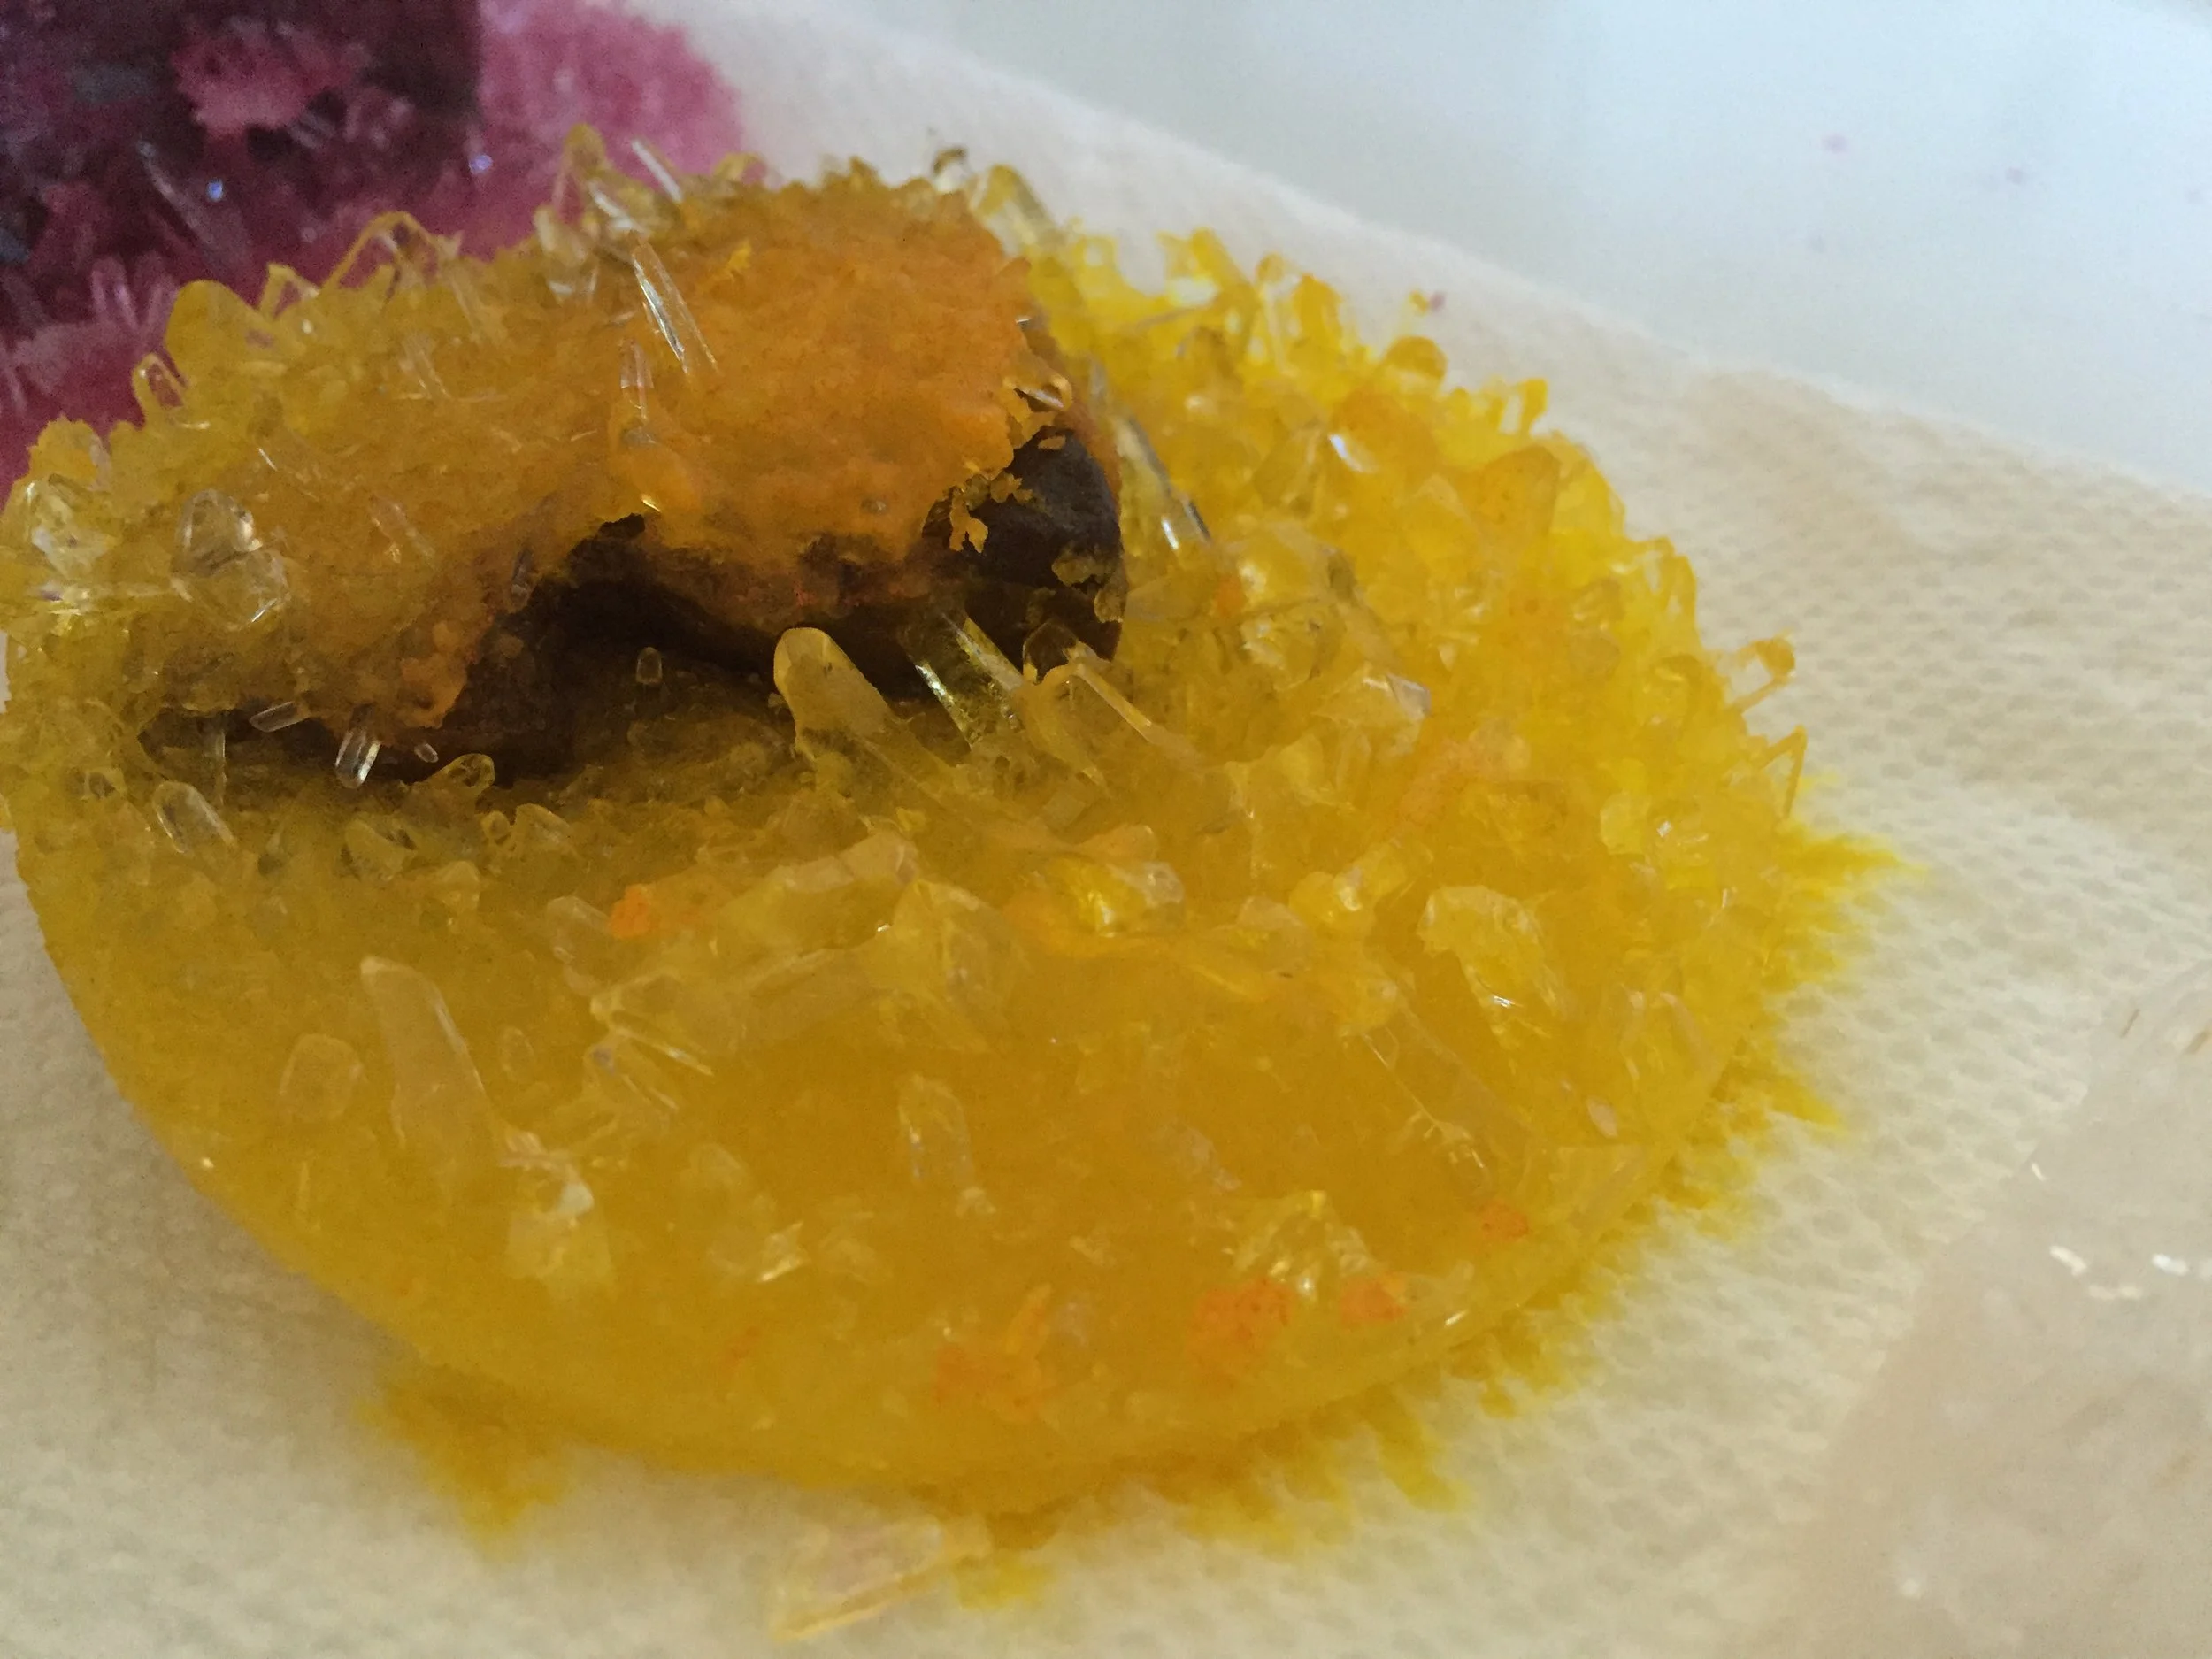
Growing Crystals
Our latest Dig! Discover and Display kit is not just for excavating crystals and rocks, it's for growing crystals, too! Each kit comes with two packets of mono-ammonium phosphate. Some packets of salt are dyed with food coloring to mimic crystals found in nature; however, each crystal structure is the same, forming tetragonal crystals.
-
Mixing Vinegar & Chalk | Geology Unit
We got the inspiration for this project from the book called Mountains and Volcanoes by Barbara Taylor. However, we didn't have naturally occurring chalk to perform the demonstration properly, so we improvised and used baking powder and baking soda as an alternative.
-

How to Make a Geyser | Earth Science
Geology is one of my favorite sciences. We are using the book Mountains and Volcanoes by Barbara Taylor as inspiration and today we are going to make a geyser.
-

Simple Geology Activity | The Mantle and Magma
For our geology unit, we are using the book Mountains and Volcanoes by Barbara Taylor as inspiration for projects, activities and experiments. This simple low-cost/no-cost project was fast, thrilling, informative and easy.
-
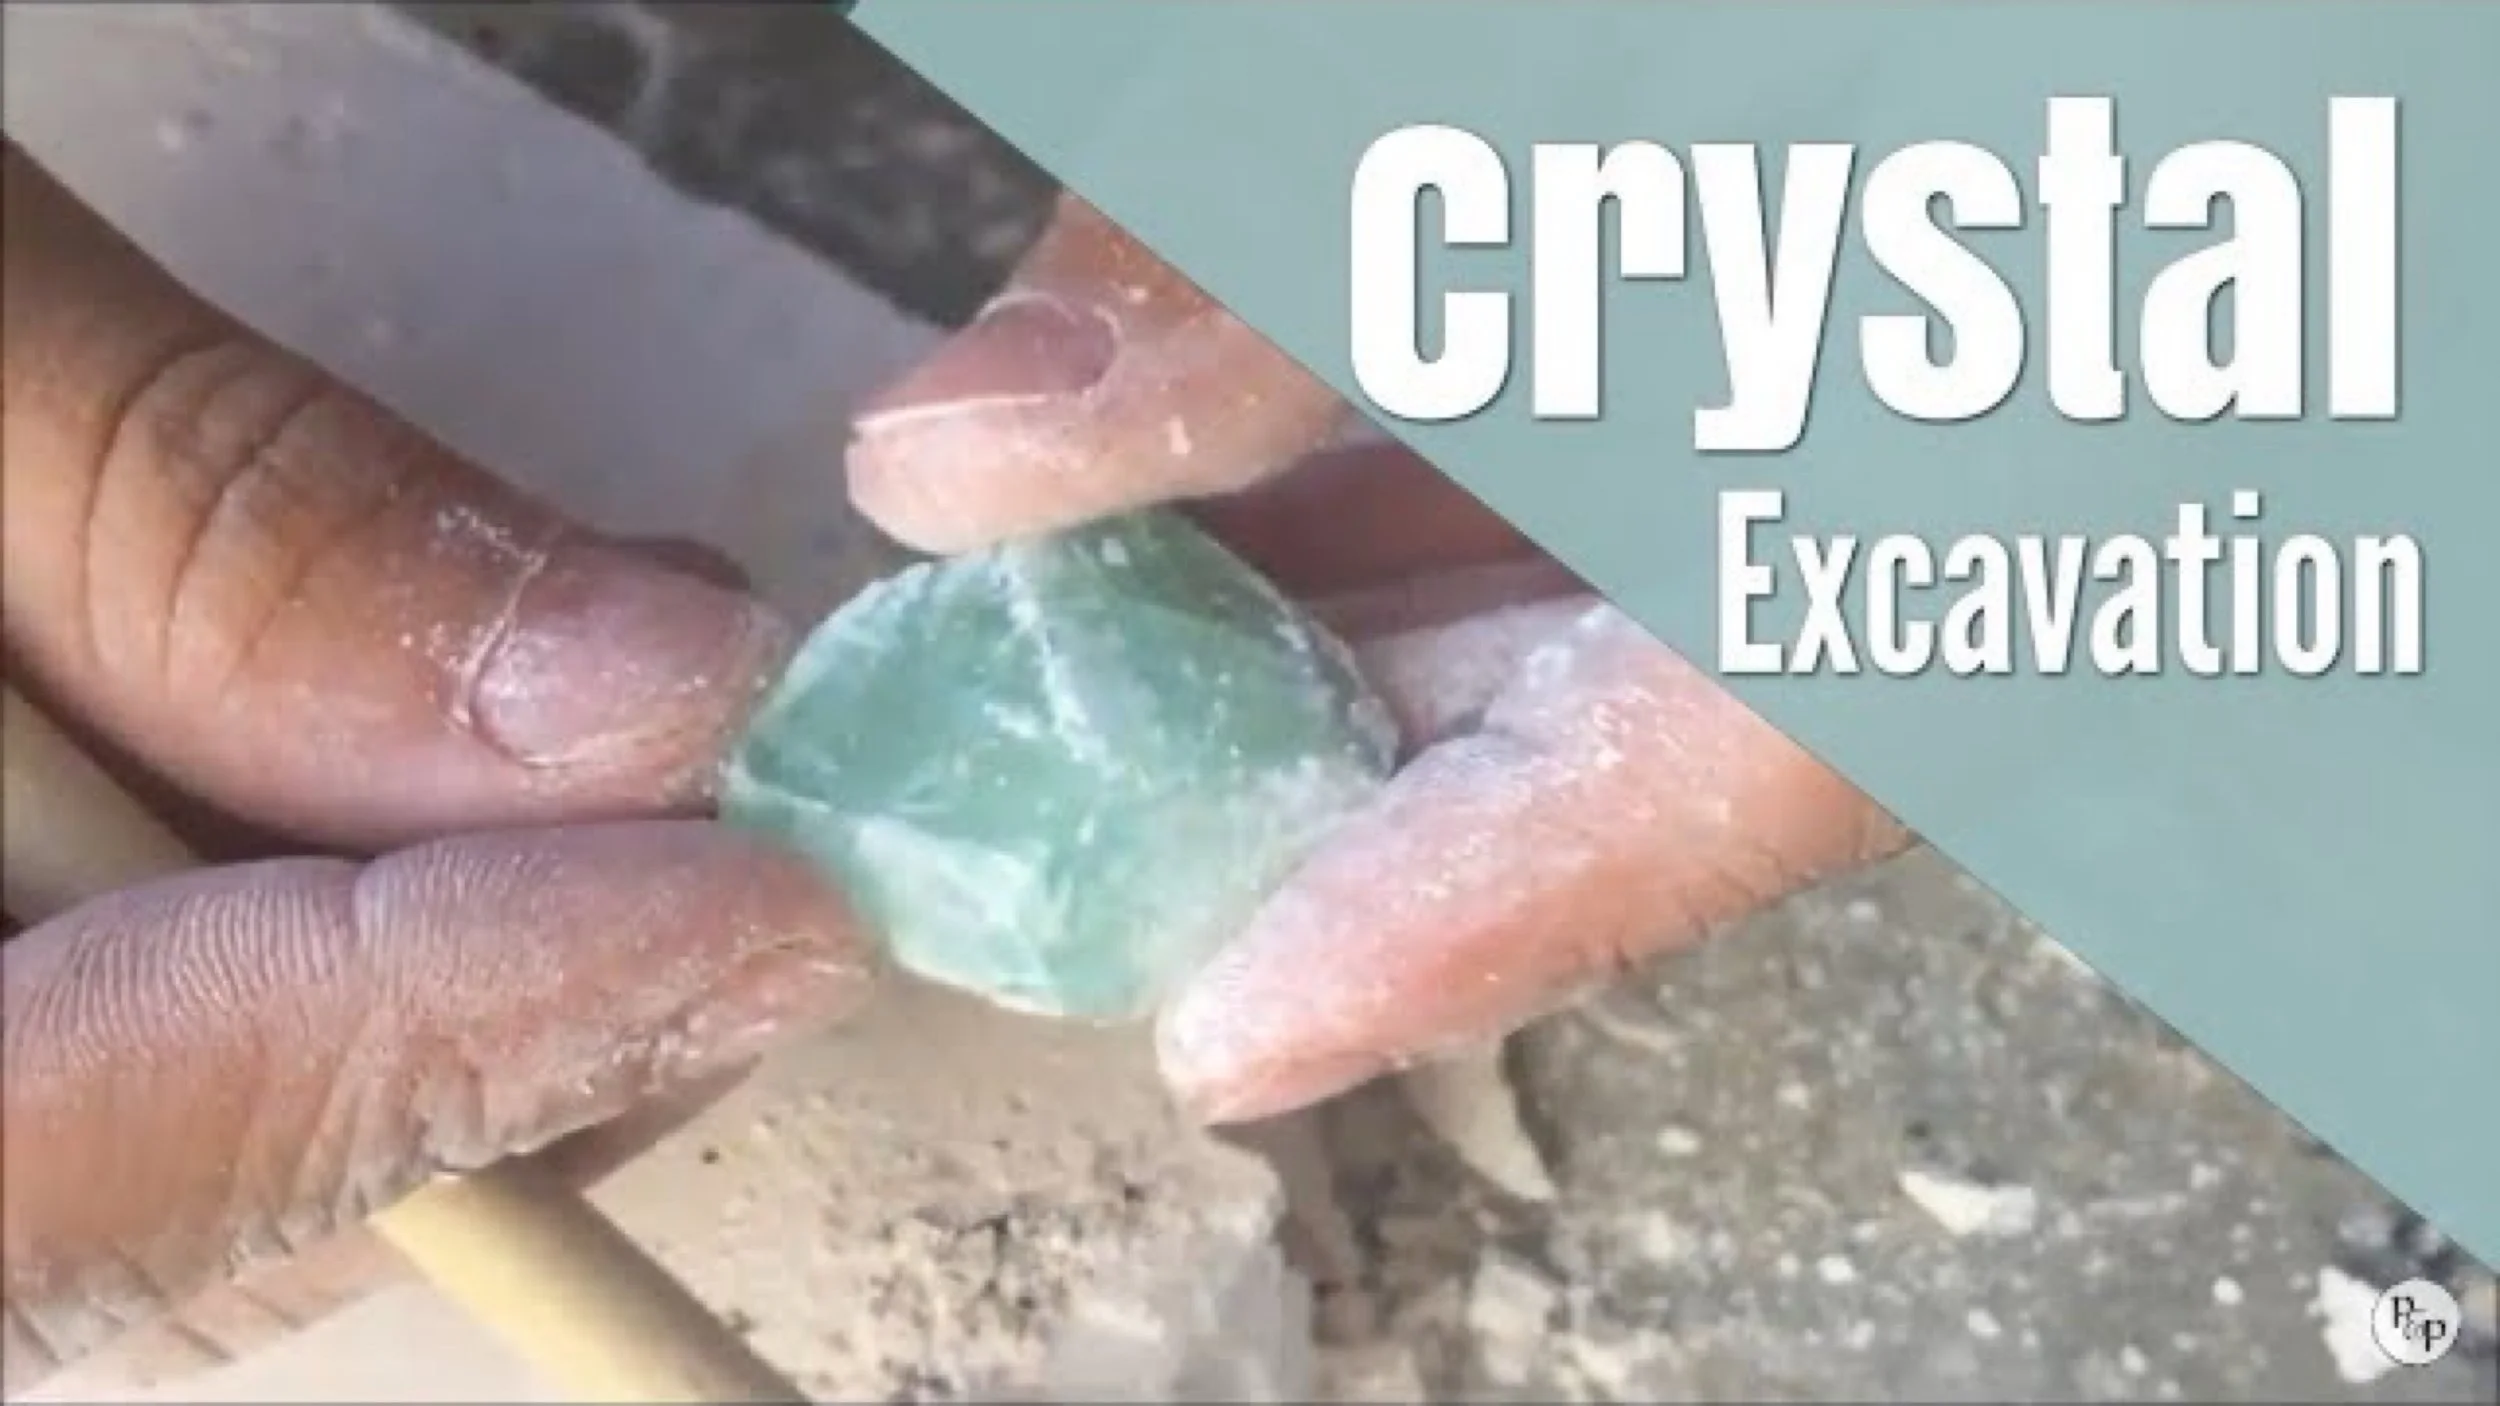
Crystal Excavation | Mining for Crystals
I was surprised at how nice these rocks and crystals were. They are beautiful, polished and from around the world. You also get a lot of specimens! Fifteen in total. This kit was great for kids 5-13 years of age, however, the crystal growing part of this kit needs adult supervision and you can see that in a separate video.
-

What's Inside Geodes?
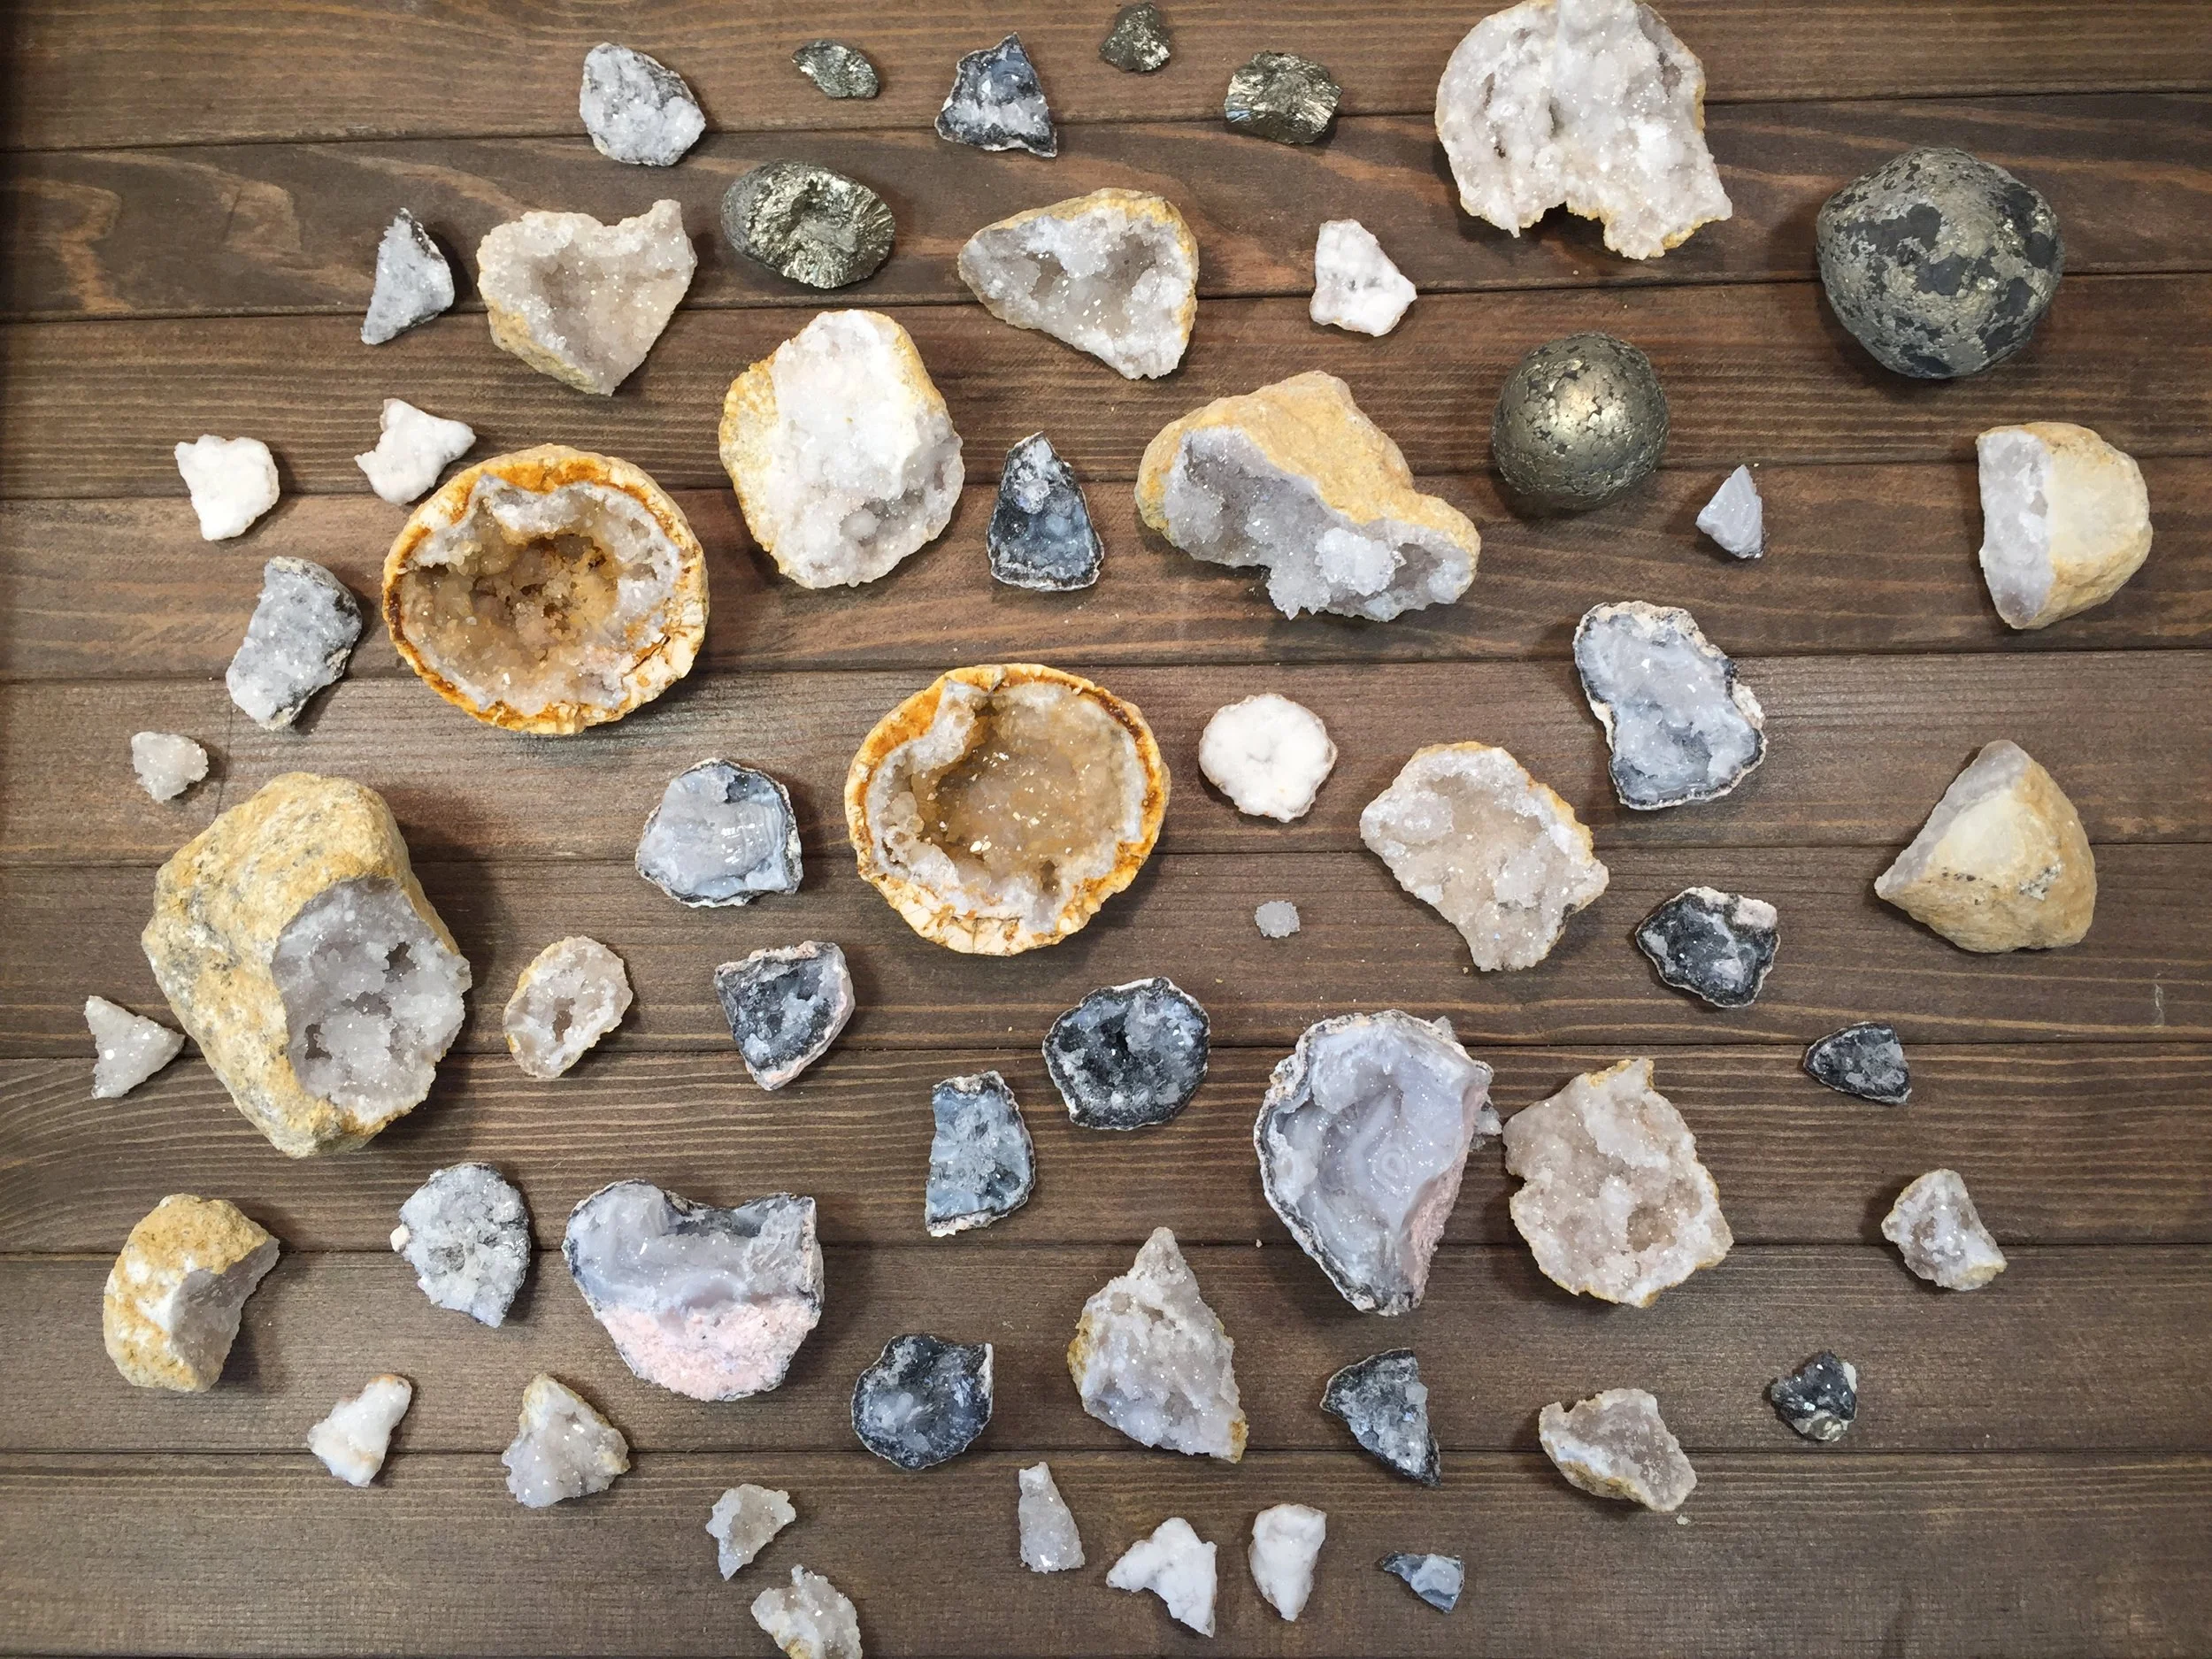
This has been our funnest project this year. We loved it! This kit perfectly accompanies a geology or earth science unit. We picked up Break Open Real Geodes from Rainbow Resource.
-
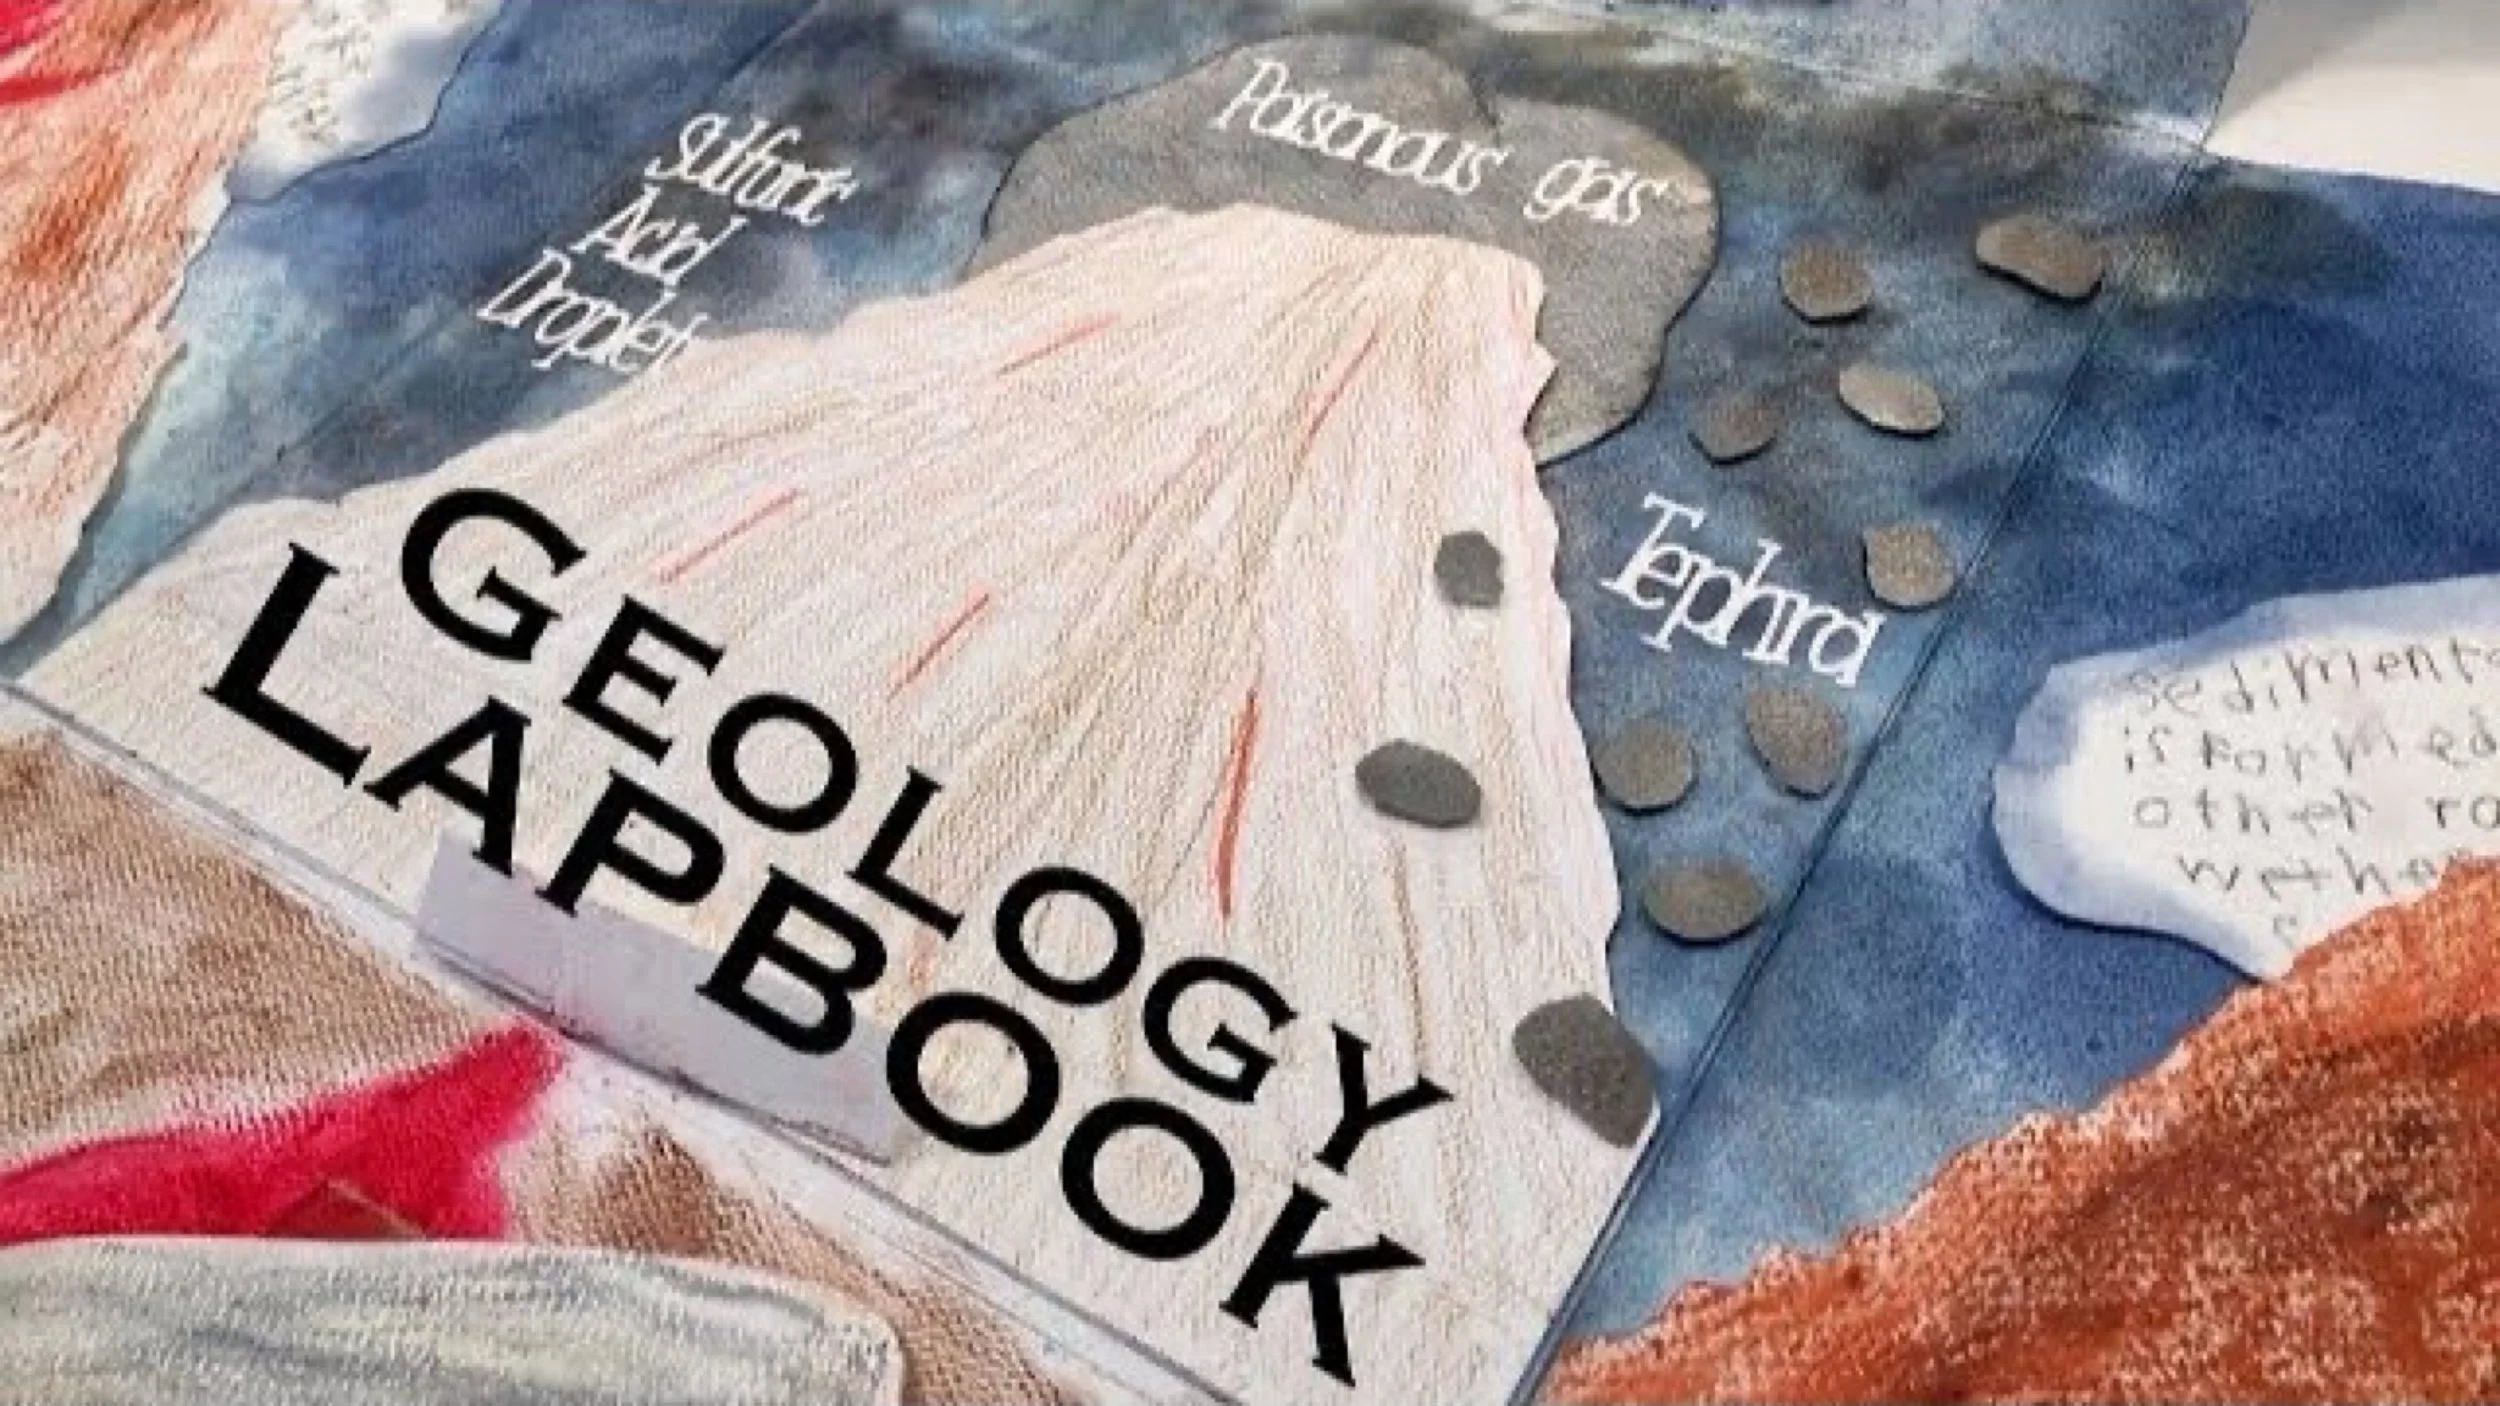
Geology Lapbook | Tutorial
For our geology unit, this lapbook is the culmination of most of our work. My 5th grader still wrote daily narrations, but no information stuck as well as what he learned and relearned to make this lapbook. Though it took far longer than I expected, it turned our far better than I hoped.
-
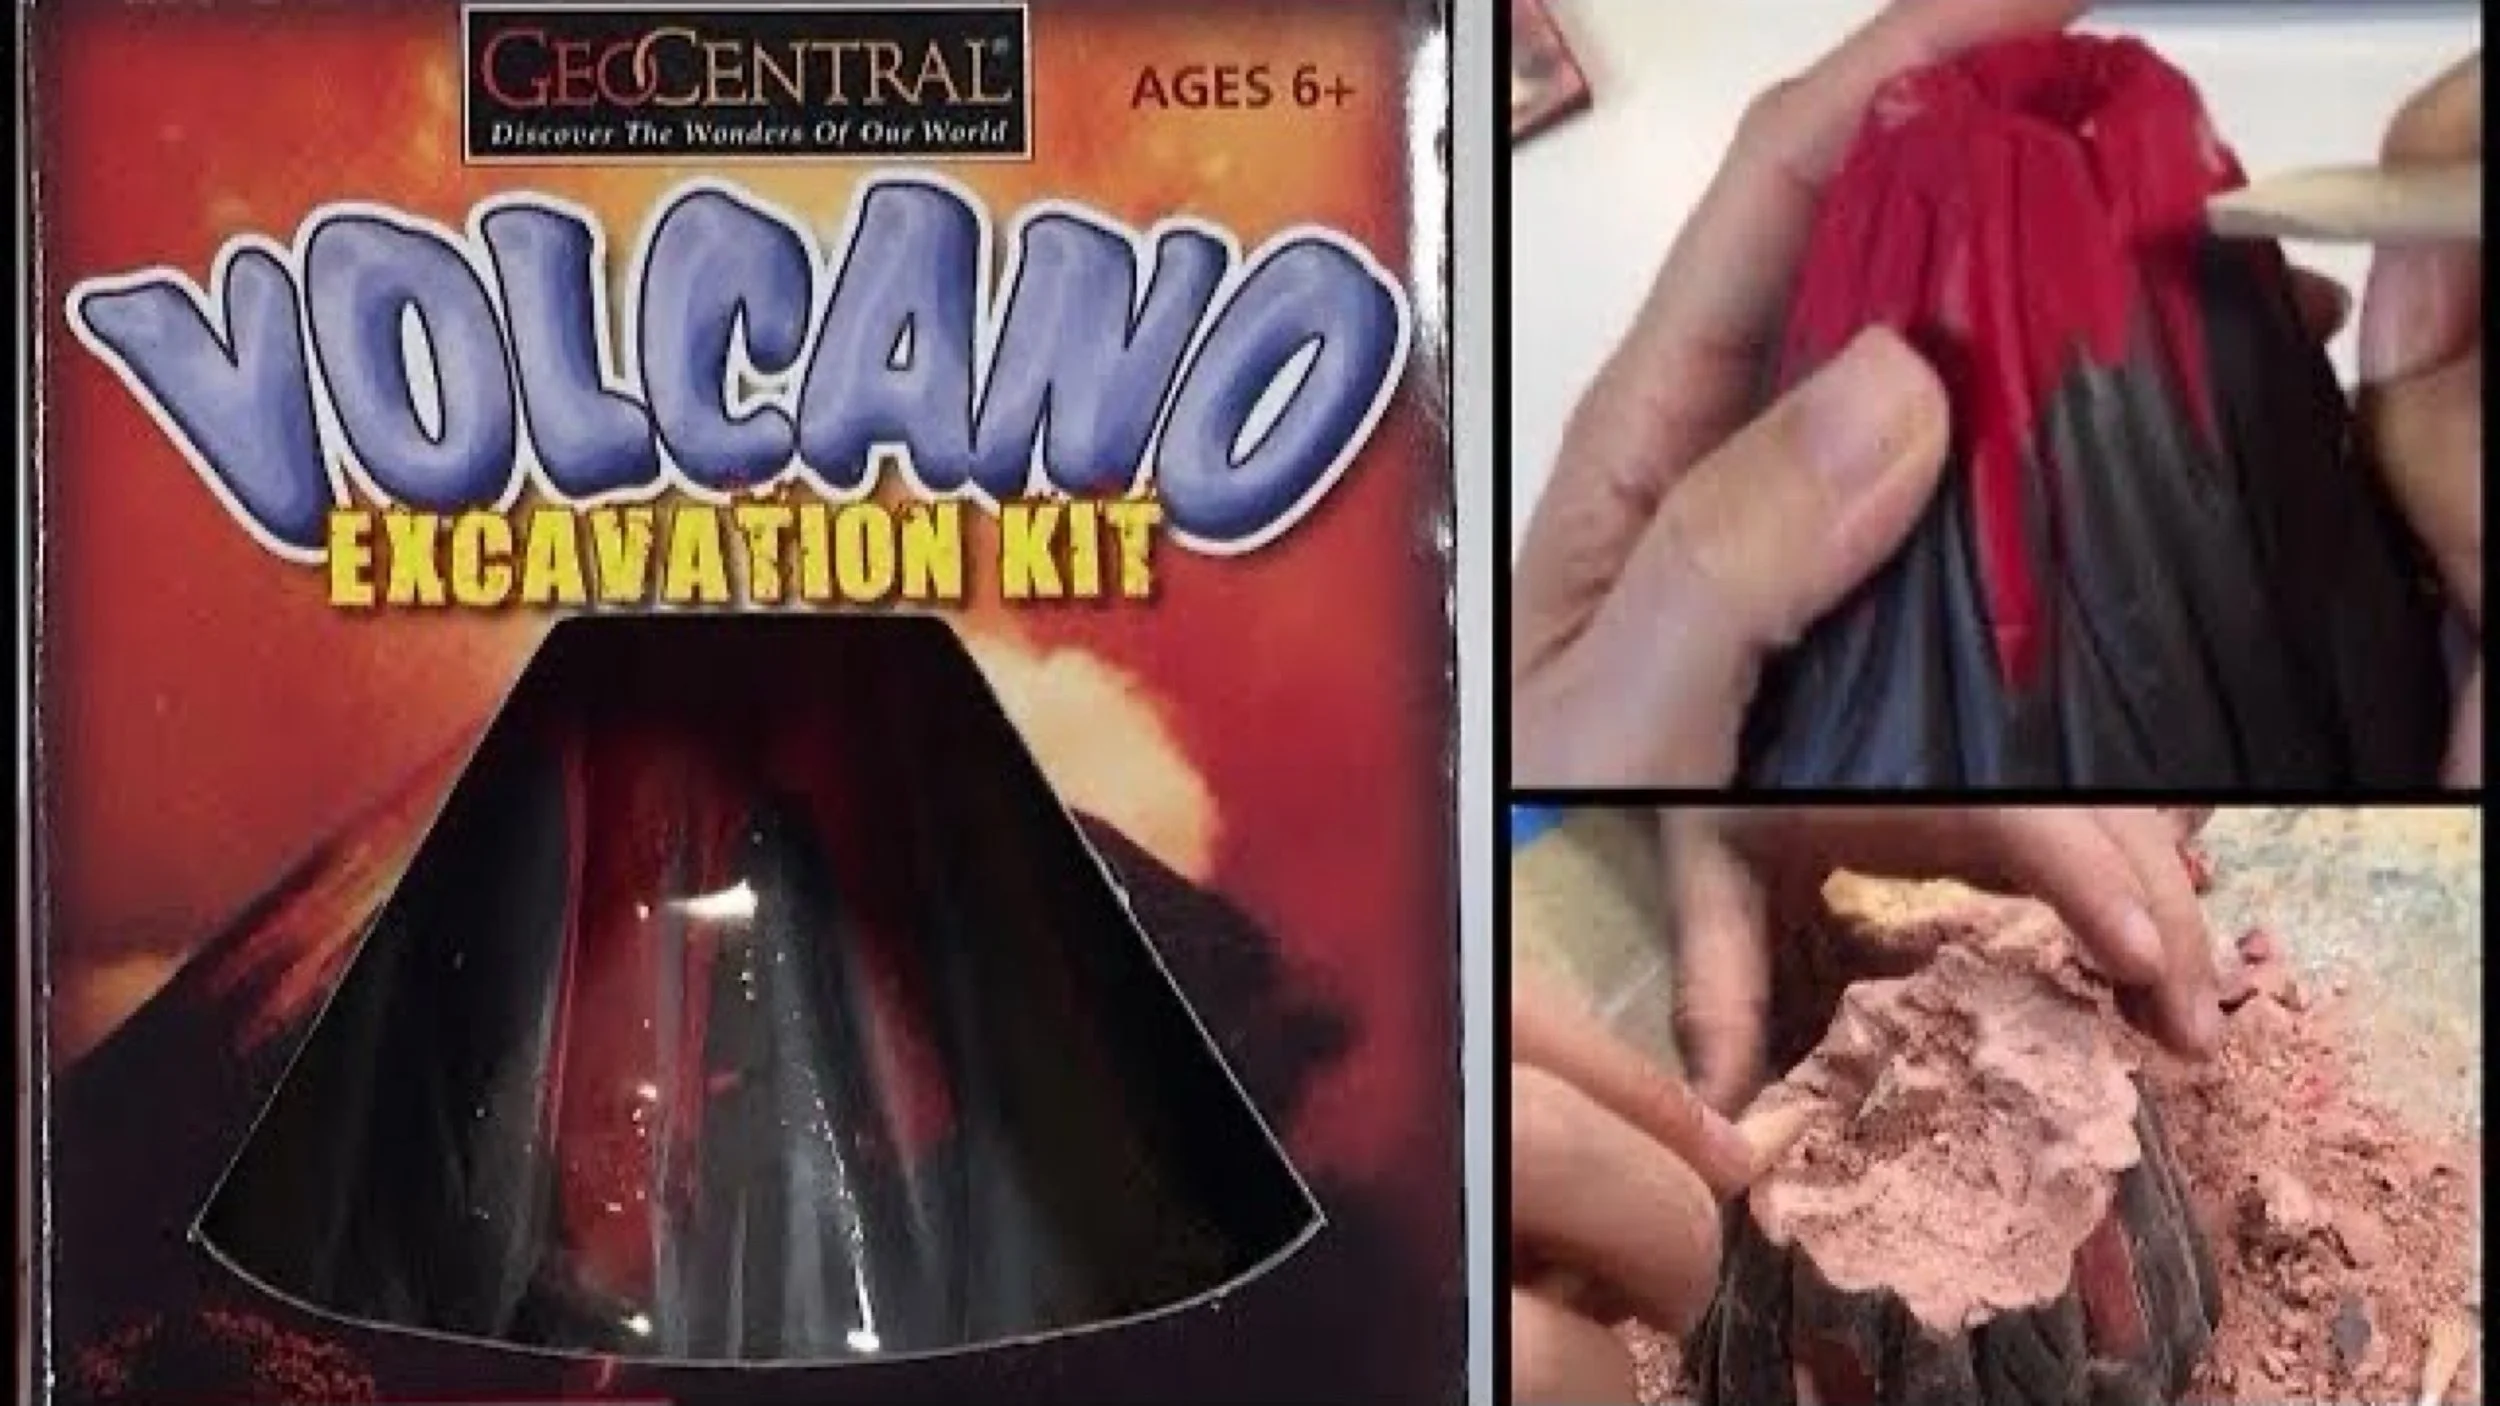
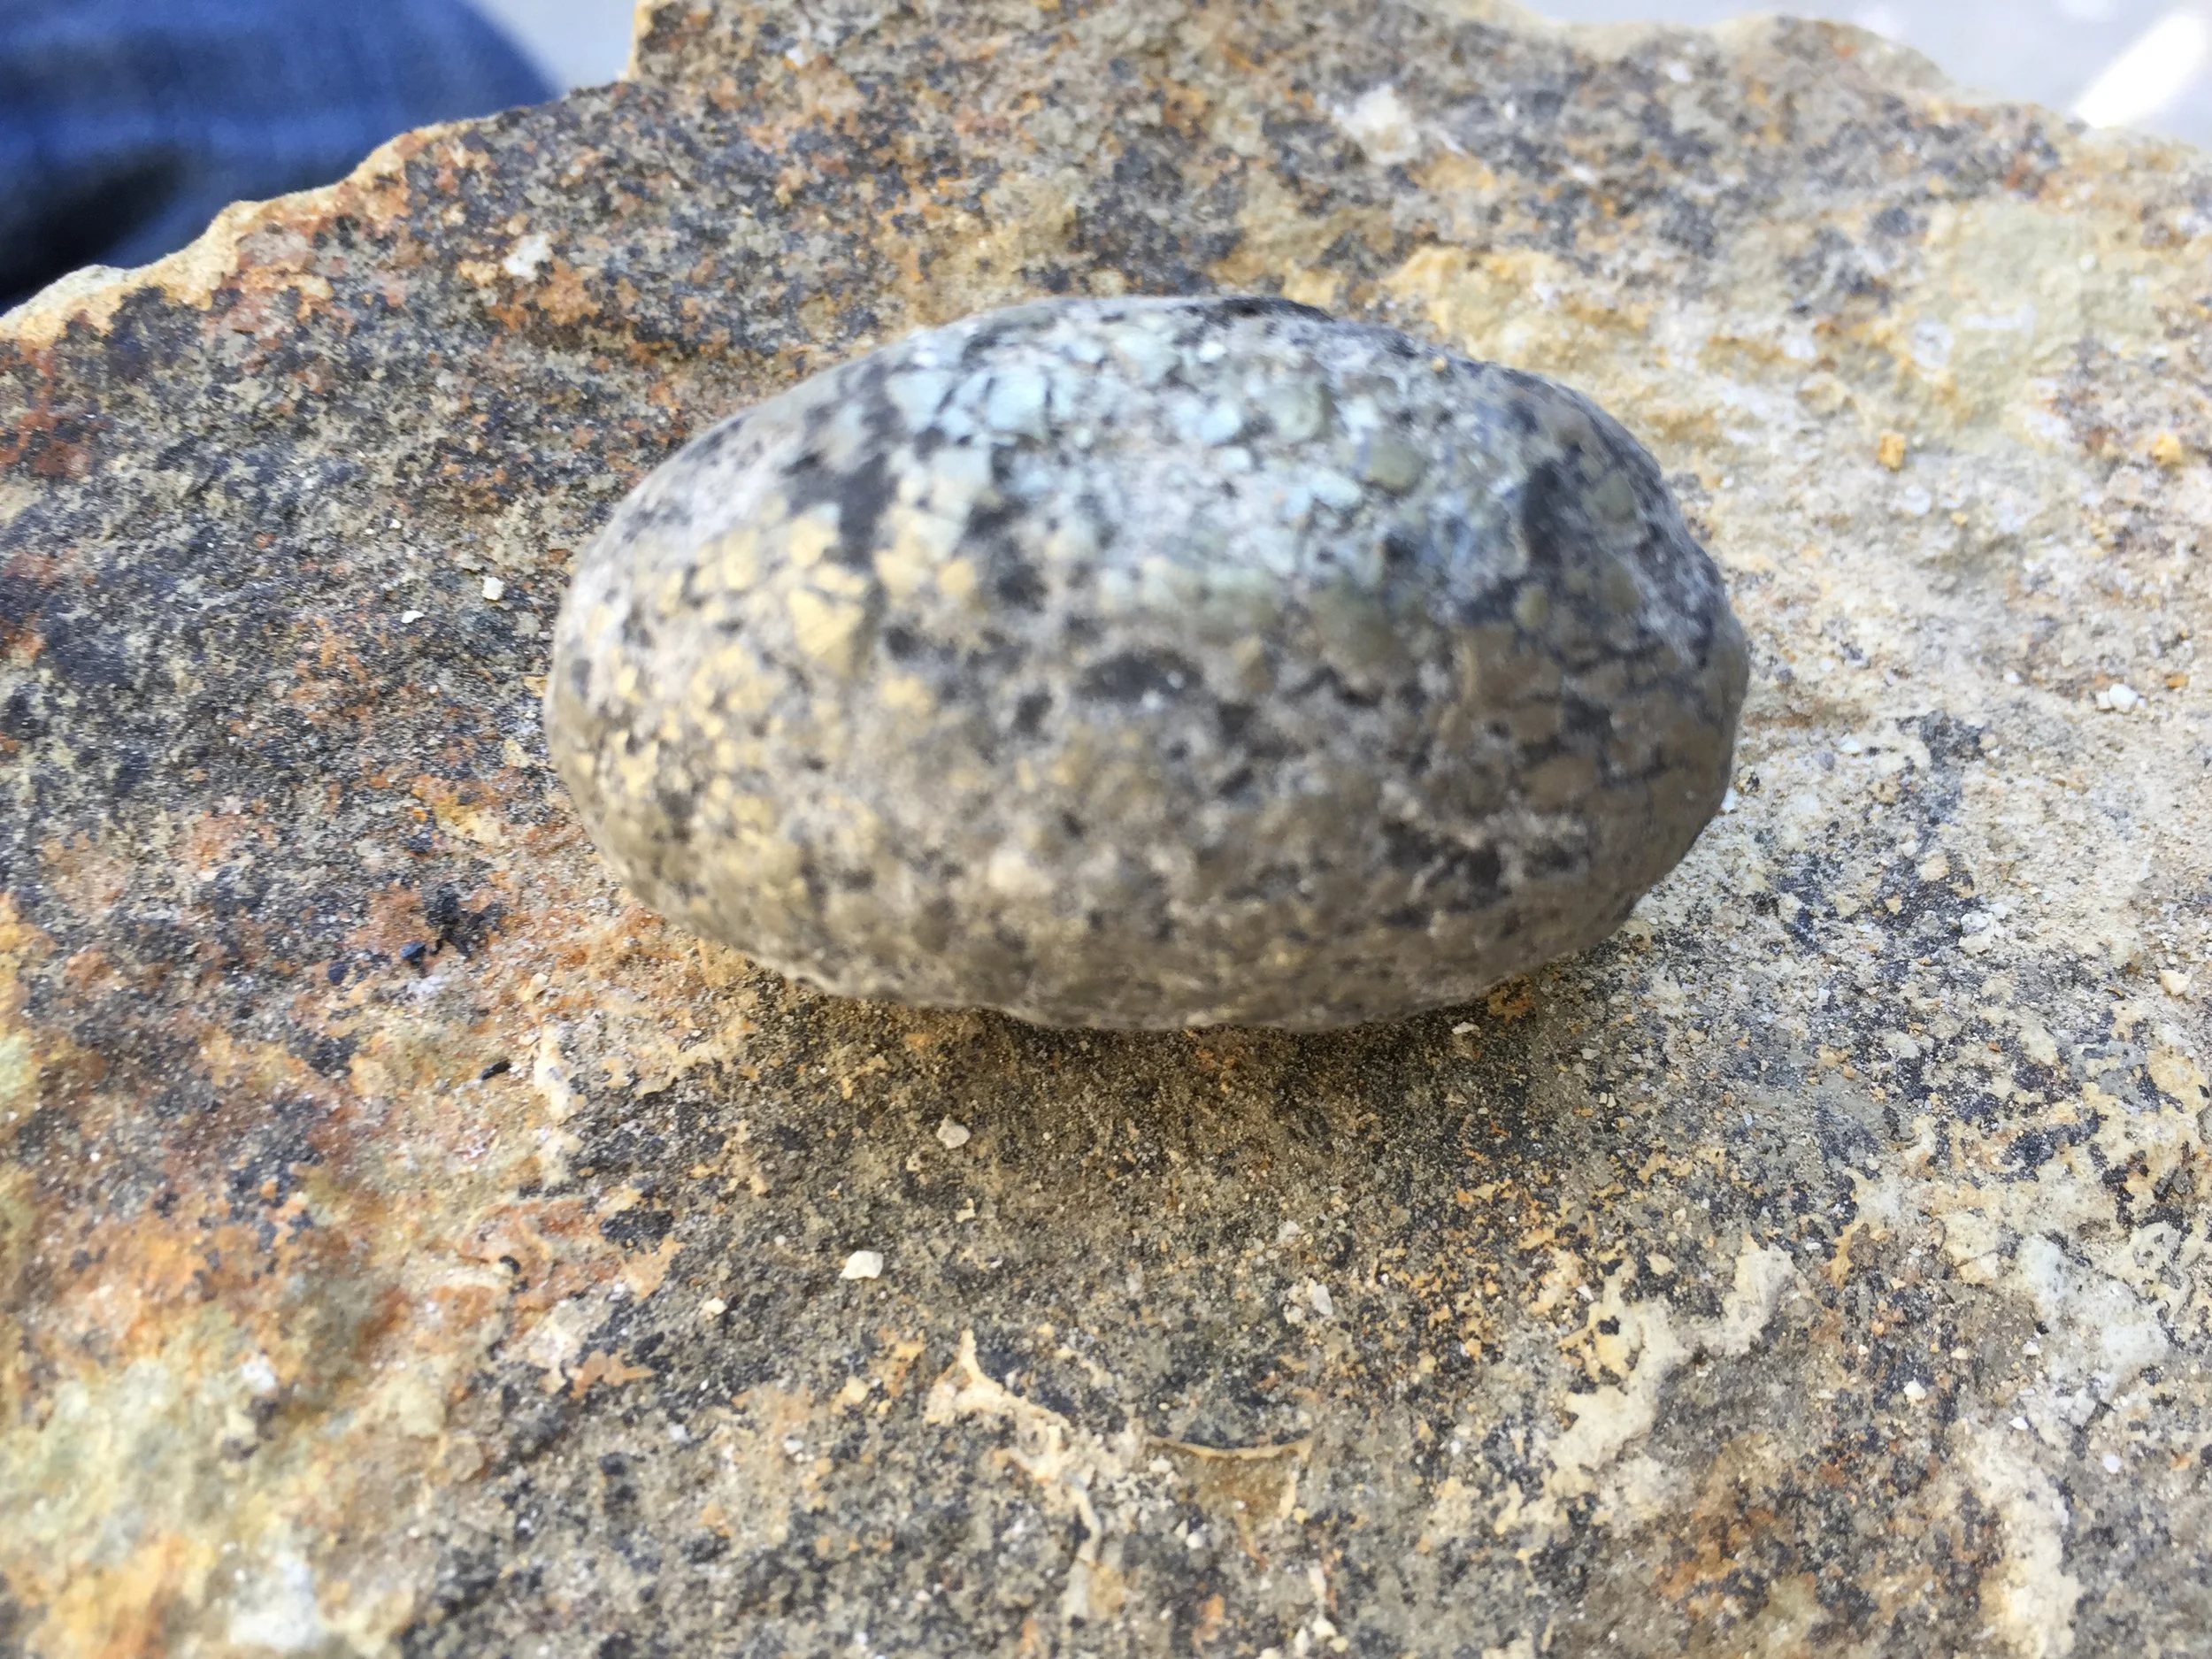
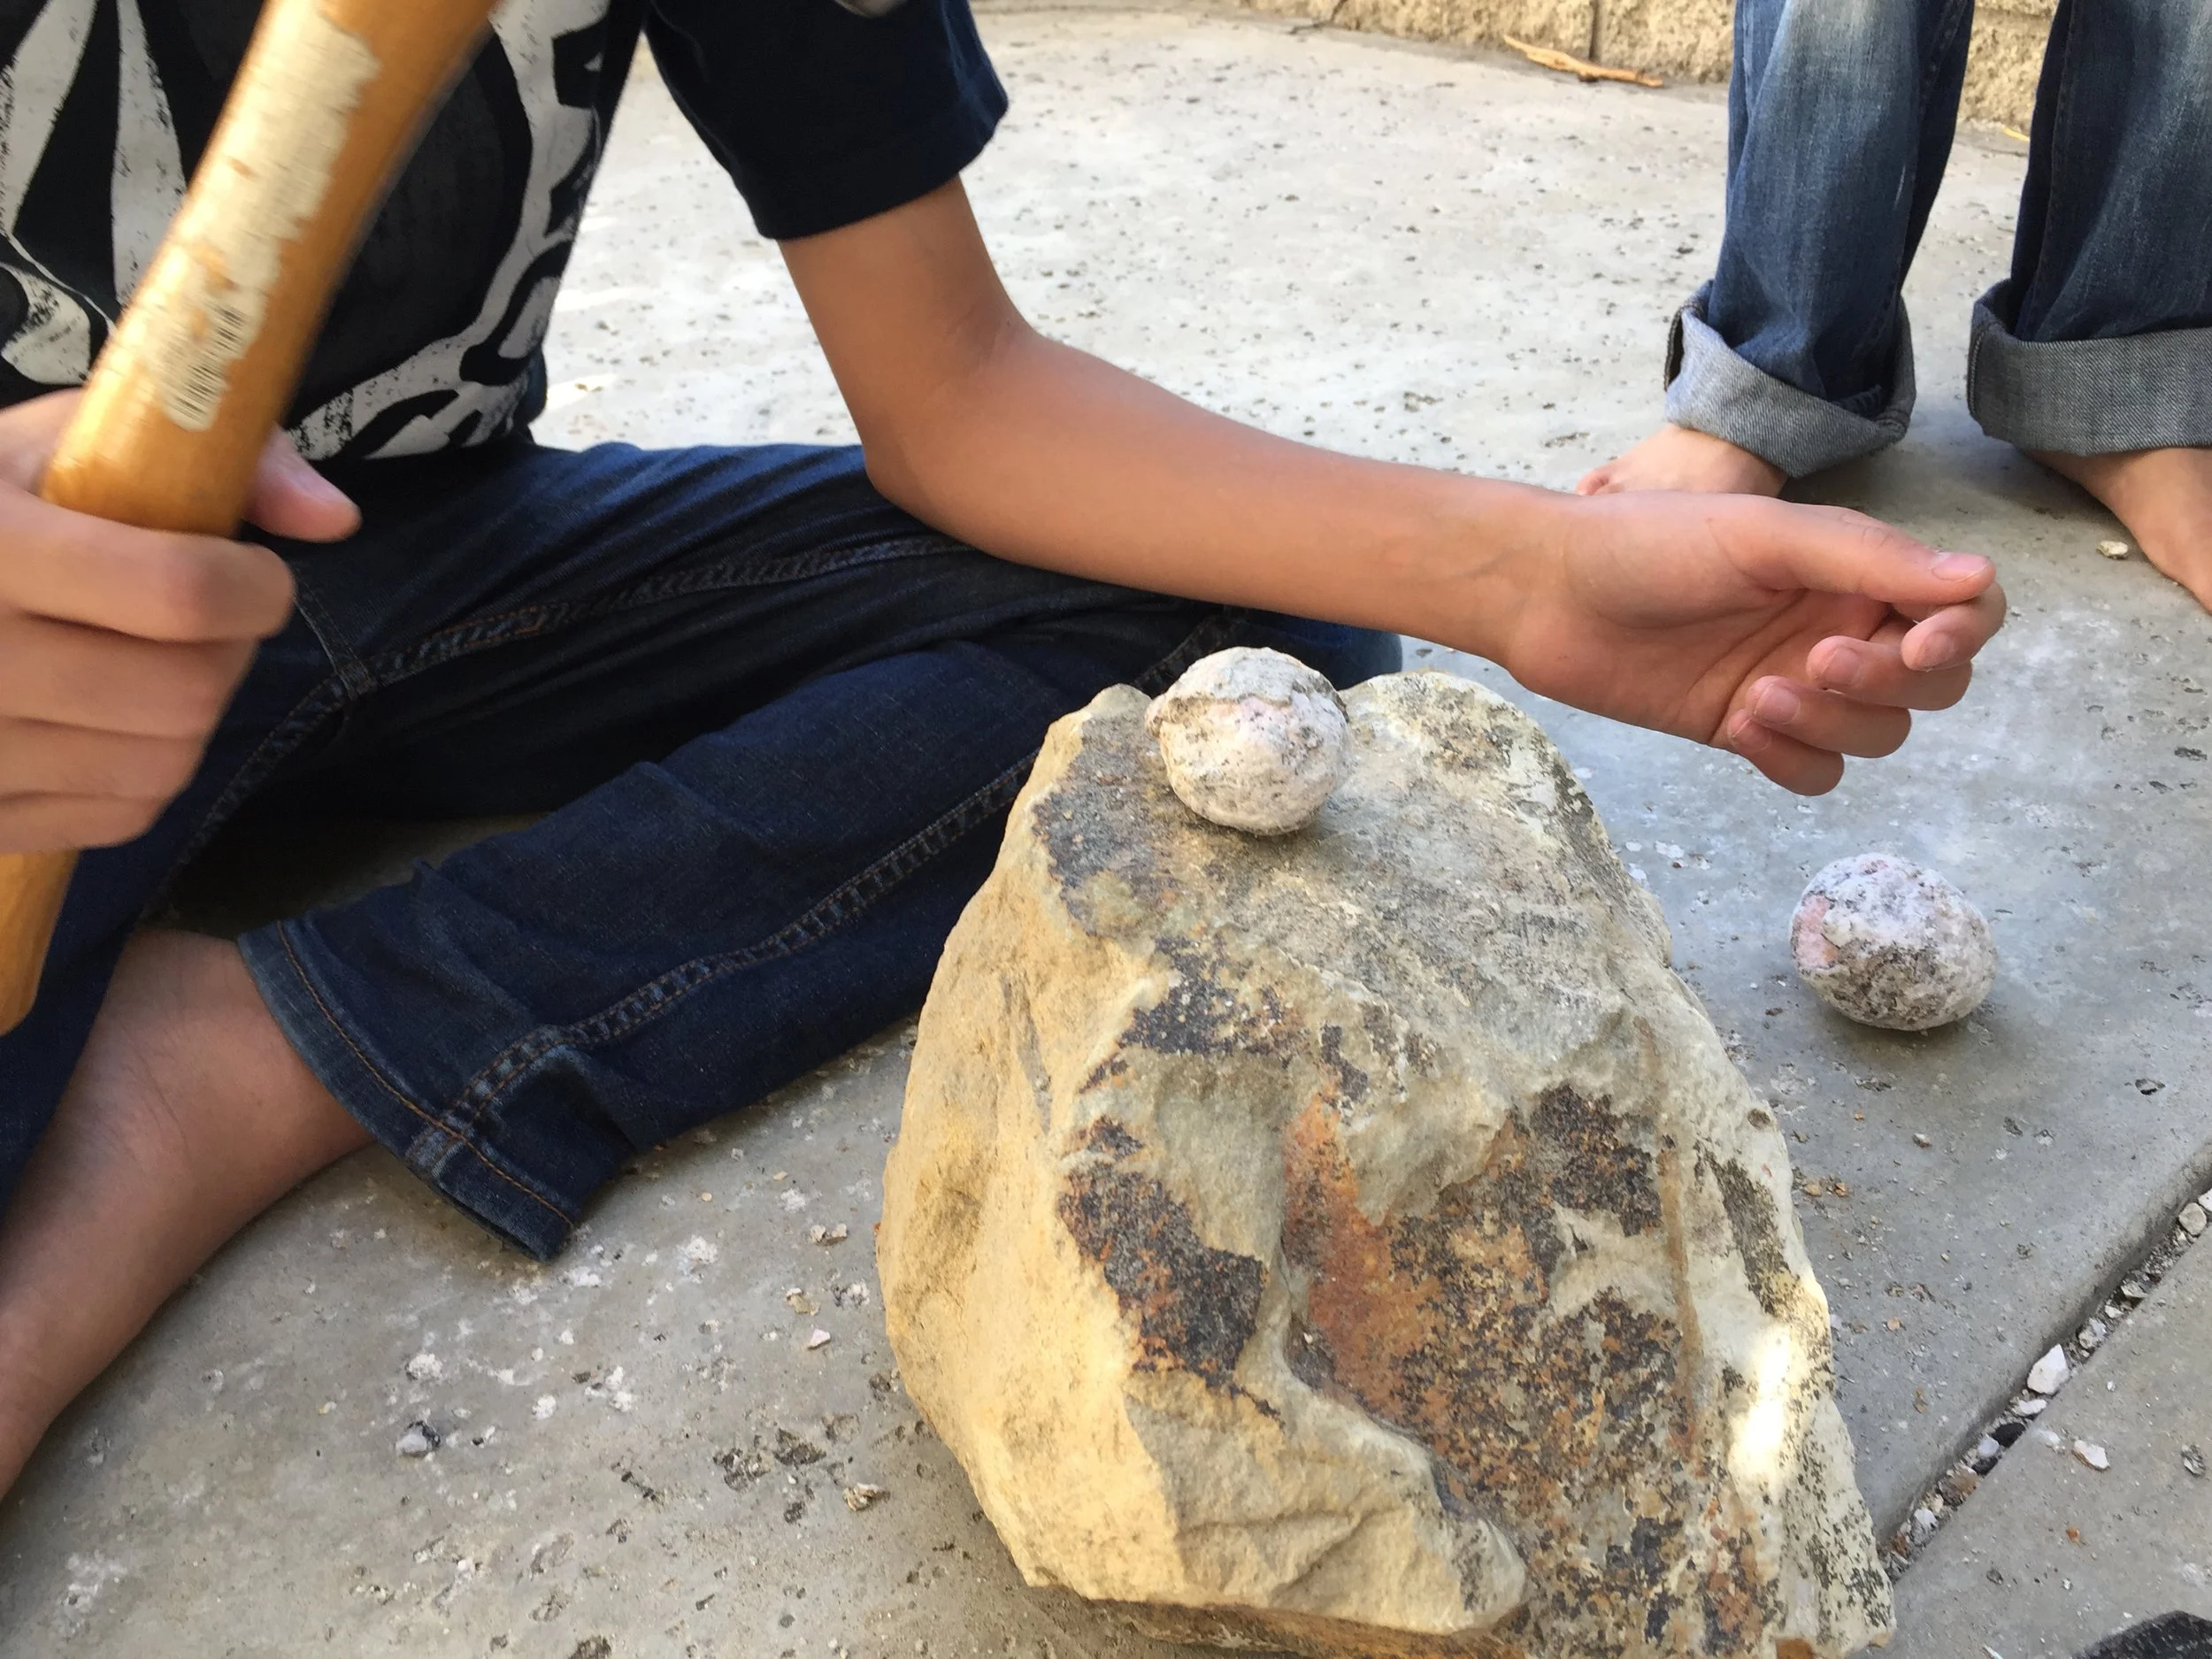
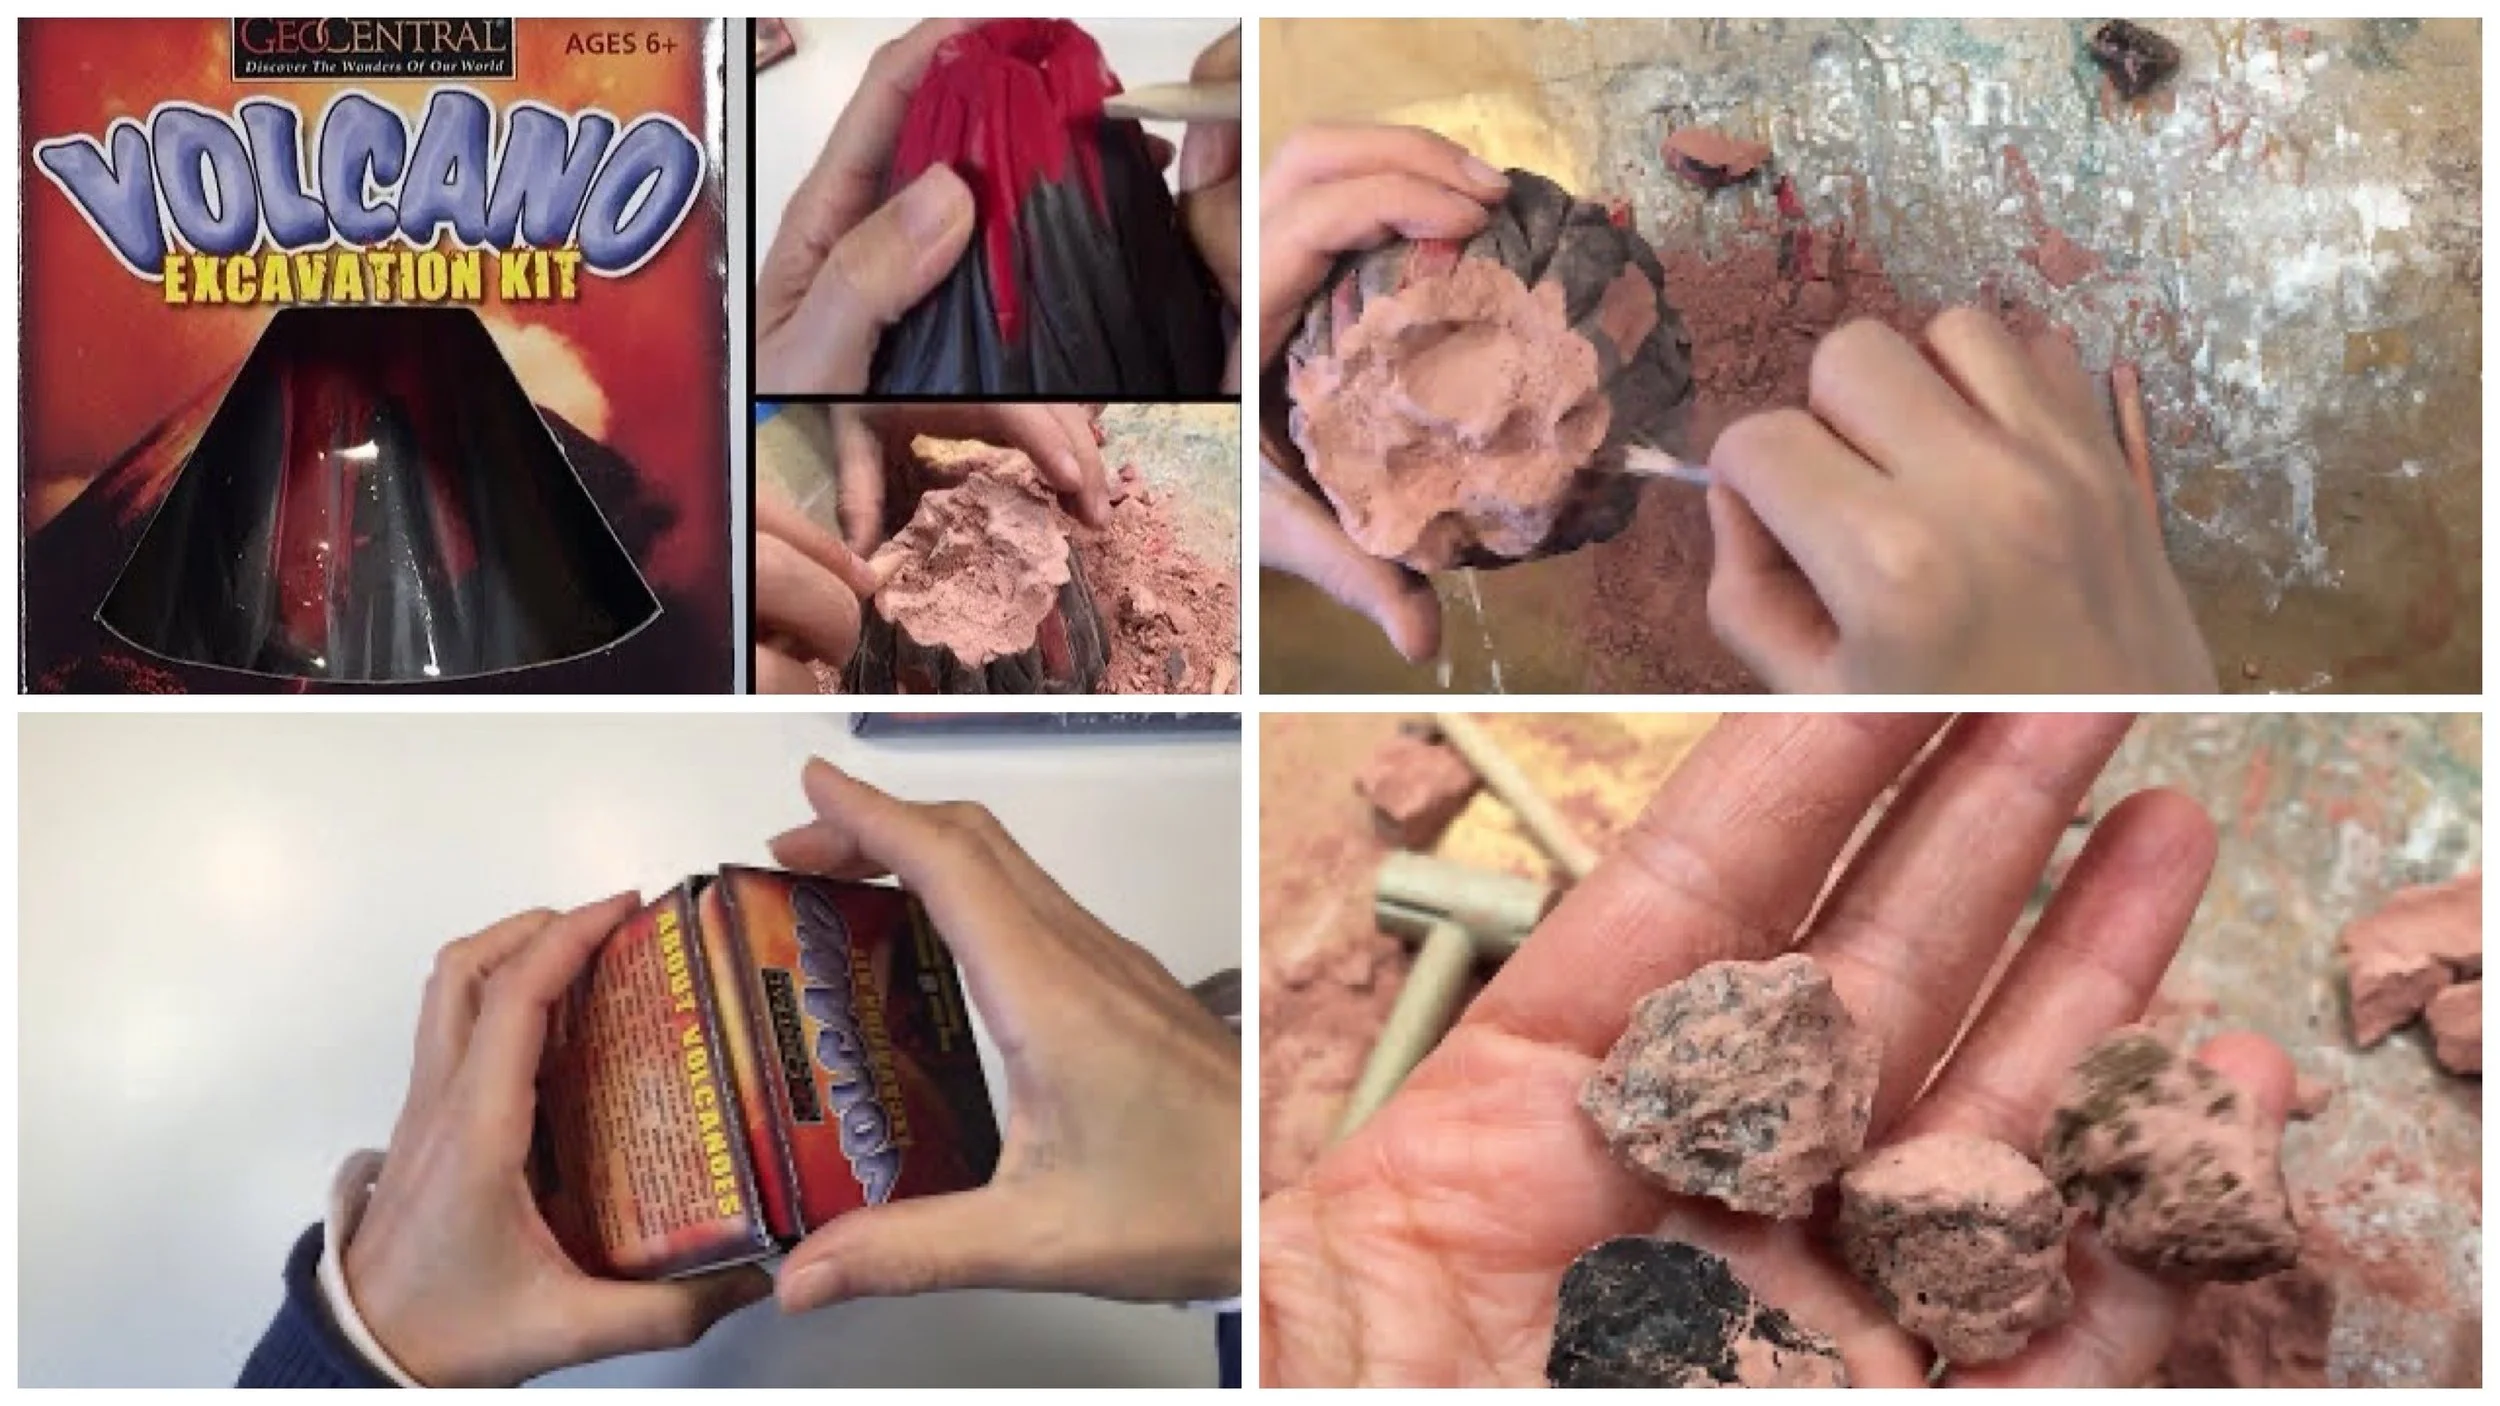
Volcano Excavation Kit | Geology Unit
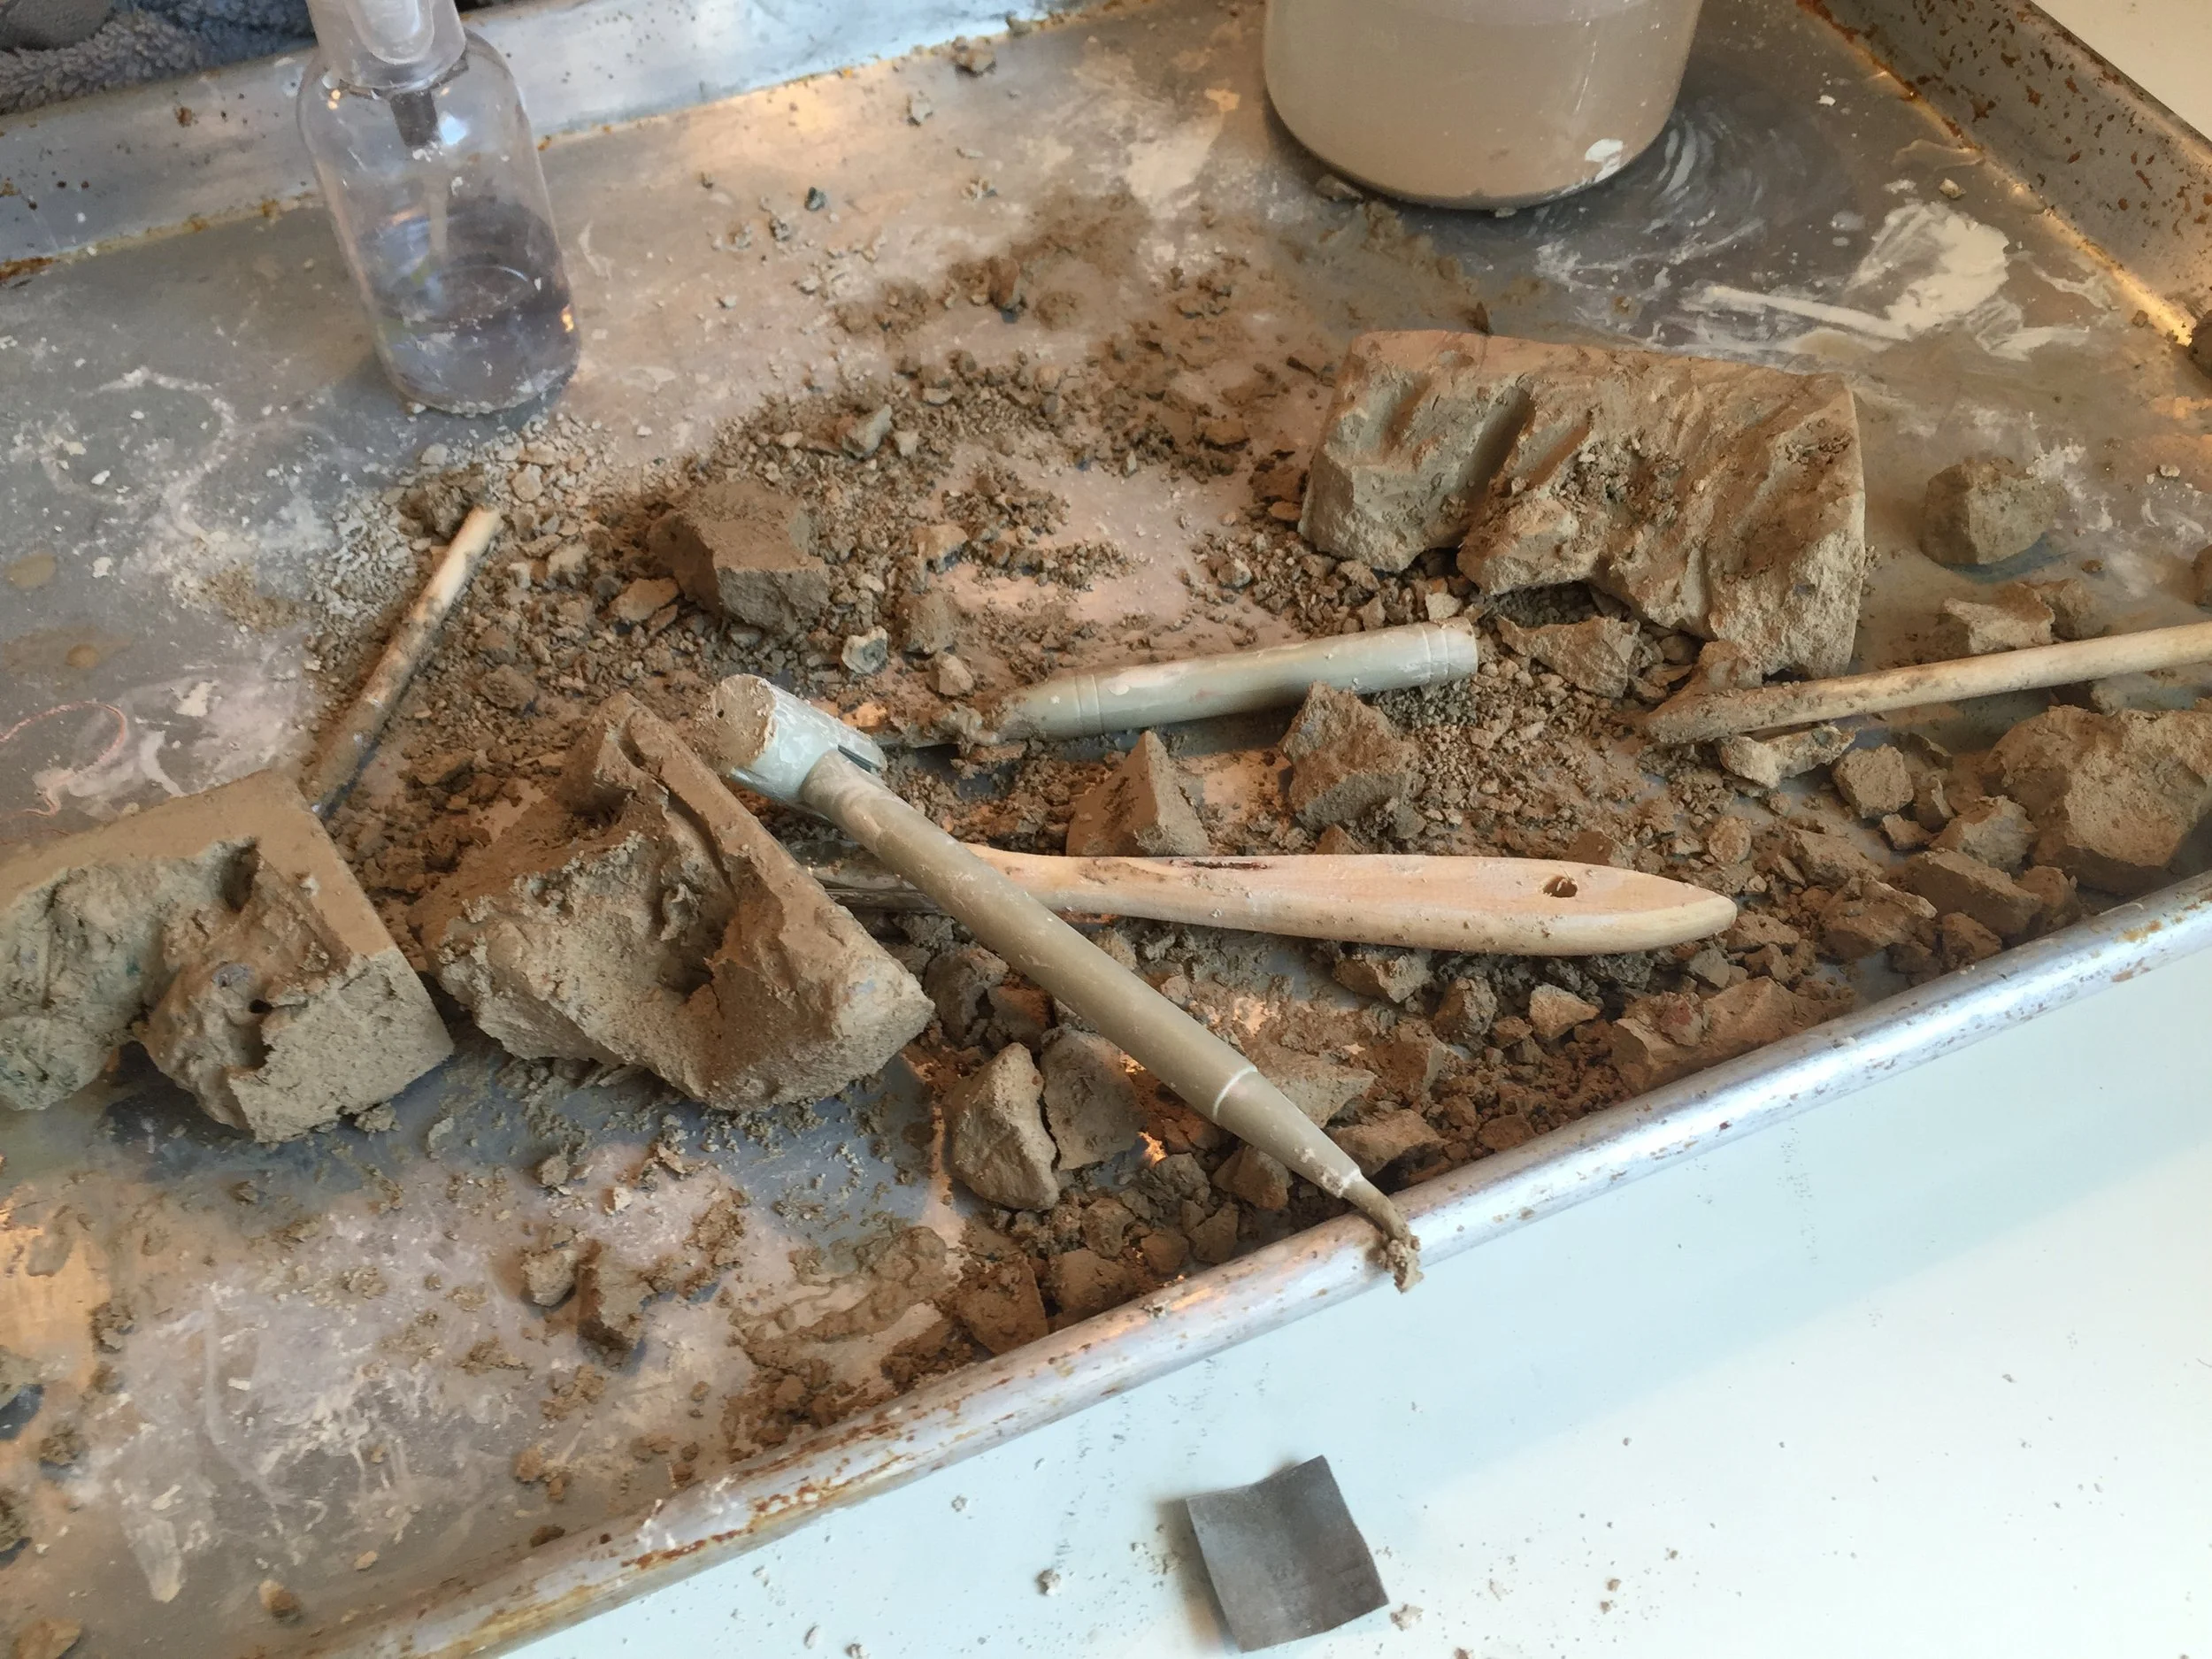
For our geology unit, we excavated igneous rocks from a ‘volcano’ excavation kit. There were six rock specimens to find from a possible 12 samples. Once my 5th grader excavated the rocks, we decided to make a display for them as a way to showcase the rocks and to keep them from getting lost.
-
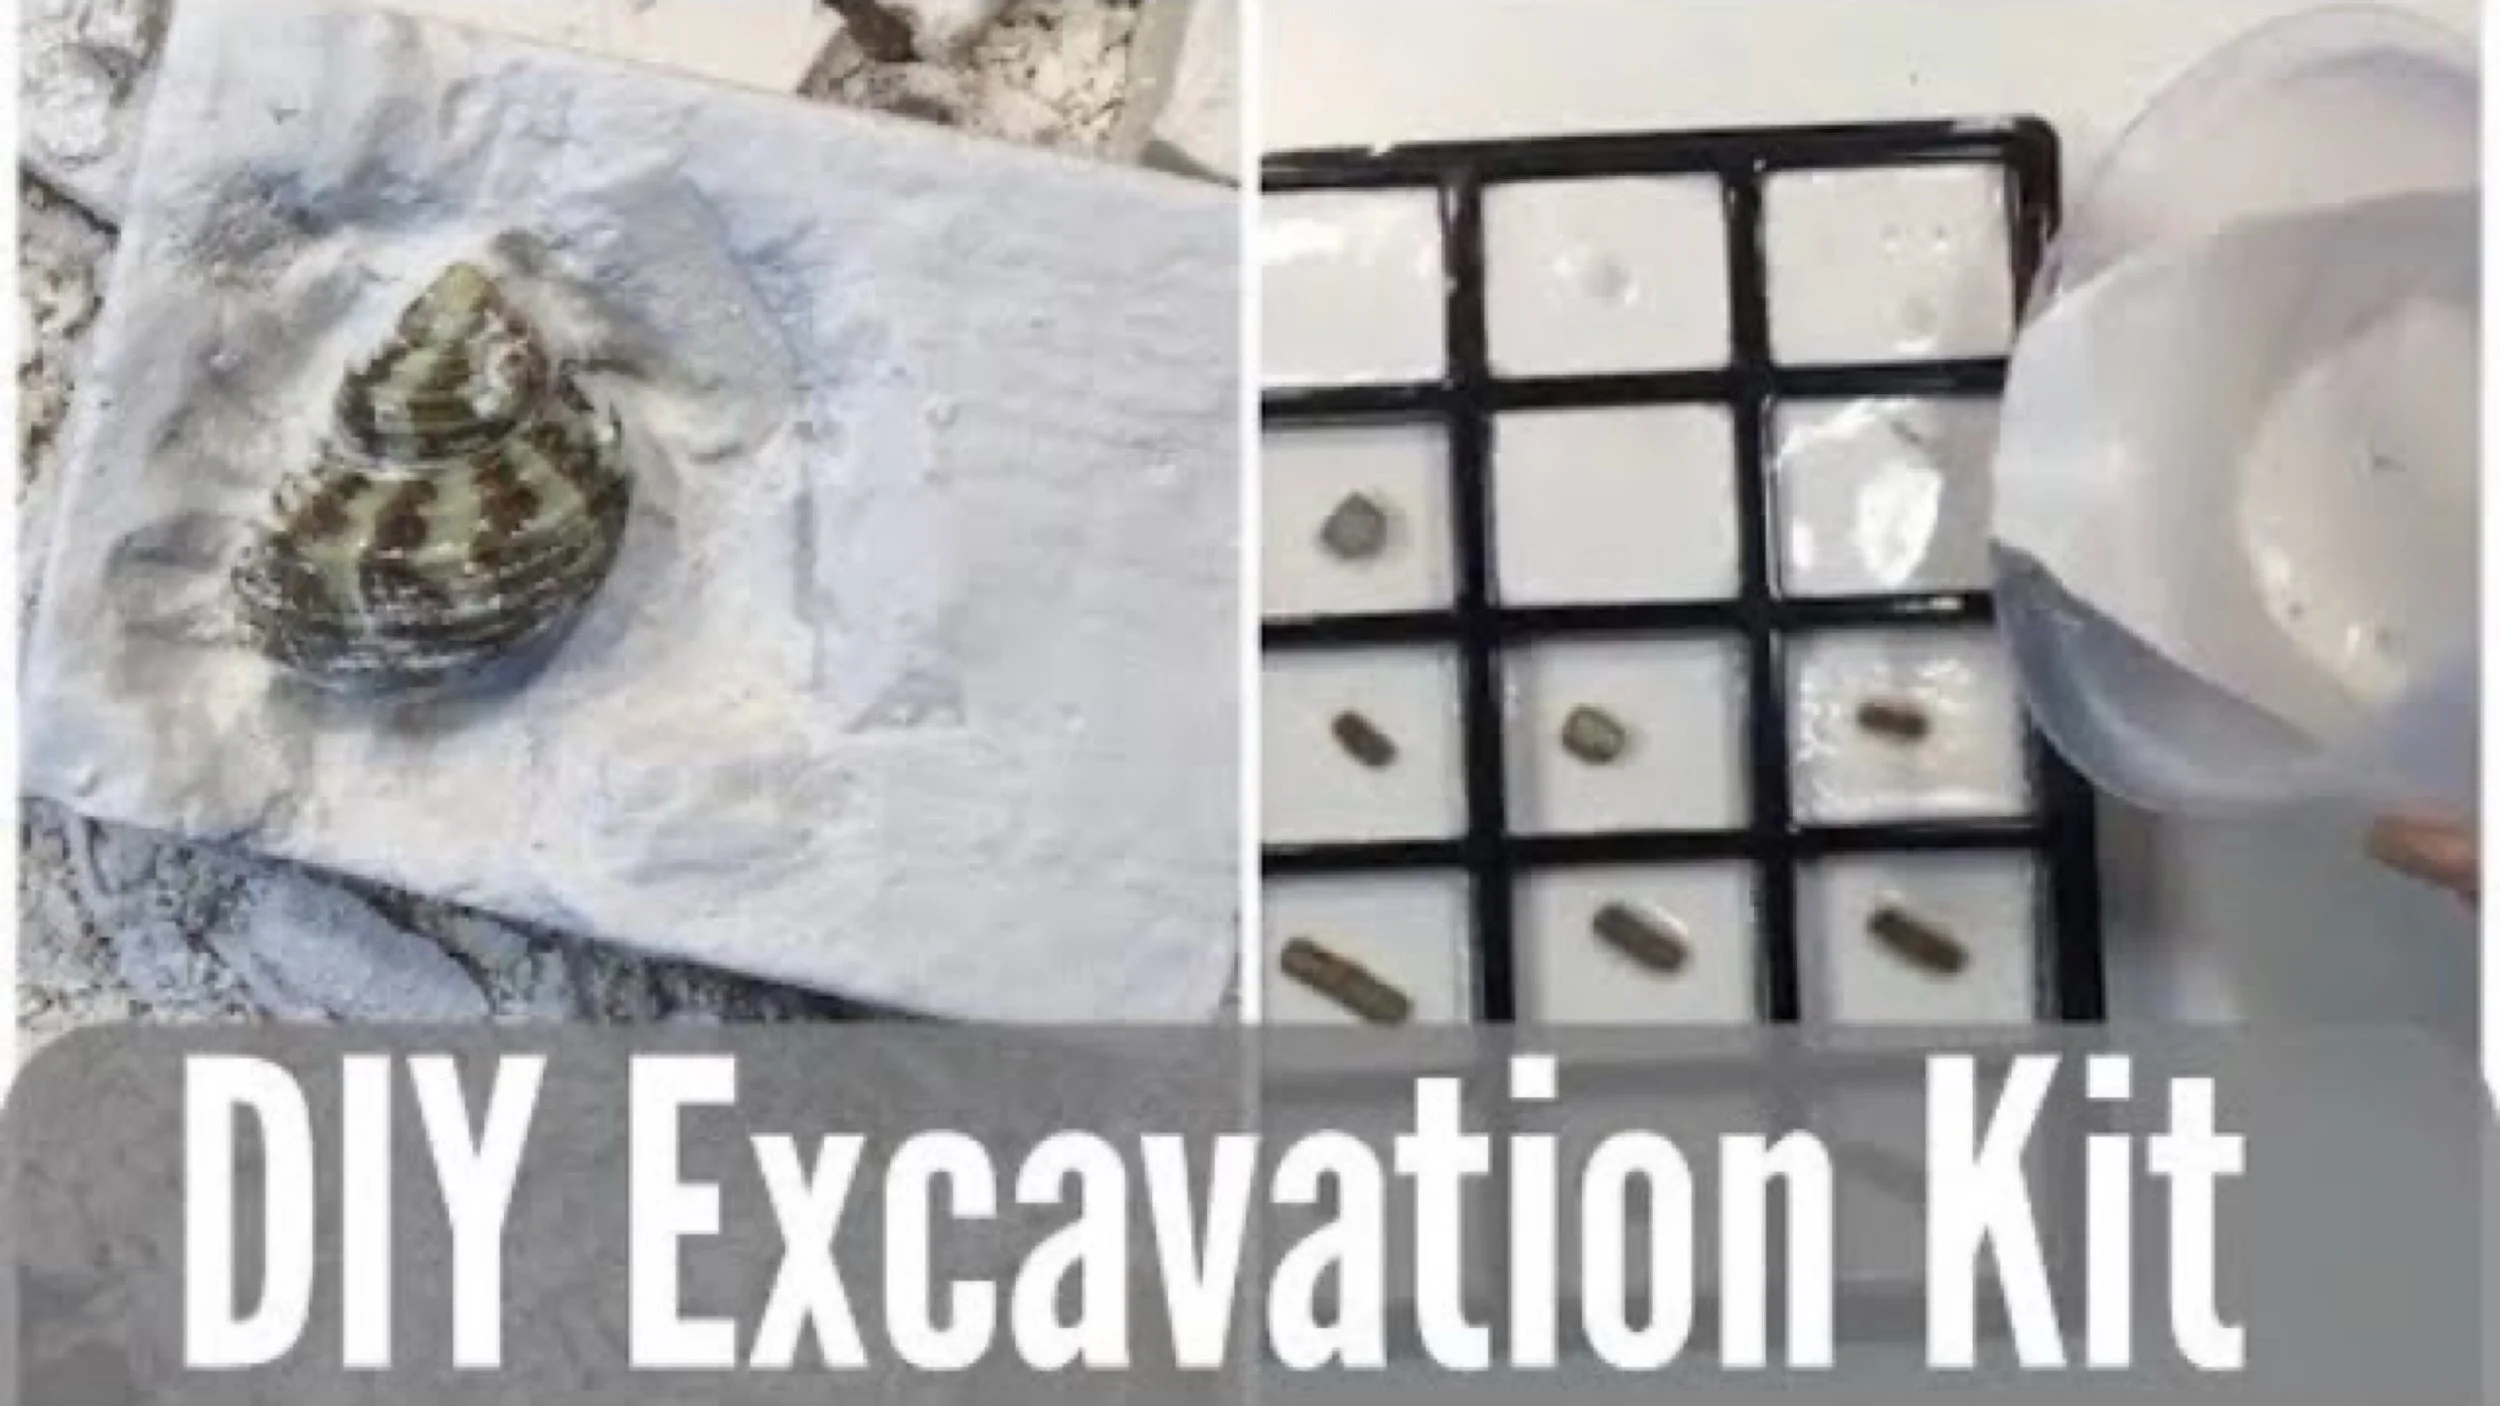
DIY Archaeology Kit | How to Make an Excavation Block
DIY excavation kits are super easy! All you need is some Plaster of Paris, a mold and some treasures to hide. We’ve been using these store bought kits in our homeschool for several years now, and I’m thrilled to be finally making them ourselves.
-
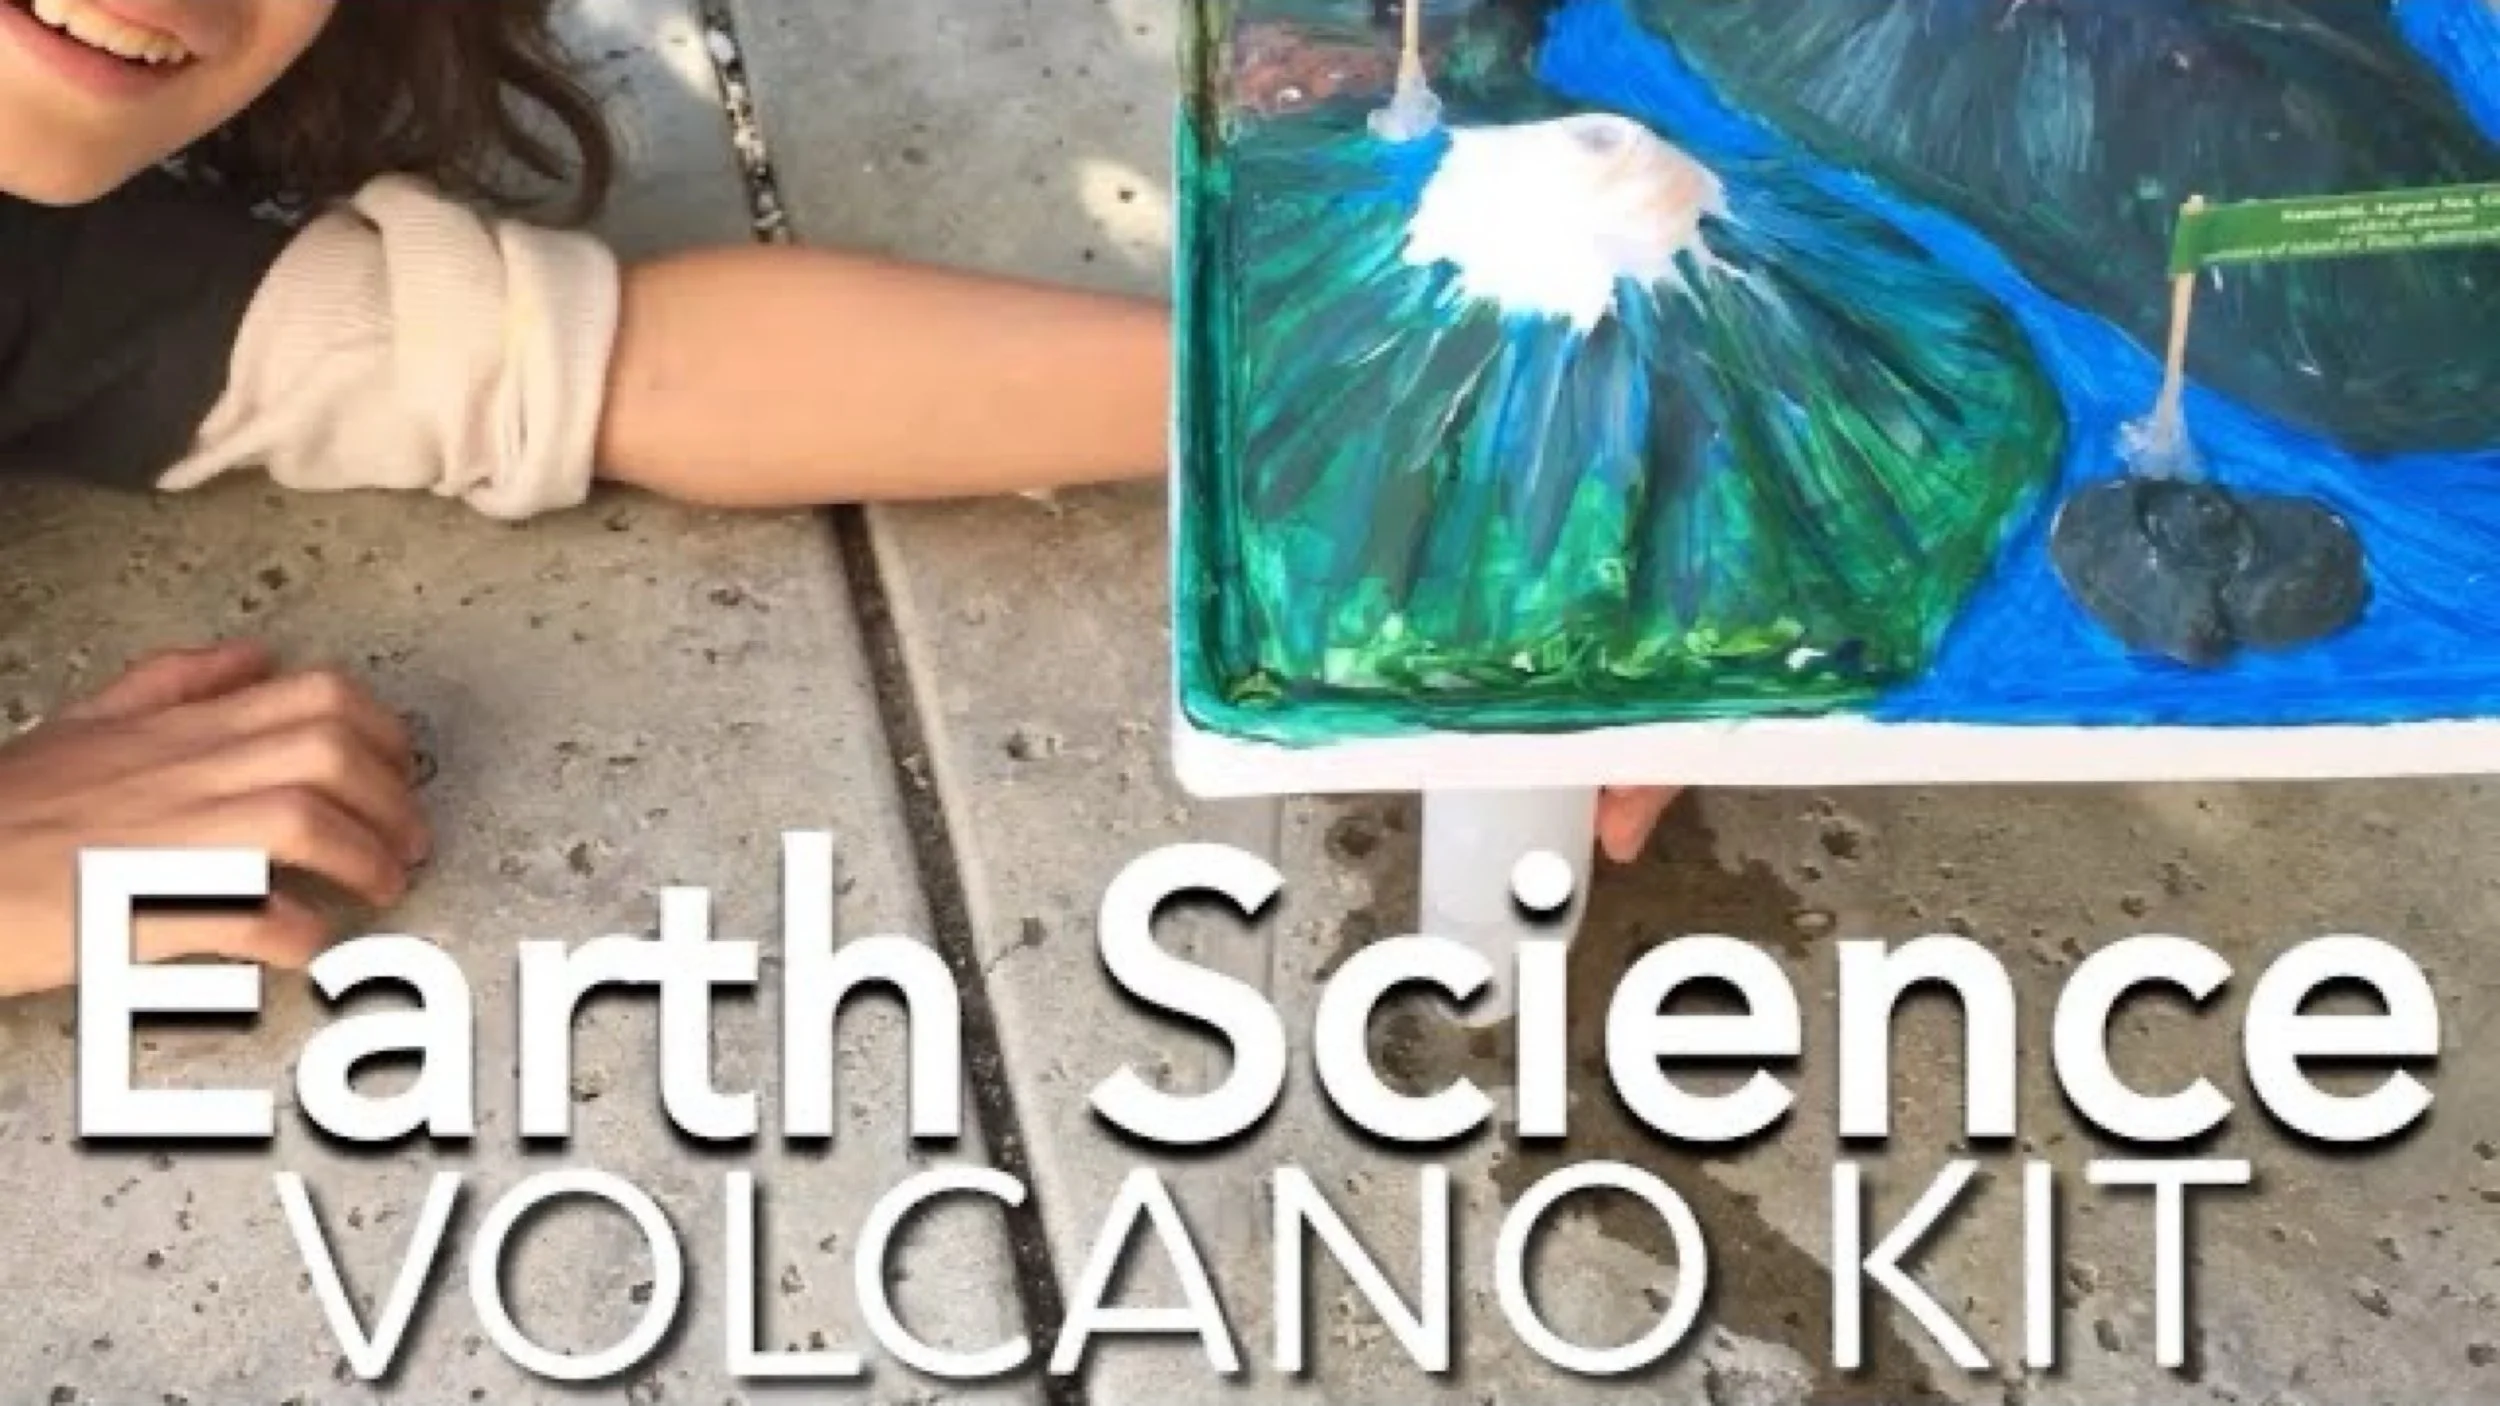
Volcano Kit | Earth Science
I admit that I have not done too many volcano projects with my kids over the years. In part it’s because I have reservations doing a chemistry experiment as part of a geology unit. Volcanic eruptions are nothing like the reaction between an acid and base, but I do confess, they are spectacular to do and oh so much fun.
-
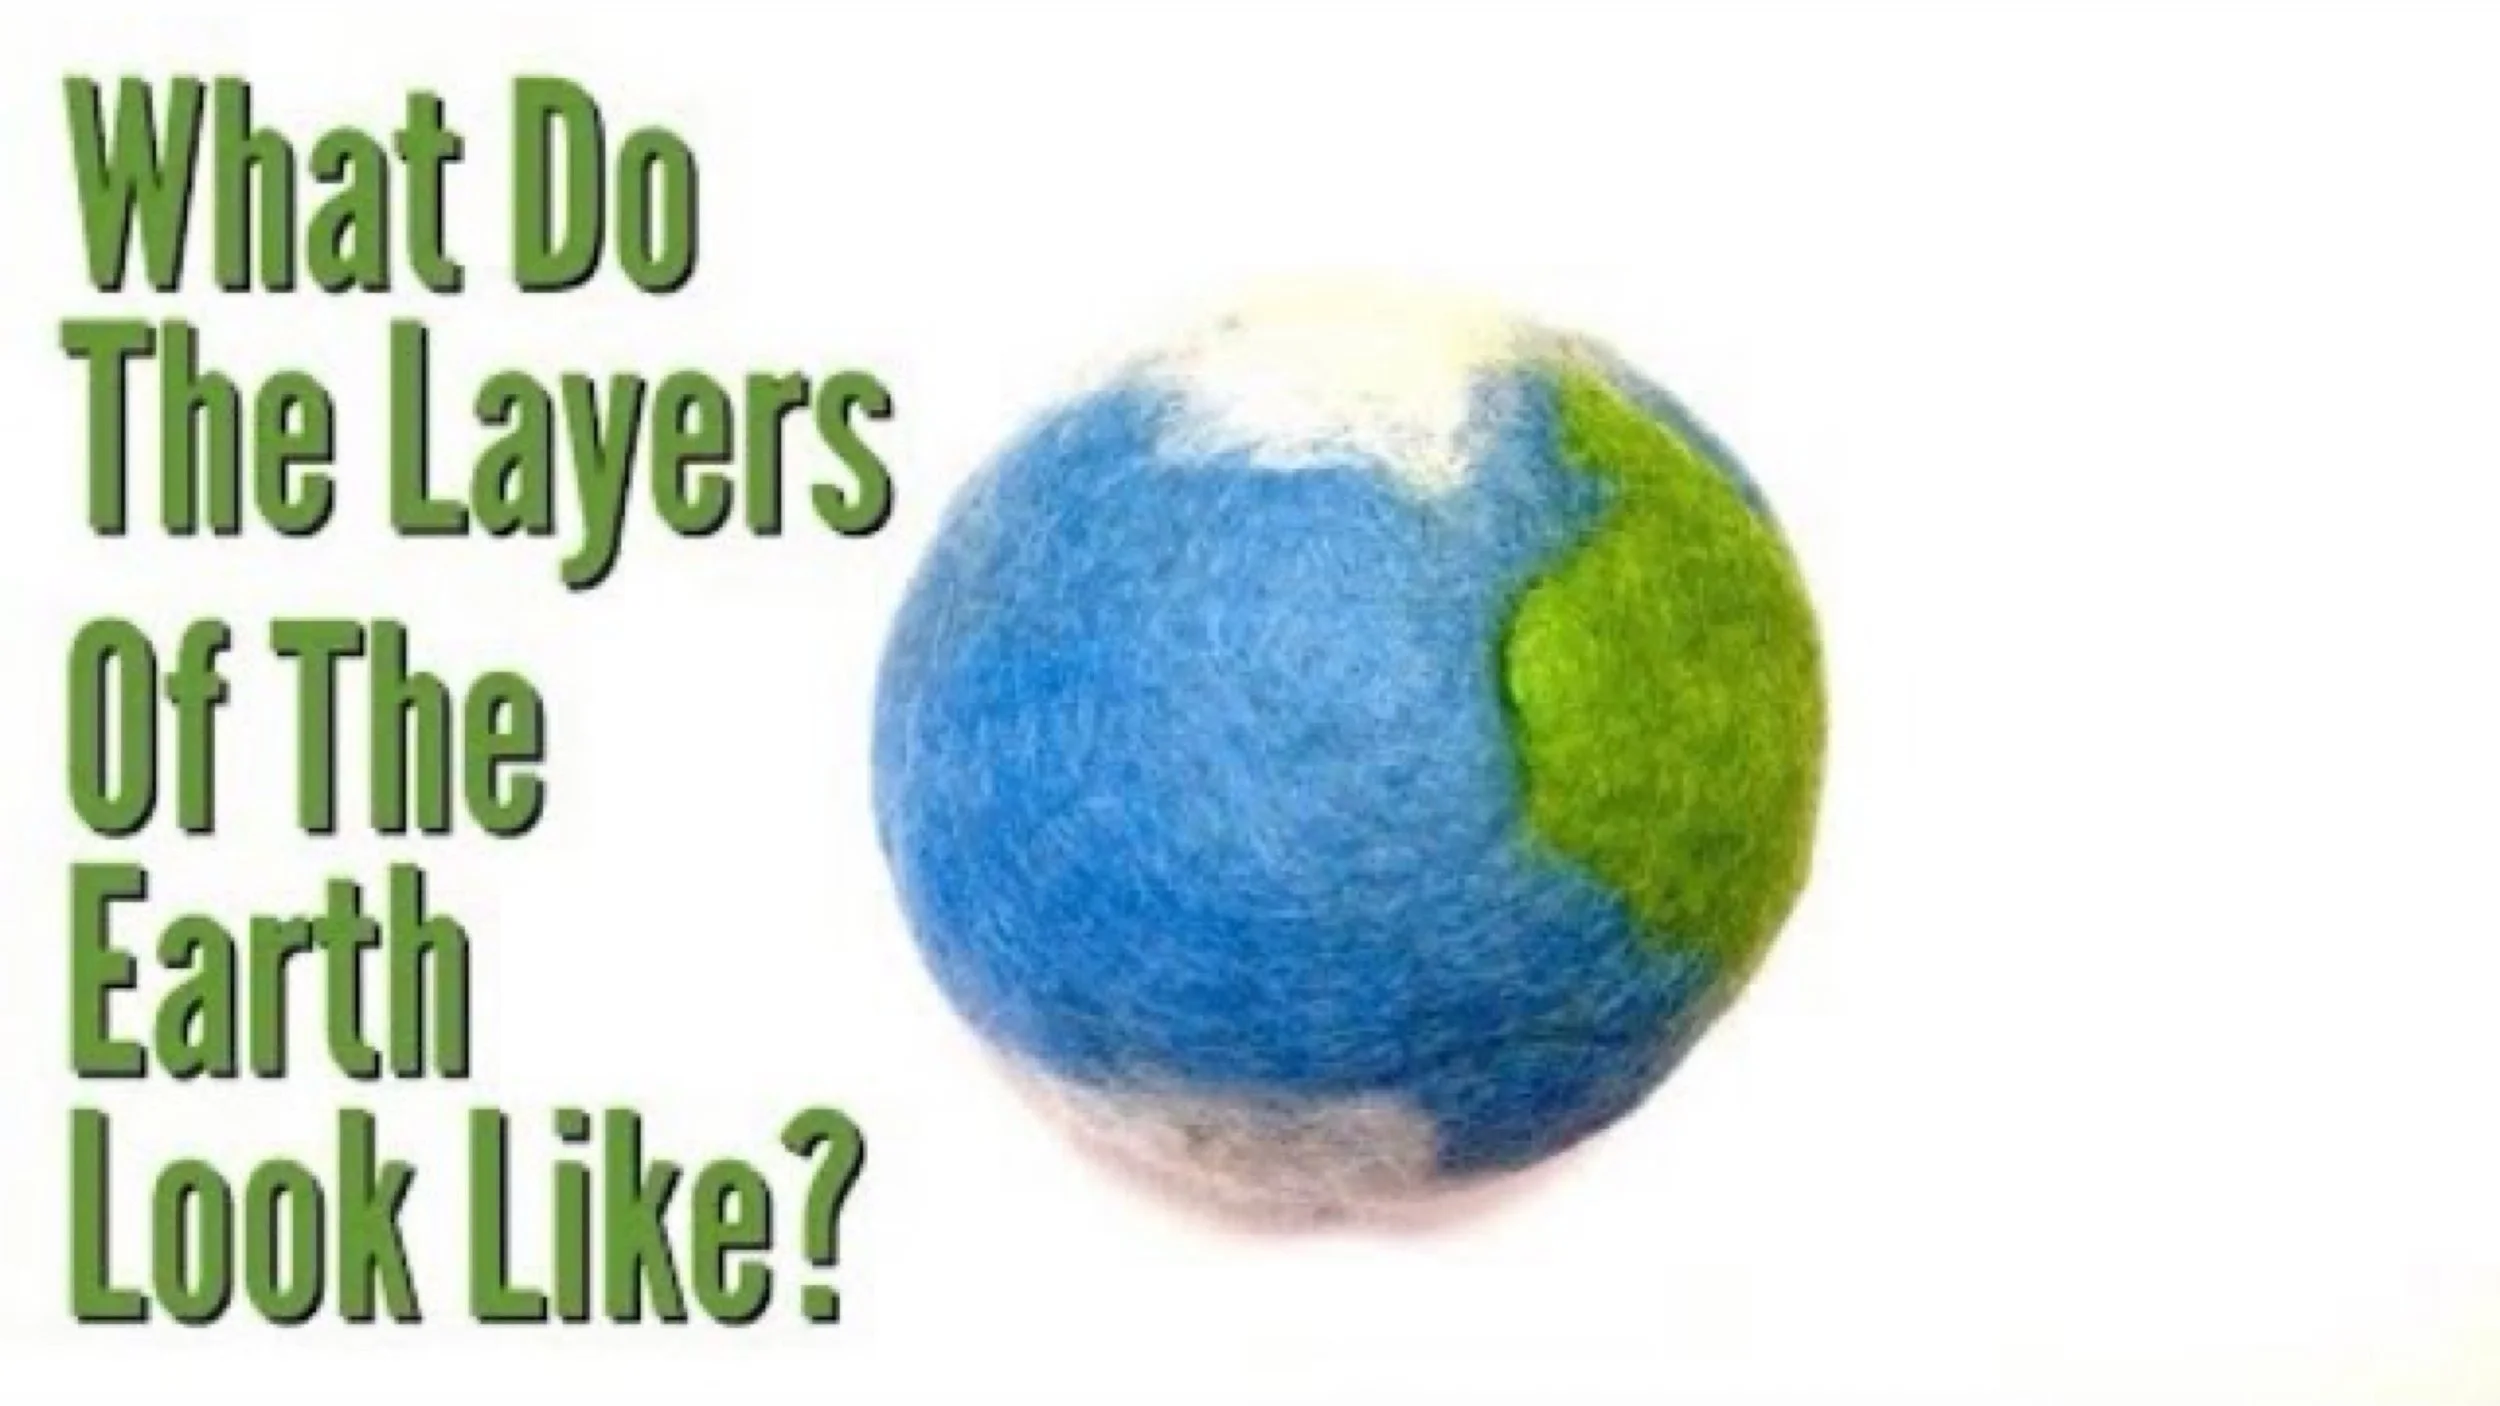
What’s Inside the Layers of the Earth | Felted Earth Project
I’m sure you haven’t seen the earth quite like this before. Curious to see how our layered model of the earth turned out? This is one interactive model that’s sure to delight and educate. We wet felted a model of the earth using wool, then cut it open to fill it with the mantle and core.
-
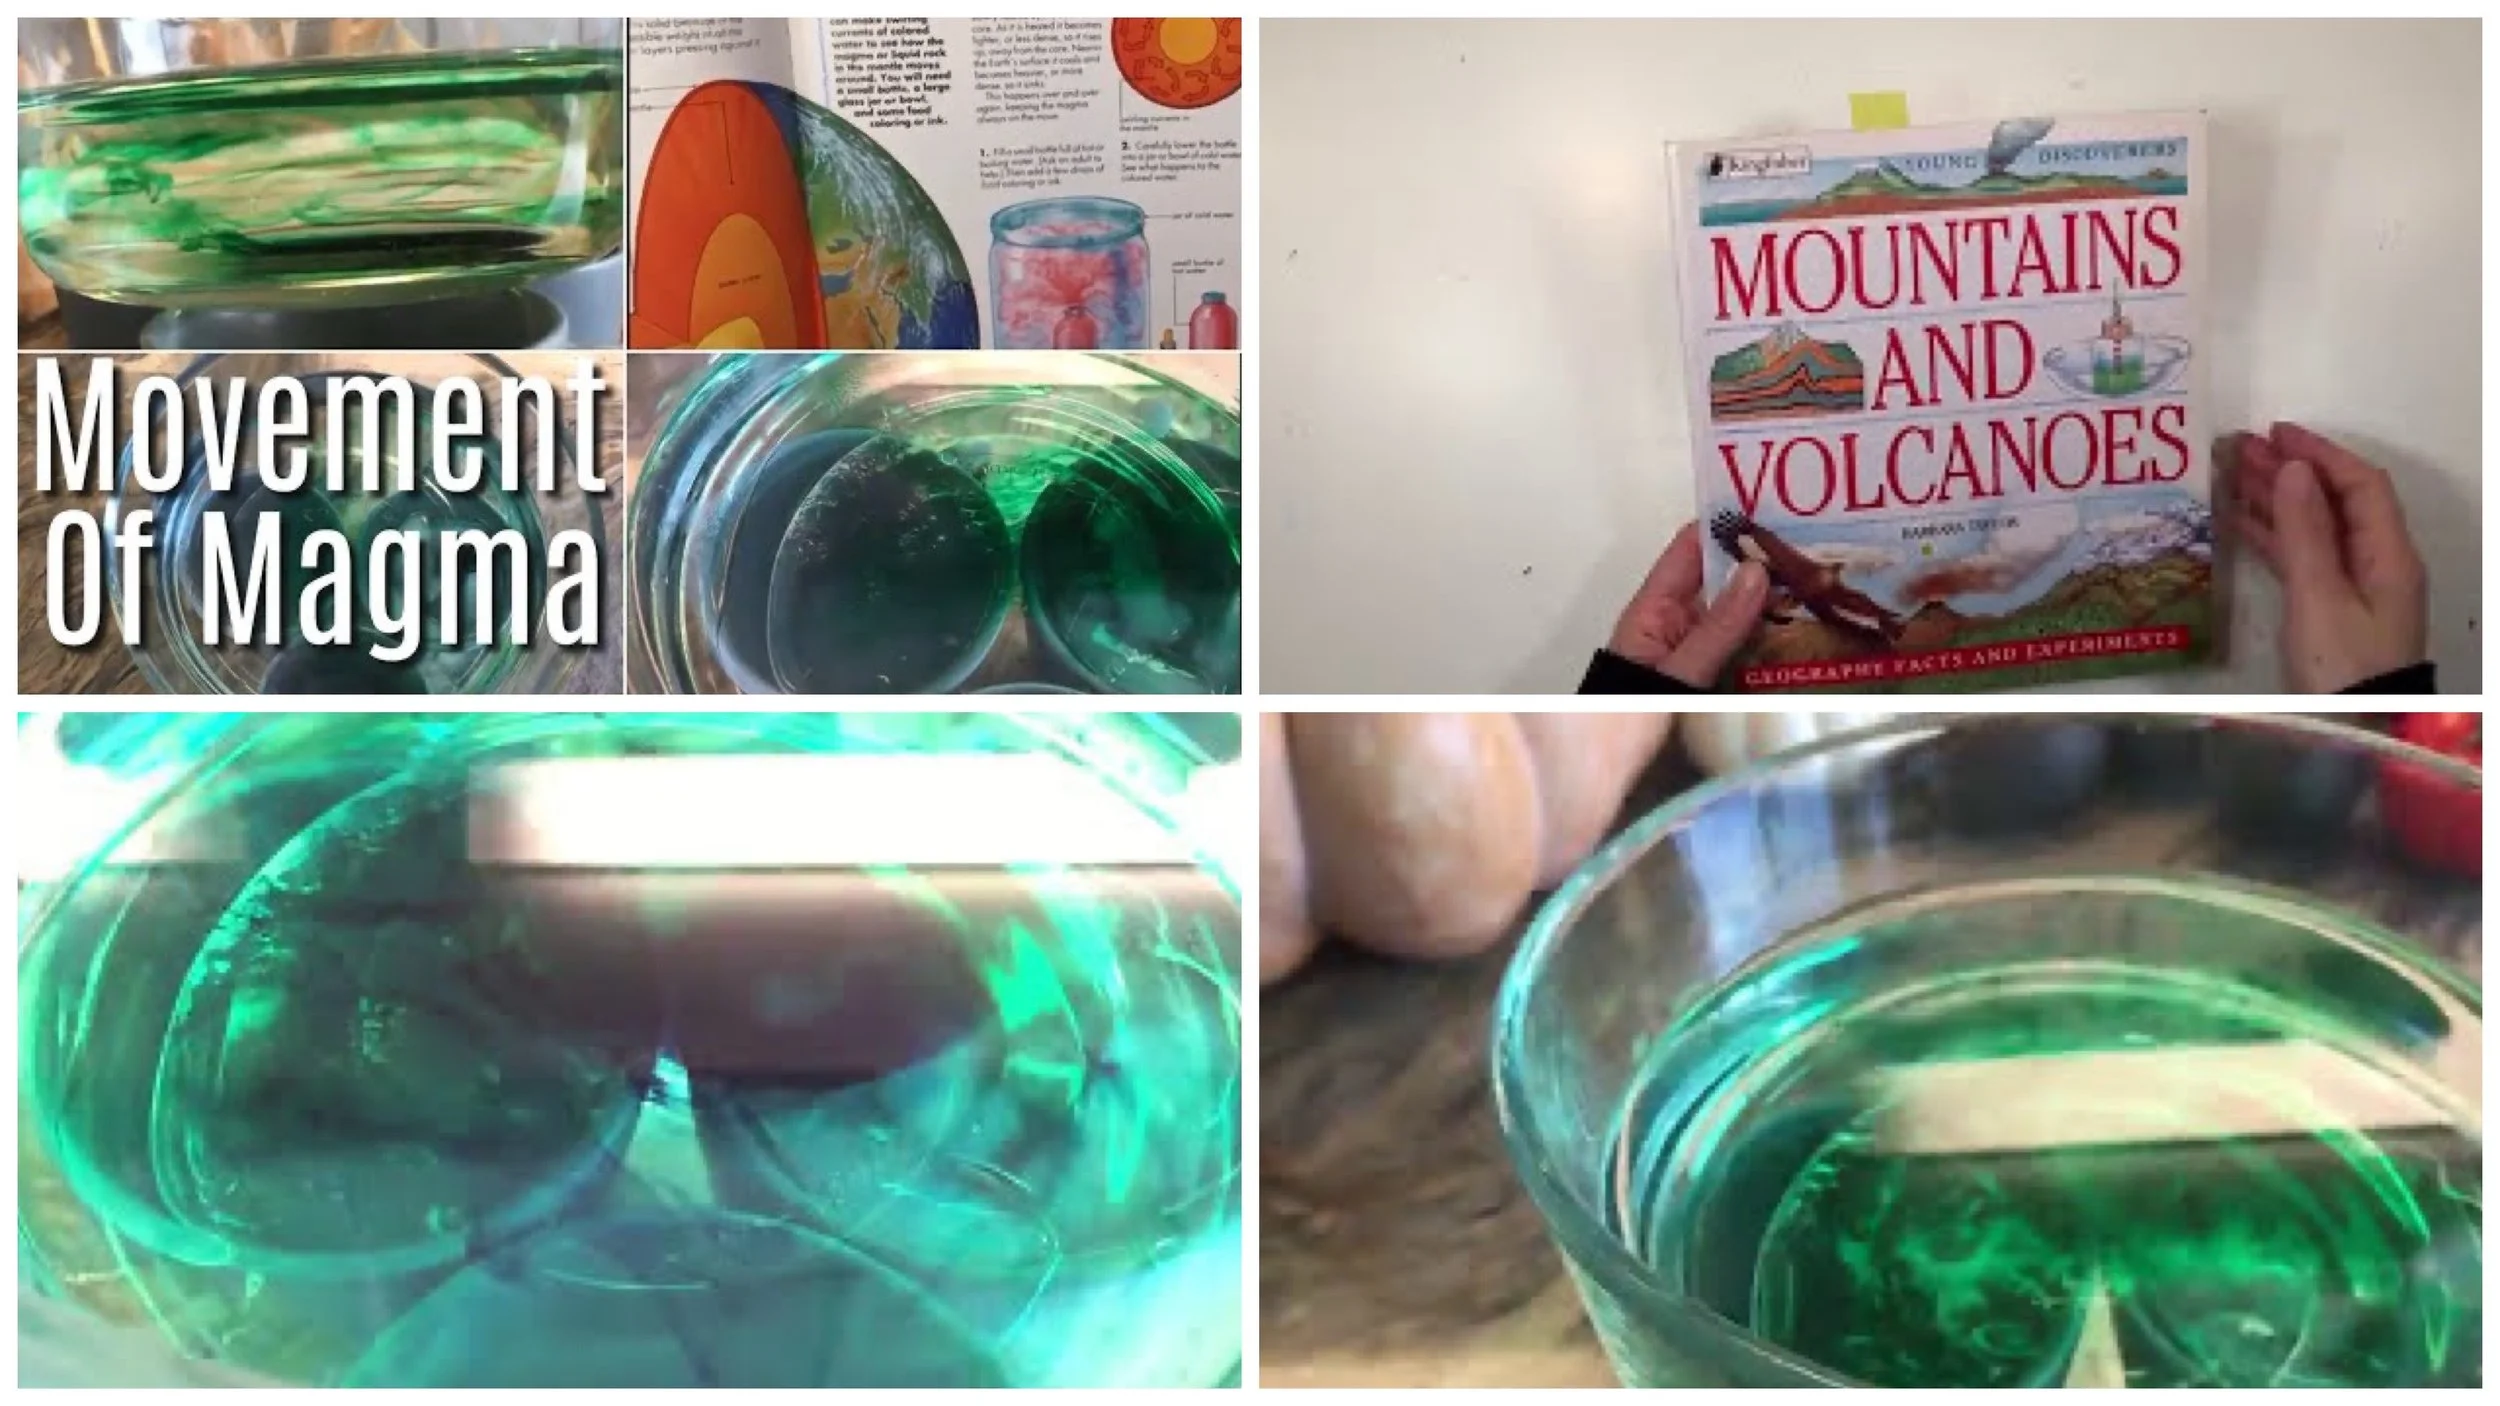
How Magma Moves in the Mantle
Here’s a really simple geology demo on thermodynamics and magma we did for our mineralogy unit using the book Mountains and Volcanoes by Barbara Taylor. You can probably do this project with materials you have around the house.
-
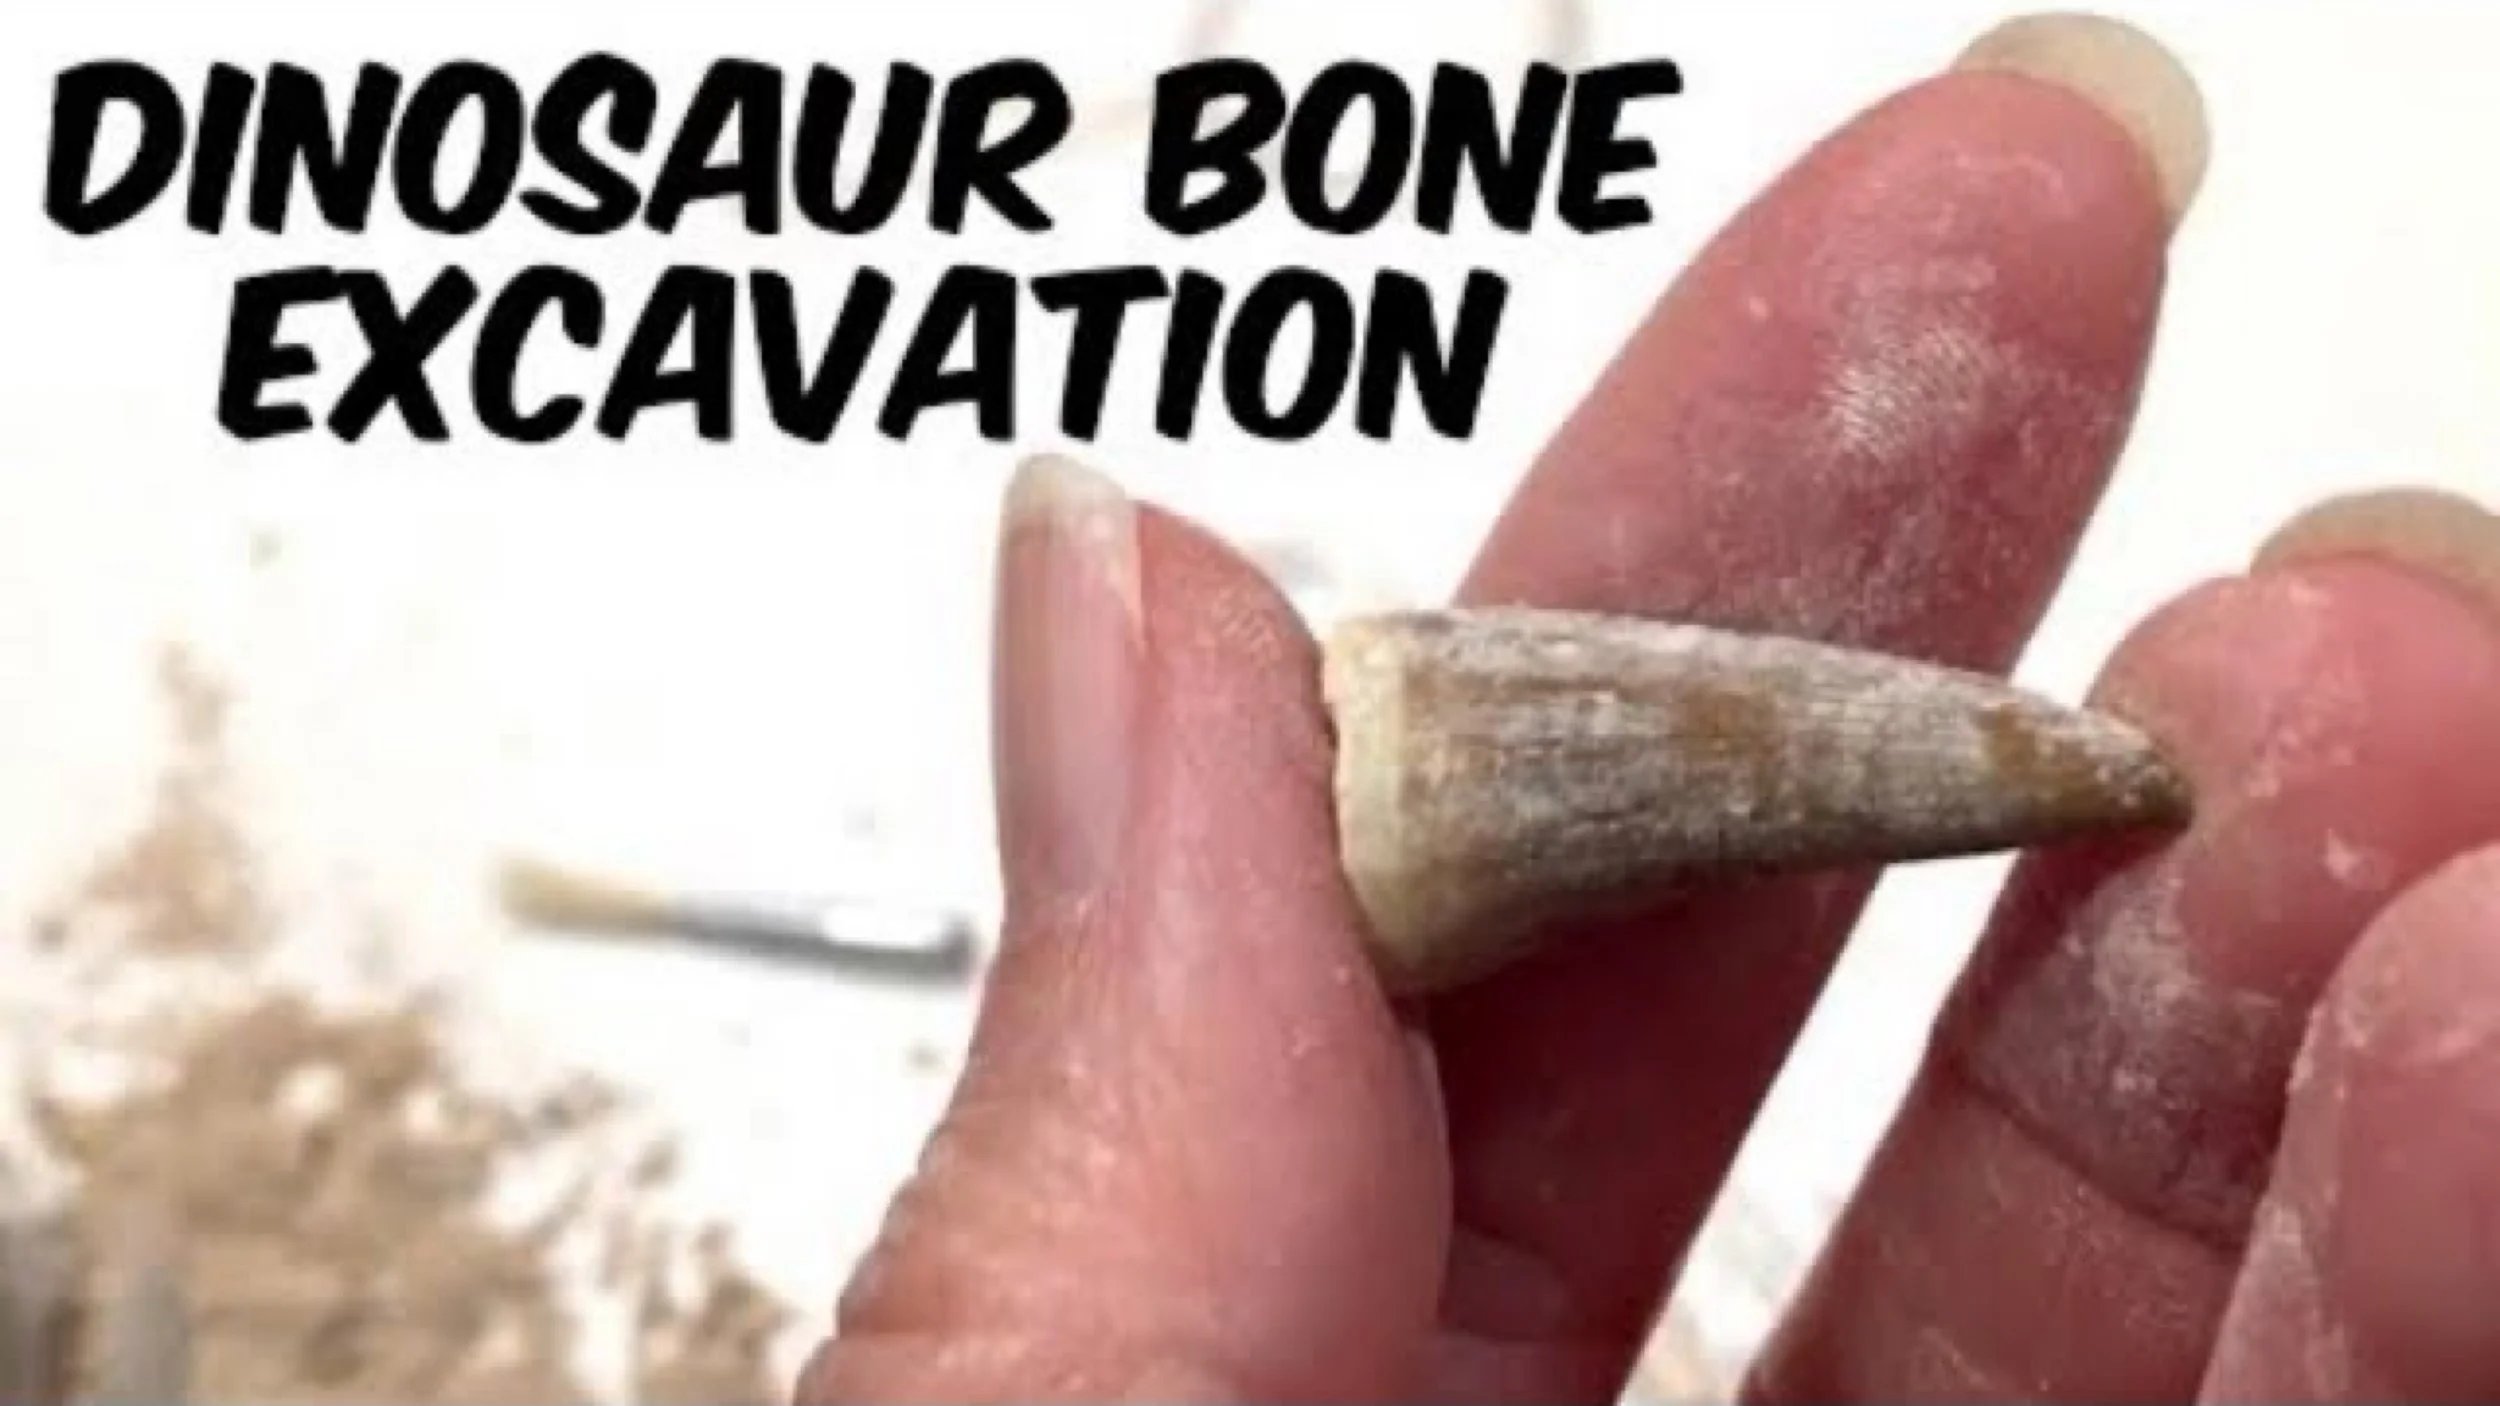
Excavating Dinosaur Bones
oin us as we excavate real dinosaur bone, an aquatic lizard tooth and coprolite (dinosaur dung). This Dinosaur Dig Kit by Discover with Dr. Cool was fantastic! I highly recommend it. You get three high quality fossil specimens, two activity guides, a display case and excavation tools.
-
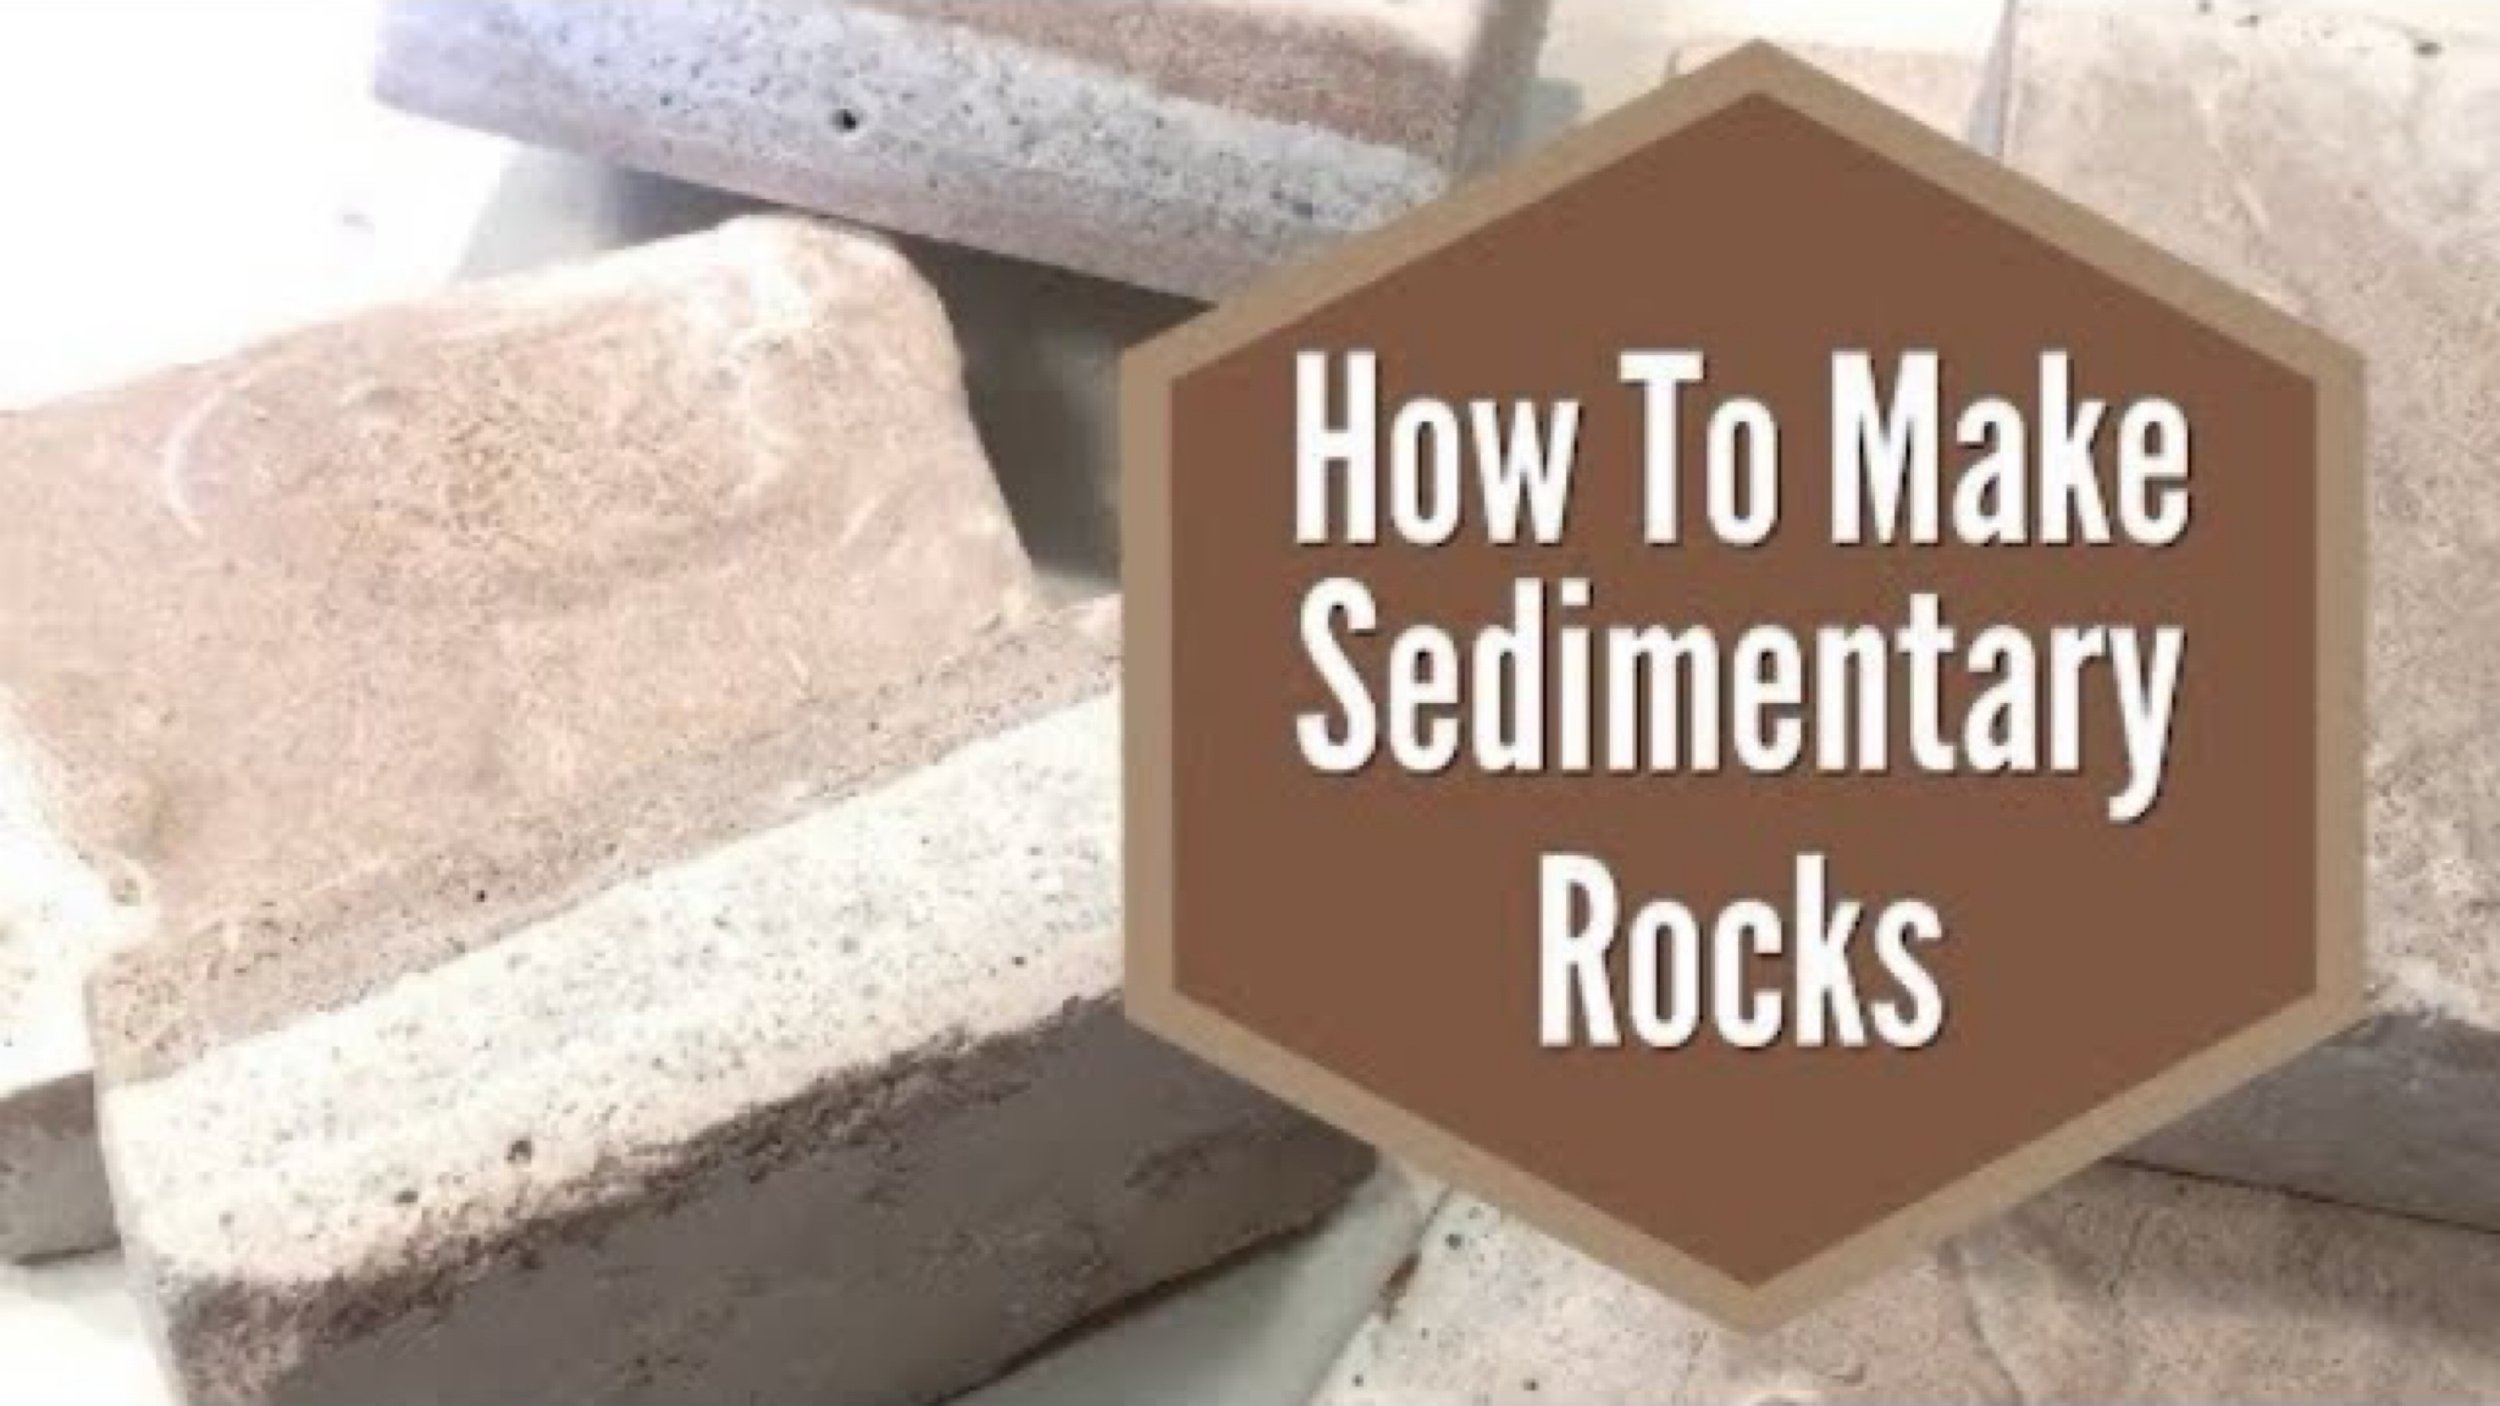
How to Make Sedimentary Rock and Excavation
Curious how sedimentary rock is formed? This is a quick and educational project that’s easy to do and fun to excavate. You do need a few materials to do this activity.
-
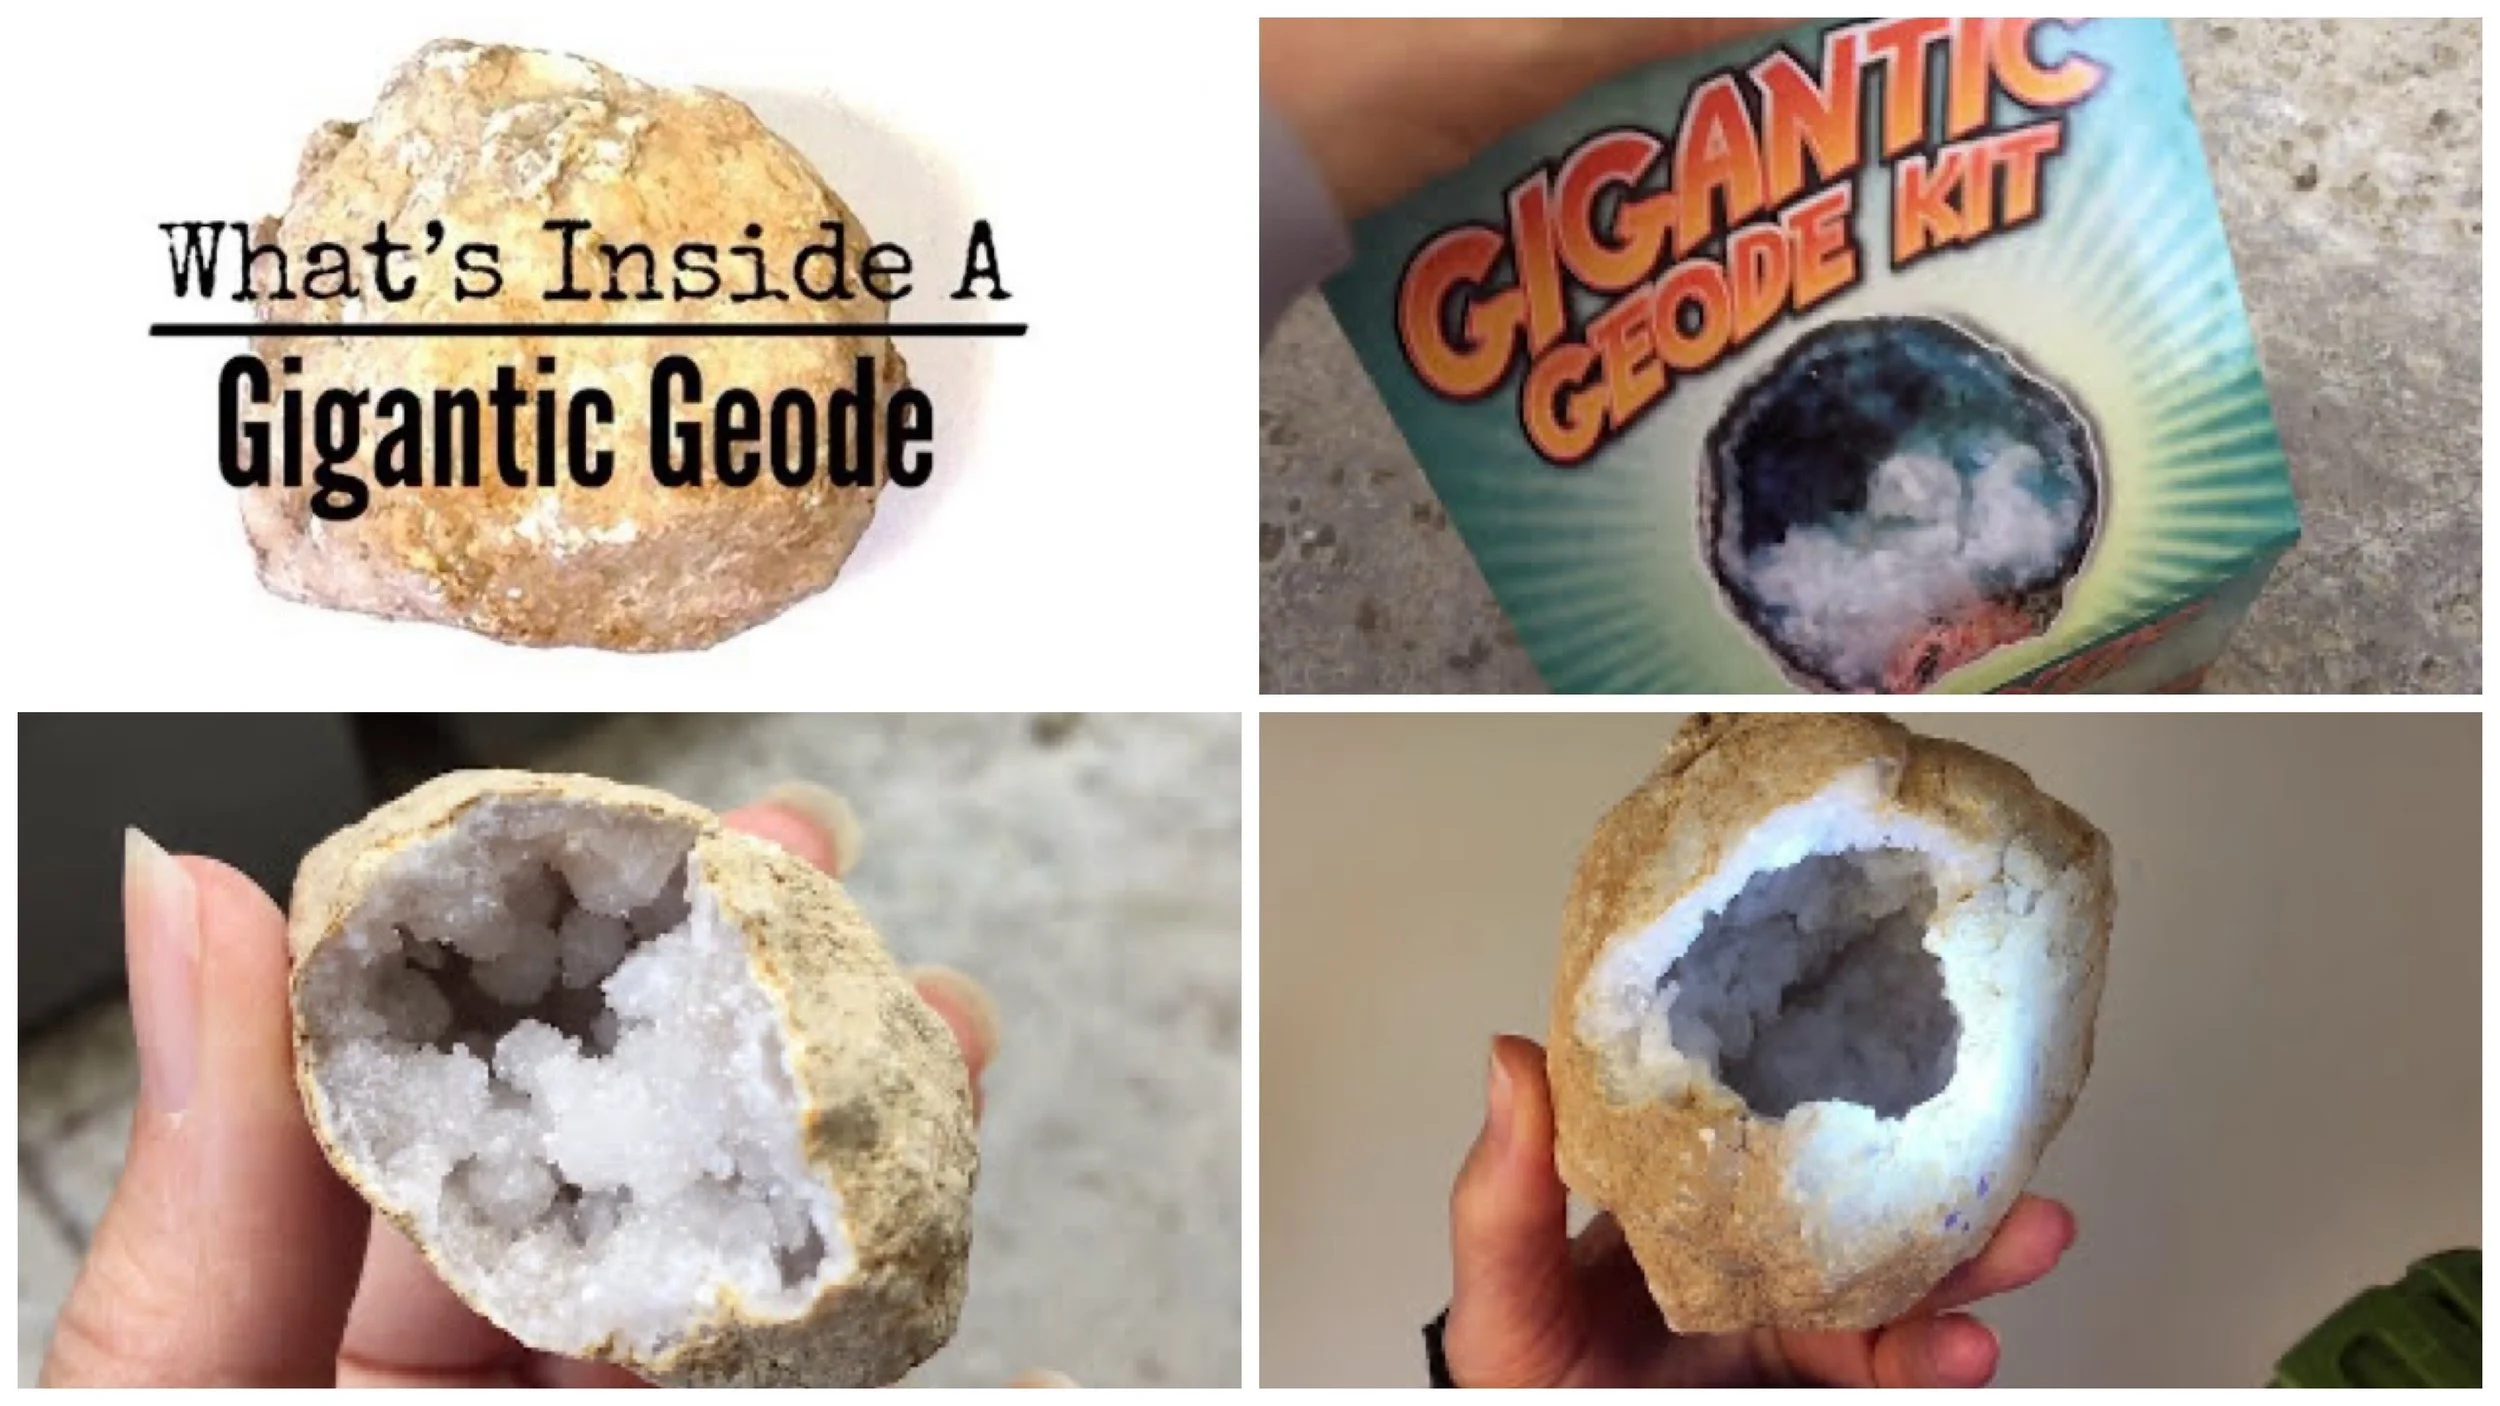
What’s Inside A Gigantic Geode
After cracking open 15 premium geodes last year for our geology unit, we decided to try this gigantic premium geode also from Discover with Dr. Cool. To be honest, the gigantic geode was no less thrilling than the 15 small ones.
-
Excavating Rocks | Geology
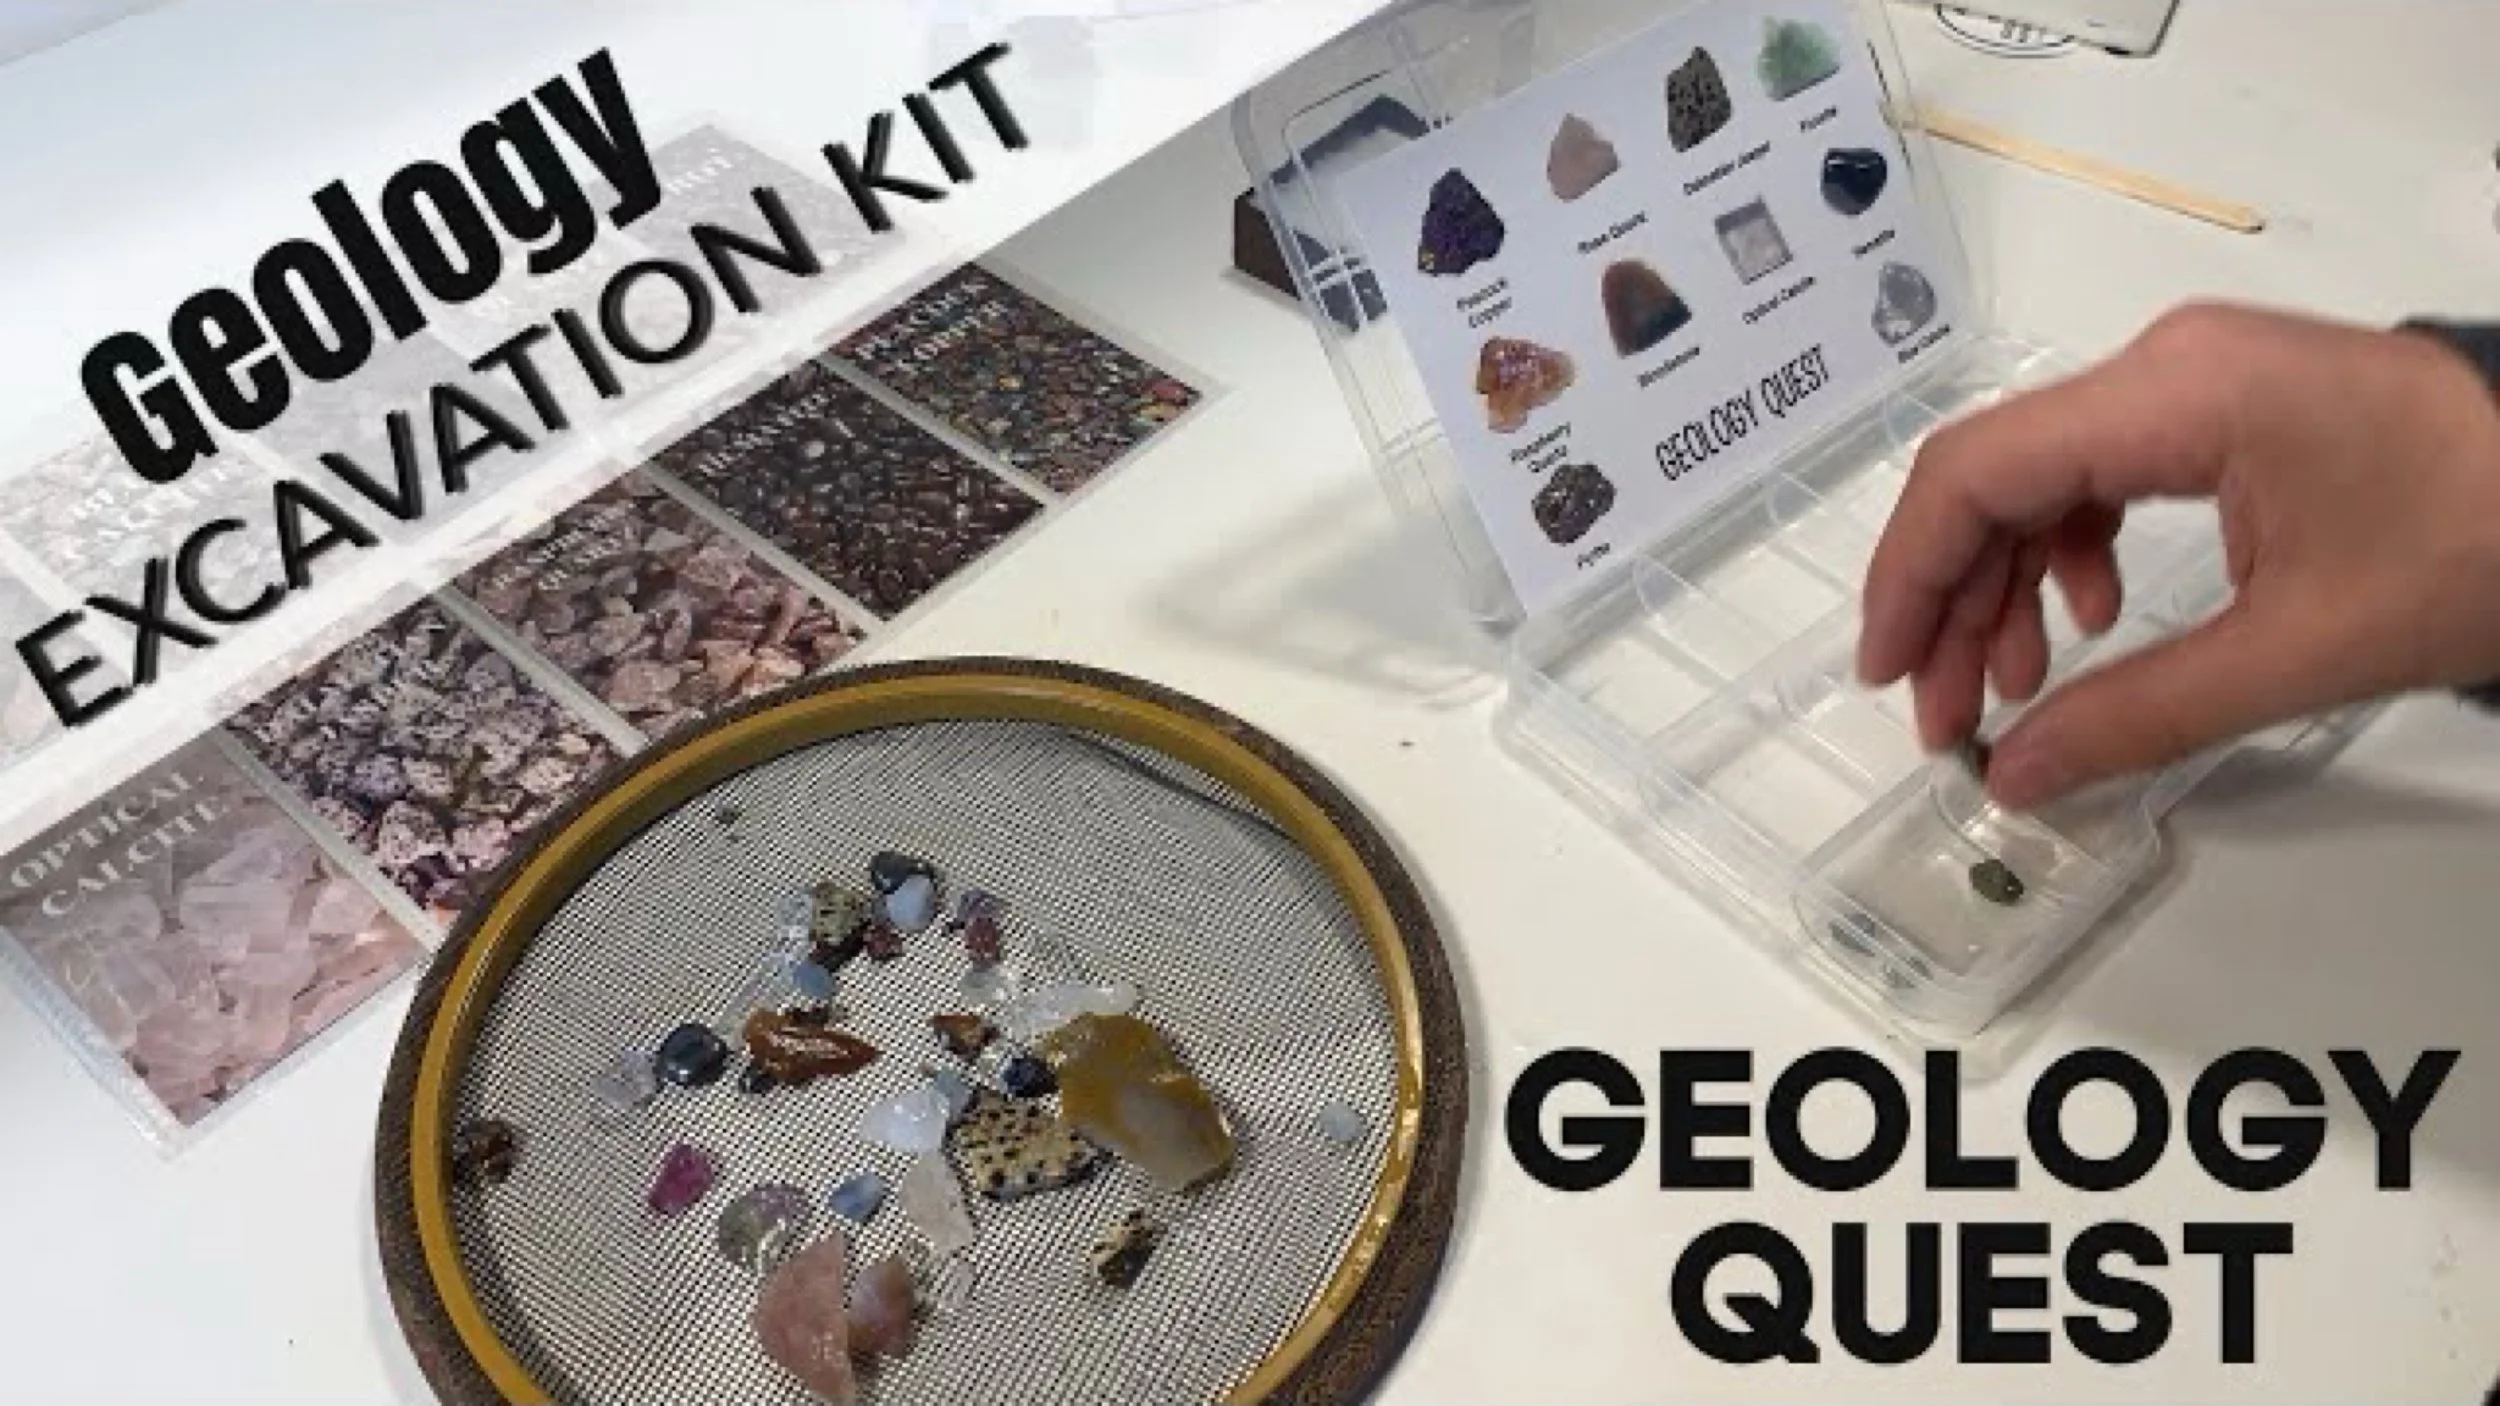
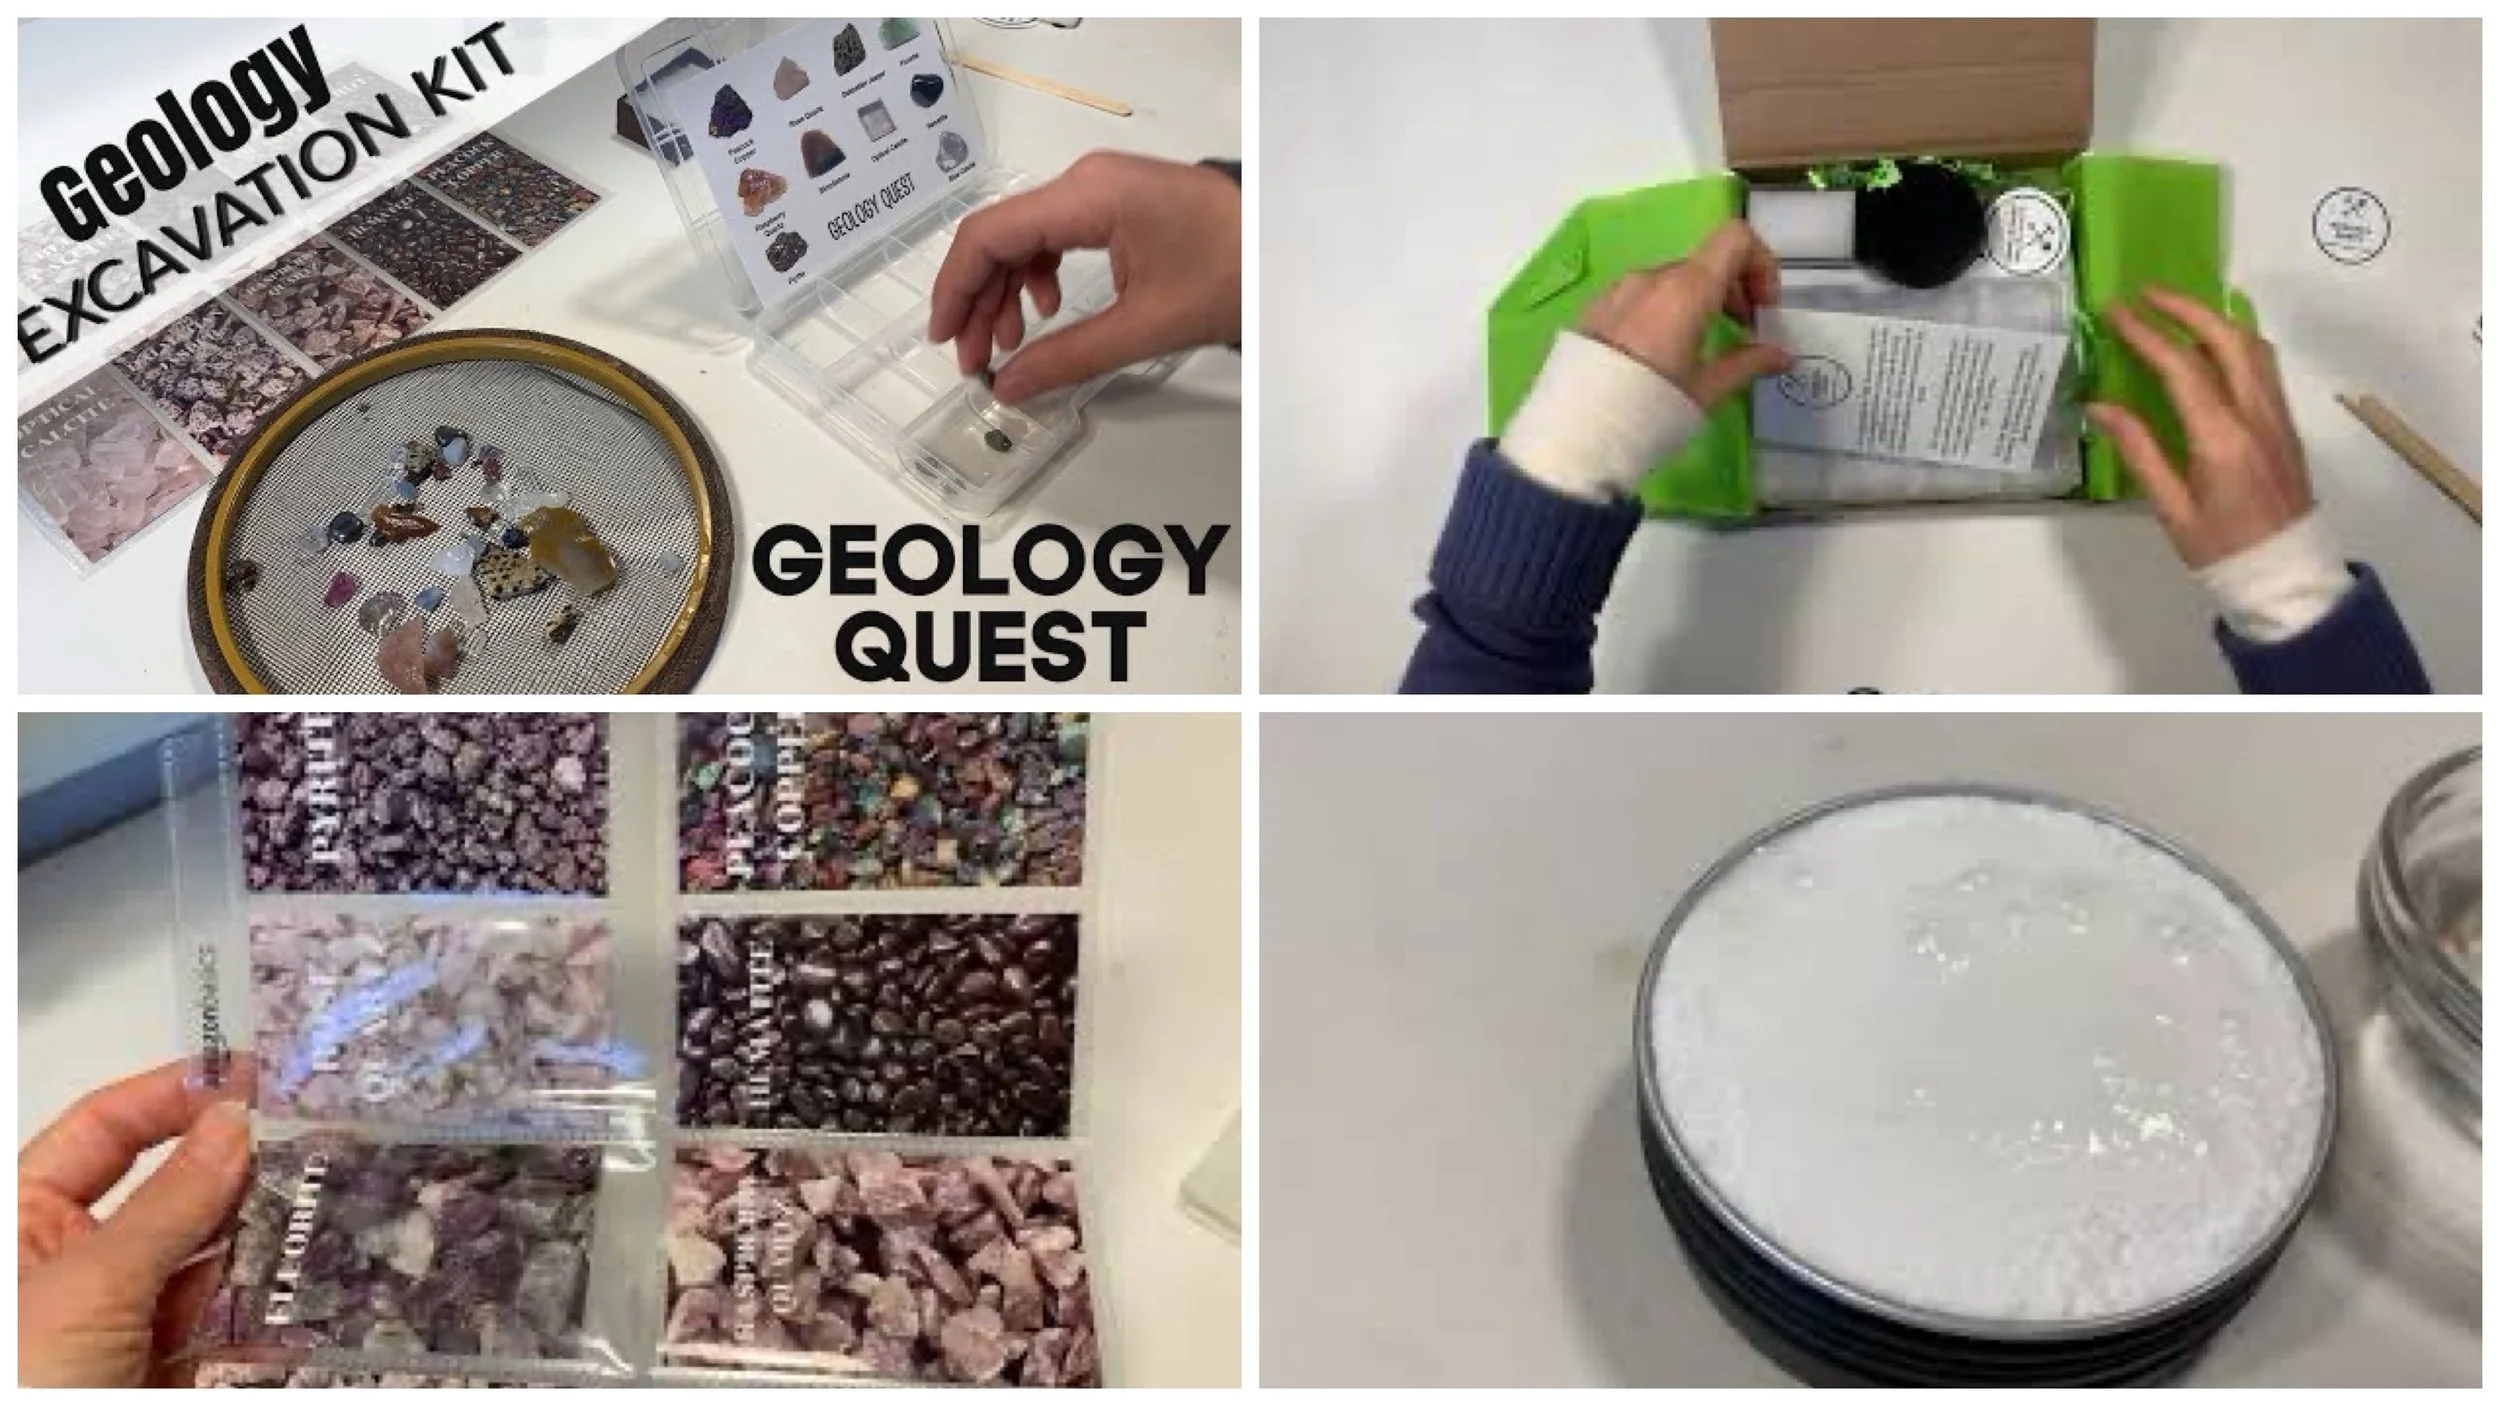
We love our hands on projects and this time we are trying out a new company and their innovative kits. Recently, Excavating Adventures reached out to me to see if I would like to try their products.
-
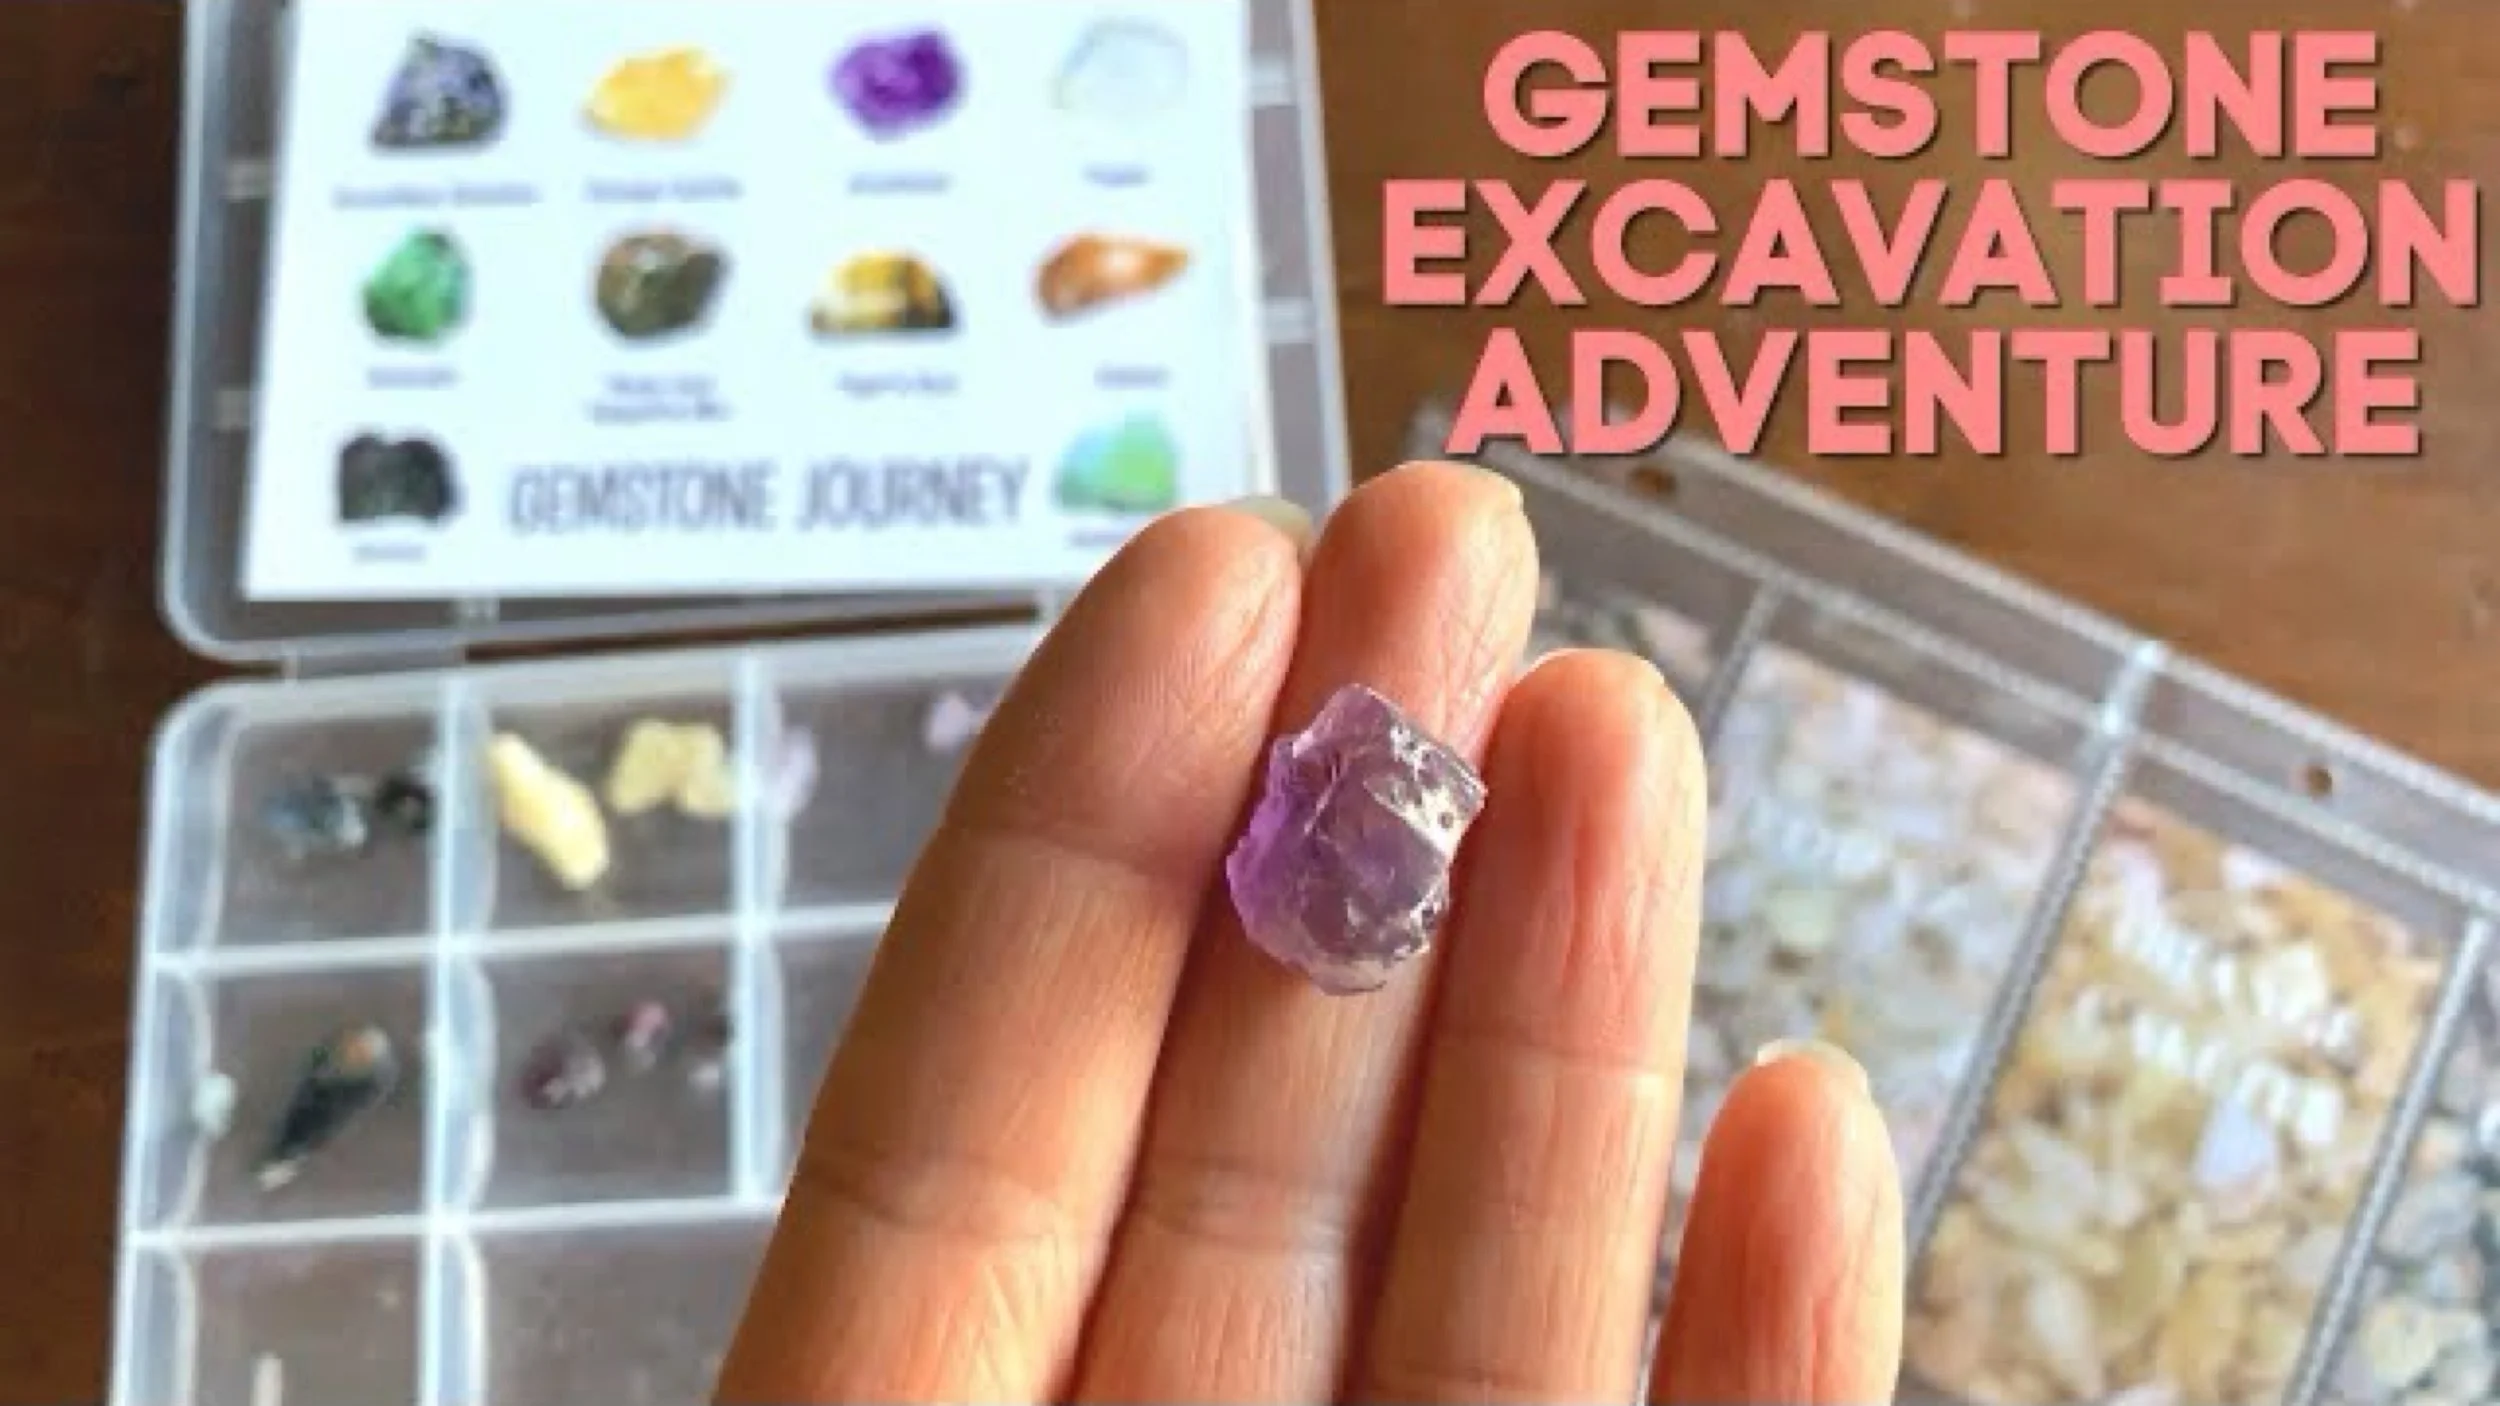
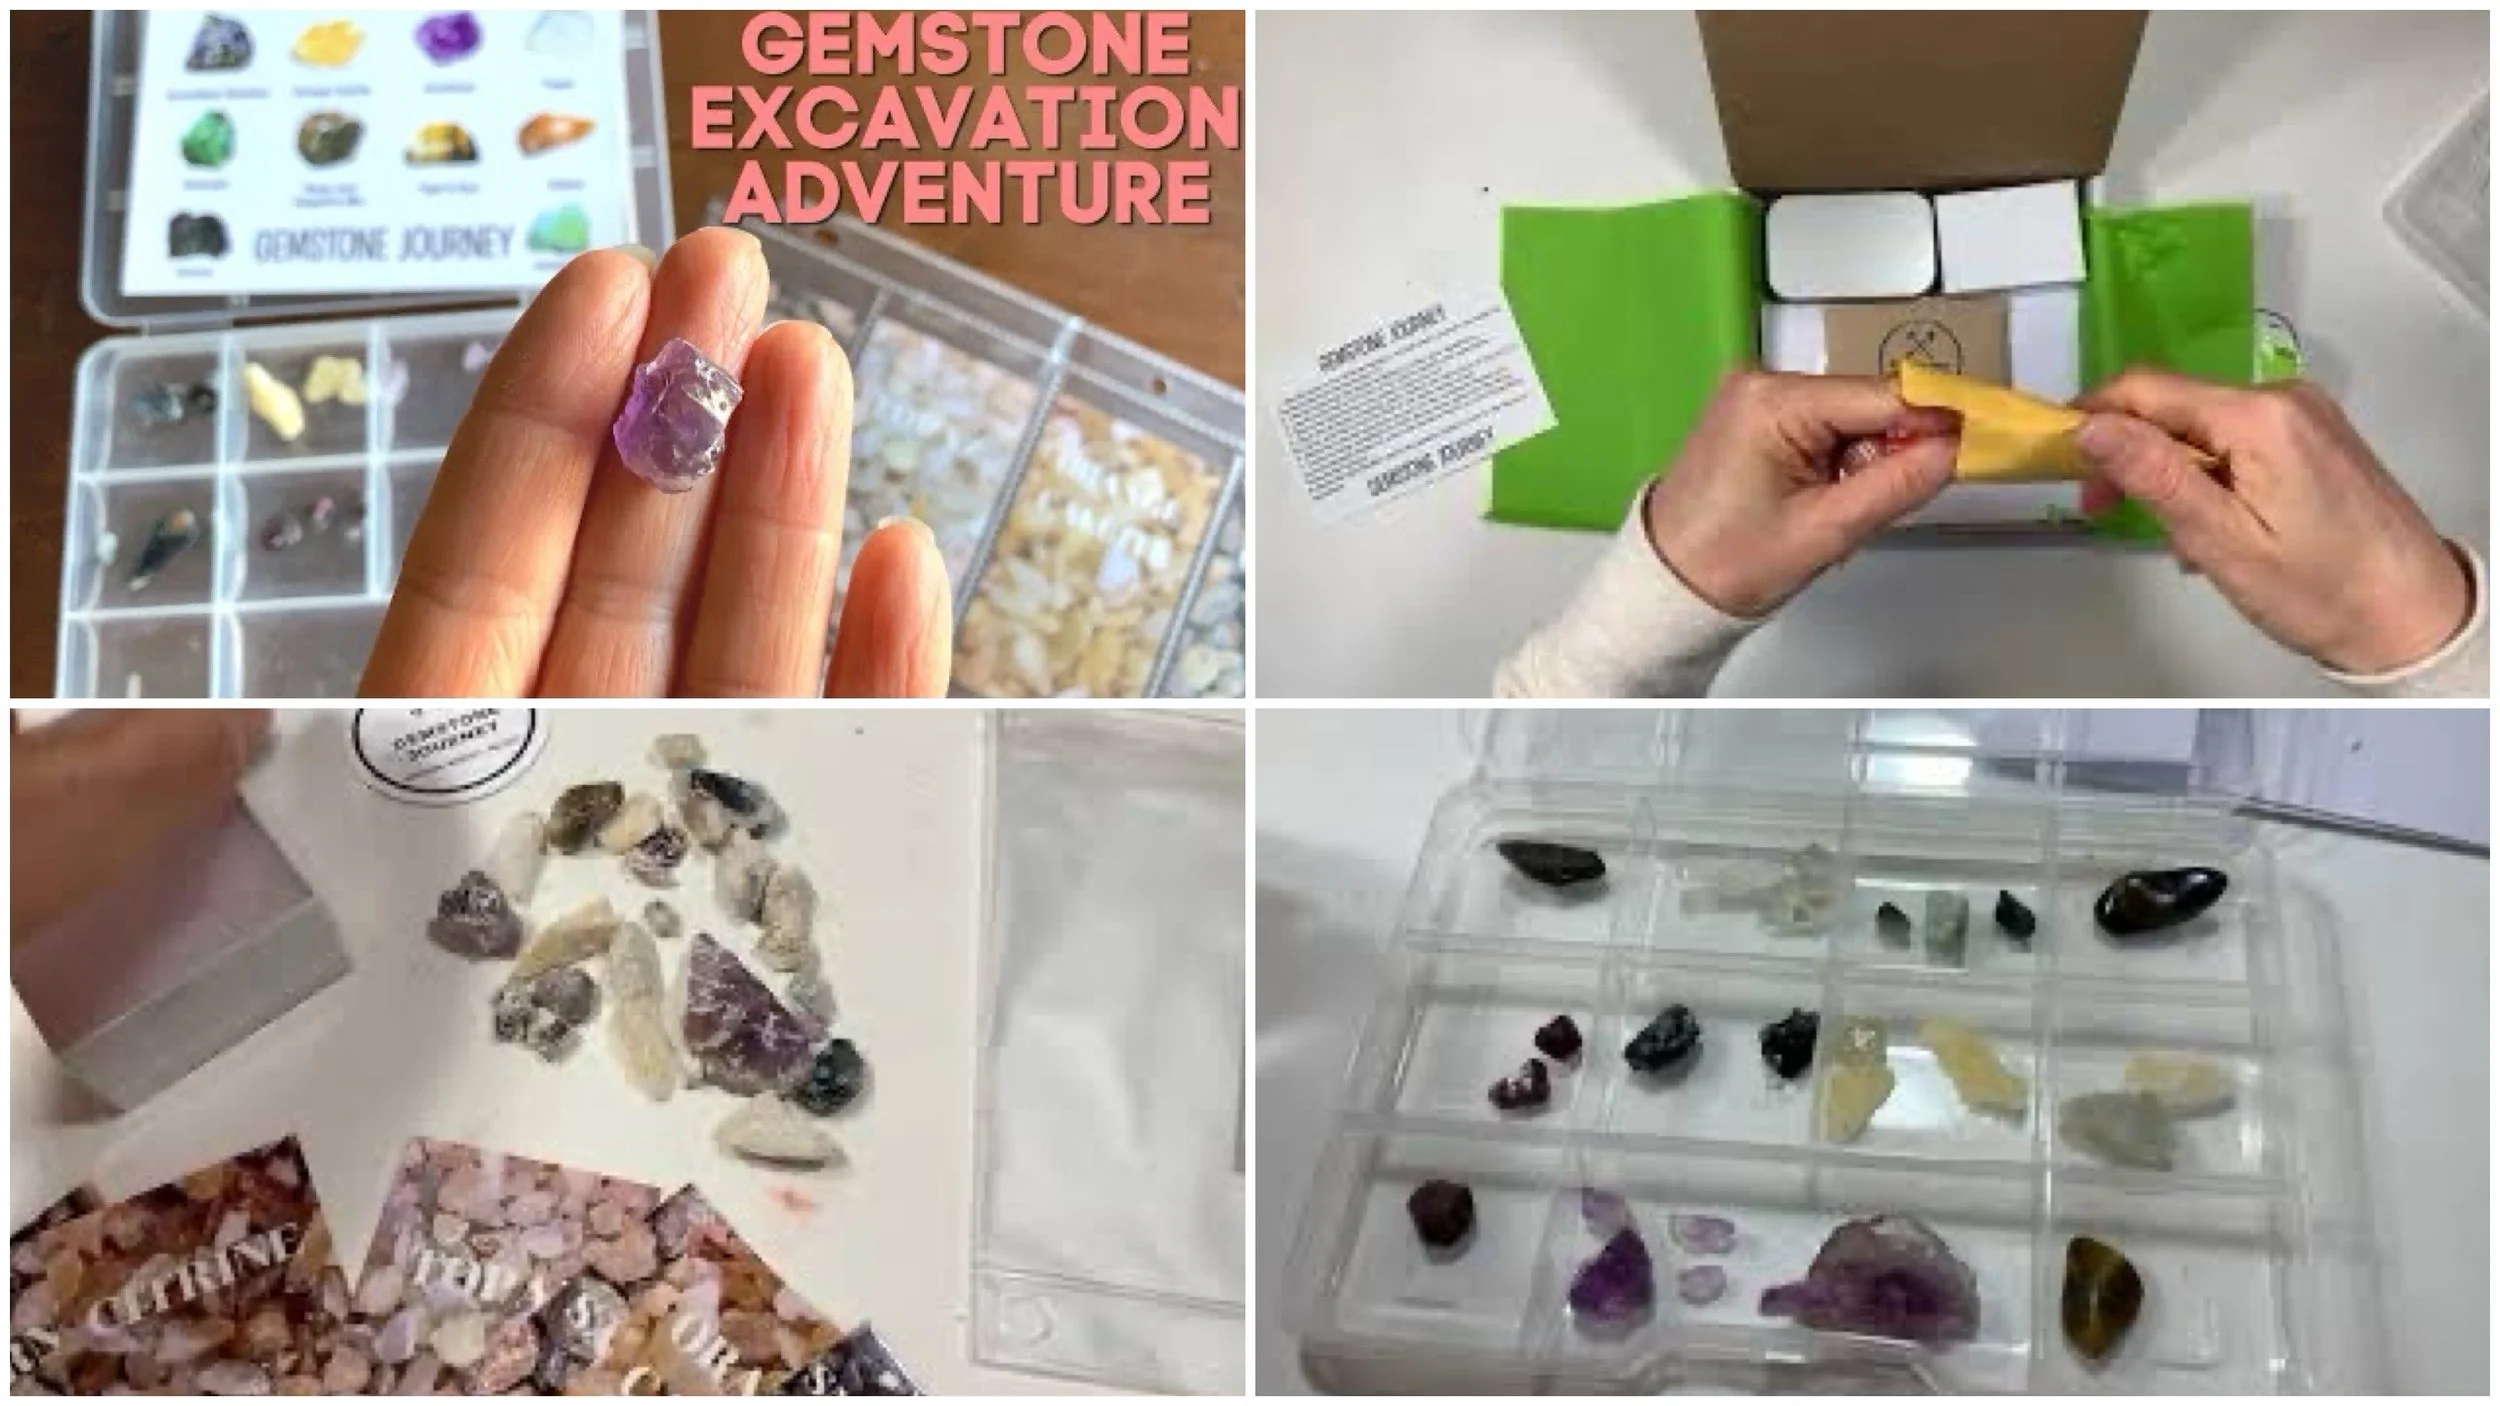
Gemstone Excavation Kit
We recently got four excavation kits from Excavating Adventures and I have to say, I’m blown away at how awesome these kits are. Aside from the huge amount of specimens you get in each kit, you also get to excavate in unique materials for each kit.
-
Discovering Dinosaur Fossils
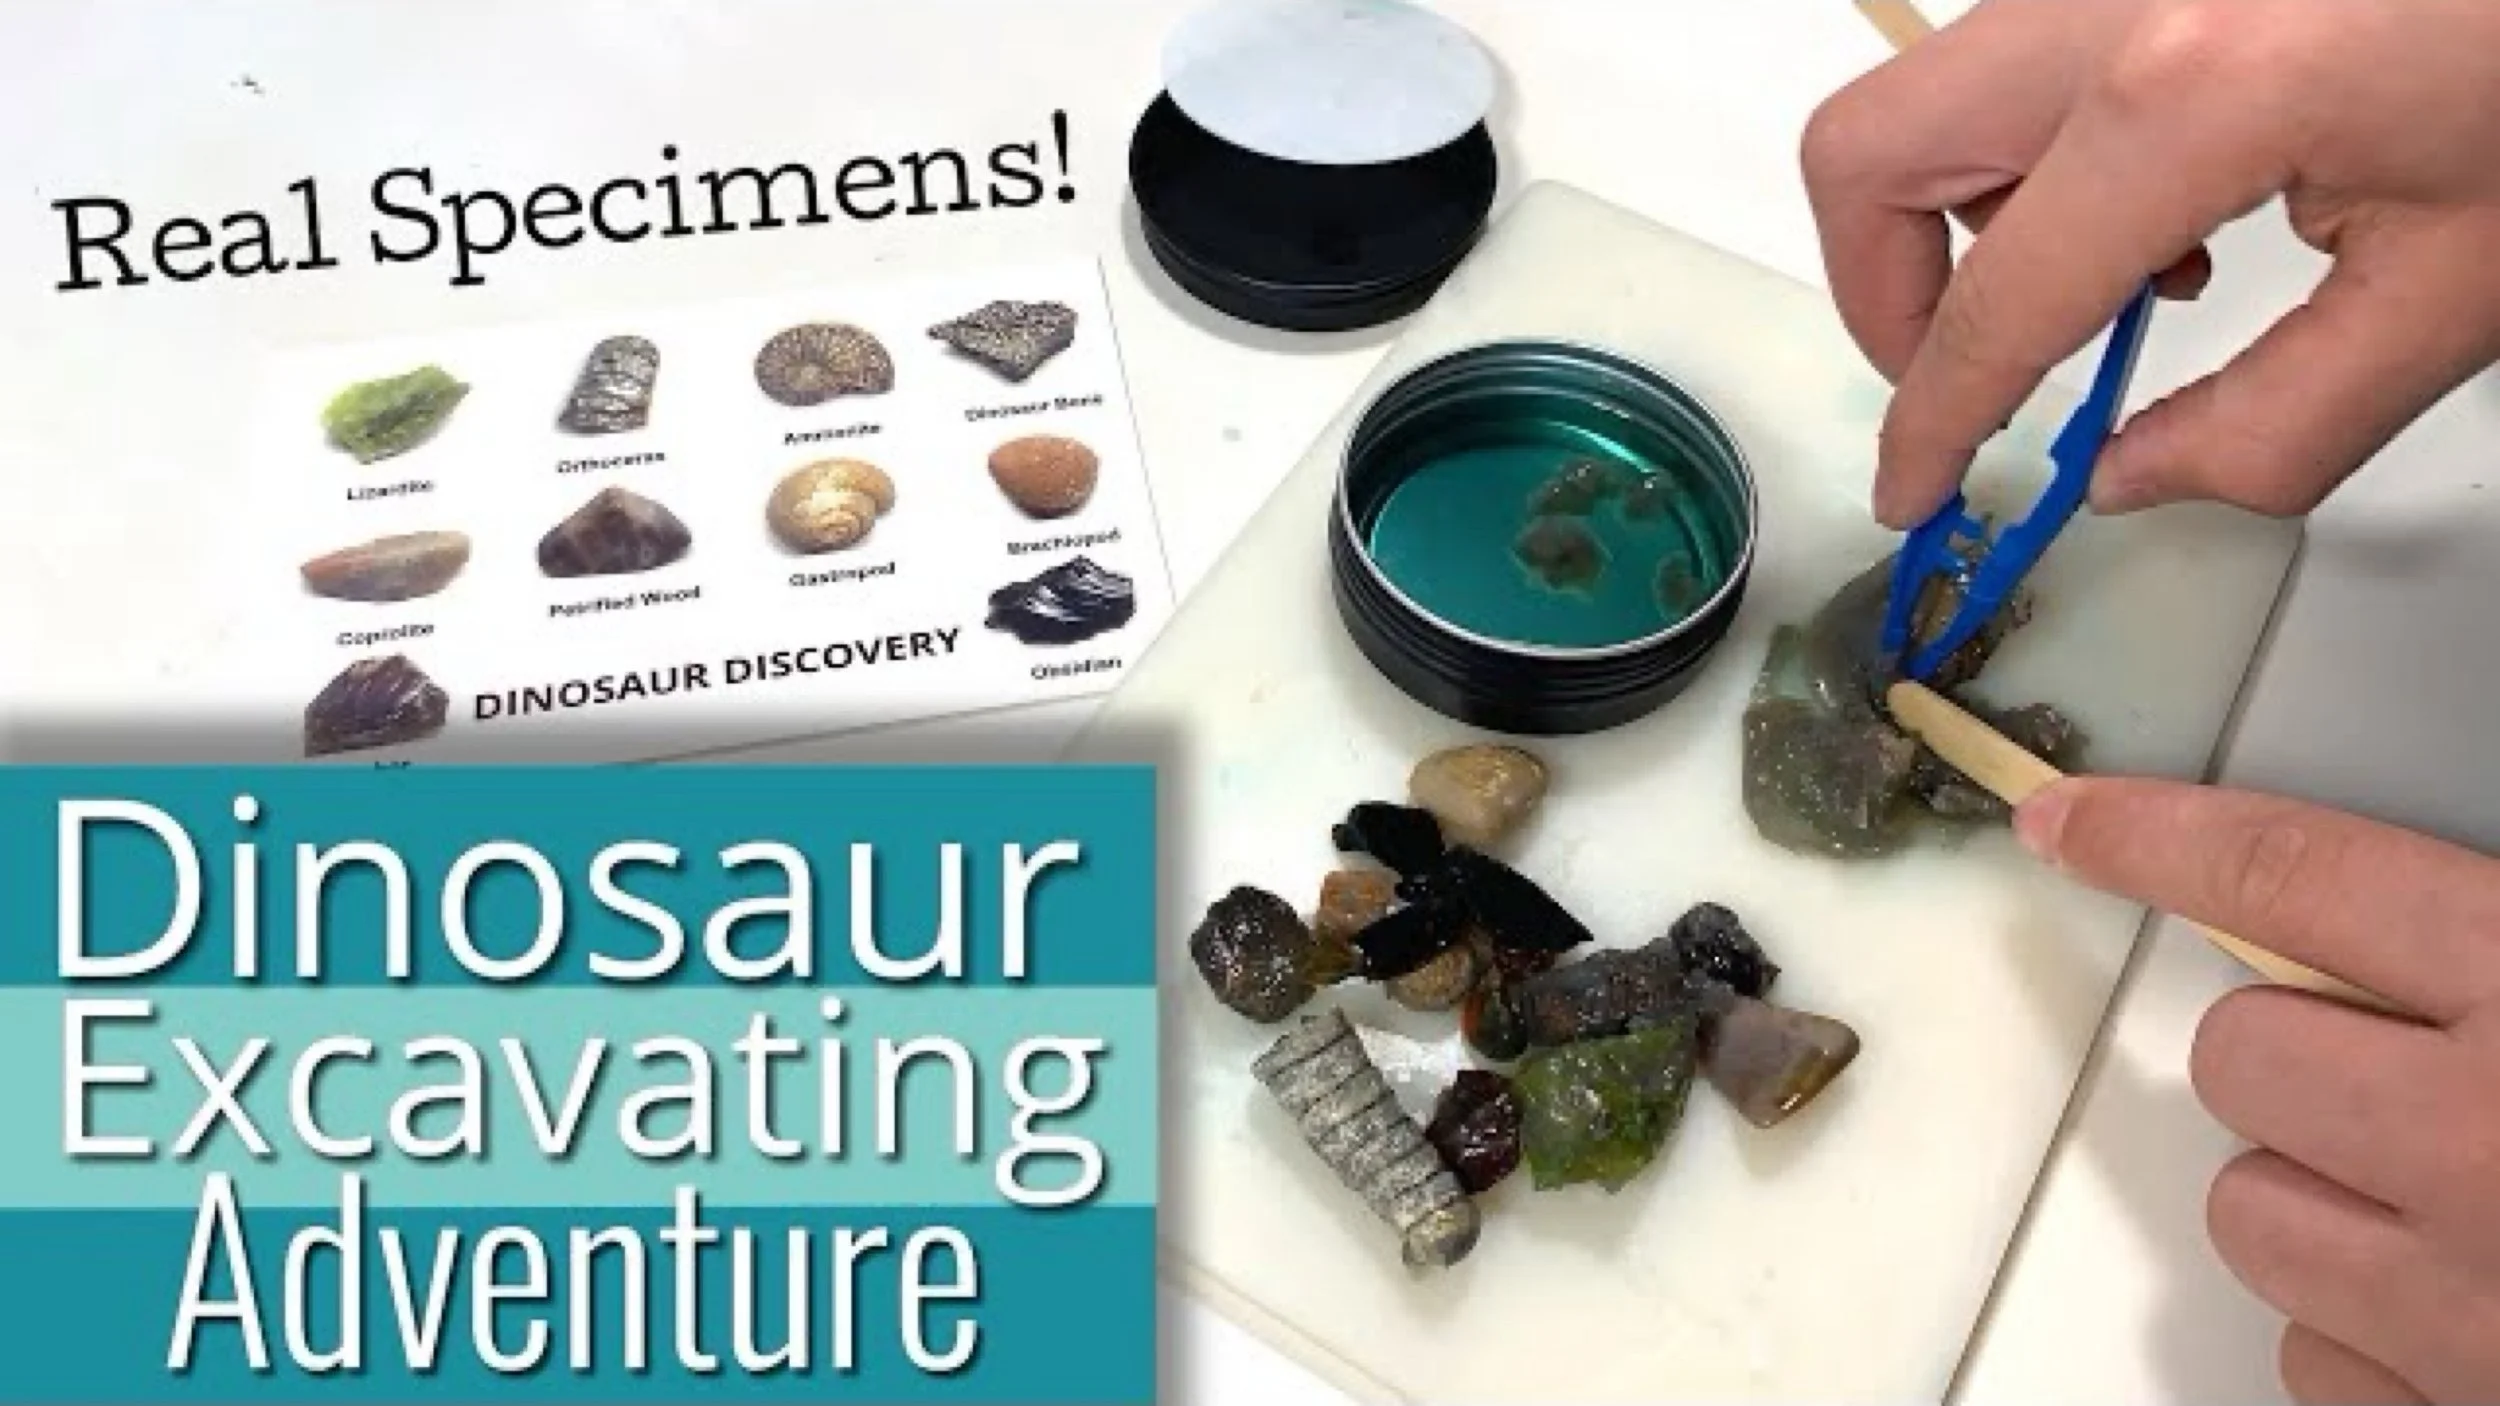
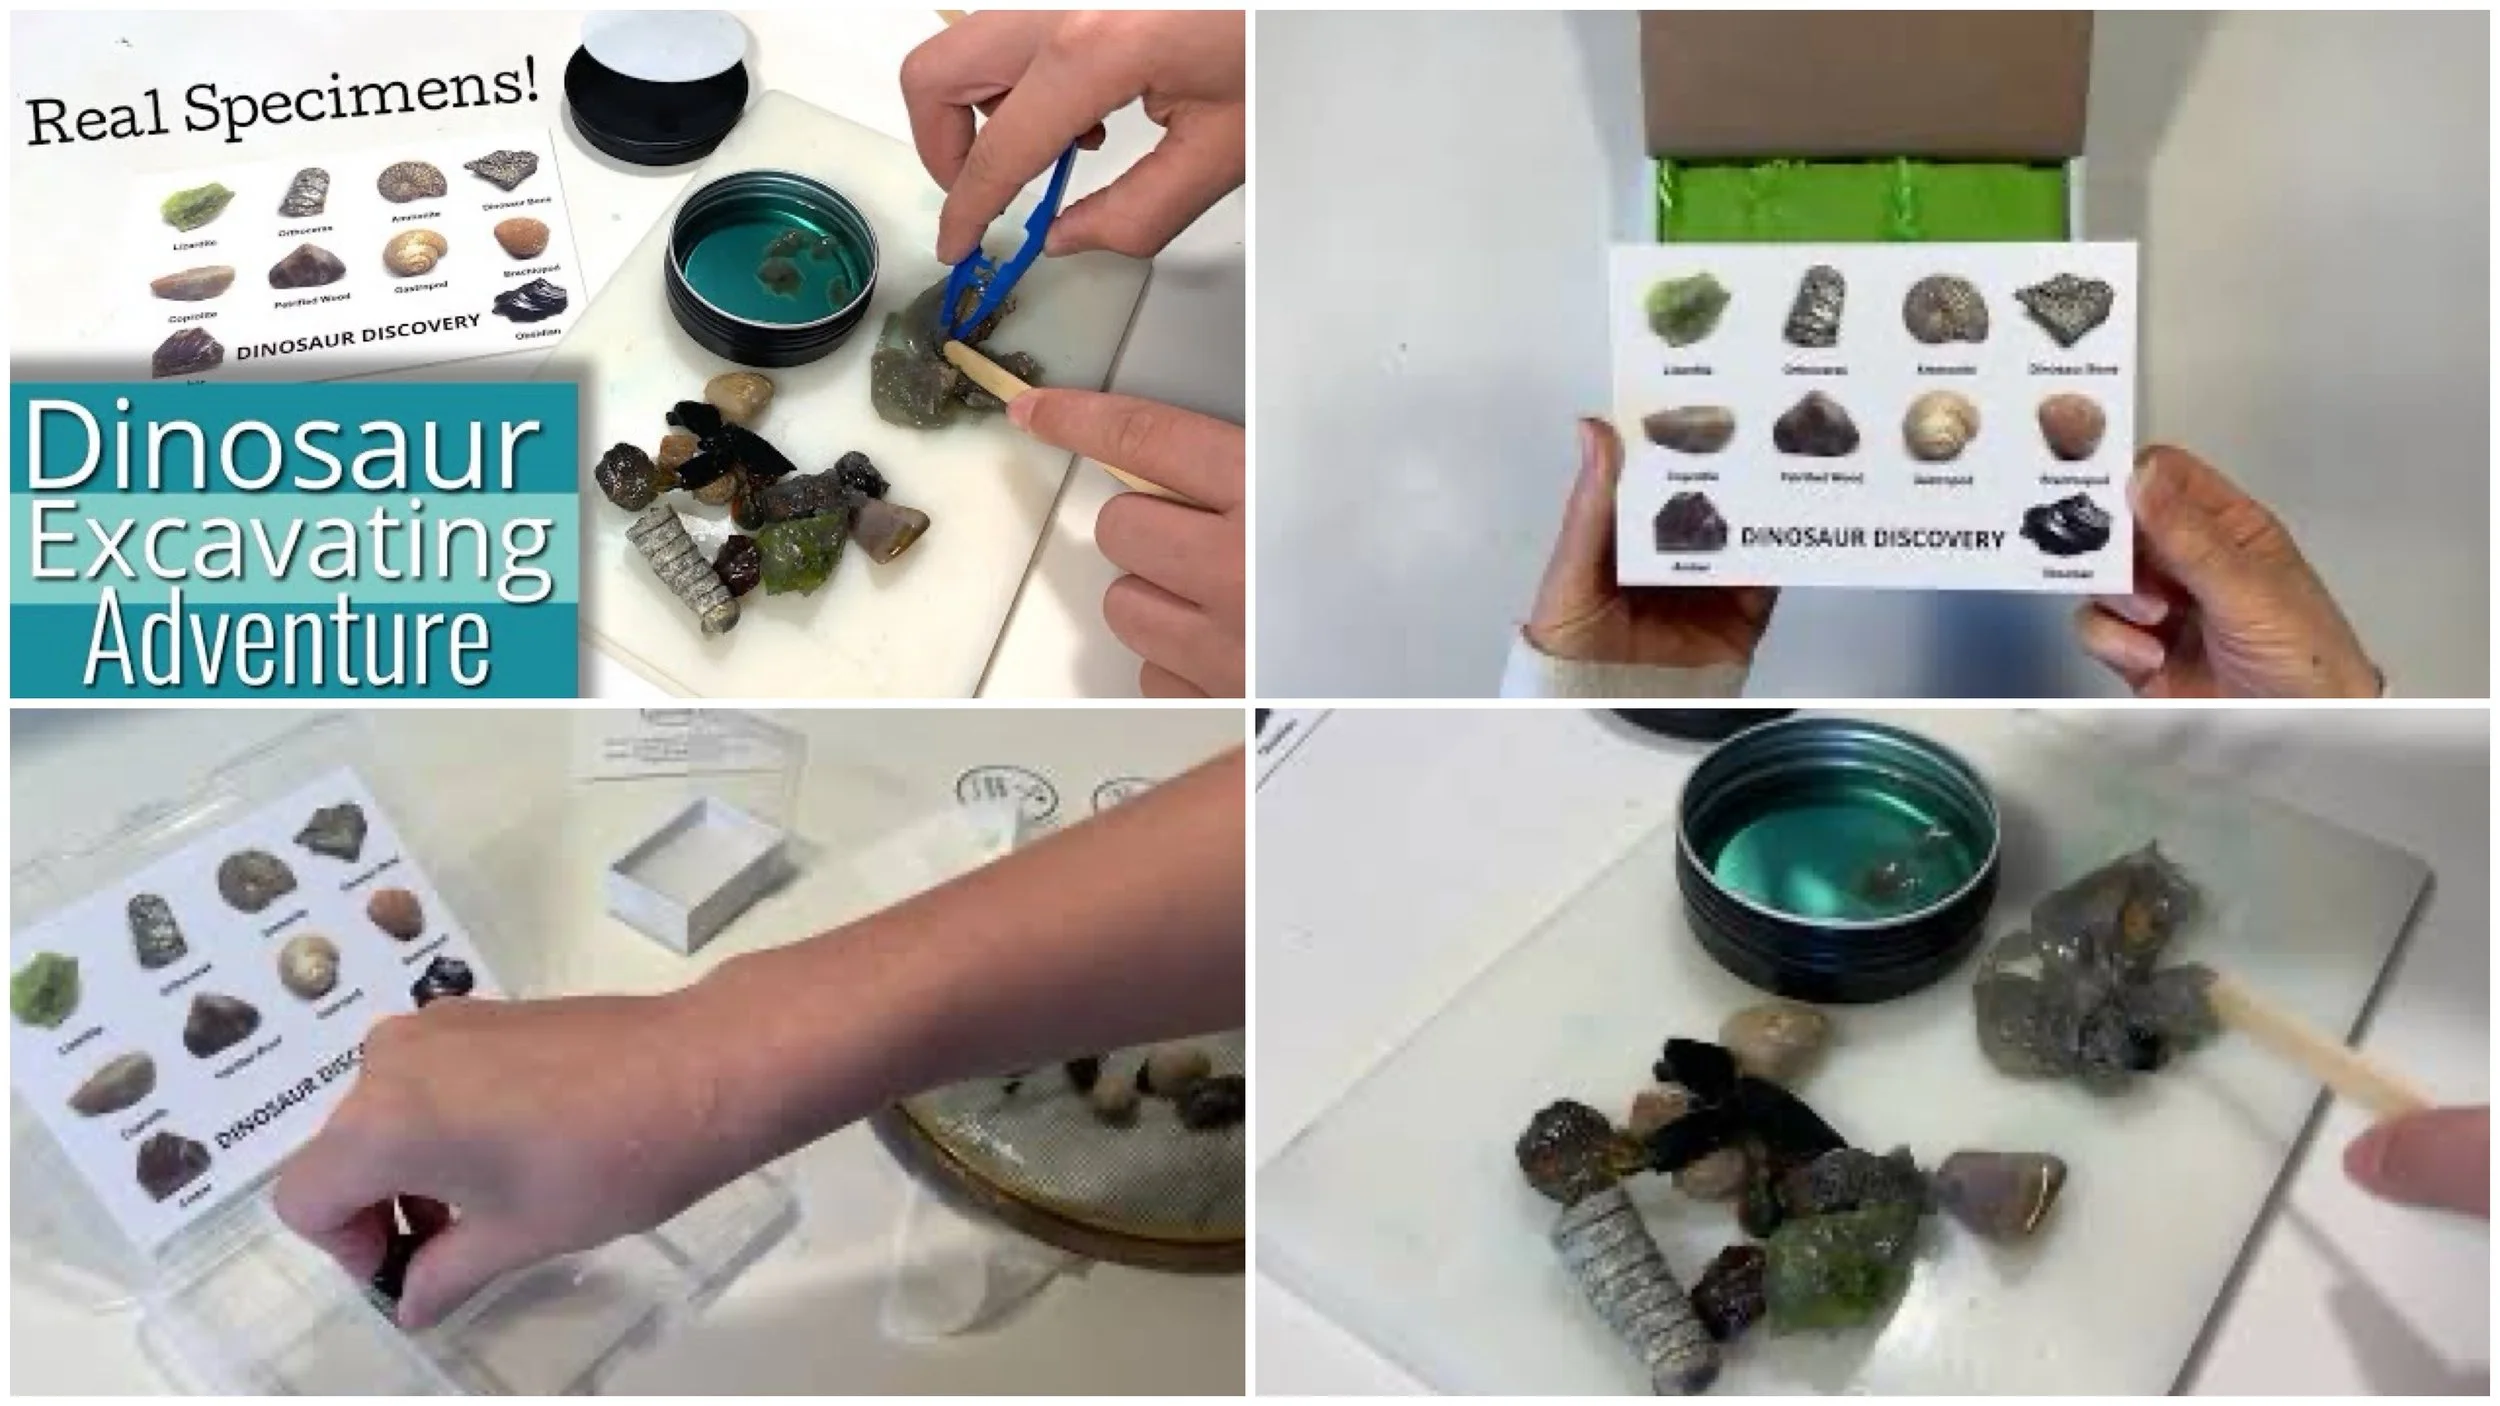
The Dinosaur Excavation kit from Excavating Adventures is one of the most creative kits we used. Each month (if you are doing the monthly subscription kit), you get a different kit to excavate and explore.
-
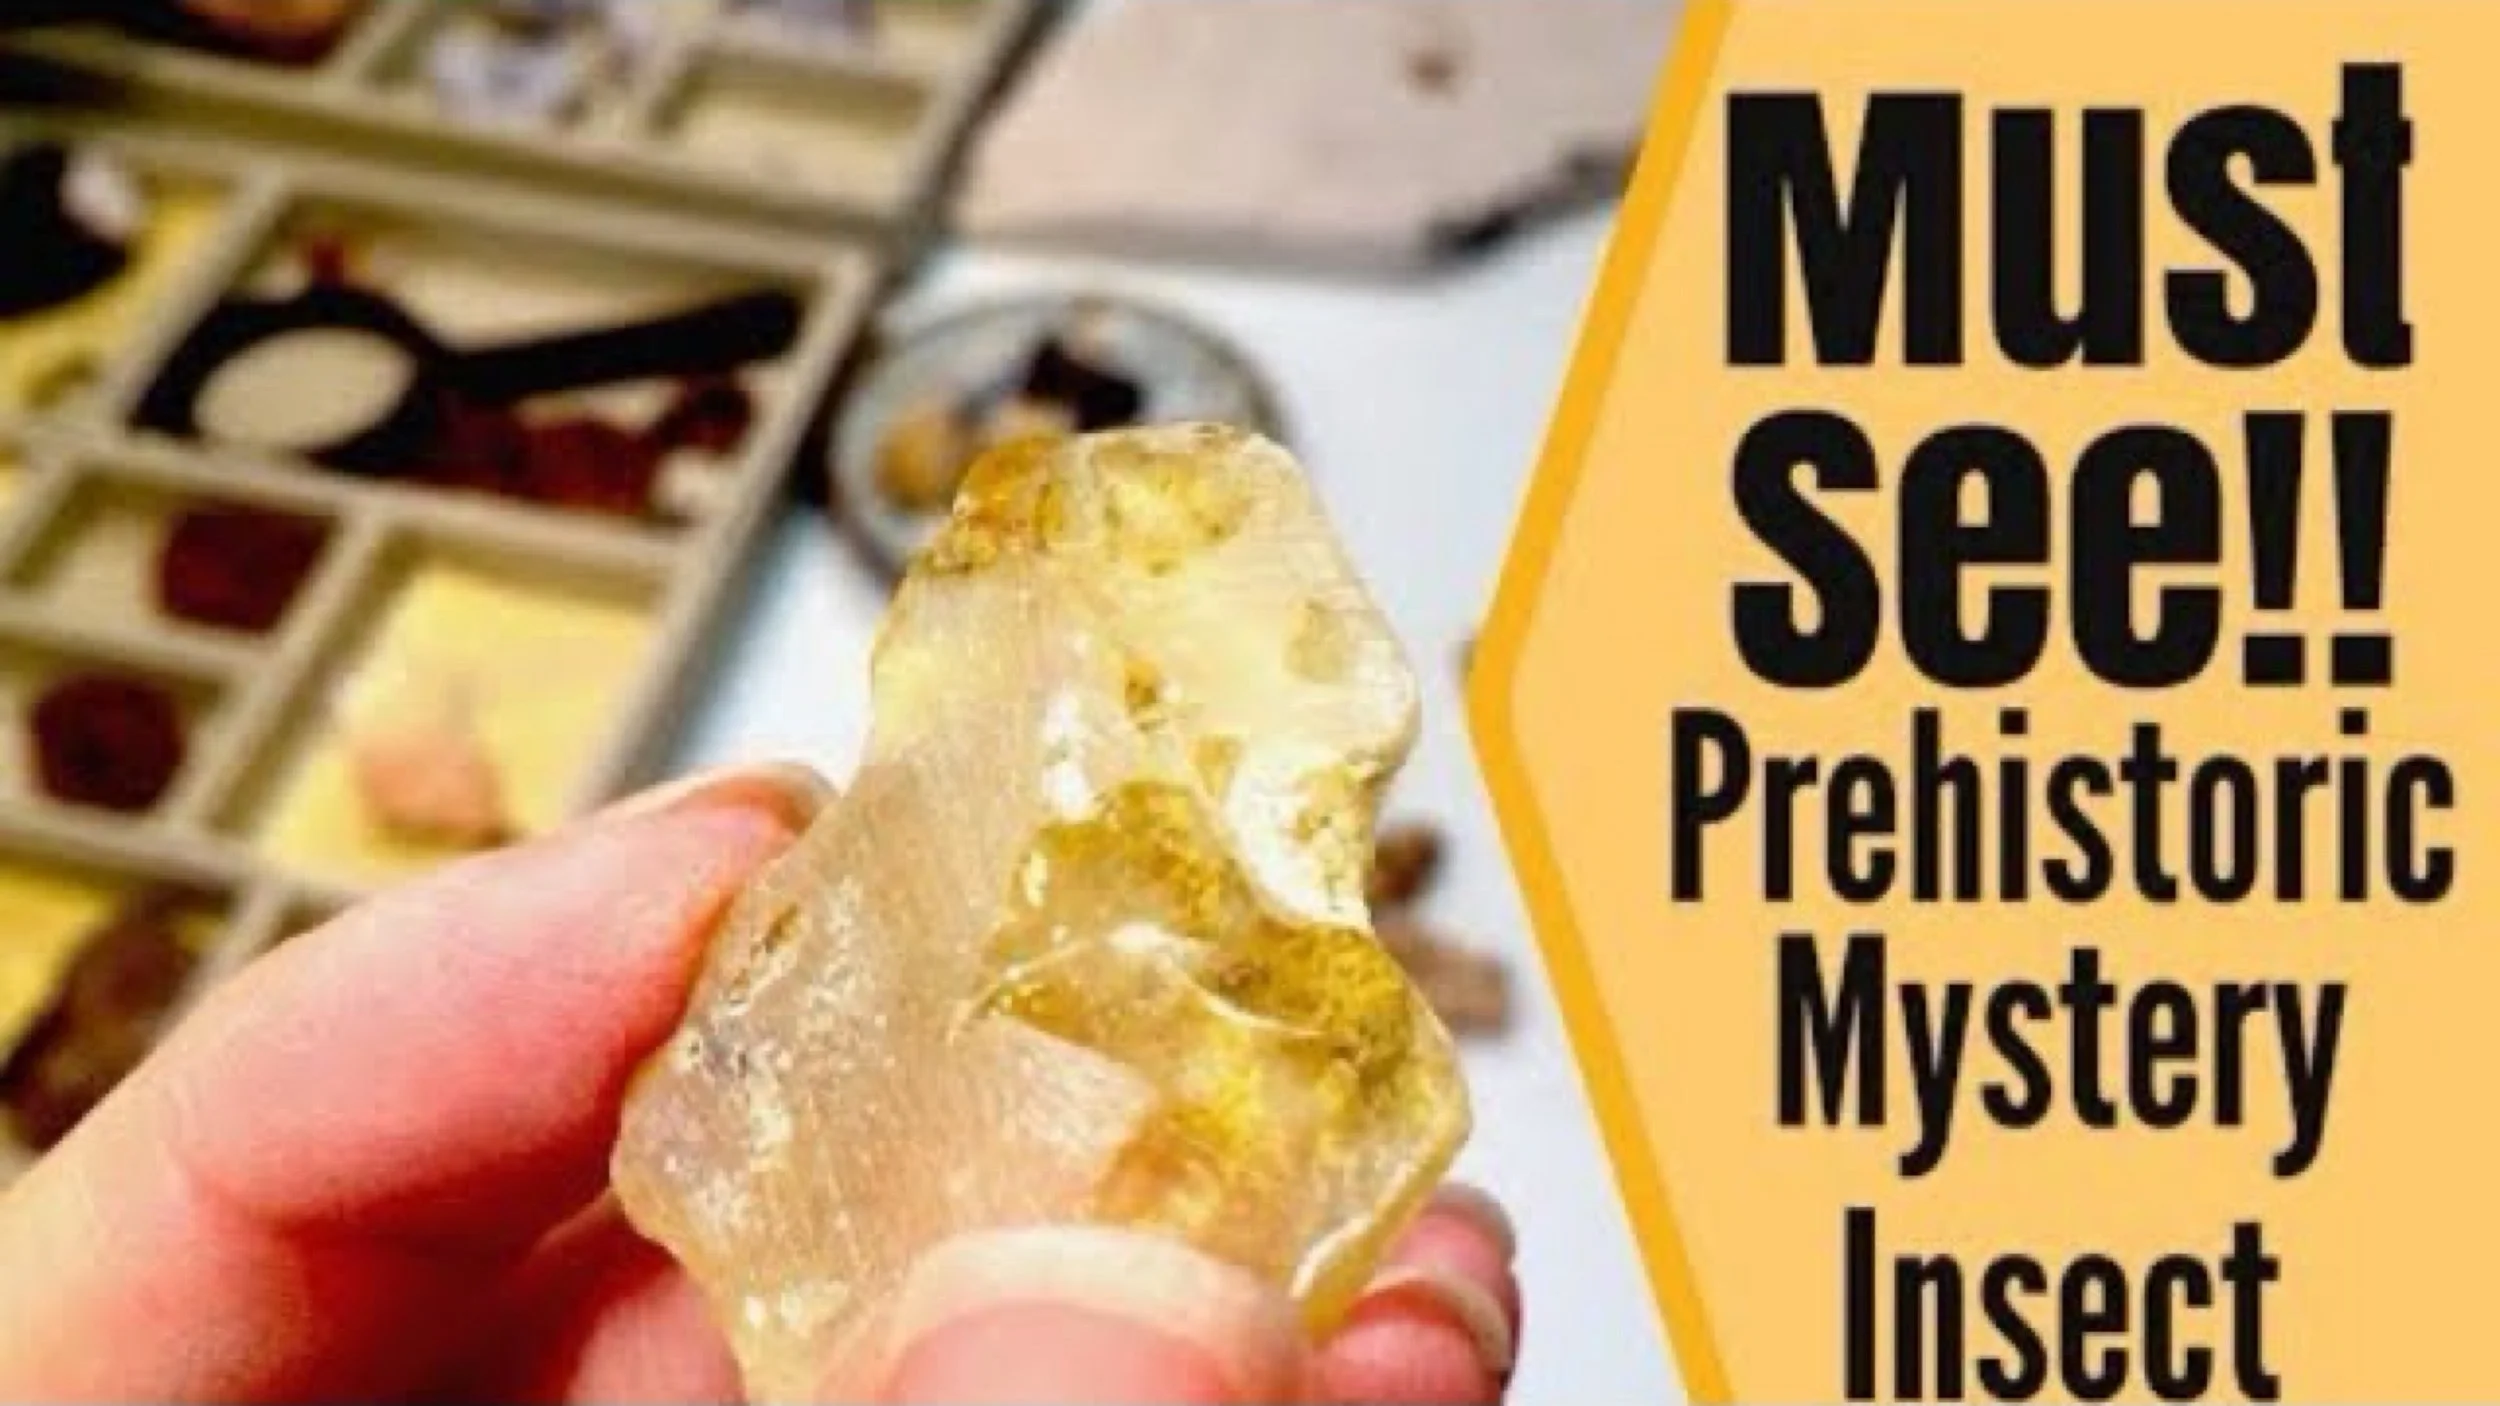
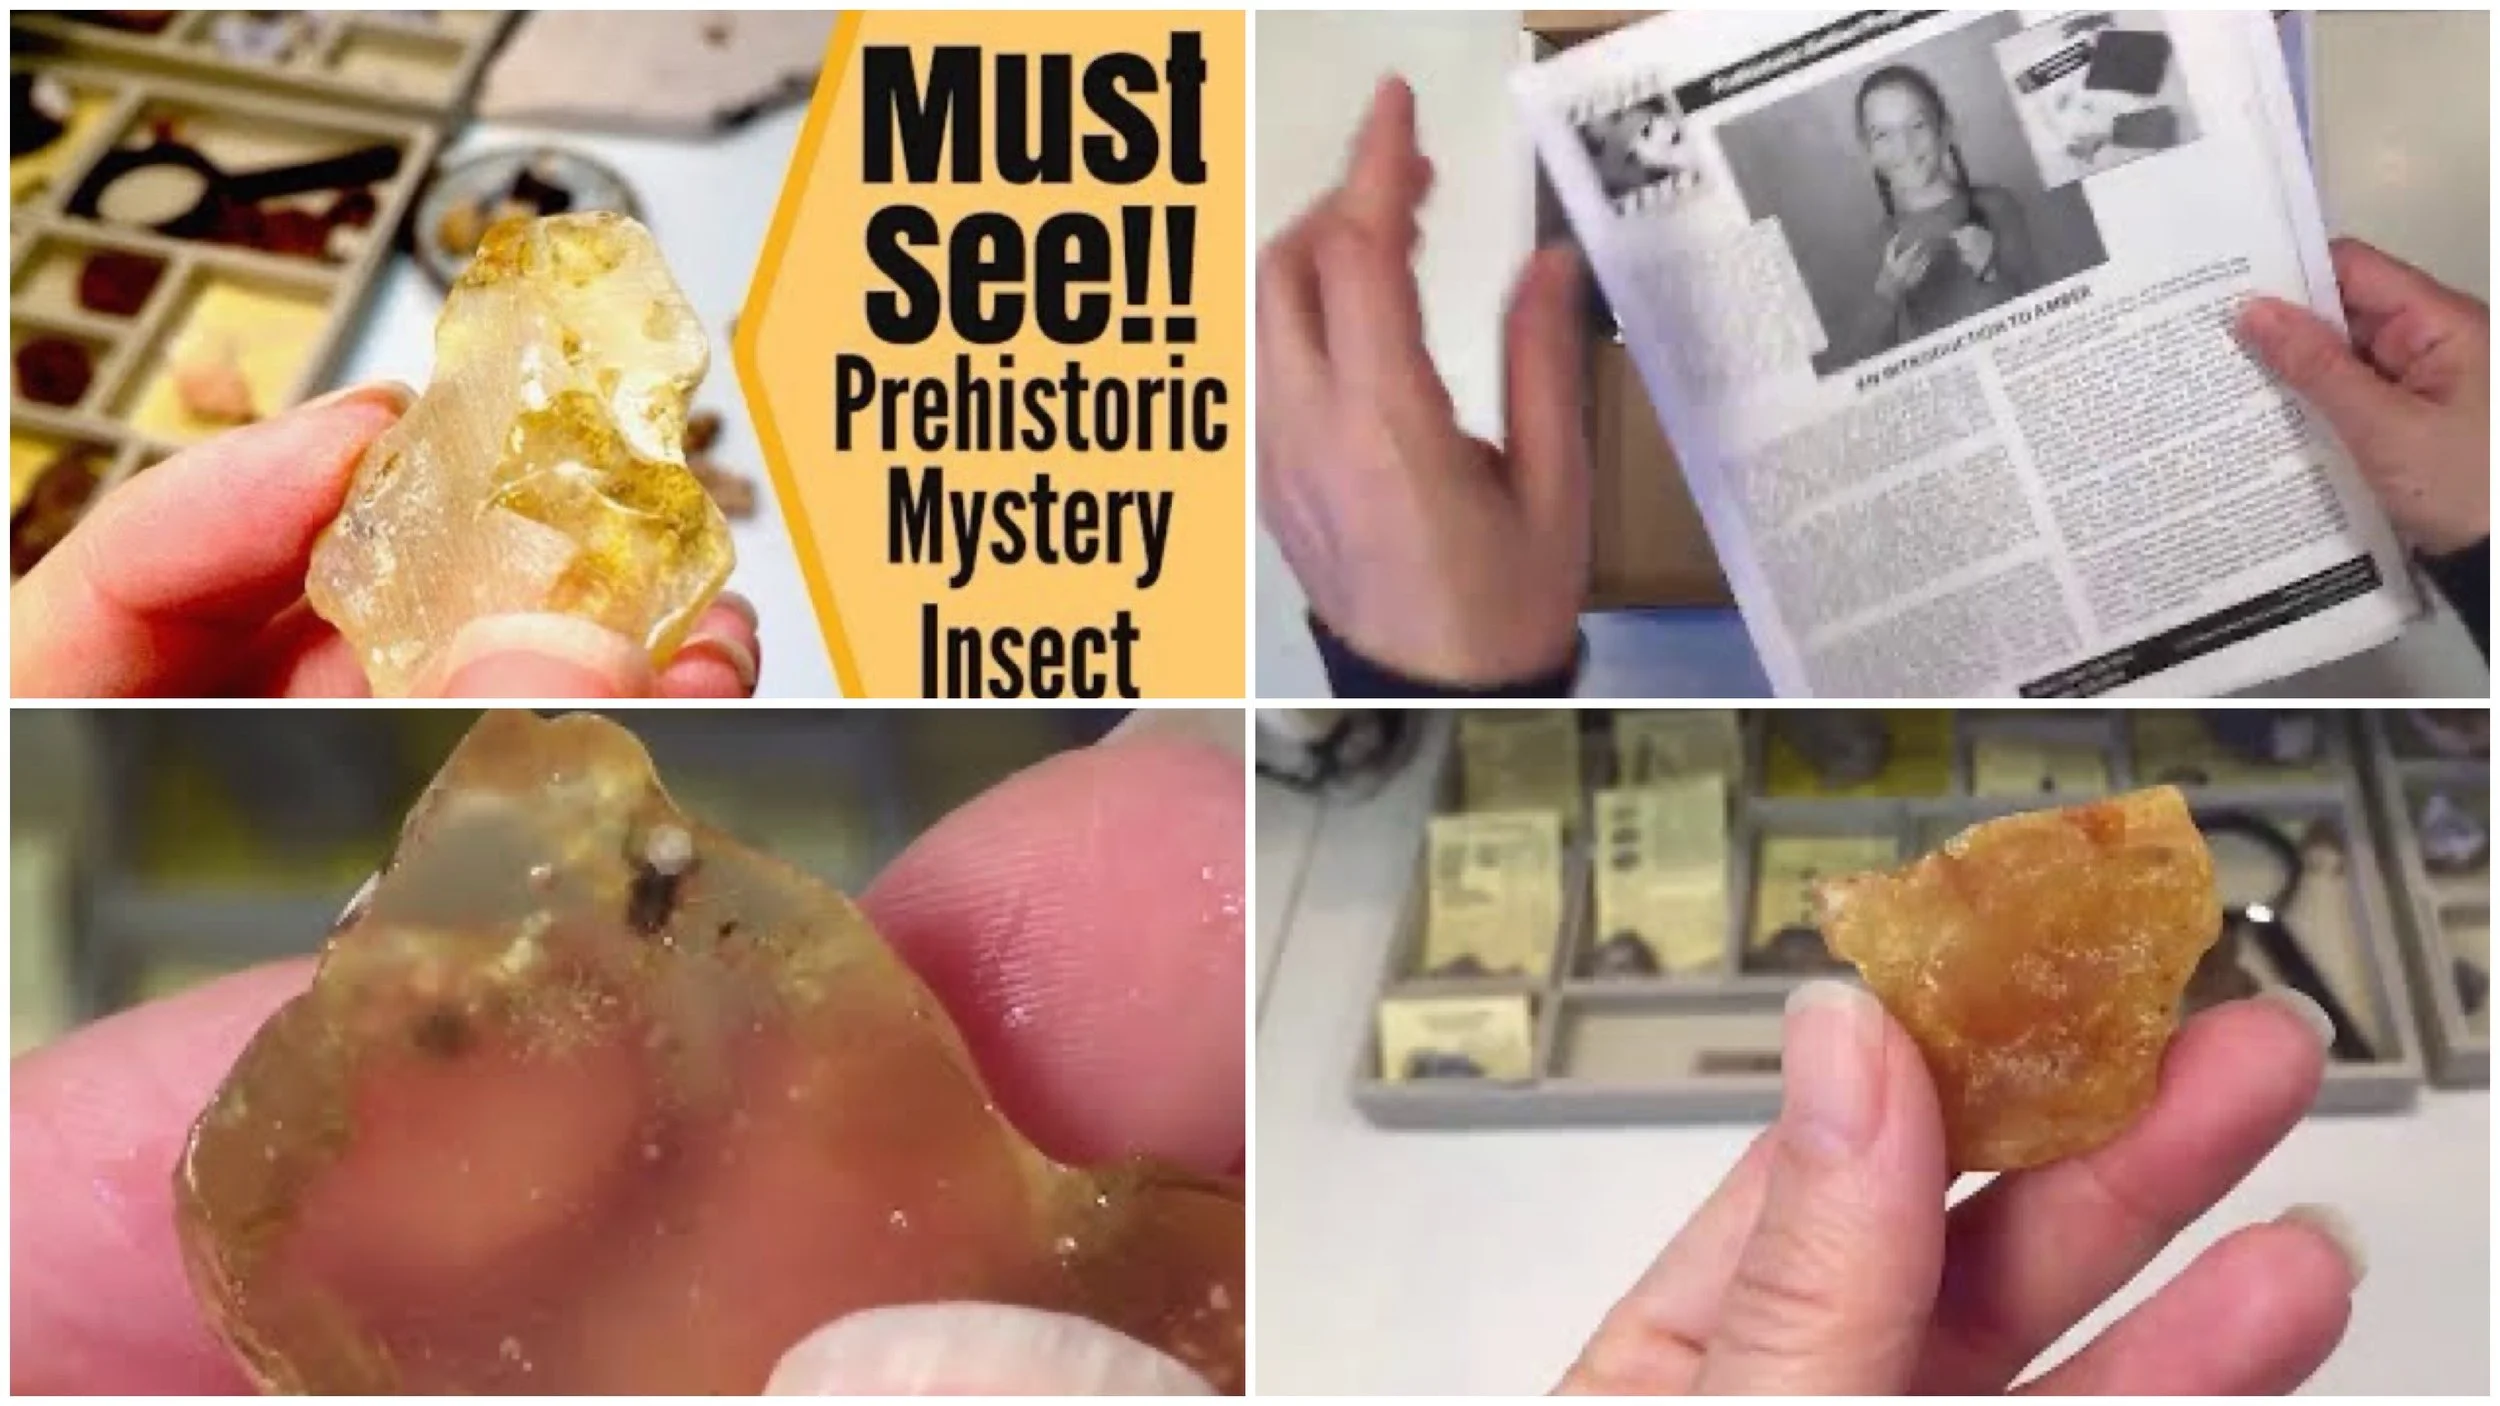
What’s Inside Amber?
Curious to see what’s inside prehistoric amber? Check out what we found in our sample! This is genuine Colombian amber millions of years old.
-
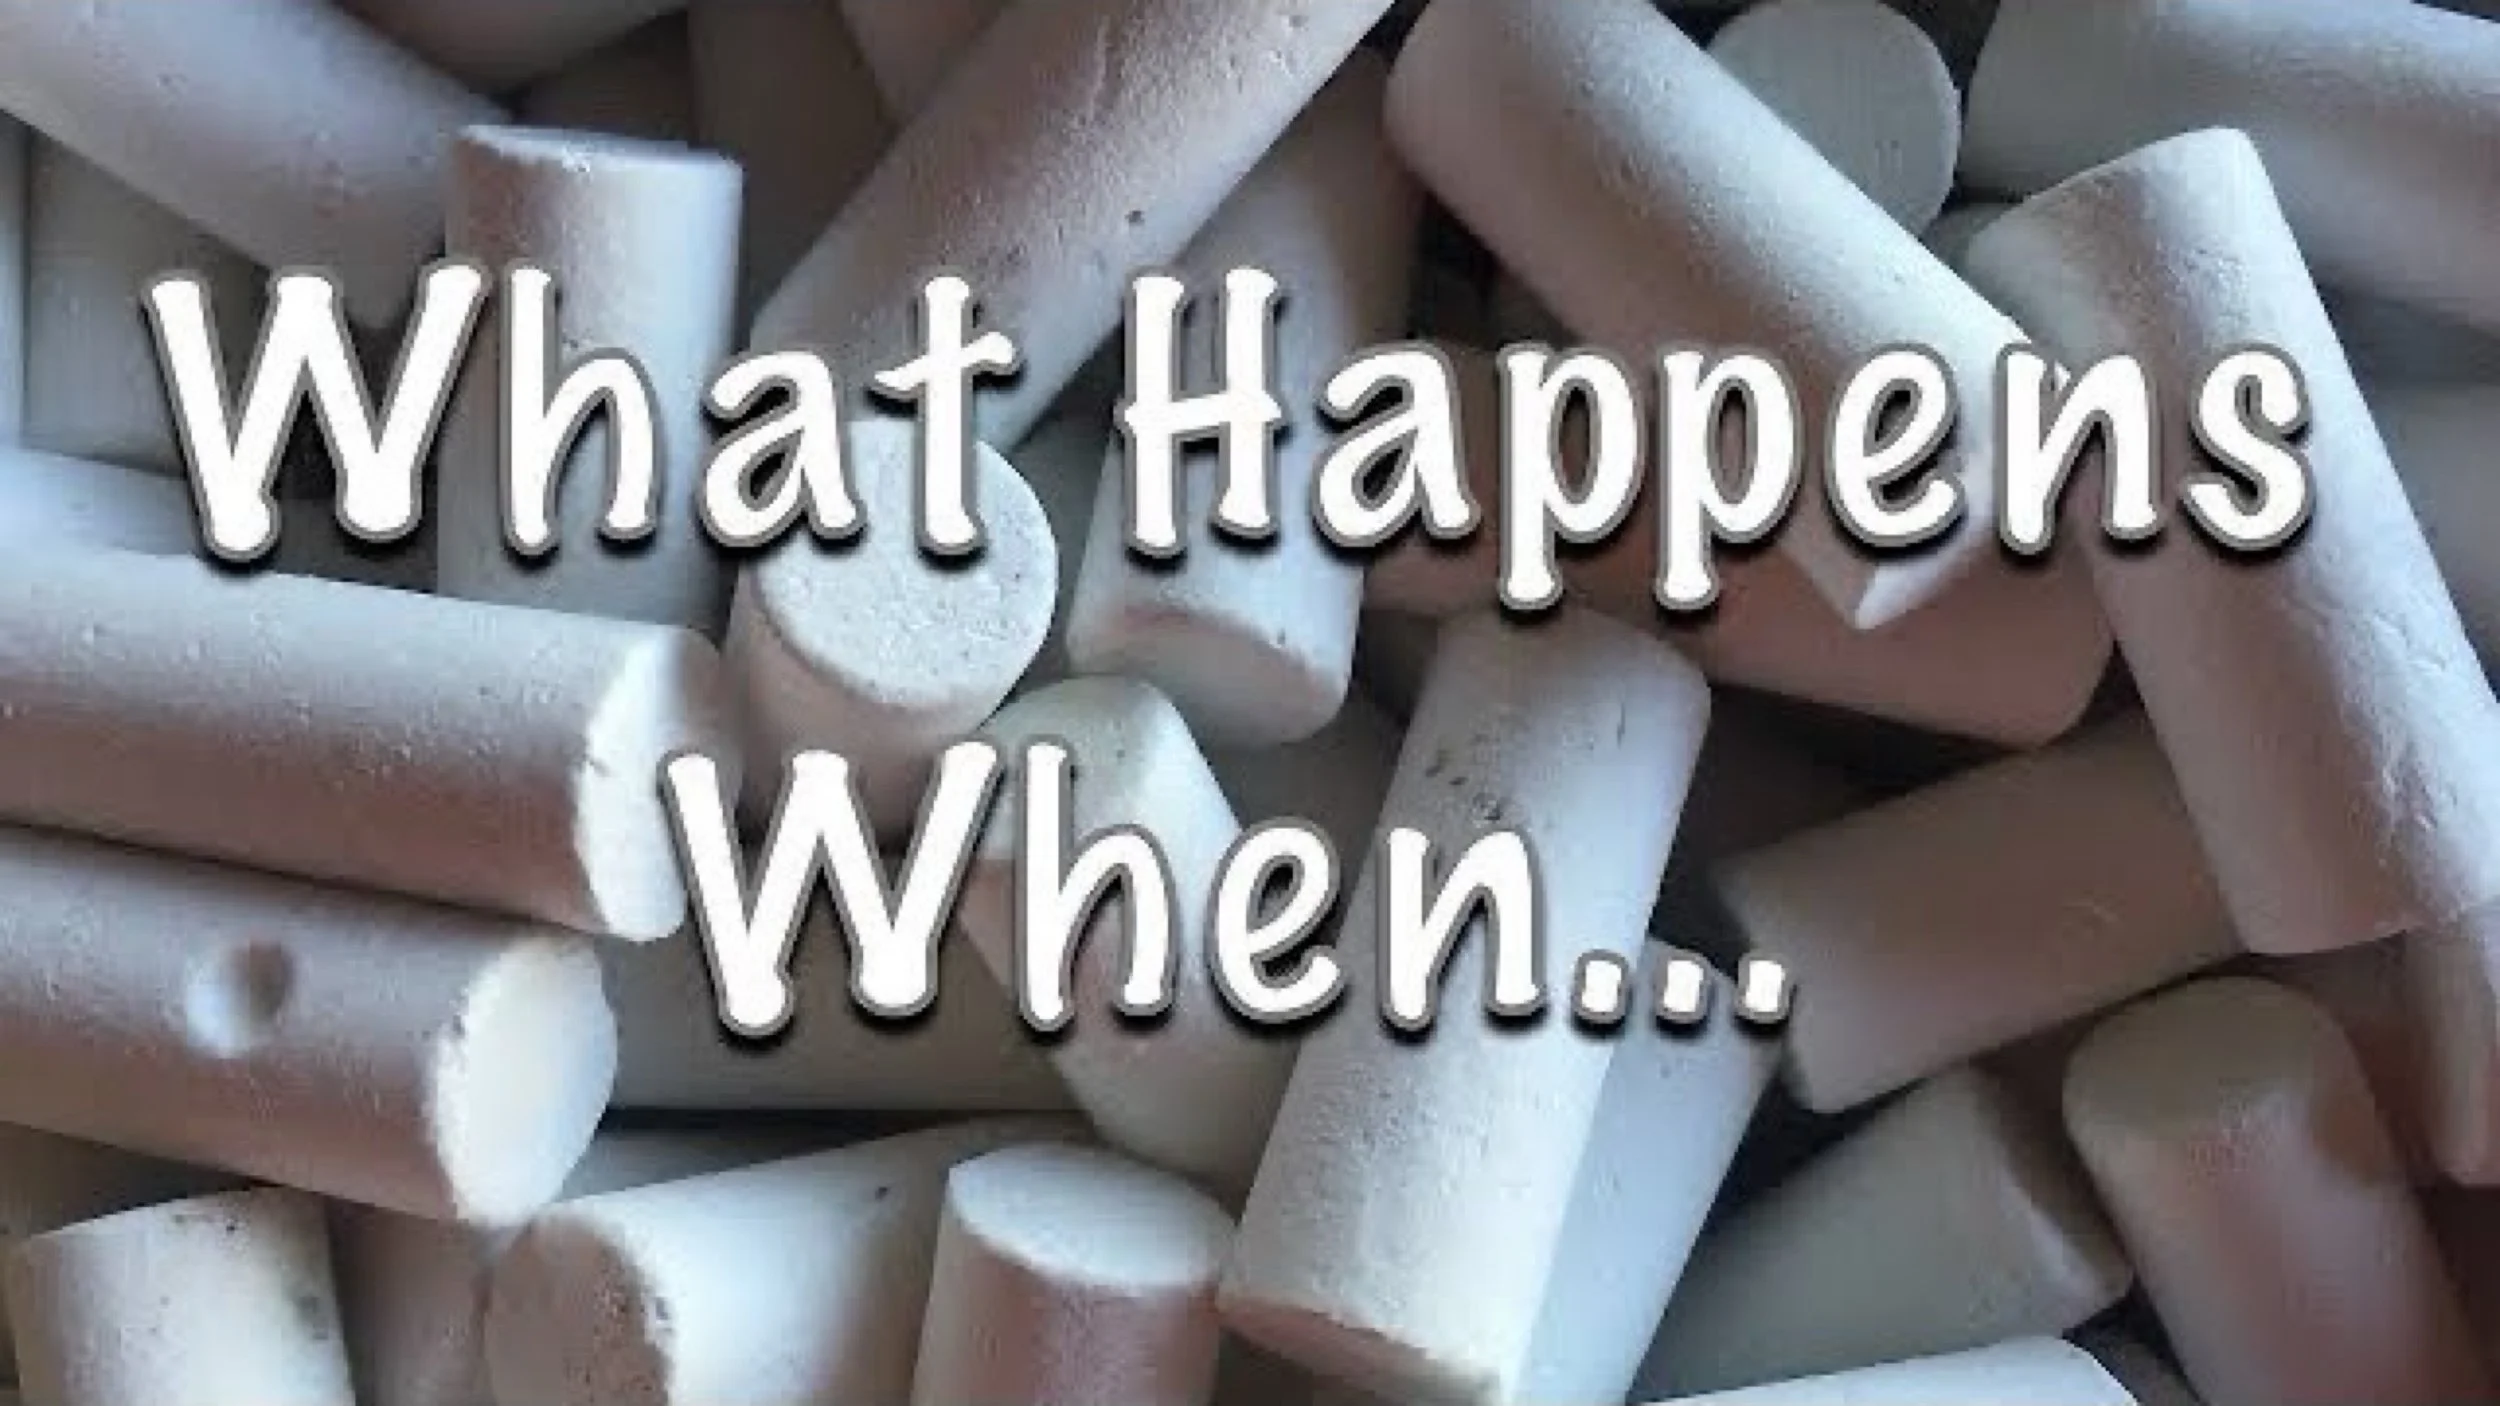
What Happens When You Add Vinegar to Natural Chalk
What happens when you add an acid like vinegar to natural chalk? We tried this demonstration back in 2016 with chalkboard chalk and were disappointed because chalkboard chalk is not made from naturally occurring chalk, and this project, based on the book Mountains and Volcanoes by Barbara Taylor, calls for natural chalk.

Mineralogy Projects & Activities
Mineralogy, Geology & Earth Science
We are working on our geology unit and finding inspiration for projects from Barbara Taylor’s book Mountains and Volcanoes.
Today’s project is a layered earth using modeling beeswax by Stockmar. You can find this at A Child’s Dream.
You can see this in my recent homeschool haul.
We began by warming the wax in our hands; it was easy because the weather is warm. We rounded up a yellow ball to represent the inner core then wrapped the orange ‘outer core’ around it. We added the mantle in red-orange. We wrapped the whole thing in a thin layer of blue, topped each end with clear white to represent the poles and finally added the continents in green. The kids worked on this while I read aloud Journey to the Center of the Earth to them. I thought it was an appropriate companion to our geology unit.
We cut open our wax earth using a serrated knife the following day when the wax had cooled down. It had become deformed from resting on its side the whole day. Cutting it open was not as hard as I expected, and the reveal was pretty exciting.
Though our layers were grossly out of proportions, the demonstration was very valuable in understanding what’s inside our planet.
Please note that this is not a Waldorf project, even though we are using modeling beeswax.
Duration: 25 minutes
Cost: $5
Grades: all
Level: Easy
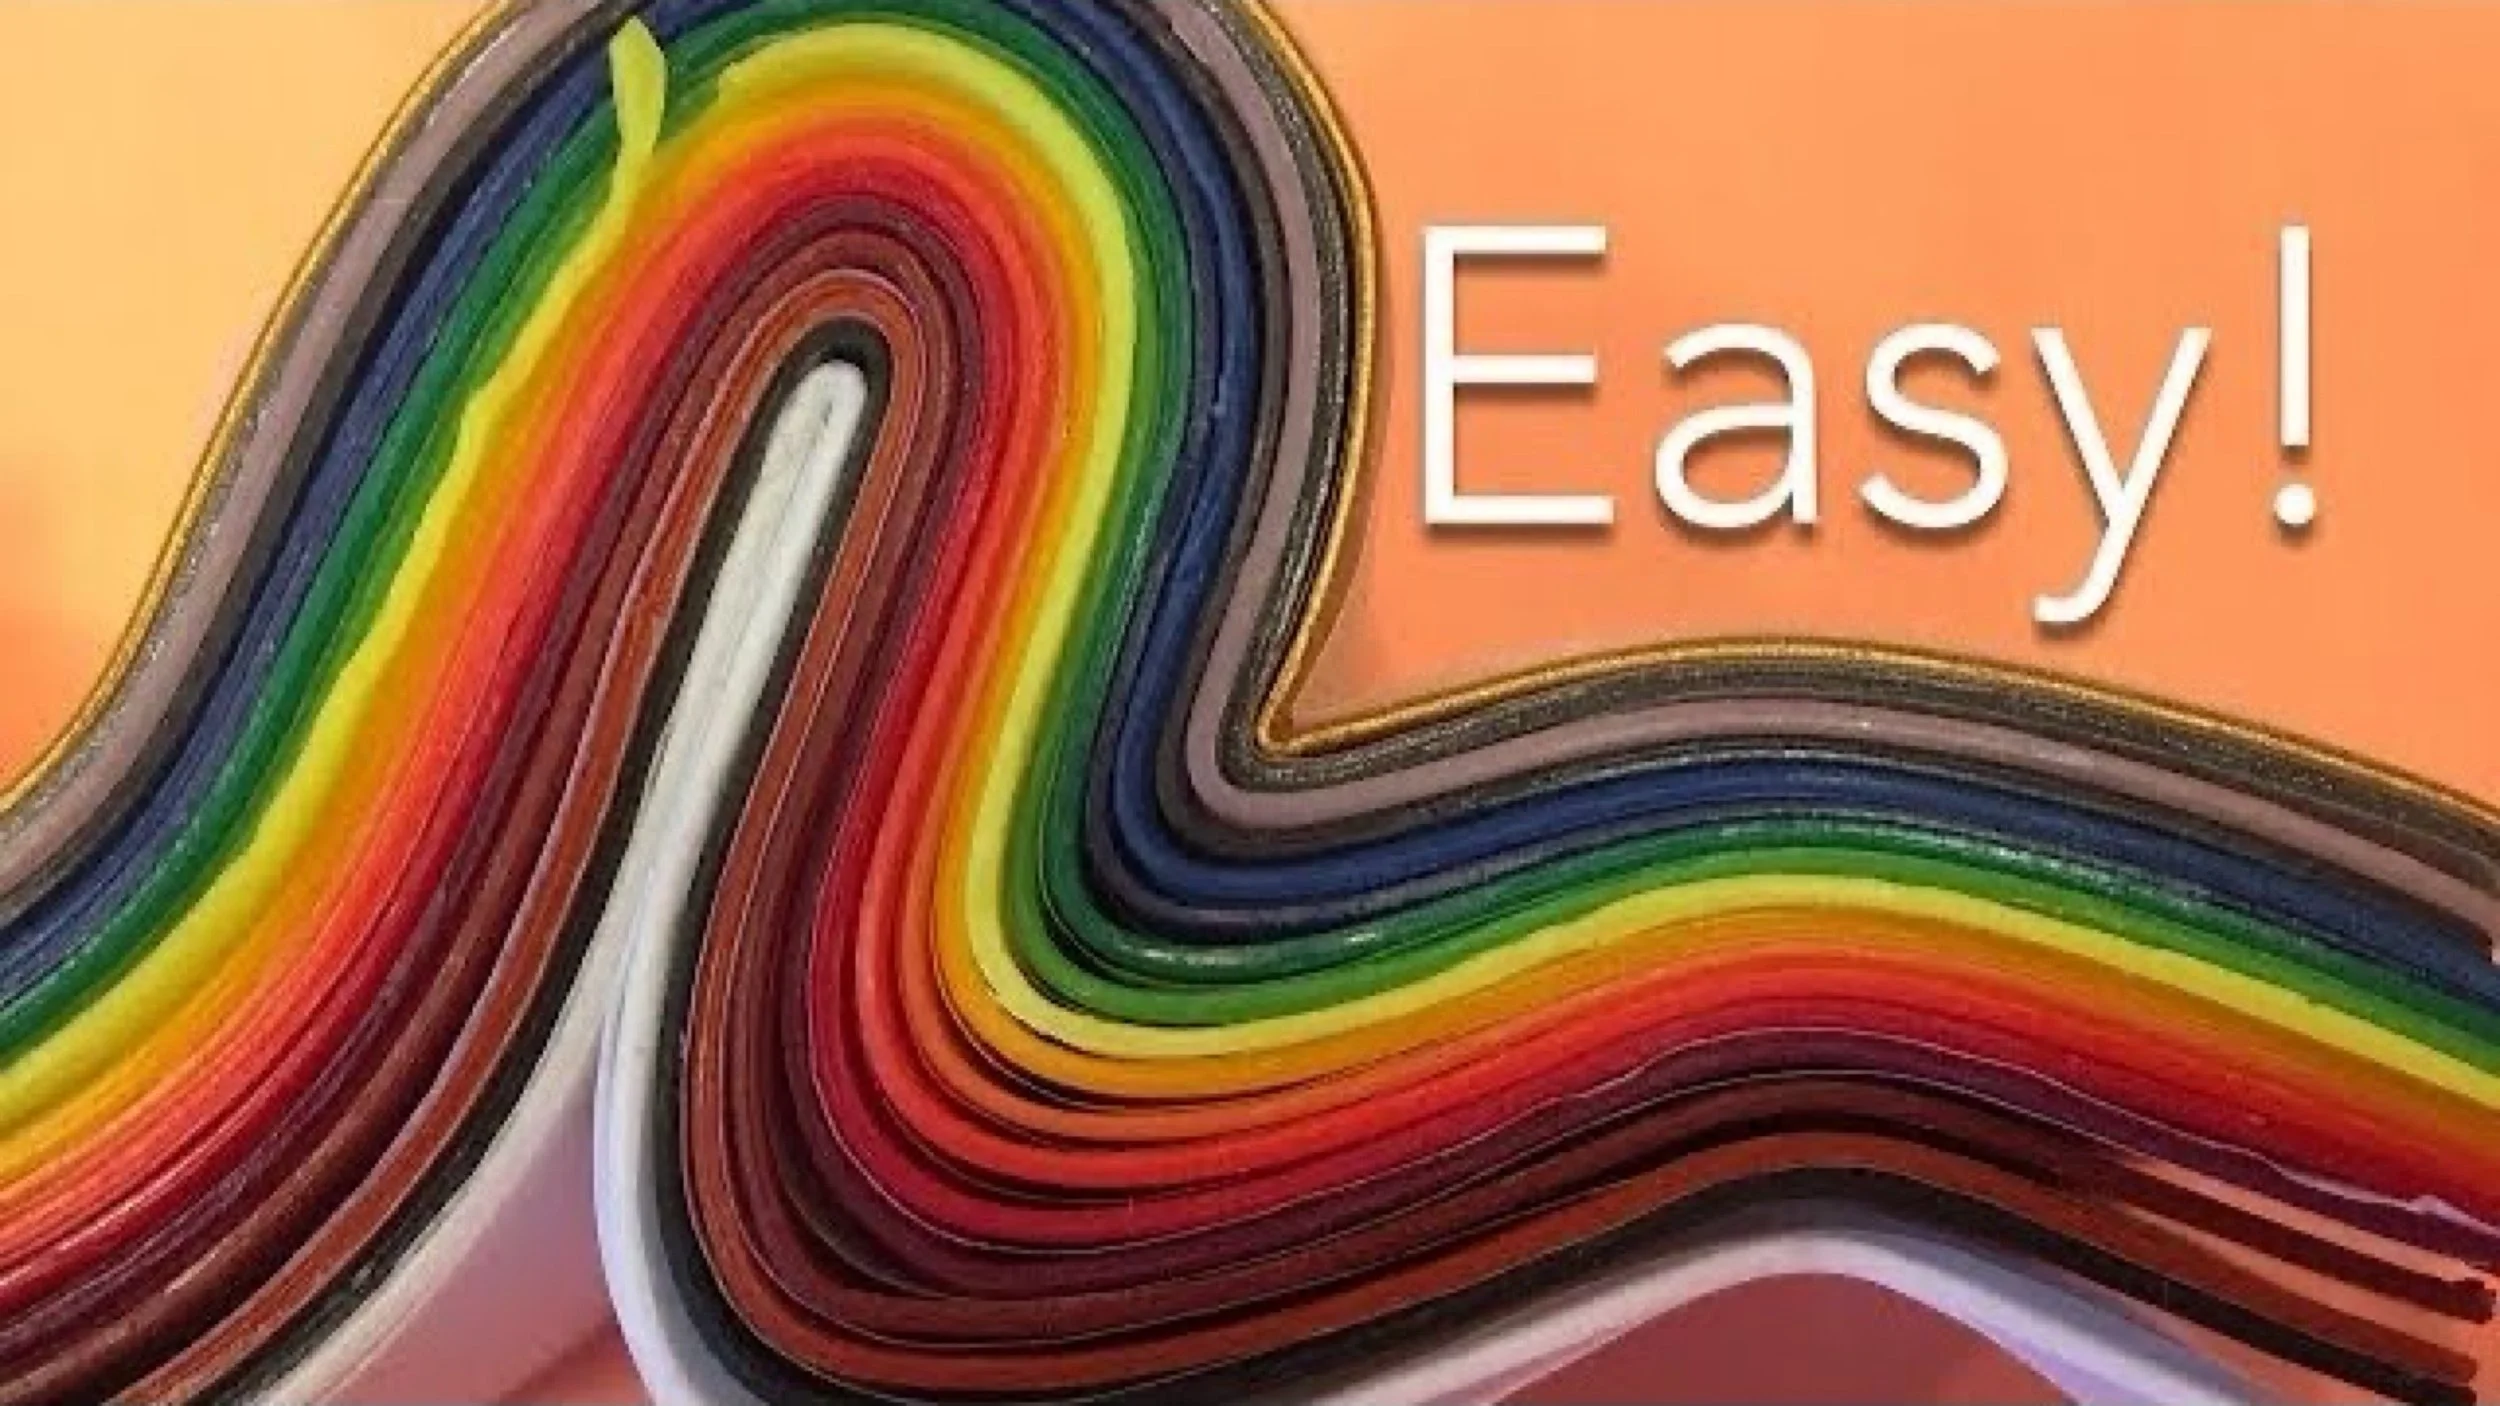
DIY Mountain Project | Geology Unit
This is a super easy, super affordable and very educational activity. We were inspired by the book Mountains and Volcanoes by Barbara Taylor, but took the project one step further by gluing the layers of paper together to make it a permanent ‘fold mountain’. We also did the activity using very thin modeling beeswax by Stockmar from A Child’s Dream.
The supplies you’ll need for this project are a pair of scissors or a paper trimmer, several sheets of construction paper, glue, paint brush, binder clips and a rubber band.
Directions:
Cut the paper into 2″ strips. Layer like colors colors together. layer about 30-40 sheets together. Optional: layer in some crystals to represent fossils. Add glue to each layer and the tops and sides. Use the binder clip to hold the paper in place and use the rubber band to fold the paper into a ‘fold mountain’. Let it dry overnight or several hours in the sun. Remove binder clips and the mountain should stay as it is.
Duration: 30 min. plus 4 hours to dry
Cost: $1
Grade level: all


How To Make Pangaea | Geology Unit
I’m going to show you two ways to demonstrate how the continents once belong to one supercontinent Pangaea.
For this project you will need:
An atlas or printables of the continents: Transparency paper: Sharpie or permanent marker and scissor. Trace the continents and cut them out of the transparency paper, or cut them out of the printables. I find it easier to separate each continent. Shift them together to form the supercontinent. Own a Silhouette Cameo? Download the cutfile here.


Growing Crystals
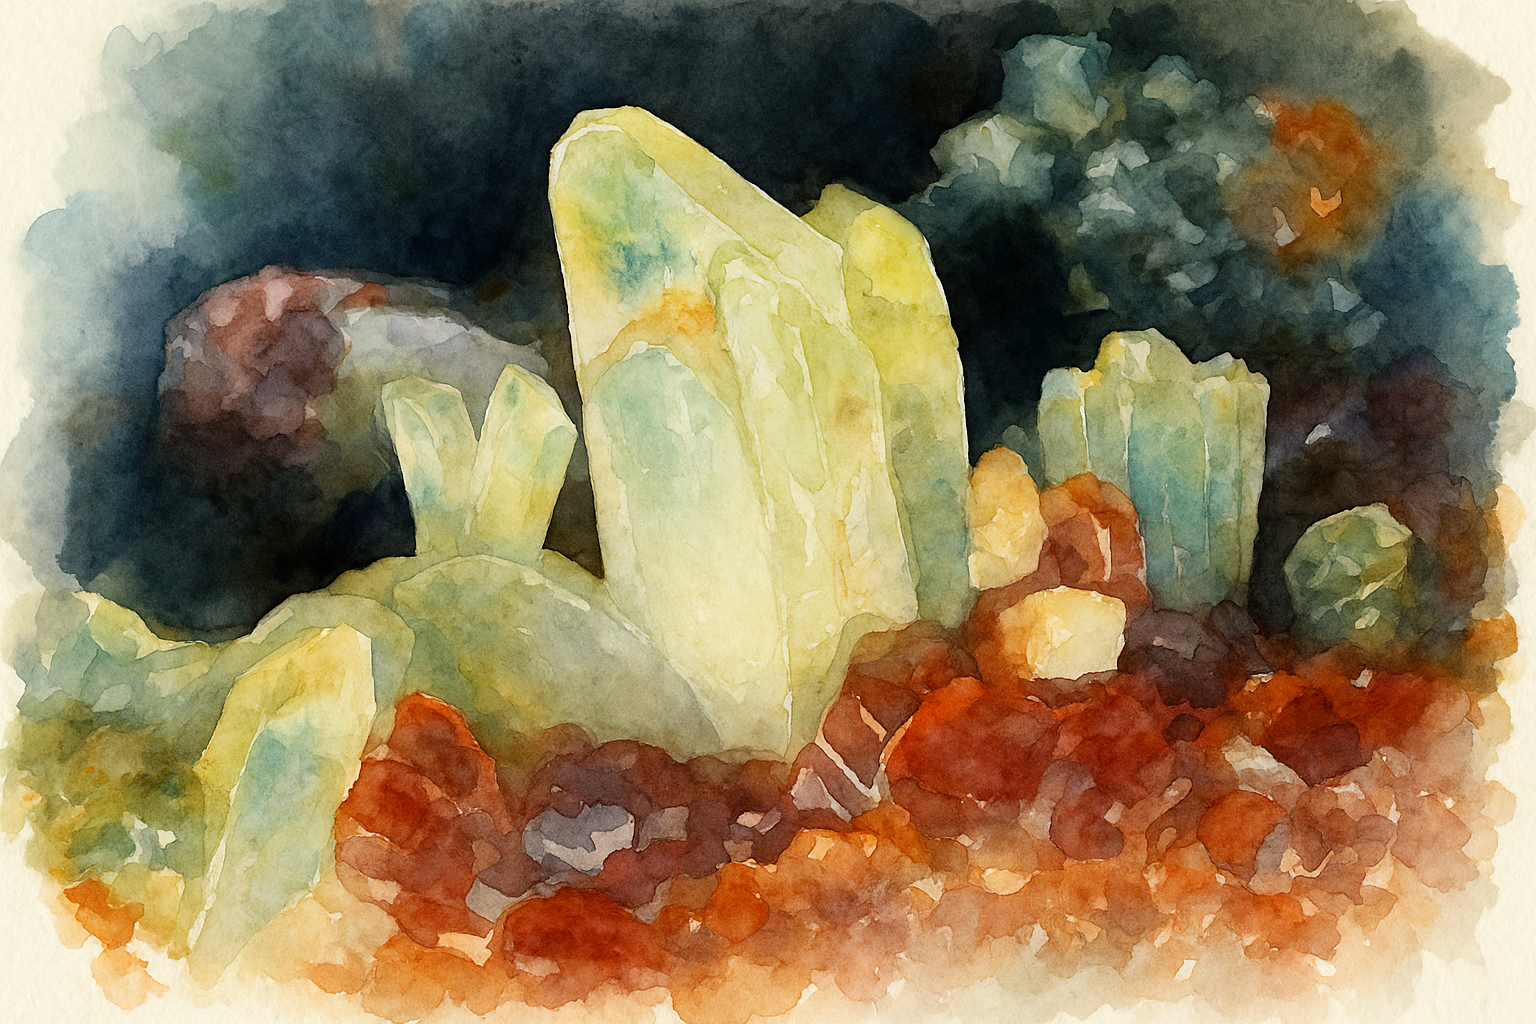
Our latest Dig! Discover and Display kit is not just for excavating crystals and rocks, it’s for growing crystals, too! Each kit comes with two packets of mono-ammonium phosphate. Some packets of salt are dyed with food coloring to mimic crystals found in nature; however, each crystal structure is the same, forming tetragonal crystals. The dye actually washing off the crystals, so if you are not careful when removing the crystals, you might get dye on your hands or clothing, or it might mostly wash away if you run the crystals under water. It’s also imperative that you follow the direction precisely or your crystals may not grow. Though we warmed our water to the correct temperature, it’s possible some of our crystals didn’t grow as spectacularly as the clear ones because by the time we worked on those crystals the water had cooled down and didn’t adequately dissolve the crystal granules as thoroughly as the first batch. We also used glass jars and plastic beakers to grow our crystals rather than clear empty two-liter bottles as recommended in the directions. Our choices made it harder to see the crystals growing and harder to get the crystals out of the containers. In the end, the clear crystals seemed to grow the best, but the yellow ones were the thickest. The blue ones made a poor showing and the pink ones were pretty nice. Overall, we all enjoyed the whole process.


Mixing Vinegar & Chalk | Geology Unit
We got the inspiration for this project from the book Mountains and Volcanoes by Barbara Taylor. However, we didn't have naturally occurring chalk to perform the demonstration properly, so we improvised and used baking powder and baking soda as an alternative. While the results were dramatic, we were still interested in finding out if chalkboard chalk is indeed naturally occurring chalk, so we tried this project one more time and this time we crushed the chalkboard chalk. The results were the same: barely any bubbles. We finally determined that our chalkboard chalk is indeed gypsum.
If you have natural chalk, I encourage you to try this out!
Duration: 20-30 minutes (including set up and clean up)
Level: easy
Grades: all


How to Make a Geyser | Earth Science
Geology is one of my favorite sciences. We are using the book Mountains and Volcanoes by Barbara Taylor as inspiration and today we are going to make a geyser.
I made a geyser based on the instructions is the book several years ago and it worked! Today I’ll make another one for this tutorial and sadly it won’t work 🙁
I’m not sure why the second one didn’t work. Maybe the pin-hole was too small, maybe there was an air leak or maybe a straw isn’t the right material. I do know that the wax began to melt and drip into the water at which point I took it out of the warm water bath.
Supplies:
Glass jar with lid
Straw or glass pipette
Hammer and nail
Food coloring
Bowl of hot water
Wax or clay to seal cracks
Duration: 30 minutes
Cost: Less than $2
Grade level: All


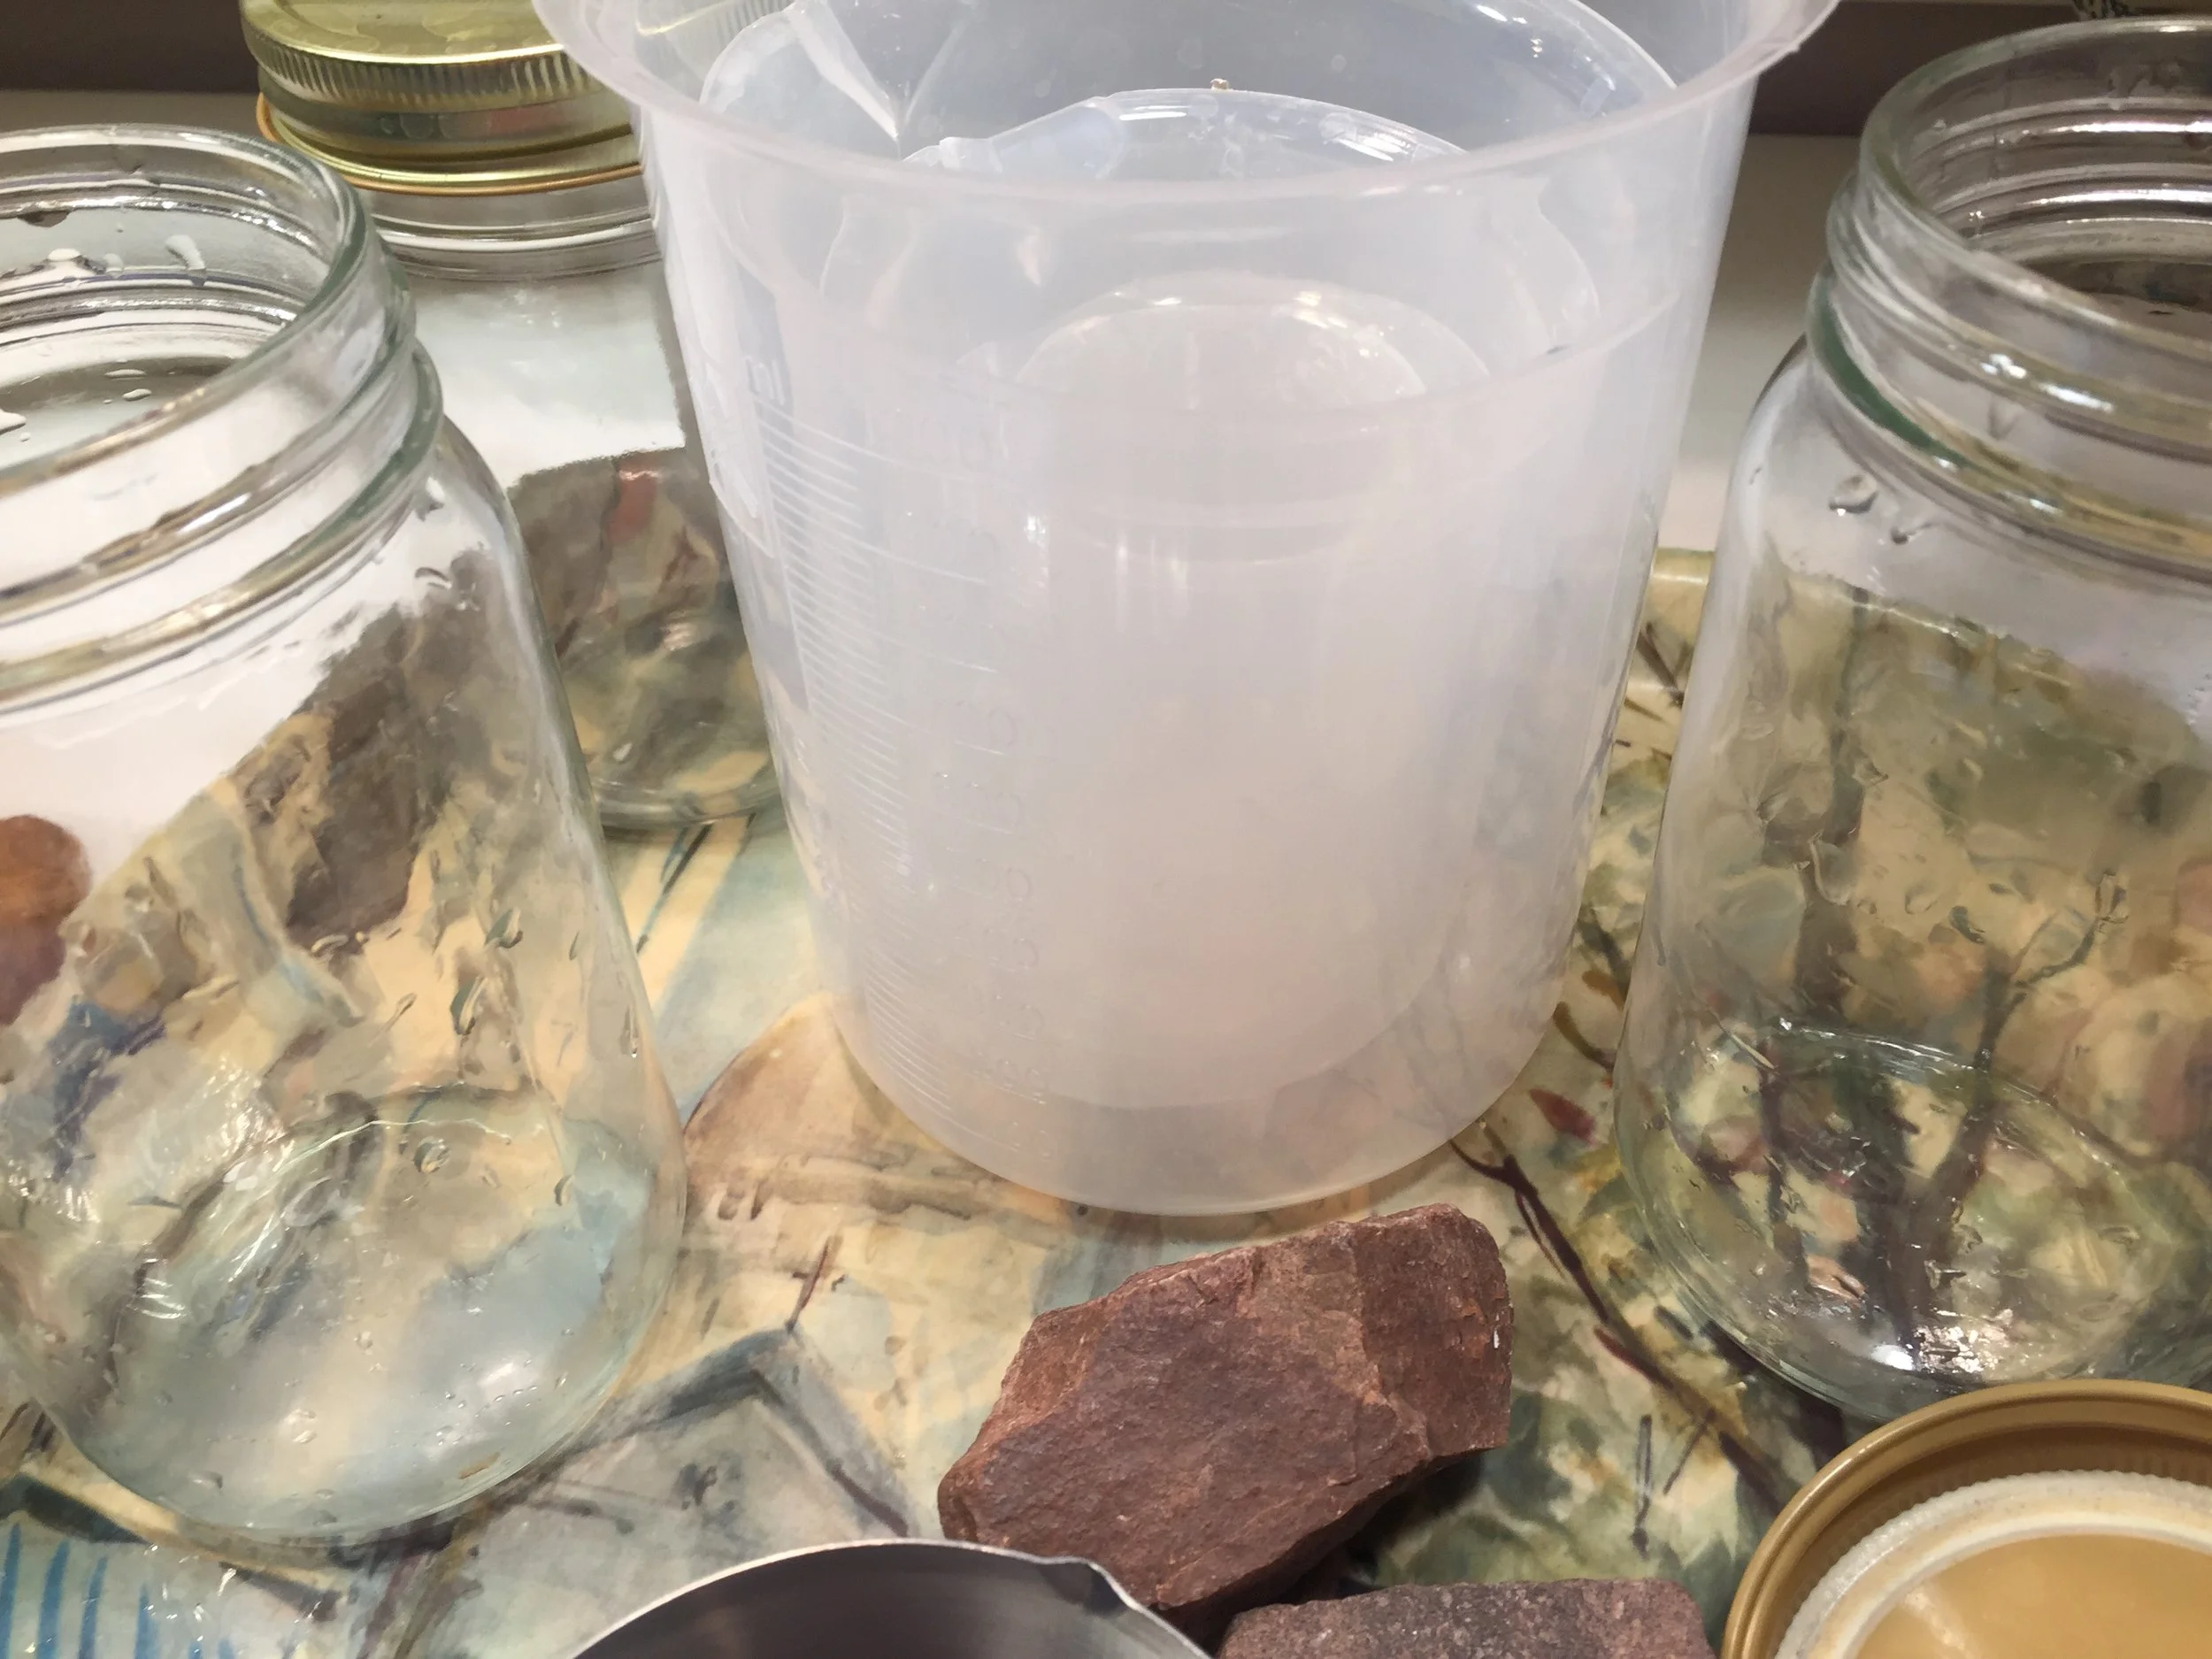
Simple Geology Activity | The Mantle and Magma
For our geology unit, we are using the book Mountains and Volcanoes by Barbara Taylor as inspiration for projects, activities and experiments.
This simple low-cost/no-cost project was fast, thrilling, informative and easy.
Materials:
One large glass jar
One small glass jar
Water
Food coloring
Tongs
Pan to heat water
Optional: ice
Directions:
Fill the large jar with cool water.
Put about 10 drops of food coloring in the small jar.
Fill the small jar with hot water and descend it into the large jar.
Watch and be amazed!
Alternative:
Fill large jar with warm water
Fill small jar with ice water and food coloring
Descend small jar into large jar being very mindful that you don’t tip the small jar
Alternative 2:
Fill the large jar with yellow dyed water
Fill the small jar with blue or red dyed water
Watch the magic of mixing primary colors!
Duration: 15 minutes
prep time: 10 minutes
Cost: less than $2
Grade level: all
Rated: 4 stars (1-4)
I highly recommend this project because of it effectively demonstrated how heat rises.


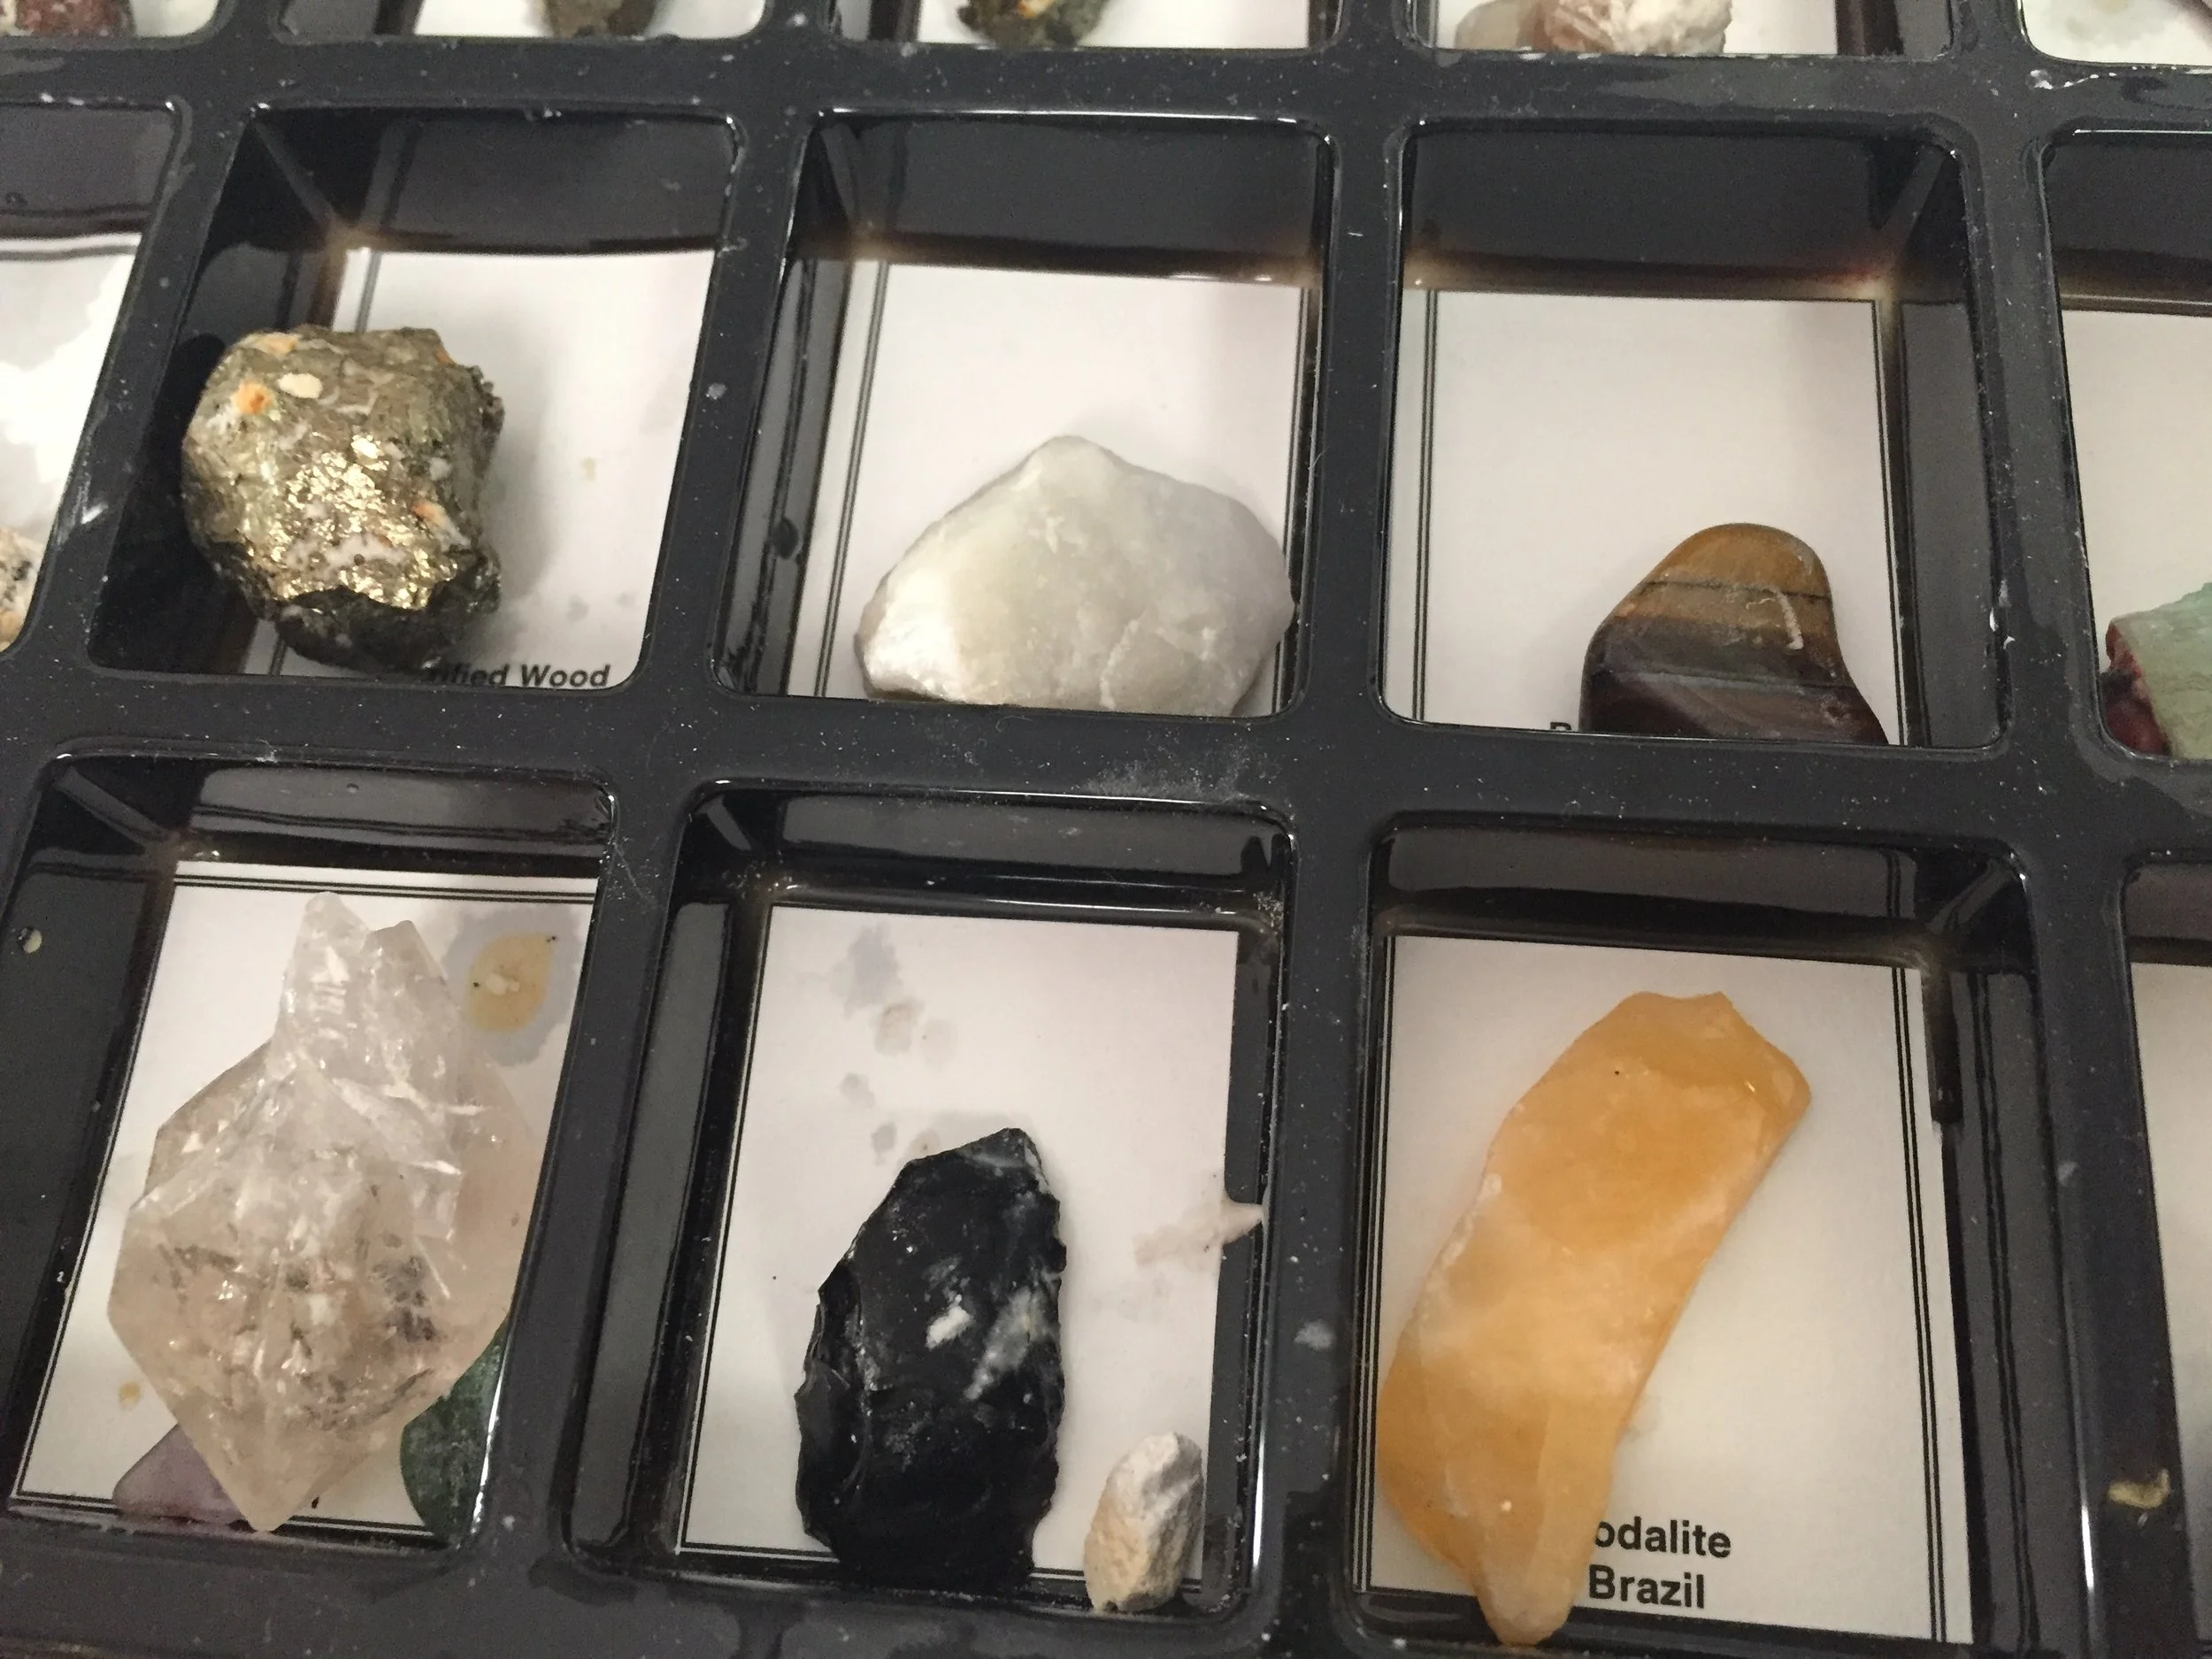
Crystal Excavation | Mining for Crystals
I was surprised at how nice these rocks and crystals were. They are beautiful, polished and from around the world. You also get a lot of specimens! Fifteen in total. This kit was great for kids 5-13 years of age, however, the crystal growing part of this kit needs adult supervision and you can see that in a separate video.
Some of the samples were petrified wood, amethyst, quartz and tiger eye. Some of our favorites were green and yellow calcite from Mexico, the pyrite from Peru and quartz from Brazil. The obsidian is one to watch for because it can break to a sharp point. The selenite Rose from Mexico was outstanding and in both kits looked really good and measured about 3/4″. You can find this kit at Amazon and Rainbow Resource.


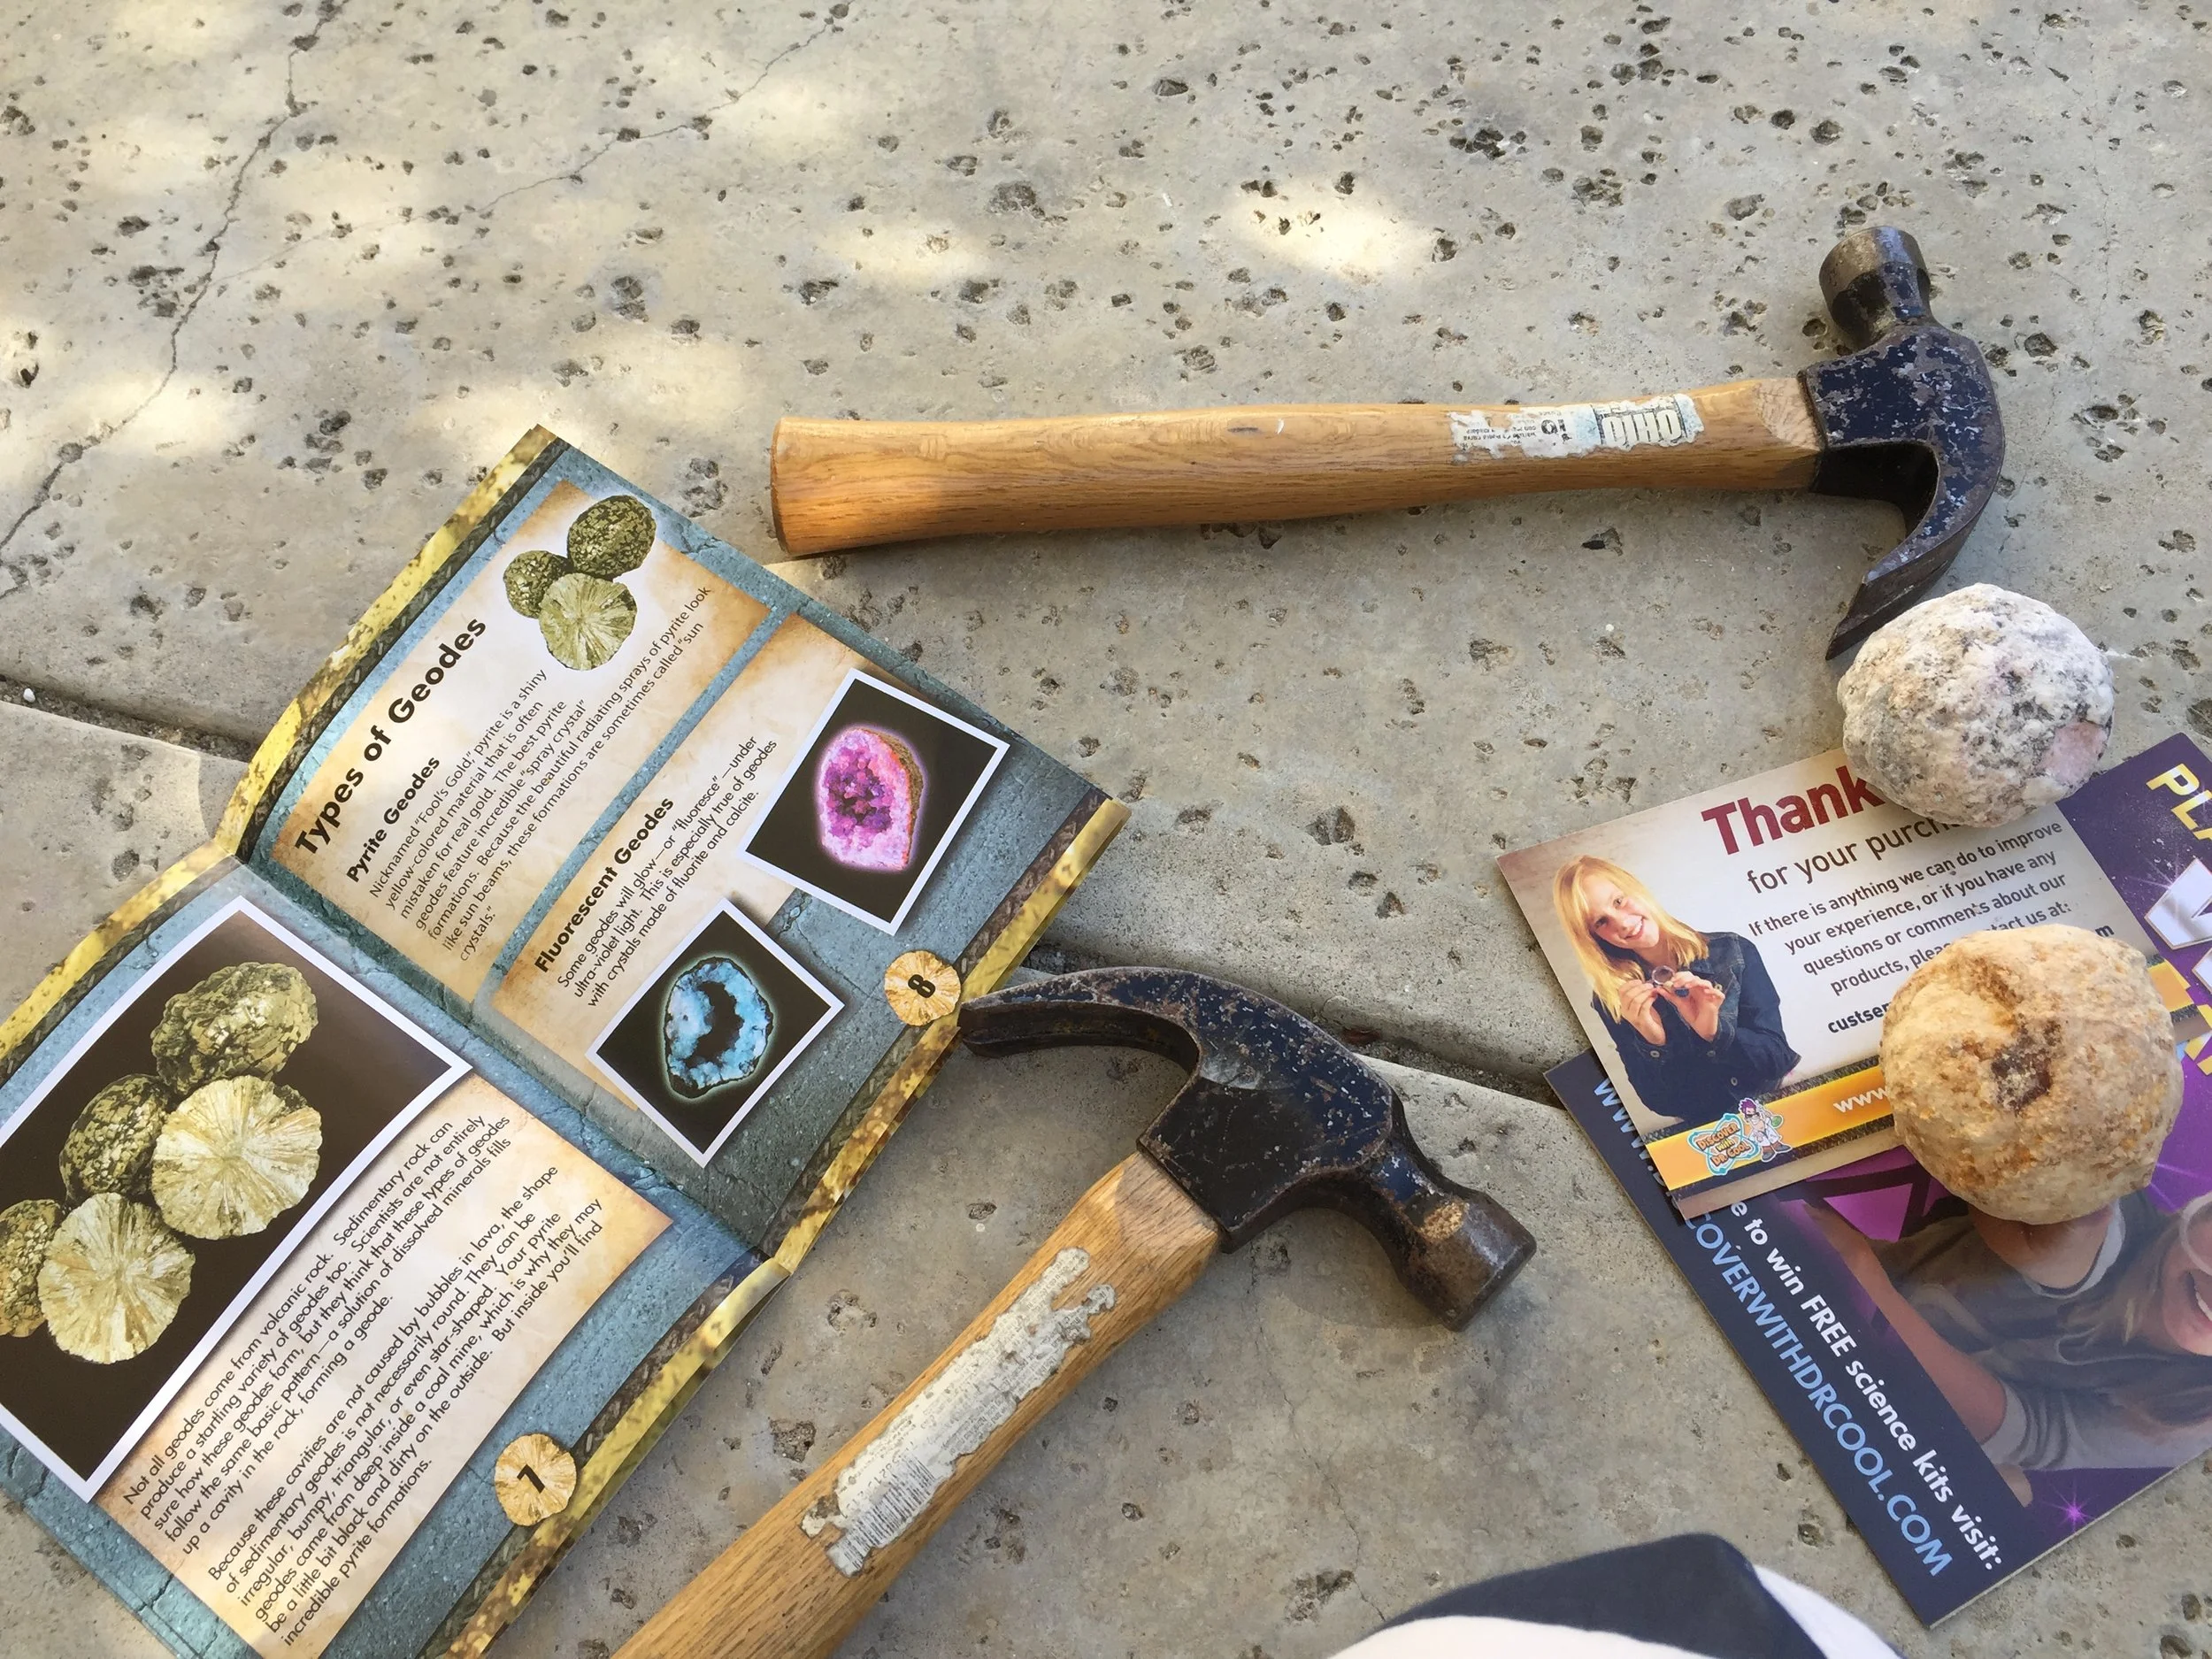
What's Inside Geodes?!
This has been our funnest project this year. We loved it! This kit perfectly accompanies a geology or earth science unit. We picked up Break Open Real Geodes from Rainbow Resource. This one came with 15 premium geodes. Unlike some other kits which only come with a few or lower quality geodes that don't have stellar crystal growth, this one had some amazing specimens. The kit also comes with an activity guide, eye safety goggles, three display stands and a magnifying glass.
Come find me on Instagram where I post our projects almost daily!


DIY Rock Display | Geology Unit
For our geology unit, we excavated igneous rocks from a ‘volcano’ excavation kit. There were six rock specimens to find from a possible 12 samples. Once my 5th grader excavated the rocks, we decided to make a display for them as a way to showcase the rocks and to keep them from getting lost.


Geology Lapbook | Tutorial
For our geology unit, this lapbook is the culmination of most of our work. My 5th grader still wrote daily narrations, but no information stuck as well as what he learned and relearned to make this lapbook. Though it took far longer than I expected, it turned our far better than I hoped. I made extensive use of my Silhouette Cameo to cut everything from the planet and the continents to the titles and the volcanoes. My 5th grader designed all the volcanoes and rocks using the Silhouette Cameo program. I made the titles. This project needed a lot of prep work on my part. I assembled the lapbook so that it would open up to reveal the pages in a fold out manner.
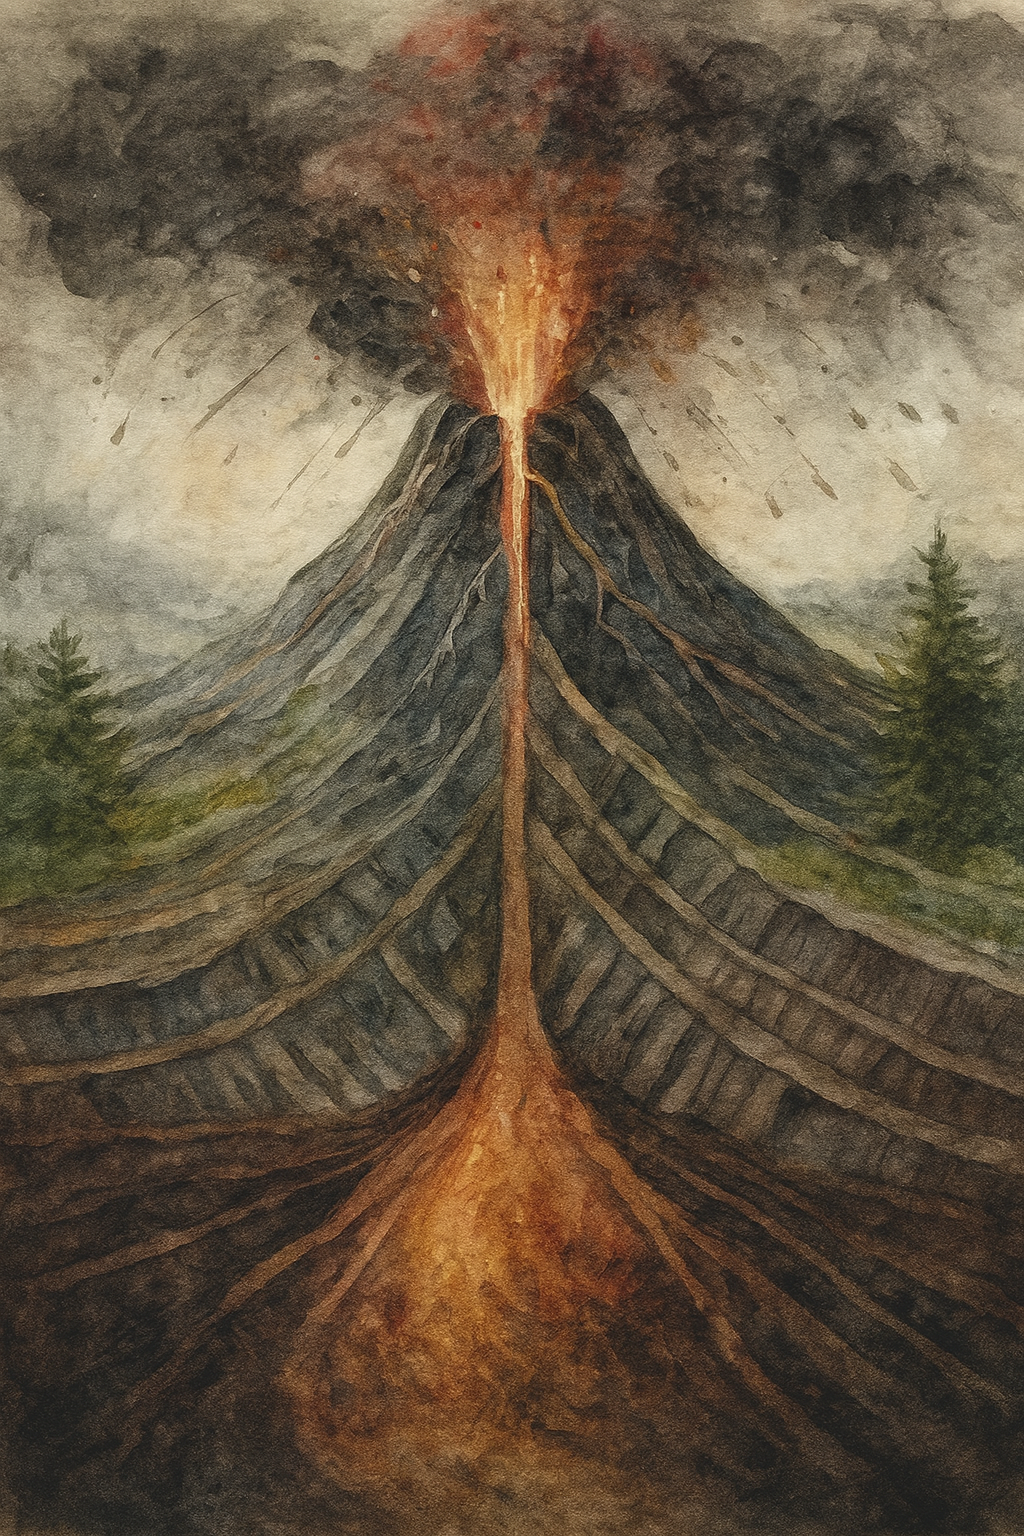
On the outside we have the earth with the continents (not to scale), but when you lift up the earth, the interior of the earth and all its layers is to scale. It was especially informative to see how little the crust is when the mantle is layered on top. Only a sliver shows even though I used the largest depth for the crust at 25 miles. Each layer opens up to reveal the outer core and inner core. On each layer, my 5th grader wrote information about the layers of the earth.
Opening the lapbook reveals another planet earth, but this one’s in a pocket I designed using the Silhouette Cameo and a 12×12″ inch sheet protector I cut down and fused into a pocket using the We R Memory Keepers Fuse Tool. Inside this pocket is another set of continents you can remove and manipulate to form Pangaea.
Opening the flaps of the lapbook reveal the erupting volcano with a fold out volcano that shows what the volcano looks like on the inside as well as a narrative on erupting volcanoes. The poison gas is a movable feature that can be moved up and down to show the volcano is erupting.
On the side flaps are a volcano and a mountain. The bottom flap shows the magma chamber which is connected to the erupting volcano. The flaps are connected by a piece of paper with the three types of rocks sliding up and down to show the rock cycle.
The backside of each flap shows a different type of volcano, with the backside showing a tidal wave being caused by an island volcano which has erupted and left a caldera.
We started our geology unit mid August, we started this project in September, but didn’t work on it in October. We finished it up in mid November. I almost quit this project before we even started, but since I mentioned it in a video, I felt obligated to give it a try. I’m so happy I did because we (both my 5th grader and I) love how the project turned out.
We were also inspired to do a good job when recently I needed to reorganize the school room and we came upon our old main lesson books dating back 10 years. We used to do such a good job! So we didn’t want to leave this project without giving it our all, so that down the line, we can look back and appreciate this project all the more.


Volcano Excavation Kit | Geology Unit
For our geology unit, we excavated igneous rocks from a ‘volcano’ excavation kit. There were six rock specimens to find from a possible 12 samples. Once my 5th grader excavated the rocks, we decided to make a display for them as a way to showcase the rocks and to keep them from getting lost.

Rock Excavation Kit | Earth Science
This was one fun rock and crystal excavation kit! My five-year-old daughter liked it so much, she asked to do another one. She treasures the rocks and crystals that came in this kit.
This was a little difficult for her to do because she got tired of excavating after about 20-30 minutes and needed quite a bit of help. She didn’t want to stop though because the thrill of finding these polished rocks and crystals was just to great.
This kit is unique from other excavation kits we’ve done in the past because you are excavating five of sixteen different rock specimens, so it’s pretty exciting digging them up. The rocks in this kit are also polished, which is different from other kits where the rocks may be unpolished.
My daughter liked this one so much, she asked to do another one. However, we all ended up excavating the rocks for her! She just wanted the rocks! She does love them, and we are looking for a way to display them for her.
The most exciting specimen was an amethyst crystal, but all of them were nice.
You can find this kit and more at Rainbow Resource.


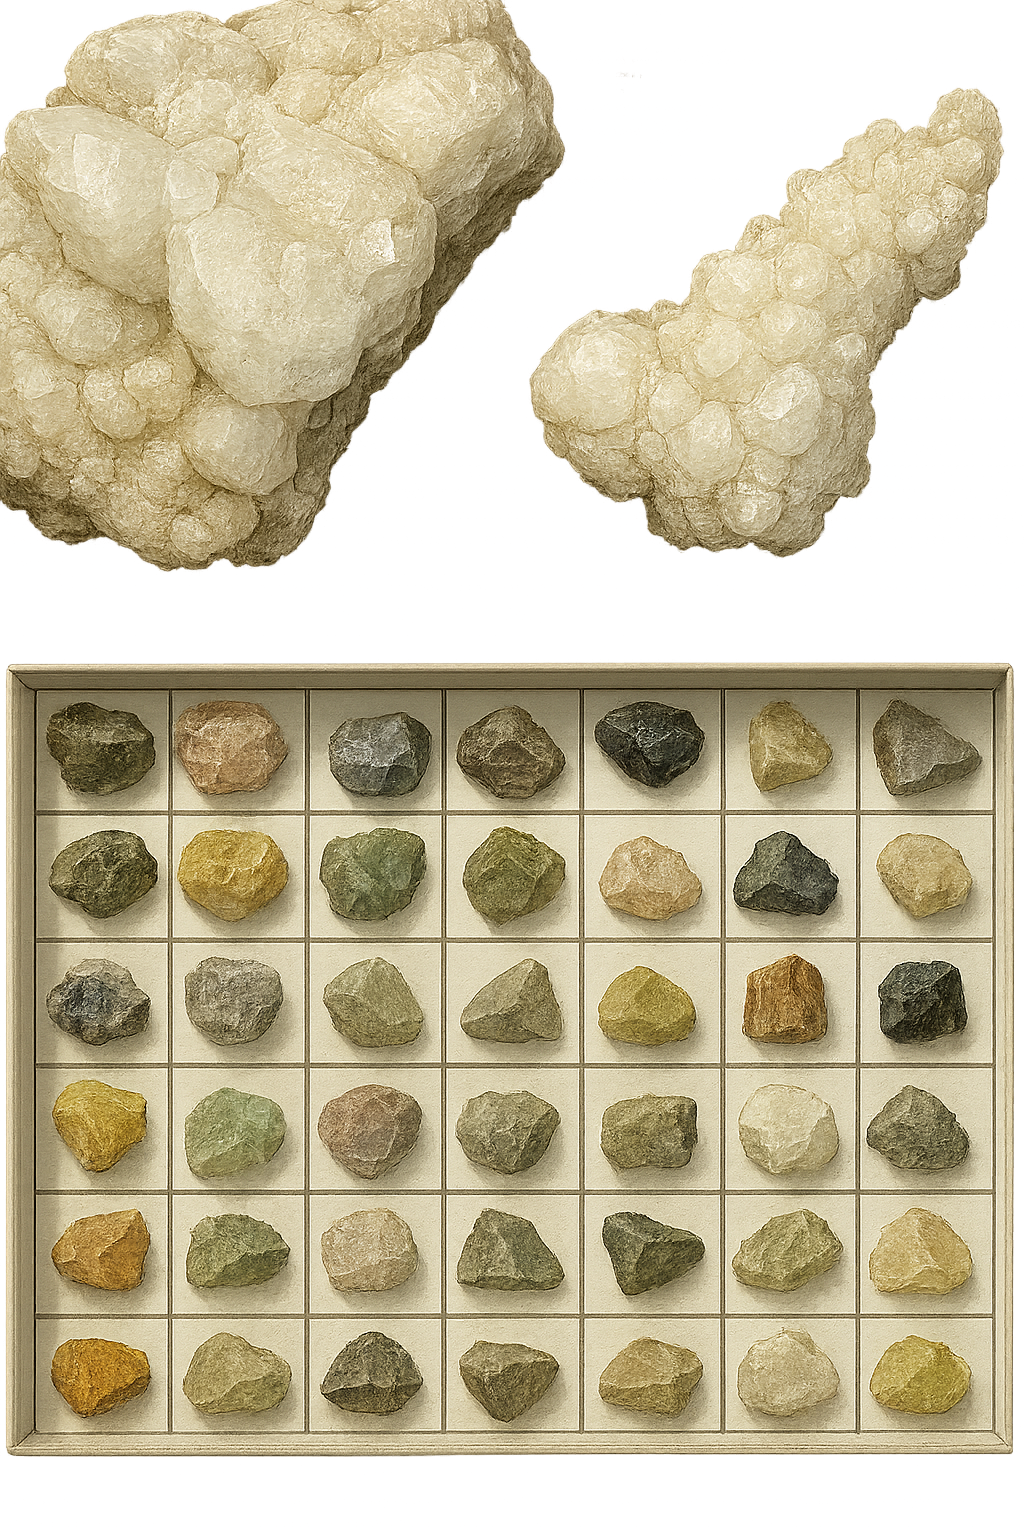
Geology Excavation Kit | Metamorphic, Sedimentary and Igneous Rocks
The short answer is yes, they are worth it. The long answer would depend on whether or not you enjoyed a little DIY. You can certainly make your own rock excavation kit with a little plaster of Paris, a box and some rocks to embed in the plaster. If you are not a do-it-yourselfer then these kits from Rainbow Resource are perfect.
This one was especially nice because the block is shaped like a piece of land with ‘mountains’ and layers of rock to indicate where you might find the different types of rocks: metamorphic, igneous and sedimentary.
My nine-year-old really enjoyed this kit. It took him about two hours to complete. He did pull out some of our excavation tools from previous excavation kits, and he also cut small squares and numbered them as he discovered rocks. The samples were a very nice assortment of unpolished rocks.
Duration: 2 hours
cost: $15
Level: ages 7-12
Subject area: geology and archaeology


DIY Archaeology Kit | How to Make an Excavation Block
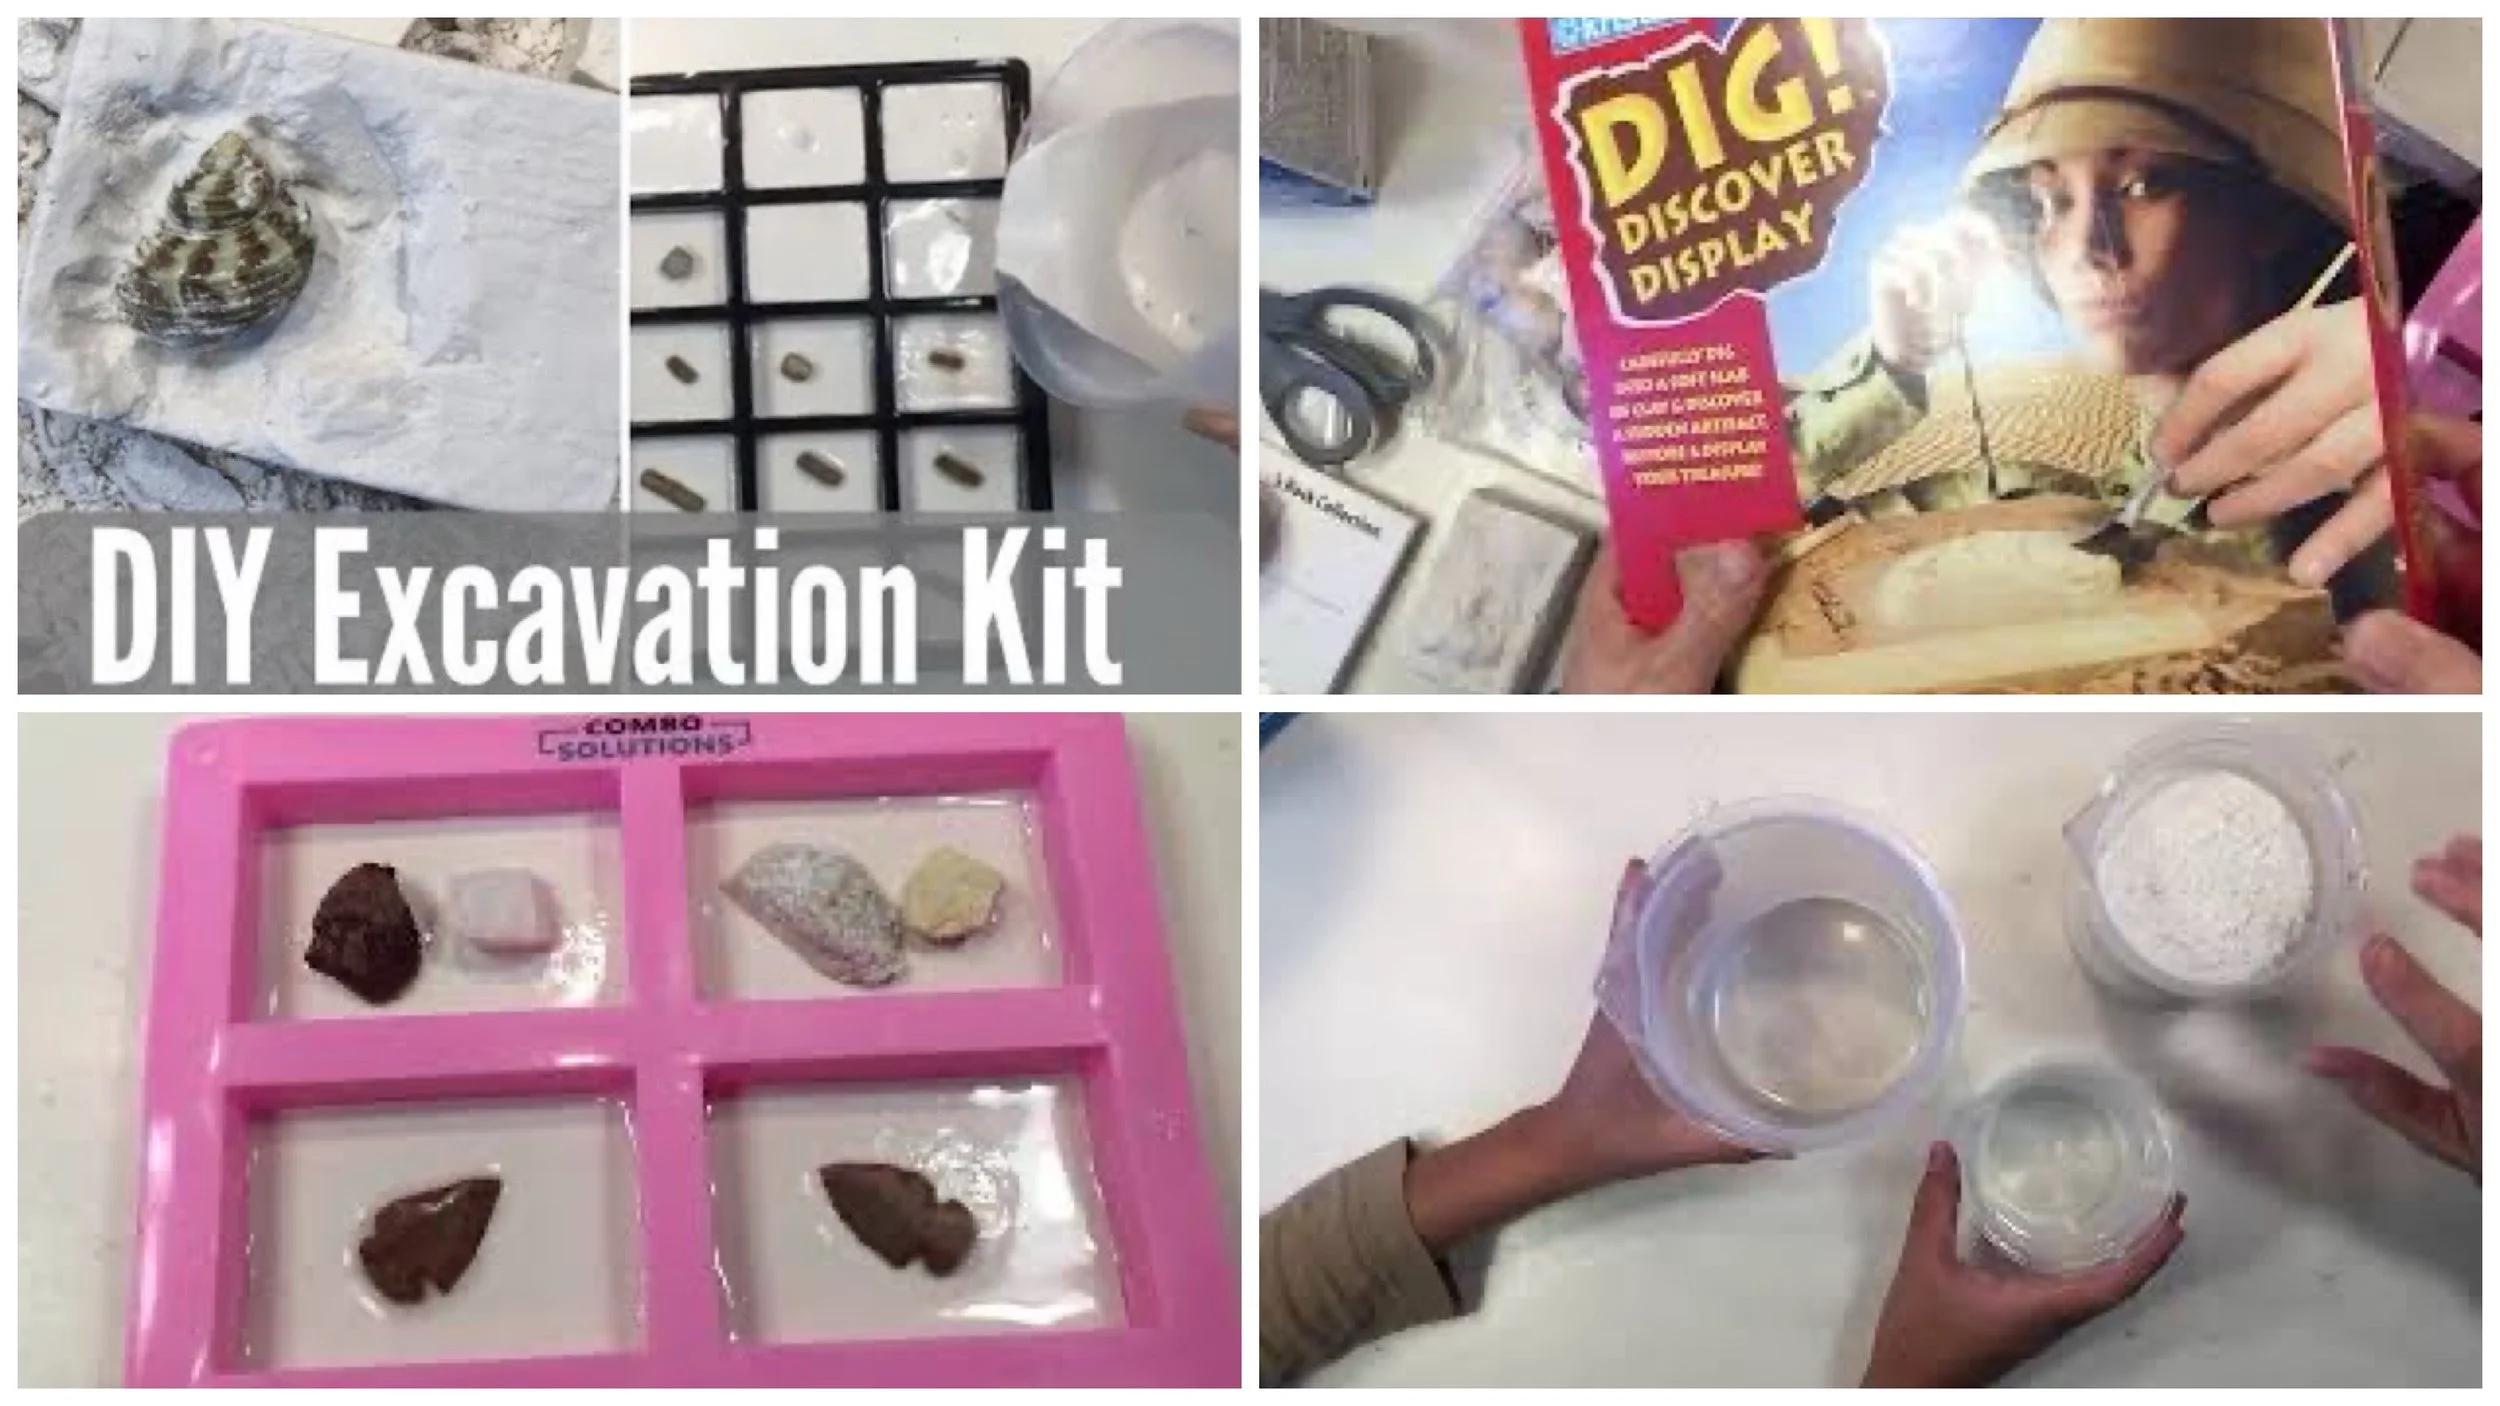
DIY excavation kits are super easy! All you need is some Plaster of Paris, a mold and some treasures to hide. We’ve been using these store bought kits in our homeschool for several years now, and I’m thrilled to be finally making them ourselves.
Here’s what you need: Plaster of Paris (we got ours from Rainbow Resource). You need quite a bit of it, so if you plan to make a lot or make them bigger than ours, but 2-3 boxes. Soap mold, and some mixing beakers. We got ours from Acorn Naturalist. I think one a little bit bigger might have been better Mixing beakers. If you use paper cups, use a clean one each time you mix plaster)
Volcano Kit | Earth Science
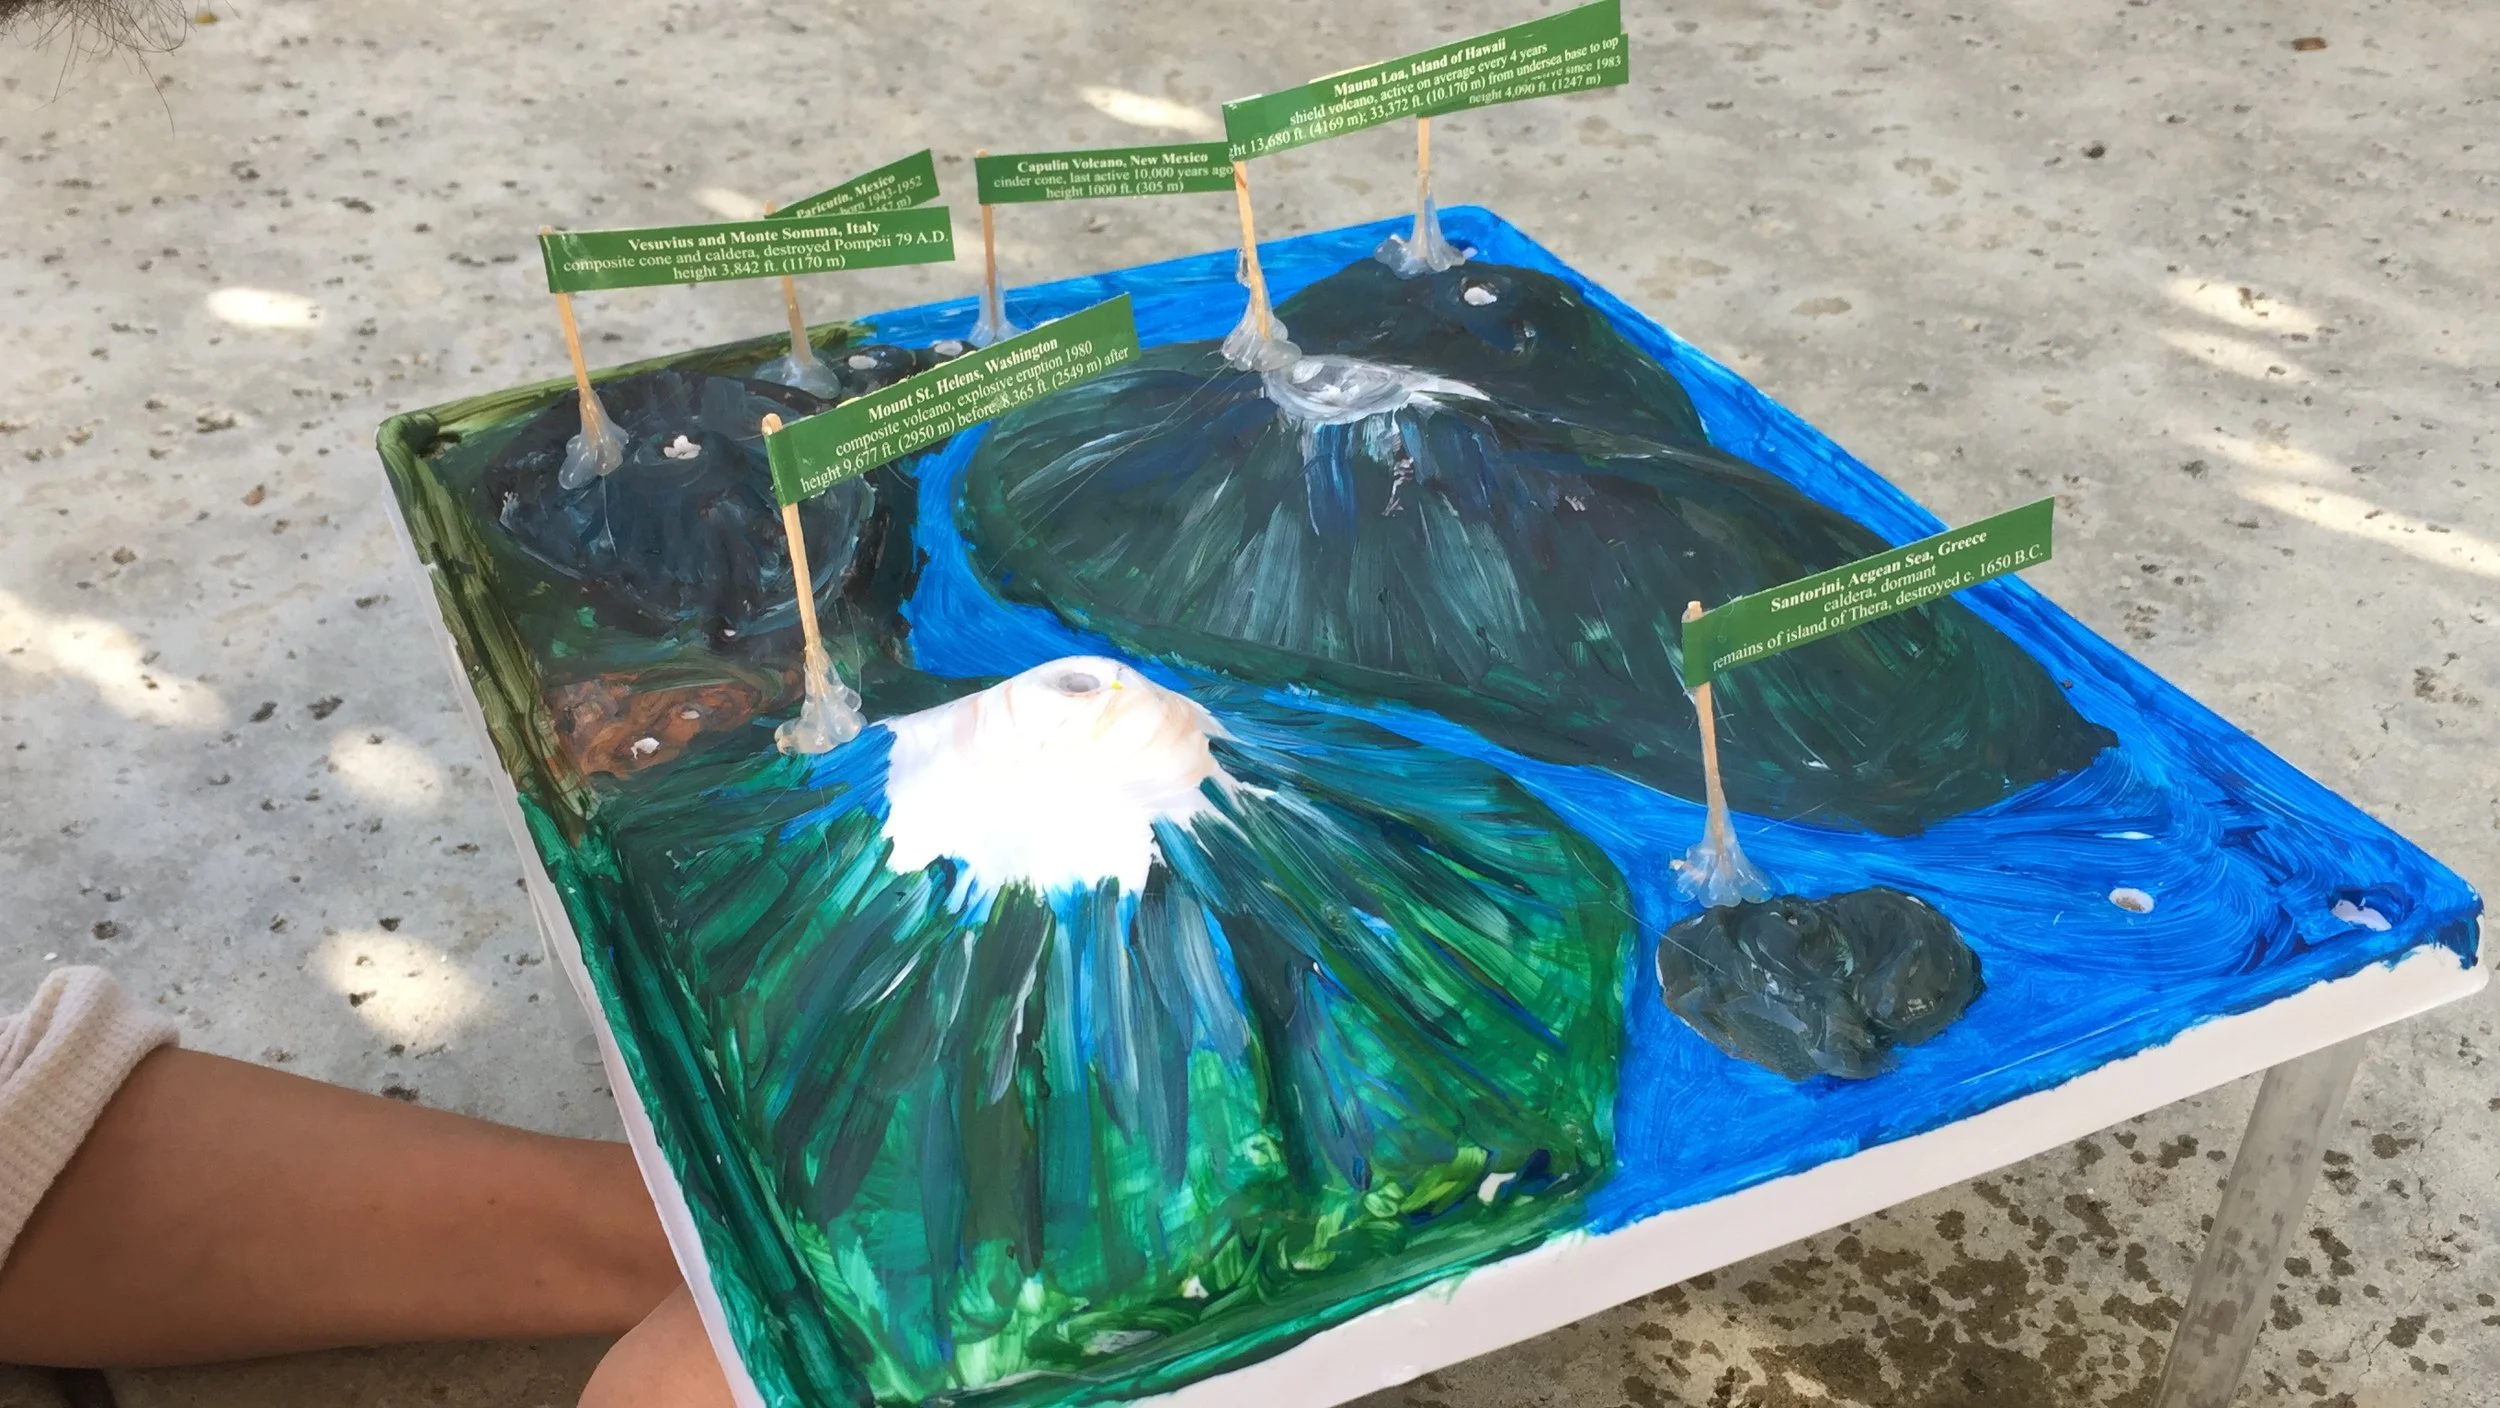
I admit that I have not done too many volcano projects with my kids over the years. In part it’s because I have reservations doing a chemistry experiment as part of a geology unit. Volcanic eruptions are nothing like the reaction between an acid and base, but I do confess, they are spectacular to do and oh so much fun. I picked up this kit Scientific Explorers All About Volcanoes from Tuesday Morning deeply discounted at only $4.00. I looked for more, but only found one. If you happen to shop there, I’d recommend checking the toy section for some fabulous finds on educational toys.
This kit came with a sturdy plastic mold with seven volcanoes modeled after real volcanoes. After painting and assembling the tubing, we set to work identifying each volcano using the included booklet for information and clues to determine which volcanoes were on the mold. This part was more challenging than I expected and at first, I was annoyed that a schematic of plastic mold with the volcanoes already identified wasn’t provided. But, in the end, I was thankful that we had to do the work to figure it out. My 10 year old son and I worked on this project together with my five year old daughter helping with the painting. I highly recommend this kit in part because the mold was designed to represent real volcanoes.
I am very pleased with the outcome of the project and was impressed with the quality and durability of the kit. The booklet also has information on volcanoes, how they are formed and the different types and how to identify them. This was useful and practical information for the construction of the kit and really brought to life some of the information we’d been learning about volcanoes for the past several weeks.


What’s Inside the Layers of the Earth | Felted Earth Project
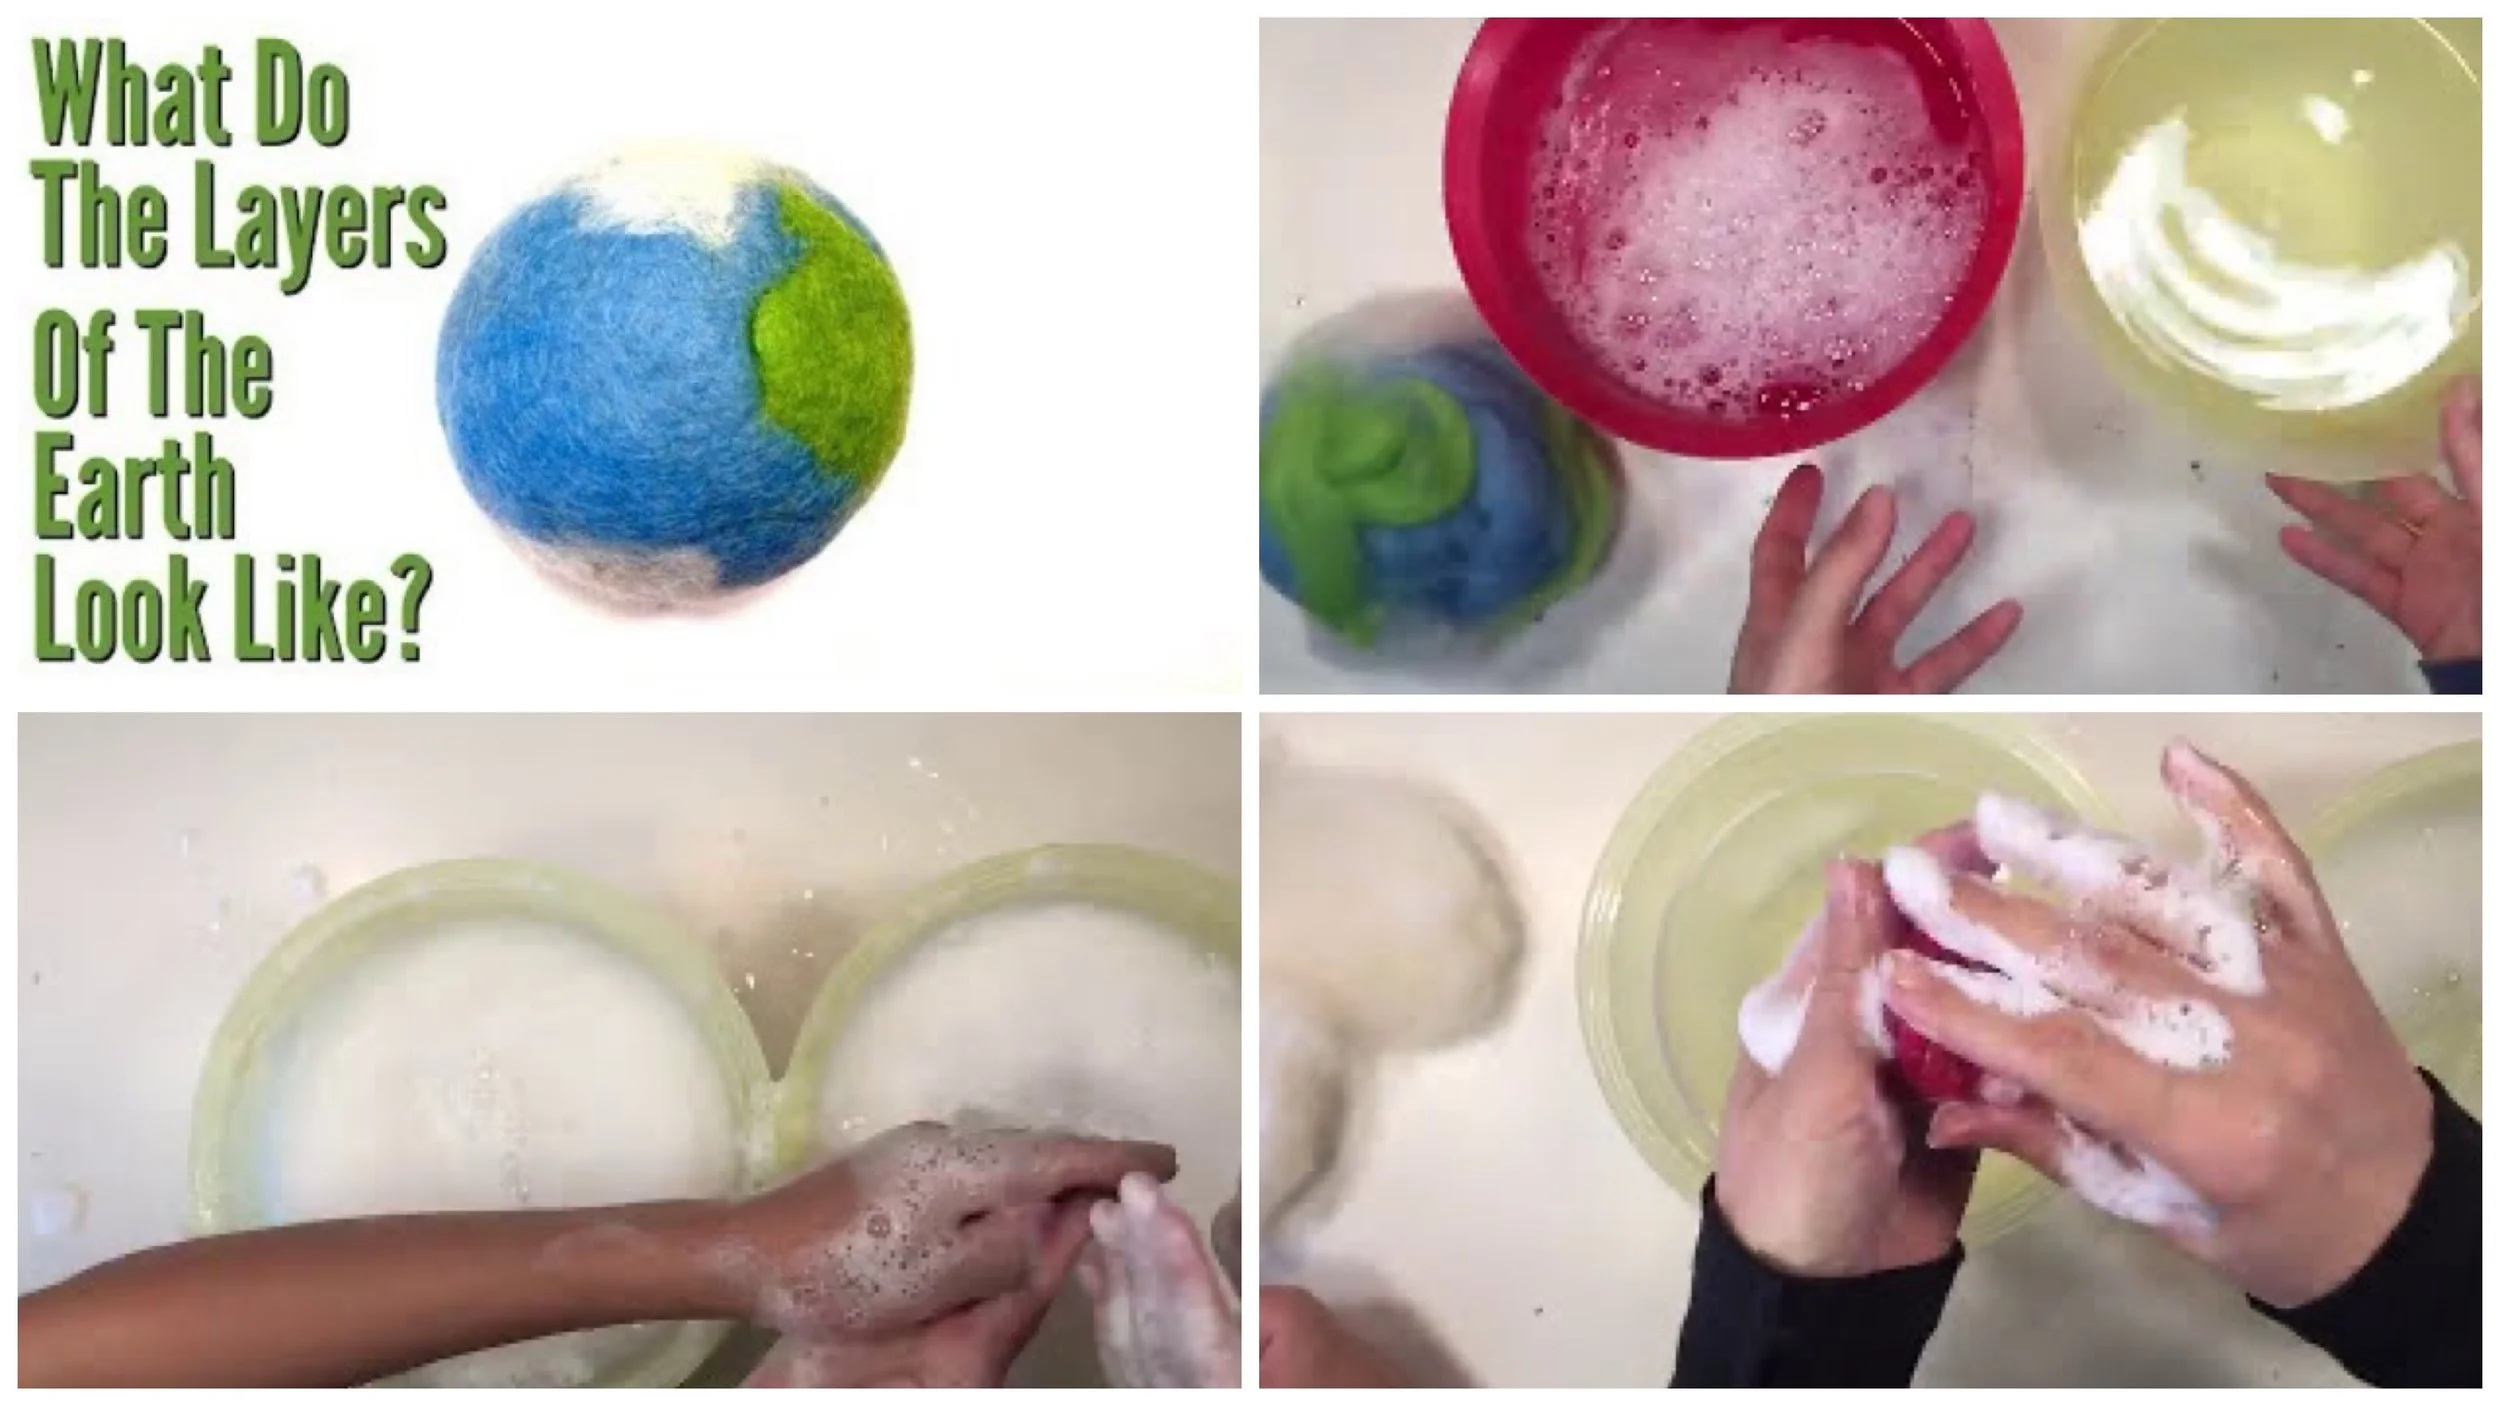
I’m sure you haven’t seen the earth quite like this before. Curious to see how our layered model of the earth turned out? This is one interactive model that’s sure to delight and educate. We wet felted a model of the earth using wool, then cut it open to fill it with the mantle and core. We made the core hard by rolling it over and over while wet felting it. We made the mantle ‘liquid’ by keeping the wool unfelted. The kids loved this project, but it does get tedious after a while. We took a break midway, but didn’t get a chance to come back to it, so my kids’ models weren’t felted all the way. I’ll show you what it looks like when that happens.
For this project we used wool top from A Child’s Dream.
The 3 wools we offer are Merino (classified as a fine wool), Corriedale (classed as a medium wool) , and Romney (a coarse wool – our Wilde Wool is Romney wool). They’re all different types of fibers with different qualities with one being better in one application over another. NOT one necessarily a better wool over another. Merino has short fibers or staple length and is very soft. It is a fast wet felter but a very slow needle felter and challenging for beginner spinners because of the short staple length. Corriedale is longer, is great for beginner spinners, great for beginning wet felting since it doesn’t felt so fast you can’t control what you’re doing, and great for needle felting, too. Corriedale is a good multipurpose wool and is what comes in the WoolPets kits we love and sell. Romney is coarse and is what our Wilde Wool is. It’s not as soft as Merino or Corriedale and is a very fast needle felting fiber. My customers doing production work gravitate to the Wilde Wool. It wet felts but it takes longer to do so we advise against using this for felting with children. It spins nicely and it’s coarseness makes it a durable yarn that you wouldn’t want to use against the skin but maybe for rugs or that sort of thing.
Debbie, A Child’s Dream
For this project you’ll need wool top in blue, green, un-dyed, red, yellow and orange. You also need two tennis balls and some plastic wrap, a couple large bowls, one with warm water and one with cold water and some dish soap. This project gets messy in the sense that water and soap suds get everywhere, so work in the kitchen or outside, or lay down some towels. I also recommend using large bowls or two bowls for each person.
How Magma Moves in the Mantle
Here’s a really simple geology demo on thermodynamics and magma we did for our mineralogy unit using the book Mountains and Volcanoes by Barbara Taylor. You can probably do this project with materials you have around the house. We modified this project from the one we previously did during our geology unit. You can see the original video here.

Excavating Dinosaur Bones
Join us as we excavate real dinosaur bone, an aquatic lizard tooth and coprolite (dinosaur dung). This Dinosaur Dig Kit by Discover with Dr. Cool was fantastic! I highly recommend it. You get three high quality fossil specimens, two activity guides, a display case and excavation tools.

How to Make Sedimentary Rock and Excavation
Curious how sedimentary rock is formed? This is a quick and educational project that’s easy to do and fun to excavate. You do need a few materials to do this activity. Materials: Plaster of Paris Sand (optional) Food coloring (also optional) Shells for ‘fossils’ (optional) Paper cup or other mold Directions: Mix Plaster of Paris according to directions and mix with sand and/or food coloring. Pour into mold. Layer various colors, waiting about 10 minutes for the previous layer to set. Layer shells between the layers. Excavate your ‘sedimentary’ rock once it sets completely.

What’s Inside A Gigantic Geode
After cracking open 15 premium geodes last year for our geology unit, we decided to try this gigantic premium geode also from Discover with Dr. Cool. To be honest, the gigantic geode was no less thrilling than the 15 small ones. All were premium quality which meant you were guaranteed good crystal formations. It was fun and thrilling getting the big one and cracking it open, but the quality was the same as the small ones, so in the future, I will just get the 15 piece kit of smaller geodes.
The 15 geode kit has been our funnest project this year. We loved it! This kit perfectly accompanies a geology or earth science unit. We picked up Break Open Real Geodes from Rainbow Resource. This one came with 15 premium geodes. Unlike some other kits which only come with a few or lower quality geodes that don’t have stellar crystal growth, this one had some amazing specimens. The kit also comes with an activity guide, eye safety goggles, three display stands and a magnifying glass
Excavating Rocks | Geology
We love our hands on projects and this time we are trying out a new company and their innovative kits. Recently, Excavating Adventures reached out to me to see if I would like to try their products. These are just the kinds of kits we normally buy and love so I said yes because we had run out of educational funding for that semester. I’m glad we took them up on their offer because we love these kits and are adding them to our wishlist for next semester. What’s especially wonderful about these kits is that you get a lot of high quality specimens per kit, plus get trading cards, a display case and a special added bonus item in every kit. Another quality that I love about these kits is that you can get the monthly subscription, so each month, you can have another hands on excavating adventure.
Gemstone Excavation Kit
We recently got four excavation kits from Excavating Adventures and I have to say, I’m blown away at how awesome these kits are. Aside from the huge amount of specimens you get in each kit, you also get to excavate in unique materials for each kit. For the gemstone kit, you are excavating through a plaster/clay material. What I especially liked about it was that it was small making it easy for young children to excavate within 30 minutes or less. We typically do the excavating kits that require several hours to do so this is just right for young students and equally thrilling for older students as well. My 9-year-old daughter did this gemstone kit and the seashell kit while my 14-year-old son did the dinosaur and geology kits.
Discovering Dinosaur Fossils
The Dinosaur Excavation kit from Excavating Adventures is one of the most creative kits we used. Each month (if you are doing the monthly subscription kit), you get a different kit to excavate and explore. What’s unique is that each excavation kit is in a different material. The kits we’ve used and loved in the past (primarily from Dig, Discover and Display among others) have been set in plaster. While plaster may seem more appropriate of a material to excavate through to give a more authentic feel to being a paleontologist, having each kit in a unique material adds to the excitement and experience of the kit. The dinosaur kit comes in a gooey slimy material which is interesting tactile. While I did like the kinetic sand of the seashell kit (super creative!), I didn’t like the texture of the slime. My 14-year-old excavated this kit and he didn’t mind the slime and used the tools (as well as our own) provided.
What’s Inside Amber?
Curious to see what’s inside prehistoric amber? Check out what we found in our sample! This is genuine Colombian amber millions of years old. Amber is fossilized tree sap and what’s amazing about it is that plant particles and insects get trapped in the sap millions of years ago and today scientists can extract DNA from these samples. It’s just like Jurassic Park!! This was a fantastic kit and I highly recommend it. You can find The Prehistoric Amber Activity Kit at Nature Watch Even my 15-year-old, who has lost interest in our typical hands-on projects, asked to join this activity and really loved it. In fact, it was in his sample we found a prehistoric bug!
You can also find more Nature-Watch kits videos here.
What Happens When You Add Vinegar to Natural Chalk
What happens when you add an acid like vinegar to natural chalk? We tried this demonstration back in 2016 with chalkboard chalk and were disappointed because chalkboard chalk is not made from naturally occurring chalk, and this project, based on the book Mountains and Volcanoes by Barbara Taylor, calls for natural chalk. After some searching, I found edible chalk which is all natural and bought a small amount for this demonstration. Please note that although this is edible, we will not be eating it. We began the project by mixing our acid with other bases like baking powder (base with acid), baking soda (base), chalk, plaster of Paris and even a calcium supplement (check out the blog post to see the progression of that demonstration). This time, we saw immediate bubbling and dissolving of the natural chalk. This demonstration was to show how slightly acidic rain can erode rocks (especially limestone) over time.