Ocean Main Lesson Block Lessons
Lessons
-
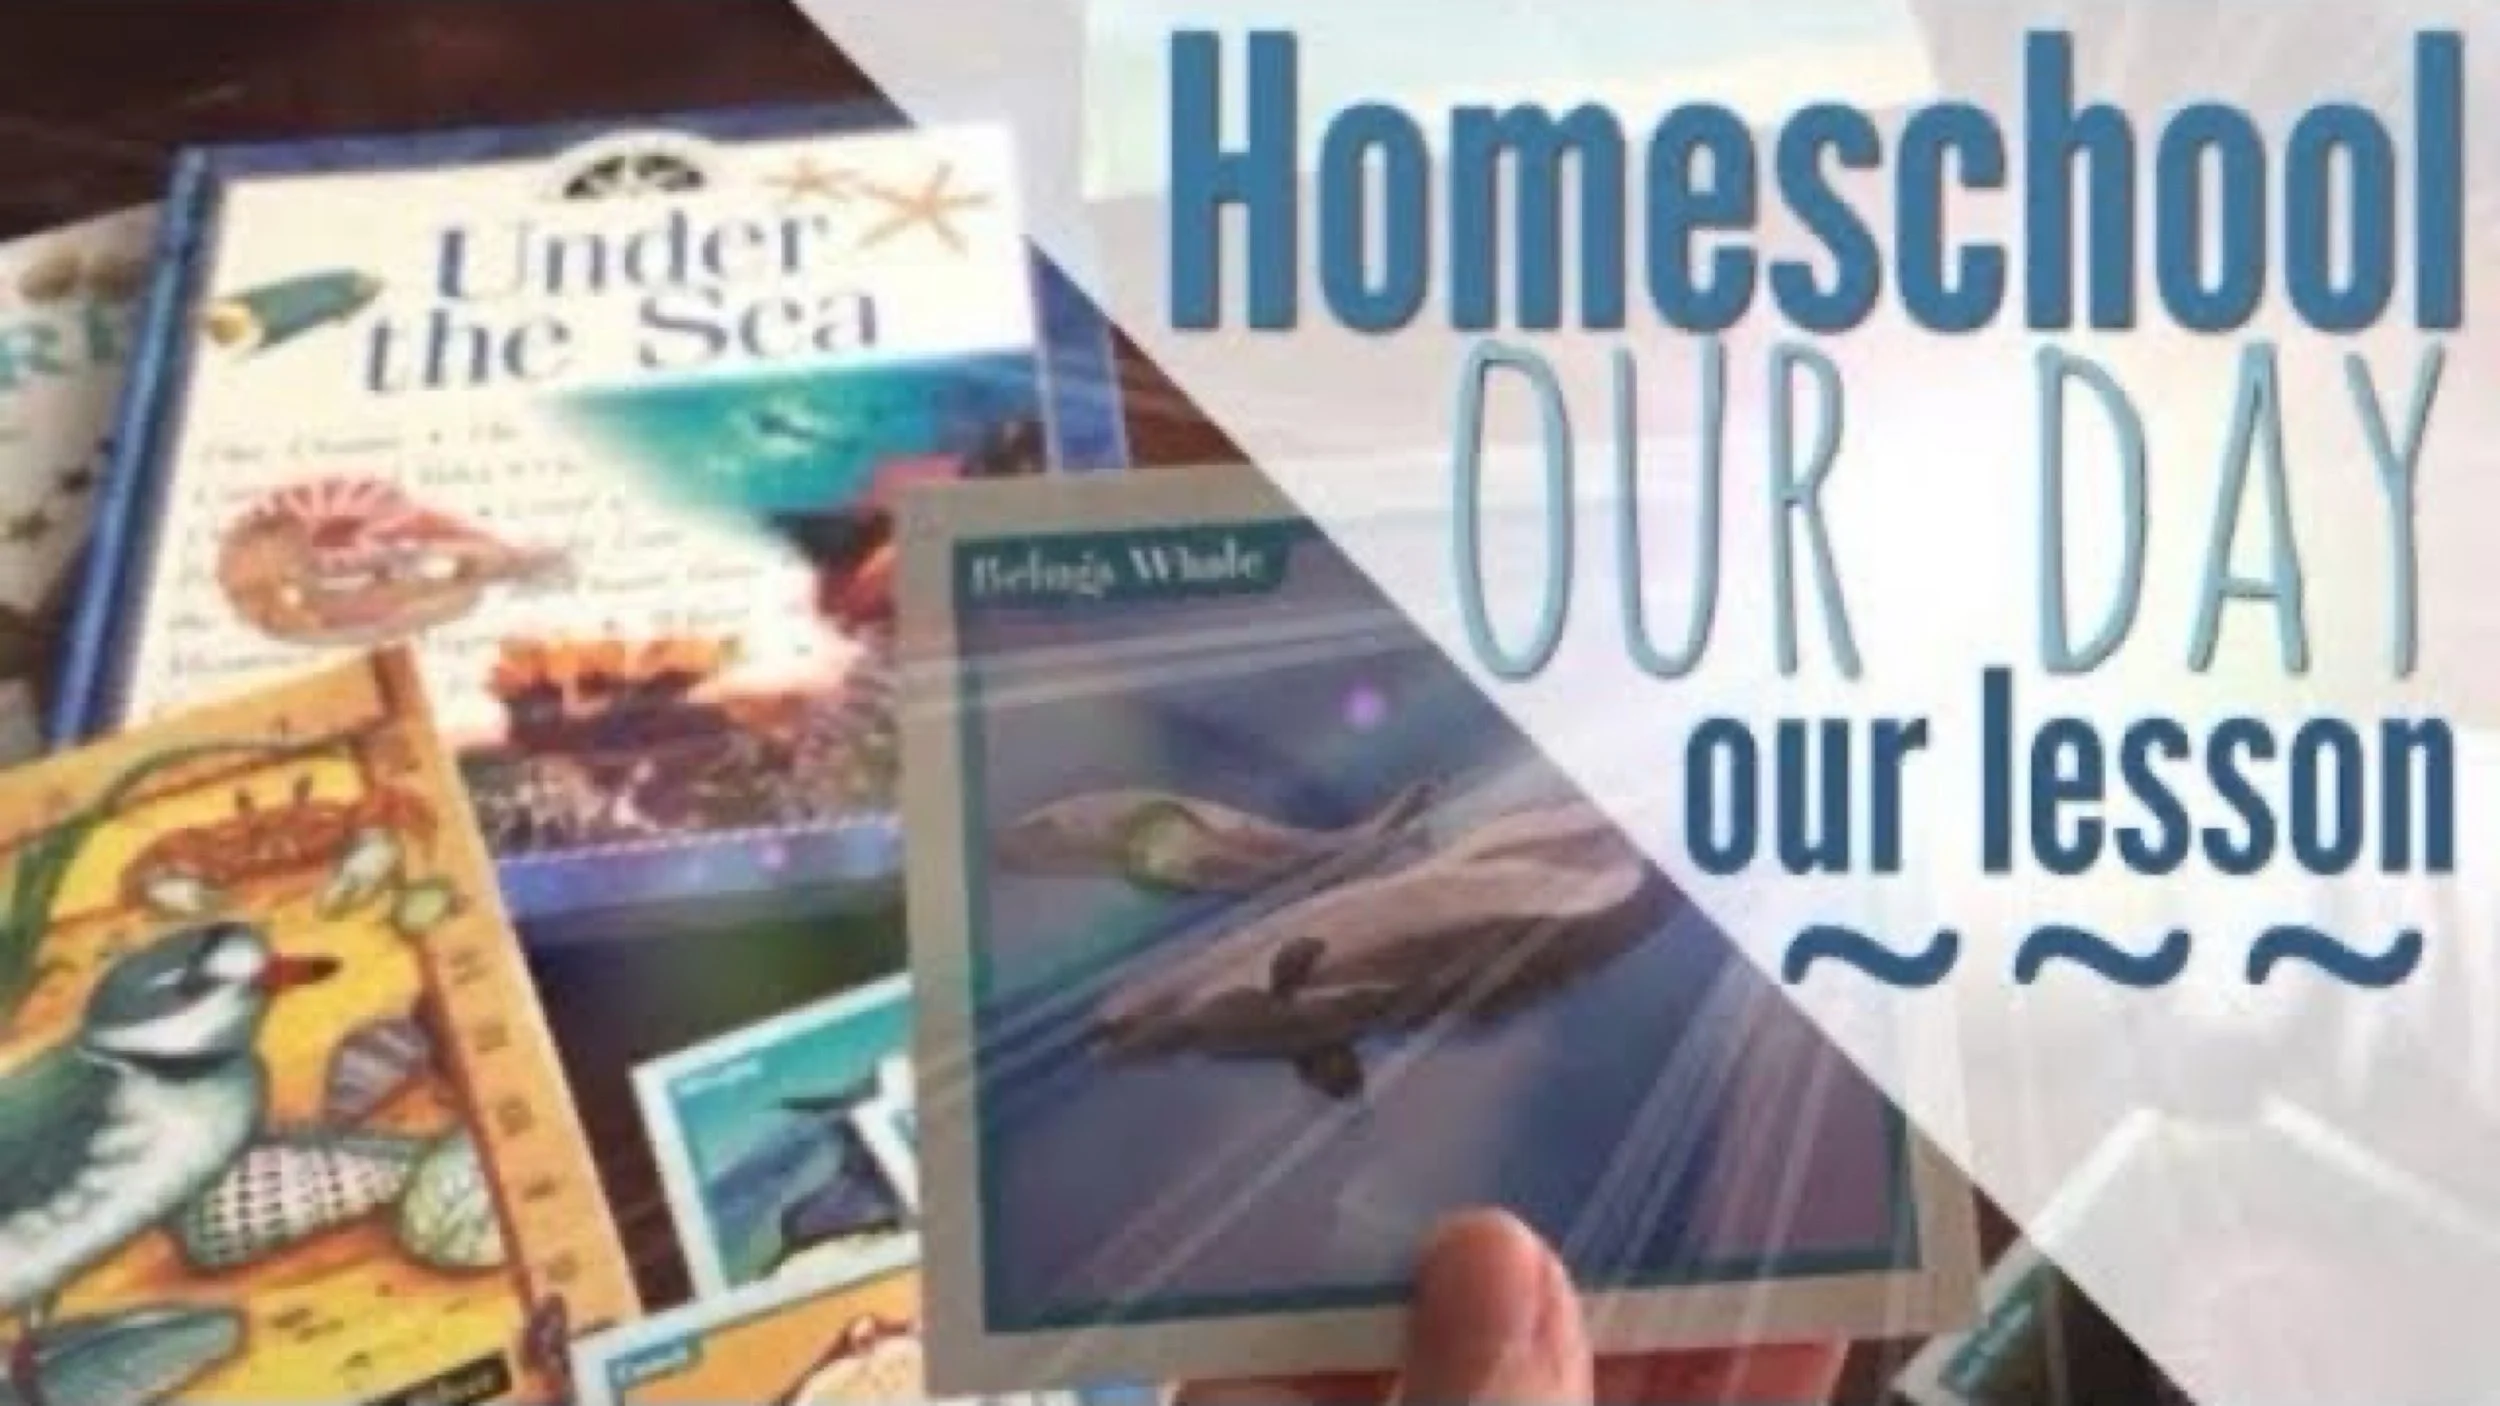
Our Homeschool Lesson
Here's a little snippet of our homeschool day. We are working through our Live-Education waldorf inspired curriculum for our Botany Main Lesson block and took a little detour.
-
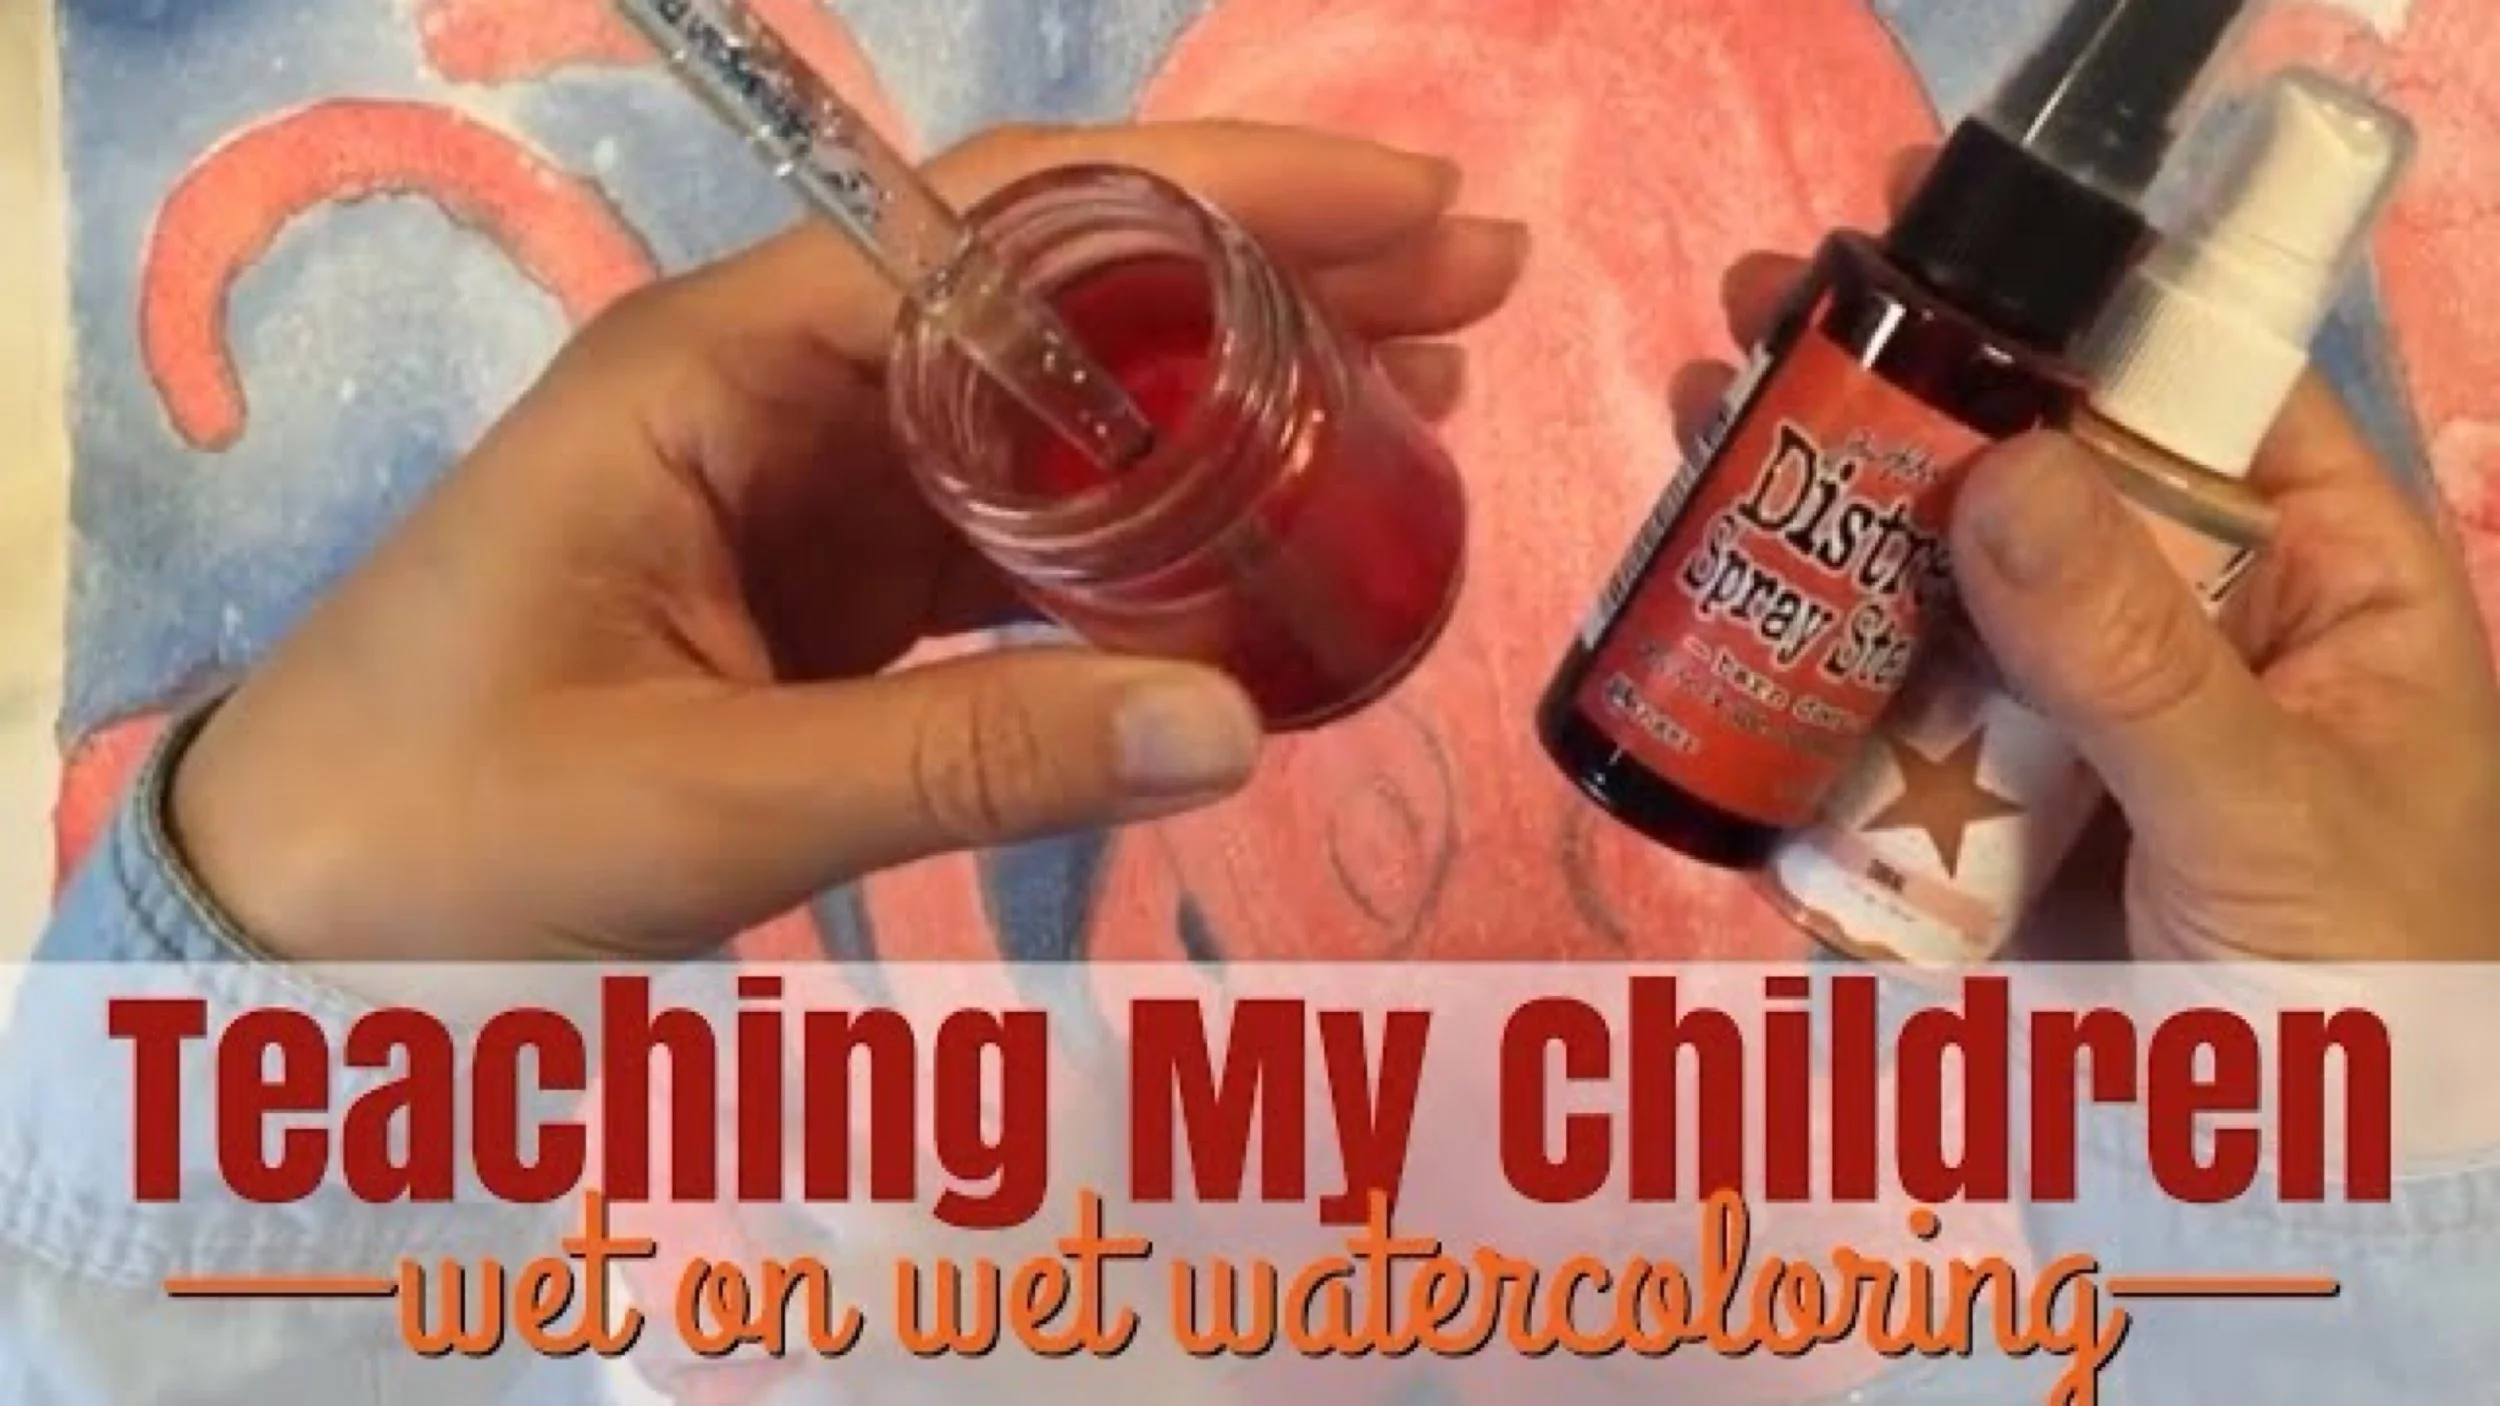
Wet on Wet Watercoloring
While working on our Ocean Main Lesson block, we ended up doing a lot of watercoloring for the main lesson book.
-
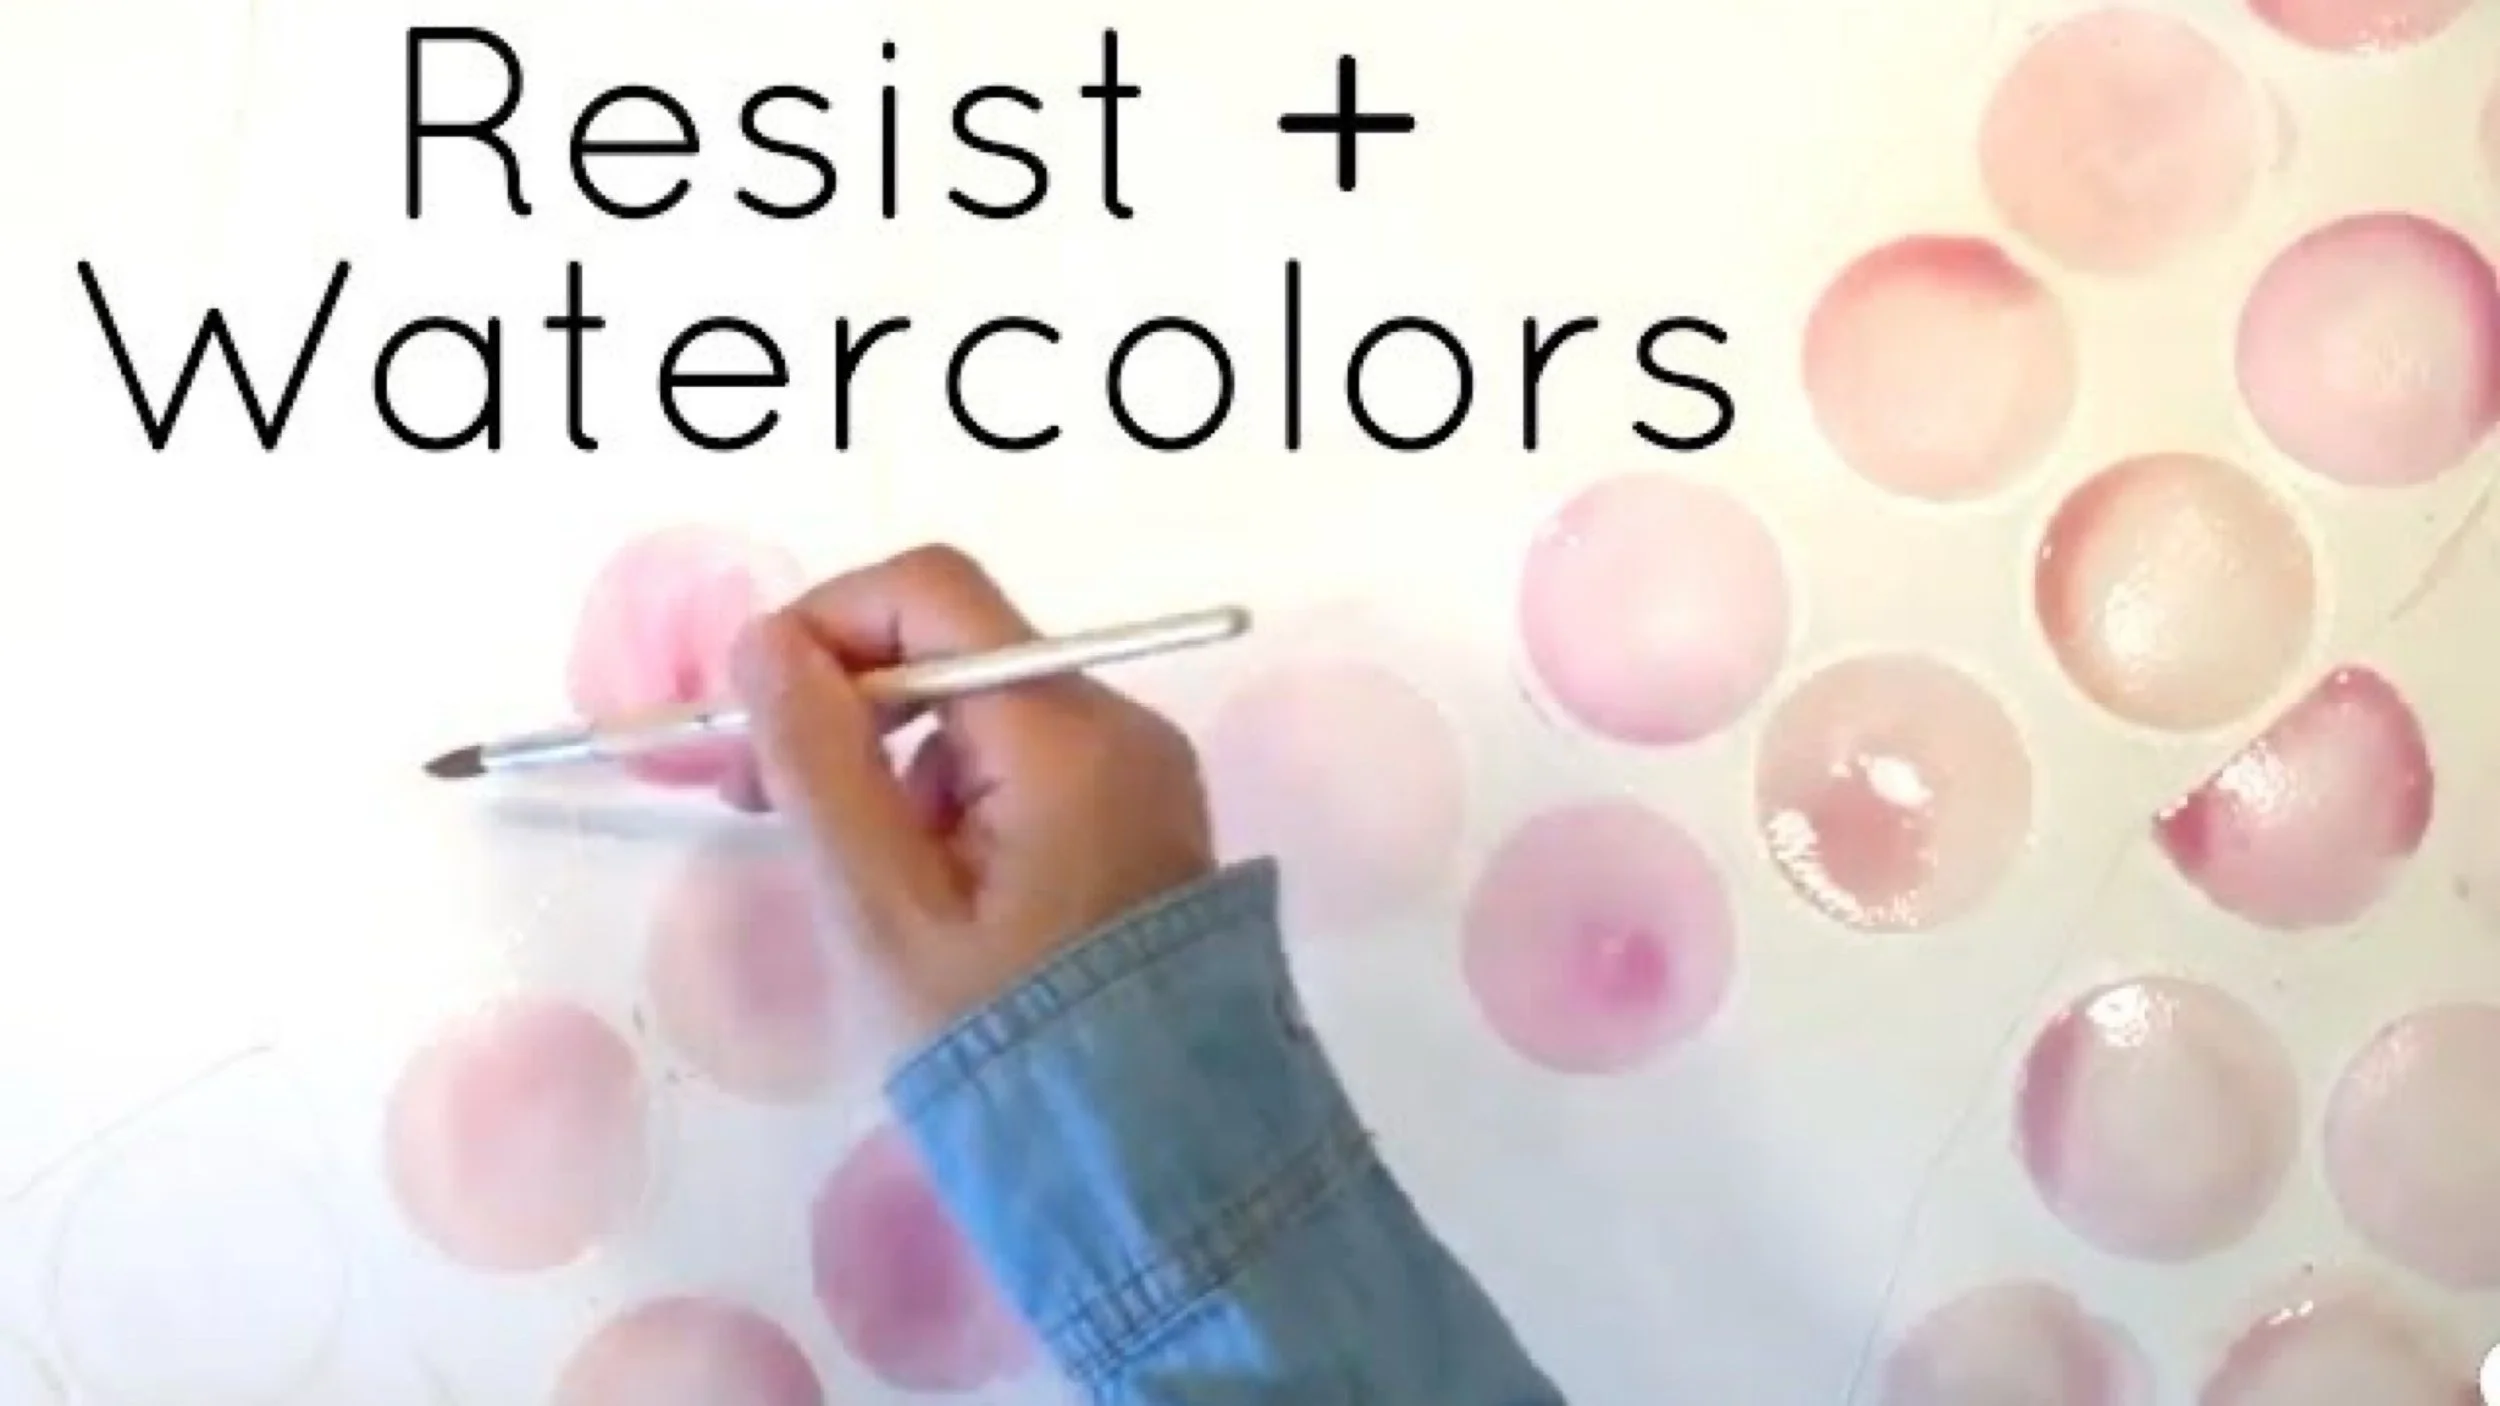
Using Resist Mediums with Watercolors
Can you guess what we were trying to draw? Midway through this project it looked great! Then it slowly changed and didn't look how I envisioned.
-
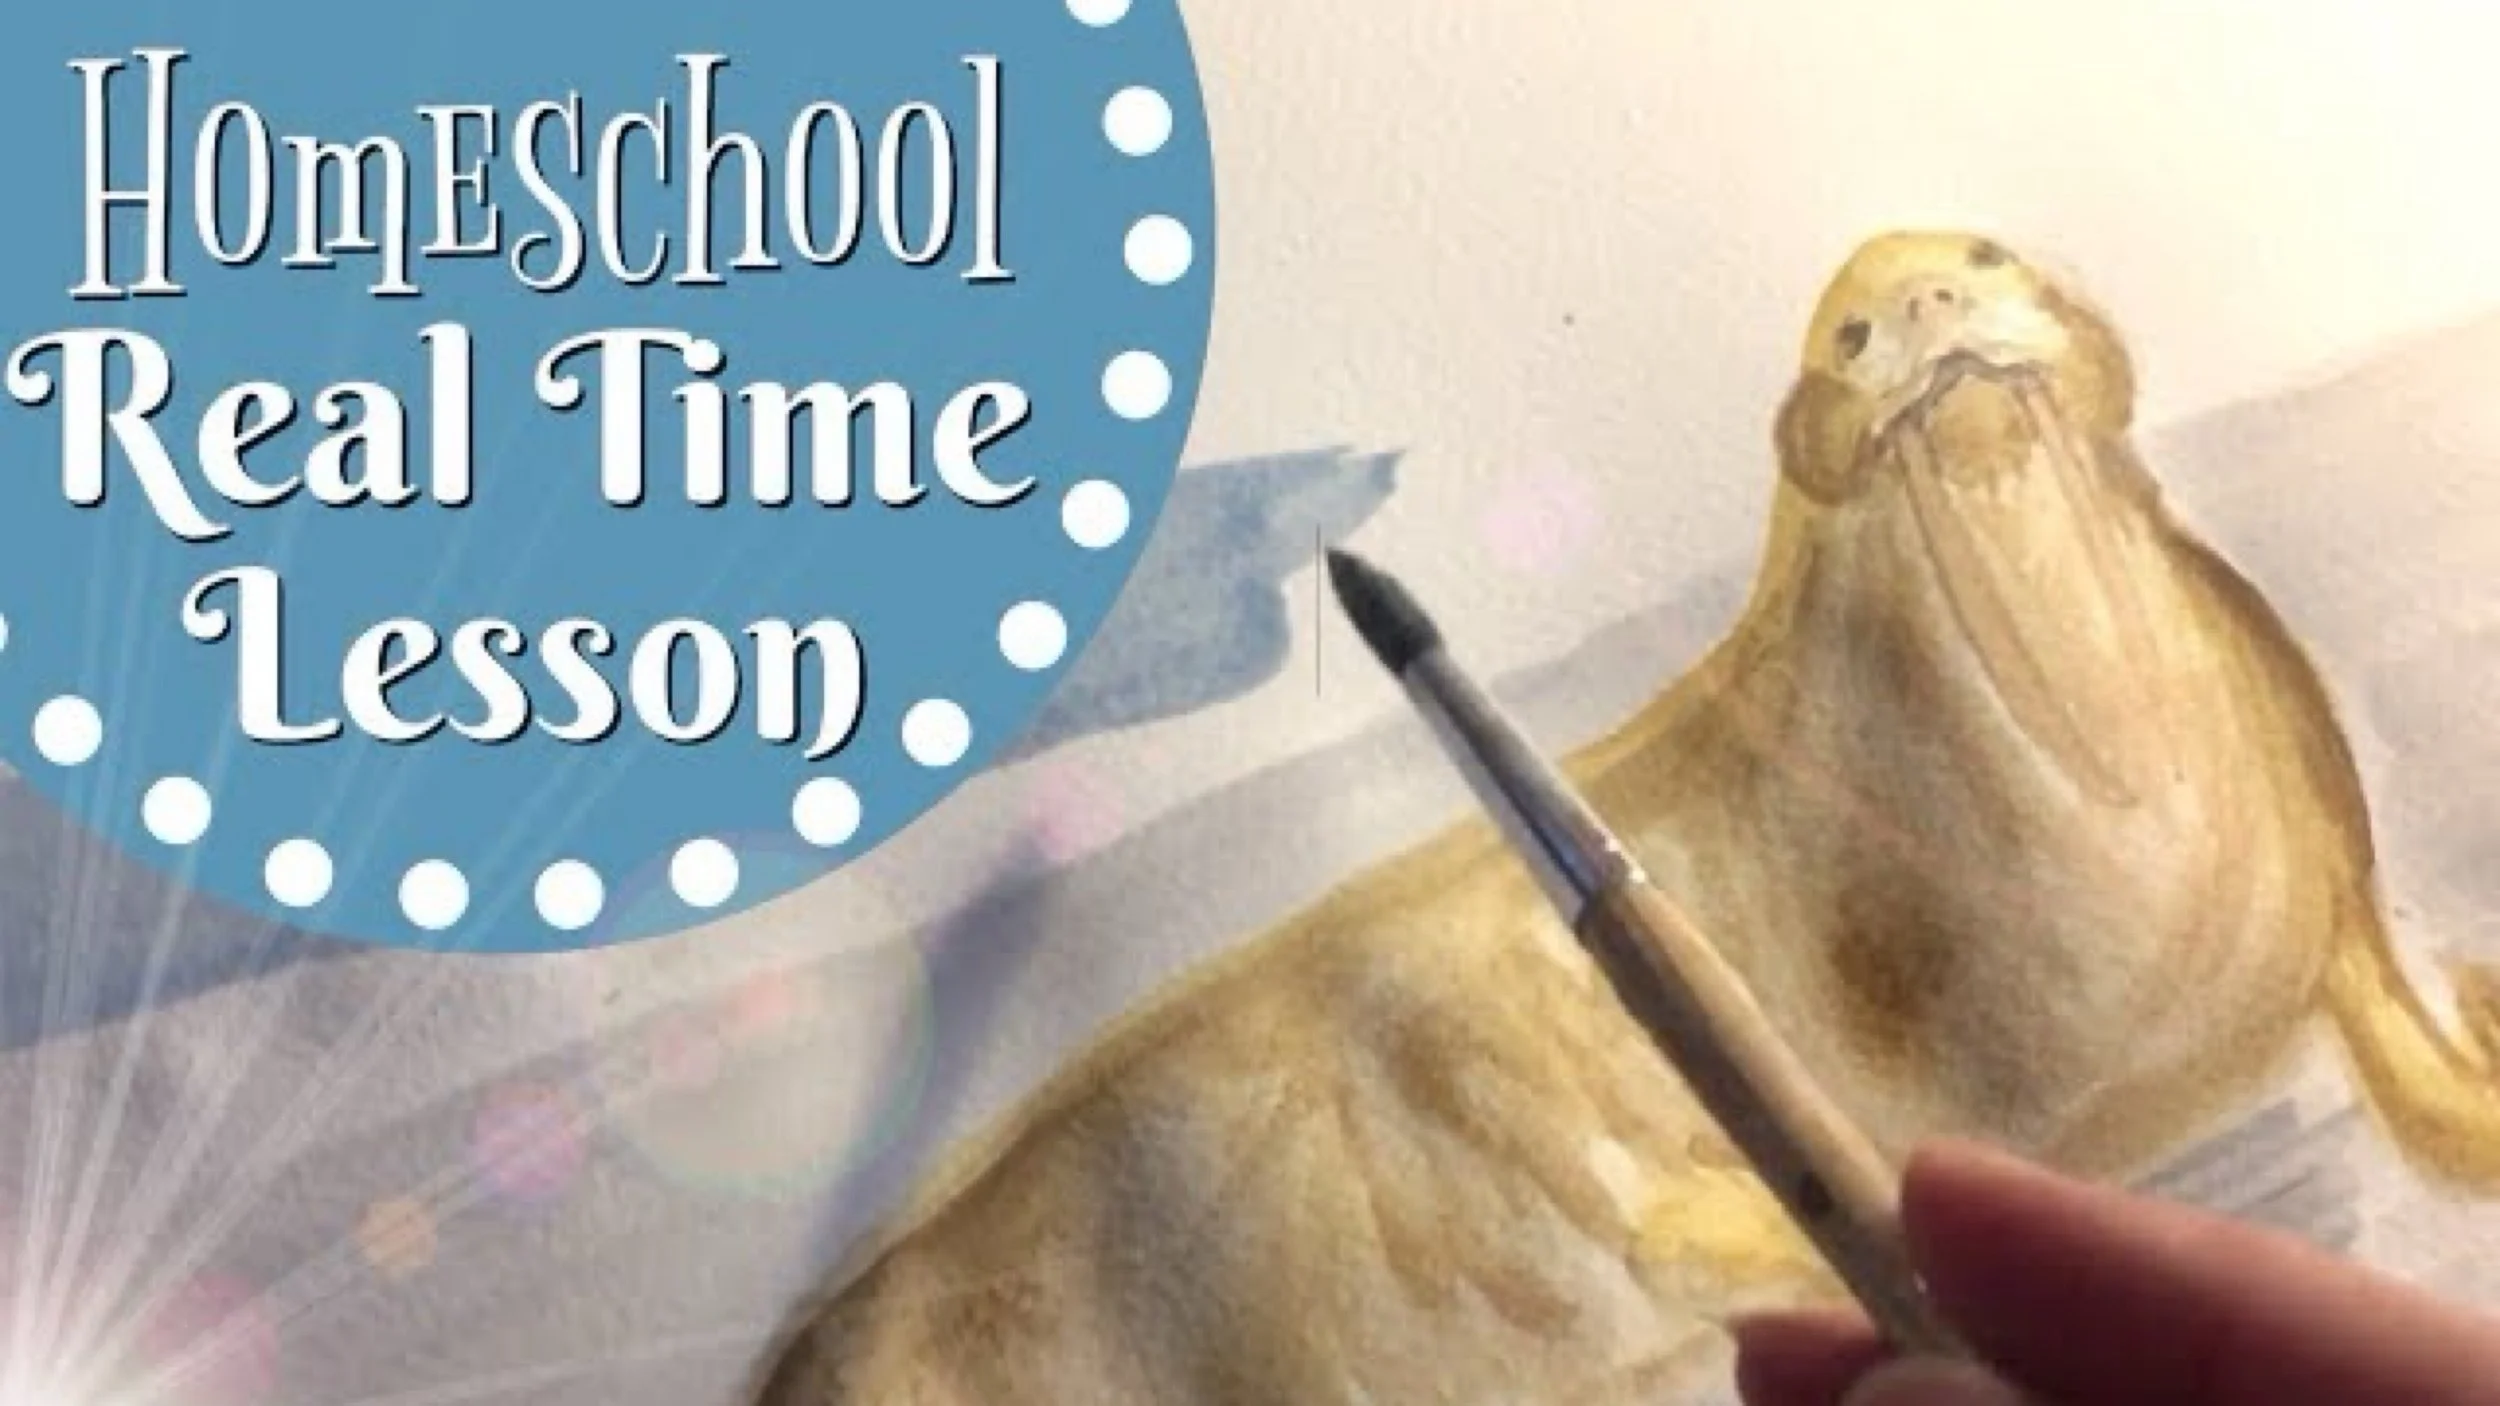
Real Time Homeschool Lesson | Watercoloring
Ever wonder how a real life Waldorf-inspired homeschool lesson looks like? We are working through our Ocean Main Lesson Block and have done a number of watercolor paintings for this block. Here's what a looks like.
-
Freshwater VS. Saltwater | What Melts Faster?
What's your guess? Will ice melt faster in freshwater or saltwater?
-
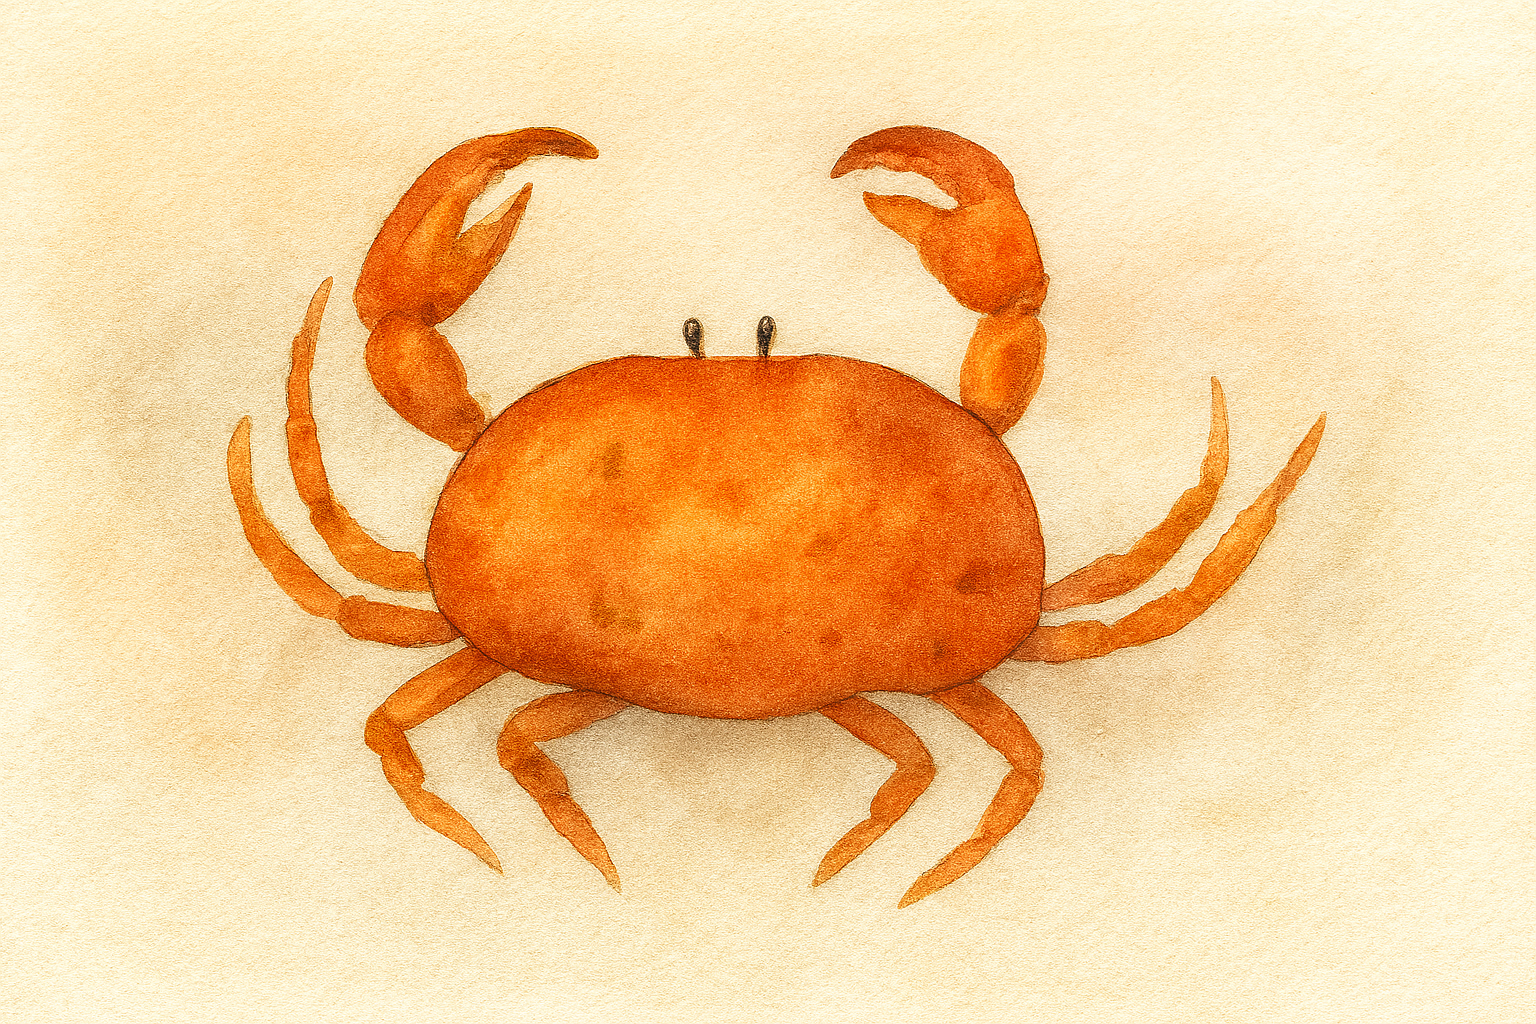
Crab Lesson
We did many illustrations in watercolors and here is our Crab watercolor.
-
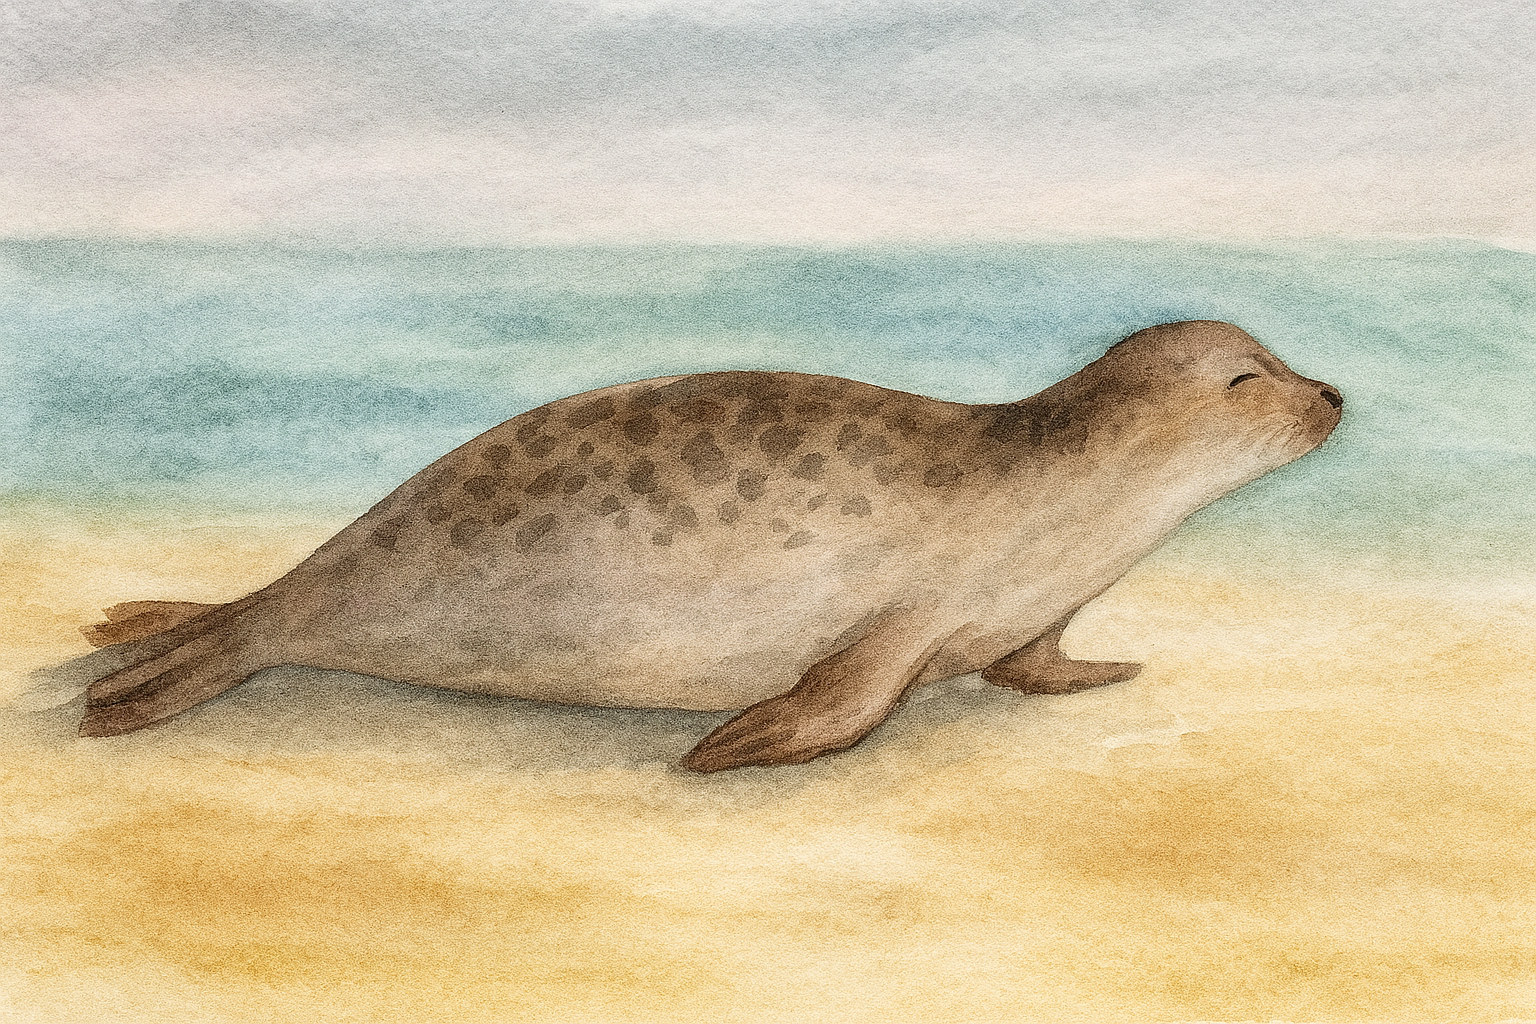
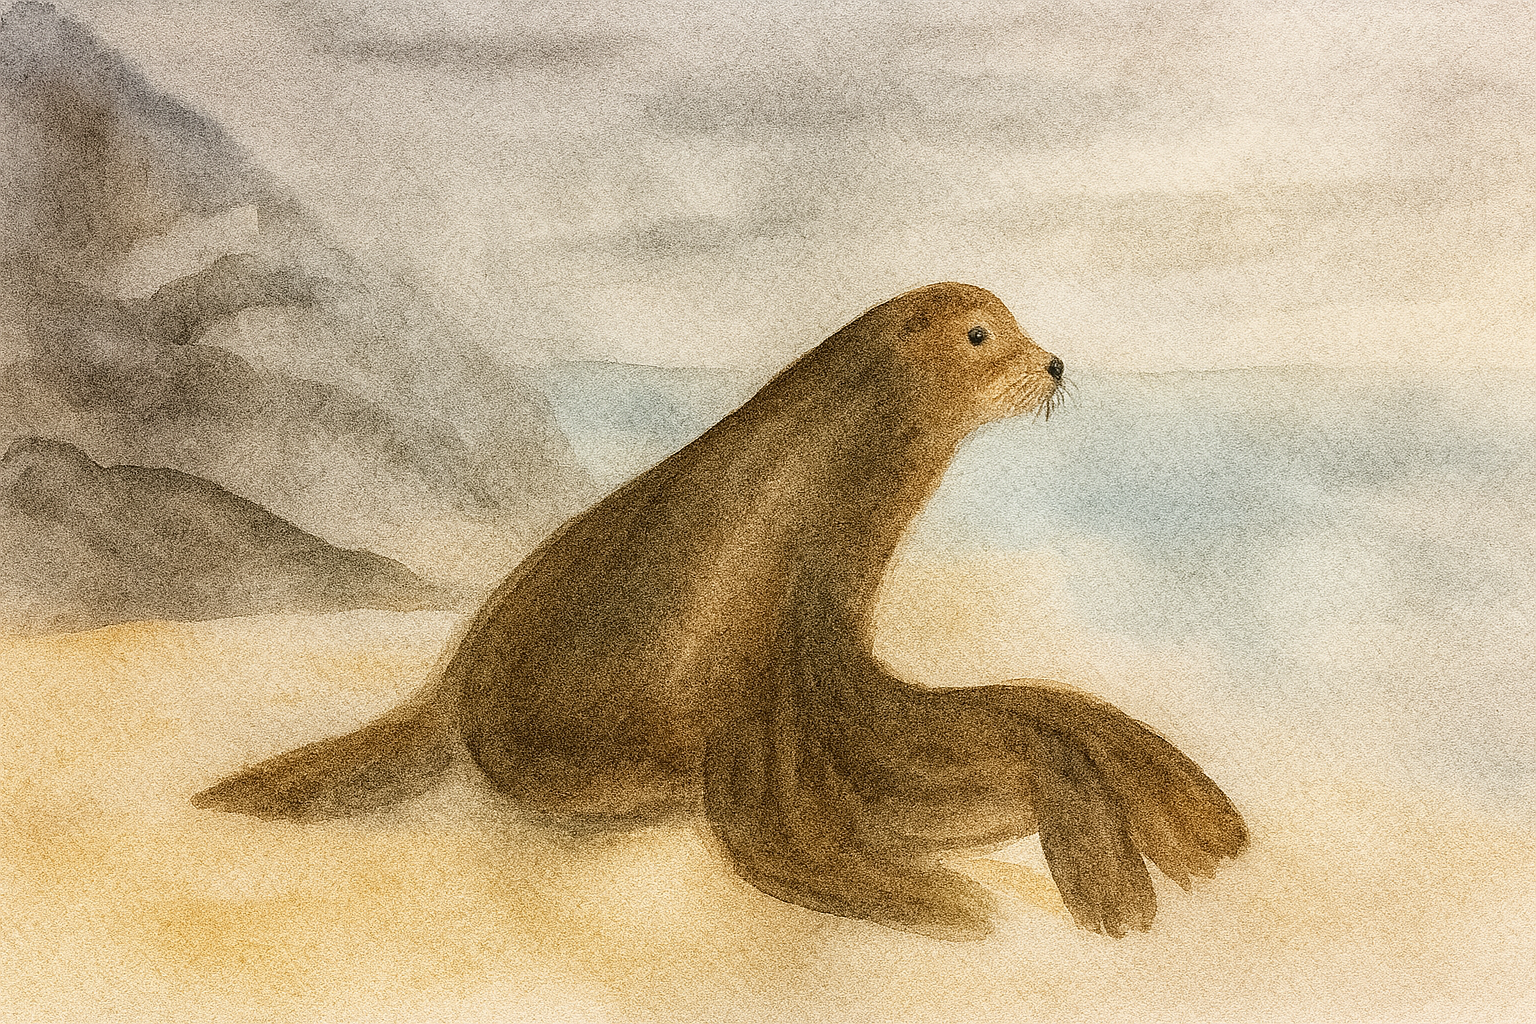
Seal Lesson
Watercolor illustration
-
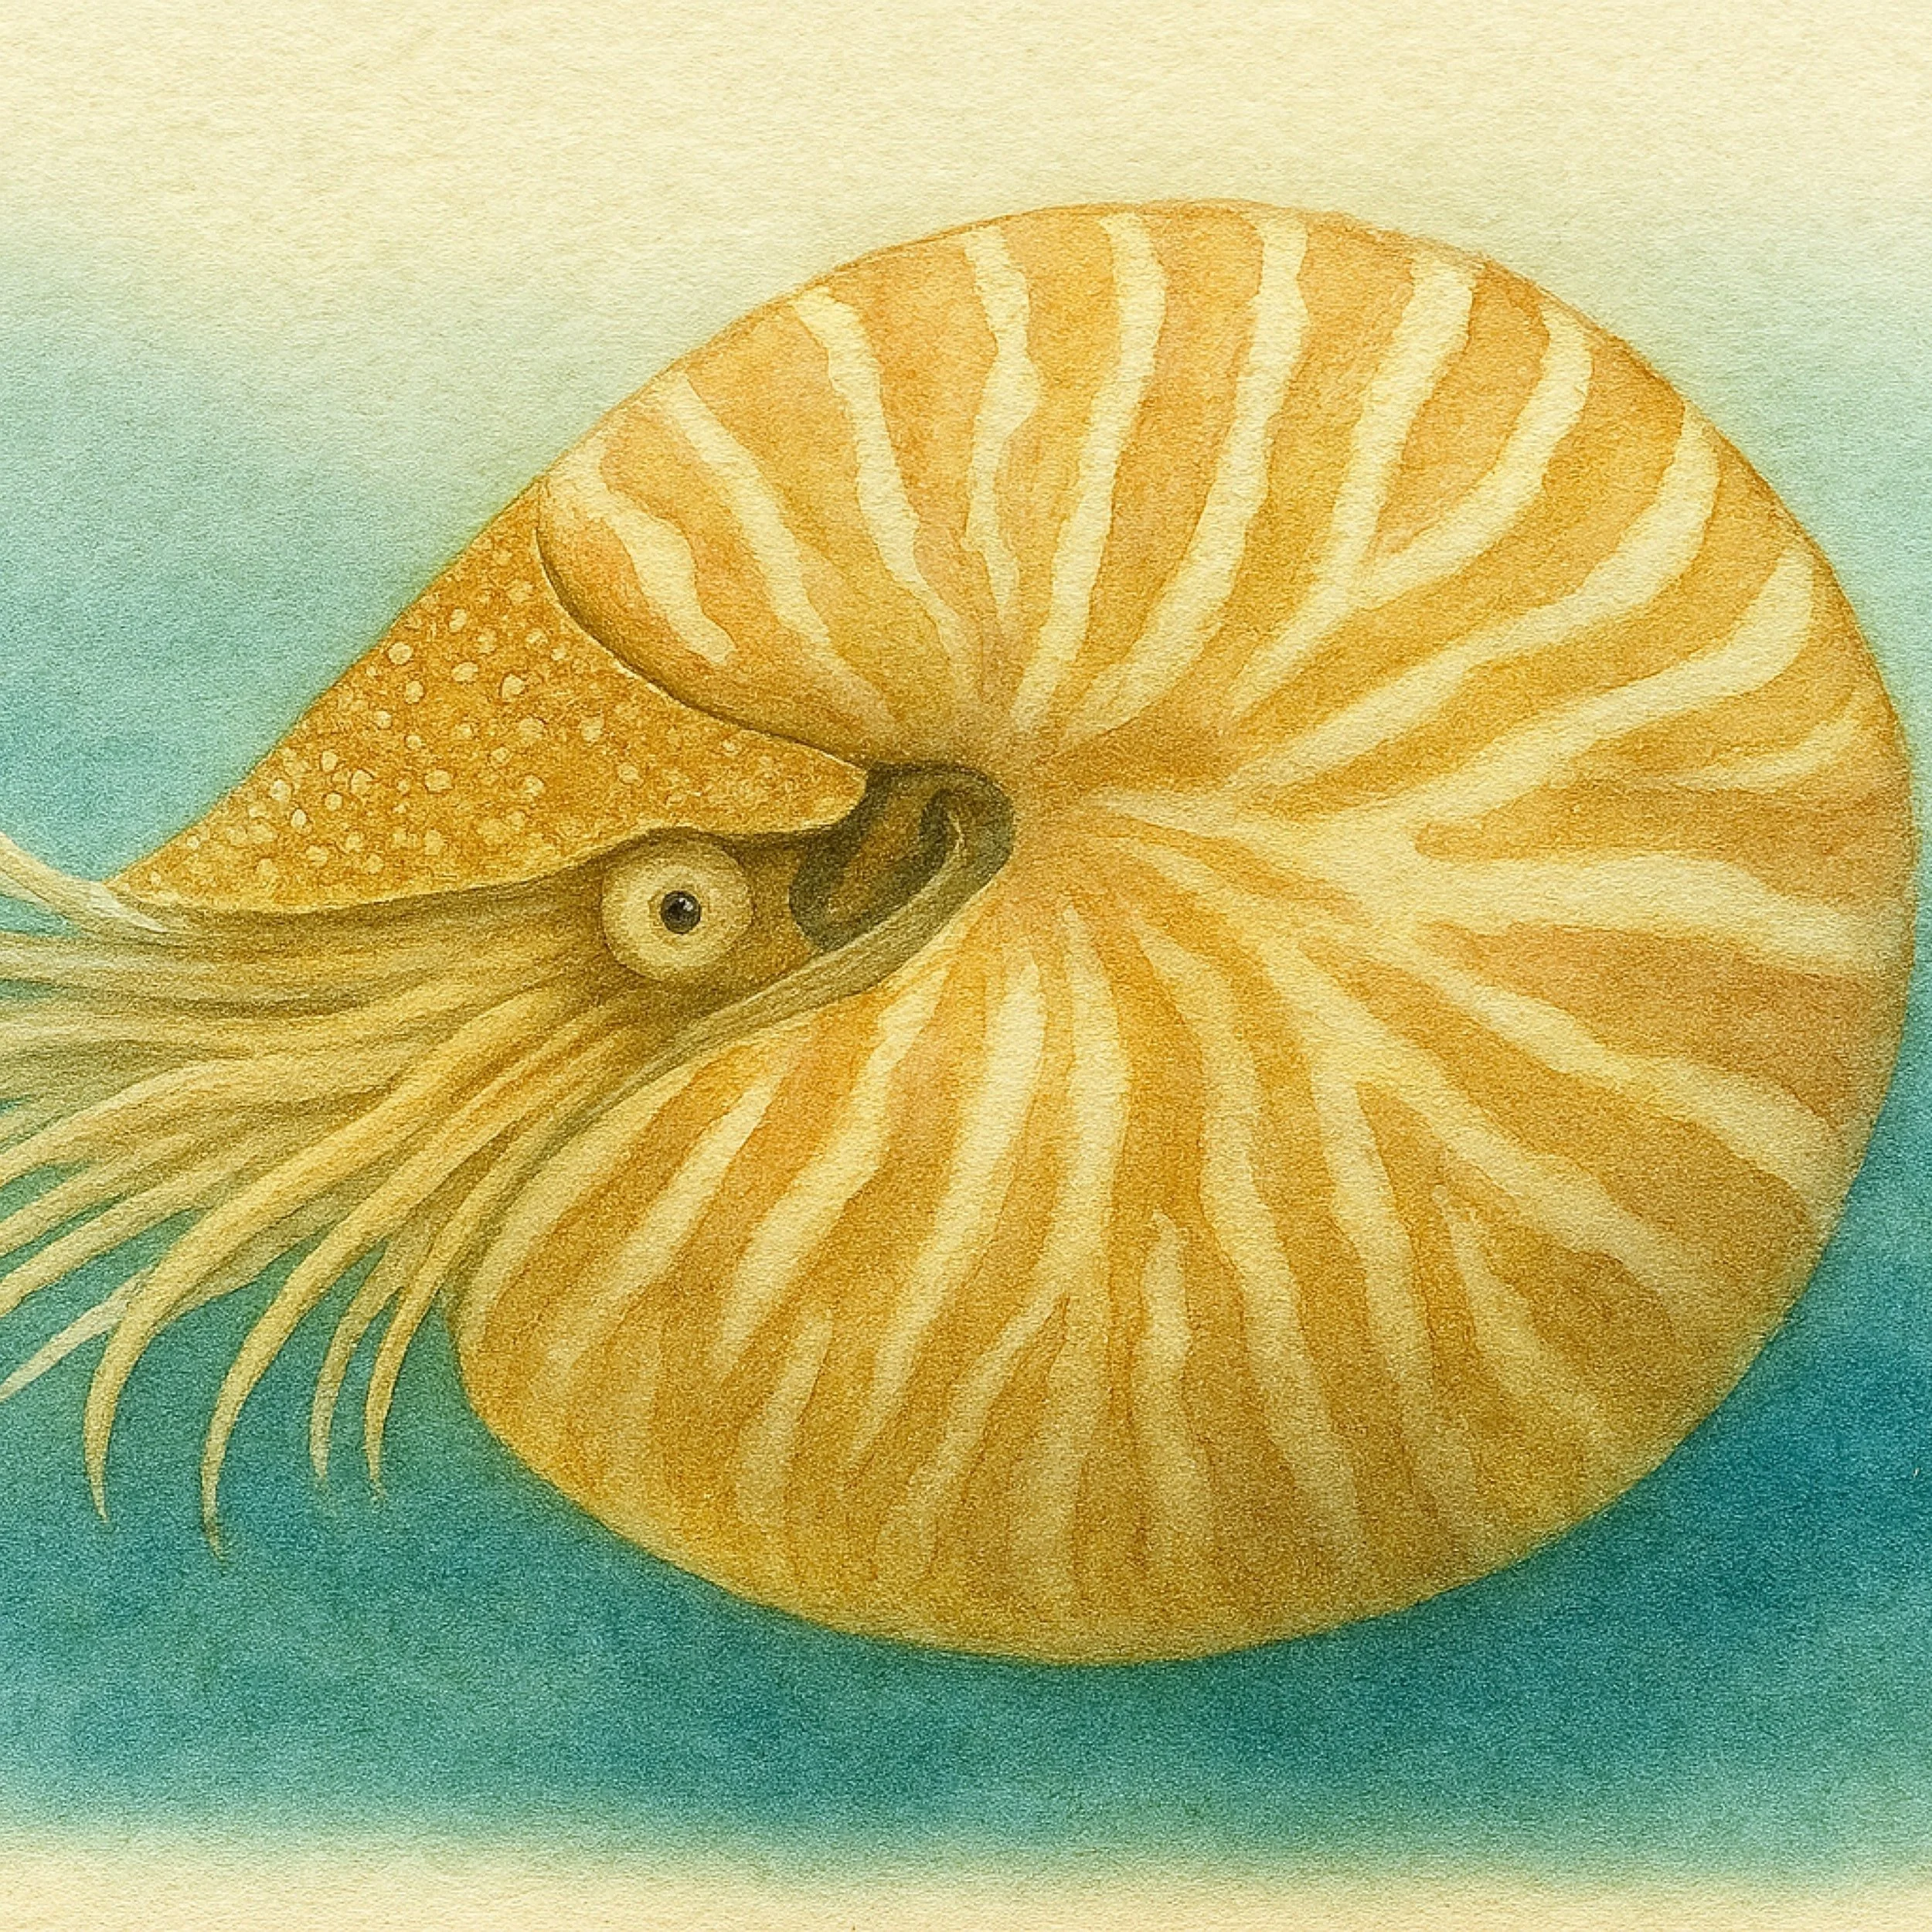
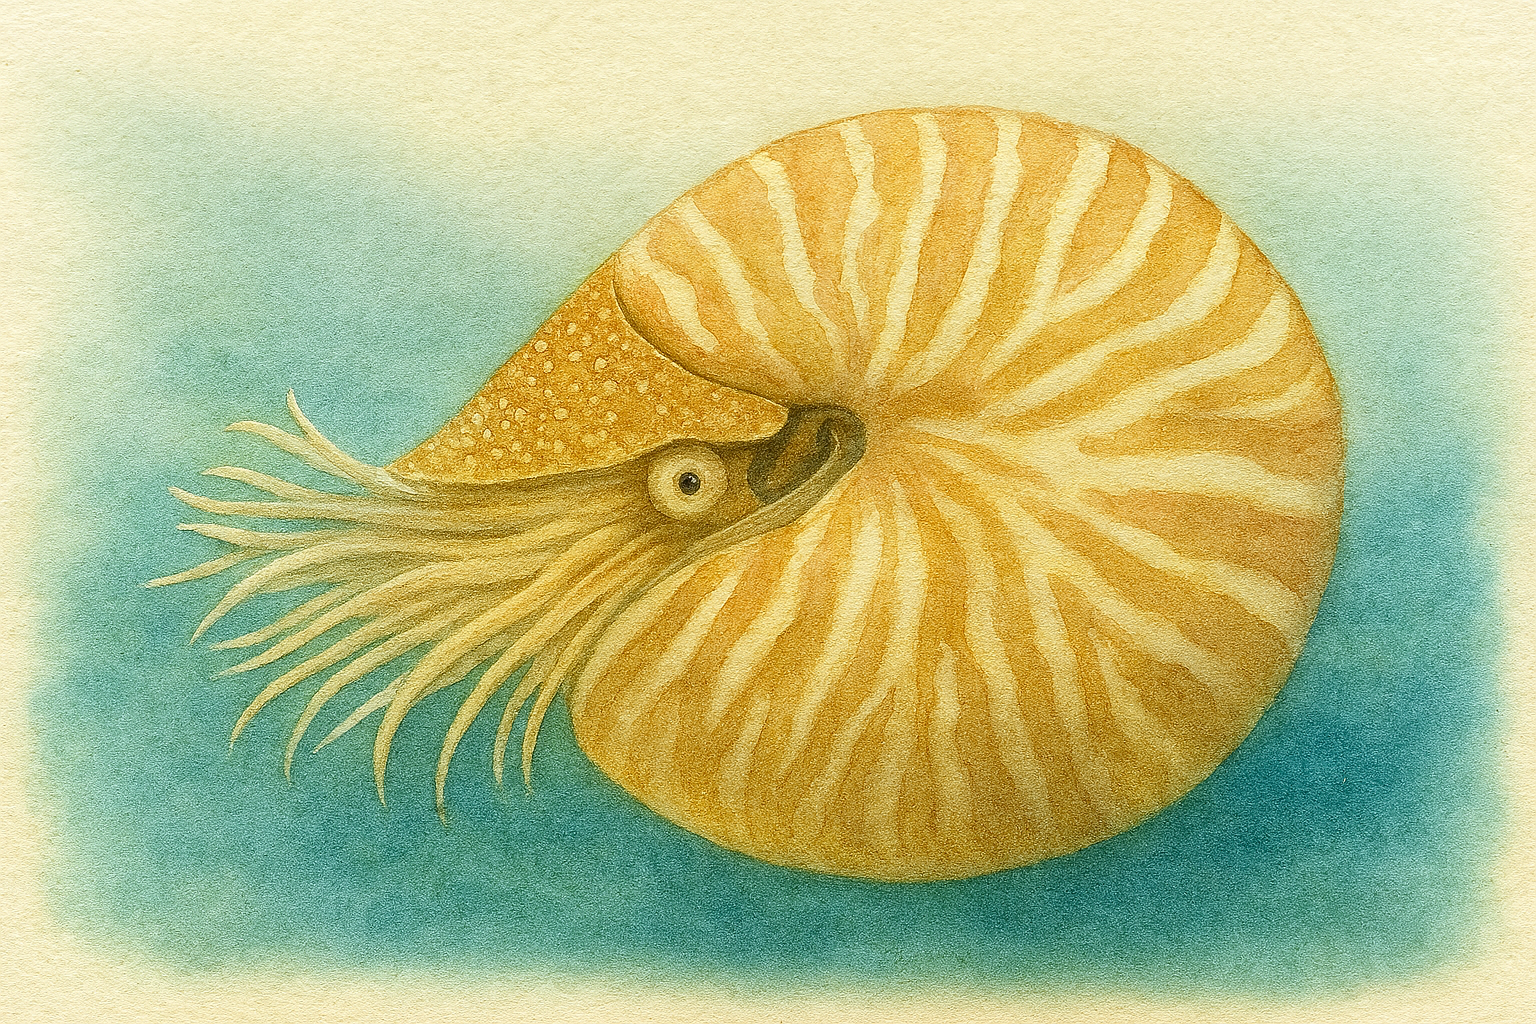
Nautilus
Watercolor lesson on cephalopod genus.
-

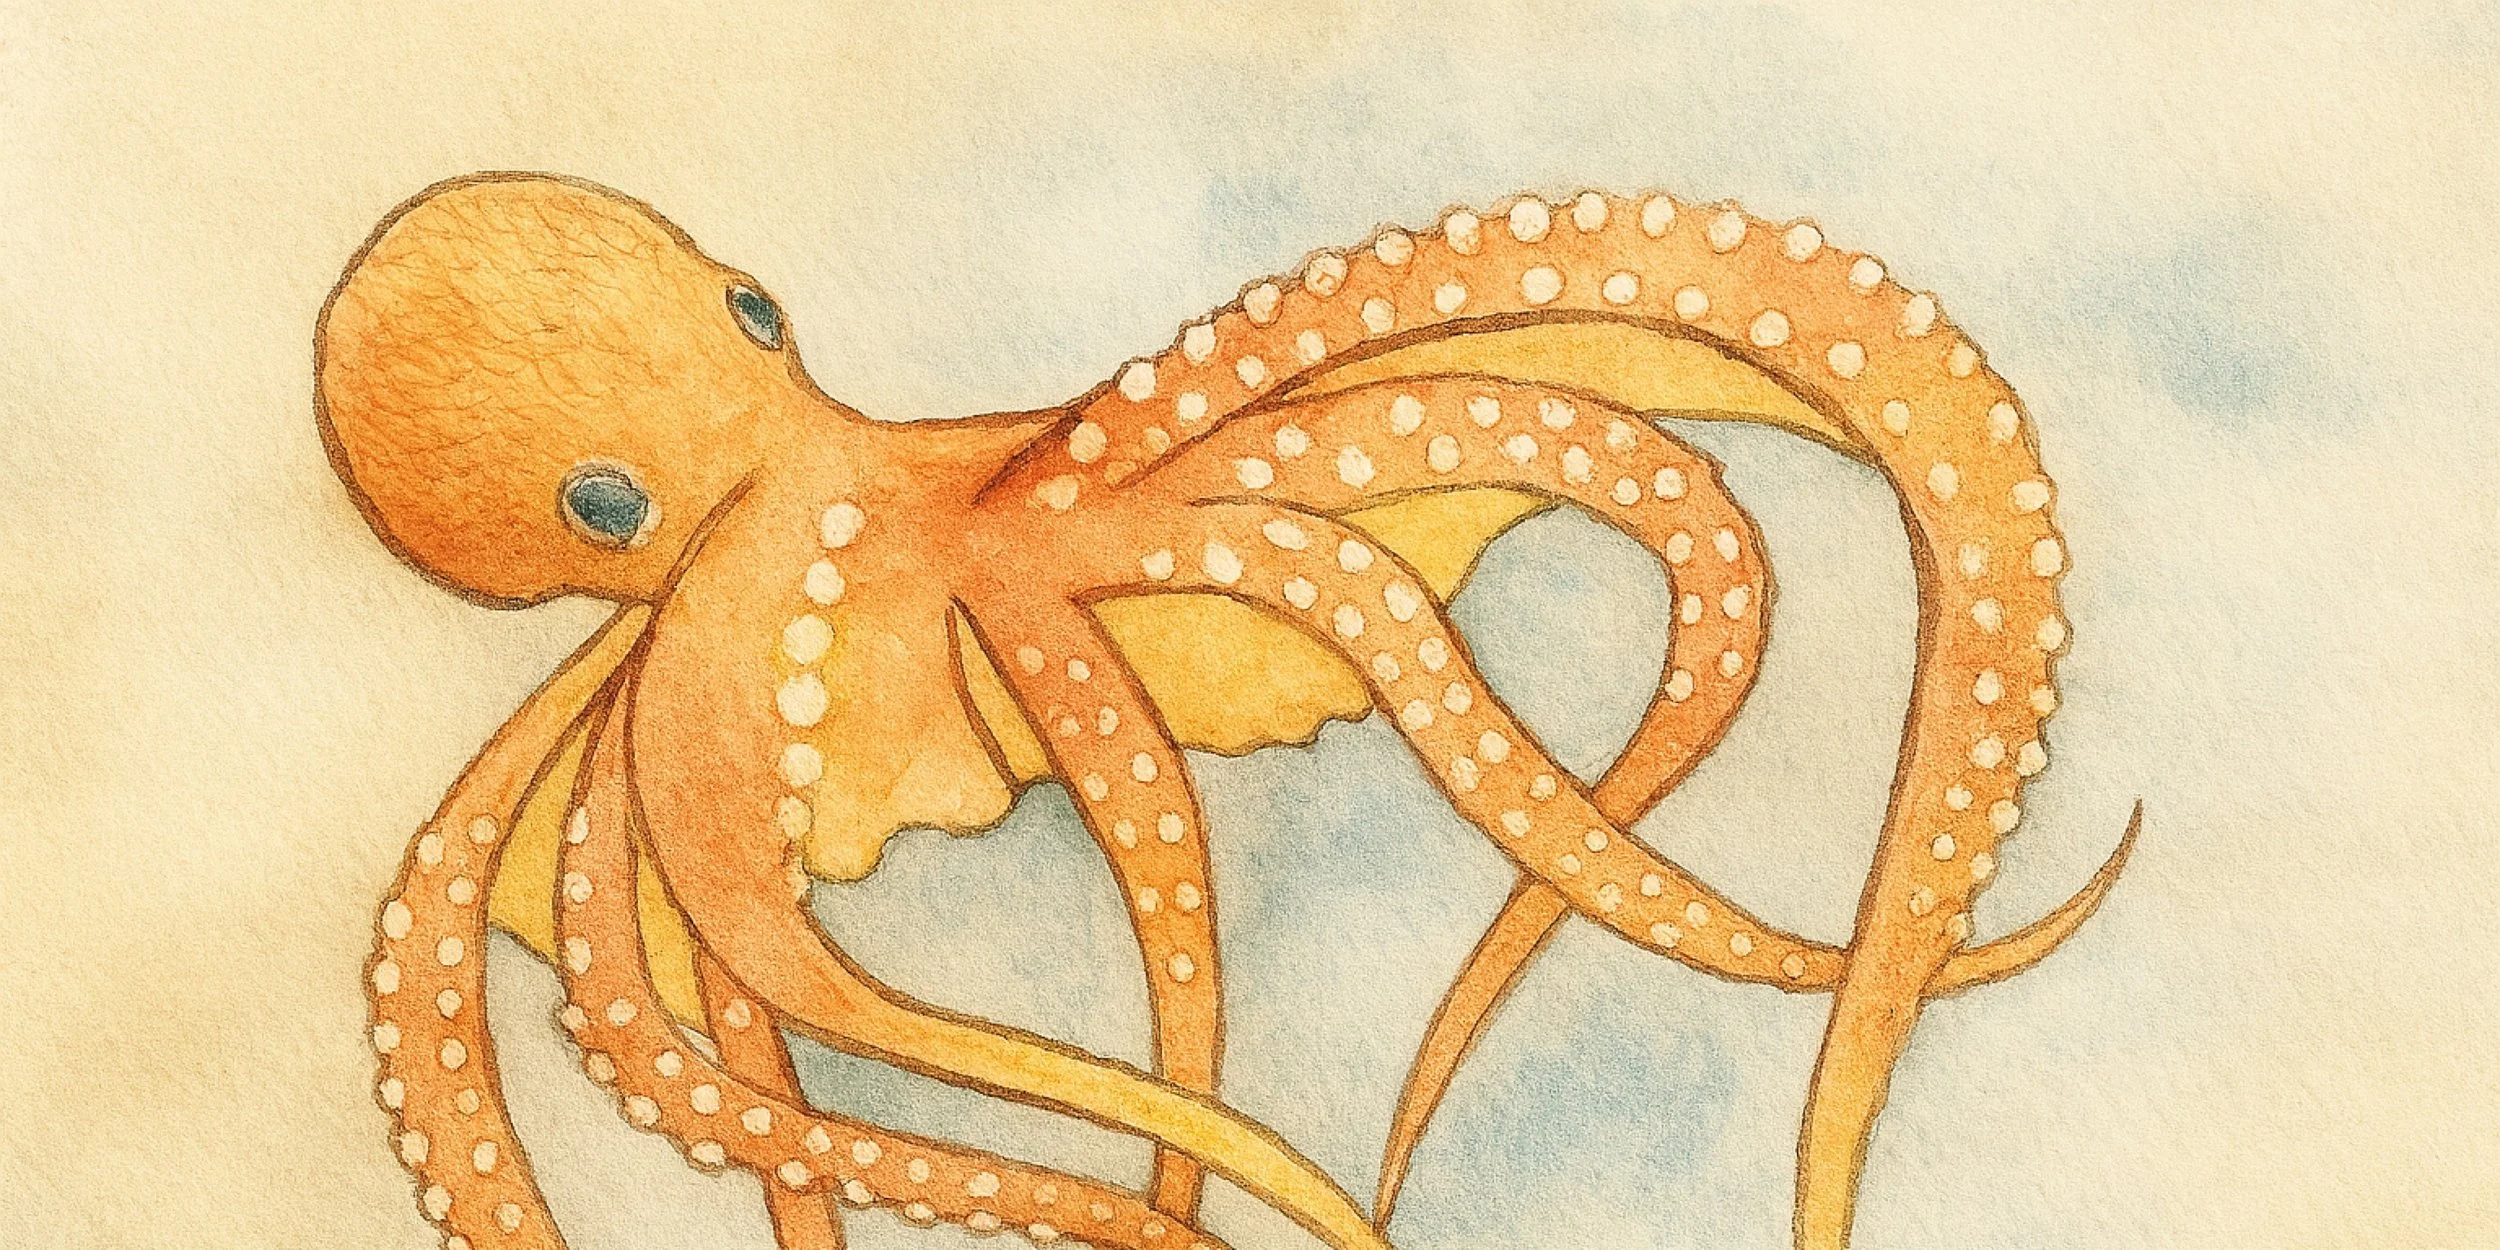
Octopus Lesson
Watercolor illustration
-

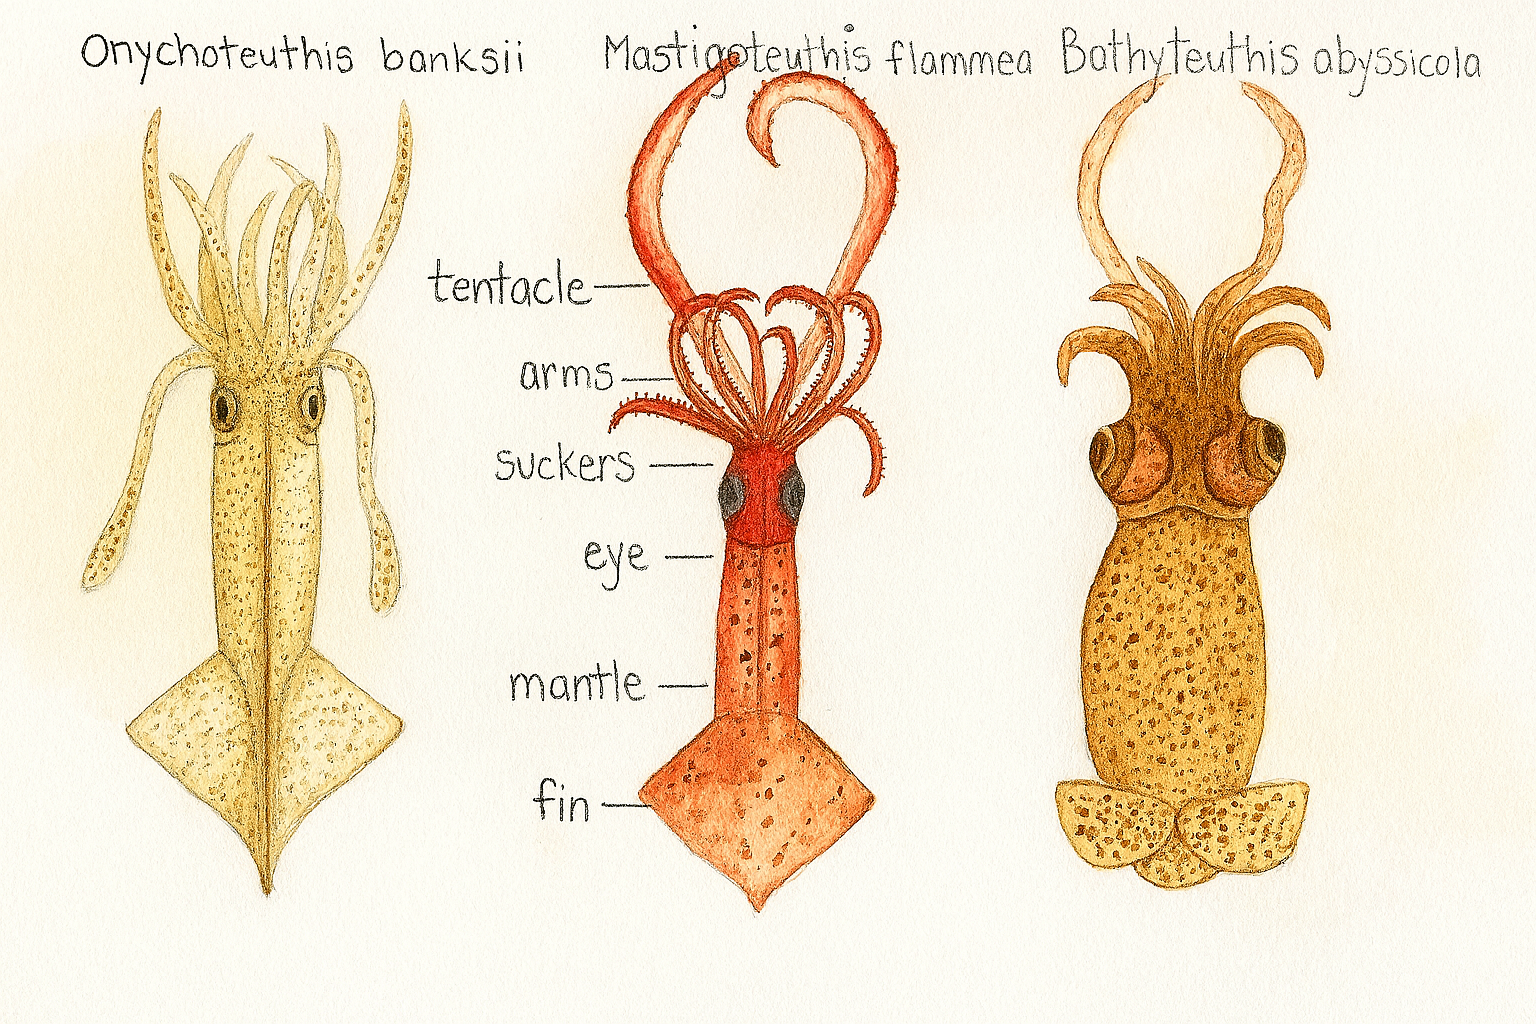
Squid Lesson
Squid Watercolors
Projects & Activities
-
![]()
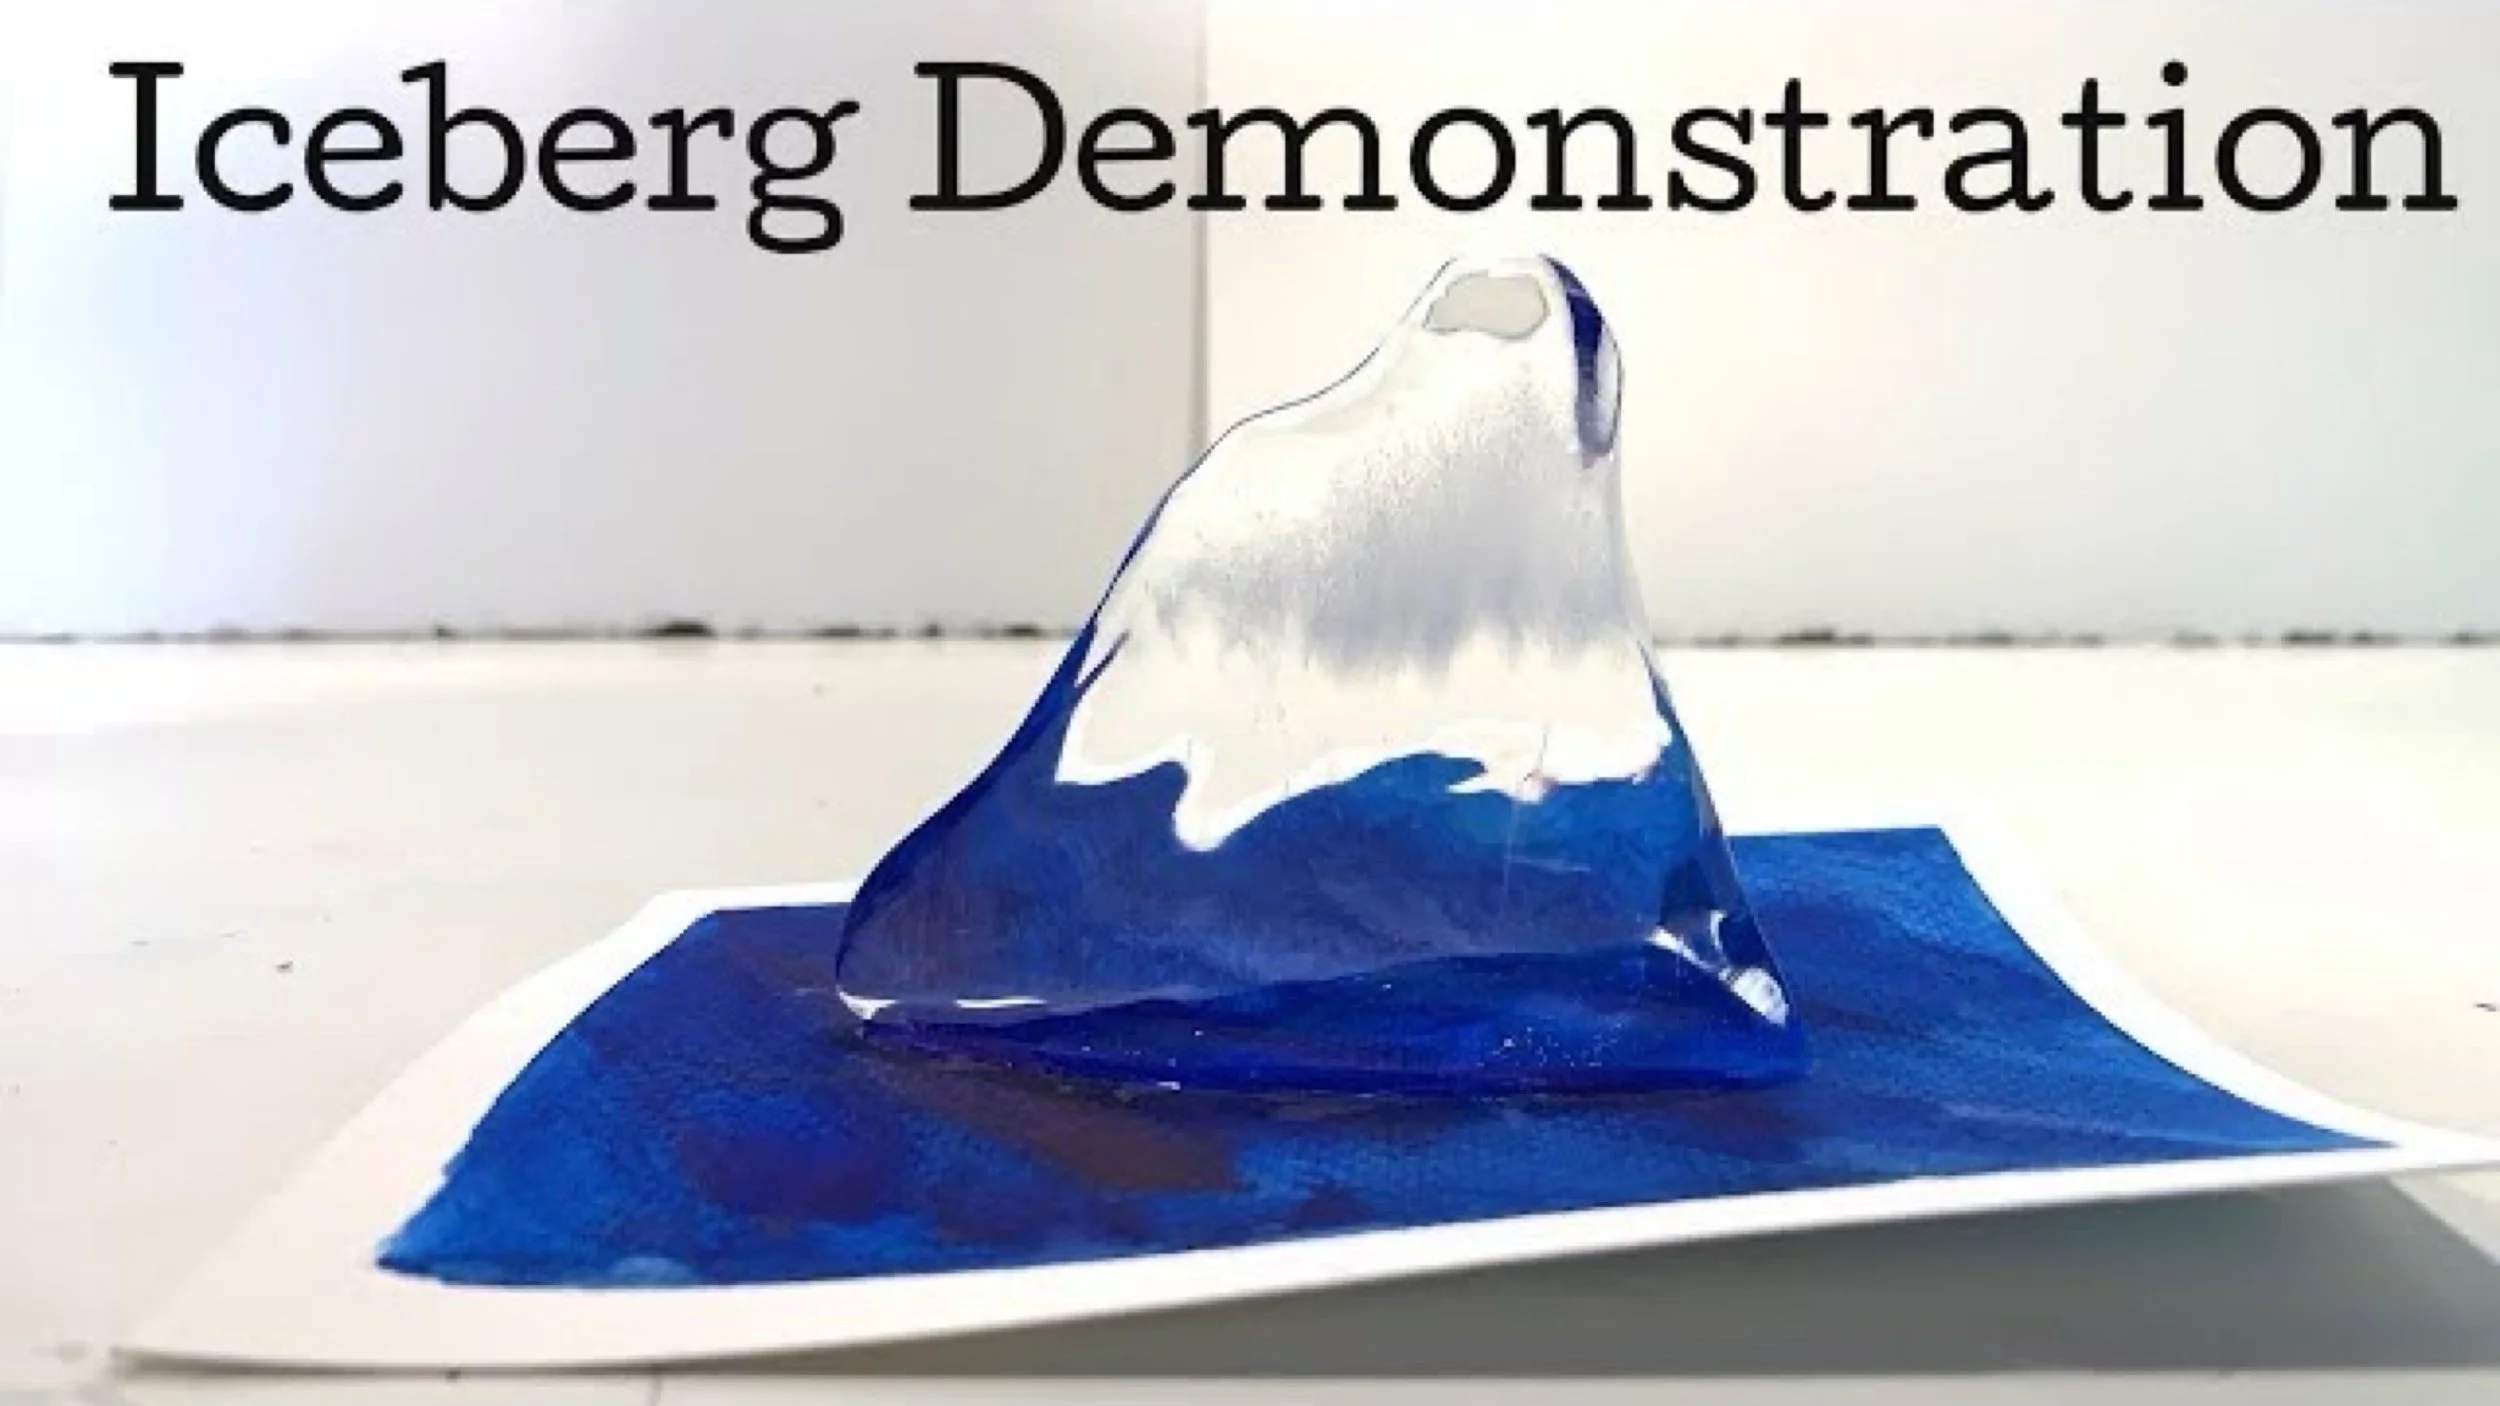
What An Iceberg Looks Like Under Water | Demonstration
For this unit, we chose the super easy iceberg demonstration. Not only was it very easy to do, it was also extremely educational. You can very clearly see how 90% of an iceberg is underwater, especially when you use a big chunk of ice and a clear glass container for observation. We tried this project twice, once with 'saltwater' dyed blue and once with clear water.
-
![]()
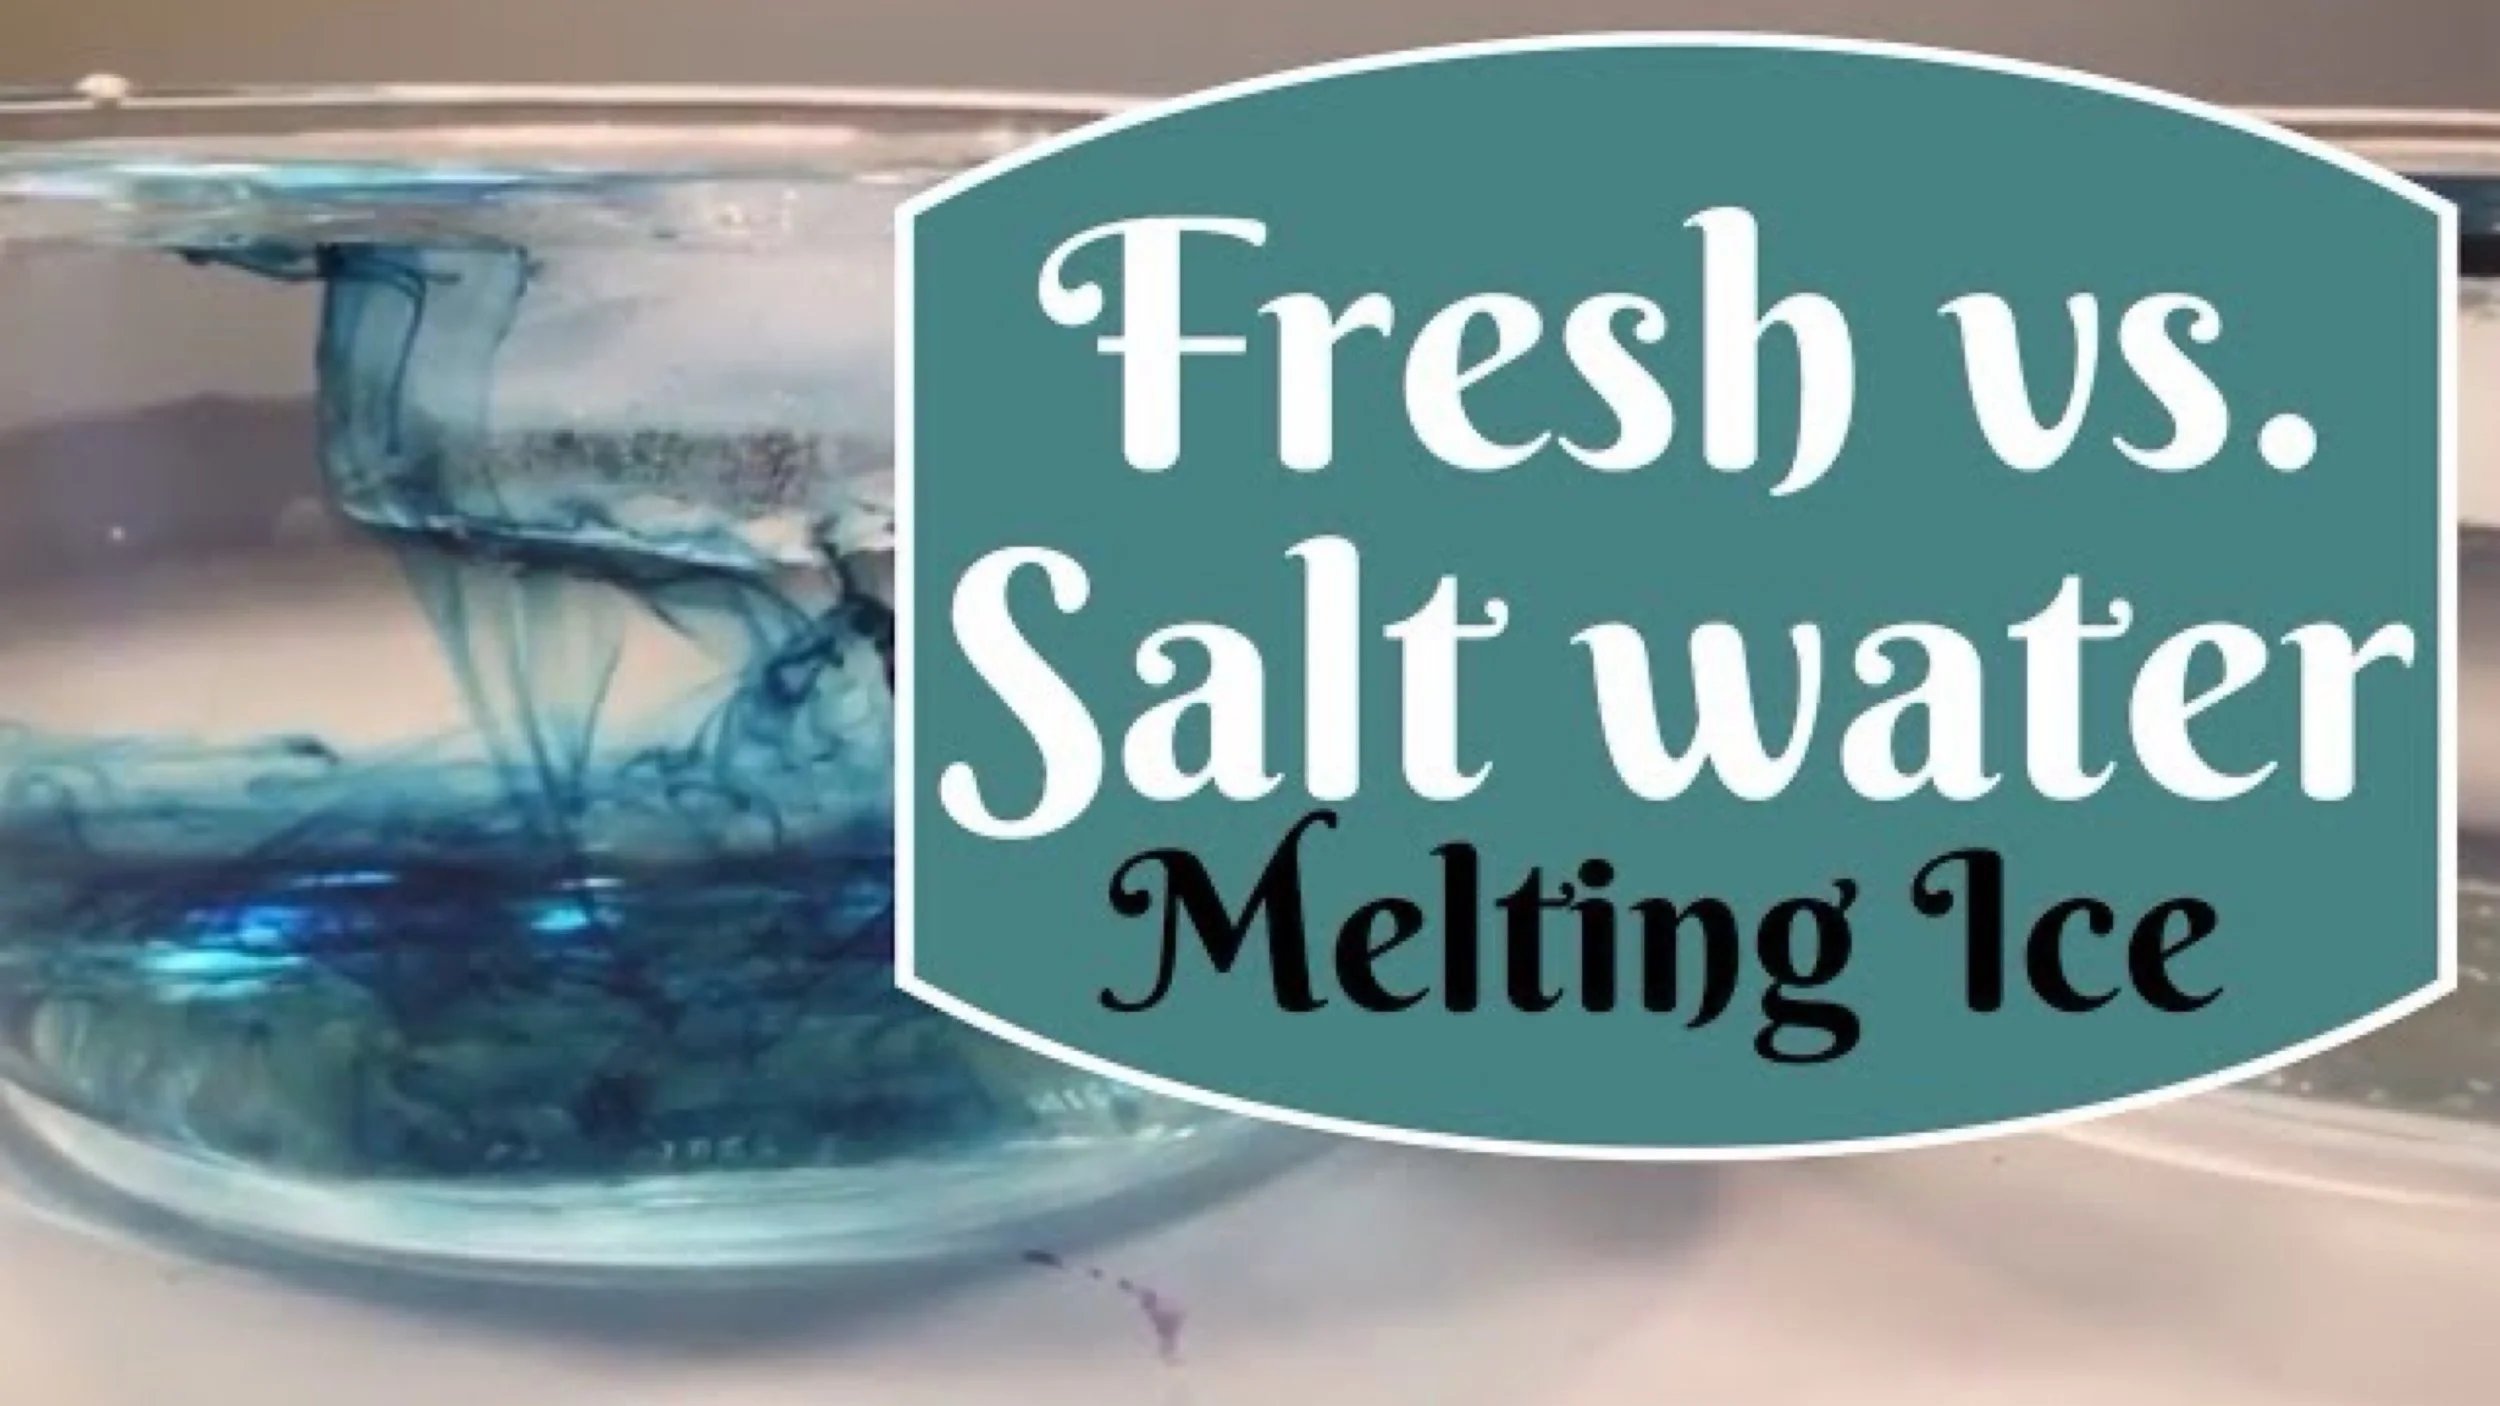
Freshwater VS. Saltwater | What Melts Faster?
What's your guess? Will ice melt faster in freshwater or saltwater? With a few drops of food coloring, you can really see the process and it's awesome! I like demonstrations like this because they are educational, profound, lasting and best of all, super affordable. With things you already have around the house, you can do this demonstration for any science unit.
-
![]()
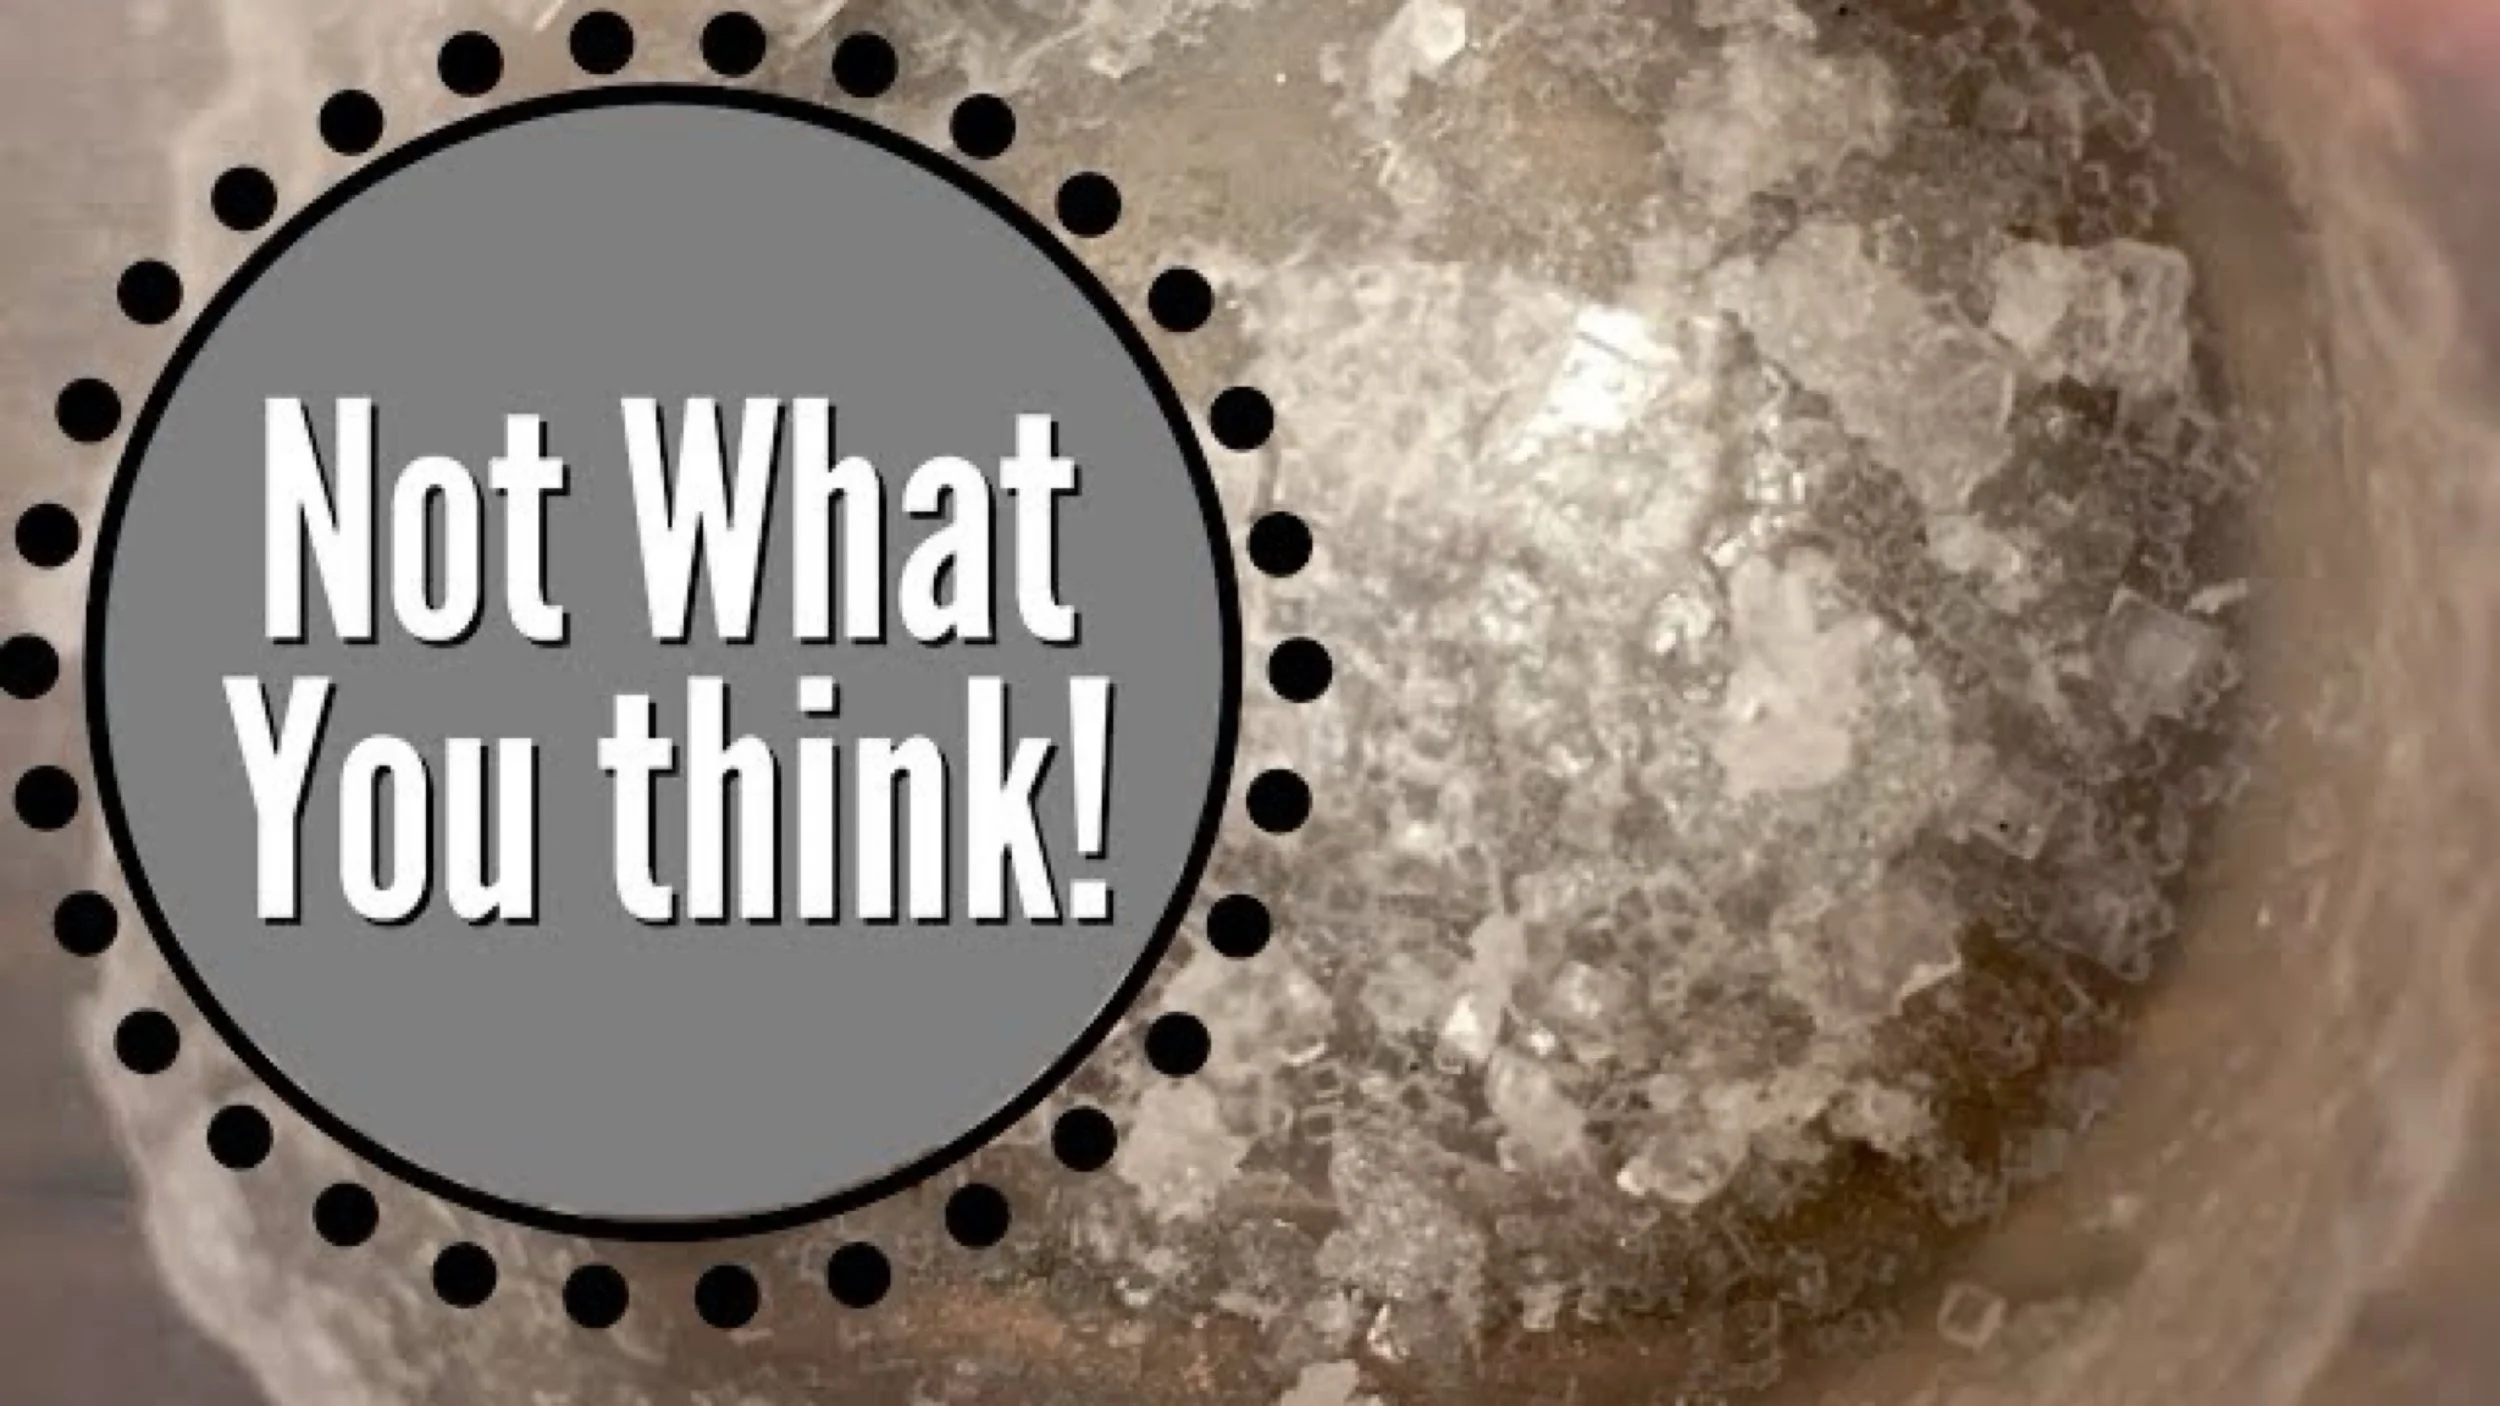
What Does Evaporated Seawater Look Like?
It isn't what you'd expect. Yes, evaporated seawater still forms cube-like structures, but it's what else we found in our seawater that surprised us.
-
![]()
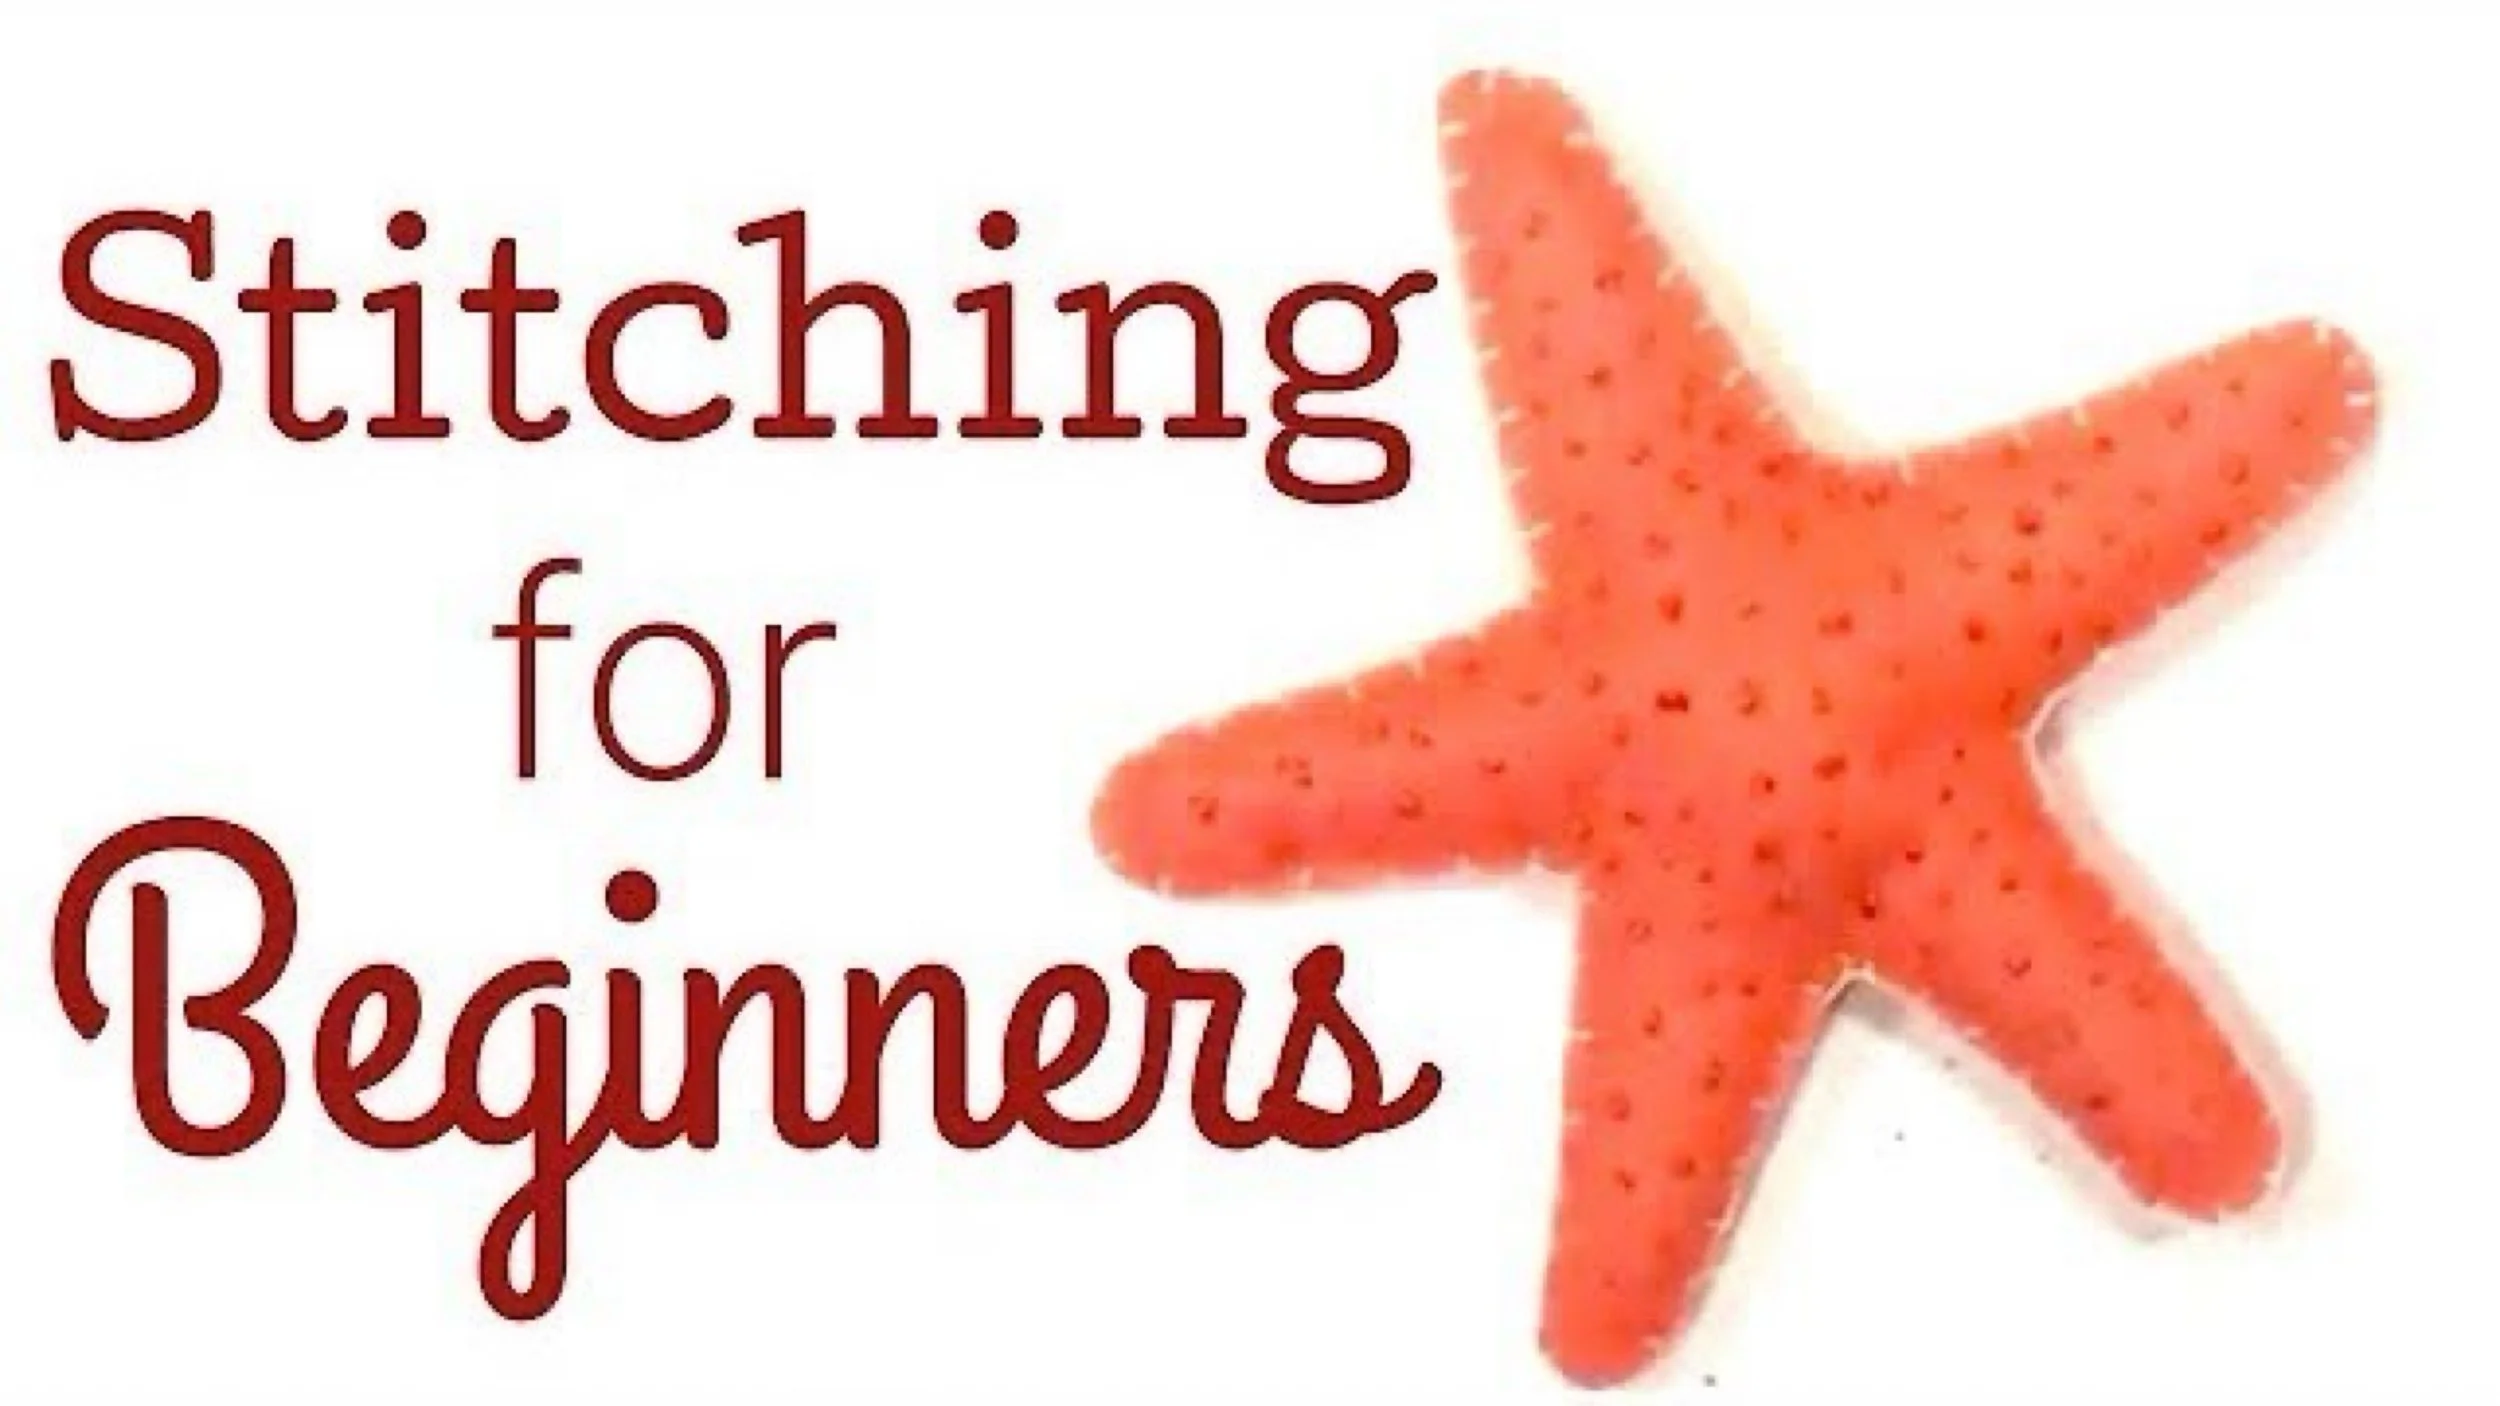
Stitching for Beginners | Sea Star Pattern
This is a very easy beginner's stitching project. You can free hand a sea star or download a pattern for this project. I used Holland felt in 100% wool in the color Tea Rose. Cut two sea star shapes. Line them up so they are the same.
-
![]()
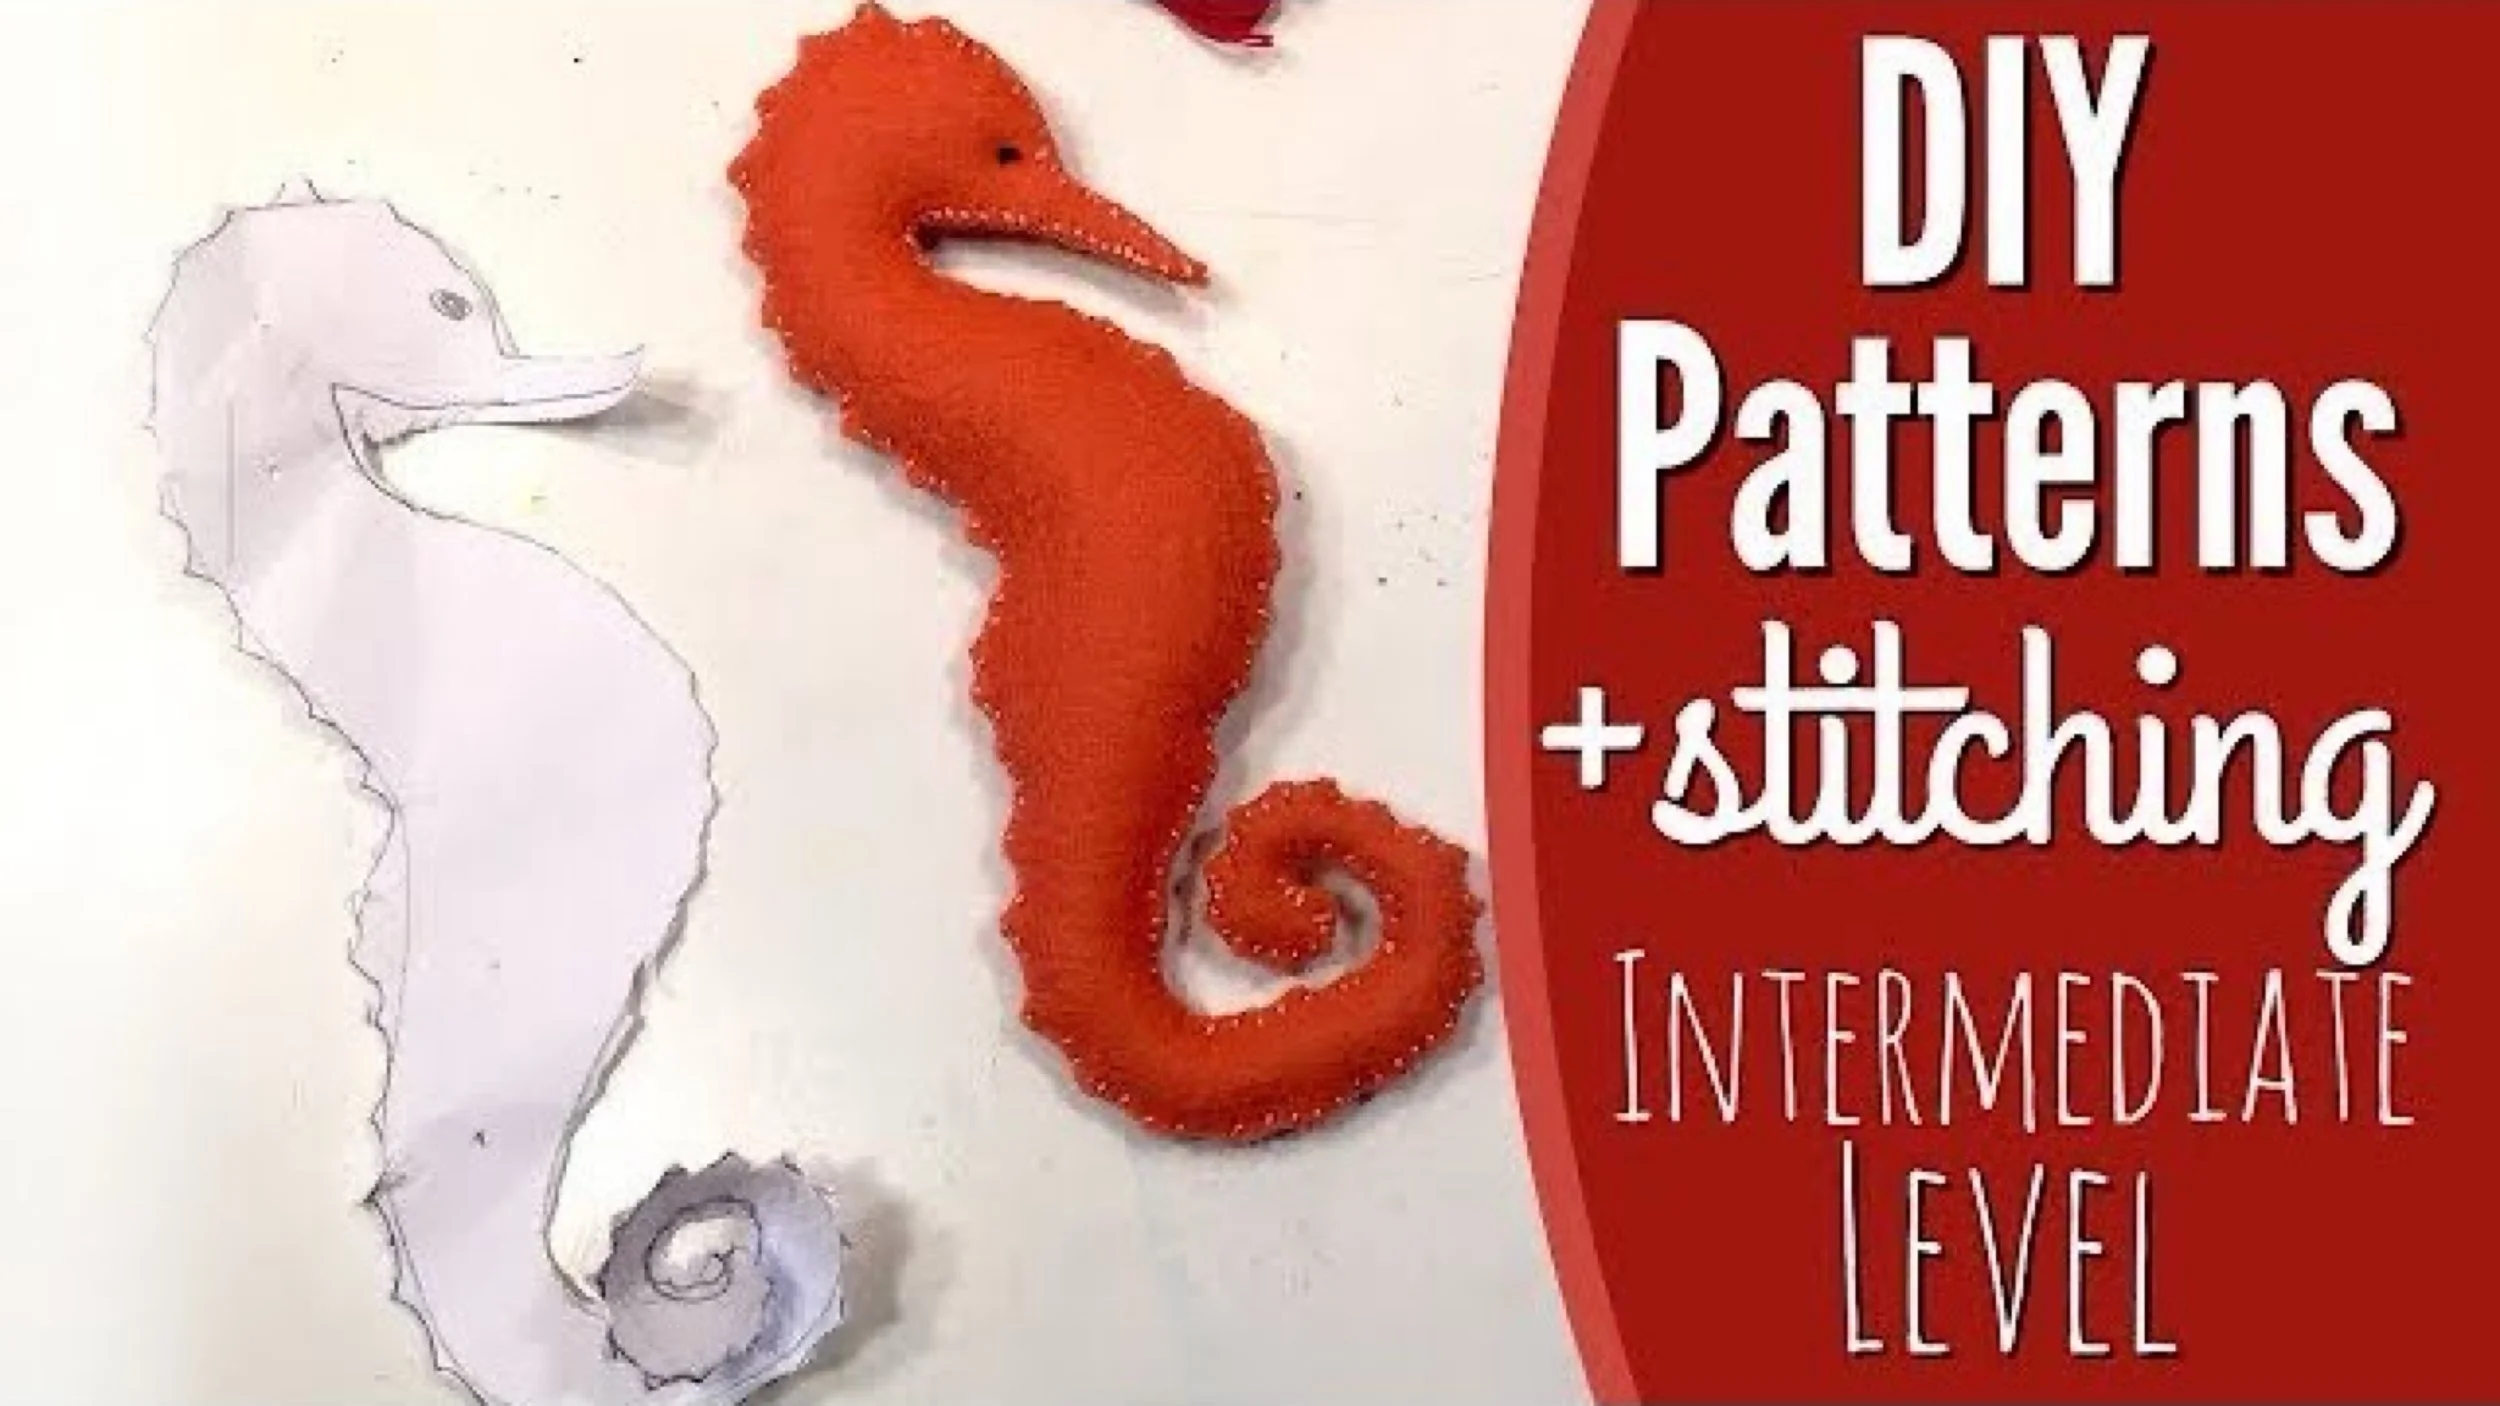
How to Make a Stitched Seahorse | How to Make Your Own Pattern
Try your hand at pattern making! For simple silhouettes, this project is great for beginners and as an intro to making your own projects. Watch as I work my way through this project while giving you tips.
-
![]()
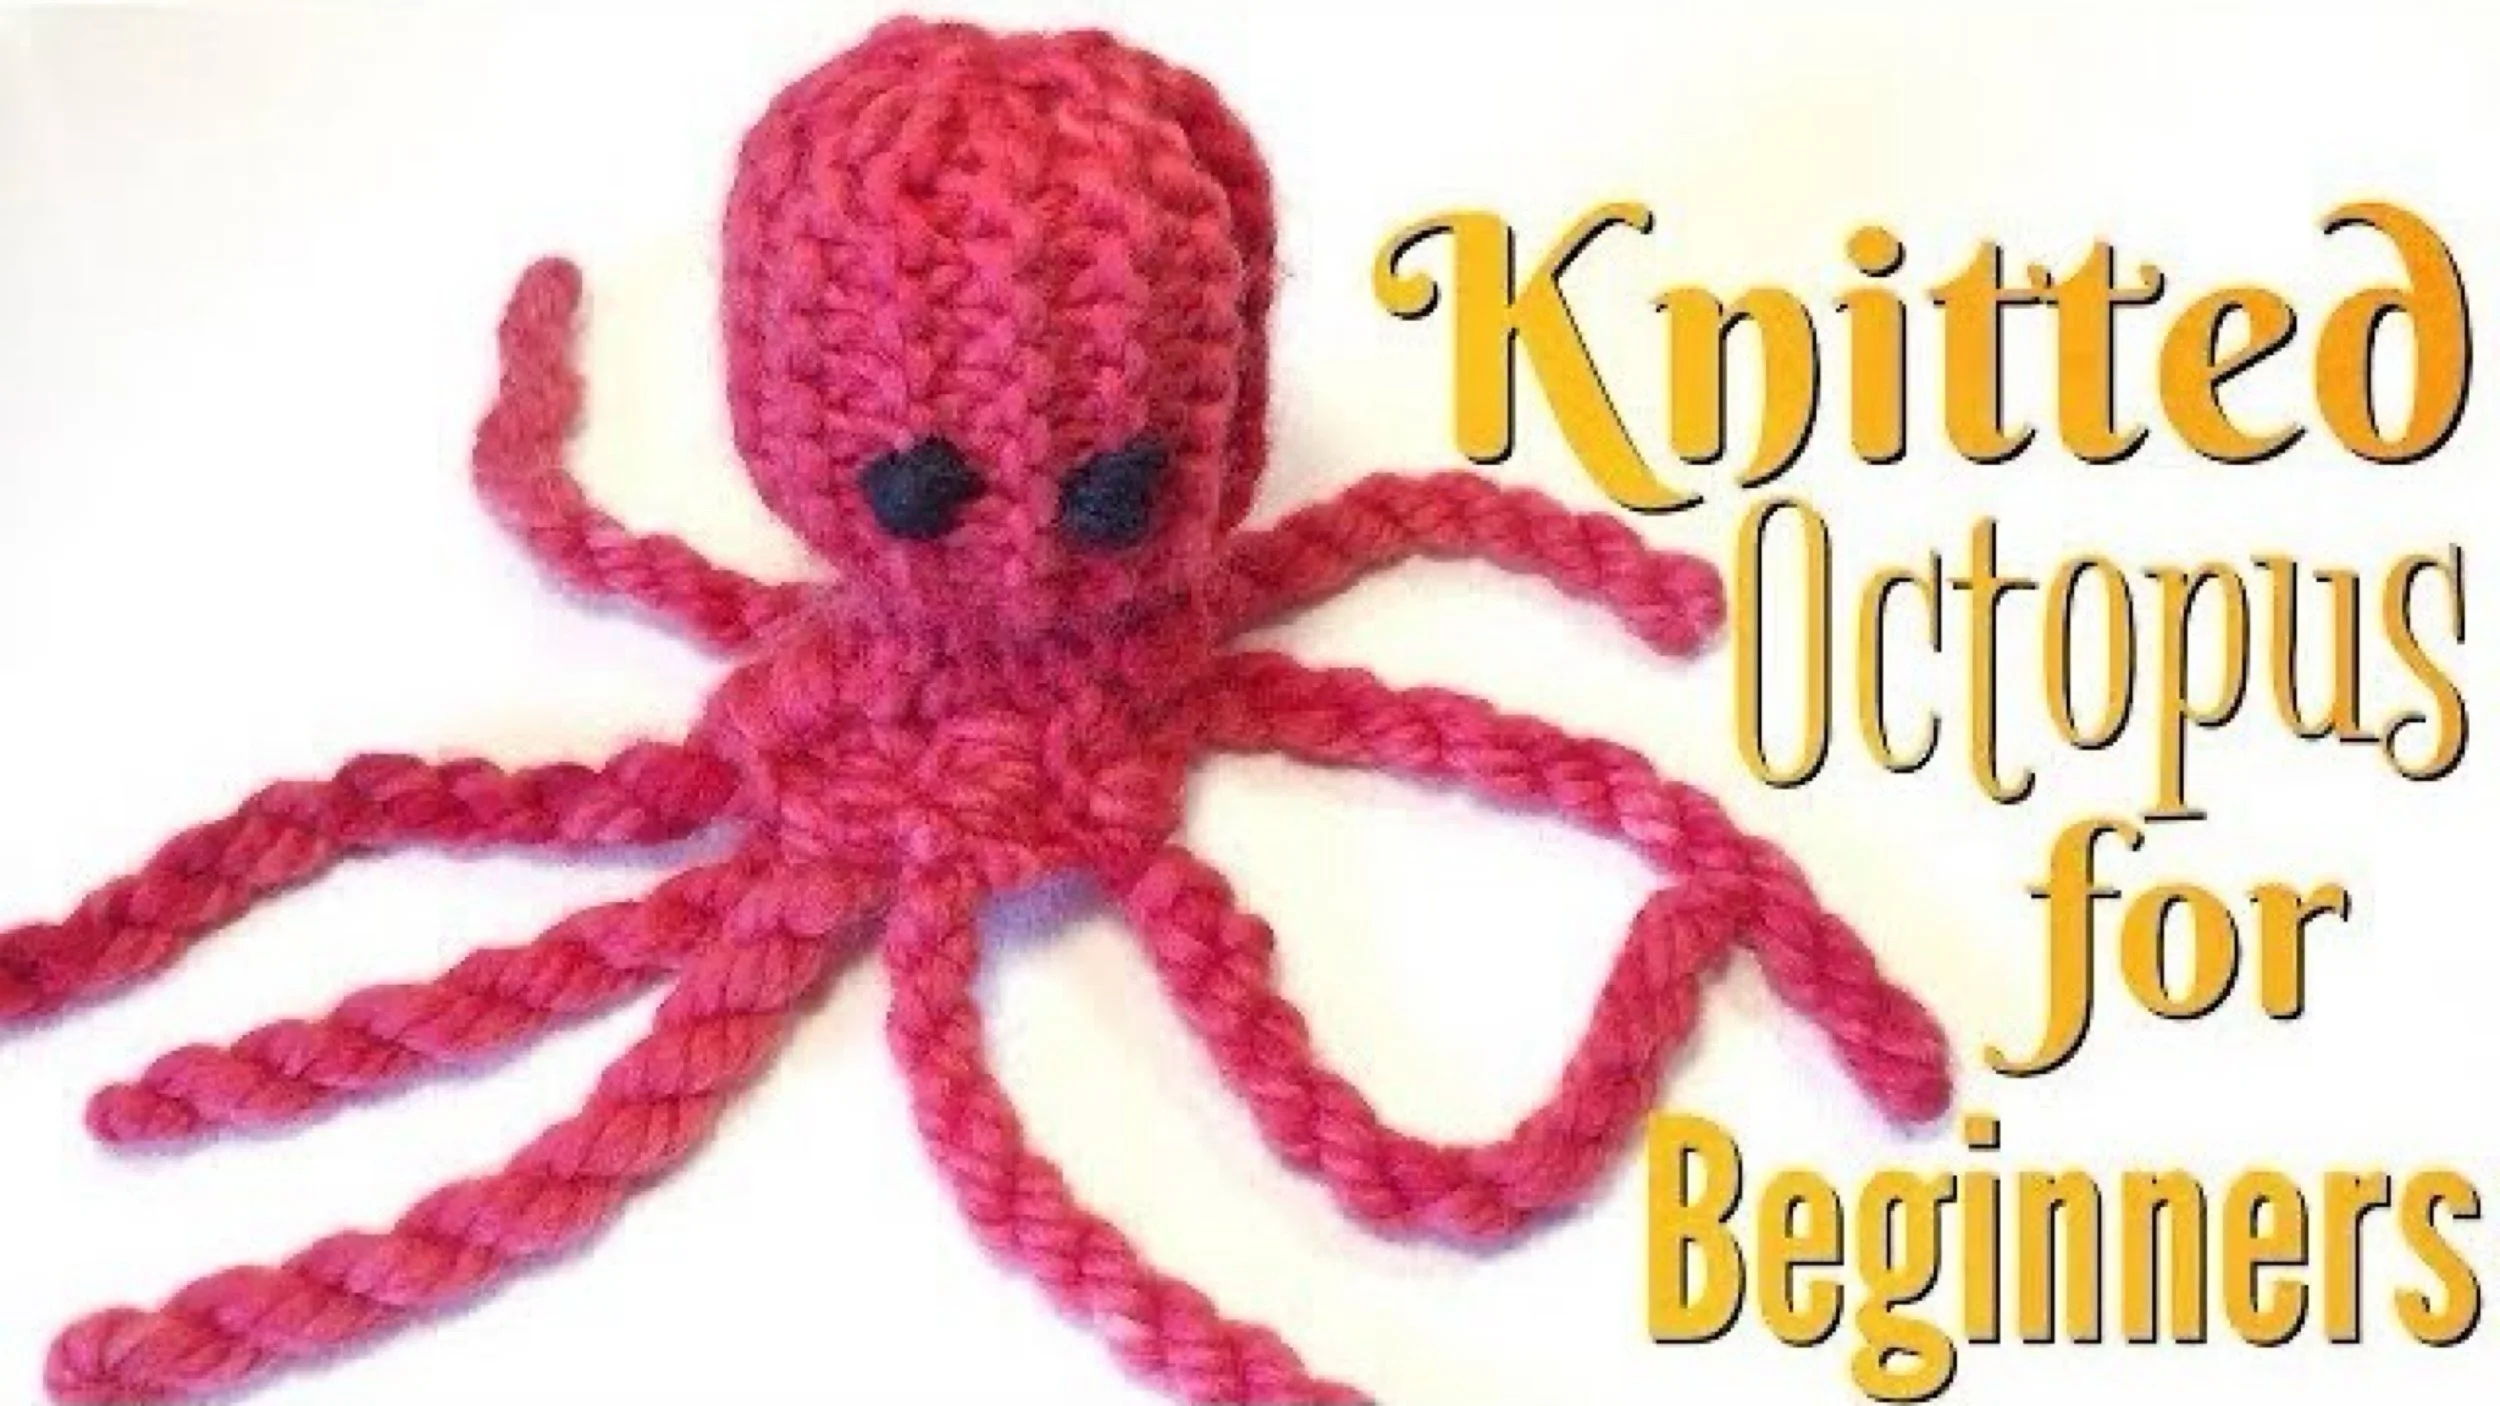
How to Make a Knitted Octopus | Knitting for Beginners
How adorable is this little octopus?! What's great about it, it that it's super easy, easy enough for a brand new knitter. In fact, if you don't know how knit, I walk you through the basics, from one novice knitter to another ;)
-
![]()
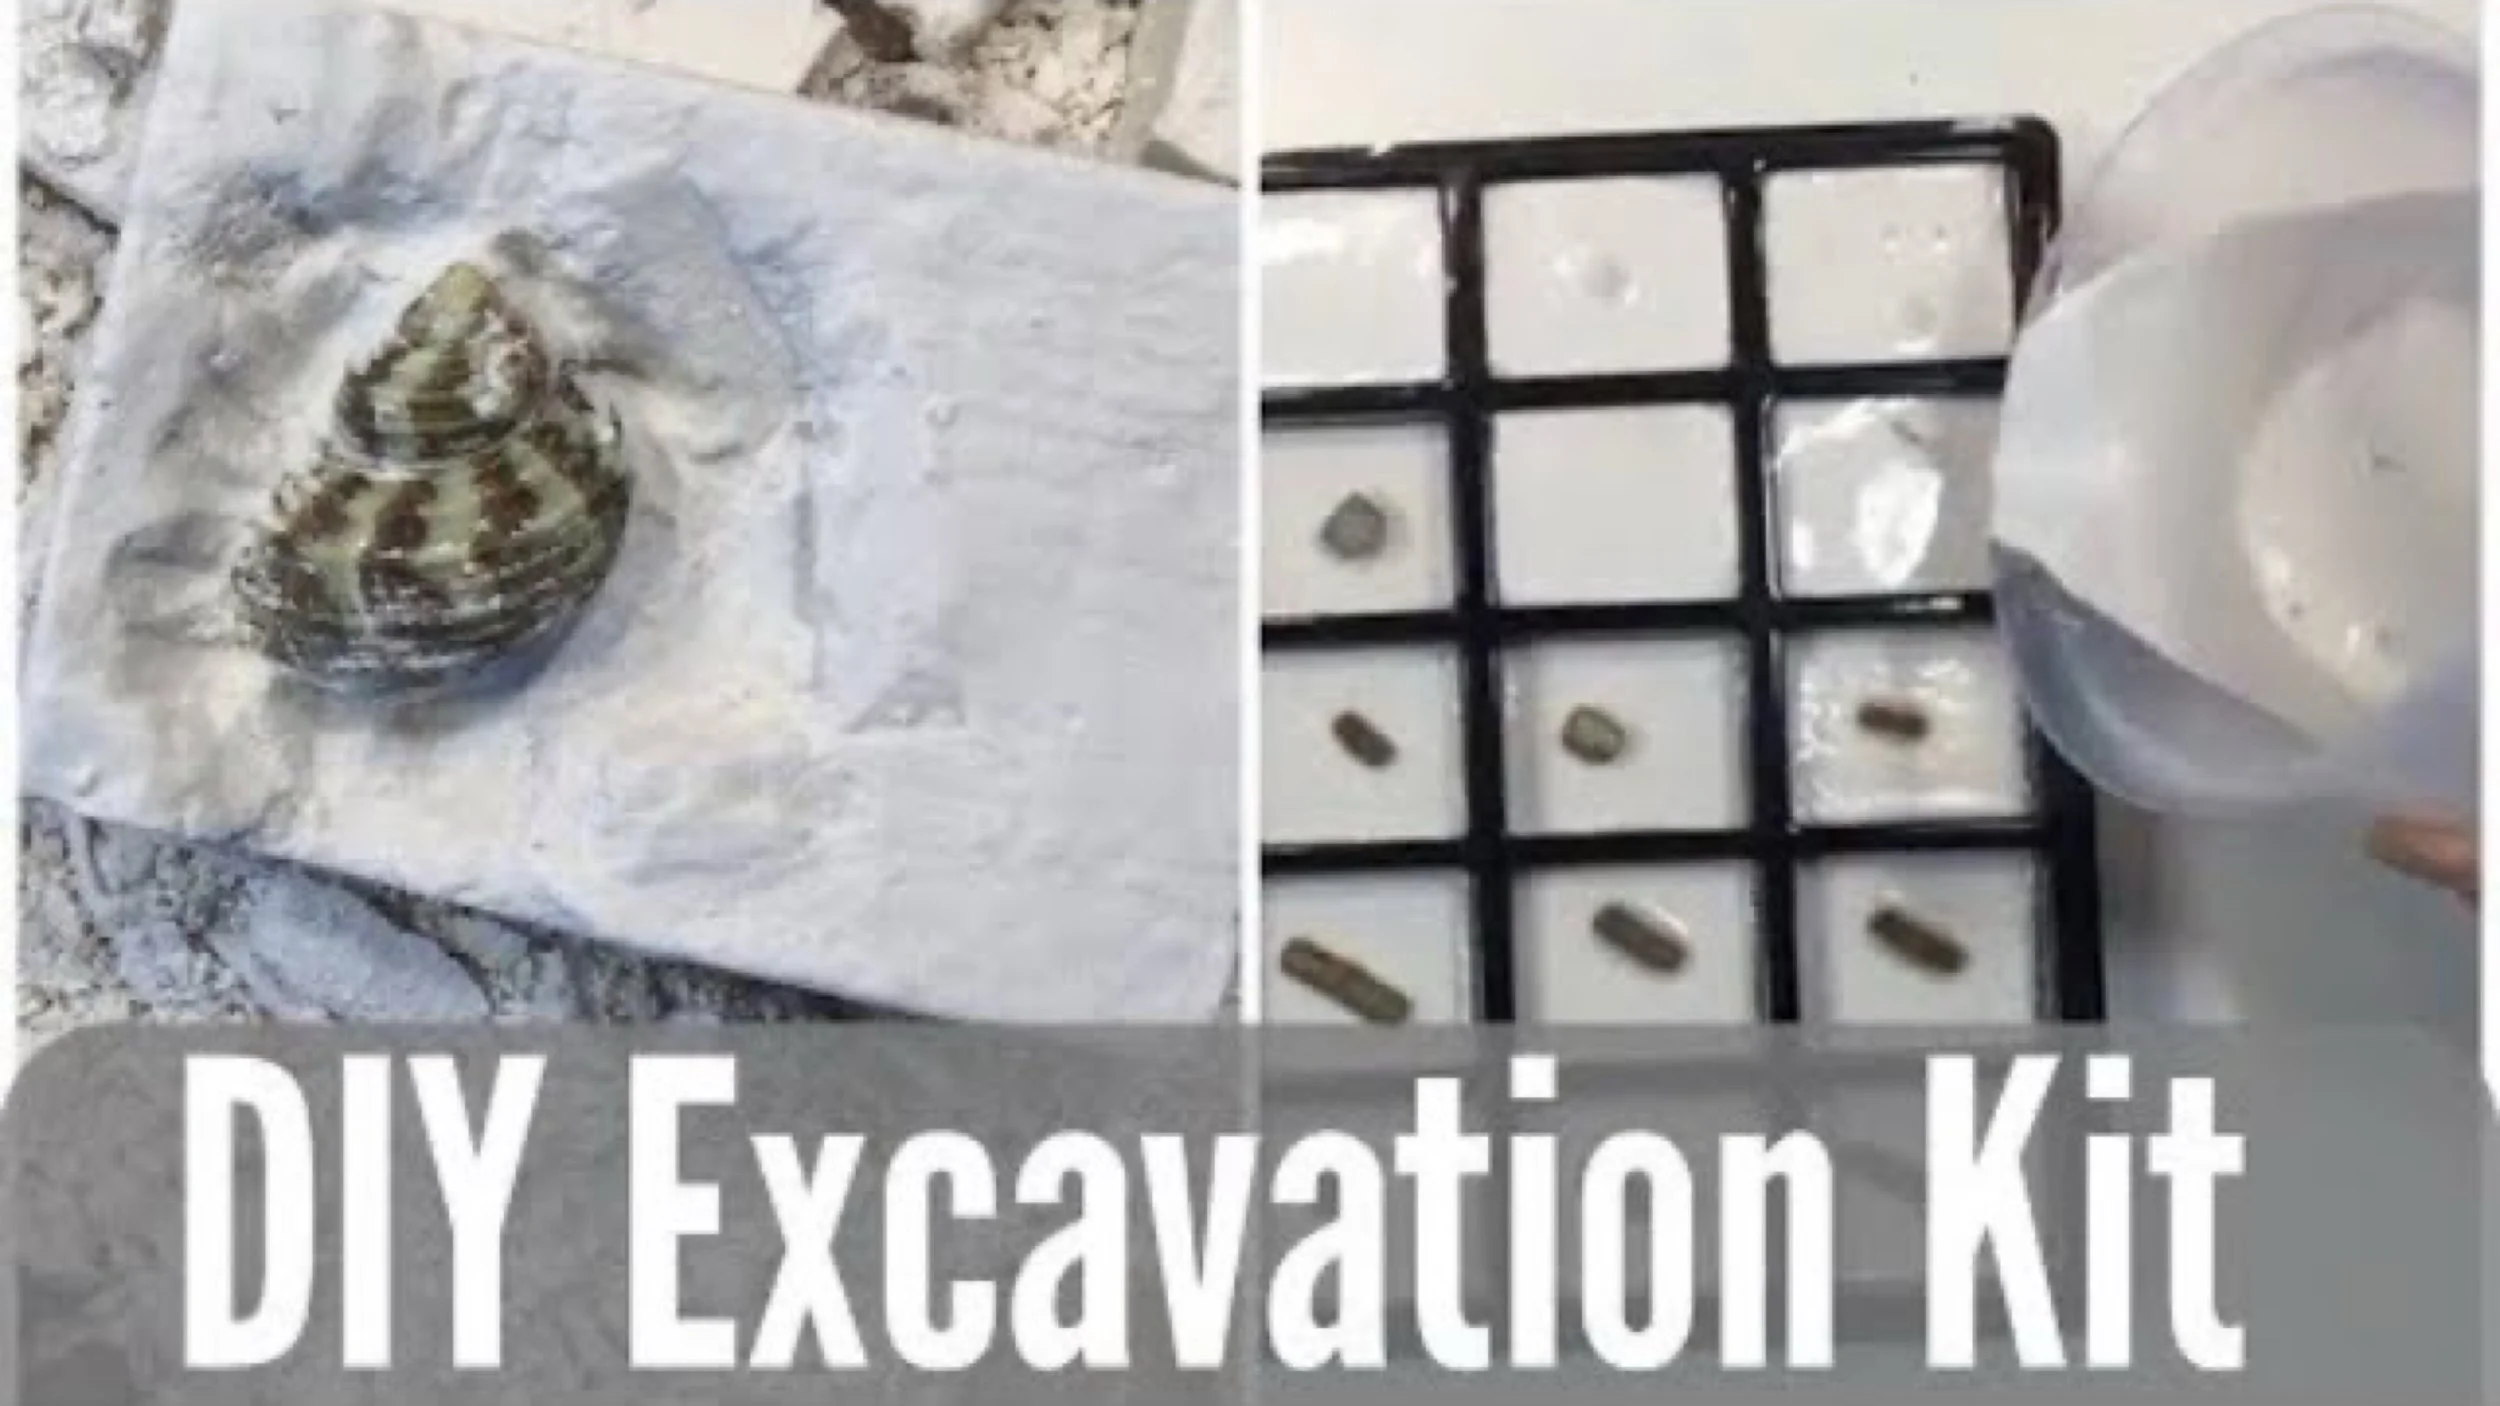
DIY Archaeology Kit | How to Make an Excavation Block
DIY excavation kits are super easy! All you need is some Plaster of Paris, a mold and some treasures to hide. We've been using these store bought kits in our homeschool for several years now, and I'm thrilled to be finally making them ourselves.
-
![]()
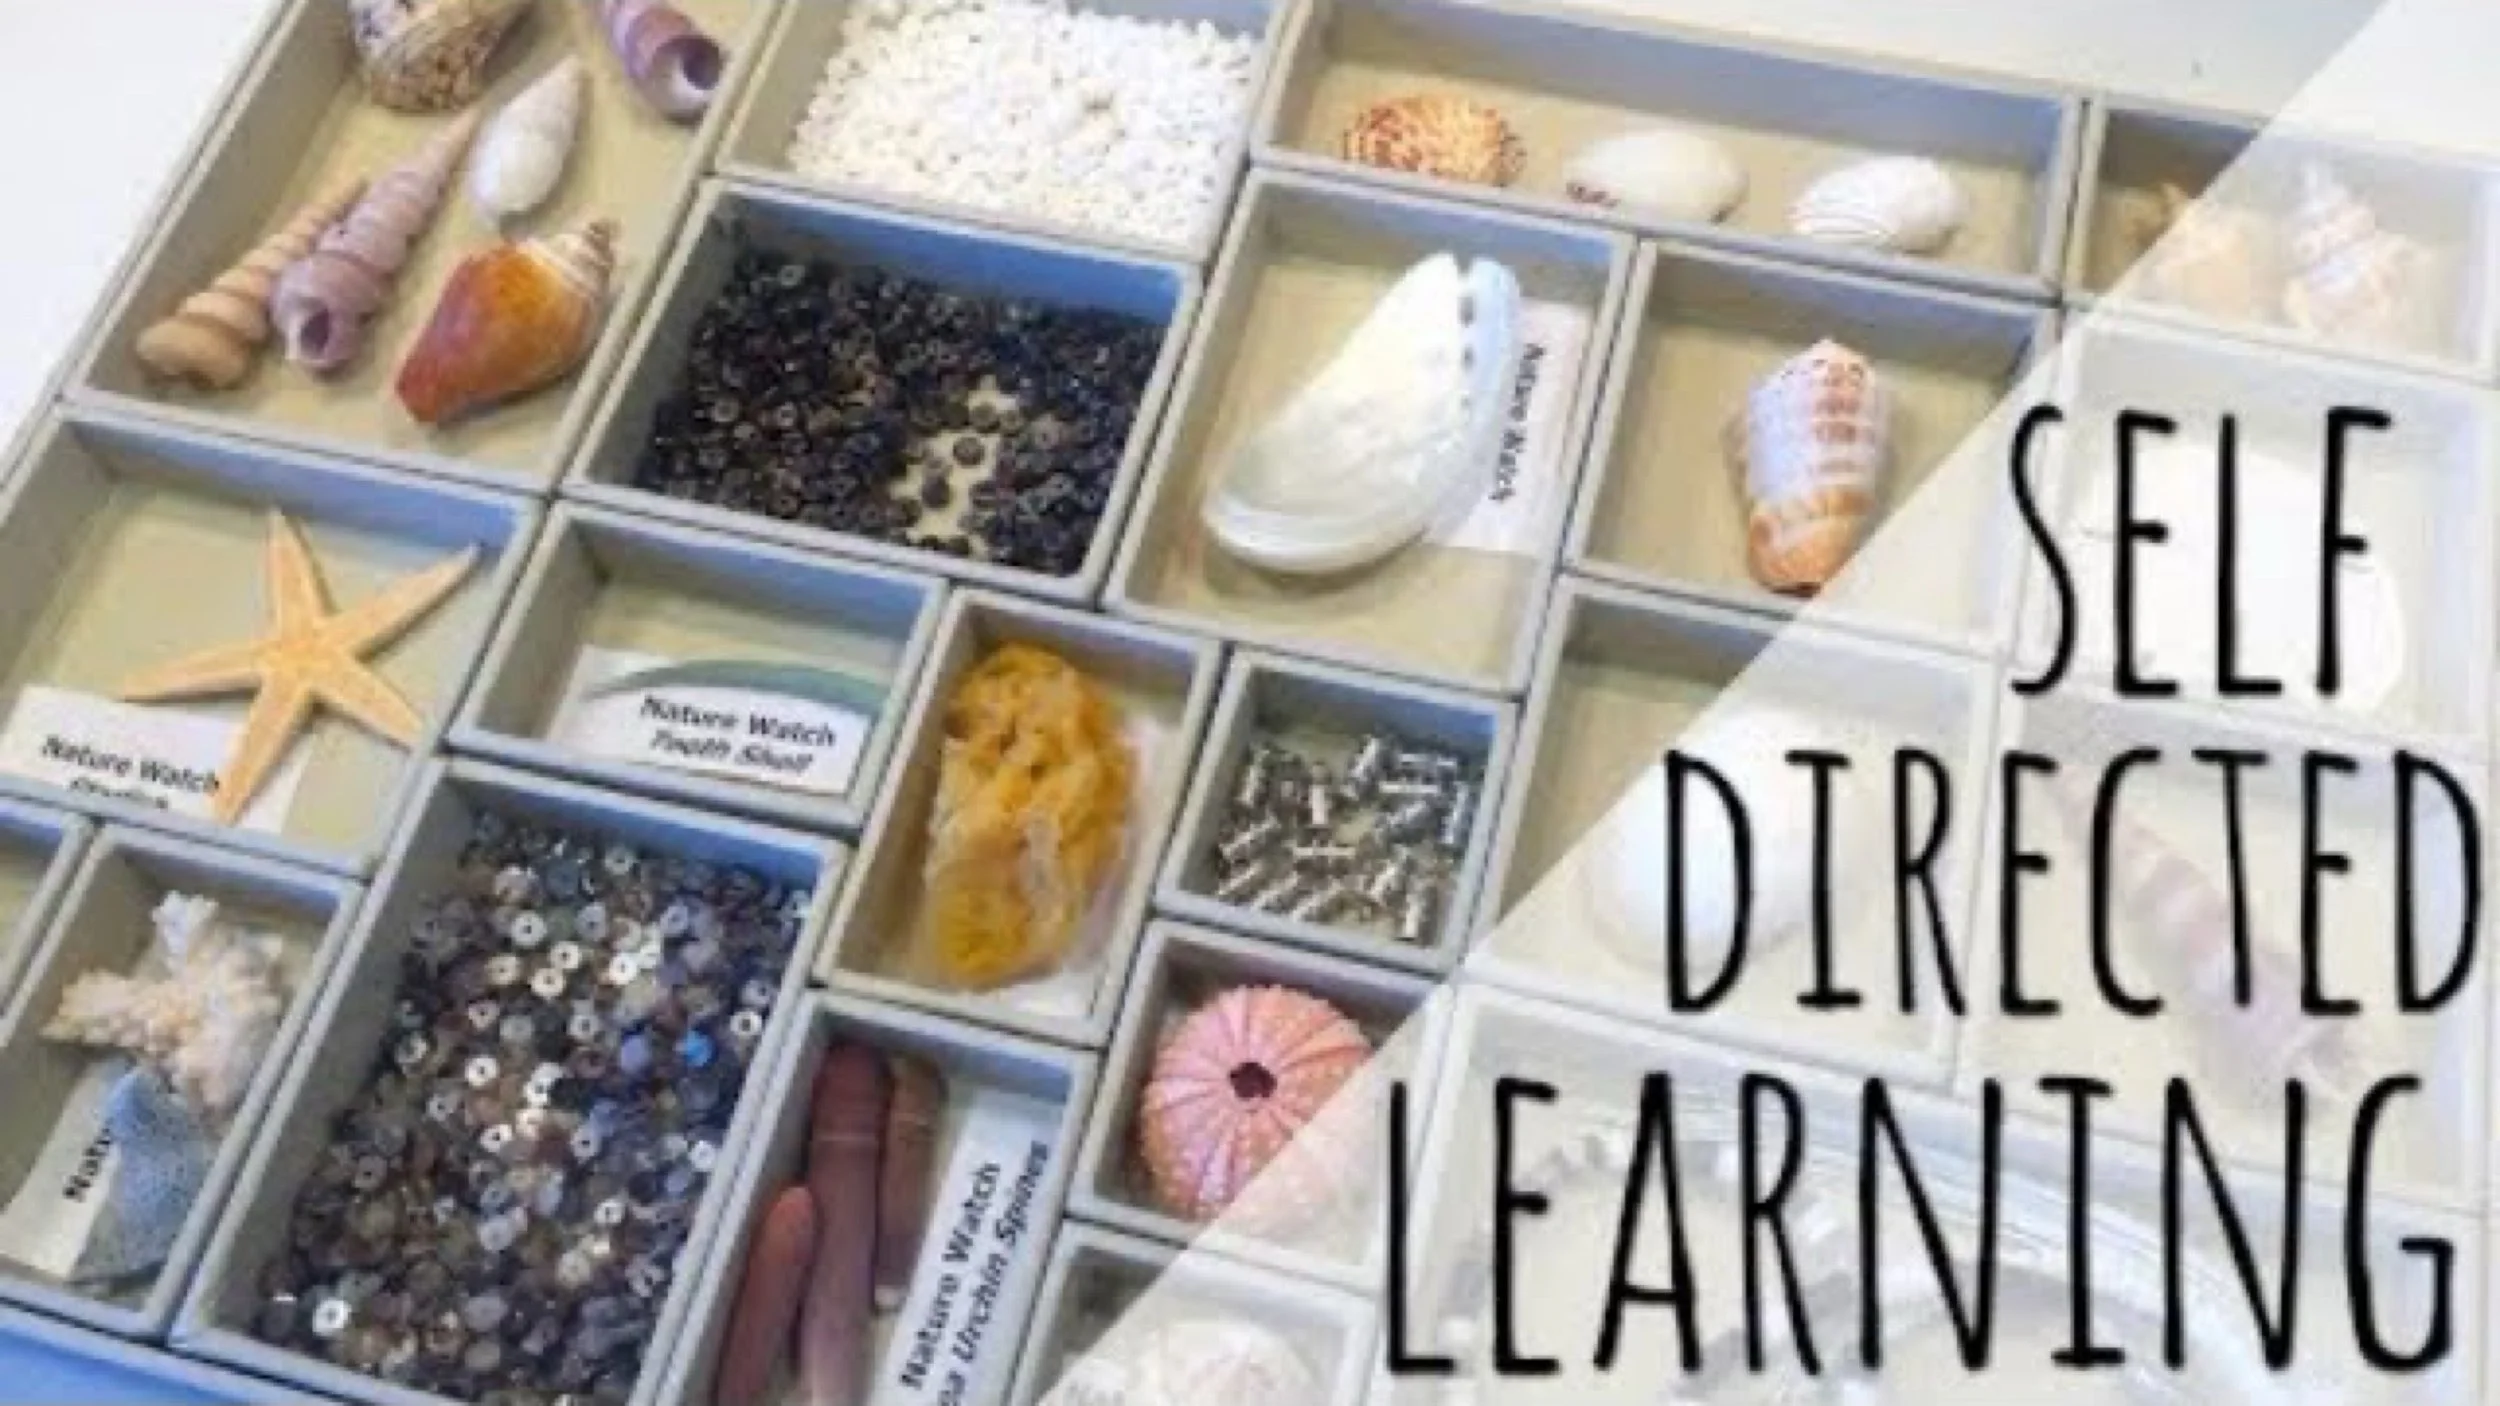
Homeschool Kits for Self Directed Learning
Wait till you see what I do with this Seashell Bracelet kit from Nature-Watch! I even surprised myself. After I arranged this kit in a printer's tray I use for scrapbooking, I emptied out two more trays to use for other kits and materials.
-
![]()
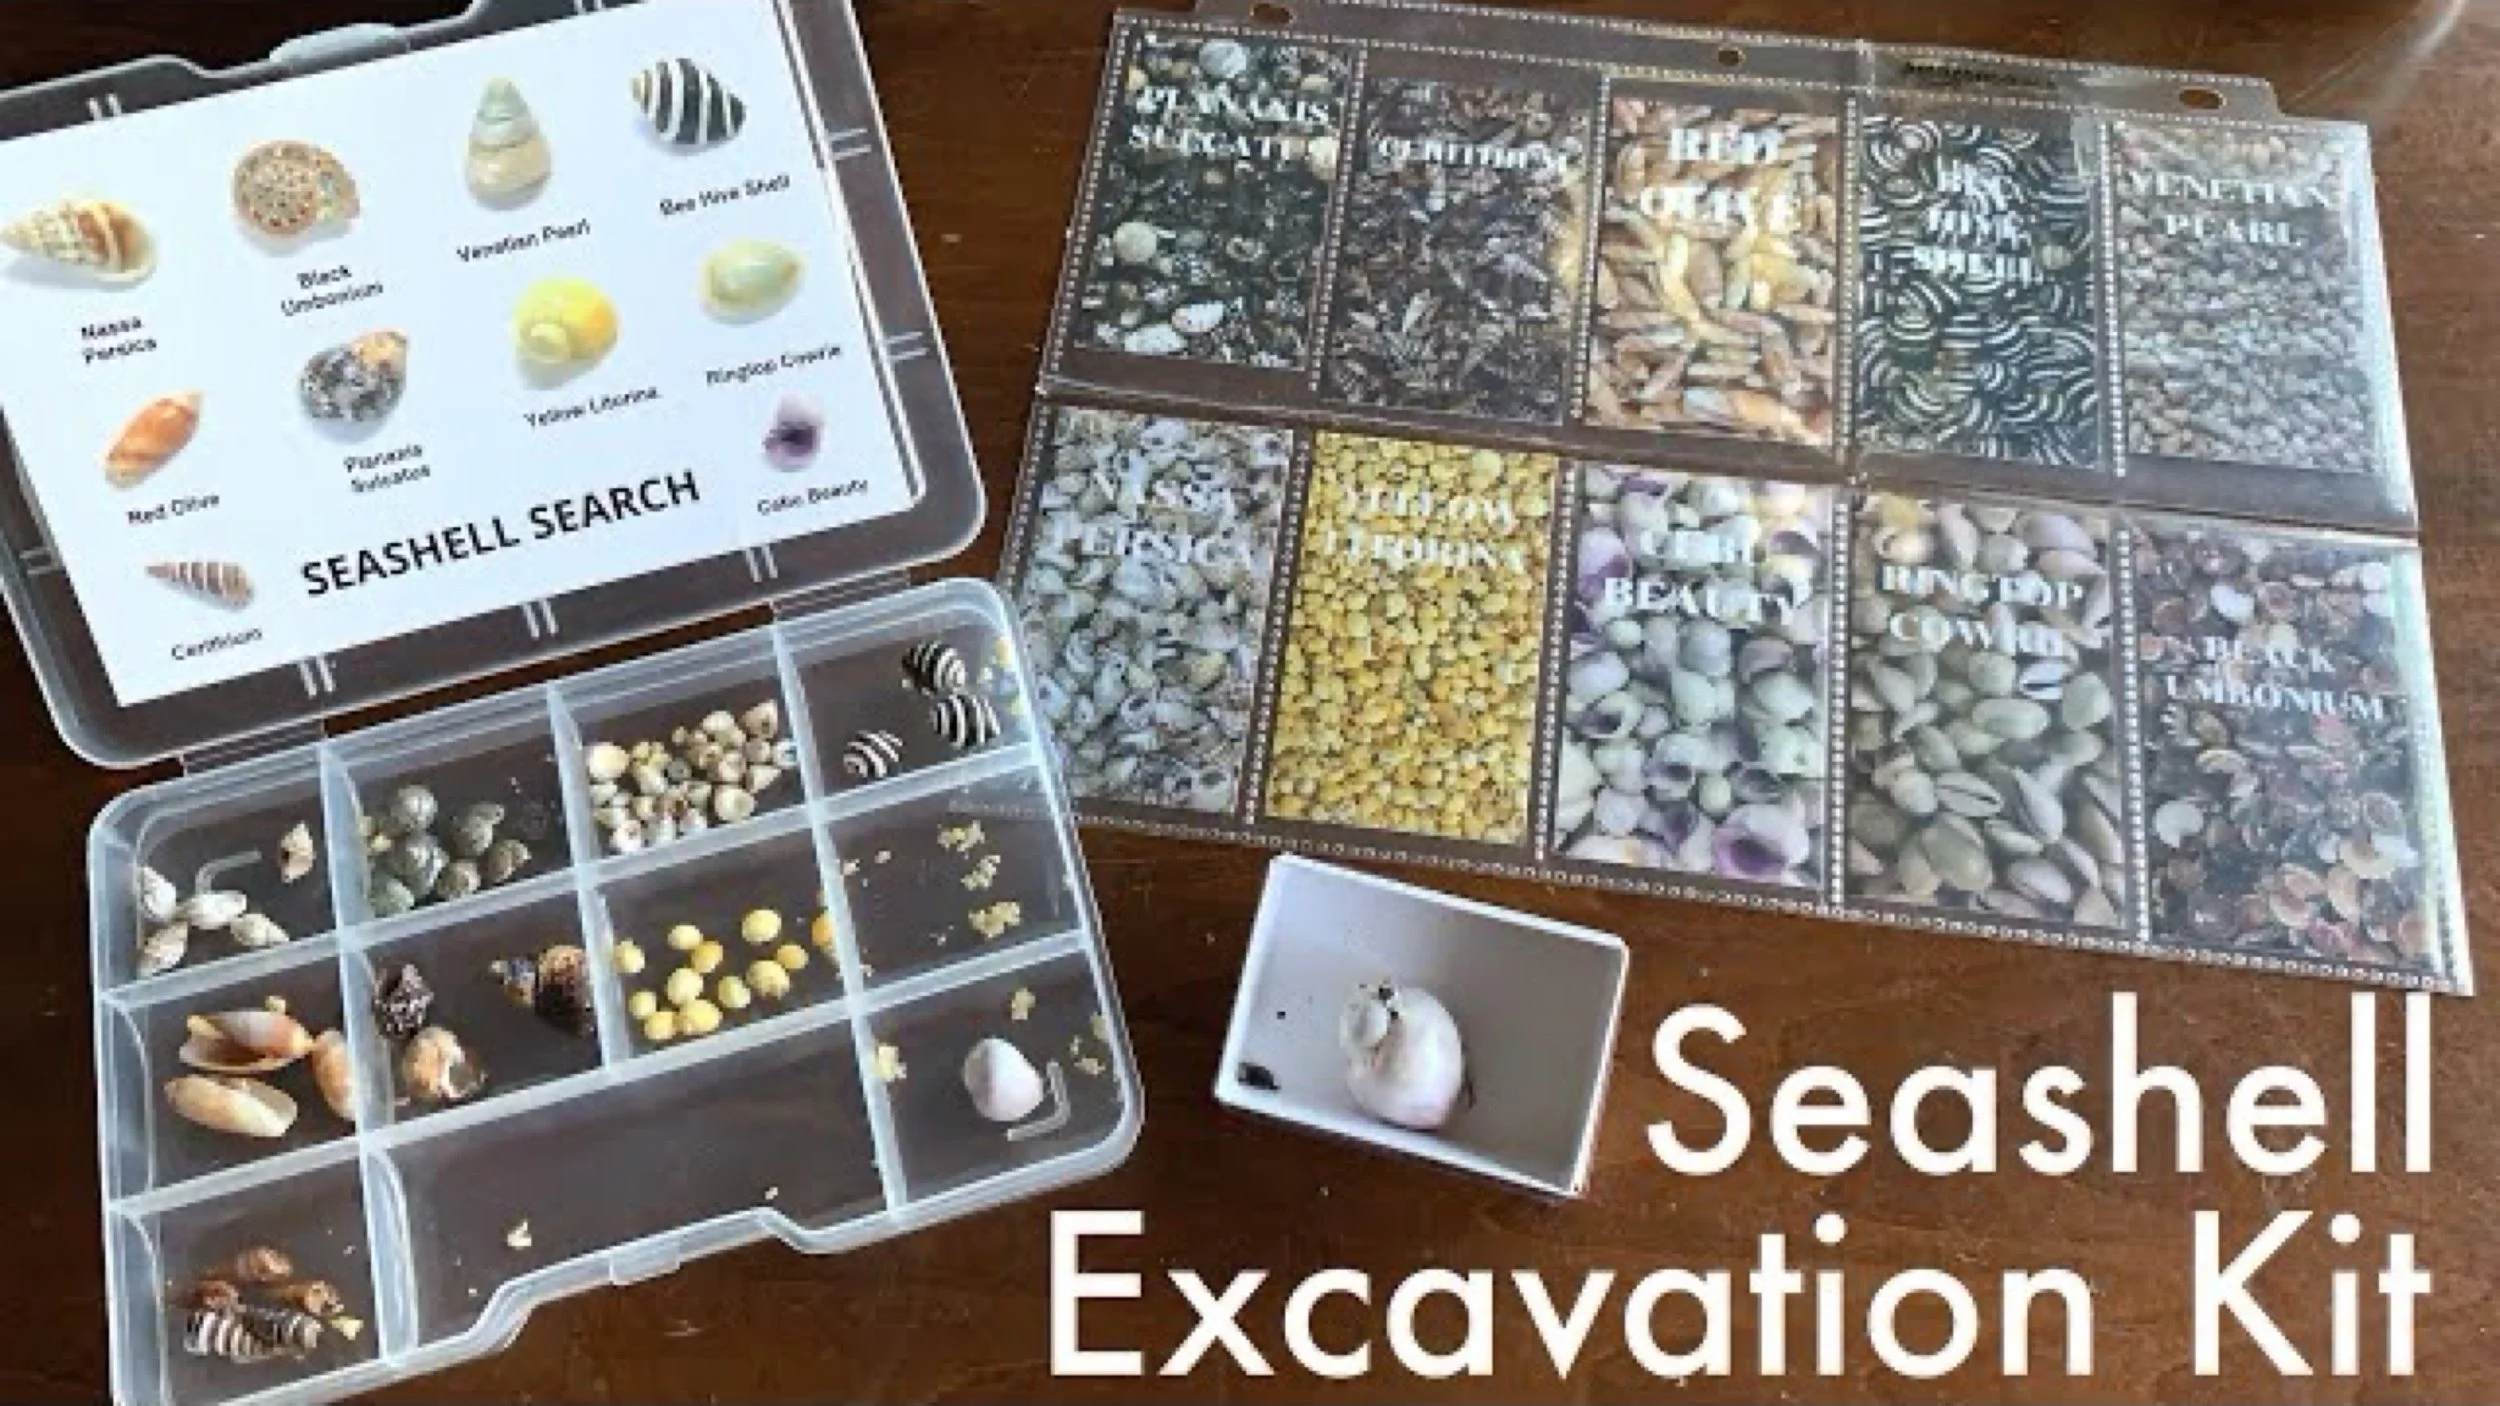
Discovering Seashells
I am totally surprised that so many seashells were packed into that tiny little tin! More too, I'm so impressed with the excavating material.
-
![]()
Sea Turtle Nature Cards
Learn how to make nature journaling or nature study cards for any unit! As we continue our nature unit study on Sea Turtles, we decided that the quickest and most beautiful way to show learning for this unit is in the form of these nature trivia cards. Each card has been photographed and is on the blog post for this video.
-
![]()
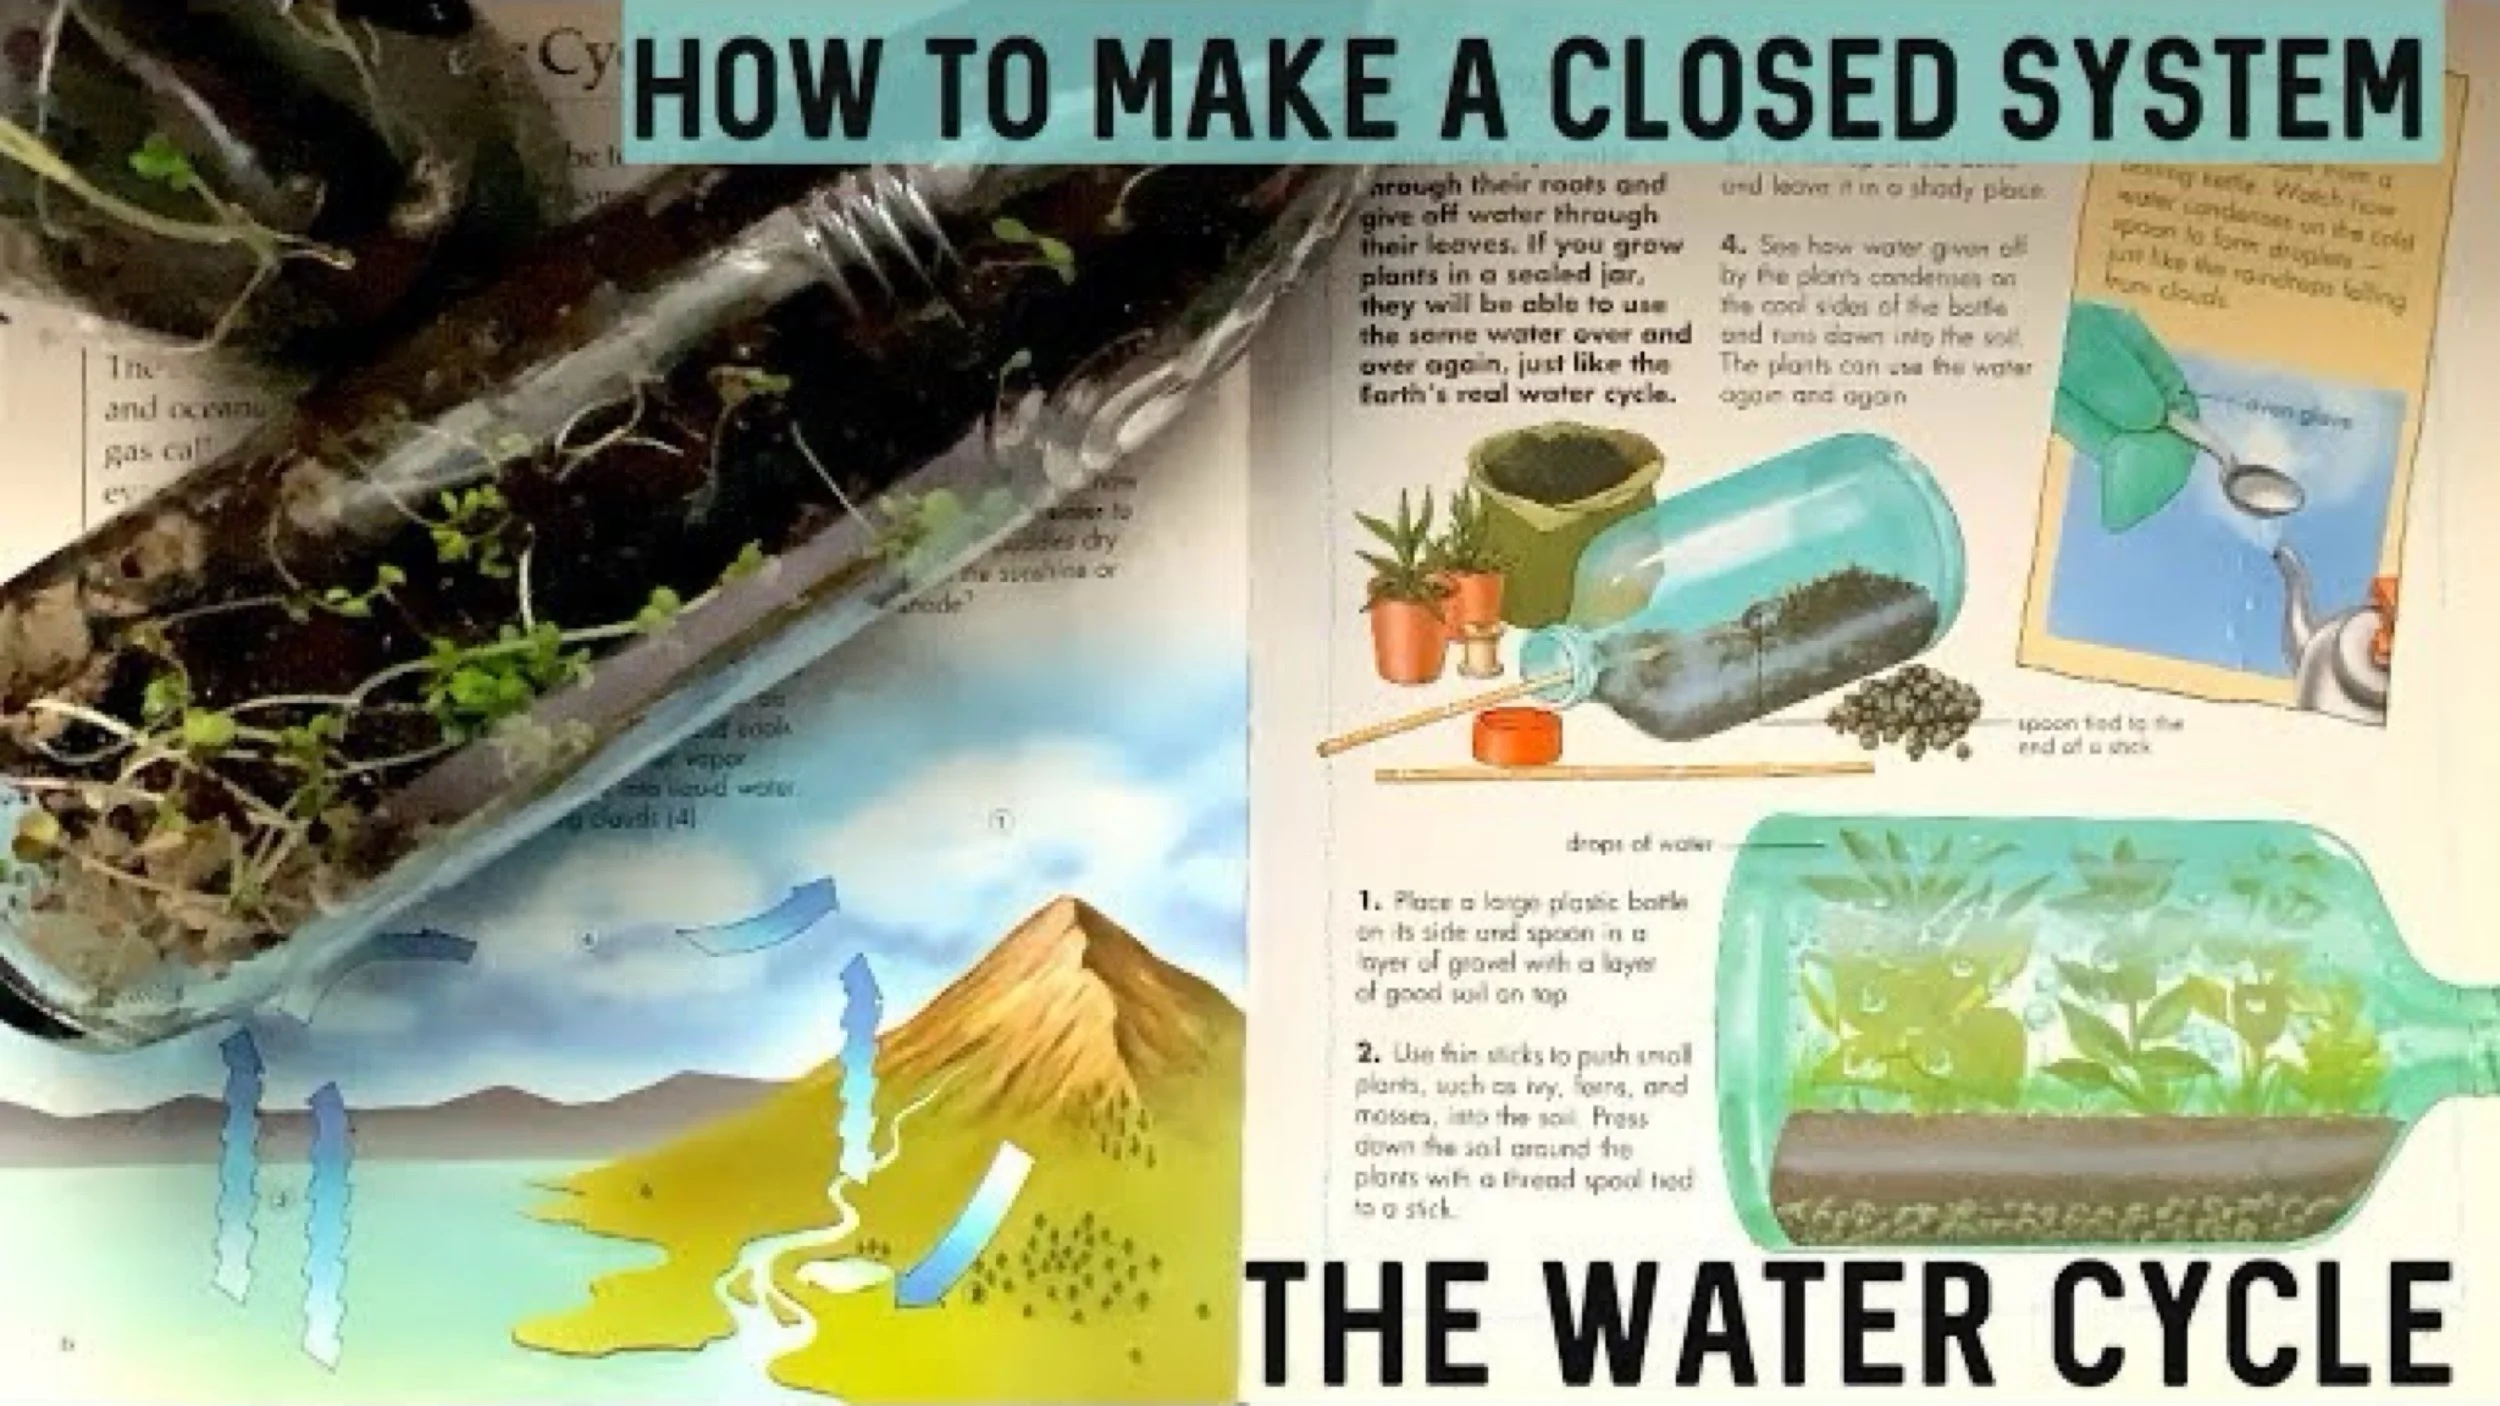
The Water Cycle | How To Make A Closed System
For the past four billion years, the water on this planet has remained the same. It's been recycled: evaporating from the seas and oceans, forming clouds and finally precipitating out as rain or snow. We recreated a simple closed system to show the water cycle.
-
![]()
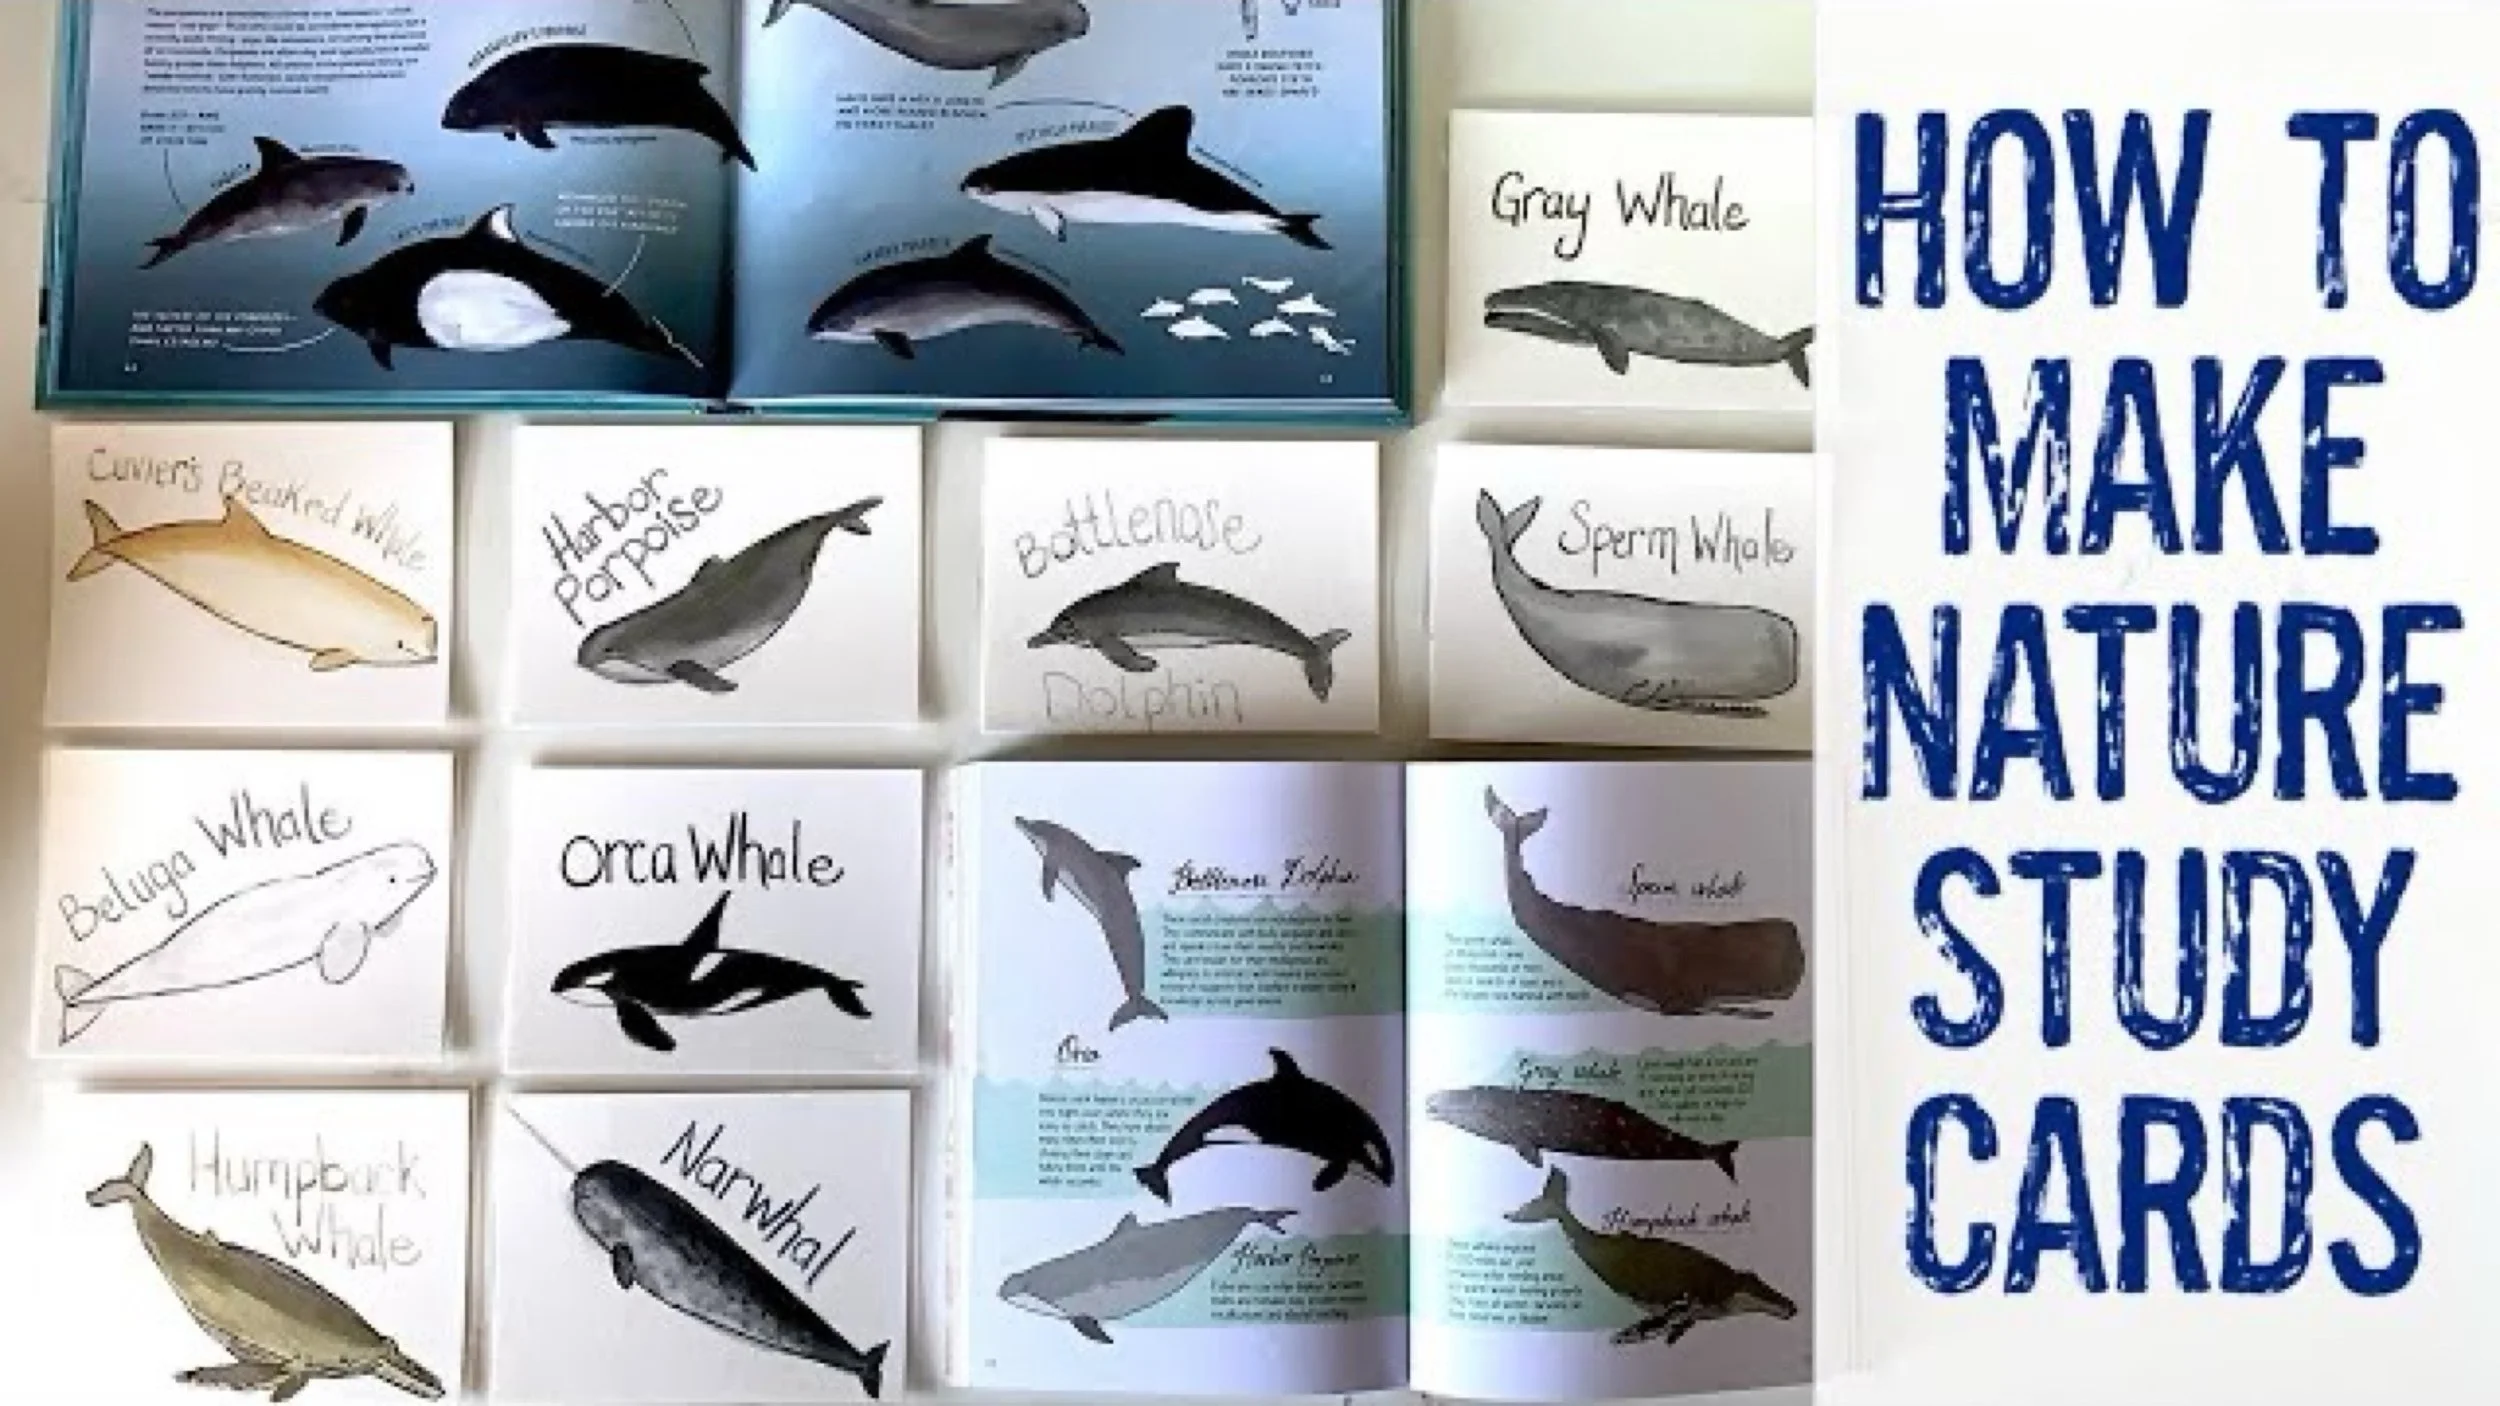
Whale Nature Study Trivia Cards
In case you missed the previous Nature Journaling Card tutorials, here’s one more that’s sure to inspire you. These were the easiest so far. In part, I think because whales are easier to draw than some of the other nature images we’ve done before.
-
![]()
How to Bind a Book
Here's one way to bind a main lesson book after you've completed your work. If you wish to use multiple art mediums for a main lesson block or if you are working with watercolors, binding your loose sheets of papers along with your narrations after the block is over is one way to do it.


Lessons
Our Homeschool Lesson
Here's a little snippet of our homeschool day. We are working through our Live-Education waldorf inspired curriculum for our Botany Main Lesson block and took a little detour. We were inspired by the lesson on algae and seaweed and decided to do a little unit on ocean plant and animal life. We liked it so much, it's becoming its own main lesson block for the late summer, just as we are starting our new school year. We pulled a variety of resources which you can see on the table. We have books, games and hands-on activities. We completed our main lesson book entry to the day, then turned to other lesson enhancements like Professor Noggins Seashore game and a GeoCentral excavation kit.
Wet on Wet Watercoloring
While working on our Ocean Main Lesson block, we ended up doing a lot of watercoloring for the main lesson book. When working on main lesson book entries, we use 90lb. 9"x12" watercolor paper by Fabriano, but when we want to do some wet on wet watercoloring, we pull our the good stuff! Today, we are working with 140lb. Strathmore watercolor paper that's 14"x17". The heavy weight allows you to get the paper wet without the paper soaking through and tearing.
Here's another video that details a variety of watercoloring techniques.
Here's the playlist for our Ocean Main Lesson block
Strathmore paper, Stockmar paints, Stockmar Opaque Watercolor Paint Set, Distress sprays, Heidi Swapp sprays Ocean, Ranger Ink Bulk Buy Perfect Pearls Pigment Powders Biscotti, Distress Stains
Using Resist Mediums with Watercolors
Can you guess what we were trying to draw? Midway through this project it looked great! Then it slowly changed and didn’t look how I envisioned. Ah well, it was an experiment in using two resist mediums to achieve a watercolor barrier. Here’s how we did it. I cut a circle out of stamp material using my Silhouette Cameo. I stamped octopus ‘suckers’ along the paper using Perfect Medium. I sprinkled white Zing! embossing powder over it and taped off the extra. I embossed it using my heat tool. Once that was about halfway done, I used a fineliner resist medium to separate the tentacles from the water. Lastly, I painted everything using our Lyra Watercolor paints, our Distress Sprays and our Heidi Swapp Color Shine Spray. We also added Perfect Pearls to our watercolor sprays and paints for that nice shimmer effect. I used Strathmore 140lb. watercolor paper and a variety of simply paint brushes.
When working on main lesson book entries, we use 90lb. 9″x12″ watercolor paper by Fabriano, but when we want to do some wet on wet watercoloring, we pull our the good stuff! Today, we are working with 140lb. Strathmore watercolor paper that’s 14″x17″. The heavy weight allows you to get the paper wet without the paper soaking through and tearing. We try a variety of watercoloring techniques. See if you can find one that works for you!
Check out our complete Ocean Main Lesson Block with videos on how we put this unit together, the resources we used and the projects we did. You can also check out our smaller Whale Unit Study and Sea Turtle Unit Study which includes more projects and resources. We used our Distress Inks for many projects in this unit. You can see all the projects we’ve used Distress Inks for in a complete playlist. Enjoy!
Here's another video that details a variety of watercoloring techniques.
Strathmore paper, Stockmar paints, Stockmar Opaque Watercolor Paint Set, Distress sprays, Heidi Swapp sprays Ocean, Ranger Ink Bulk Buy Perfect Pearls Pigment Powders Biscotti, Distress Stains
Real Time Homeschool Lesson | Watercoloring
Ever wonder how a real life Waldorf-inspired homeschool lesson looks like? We are working through our Ocean Main Lesson Block and have done a number of watercolor paintings for this block. Here's what a looks like. It's a bit slow, actually quite slow, and that's because that's how it actually looks. There are minimal edits in this video and we complete two assignments.
A main lesson has many components. There are the opening activities or warm up activities which may include spelling or vocabulary (though this is not common in our homeschool, this time is reserved for practicing those skills), playing games (this happens a lot in our homeschool. For this block, we used Professor Noggin's Ocean game), and mental math among other activities.
The review period general follows the opening activities (though in our homeschool, review comes before). This time is dedicated to finishing the previous day's lessons like narration or drawings.
The final part of the lesson is the new content. In some cases we start with the drawing and at other times we start with the lesson material which is usually me talking about the information to be covered or reading aloud from the curriculum (which is not advised or intended to be used that way) or from a living book (a book that engages a reader, not a textbook.
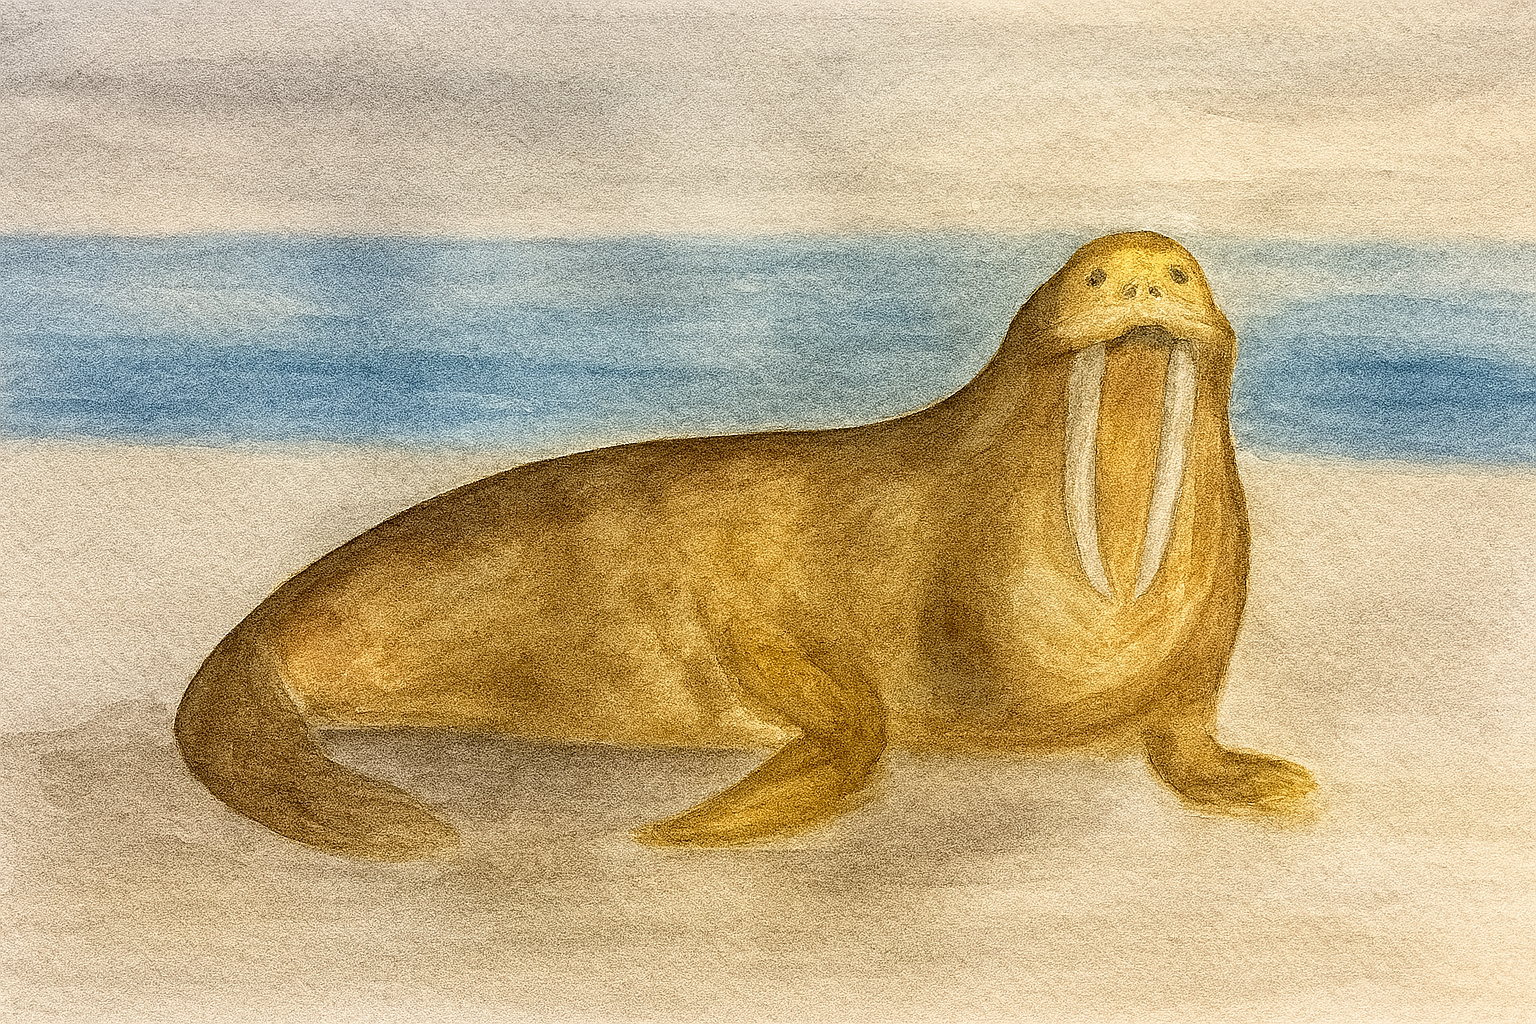
Today we are working on pinnipeds and are watercoloring seals and walruses. We are starting with water and using the water to shape the the seal and later the walrus. Next we add color to the ghostly drawing and you will see the color spread to the edges of the water design. We are using 90lb. Fabriano watercolor paper. It's not the best choice and you'll see why during the video. You can also choose to stretch your paper first to ensure a nice flat watercolor in the end.
While my 11-year-old son and I were working on this project, my 6-year-old daughter was playing and you can hear her at the beginning of the video, and you'll get a glimpse of her, too. At the end of the lesson, she asked for paper and did her own seal and walrus.
Freshwater VS. Saltwater | What Melts Faster?
What’s your guess? Will ice melt faster in freshwater or saltwater? With a few drops of food coloring, you can really see the process and it’s awesome! I like demonstrations like this because they are educational, profound, lasting and best of all, super affordable. With things you already have around the house, you can do this demonstration for any science unit.
Inspiration for this project came from the book Ocean Currents Teacher’s Guide by Catherine Halversen.
Check out our complete Ocean Main Lesson Block with videos on how we put this unit together, the resources we used and the projects we did. You can also check out our smaller Whale Unit Study and Sea Turtle Unit Study which includes more projects and resources. We used our Distress Inks for many projects in this unit. You can see all the projects we’ve used Distress Inks for in a complete playlist. Enjoy!
What An Iceberg Looks Like Under Water
For our Whale and Sea Turtle Units, we turned to the book Rivers and Oceans by Barbara Taylor for inspiration for projects and activities. Two projects worked well for our units, even though they didn't exactly relate to the specific topics. For this unit, we chose the super easy iceberg demonstration. Not only was it very easy to do, it was also extremely educational. You can very clearly see how 90% of an iceberg is under water, especially when you use a big chunk of ice and a clear glass container for observation. We tried this project twice, once with 'saltwater' dyed blue and once with clear water. The clear water was easier for observation and also allowed us to repurpose the water for watering plants (don't water your plants with salt water!). This demonstration was easy and fast and best of all, free! You can use a water-filled balloon for this project or fill a large bowl. We did both and found a bowl was better and produced less waste. We hammered away at our large chunk of ice until we had 'iceberg' sized pieces.
Check out our complete Ocean Main Lesson Block with videos on how we put this unit together, the resources we used and the projects we did. You can also check out our smaller Whale Unit Study and Sea Turtle Unit Study which includes more projects and resources. We used our Distress Inks for many projects in this unit. You can see all the projects we’ve used Distress Inks for in a complete playlist. Enjoy!


Projects & Activities
-
![]()
What An Iceberg Looks Like Under Water | Demonstration
For this unit, we chose the super easy iceberg demonstration. Not only was it very easy to do, it was also extremely educational. You can very clearly see how 90% of an iceberg is underwater, especially when you use a big chunk of ice and a clear glass container for observation. We tried this project twice, once with 'saltwater' dyed blue and once with clear water.
-
![]()
Freshwater VS. Saltwater | What Melts Faster?
What's your guess? Will ice melt faster in freshwater or saltwater? With a few drops of food coloring, you can really see the process and it's awesome! I like demonstrations like this because they are educational, profound, lasting and best of all, super affordable. With things you already have around the house, you can do this demonstration for any science unit.
-
![]()
What Does Evaporated Seawater Look Like?
It isn't what you'd expect. Yes, evaporated seawater still forms cube-like structures, but it's what else we found in our seawater that surprised us.
-
![]()
Stitching for Beginners | Sea Star Pattern
This is a very easy beginner's stitching project. You can free hand a sea star or download a pattern for this project. I used Holland felt in 100% wool in the color Tea Rose. Cut two sea star shapes. Line them up so they are the same.
-
![]()
How to Make a Stitched Seahorse | How to Make Your Own Pattern
Try your hand at pattern making! For simple silhouettes, this project is great for beginners and as an intro to making your own projects. Watch as I work my way through this project while giving you tips.
-
![]()
How to Make a Knitted Octopus | Knitting for Beginners
How adorable is this little octopus?! What's great about it, it that it's super easy, easy enough for a brand new knitter. In fact, if you don't know how knit, I walk you through the basics, from one novice knitter to another ;)
-
![]()
DIY Archaeology Kit | How to Make an Excavation Block
DIY excavation kits are super easy! All you need is some Plaster of Paris, a mold and some treasures to hide. We've been using these store bought kits in our homeschool for several years now, and I'm thrilled to be finally making them ourselves.
-
![]()
Homeschool Kits for Self Directed Learning
Wait till you see what I do with this Seashell Bracelet kit from Nature-Watch! I even surprised myself. After I arranged this kit in a printer's tray I use for scrapbooking, I emptied out two more trays to use for other kits and materials.
-
![]()
Discovering Seashells
I am totally surprised that so many seashells were packed into that tiny little tin! More too, I'm so impressed with the excavating material.
-
![]()
Sea Turtle Nature Cards
Learn how to make nature journaling or nature study cards for any unit! As we continue our nature unit study on Sea Turtles, we decided that the quickest and most beautiful way to show learning for this unit is in the form of these nature trivia cards. Each card has been photographed and is on the blog post for this video.
-
![]()
The Water Cycle | How To Make A Closed System
For the past four billion years, the water on this planet has remained the same. It's been recycled: evaporating from the seas and oceans, forming clouds and finally precipitating out as rain or snow. We recreated a simple closed system to show the water cycle.
-
![]()
Whale Nature Study Trivia Cards
In case you missed the previous Nature Journaling Card tutorials, here’s one more that’s sure to inspire you. These were the easiest so far. In part, I think because whales are easier to draw than some of the other nature images we’ve done before.
-
![]()
How to Bind a Book
Here's one way to bind a main lesson book after you've completed your work. If you wish to use multiple art mediums for a main lesson block or if you are working with watercolors, binding your loose sheets of papers along with your narrations after the block is over is one way to do it.