Spring
Spring
Many years ago, I heard a homeschooler say that she rotated her lessons according to the season. I loved the idea so much that we started implementing the same approach. In the fall, we do our main lessons for grammar and math. We start off the year with new learning in the subject areas that we want to become proficient at throughout the year. In the winter, we devote our time to storytelling and history. By the time spring comes around we’re ready to get outdoor stretch our limbs and do our science. Science is great for the spring as it lends itself well to movement interaction and being outdoors. In the younger years, children always benefit from being outdoors. And each season there is value in nature study and enrichment in seasonal activities.
As we homeschool with multiple aged children, we found that pairing our nature units in the spring worked well for all involved. Botany and zoology were favorite spring lessons. Often we would break up our zoology lessons into smaller unit studies focusing on one particular animal. Each spring we would do a version of a botany unit study. Often we would grow plants and do activities surrounding gardening or farming.
Spring is a time of awakening and expansion. Just as the winter is a time for inwardness, there is a limit to that tendency. Naturally, our bodies awaken to a 3 to 6 month cycle one of drawing in and one of coming out. Spring is the beginning of that expansion. We see it reflected in the swelling of buds on trees before they burst open into blossoms. Spring is a wonderful time for songs and poetry study. Spring is a wonderful time for creative expressions. While art and handwork are year-round activities, the focus or theme may be spring inspired. Painting and modeling with bright fresh greens, pink and yellow mirror spring vitality. Making transparent scenes with tissue paper or wax paper or folded star designs can decorate the window and let the beautiful colored light and designs filter through when the sun shines in. Nature walks are especially exciting at this time of year as everything is bursting into life. With new sights and sound children will delight in the frogs croaking, the birds chirping, the bunnies fluttering across the garden bed, and the plants bursting forth from the ground that has been tilted and cared for and planted with care.
Spring Crafts & Activities
-
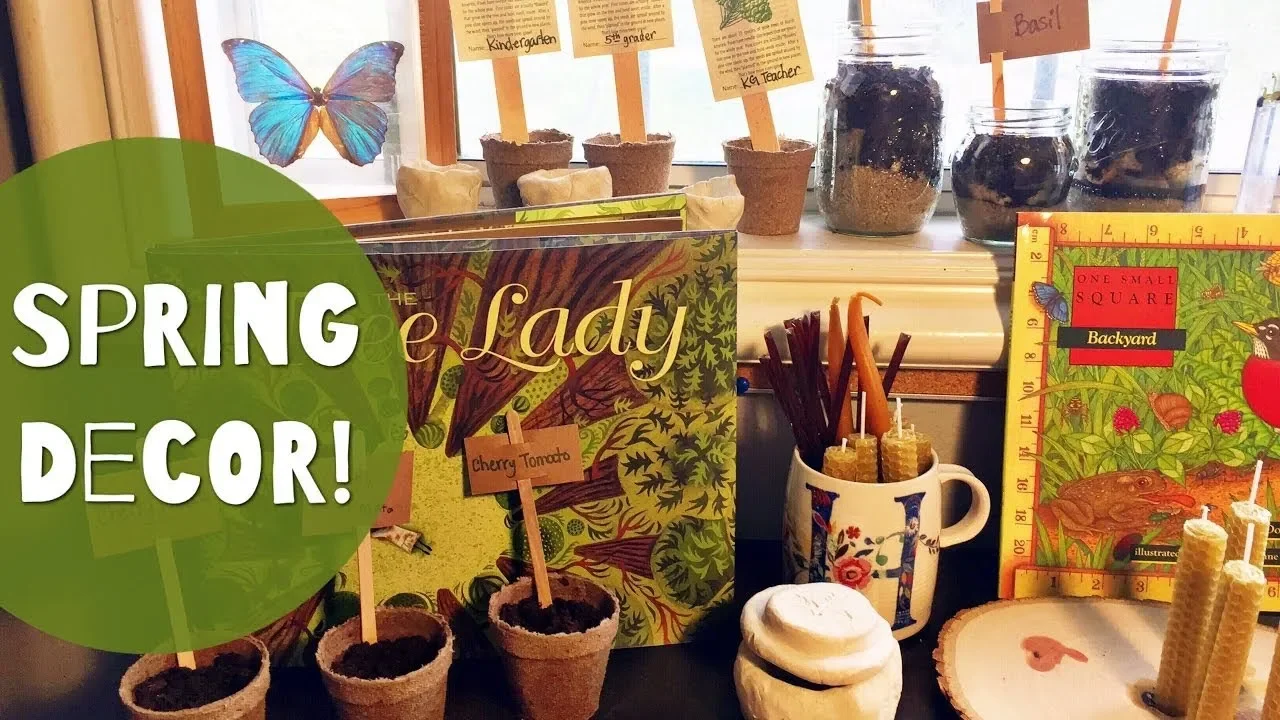
Spring Nature Table
Like clockwork, when spring makes its first appearance, the energy in our home shifts. Suddenly, we can't sit still, we can't concentrate and the strong urge to declutter and clean out takes hold of me. Though I'm a big fan of winter and cozy evenings, I found that we didn't get the winter we hoped for.
-
Spring Nature Unit Set Up
It's spring and that means it's time for a new unit study. It also means it's time to put away our completed history units and bring out the new spring science units.
-
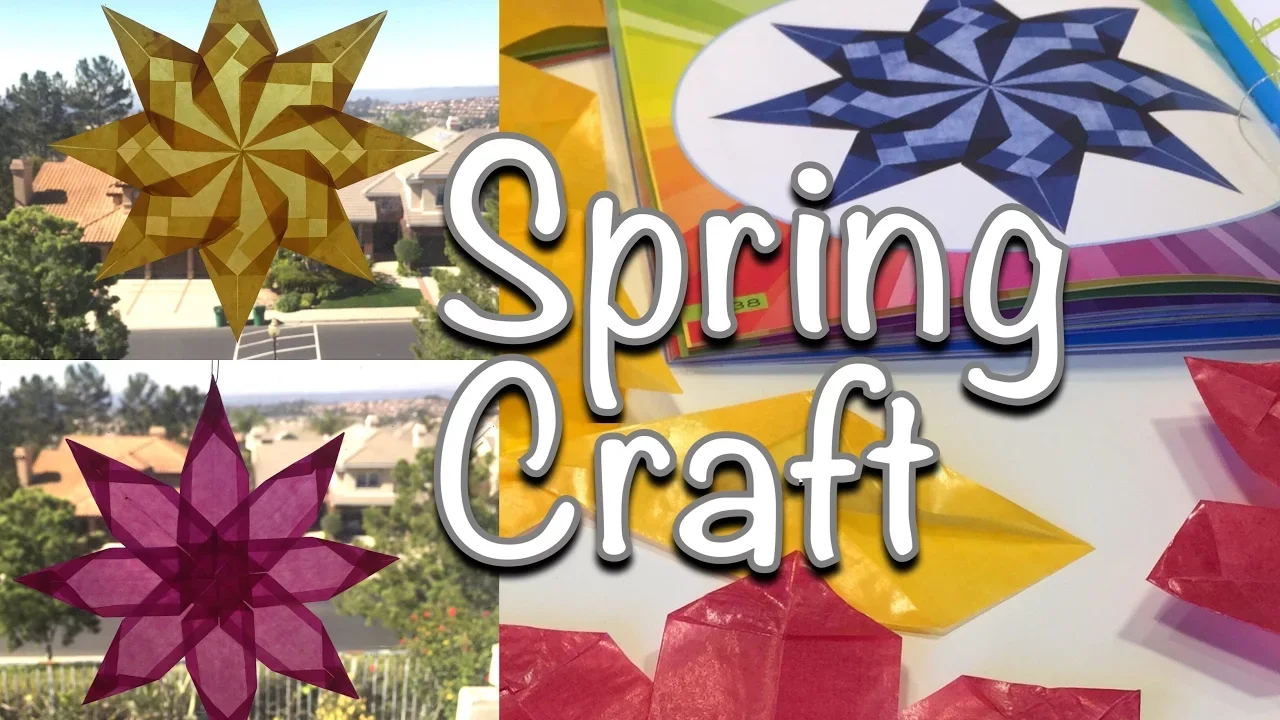
How to Make Suncatchers | Waldorf Craft
Welcome spring with a craft the whole family can enjoy. Suncatchers are star shaped origami designs you can make with your children. My six and ten year old made these with me and now they are hanging in the homeschool room window adding a bright festive spring feel.
-

Spring Nature Finger Puppet | Intermediate Level
We've started a new tradition this year and that's to have a special seasonal finger puppet for the our nature table. Our Nature Table is more of seasonal table decorated with toys, crafts, books and things found in nature.
-

DIY Build Your Own Fairy House VS. Kit
I wasn't sure about this kit the first time we placed it in our cart. Then it sat in our school room for a month or so. Finally I opened it and looked curiously at the contents. I didn't feel like putting it together, but my kids were restless that spring and I handed my 11-year-old and 7-year-old this kit. An hour later I was blown away by what they made!
-
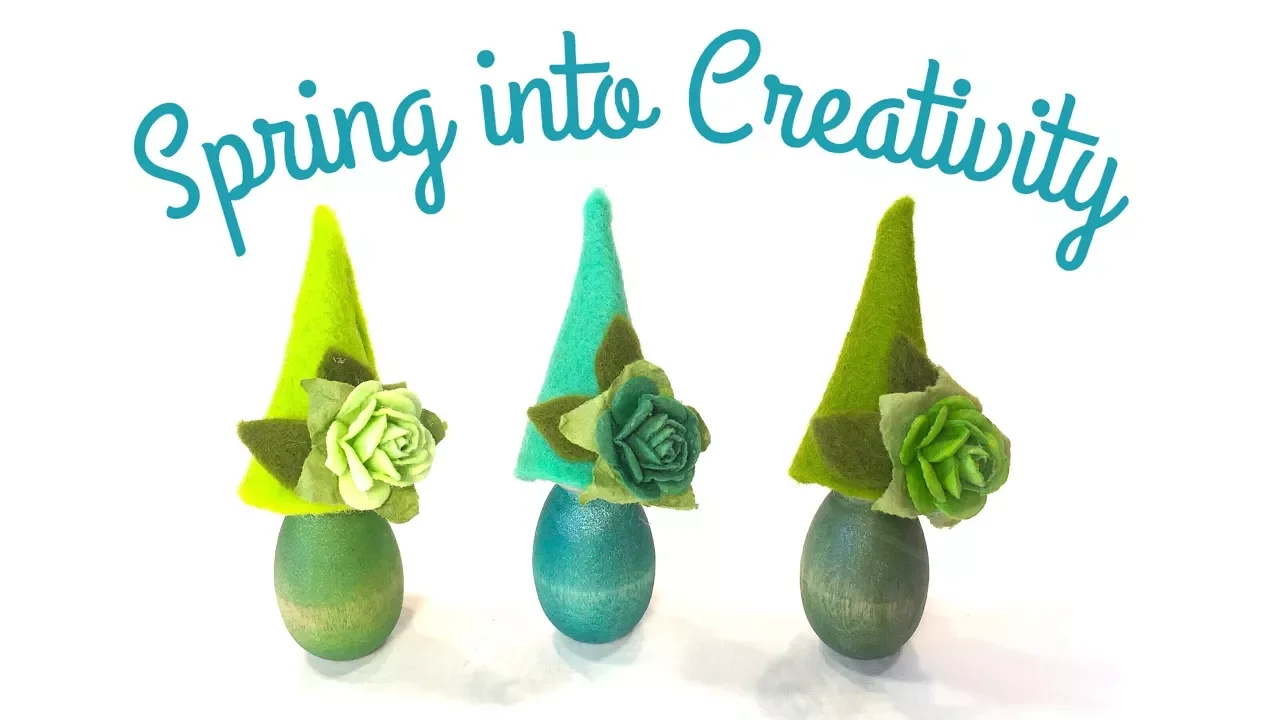
Spring Crafts for Kids & Adults | Peg Dolls
In a last minute moment of inspiration, I turned these darling spring bunting baby peg dolls into magnets. I used super strong magnets, and it worked! I love the versatility of these mini peg dolls. Since the fall, I've had a set of three seasonal peg dolls grace our nature table. Each set has been unique.
-
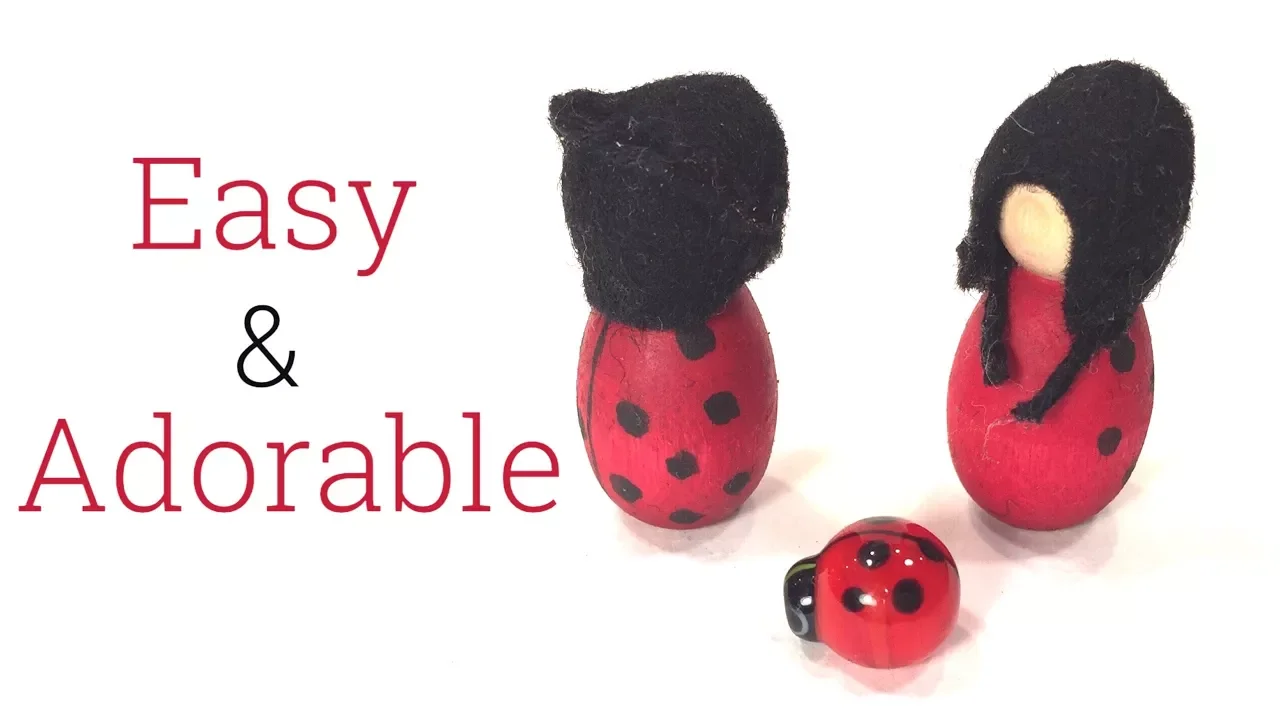
Ladybug Peg Doll Tutorial for Beginners
This is my first attempt at making animal peg dolls, and I can tell you, I love it!! These adorable ladybugs were inspired by both a similar design in Margaret Bloom's Peg Doll book as well as a mini glass ladybug my sister gave me. To get the shiny gloss, I polished them with all natural beeswax polish.
-

Sensory Activities for Preschool and Kindergarten | Rainforest Seeds
I'm once again impressed by the kits by Nature-Watch. They are creative, innovative and educational, not to mention environmentally responsible. These seeds are sourced from Costa Rica and are hand-drilled by local artisans.
-
How to Grow Herbs
I can't say enough about the Nature-Watch kits we've used so far. They are well designed and take all the hard work out of doing hands-on projects and replaces with simple projects that are easy to do with great results.
Spring
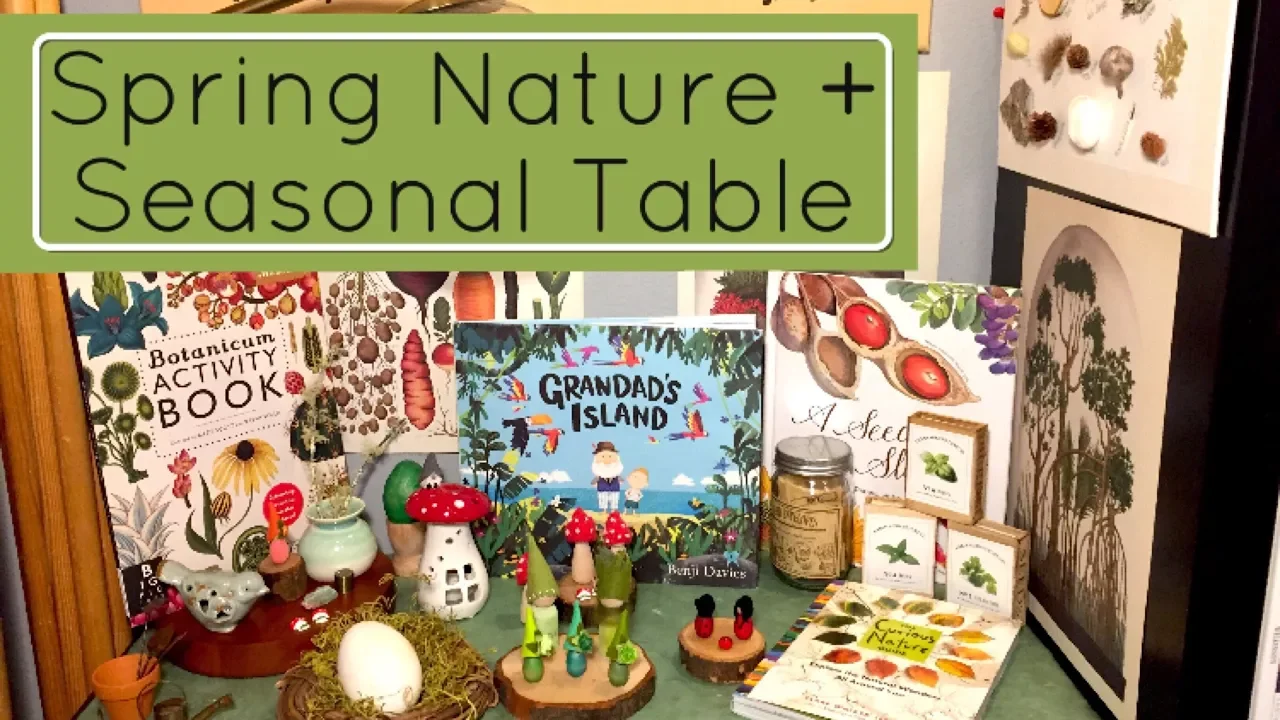
Spring Nature Table
Like clockwork, when spring makes its first appearance, the energy in our home shifts. Suddenly, we can't sit still, we can't concentrate and the strong urge to declutter and clean out takes hold of me. Though I'm a big fan of winter and cozy evenings, I found that we didn't get the winter we hoped for. Our main lesson blocks from the fall ran long and into winter, and we didn't have the productive winter we expected. In fact, our creativity took a nosedive which was unexpected. So I was delighted when we swept clean our Winter Nature and Seasonal Table and set up our Spring Table. My daughter had lots of suggestions and before I could even clear it off, she was already choosing books and accessories for the table. This time we opted for handmade paper from Nepal to cover our surface rather than our silks. I liked the clean look it gives. Some items transitioned from our Winter to our Spring table like the ceramic bird and ceramic vase with winter twigs. We also added our ceramic fly agaric candle lantern, some danty seed boxes and a makeshift nest for our real goose egg. We added posters from our Botanicum book and a couple of books that suited the table. My daughter chose Grandad's Island for the colors, and I meant to change it out for a spring book, but decided against it and kept her suggestion for her reasons and for a pop of something unexpected. Before we had added the finishing touches to our Spring Nature Table our creativity burst forth and together with the kids we made our Spring finger puppet, a trio of magnet bunting babies, a set of ladybug babies and a coral colored mini peg doll!
Spring Nature Unit Set Up
It's spring and that means it's time for a new unit study. It also means it's time to put away our completed history units and bring out the new spring science units. We'll be putting our books and projects on display on a small handmade shelving unit in our school room. It's a way to celebrate the seasons and the new units. It's an inviting way to showcase the new material, create curiosity and inspire new learning.
How to Make Suncatchers
Waldorf Craft
Welcome spring with a craft the whole family can enjoy. Suncatchers are star shaped origami designs you can make with your children. My six and ten year old made these with me and now they are hanging in the homeschool room window adding a bright festive spring feel. Making suncatchers is an easy satisfying craft for the whole family to enjoy. You can find this kit at A Child's Dream. It comes with an instructional book with several star designs with easy-to-follow step by step instructions. The kit also comes with enough kite paper to make several stars as well as a glue stick. The only thing you'll need is a pair of scissors. A Child's Dream also carries kite paper in an assortment of colors that can be purchased separately.
Spring Nature Finger Puppet
We’ve started a new tradition this year and that’s to have a special seasonal finger puppet for the our nature table. Our Nature Table is more of seasonal table decorated with toys, crafts, books and things found in nature. It’s become a place my daughter plays and where she can spend hours playing pretend. While she really loved the Fall nature table, she thoroughly disliked the Winter Nature Table, but loved the Winter Finger Puppets. She didn’t know how much she disliked it until we set up the new Spring Table. The day we set it up, she came to life. She excitedly grabbed books from the bookshelf and arranged them on the table. Next she gathered a number of natural items like lichen-covered twigs, acorns and pine cones to decorate the table, with the crowned jewel being her goose egg in a makeshift nest. Along with this new Spring Finger puppet, we made a two ladybug peg dolls and a set of three bunting baby peg dolls all in one day! While you could modify this design to make it easier, the extra embroidery really sets this one apart. We used the finger puppet bases which I like for the tallness, shape and hollow center. We used Holland felt in beautiful spring greens and white bulky weight yarn by Lamb’s Pride.
Build Your Own Fairy House VS. Kit
I wasn't sure about this kit the first time we placed it in our cart. Then it sat in our school room for a month or so. Finally I opened it and looked curiously at the contents. I didn't feel like putting it together, but my kids were restless that spring and I handed my 11-year-old and 7-year-old this kit. An hour later I was blown away by what they made! They worked diligently for an hour constructing and decorating this three story fairy house using nearly all the accessories in the kit from little mini-wood rounds, branches, and shells to bark, mini pine cones and more. And the best part was how proud they were of their project. They literally beamed when they showed me! That was four years ago. I finally got around to picking up another kit and this time, my then 7-year-old, is now 10 and making one for himself and one for his little 6-year-old sister.
This time around, we used the kit to make one as well as used other materials to make our own. You'll be able to see both in the video. So in case you can't buy your own, you can make your own!
If you want to see other projects I feature on my channel, you can click here.
Though making your own would be more cost effective if you already have the materials around your home, I added up the cost of buying the supplies individually and it came out about the same as the kit. The biggest perk of the kit is having everything you need in one kit as well as having the structure pre-drilled for easy and accurate assembly. I found that the one we made on our own, was not as level as the kit.
You can find the Pied Piper Fairy House at A Child's Dream.
You can find the materials to make your own at local crafts store. The wood round bases are nicer than the wood pieces that come in the kit, in my opinion and add to the rustic look. You could use something like this at Blick art supplies.
Spring Crafts for Kids & Adults
Peg Dolls
In a last minute moment of inspiration, I turned these darling spring bunting baby peg dolls into magnets. I used super strong magnets, and it worked! I love the versatility of these mini peg dolls. Since the fall, I’ve had a set of three seasonal peg dolls grace our nature table. Each set has been unique. This time, I knew I wanted a green set, but I wasn’t sure what else I wanted to do with these. At first I thought I’d paint little flowers on them, but I didn’t feel inspired in that direction. For ideas, I opened up my scrapbook drawer houses my wood veneers and other small embellishments. I found the perfect accessory: paper flowers. I happened to have bought this set in variegated green and I happened to have made three bunting baby peg dolls. I matched up the color of the flower to each felt hat and glued them on. I added a couple of leaves in a contrasting green and to finish off this project, I sealed each one with some beeswax polish. The piece de resistance was the mini super strong magnet glued to the back. All materials can be found at A Child’s Dream, except the flowers.
Ladybug Peg Doll Tutorial
This is my first attempt at making animal peg dolls, and I can tell you, I love it!! These adorable ladybugs were inspired by both a similar design in Margaret Bloom’s Peg Doll book as well as a mini glass ladybug my sister gave me. To get the shiny gloss, I polished them with all natural beeswax polish. I had only intended to make to make one, but I messed up on the face of the first one, so I quickly made another one, and on this one, I left it without a face which actually looks a bit cuter. I did struggle with the little hat which I made myself based on examples in Bloom’s book. The hat is basically two crescent pieces sewn together. I used embroidery floss in black with an embroidery needle and didn’t bother with a fancy decorative stitch because it wasn’t going to show against the black felt. All the supplies were from A Child’s Dream. I used the super cute tiny bunting babies for the ladybugs. The rounded bellies are perfect and mimic the shape of the ladybugs. I used 100% black Holland wool felt, Lyra watercolors and Beeswax polish.
These peg dolls are for our Spring Nature and Seasonal Table. To see how we put together the table and seasonal unit as well as our other Spring projects and activities, you can click here to see the playlist.
Level of project: Beginner
Duration: 20 minutes
Skip the hat and use paint and this project can take less than 10 minutes.
Cost: Less than $1 for 2
Sensory Activities for Preschool & Kindergarten
Rainforest Seeds
I'm once again impressed by the kits by Nature-Watch. They are creative, innovative and educational, not to mention environmentally responsible. These seeds are sourced from Costa Rica and are hand-drilled by local artisans. The kit comes with high quality durable elastic bands to string the seeds together to make bracelets. I anticipate keeping these bracelets for a long time, but when it's time to say good-bye, I feel good knowing that this project produced little waste as the seeds can be returned back into nature and the elastic band disposed of.
If you'd like to see some of the other projects we've done from Nature-Watch kits, click here.
The Rainforest Seeds Kit is available from Nature Watch.
Here's the printer's tray I used.
I can't tell you how much I like it and plan to empty my other scrapbooking supplies out of my trays and bring them into the homeschool room. It's such an inviting way to display materials.
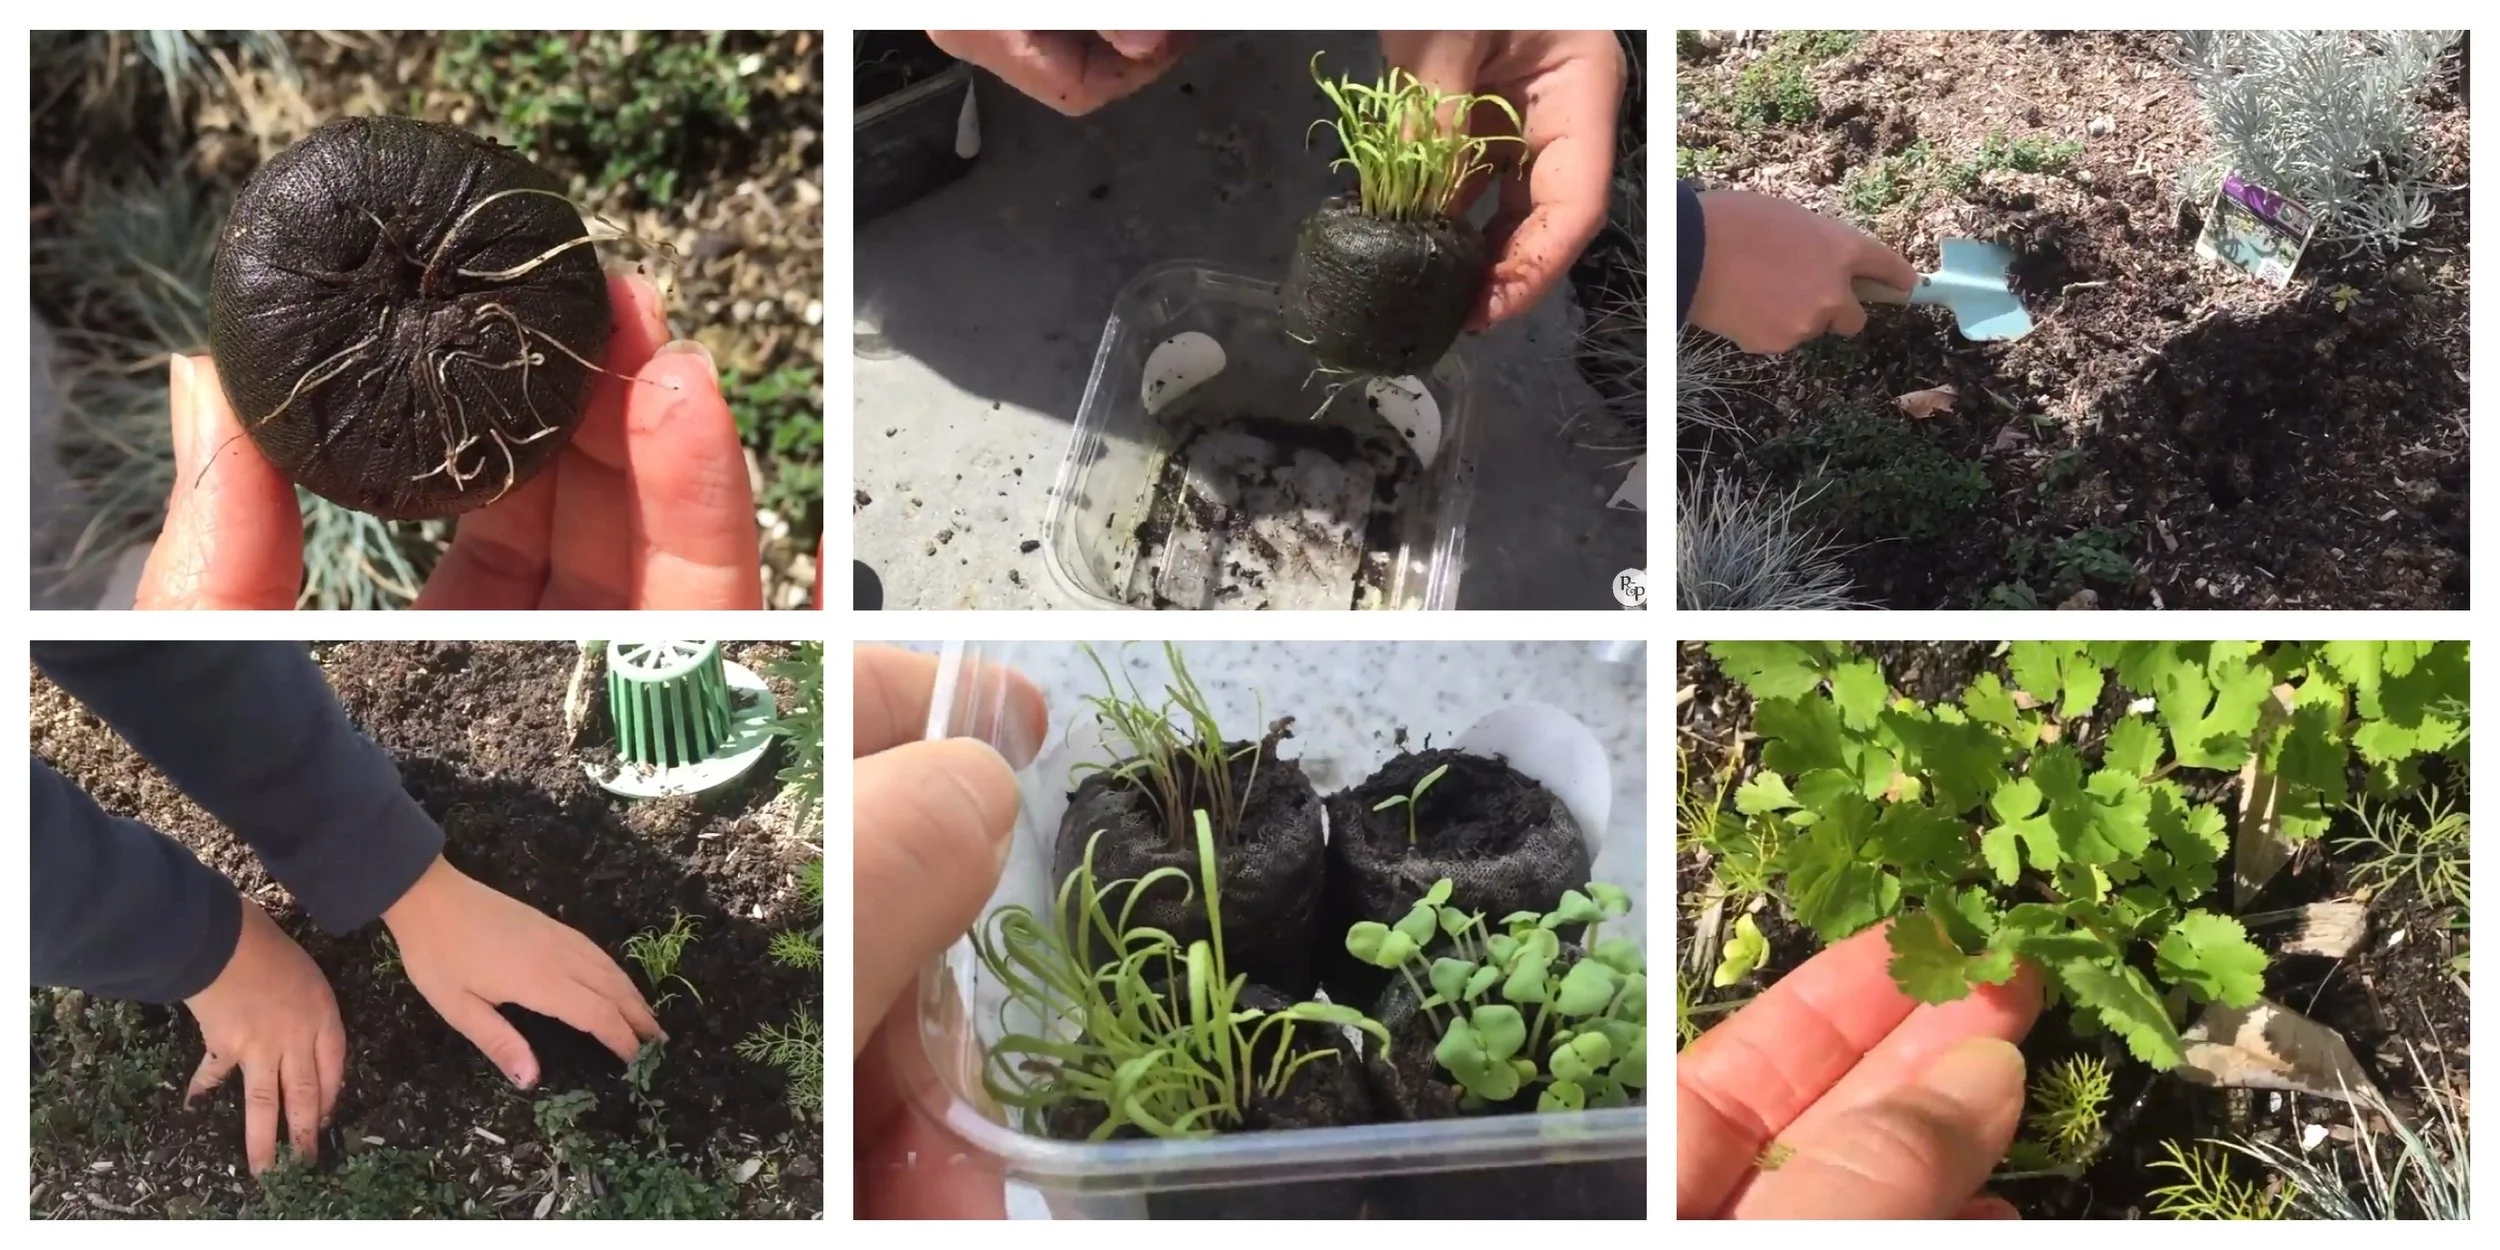
How to Grow Herbs Indoors
I can’t say enough about the Nature-Watch kits we’ve used so far. They are well designed and take all the hard work out of doing hands-on projects and replaces with simple projects that are easy to do with great results. The projects are meaningful, educational and long lasting. And because we’ve purchased the classroom kits for projects, we have left overs to use again and share. This project is for our Spring Nature Themed unit and you can see more projects for this unit.
This project is a Nature-Water DIY indoor greenhouse to grow herbs. It actually works! And what makes it especially easy for transplant are the soil pellets the kit comes with have mesh around them. These soil pellets come dry for easy shipping and storage. You just add several tablespoons per soil pellet to rehydrate them. Keep an extra half inch of water in the container once the soil pellets are rehydrated. Add 10 seeds to each soil pellet (the opening should be face up), cover the seeds and put the lid back on. In about 2-4 weeks, the herbs will be big enough to transplant. They are ready for harvest a few months later. Harvest stems and leaves and leave the plant to continue growing. To keep it from going to seed, pinch off the flowers.
April 2017