
Botany Lessons

Botany Lessons
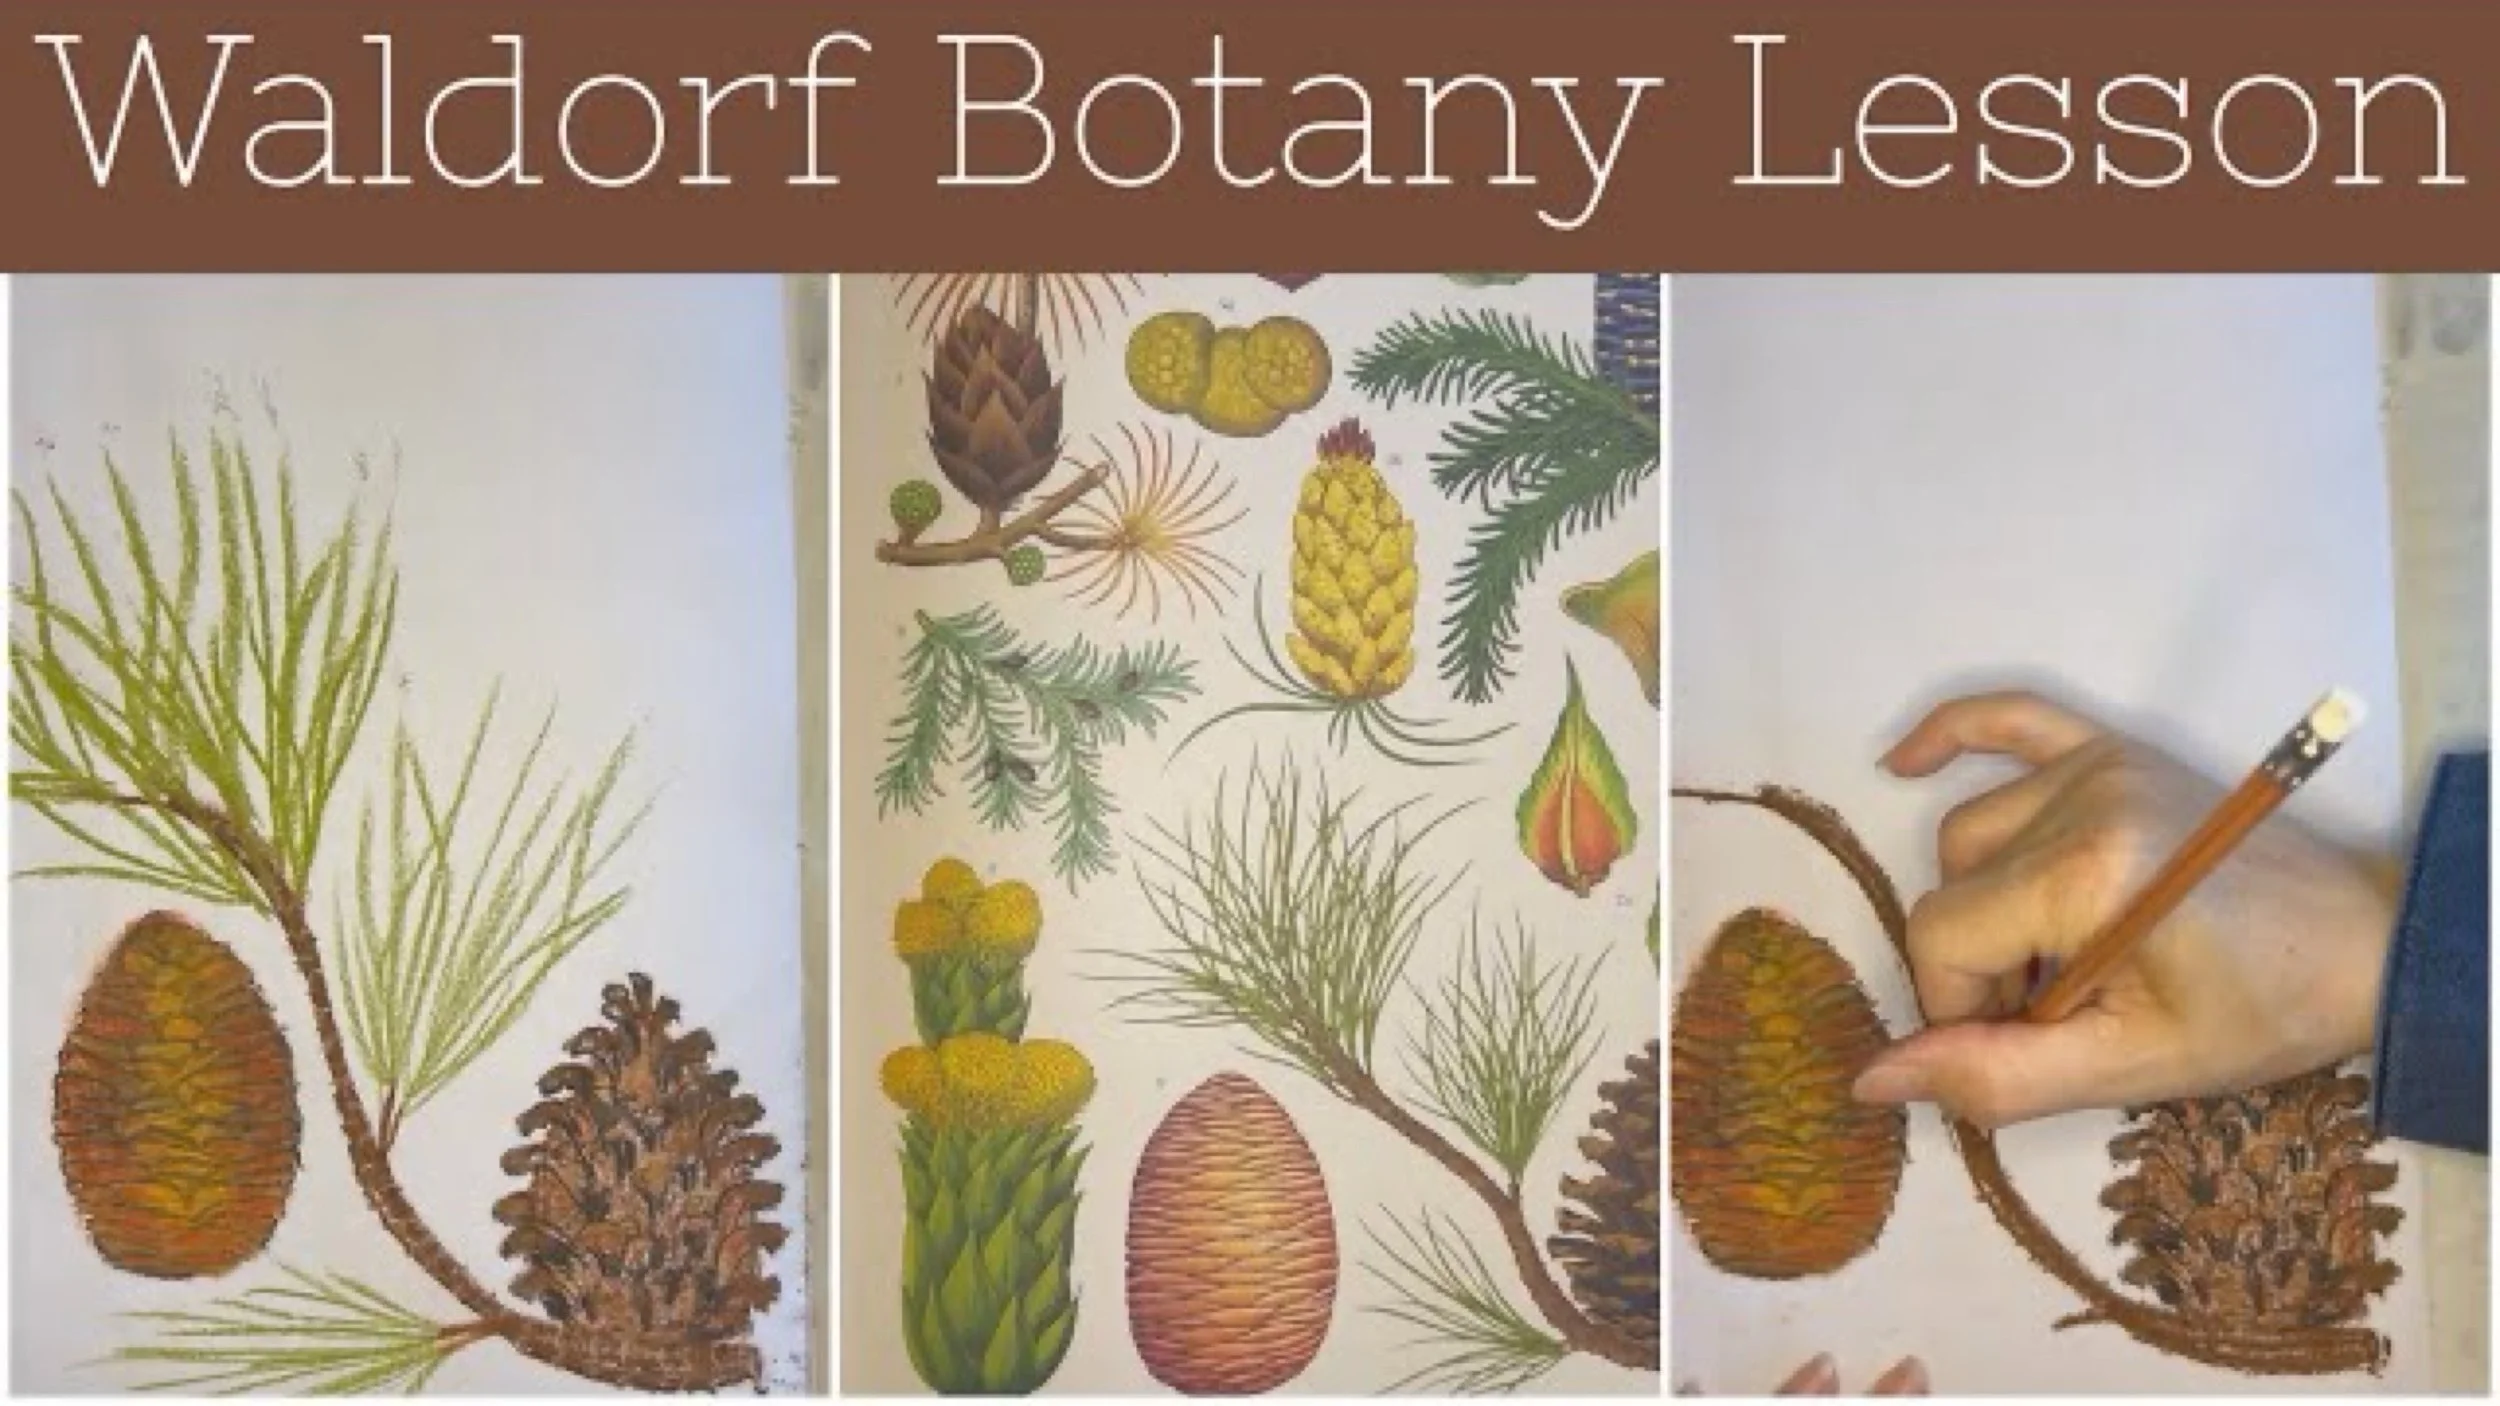
Botany has been one of our favorite main lessons throughout the years. We have done both botany main lesson blocks in Grade 5 and Grade 6 as well as botany unit study starting in Grade 1. When doing a botany main lesson block, we follow the Waldorf curriculum fairly closely. We will include hands-on projects and field trip trips when possible. When doing a botany unit study, we approach the subject area in a variety of ways. Sometimes it’s simply a gardening unit study. Other times we have focused on forging in the wild. Other times we focus on nature walks and hikes. What’s nice about doing a botany unit study with young children is bringing this nature science on a level that young children can learn, appreciate and have awe and reverence in the plant kingdom.
When possible, I love adding hands-on projects. Botany is a great opportunity to include these interactive educational opportunities. In the most simple form, sprouting a seed or growing indoor plants serves this purpose. If you want to expand on this, having an outdoor garden is a great opportunity to see this subject area literally come to life.
As a children matured, the lessons changed. While there were still hands-on projects, we focused more on the lesson, the comprehension, and the writing and illustration of those lessons.
Botany Lessons
-

Chalk Drawings
With most main lesson blocks, we start with a chalk drawing or two, or three or more! Sometimes it sets the vibe for the lessons that follow and excited the students, and other times it serves as a lesson reminder that’s helpful for the during of the block.
-

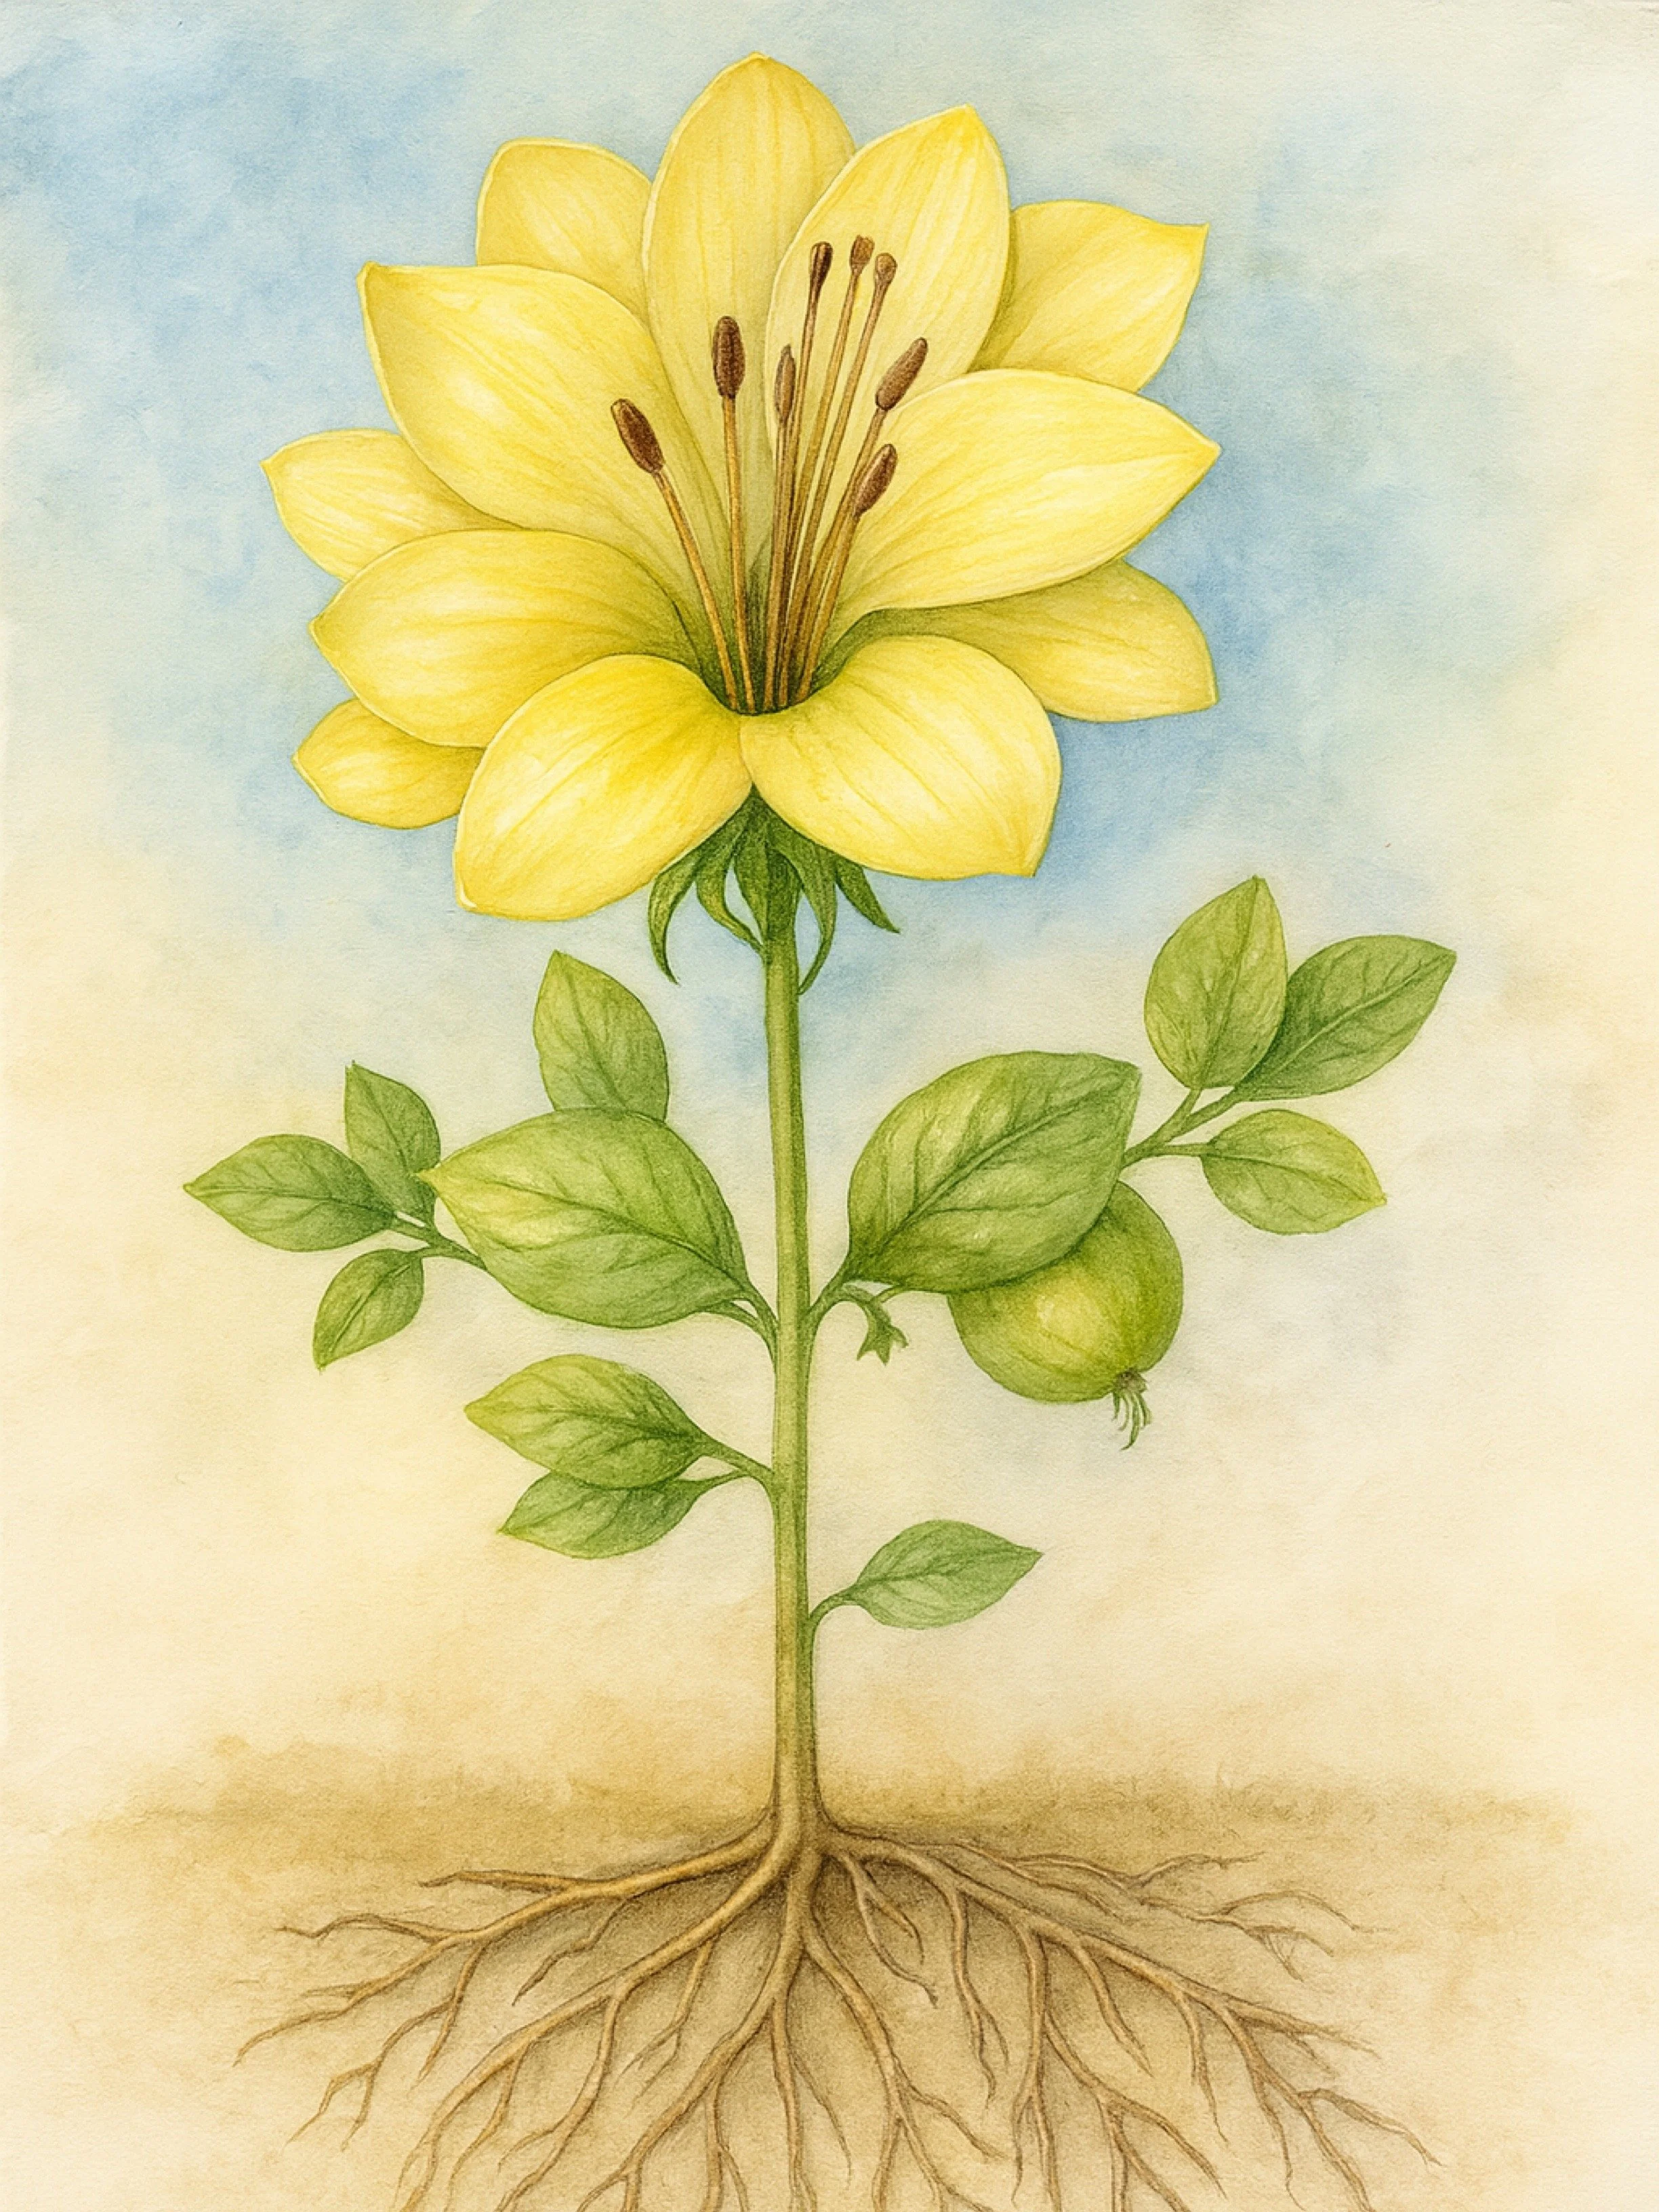
The Complete Plant
The first lesson in the botany block is on the complete plant. Starting with the whole and moving to the parts is a profound concept found in Waldorf and practiced in each block.
-

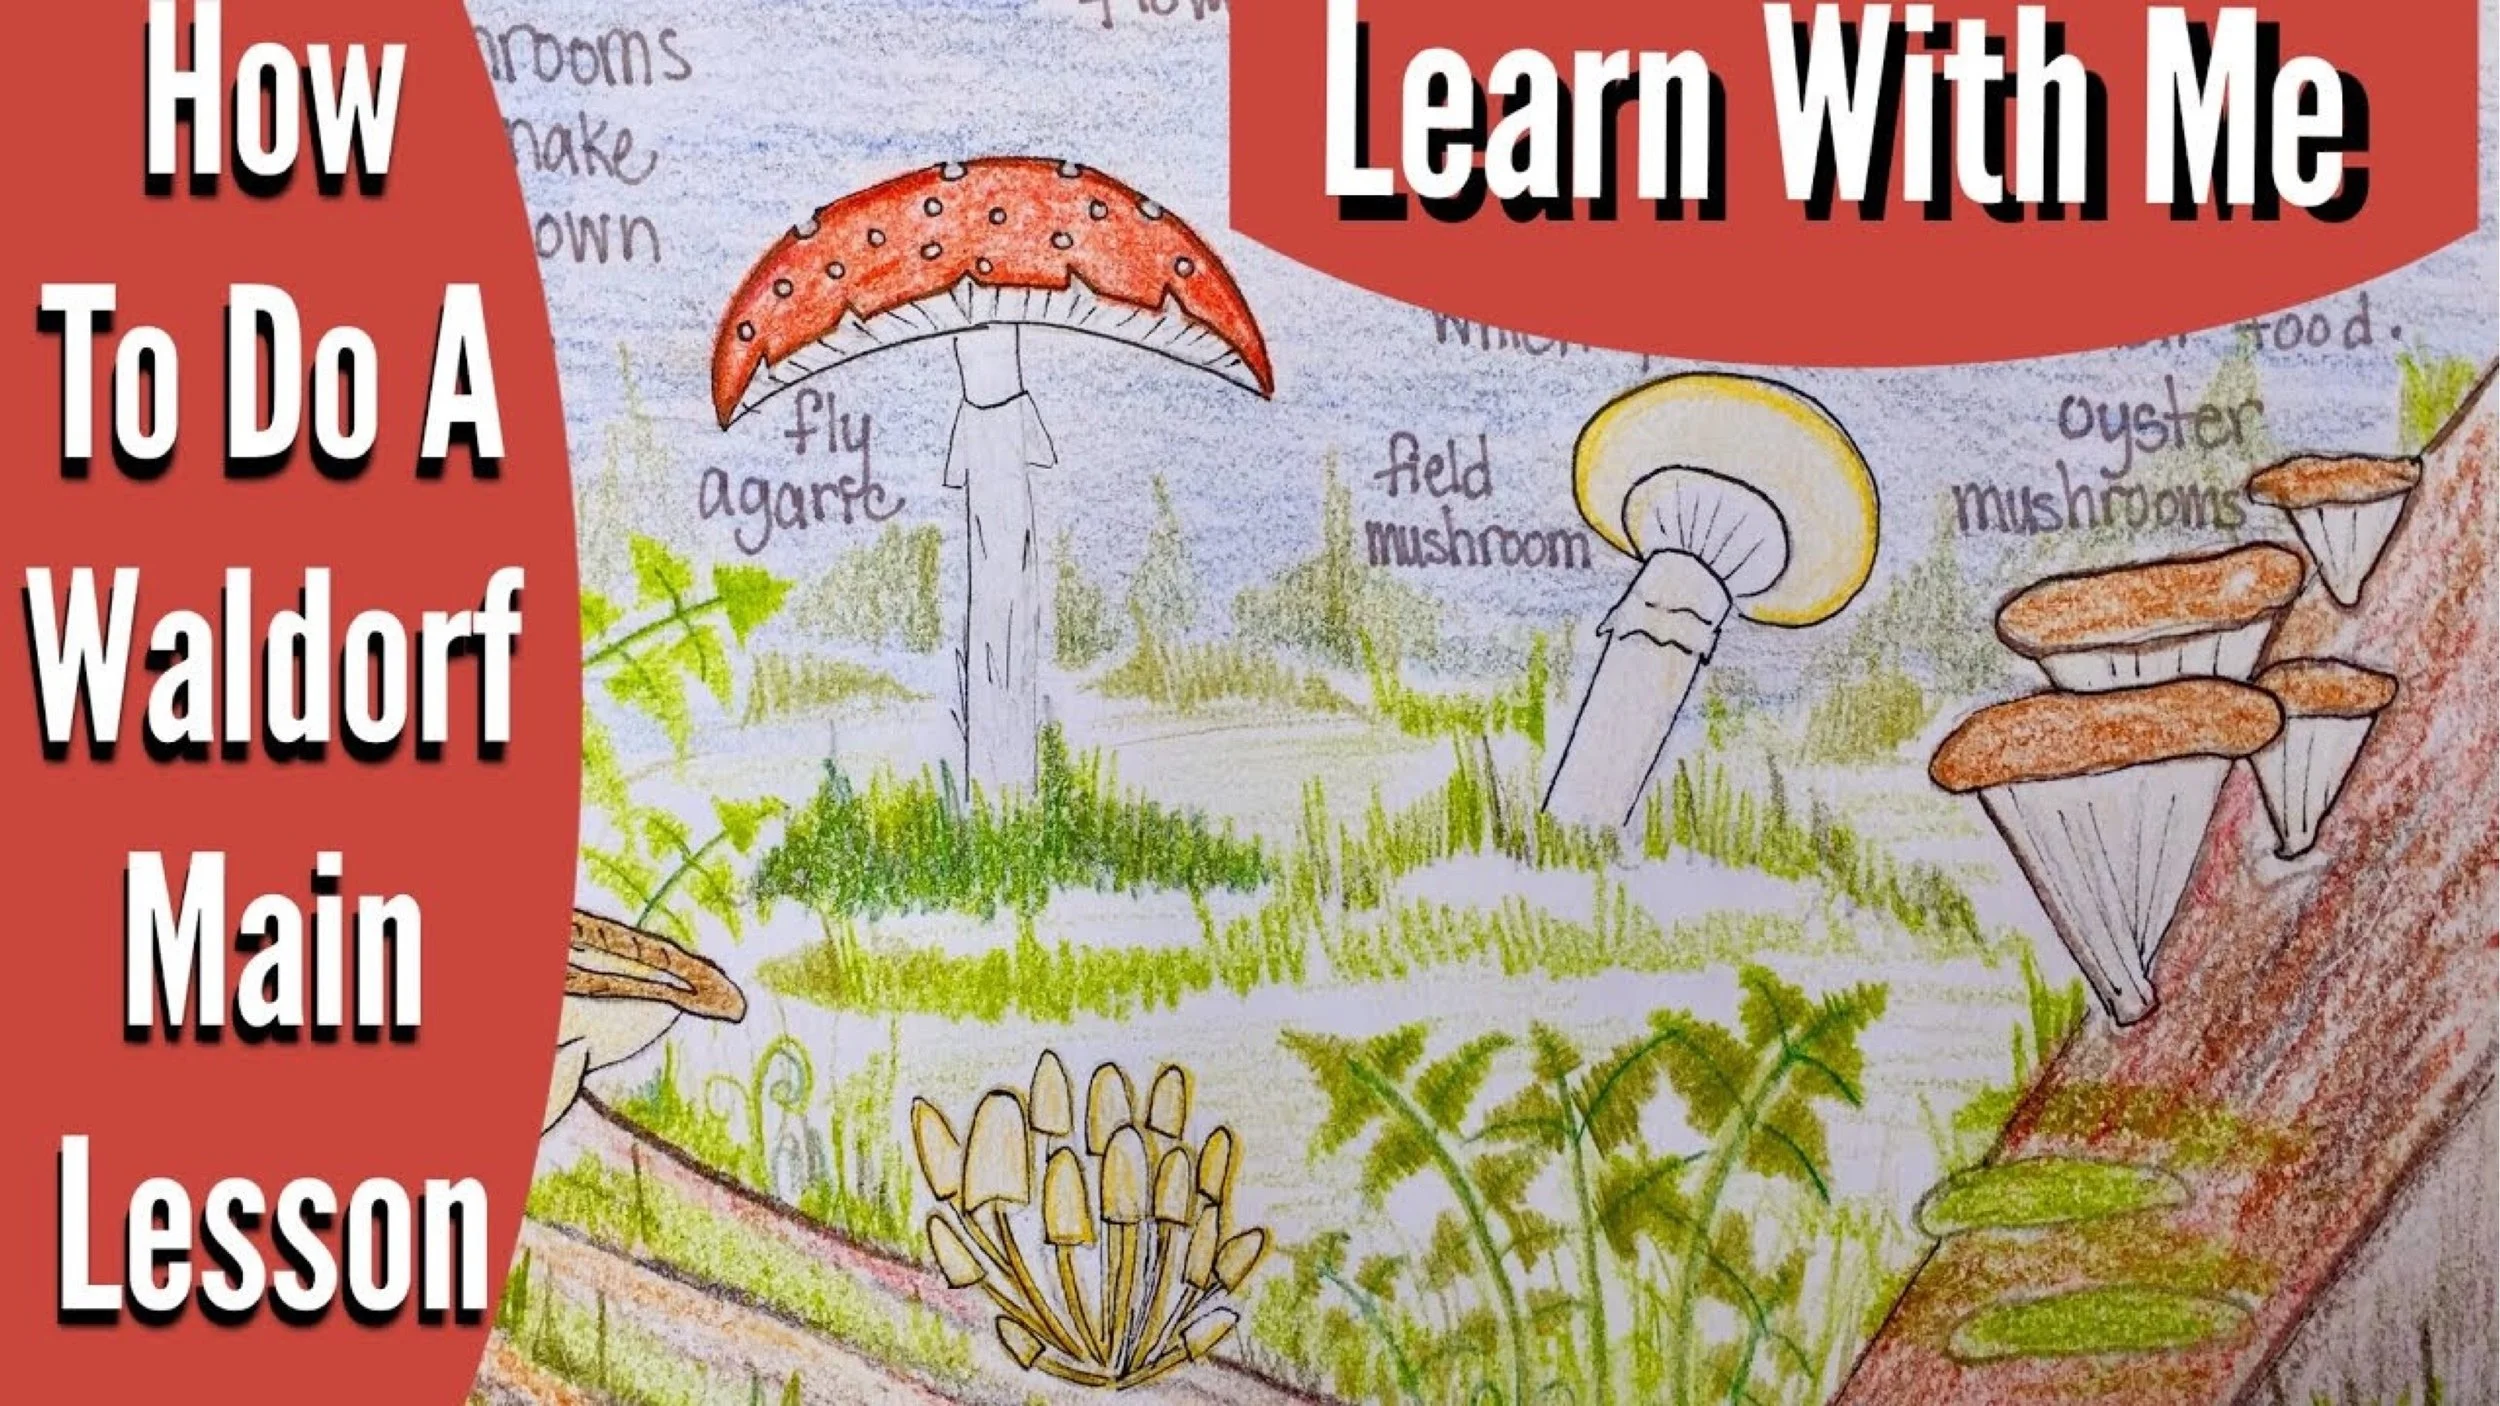
Fungi & Mushrooms
The first lesson, after examining the whole of the plant kingdom with a complete plant, is on fungi and mushrooms. While fungi and mushrooms are not plants, as they are part of the fungus kingdom, they are necessary in botany as both decomposition of plant matter, and the decomposition of rocks into soil would be impossible without them.
-
Algae & Seaweed
The first botany lesson on simple plants is algae, the simplest life form in the plant kingdom, yet absolutely essential to the sustaining of animal life on this planet.
-

Lichen
This is an exciting turning point in the evolution of the Plant kingdom: Lichen. Fungi and algae team up to create soil. Together these two organisms form a symbiotic relationship, each serving the other so they can survive together.
-

Mosses
Mosses appear delicate but they are surprisingly hardy with the ability to survive periods of drought. Primarily, though, you’ll find them in cool moist shady areas.
-

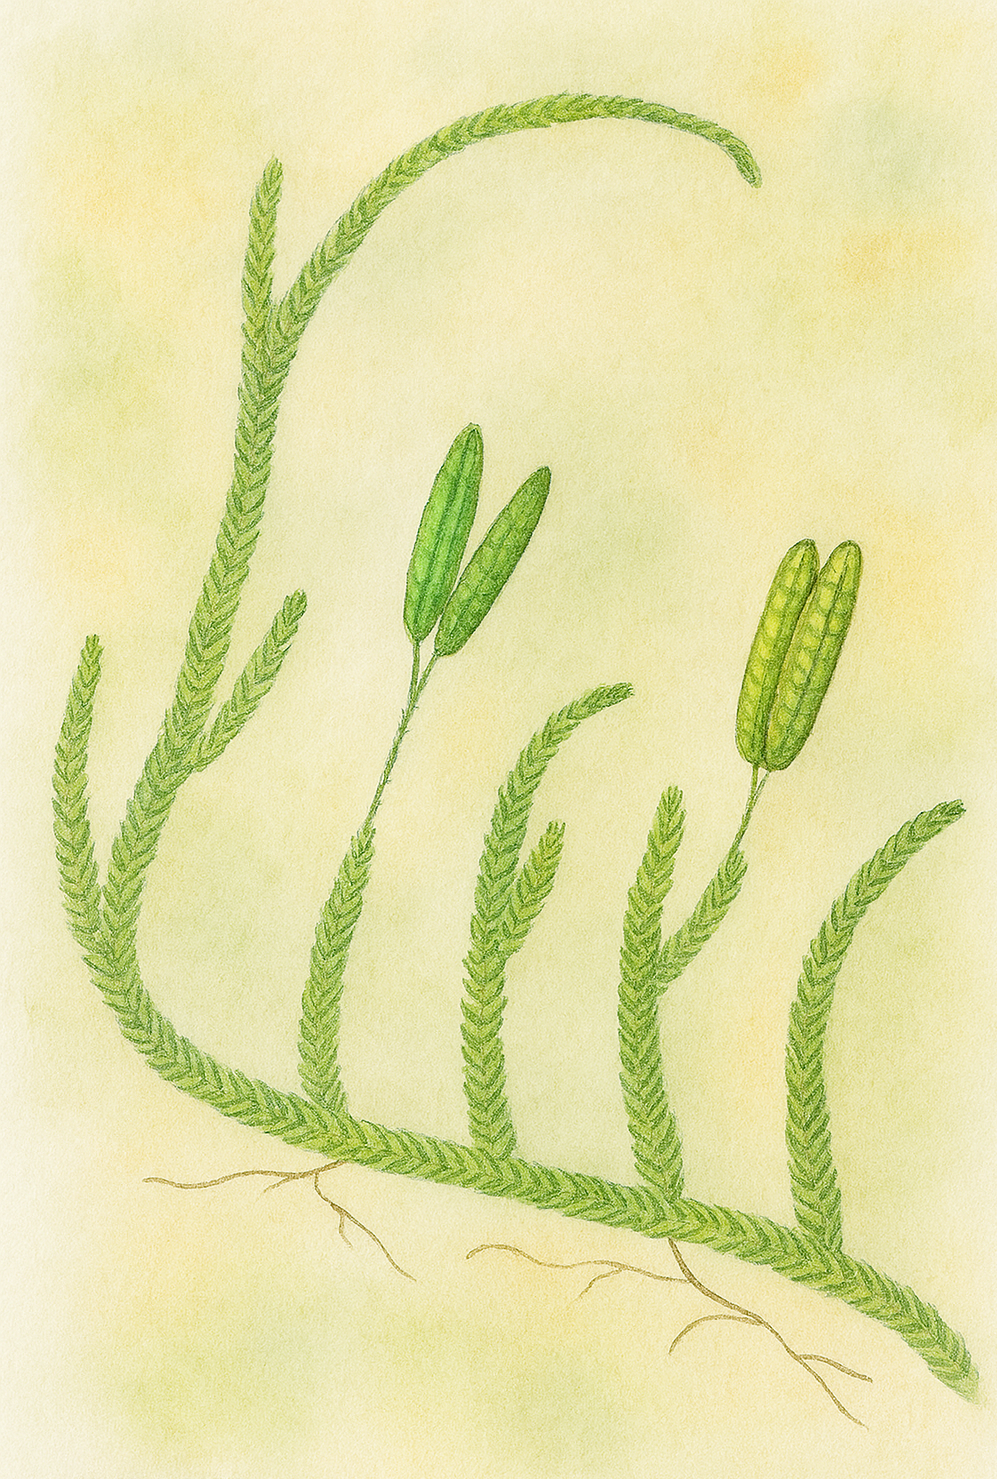
Clubmoss & Horsetail
We enter the carboniferous time period of earth’s history as we explore the prehistoric horsetails. There was once a time when the towering trees of the carboniferous period were horsetails and ferns.
-

Ferns
Still in the carboniferous period with ferns. What’s especially nice about these lessons is that ferns are easy to find as house plants or shady forested areas. Additionally, their rhizomes and spores on the backside of their leave are easy to identify.
-

Conifers
Welcome to the world of trees! The towering coniferous forests of ferns and horsetails now has a new member member with hard barks and cone bearing seeds. Forests of conifers now dominate the skies.
-

Bulbs & Lillies
Bulbs and lilies are presented as plants that hold life’s forces deep within the earth, storing light and warmth during the dark seasons so they can burst forth with delicate blossoms when the world awakens in spring.
-

Grains & Cereals
Grains and cereals are introduced as gifts of the sun, standing tall and golden, sustaining humanity by transforming sunlight and soil into nourishing seeds.
-

Palms & Monocots
every culture around the world has a staple food that is nourishing and calorie dense and is part of the monocot family. Familiar ones will be the grains and cereals, by bamboo, palms and plantains are also monocots.
-

Underground Edibles
We added a couple bonus lessons to our Botany Main Lesson Block in the Fall of 2024 to include some lessons inspired by the book Botanicum.
-
Broadleaf Trees
Broadleaf trees are deciduous or evergreen trees with wide, flat leaves that capture sunlight efficiently for photosynthesis. They include species like oaks, maples, and beeches, often producing flowers, fruits, and nuts as part of their life cycle.
-

Flowering Fruit Trees
Flowering fruit trees produce blossoms that later develop into fruits, playing a crucial role in plant reproduction. These trees, such as cherry, apple, and peach, are valued for both their ornamental beauty and edible harvests.

Chalk Drawings
-
Chalk Drawing | Botany Waldorf Main Lesson Block
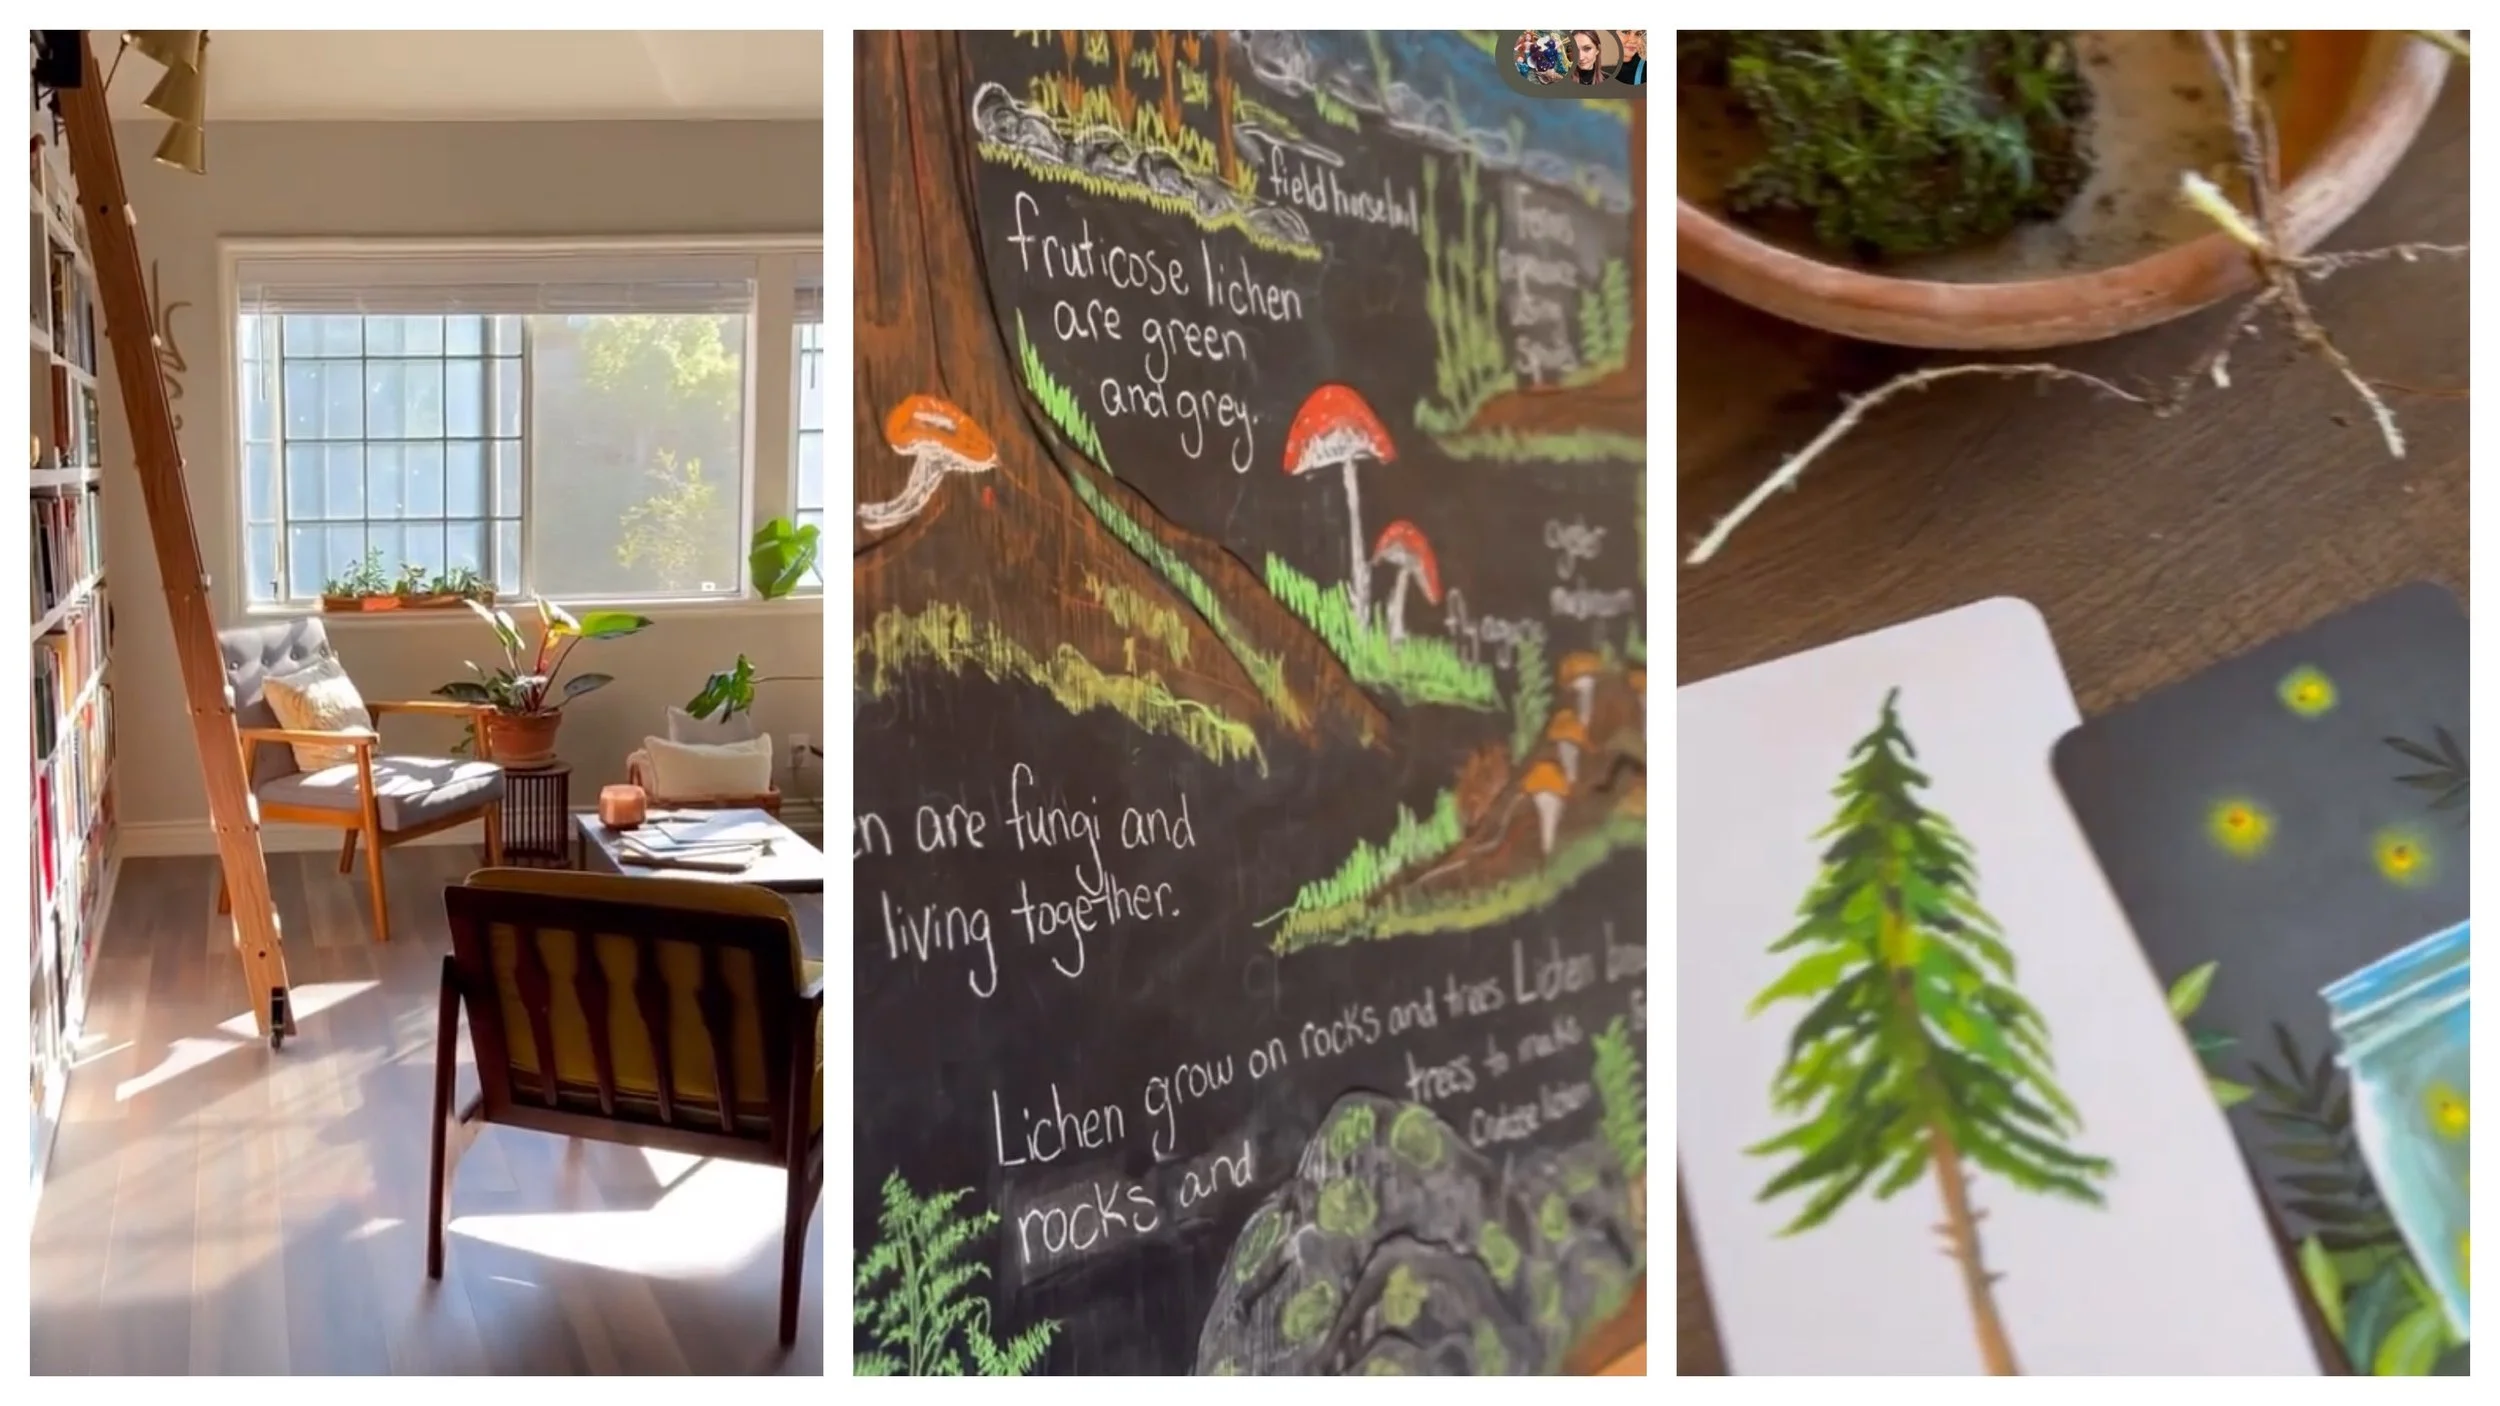
To kick off our Waldorf Botany Main Lesson block and Plants and Trees unit study, I did a 4'x6' chalk drawing of a forest scene that will remain in our homeschool room for the duration of this unit. I used a chalk drawing I did in 2010 as inspiration for this drawing. Originally I copied parts of this out of the Live-Education main lesson book for Botany while finding inspiration from other drawings.
-
Waldorf Botany Chalk Drawing
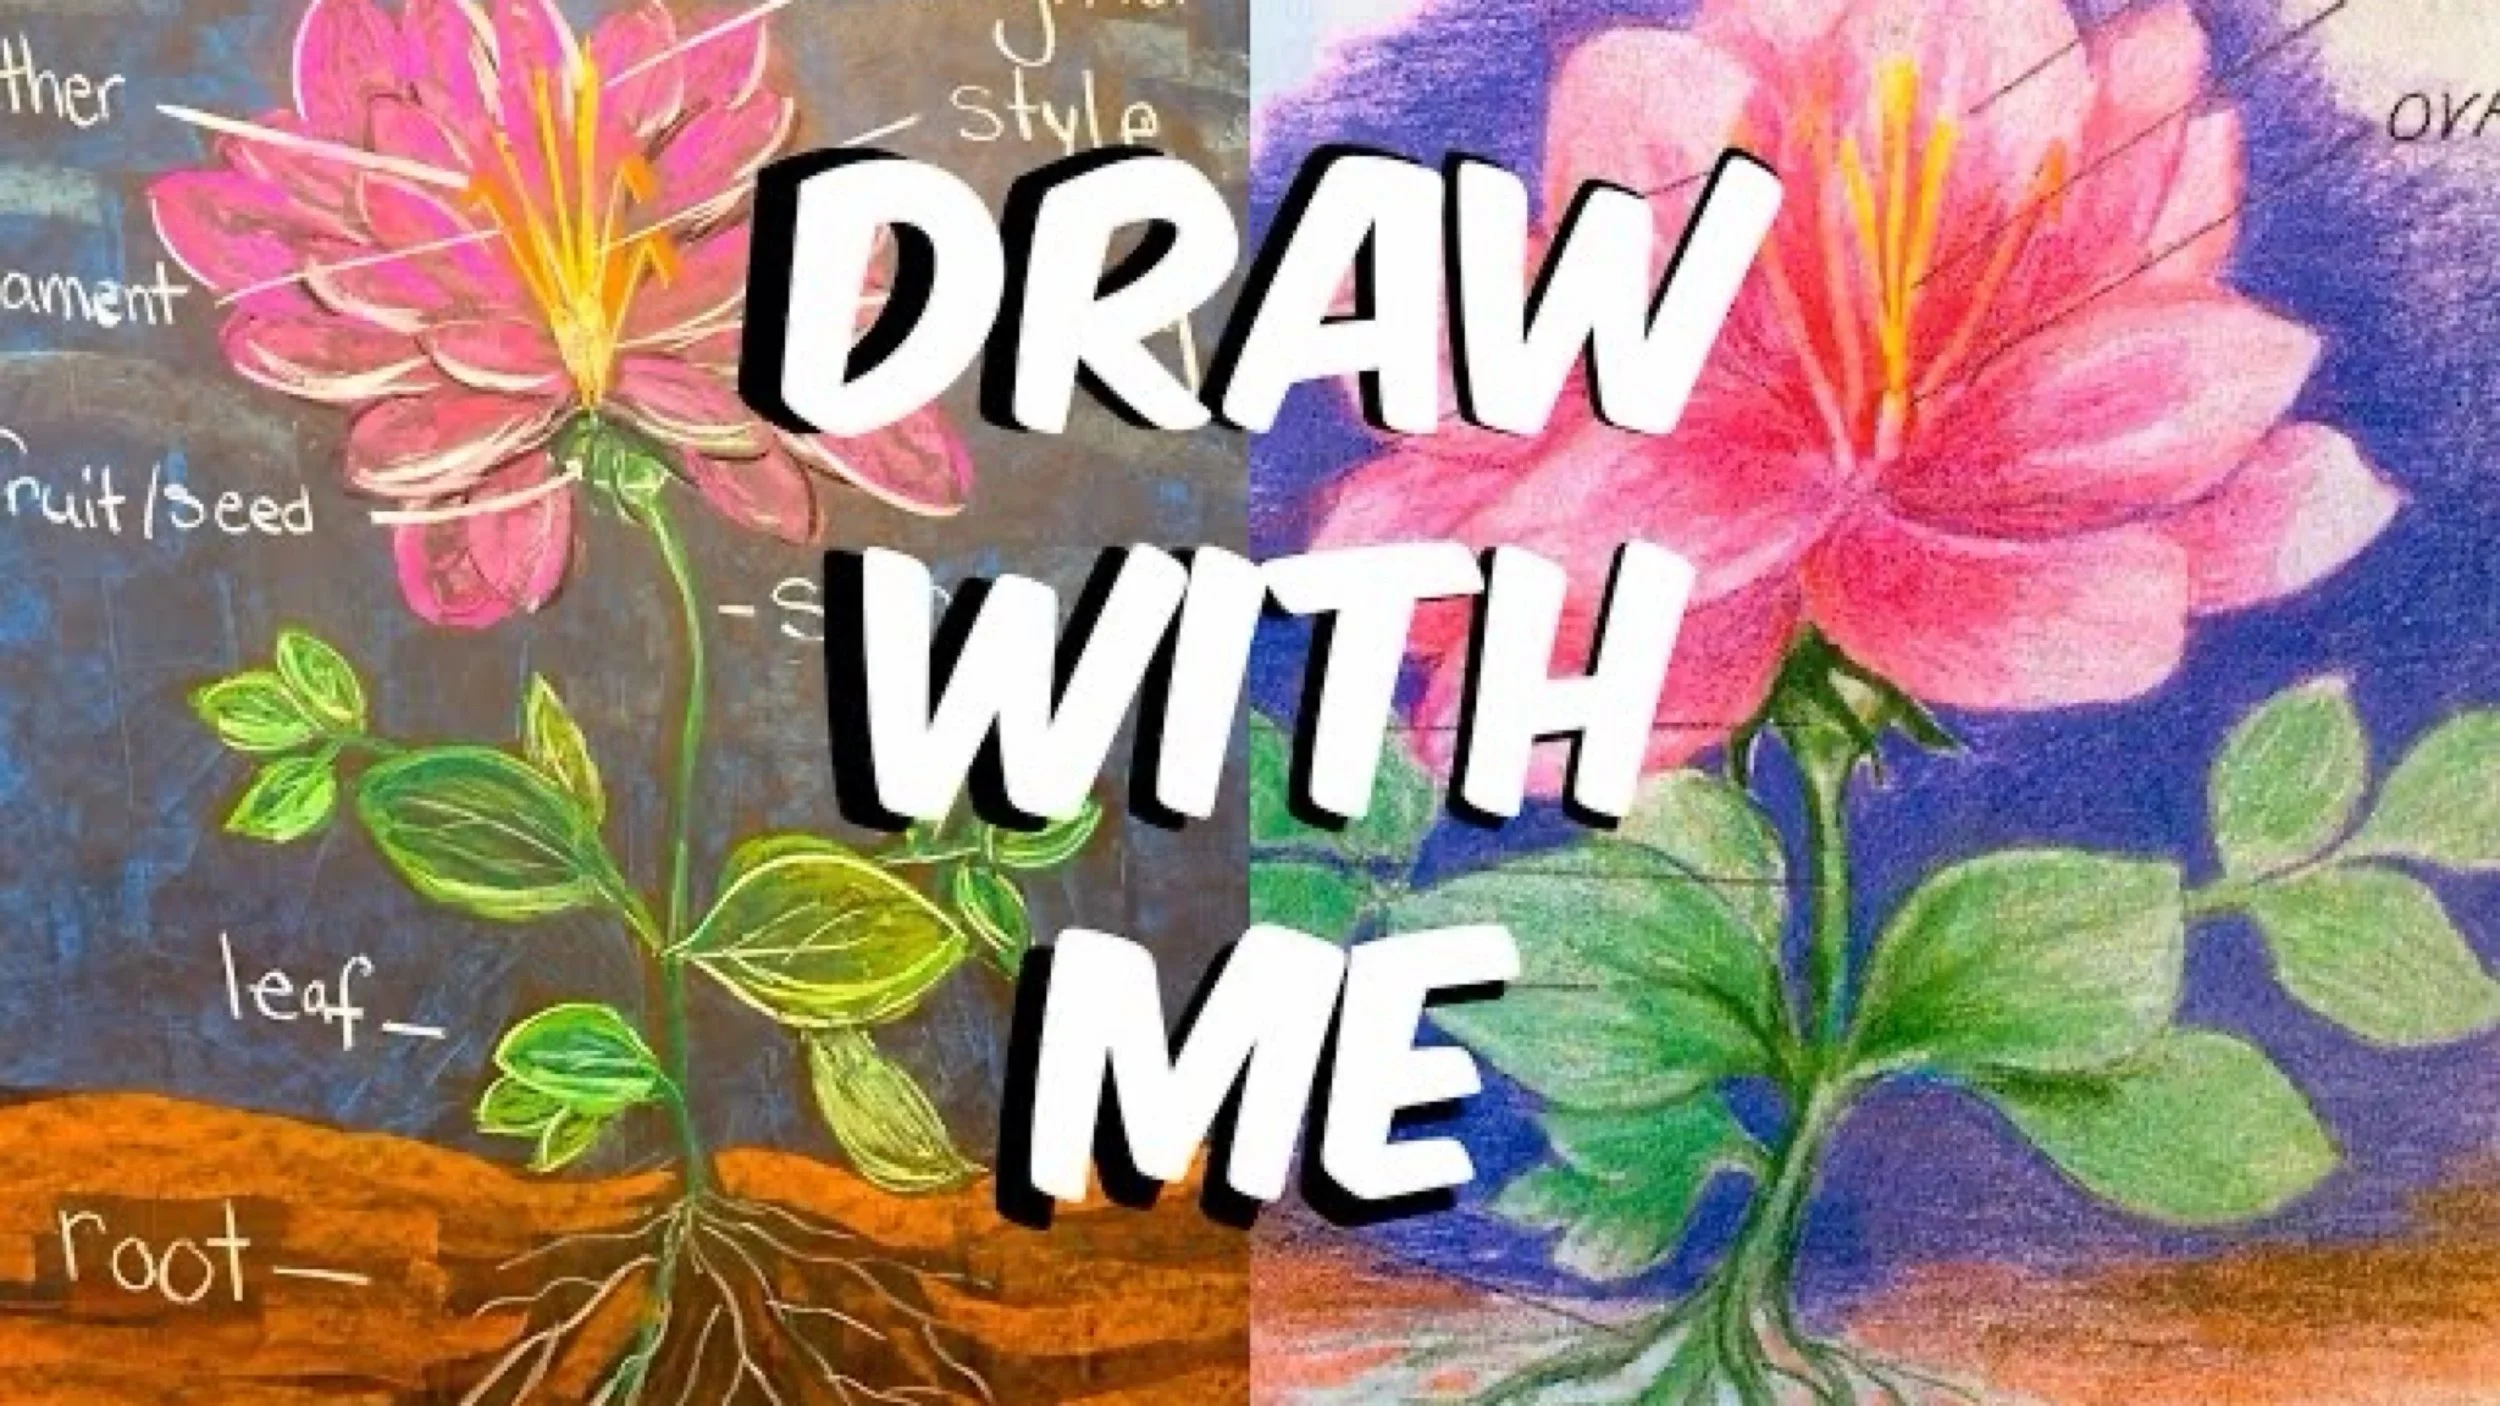
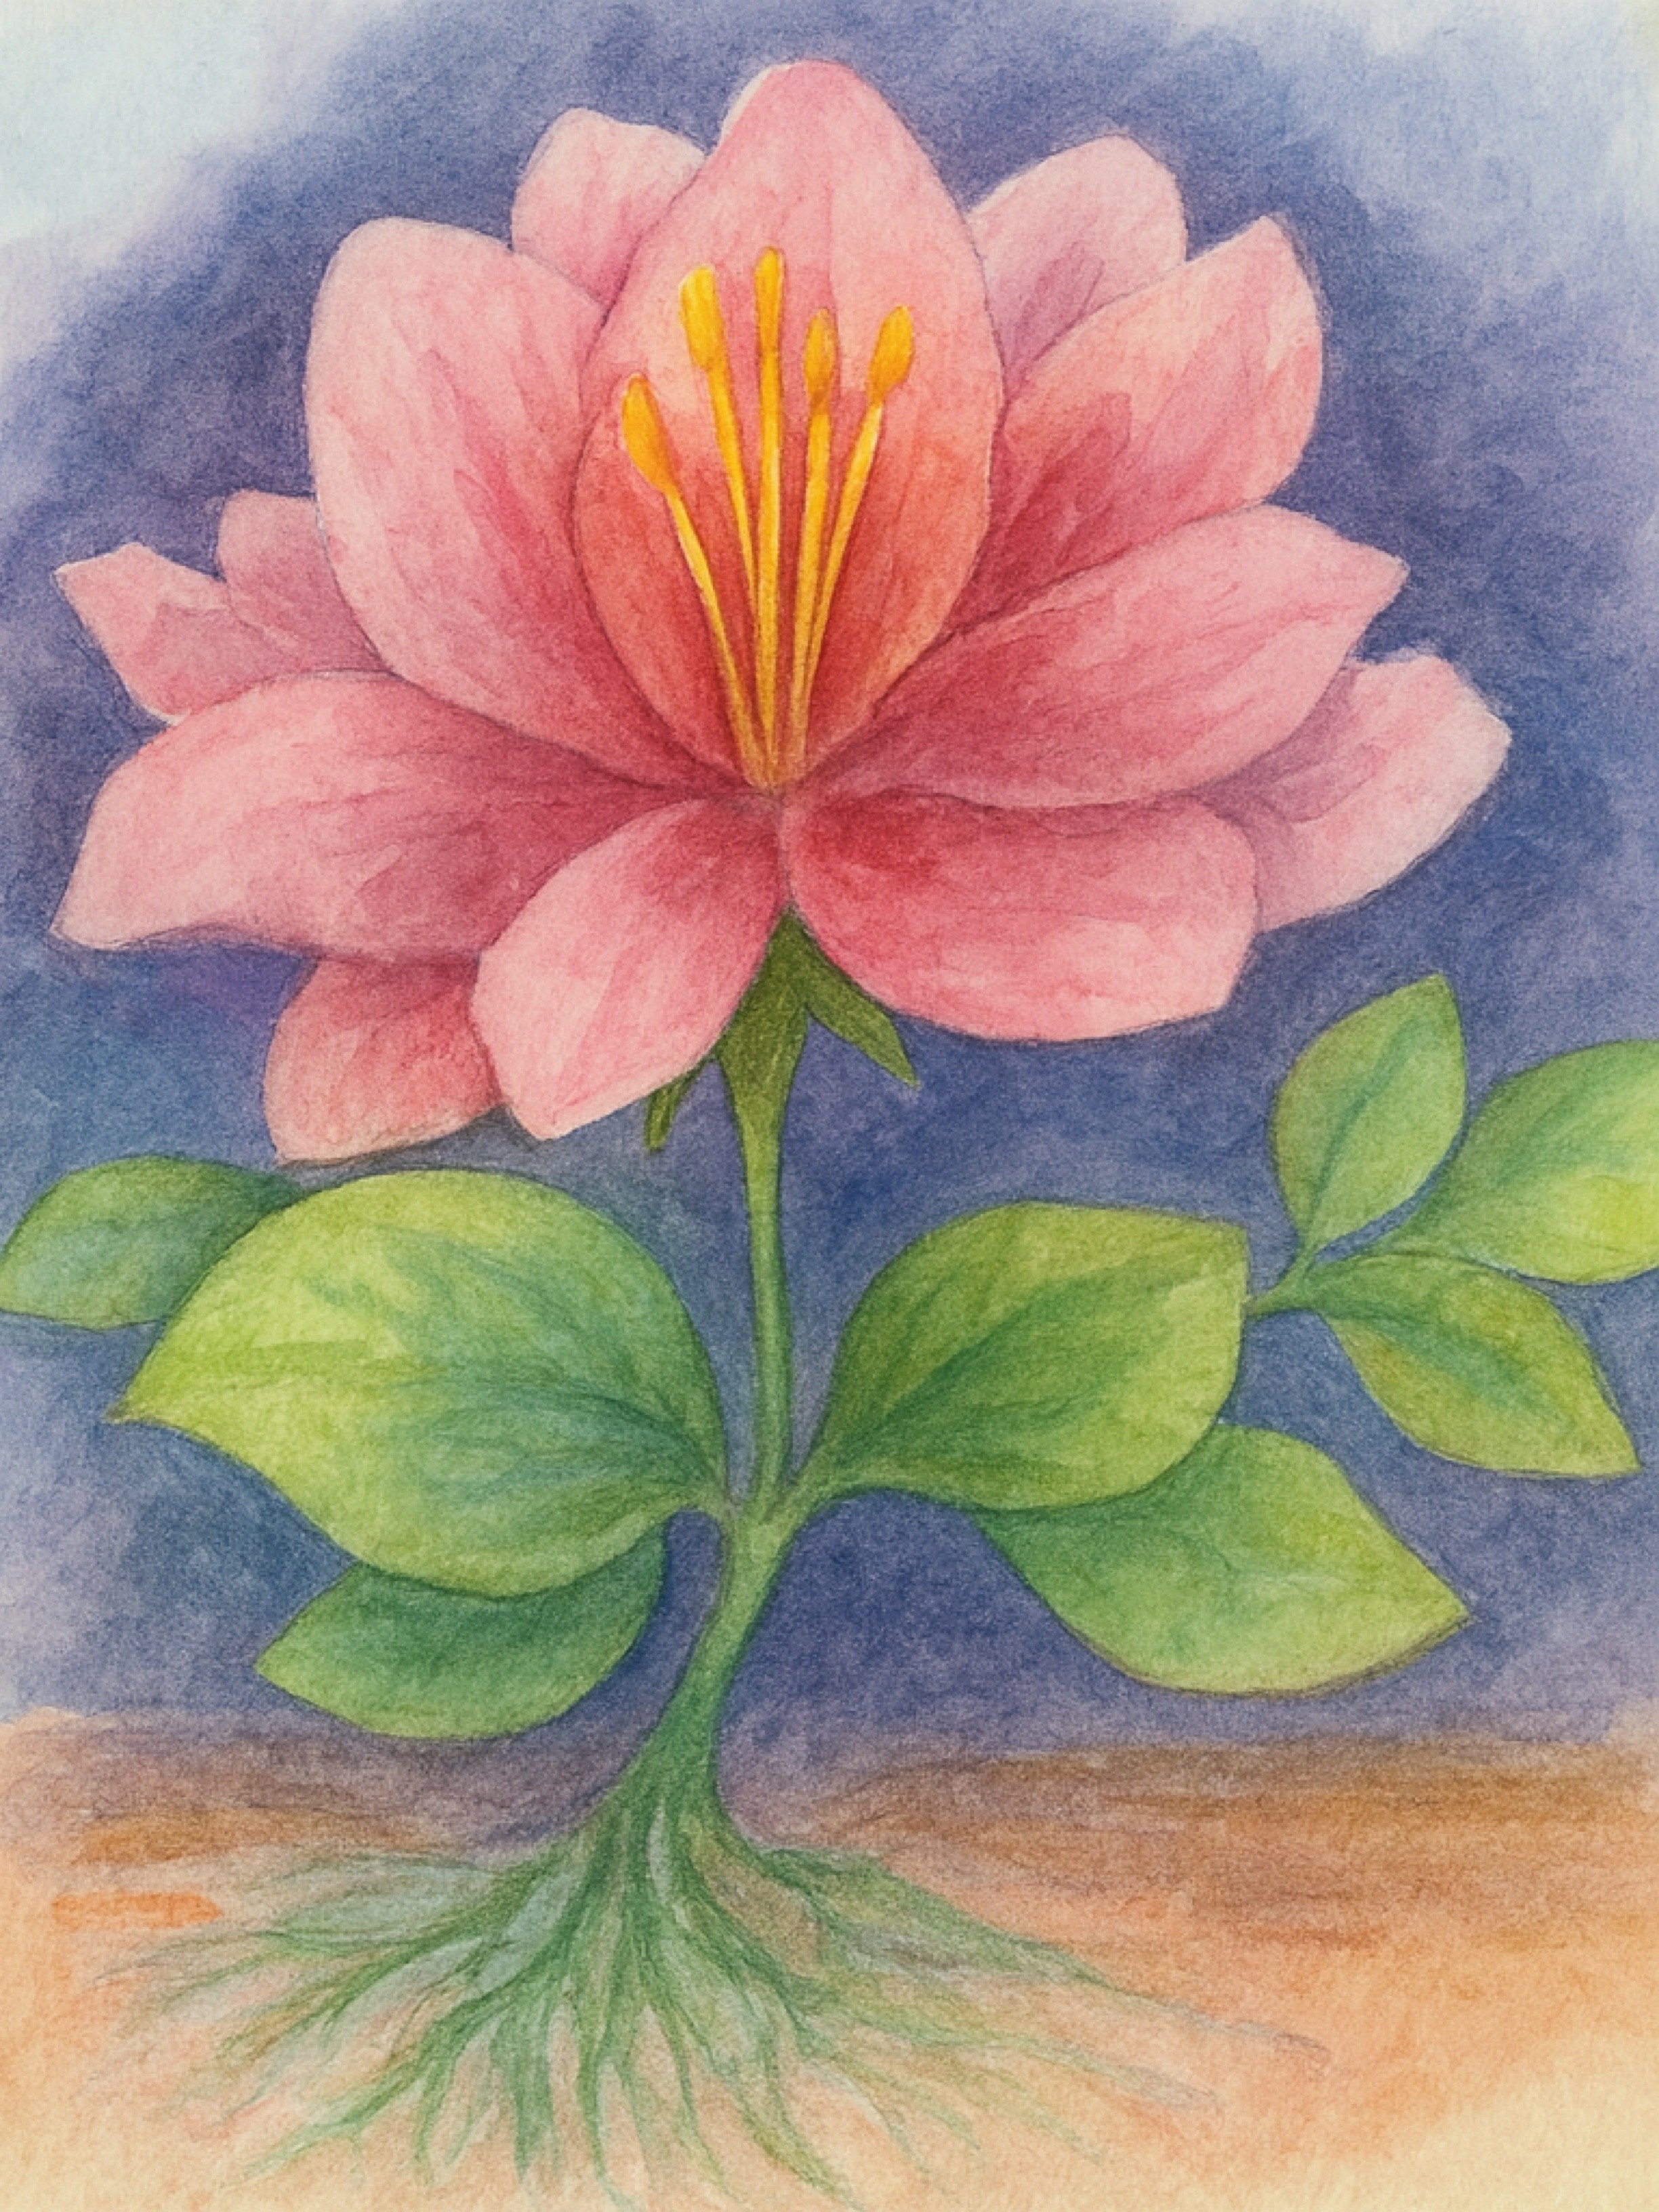
The complete plant is the first lesson for the Waldorf Main Lesson block for Botany. This chalk drawing illustrated the plant with its root, stem, leaves, fruit/seed, and flower. This drawing was made using chalk pastels by Sargent Art found at fine art stores
Chalk Drawing | Botany
To kick off our Waldorf Botany Main Lesson block and Plants and Trees unit study, I did a 4’x6′ chalk drawing of a forest scene that will remain in our homeschool room for the duration of this unit. I used a chalk drawing I did in 2010 as inspiration for this drawing. Originally I copied parts of this out of the Live-Education main lesson book for Botany while finding inspiration from other drawings.
Today’s drawing took 2.5 hours over the course of two days. It’s four feet by six feet and it’s on my mobile chalk board which was originally a slate chalkboard that I recently painted with Rustoleum chalkboard paint.
I try to do at least one chalk drawing for each unit.
Waldorf Botany Chalk Drawing
The complete plant is the first lesson for the Live Education Waldorf Main Lesson block for Botany. This chalk drawing illustrated the plant with its root, stem, leaves, fruit/seed, and flower. This drawing was made using chalk pastels by Sargent Art found at fine art stores. Ours were purchased from Dick Blick. This drawing took about 30 minutes to do and will remain on the chalkboard for about a week or less. The botany main lesson is typically for grade 5 in a Waldorf school. My 10 year old 5th grader and 15 year old 9th grader will be doing these lessons. My 5th grader did his drawing on pastel paper using oil pastels. The accompanying page in his main lesson book includes a color pencil drawing with explanation of the lesson in the form of copywork. My 9th grader did his in his main lesson book using Lyra color pencils. His narration includes original work as well as copywork.
April 2017
The Complete Plant
-
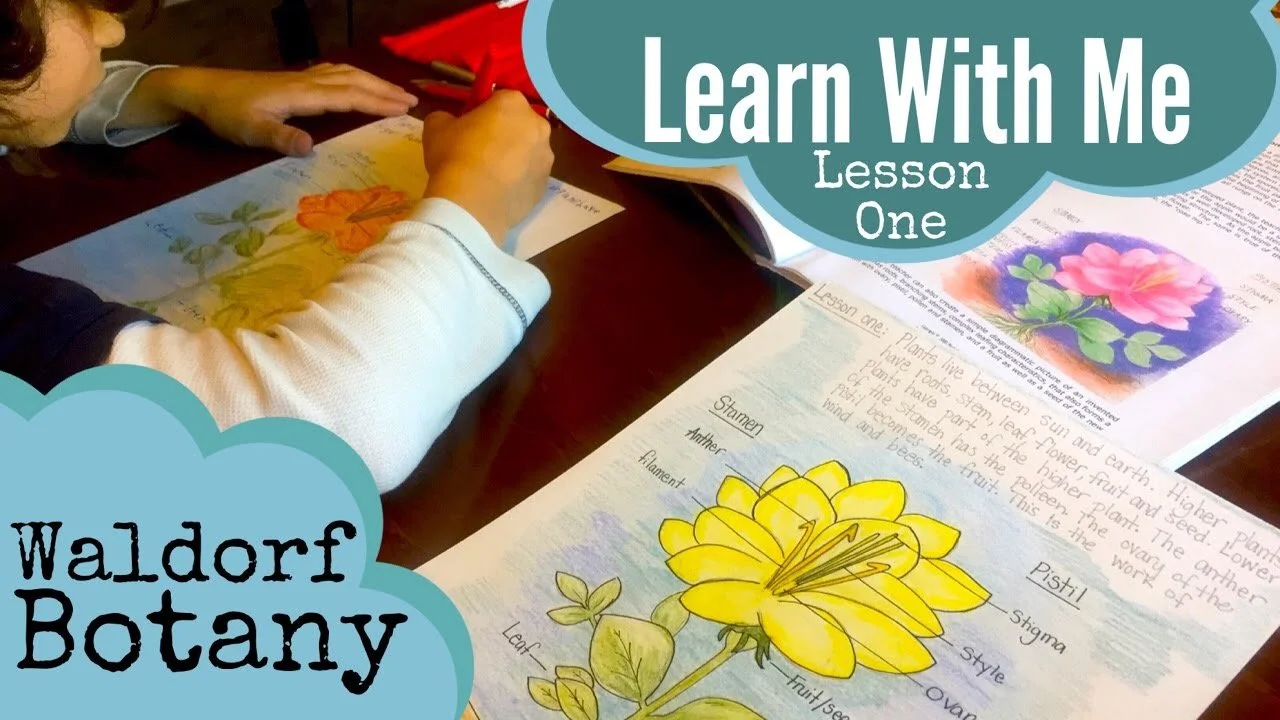
Lesson 1 | The Complete Plant
The complete plant is the first lesson for the Waldorf Main Lesson block for Botany. This chalk drawing illustrated the plant with its root, stem, leaves, fruit/seed, and flower. This drawing was made using chalk pastels by Sargent Art found at fine art stores.
-
Inside a Waldorf Main Lesson | How We Homeschool | Lesson 1 Botany
It all begins with an idea. Maybe you want to launch a business. Maybe you want to turn a hobby into something more.
-
Botany Main Lesson Block Lesson 1: The Complete Plant
A brief look at some of the lesson work I present to my student if I’m preparing lessons in a main lesson book rather than the chalk board.
-

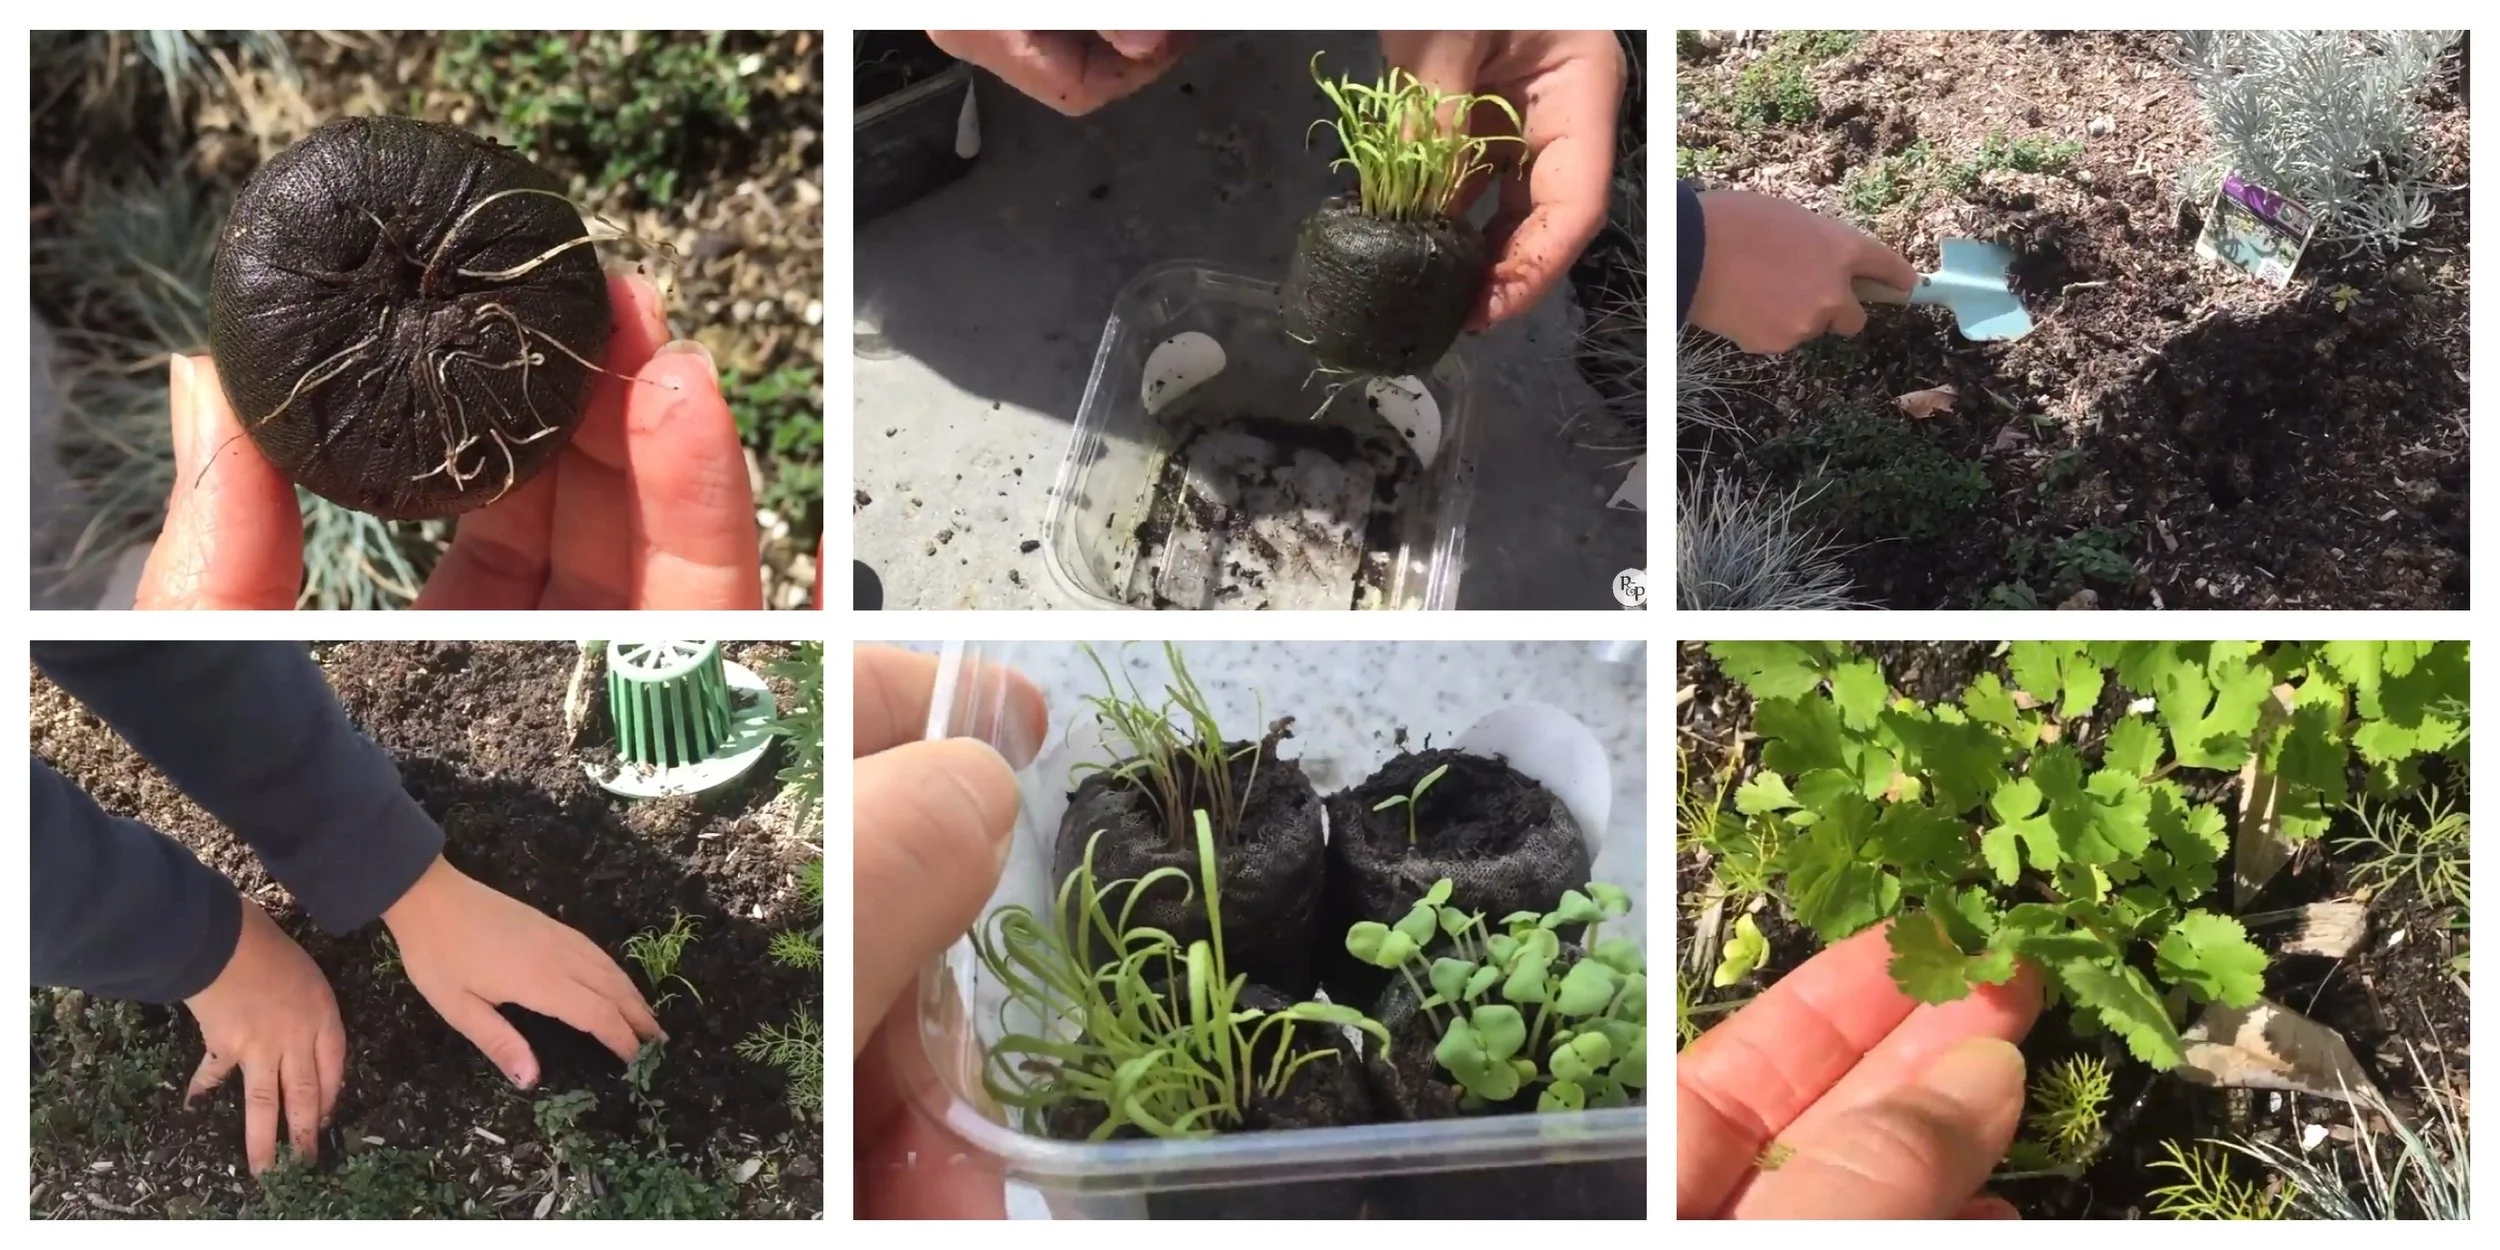
How a Seed Grows | Root Observation
It's a quintessential rite of passage to grow plants from seeds, and now you can watch the growth of the roots with this Root Observation kit from Nature-Watch.
-

DIY Mason Jar Herb Garden
Grow your own herb garden using supplies you probably already have around the house. This DIY indoor Mason Jar herb garden was easy to do and you can make one, too!
-

How to Grow Herbs Indoors for Transplant | Indoor Greenhouse
I can't say enough about the Nature-Watch kits we've used so far. They are well designed and take all the hard work out of doing hands-on projects and replaces with simple projects that are easy to do with great results.
-
How to Grow Sprouts
One day when I was only five years old, my mom caught me sneaking the sprouts. It was as if I was sneaking chocolate! They were so good, and I kept eating them before they were ready. Fast forward nearly four decades, I'm at it again!
-
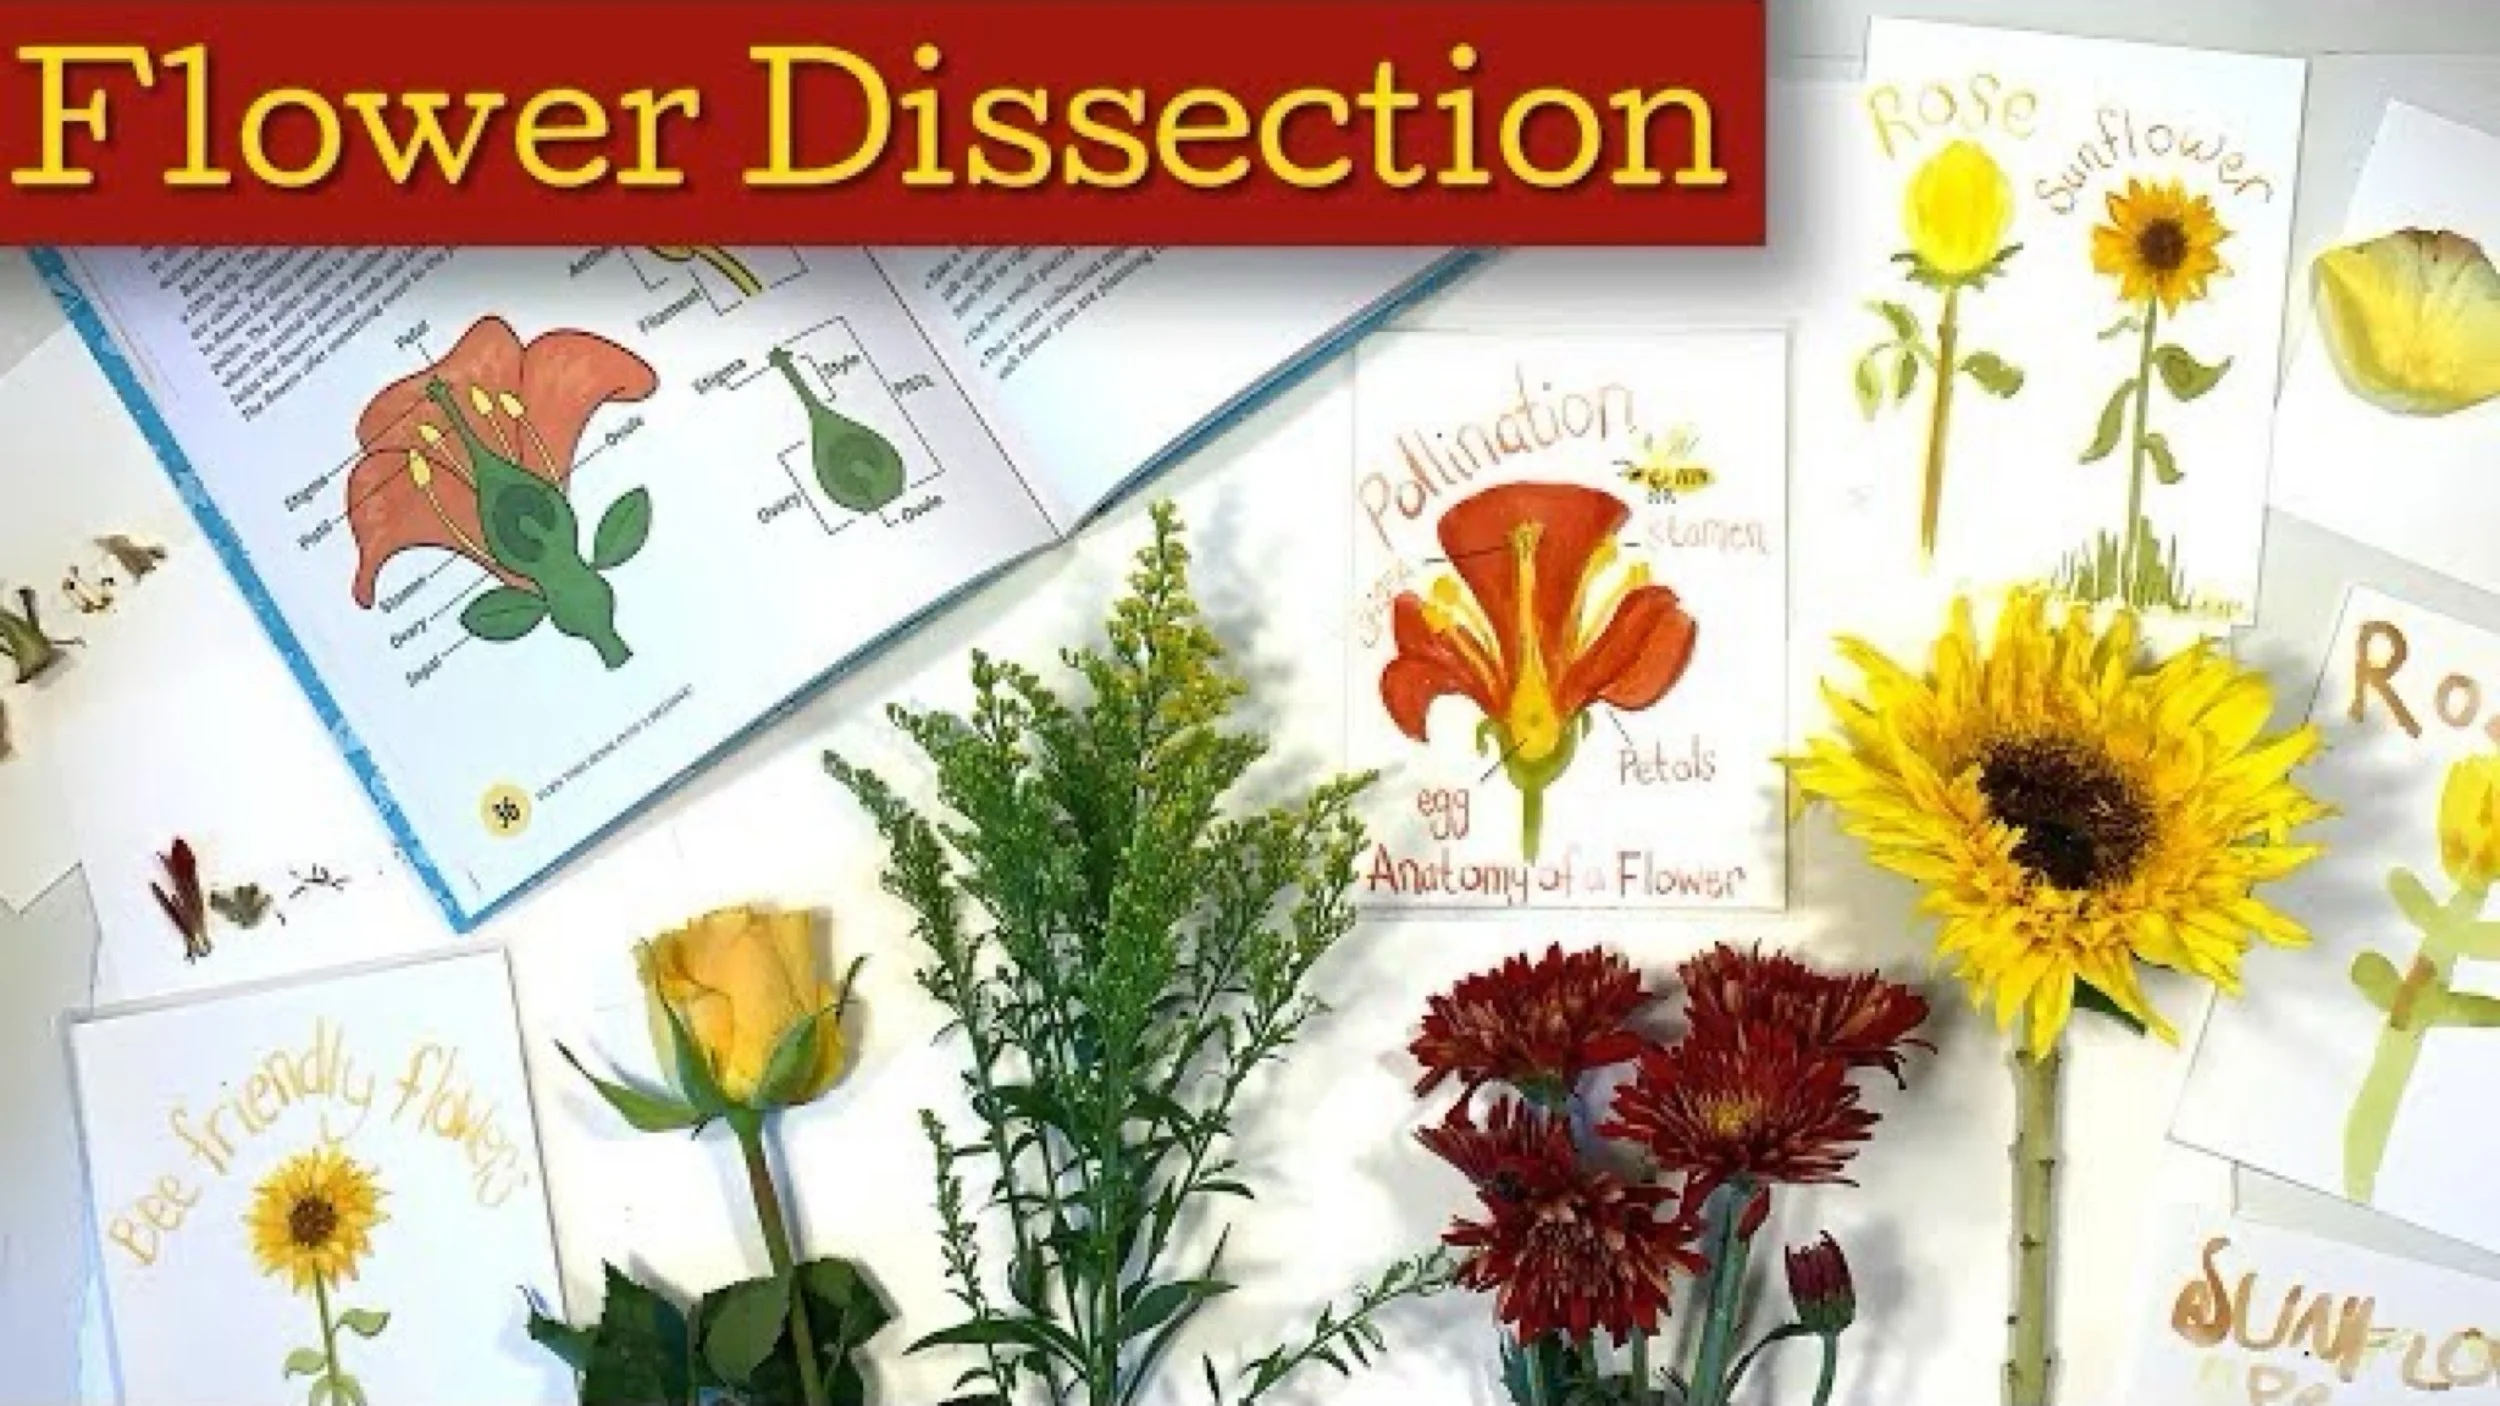
Flower Dissection
There is a deep education in being able to be present with your surroundings and having wonder and curiosity in what you see without having to understand it on an analytical basis. And that’s why I had mixed feelings about this lesson. Flower dissection is reserved for older students, but is included here as often our lessons include mixed grades.
-
Homeschool Teaching Vlog | Botany Lesson
Our lessons are long and usually involve some hands-on activities. For this lesson, we grew some sprouts, tasted them, oversved them, learned about them and finally drew them and wrote about them.
The Complete Plant
Inside a Waldorf Main Lesson | How We Homeschool
Lesson 1 Botany
We are working through our Live Education Waldorf Main Lesson block for Botany. Today I’ll show you how we do our lessons. We completed our first lesson: The complete plant. I drew it on the chalkboard using chalk pastels while my 10 year old son drew his using oil pastels on pastel paper. I decided to do the lesson again using drawing paper and color pencils so we could get more detail. I’m really glad we did and I’m please with the result. My son enjoyed this lesson and is very pleased with his work.
Today’s lesson is an extension of the our first lesson; however, our first lesson did not include any narration, so this lesson will include narration as well as labels for all the parts of the plant. The narration work for this lesson is copywork. He will be copying the few lines of information at the top of his paper.
We are using 70lb. 9″x12″ drawing paper from a local craft store. He used Koh-I-Noor colored pencils while I used Irojiten and Lyra colored pencils. I outlined my drawing with a Staedtler fineliner in .03 and .05 tip, while my son left his unlined.
A couple days later, I gave my son a blank piece of paper and asked him to recreate the lesson. It was a means to keep him busy while preparing for that day’s lesson, but it turned out to be a great way to review, plus he liked it! Now, I intend to do that again. Later we’ll take our drawings and narrations to an office supply store to have it bound, or we will bind it ourselves using this technique.
Botany Main Lesson Block
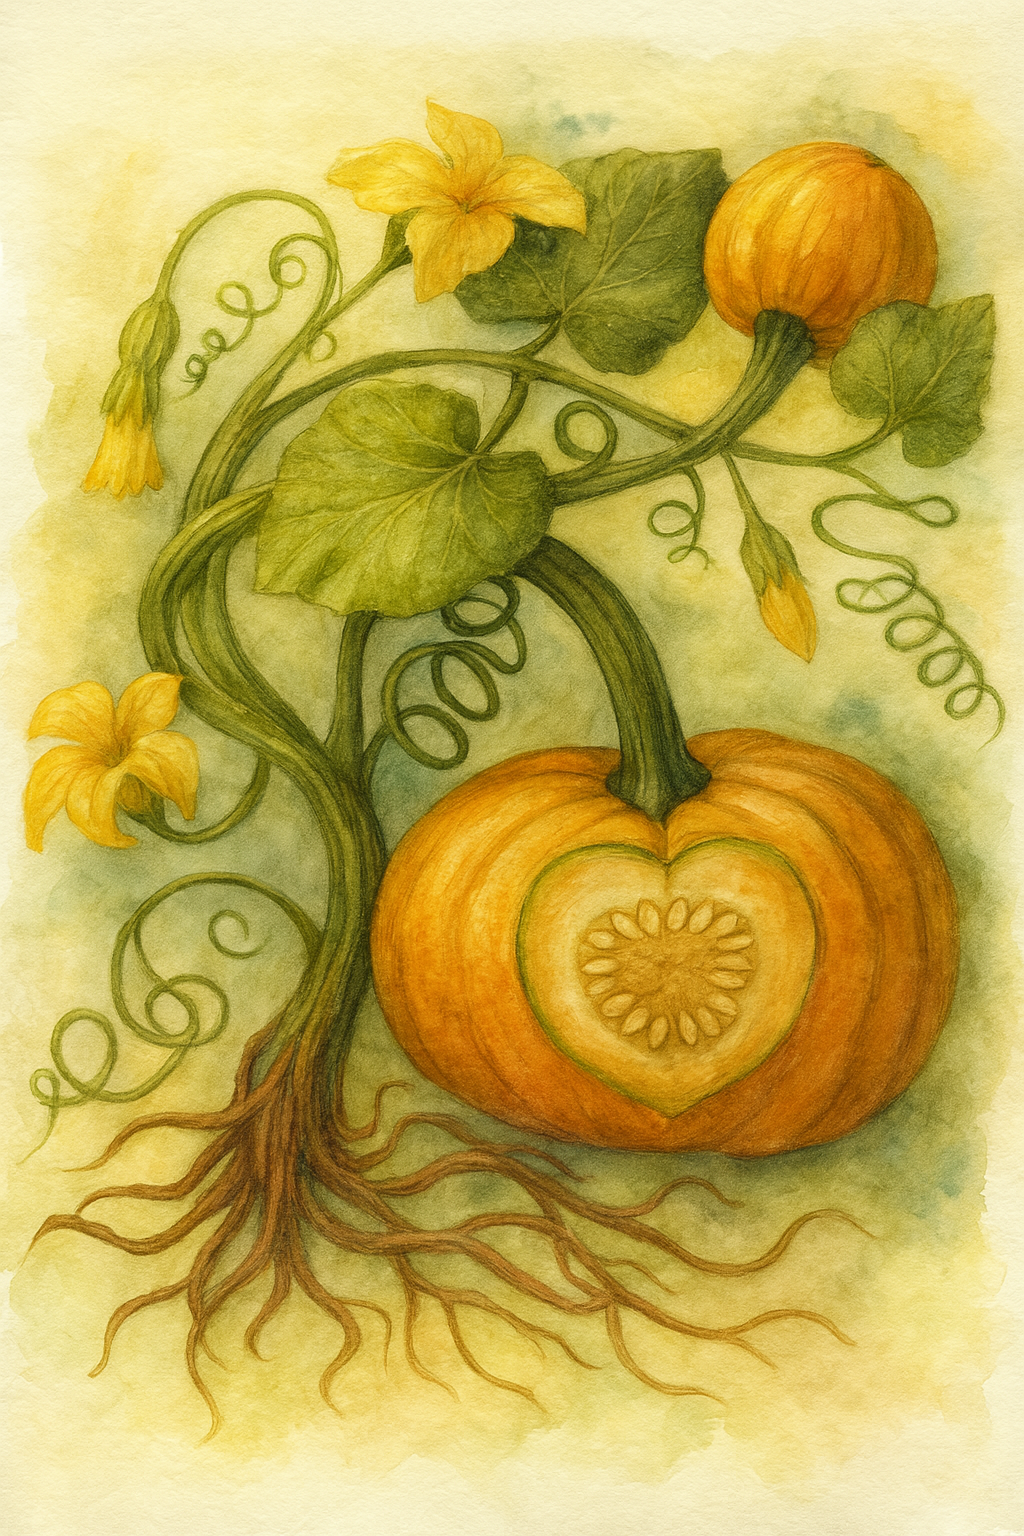
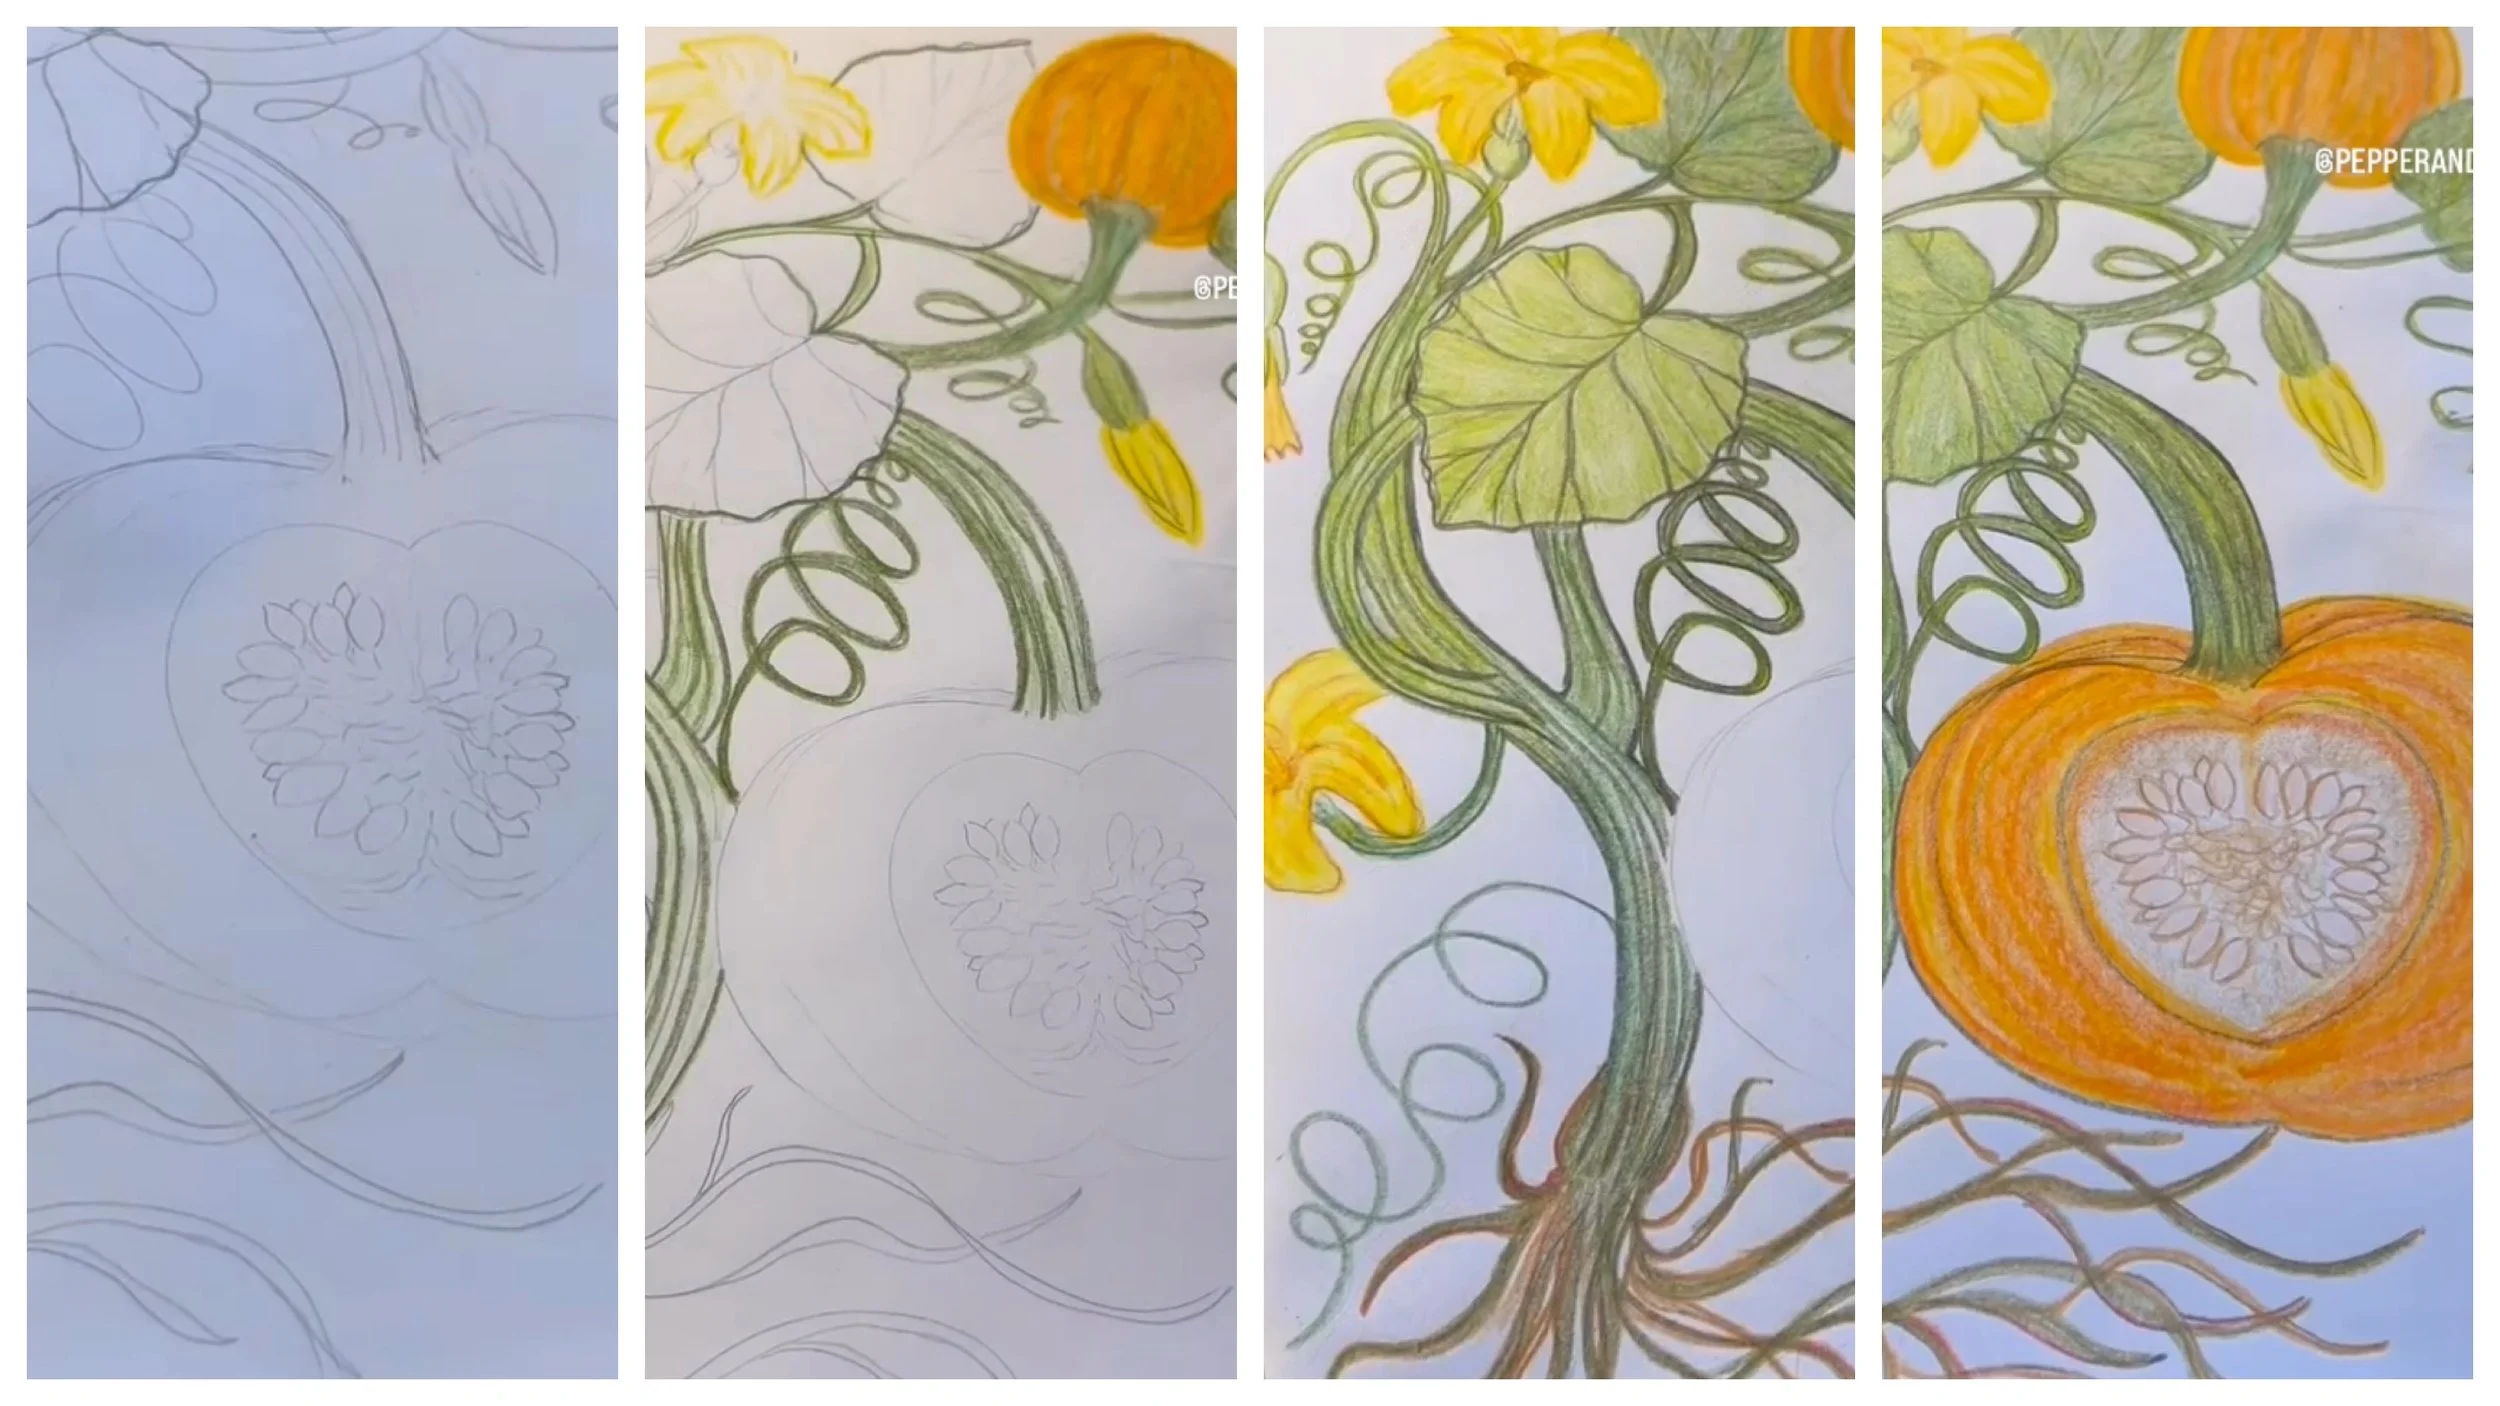
Lesson 1: The Complete Plant
We usually do our botany main lesson block in the spring. In fact we do most of our nature units in the spring. But when we run out of time for our science units in the spring, they tend to roll over into the fall. The previous year we had intended to start our botany unit and only got to one lesson. Which meant that for the first time we are doing a botany unit in the fall. While this was not my intention, some wonderful things emerged because of it. Instead of doing the classic first lessons as we have done in the past, we changed things up in order to suit the seasons. And since it is full, our first illustration of the complete plant is that of a pumpkin. Inspiration for this illustration came from the book called Botanicum Activity Book curated by Katie Scott and Kathy Willis. This is a beautiful resource that has accompanied our botany main lesson blocks and unit studies in the past and was once again a wonderful addition to our current botany main lesson block. For this lesson, I illustrated a complete plant, exposing the roots, stem, leaves, flowers, fruit, and seeds. As it is autumn, we also included pumpkins as seasonal decorations. And if we were eating a pumpkin, we would reserve the seeds for planting.
Resources
Waldorf curriculum by @liveeducation year 5 botany main lesson block
Main lesson book and Lyra color pencils @achildsdreamcrafts
Art inspired by Botanicum Activity Book curated by Katie Scott & Kathy Willis
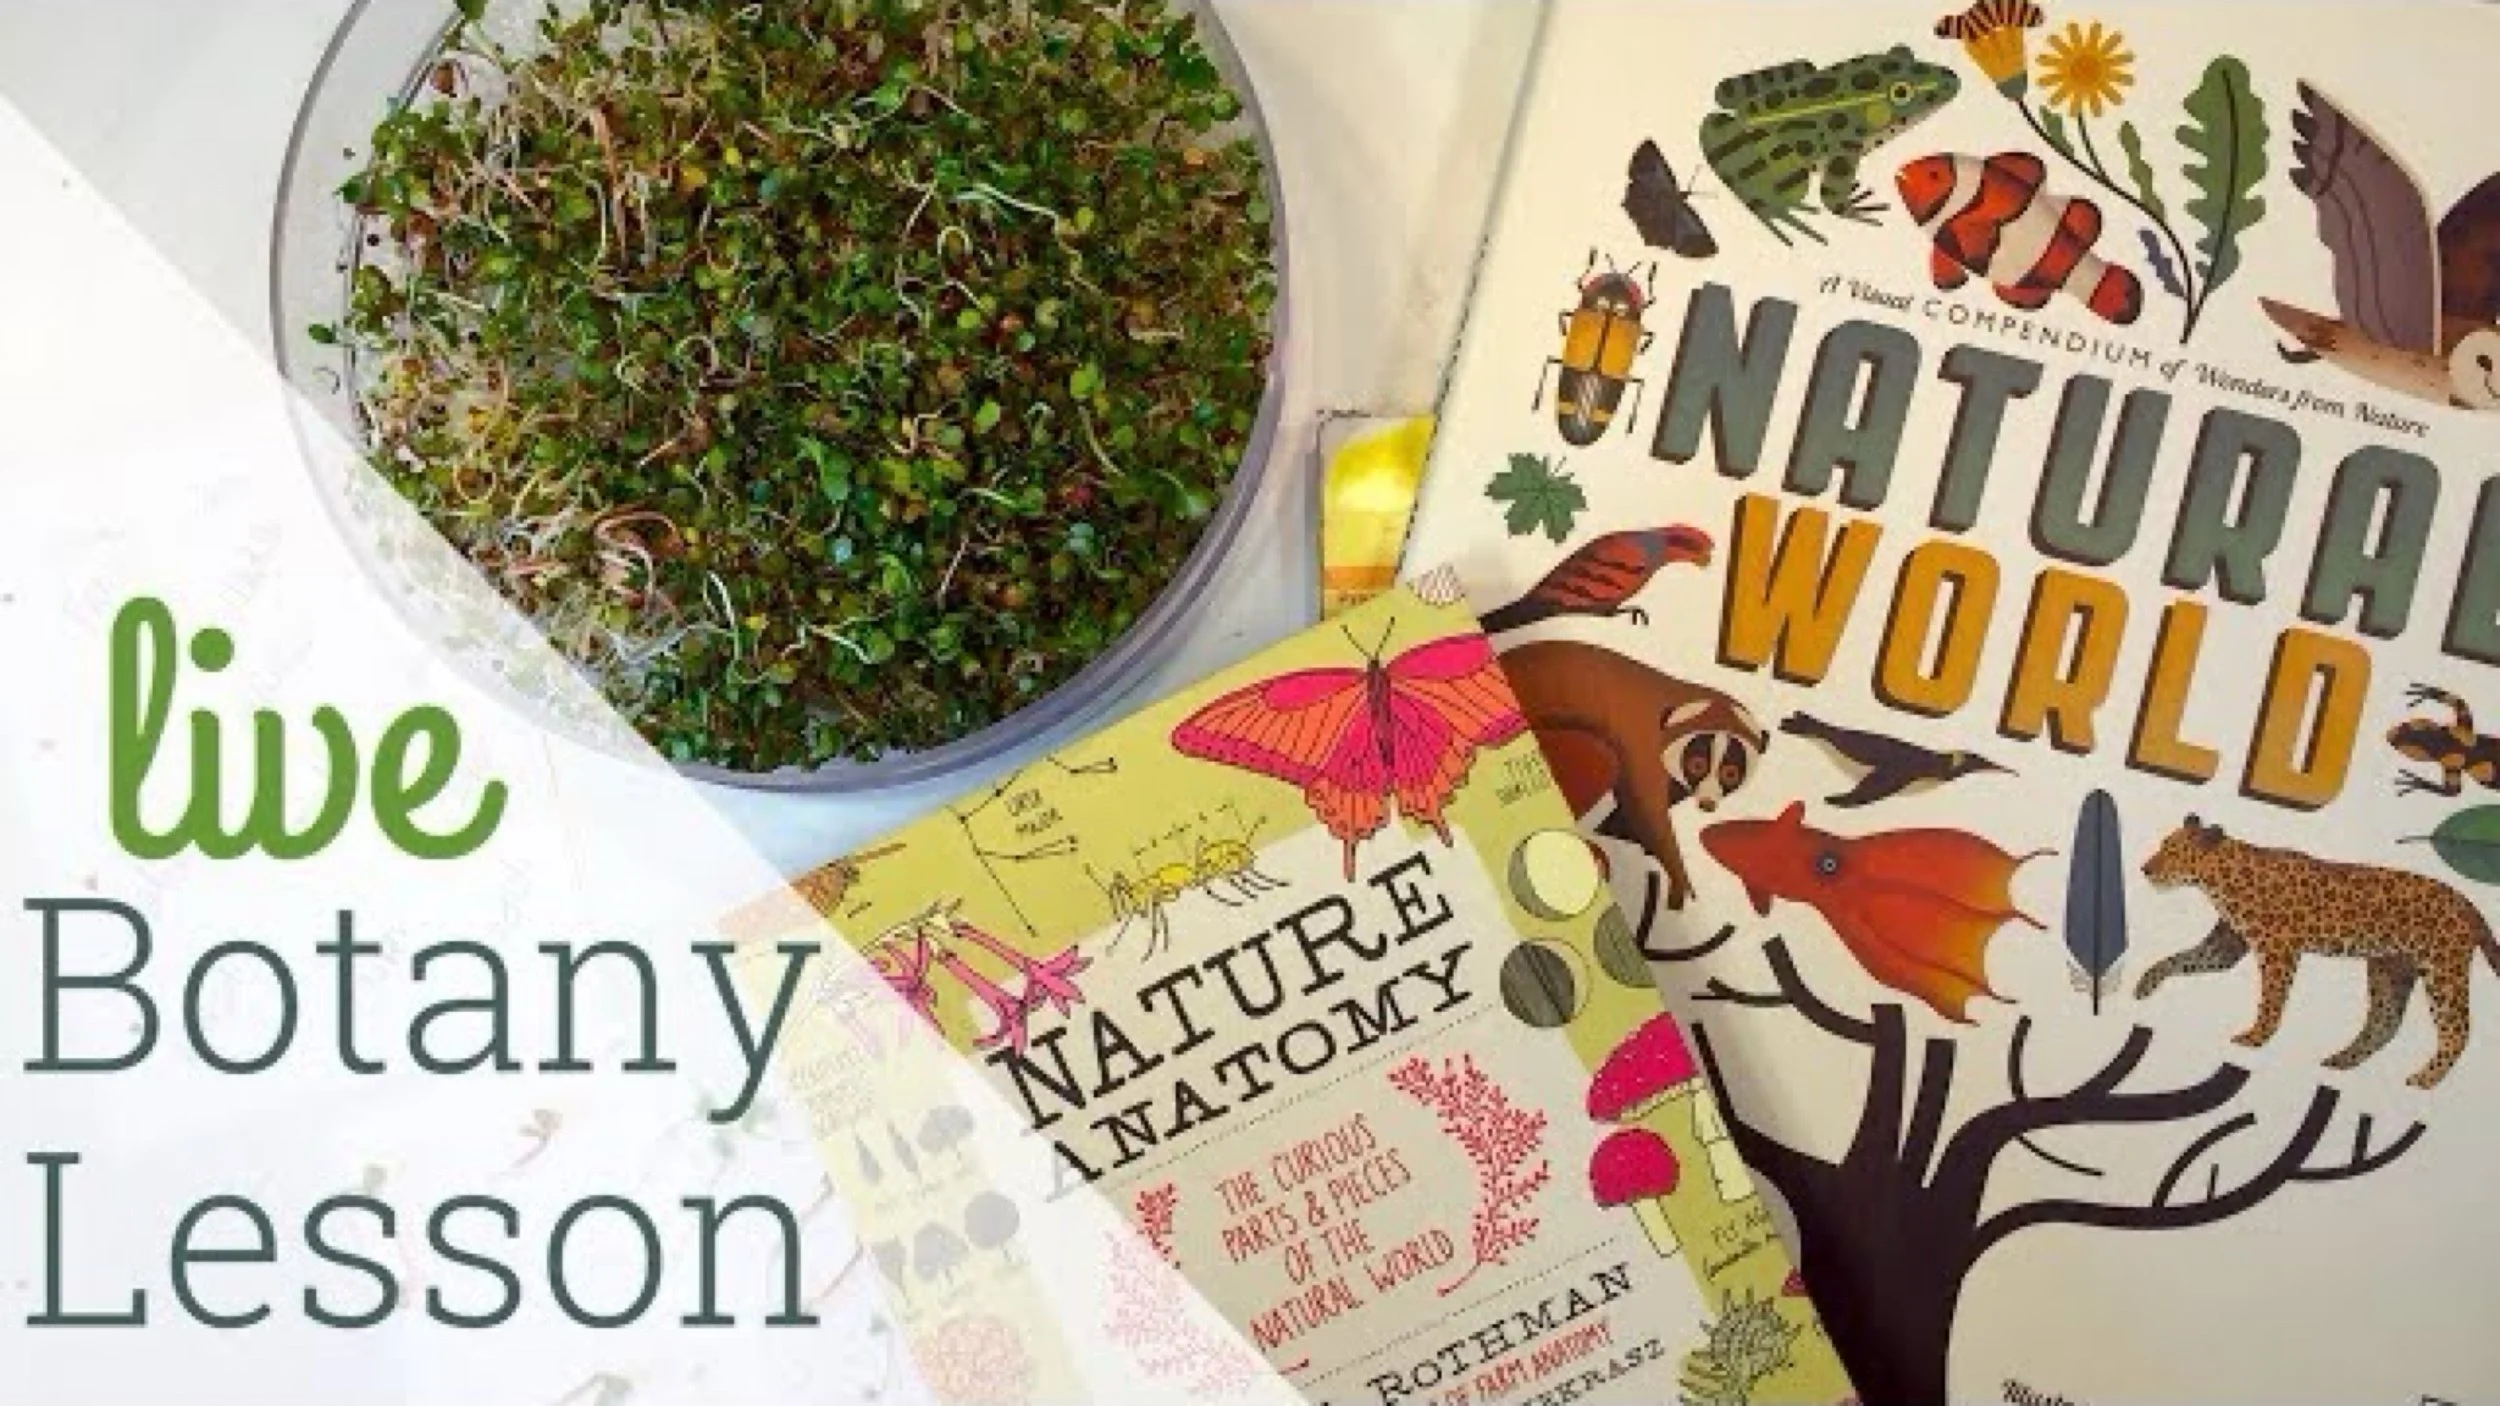
Nature Anatomy by Julia Rothman
Plant by David Burnie
Plant Life Cycles by Anita Ganeri
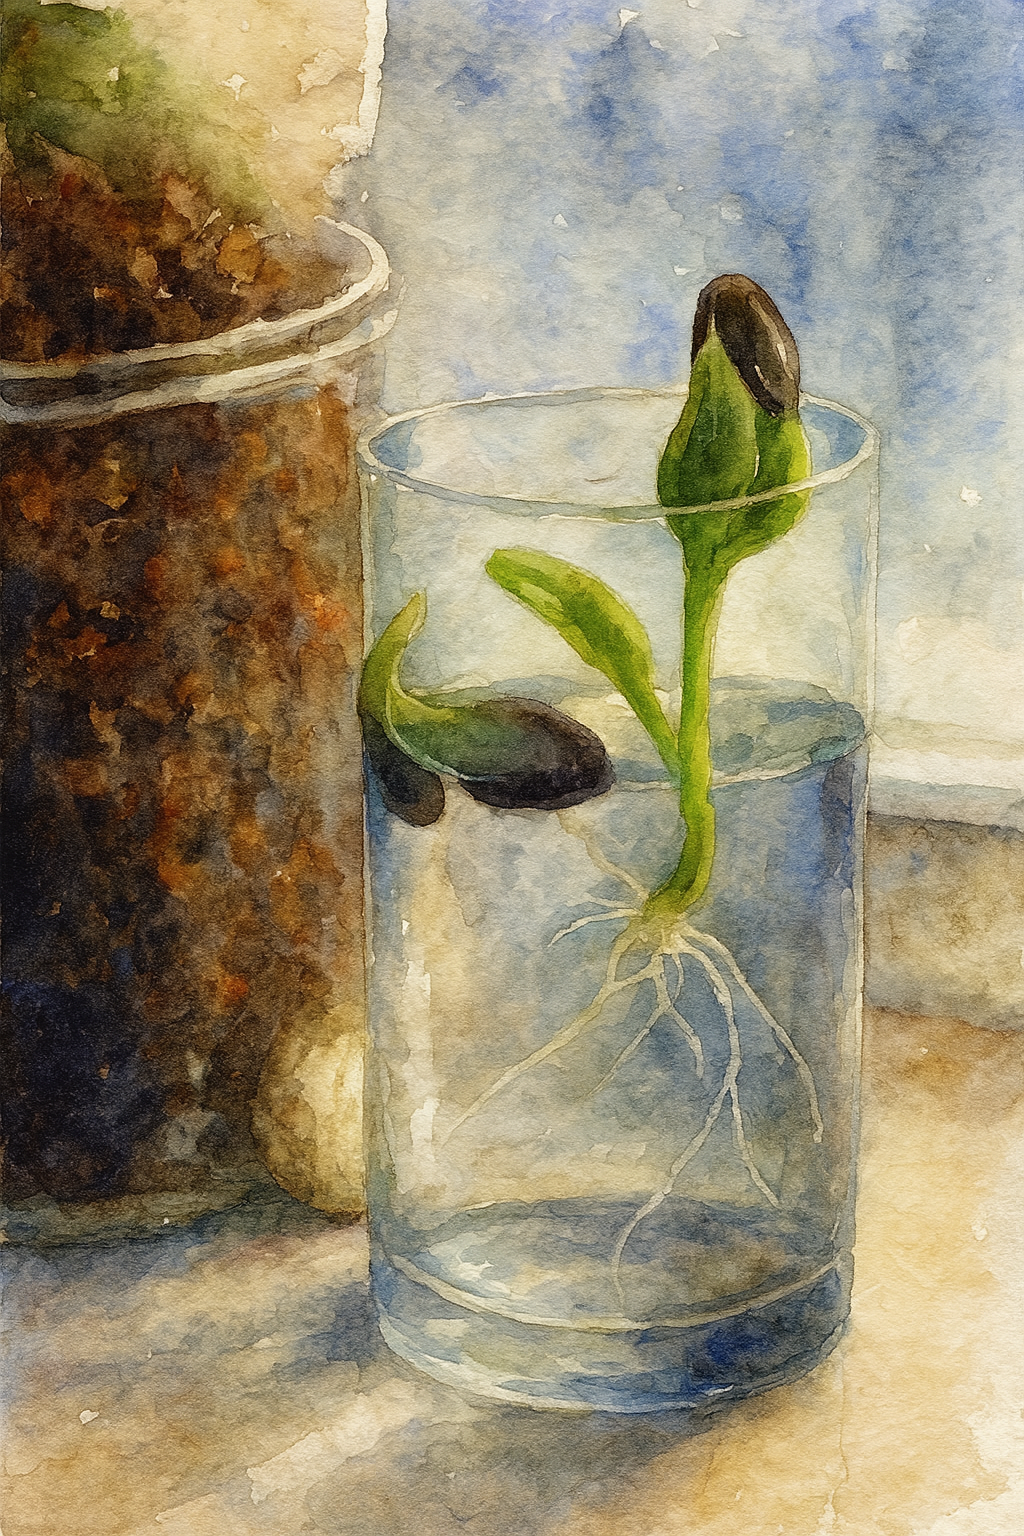
How a Seed Grows
Root Observation
It’s a quintessential rite of passage to grow plants from seeds, and now you can watch the growth of the roots with this Root Observation kit from Nature-Watch. This is the classroom kit, though they sell them individually as well. This kit comes with supplies for 25 students, but I’m going to show you how you can use this classroom kit even if you are homeschooling. This kit comes with 25 clear root observation tubes (with lids), over 50 dwarf sunflower seeds, a bag of acrylamide crystals, glue and 25 cardboard plaques for your tubes. You can find this kit at Nature-Watch.
April 2017
Mason Jar Herb Garden
Here's a fun little project you can do so you can have fresh herbs at the ready when cooking. A big bonus is that these frosted blue mason jars look super cute on your kitchen counter. And once the herbs start growing, they add a splash of vibrant green that brightens your space and brings the outdoors in.
While I've seen these at Uncommon Goods (a fun place to find unique home goods and kits), I found mine on the clearance racks at T.J.Maxx.
If you can't find this adorable and useful kit, you can make your own! You can make your own herb garden in a mason jar. I would suggest frosting from the outside of the jar so avoid any paint or chemical residue lingering around where your plants are growing. I would also offer this alternative to using the metal basket that comes with the kit: try using a sewn cotton bag with two strings hanging down that you can fold over the side of the mason jar. Then screw the lid on. Fill the mason jar with water before putting the bag in place. Fill with soil and seeds and watch your herbs grow!
One nice thing about having the blue frosted glass is that you don't see the roots or water. It's not as nice you think, plus the roots need a dark place to thrive.
Our best countertop herbs are basil. It grows easily and abundantly every time. Next is cilantro followed by parsley. I haven't much luck with other herbs like thyme or chives.
The seeds that came in the kit all did well. The cress and arugula grew well.
Do water by filling the mason jar rather than by watering the soil. If you water the soil, soil particles get in the water and cloud it and may cause algae growth or mold. Do trim the flower buds to keep producing herbs. If you put them outside, they will likely need to be watered more often. Algae may grown in the jar and around the basket. If this happens, empty the water and clean it with a sponge. Clean the jar, basket and cording.
Add fertilizer when you replace or refill the water. Some comes in the kit. Once it ran out, I didn't get more. But that's something to consider. We eventually used composted soil to fill our metal baskets as we did this project again.
We've had this for a year now and have grown many plants, but one thing that happens pretty quickly is the metal ring rusts. The basket doesn't, just the metal mason jar lid has rusted. Any suggestions on how to keep that from happening or how to clean the rust off now will be appreciated.
How to Grow Herbs Indoors
I can’t say enough about the Nature-Watch kits we’ve used so far. They are well designed and take all the hard work out of doing hands-on projects and replaces with simple projects that are easy to do with great results. The projects are meaningful, educational and long lasting. And because we’ve purchased the classroom kits for projects, we have left overs to use again and share. This project is for our Spring Nature Themed unit and you can see more projects for this unit.
This project is a Nature-Water DIY indoor greenhouse to grow herbs. It actually works! And what makes it especially easy for transplant are the soil pellets the kit comes with have mesh around them. These soil pellets come dry for easy shipping and storage. You just add several tablespoons per soil pellet to rehydrate them. Keep an extra half inch of water in the container once the soil pellets are rehydrated. Add 10 seeds to each soil pellet (the opening should be face up), cover the seeds and put the lid back on. In about 2-4 weeks, the herbs will be big enough to transplant. They are ready for harvest a few months later. Harvest stems and leaves and leave the plant to continue growing. To keep it from going to seed, pinch off the flowers.
April 2017

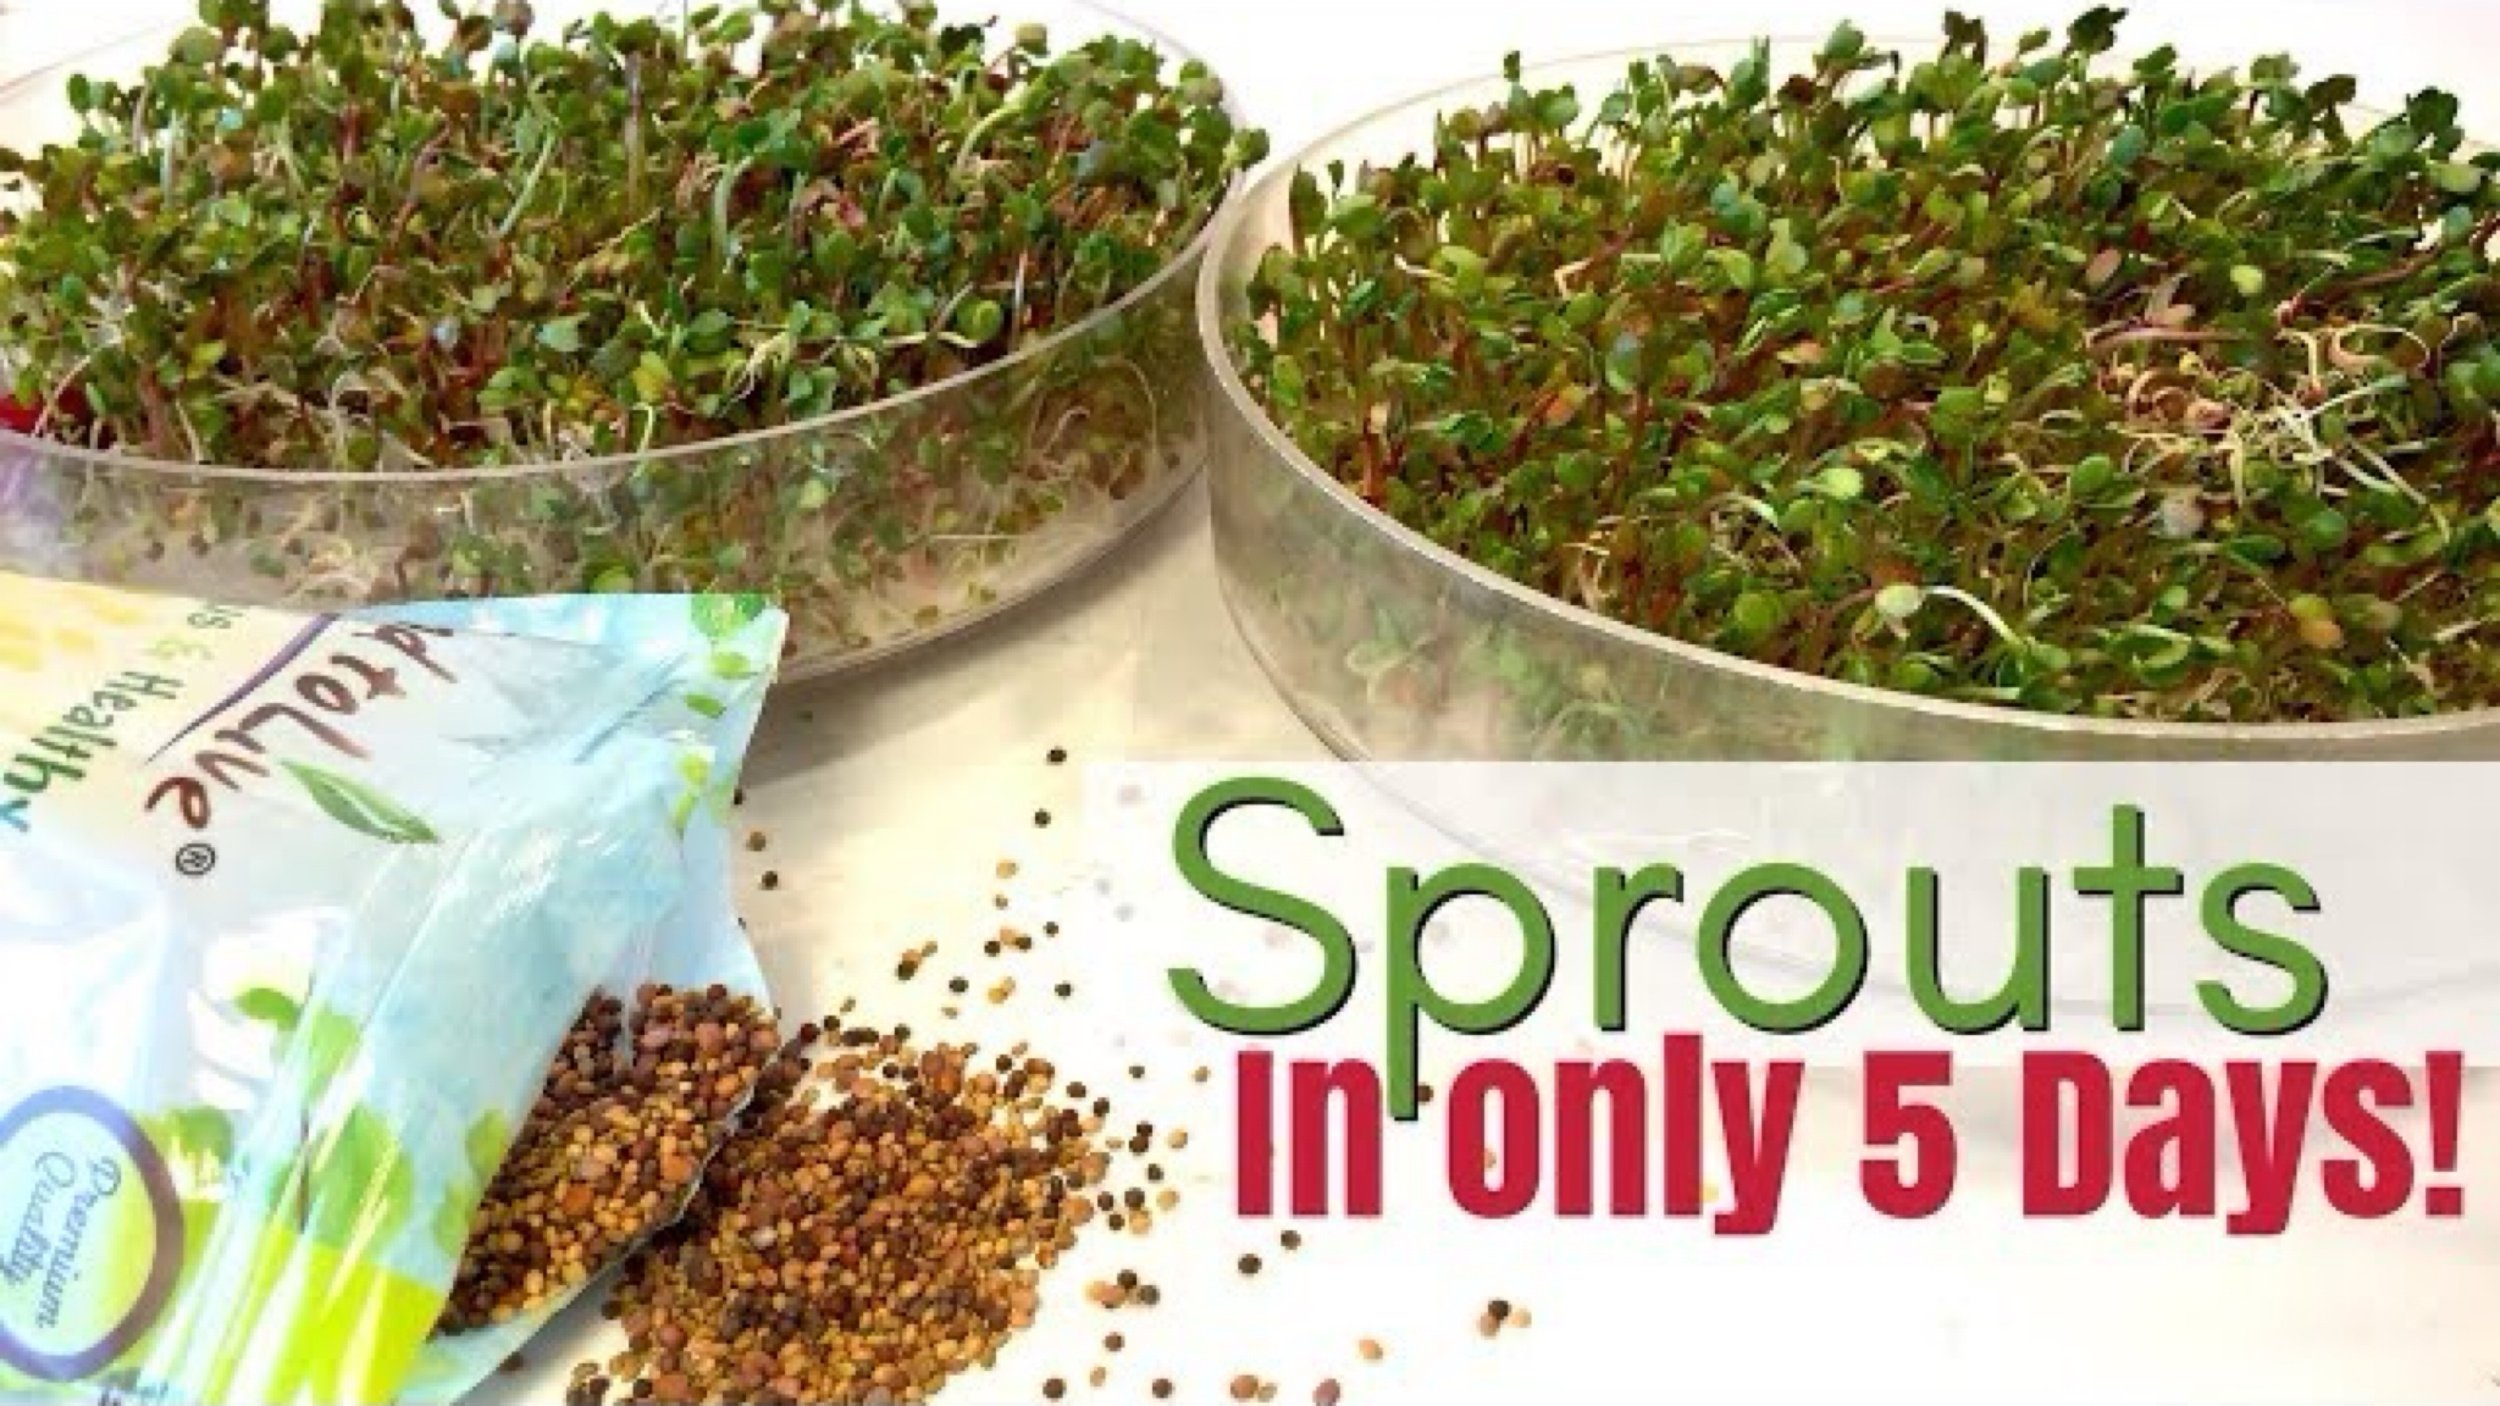
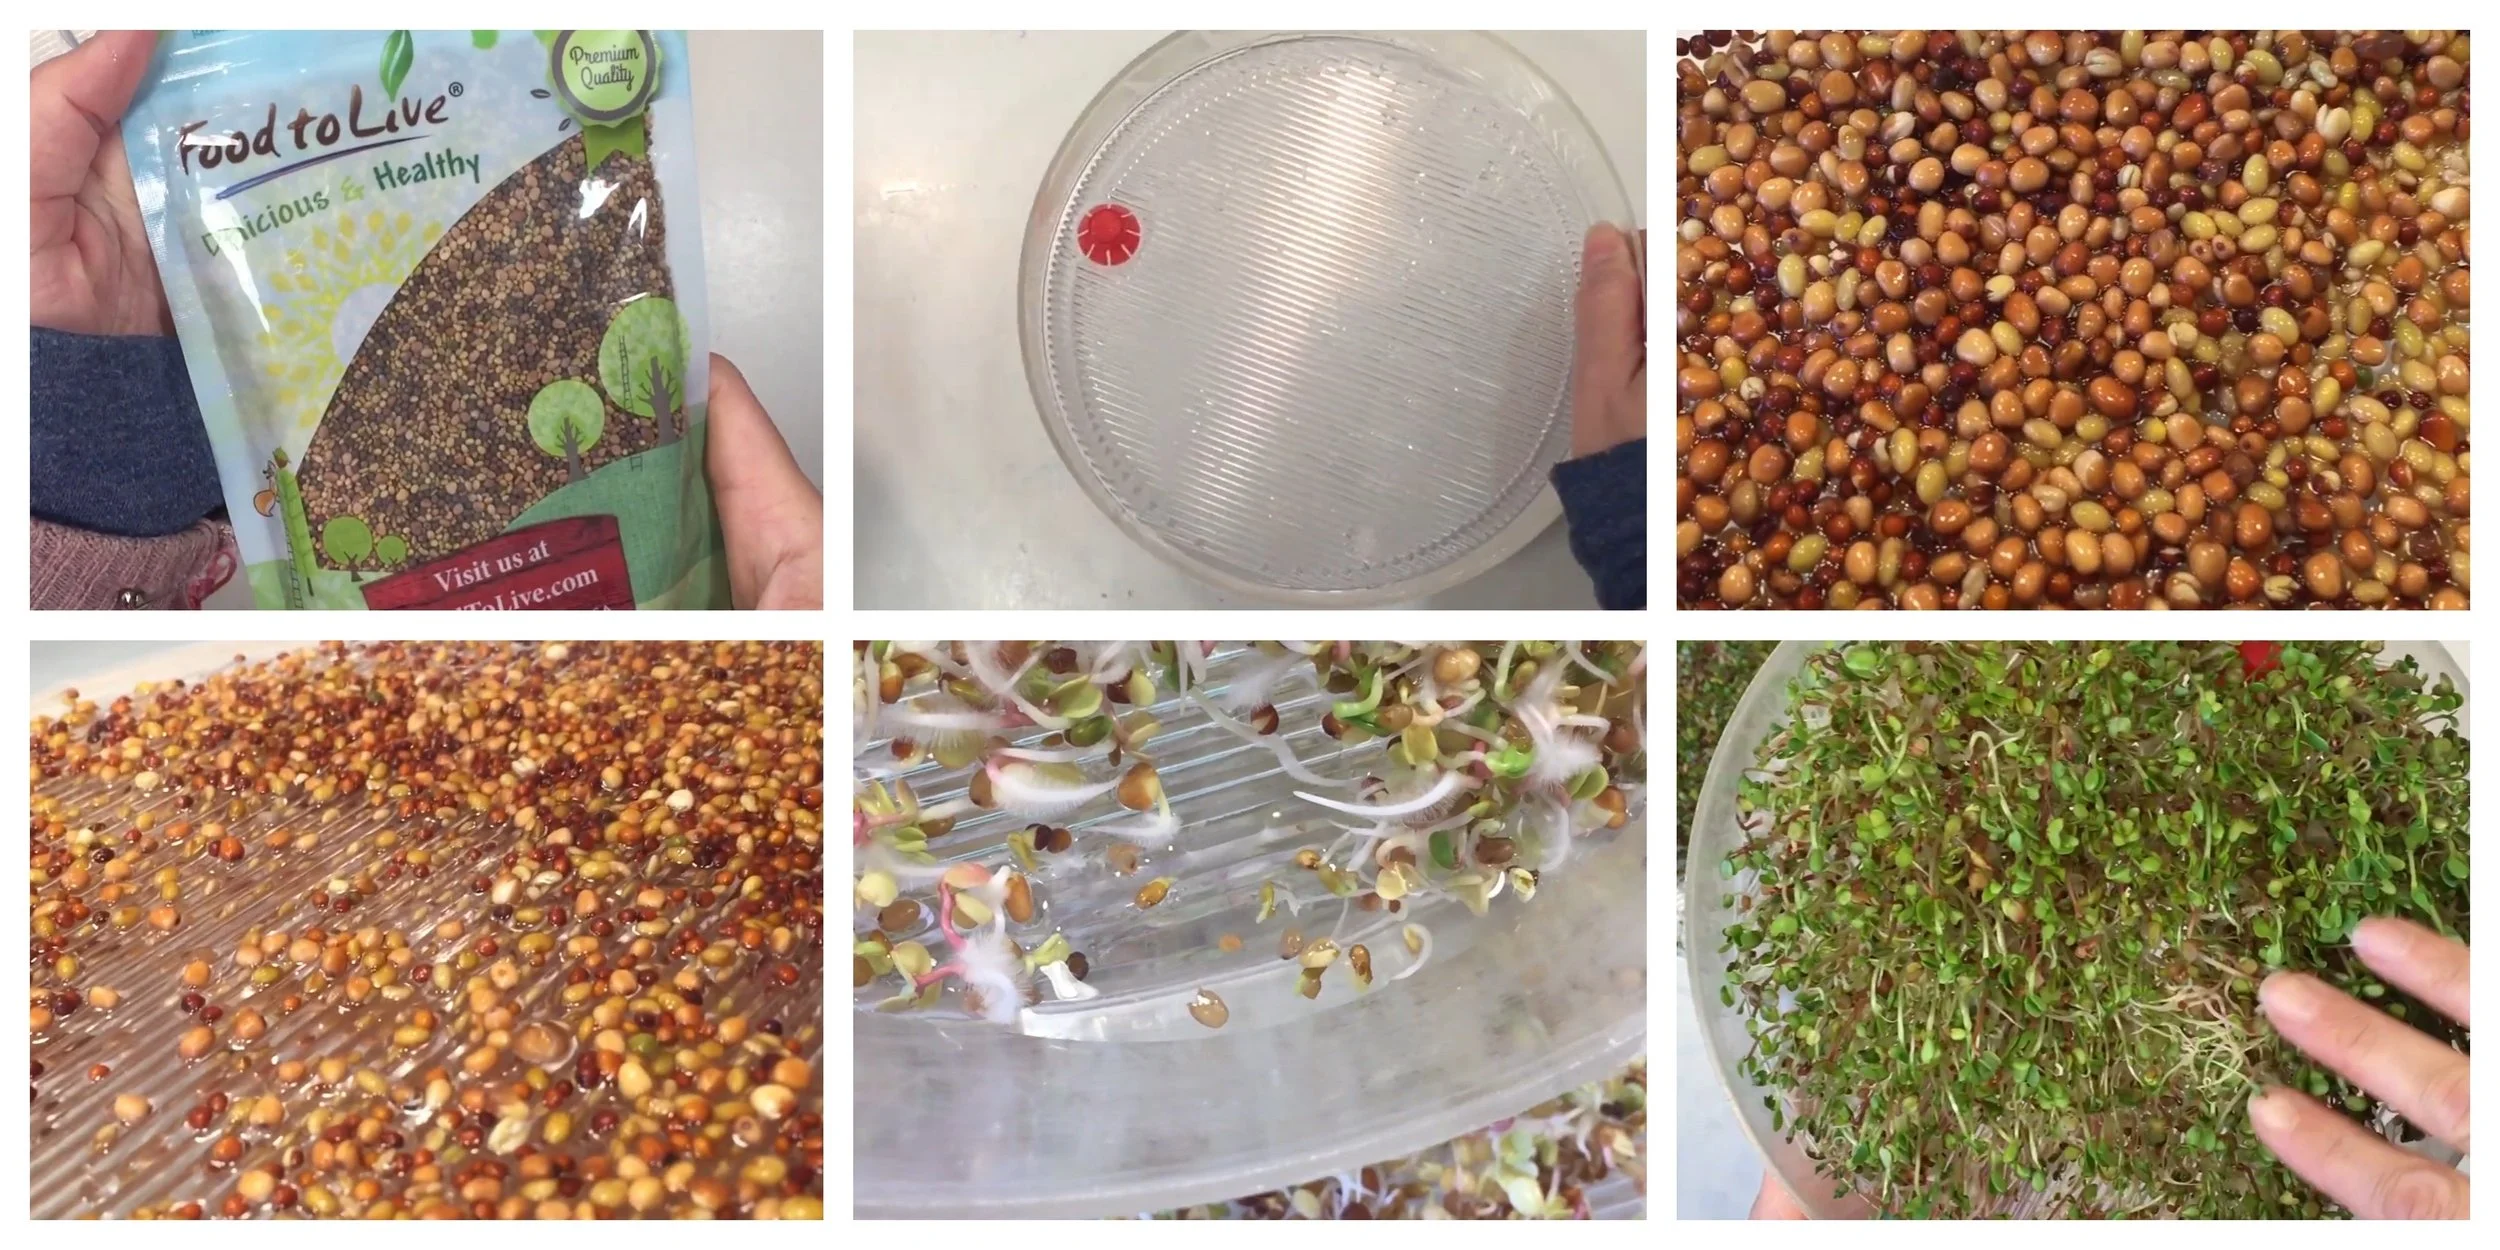
How to Grow Sprouts
One day when I was only five years old, my mom caught me sneaking the sprouts. It was as if I was sneaking chocolate! They were so good, and I kept eating them before they were ready. Fast forward nearly four decades, I’m at it again! Same sprouter, new seeds. This time I’m using a blend of clover, radish, broccoli and alfalfa. I have to say the radish was pretty strong and overpowered the taste of the other sprouts. In the future, I’ll stick with just one kind.
The process of growing sprouts is straightforward and easy. After soaking the seeds over night, transfer them to a sprouter. The key to good sprouts is to be diligent with rinsing them thoroughly. You also want to make sure to drain them well. Our sprouter didn’t offer the best drainage and around day 2-3 it looked like there was some extra growth on the sprouts. Whether it was mold or not, I rinsed them thoroughly, drained them thoroughly and let them dry out by removing the lid and trays. Problem solved! By day 4-5, the sprouts were green and perfect.
Check out some of the other spring projects we’re doing this season.
Flower Dissection
I had mixed feelings about the flower dissection we did for our Bee Unit Study. While I think this is a fabulous project for an older student (middle school and older), I had reservations about doing this project with my 8-year-old daughter. I wasn't keen on us taking beautiful flowers and destroying them to examine the insides and to identify the parts. But we did it despite my feelings, and it turned out okay! It's my opinion that when the children are young, we should marvel at what we see and behold its beauty rather than take it apart. There is a deep education in being able to be present with your surroundings and having wonder and curiosity in what you see without having to understand it on an analytical basis. I would rather save that analytical and logical and scientific approach for when the students are older. This activity was from the book Turn This Book Into A Beehive by Lynne Brunelle.
October 2019
Homeschool Teaching Vlog
Botany Lesson
Our lessons are long and usually involve some hands-on activities. For this lesson, we grew some sprouts, tasted them, oversved them, learned about them and finally drew them and wrote about them. Too long? Maybe, but I know these lessons have lasting impact. Long after the lesson is finished, work is still being done within the child. Join us as we do this lesson with all its pauses, interruptions, silences and discussions. If you wish, you can draw with us!
Fungi & Mushrooms
-
Inside a Waldorf lesson | Botany Main Lesson Block
We are working through our Waldorf Main Lesson block for Botany. Today I'll show you how we do our lessons. To begin the lesson, I explained just a couple things about mushrooms and asked my son to get one from the kitchen.
-
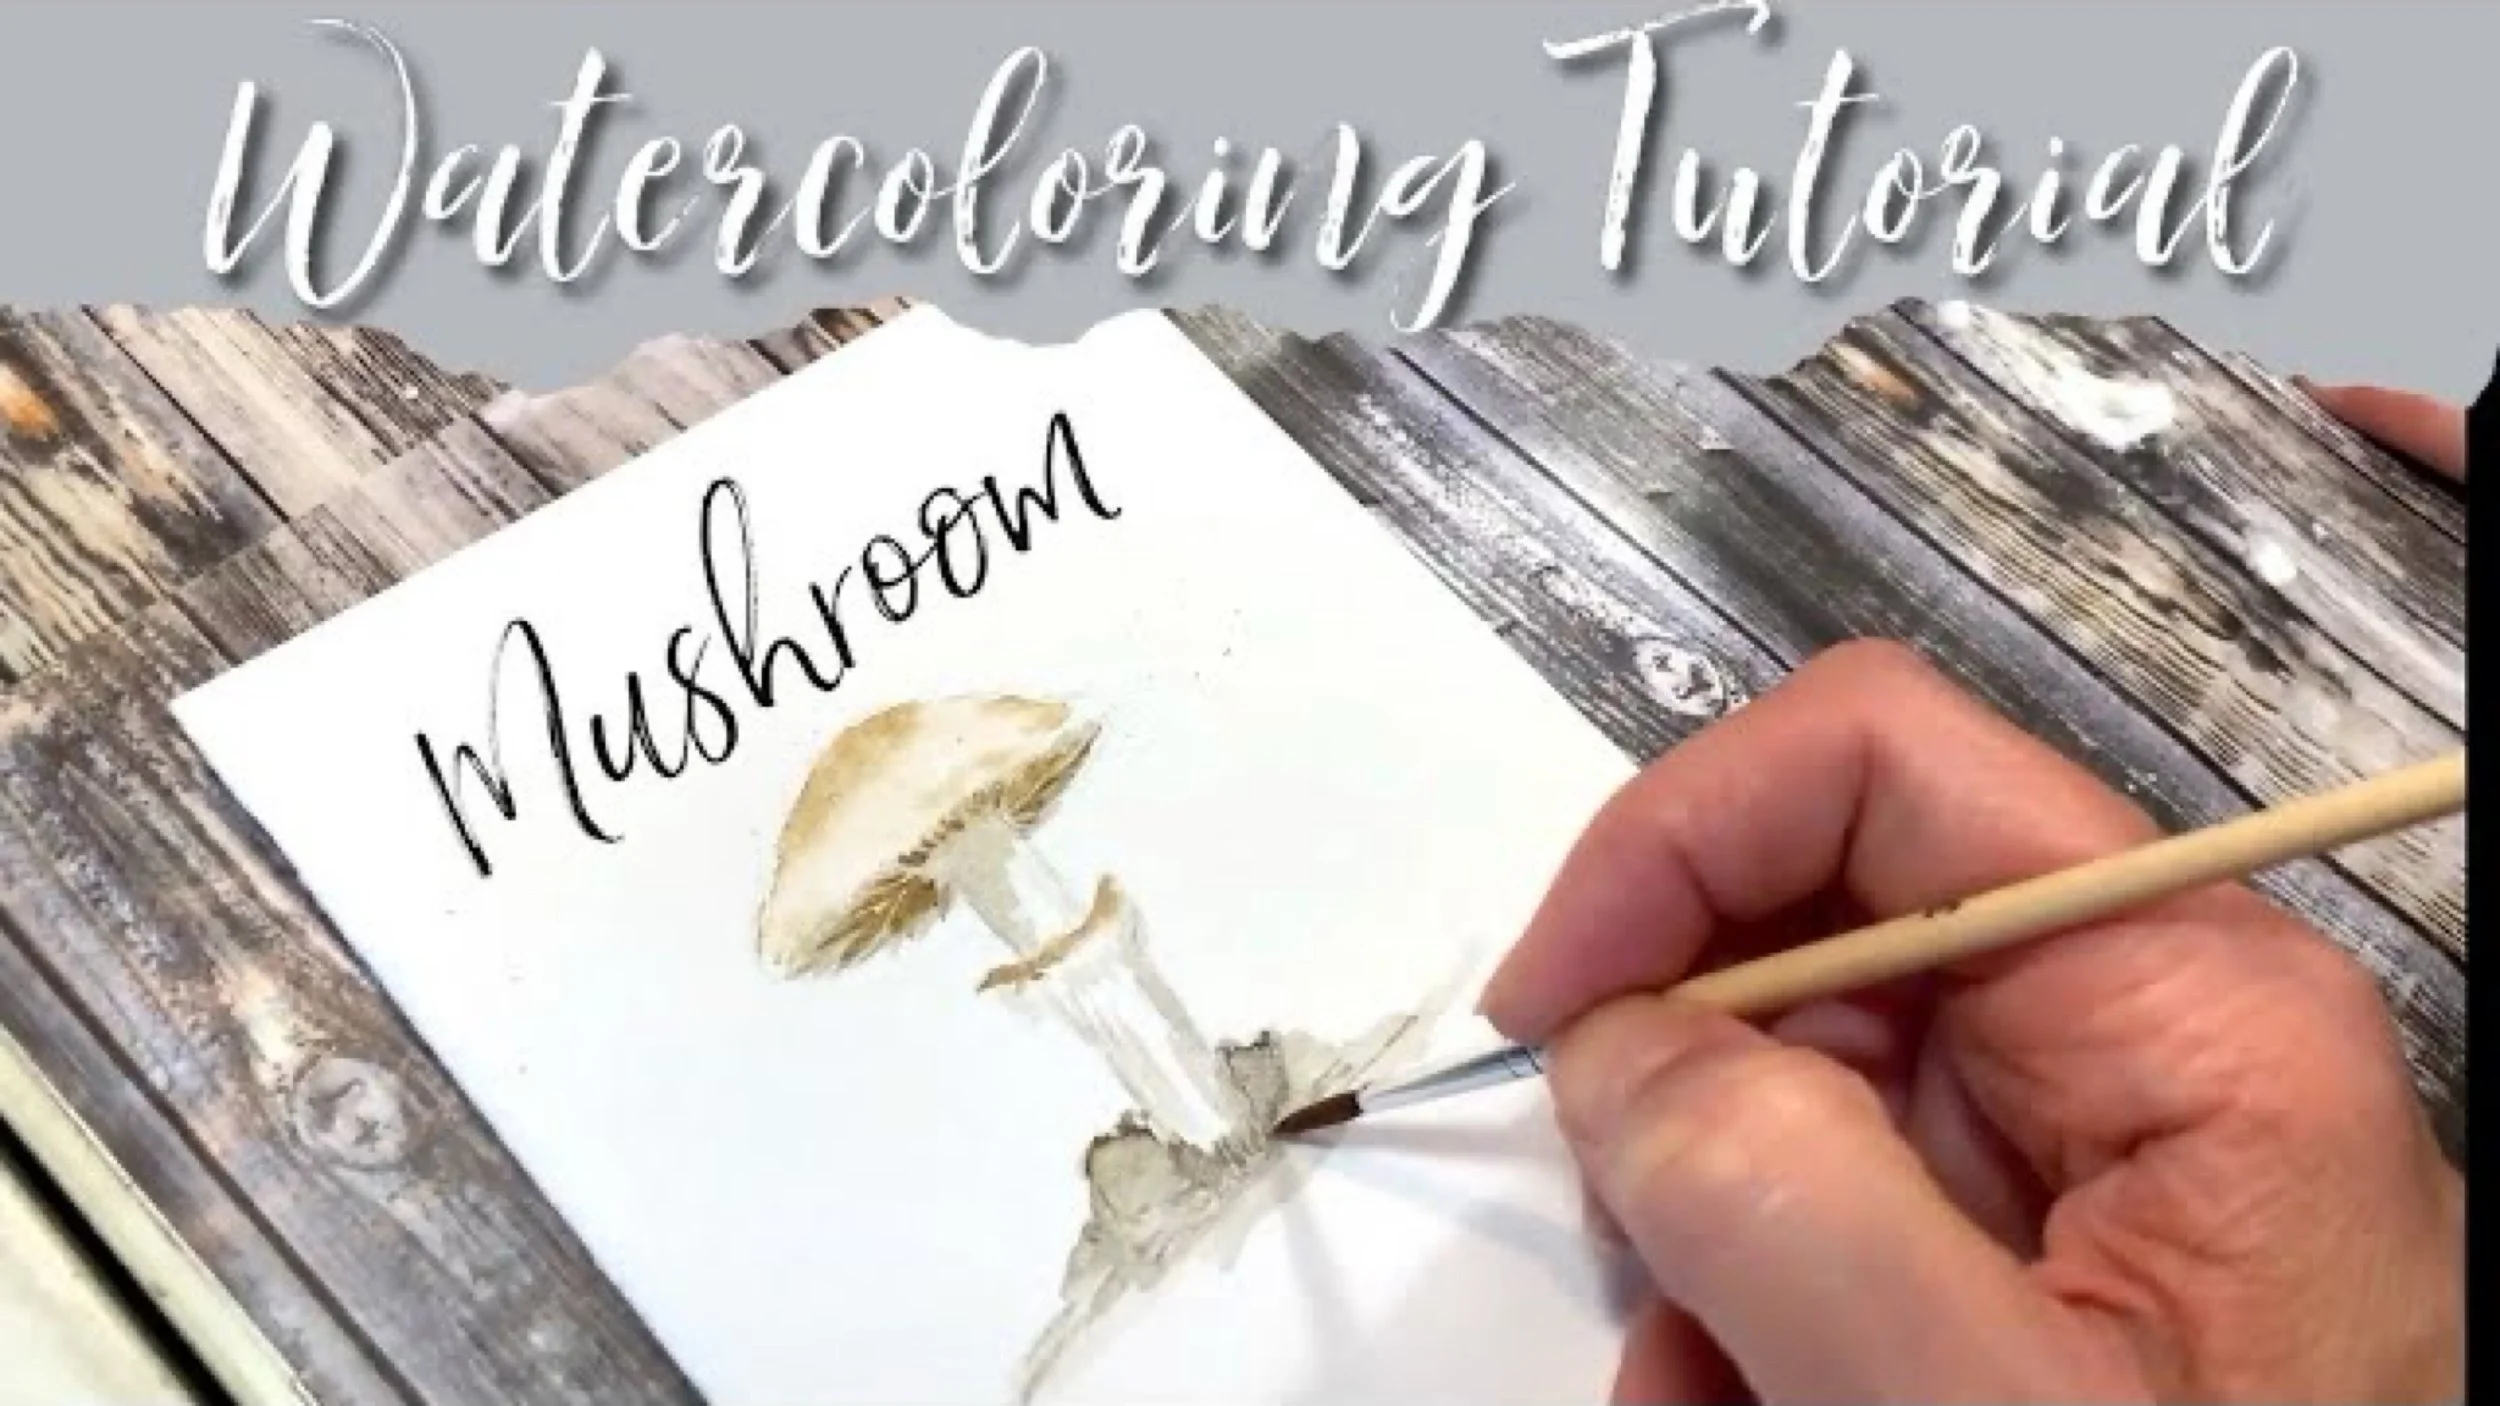
How to Watercolor a Mushroom
When doing our Waldorf Botany Main Lesson Block recently, I missed buying a mushroom growing kit. I had previously purchased one when doing this unit the first time, several years ago, with my oldest son.
-

DIY Mini Mushrooms
This project was more time consuming than I expected but it turned out fabulously in the end. I’m using Sculpey Ultra Light Oven Bake clay, acrylic paints and an assortment tools and materials I had on hand to form these mushrooms.
-
Mushroom Lesson
The books and resources for mushrooms are some of the most beautiful. While we had enough resources for this lesson, we did collect a couple more books with stunning illustrations.
-

What Does Compost Look Like After 3 Weeks?
Compost would be impossible without fungus. For that reason we’ve included the compost tutorials and projects here with this lesson. It’s fascinating watching the decomposition process.
-
How to Grow Mushrooms
Growing mushrooms is watching nothing happen for weeks and then suddenly they emerge and grow overnight doubling in size in days. That's what happened with our Mushroom Adventure Grow Edible Mushrooms kit from Gardeners.
-

How to Compost for Beginners
There are two ways to compost: The right way and my way ;) I don't compost with the intention of balancing nutrients; I compost primarily to keep our kitchen waste from ending up in the landfill.
-

How to Make Spore Prints
Making spore prints turned out to be a really easy educational project that has creative potential. You want to harvest or use mature mushrooms. You may choose to remove the cap or keep it in place.
-
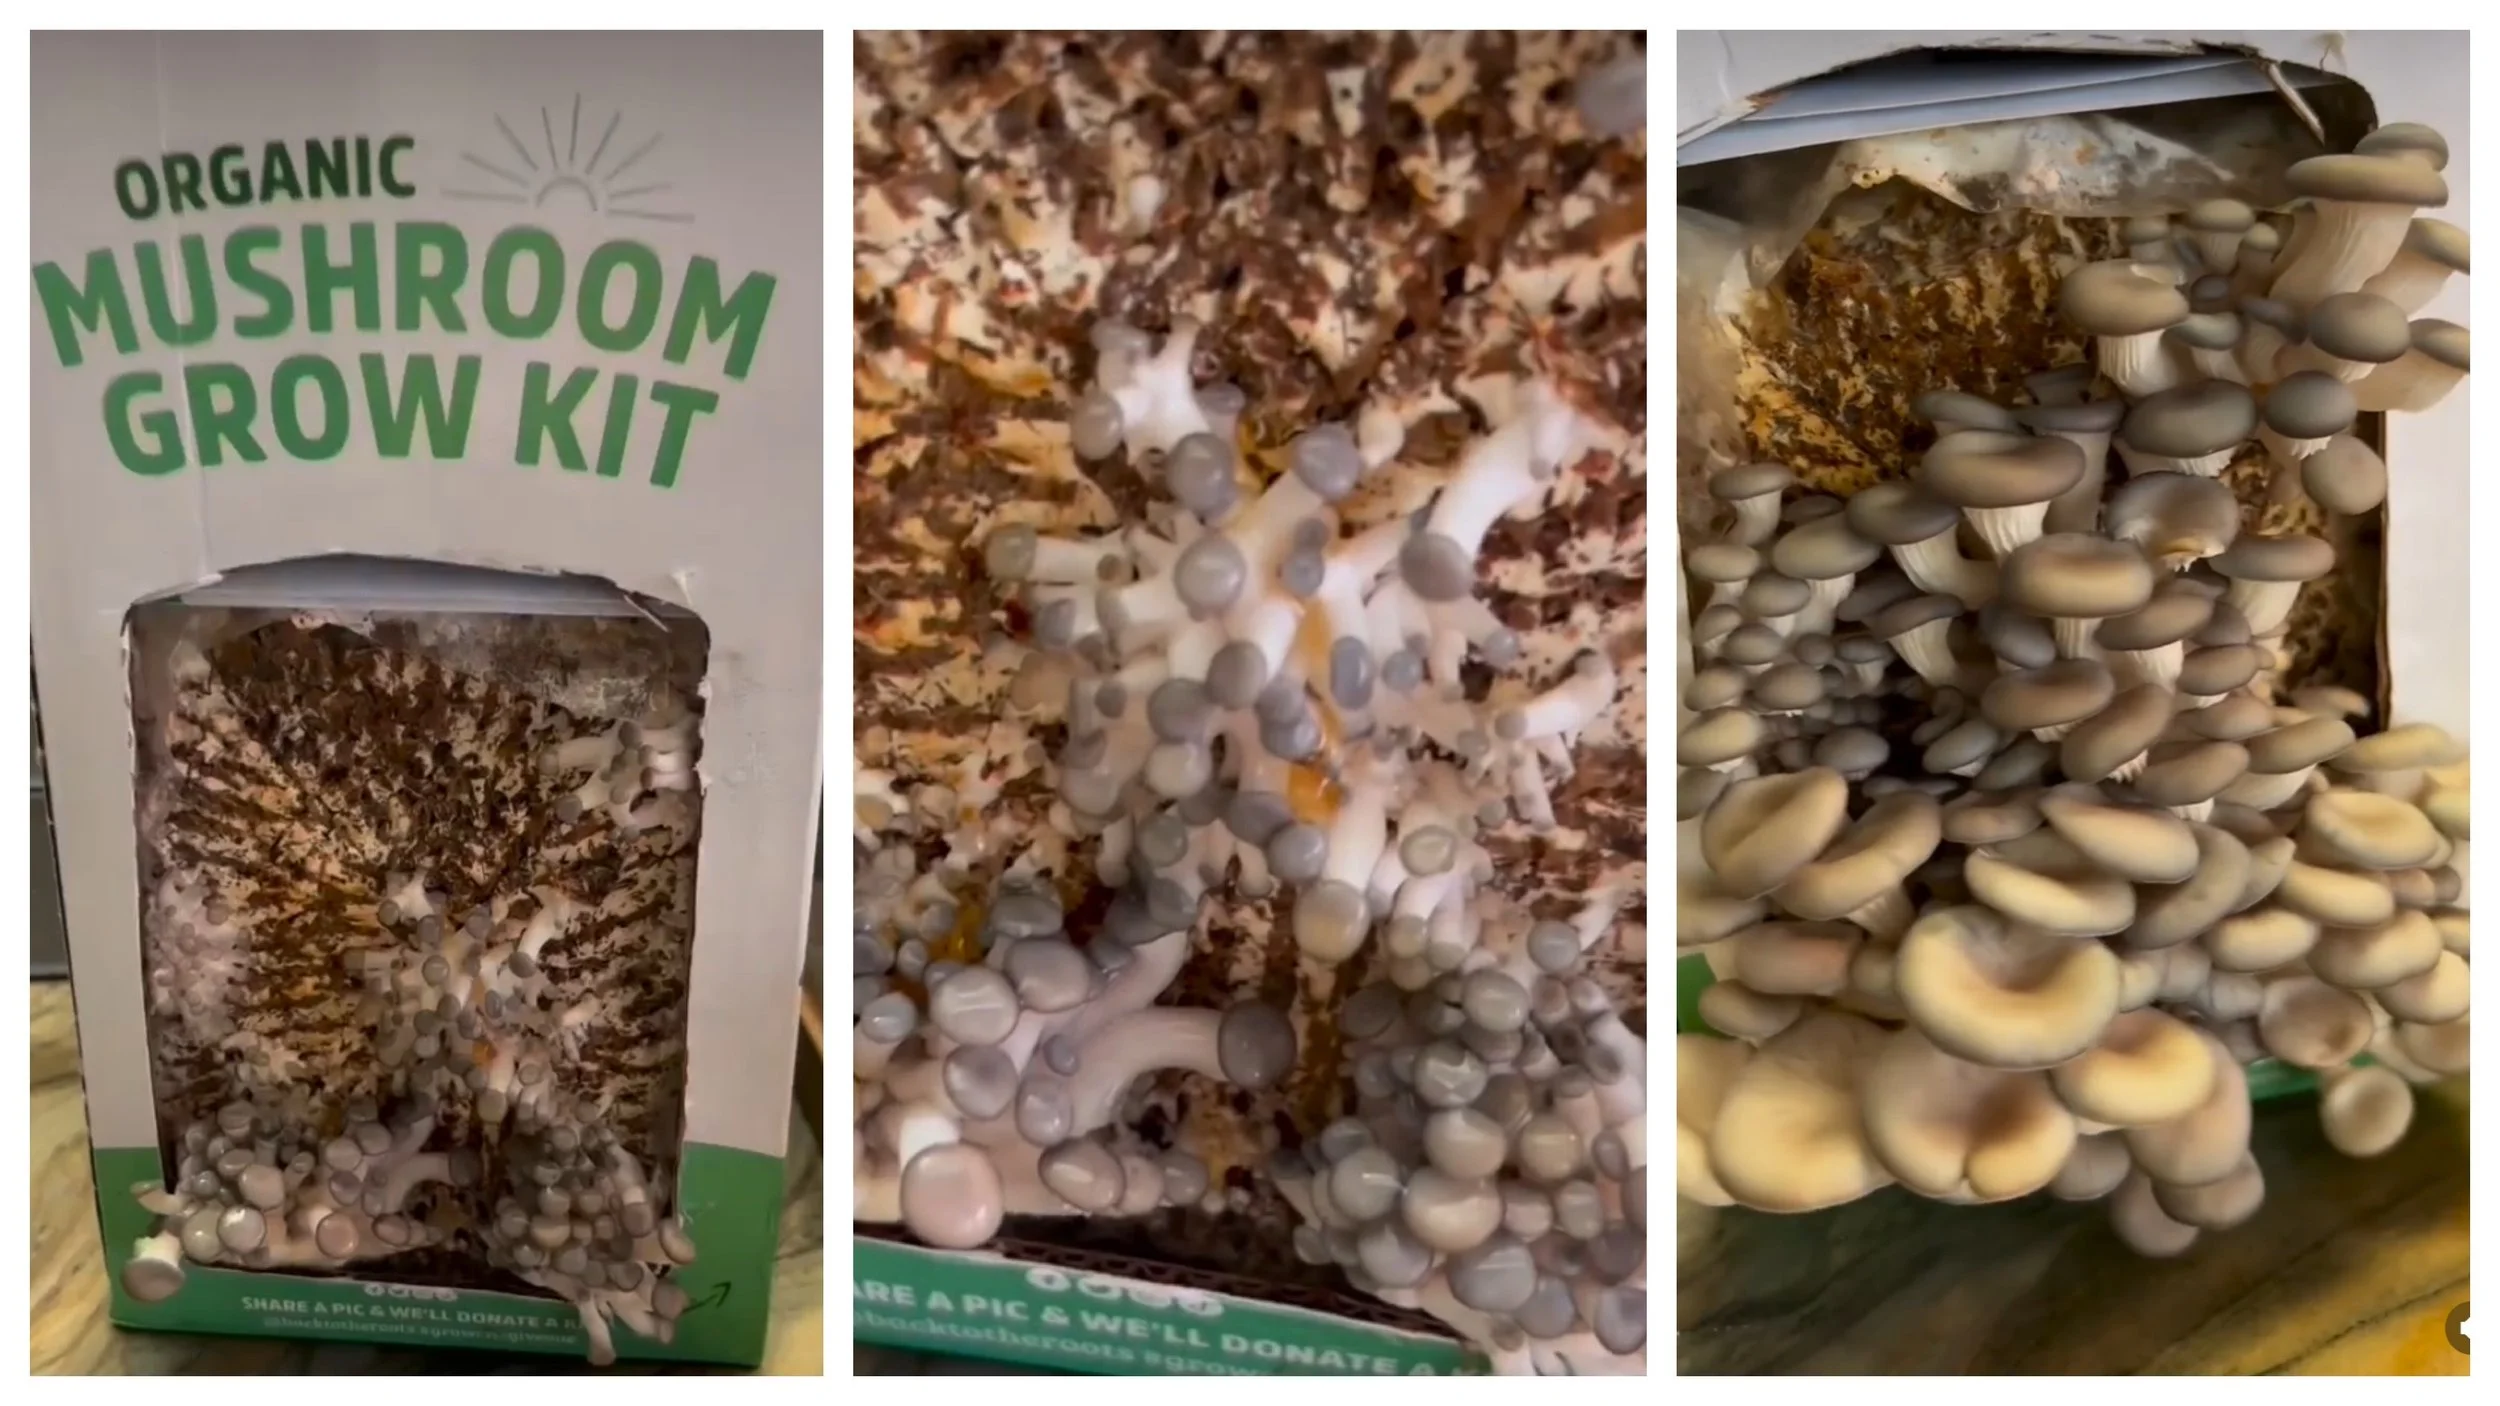
Mushroom Kit
This is the oyster mushroom grow kit. Available by Back to the Roots. This is one of our most enjoyable passive hands-on projects in our botany unit.
Fungi & Mushrooms
Inside a Waldorf lesson
Botany Main Lesson Block 
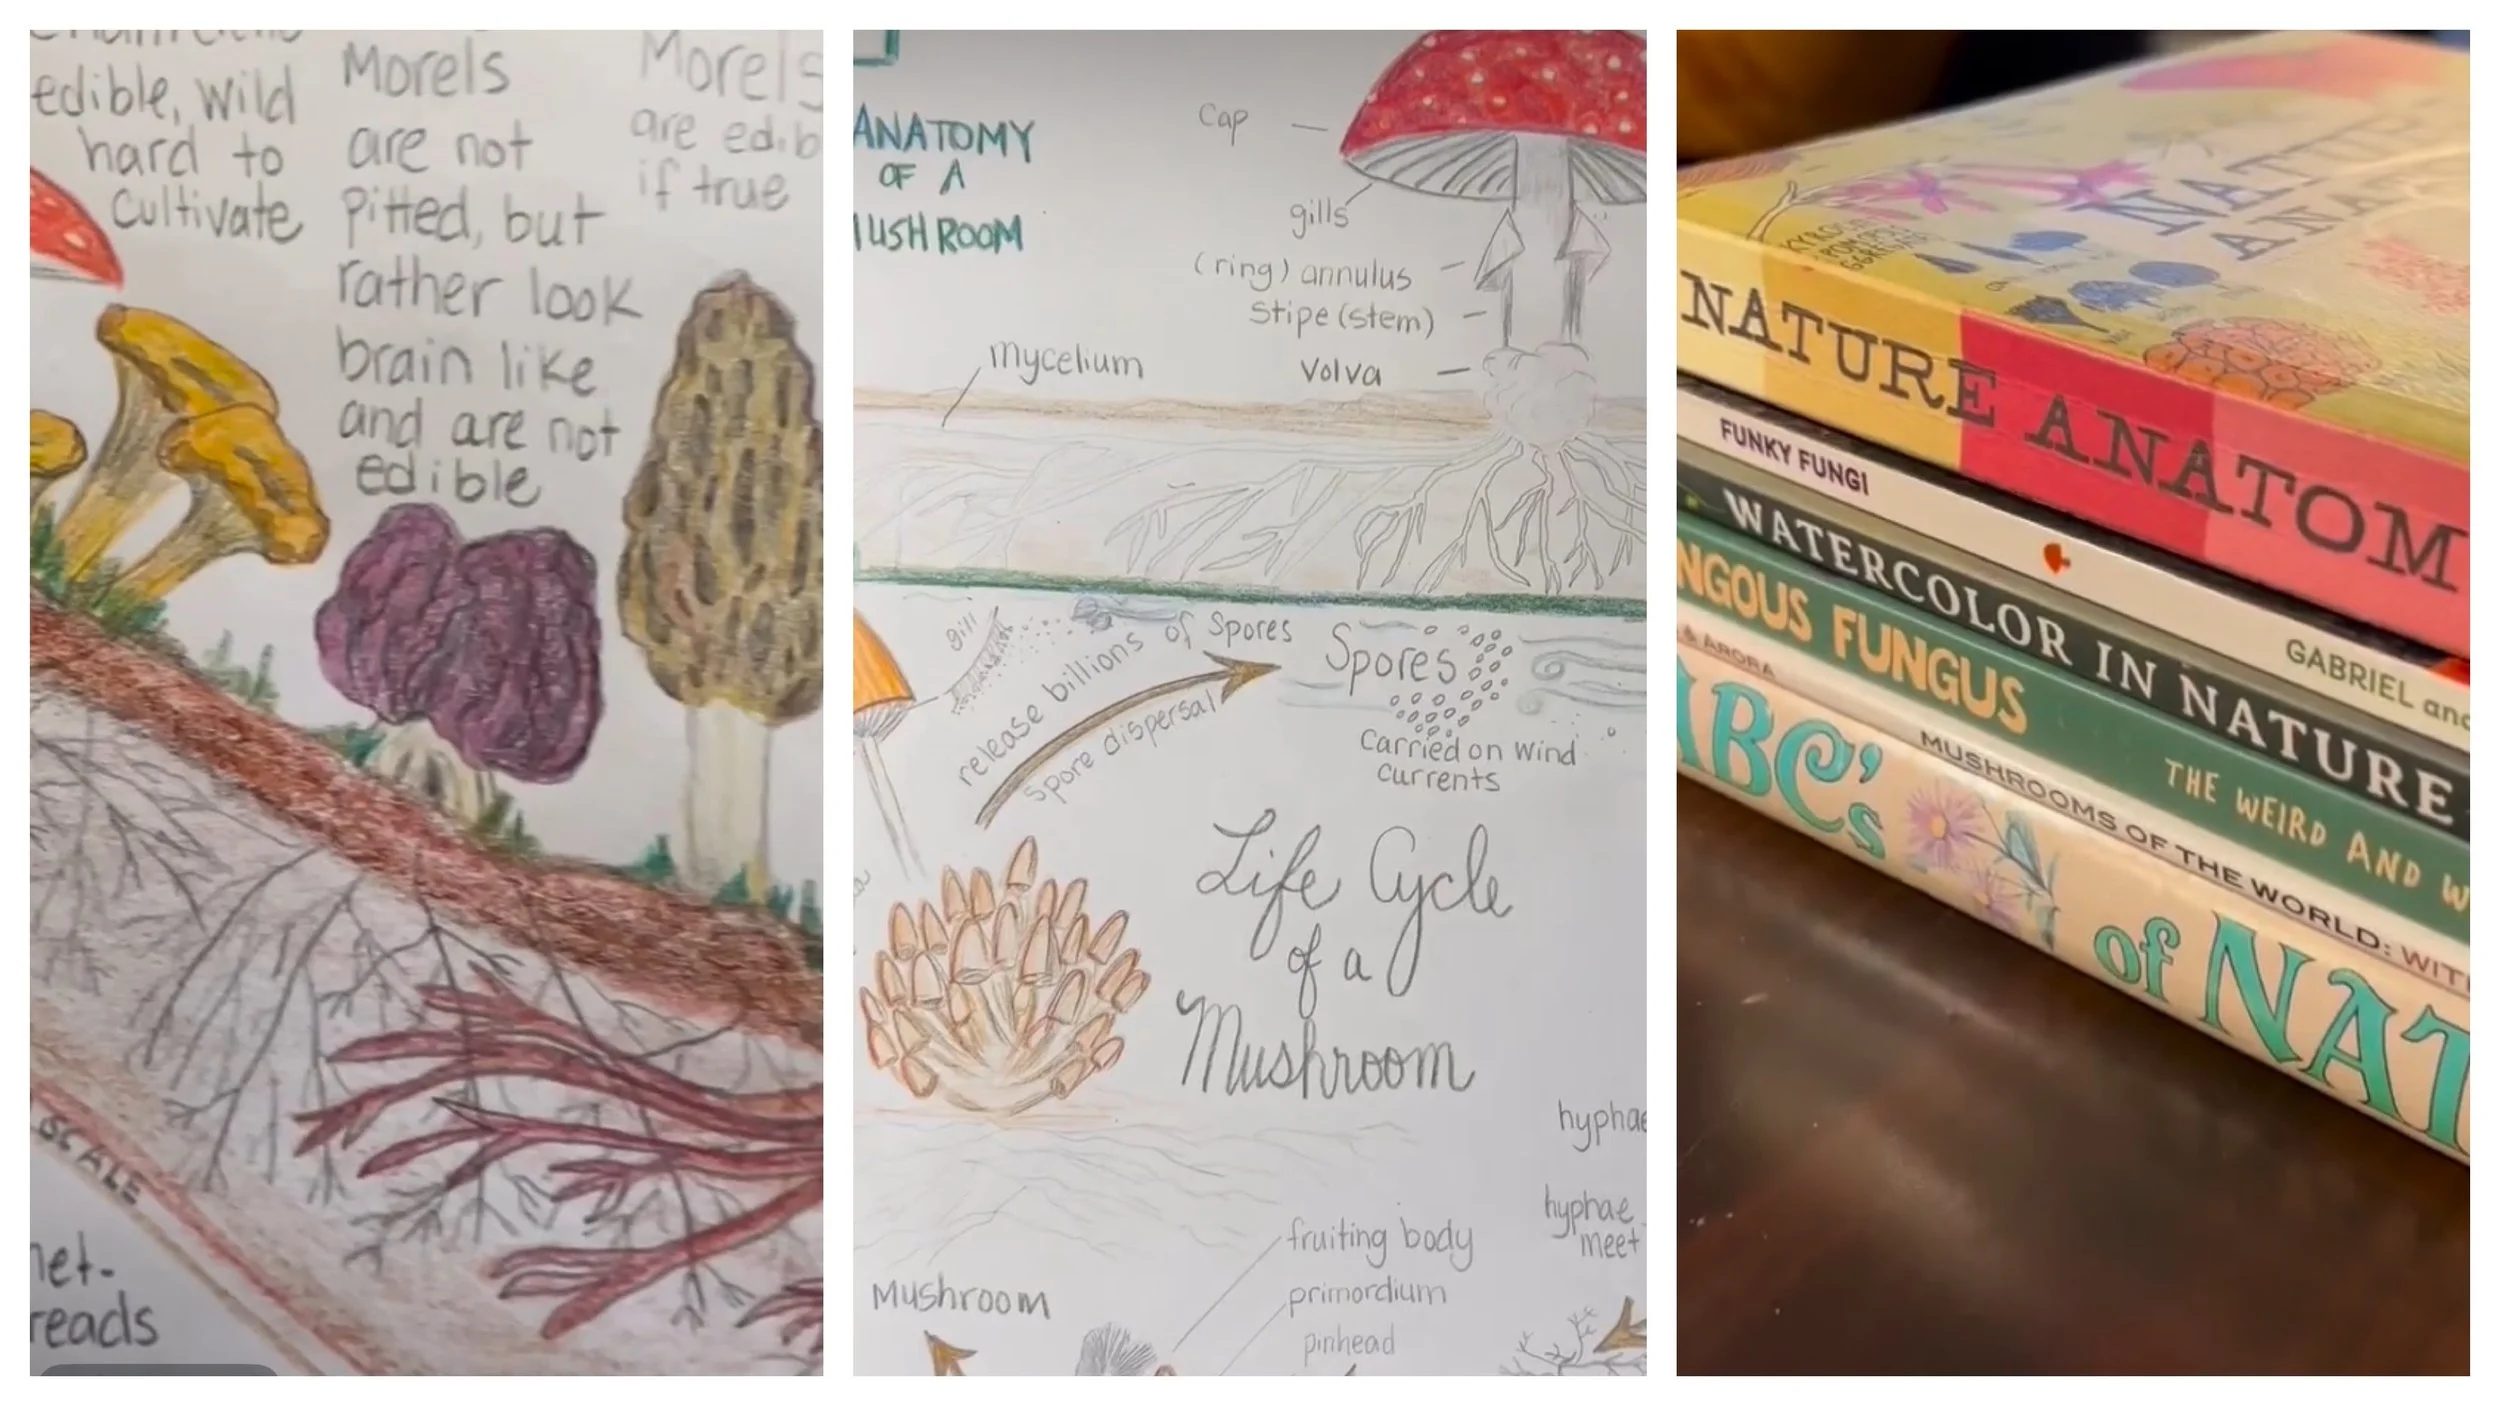
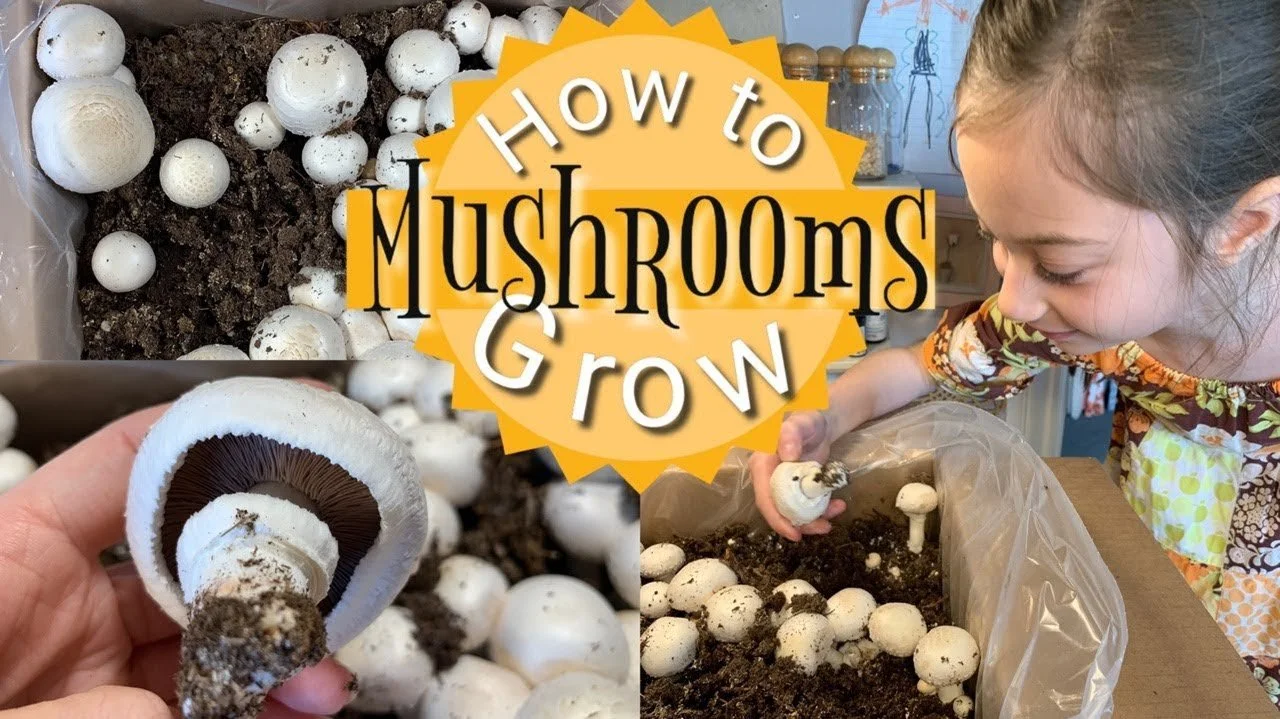
We are working through our Waldorf Main Lesson block for Botany. Today I'll show you how we do our lessons. To begin the lesson, I explained just a couple things about mushrooms and asked my son to get one from the kitchen. Had we lived in a place where mushrooms grew abundantly, I would have taken this lesson outdoors to observe mushrooms in their nature habitat. Next, I began to sketch a forest scene rich with mushrooms. My 10 year old son followed along. Instead of working directly in a main lesson book, we are doing this on drawing paper as I wanted to have the freedom to do various mediums for this unit. Already our first lesson was done with oil pastels on pastel paper. Later we'll take our drawings and narrations to an office supply store to have it bound, or we will bind it ourselves using the technique found in this video.
Once the drawing and coloring was complete, I gave a small presentation on mushrooms. I wrote a several sentences about mushrooms on the top portion of the paper. My son then copied that paragraph onto his paper. I lightly drew lines for him as he requested them, otherwise you can freehand your narration. The lesson was broken up over the day as we had a prior commitment midday. When we resumed, I had completed my portion, and my son continued to copy the drawing and narration.
The following week, we revisited the lesson beginning with a review. The review was as follows: I gave my son a blank piece of paper and asked him to re-create the forest scene and label each mushroom. Next I asked him to write two sentences about mushrooms. I would have preferred more, but he doesn't like to write. Alternatively, I could have asked for a longer oral narration. We continued with a review of the complete plant and mushrooms before beginning the new lesson on algae and seaweed.
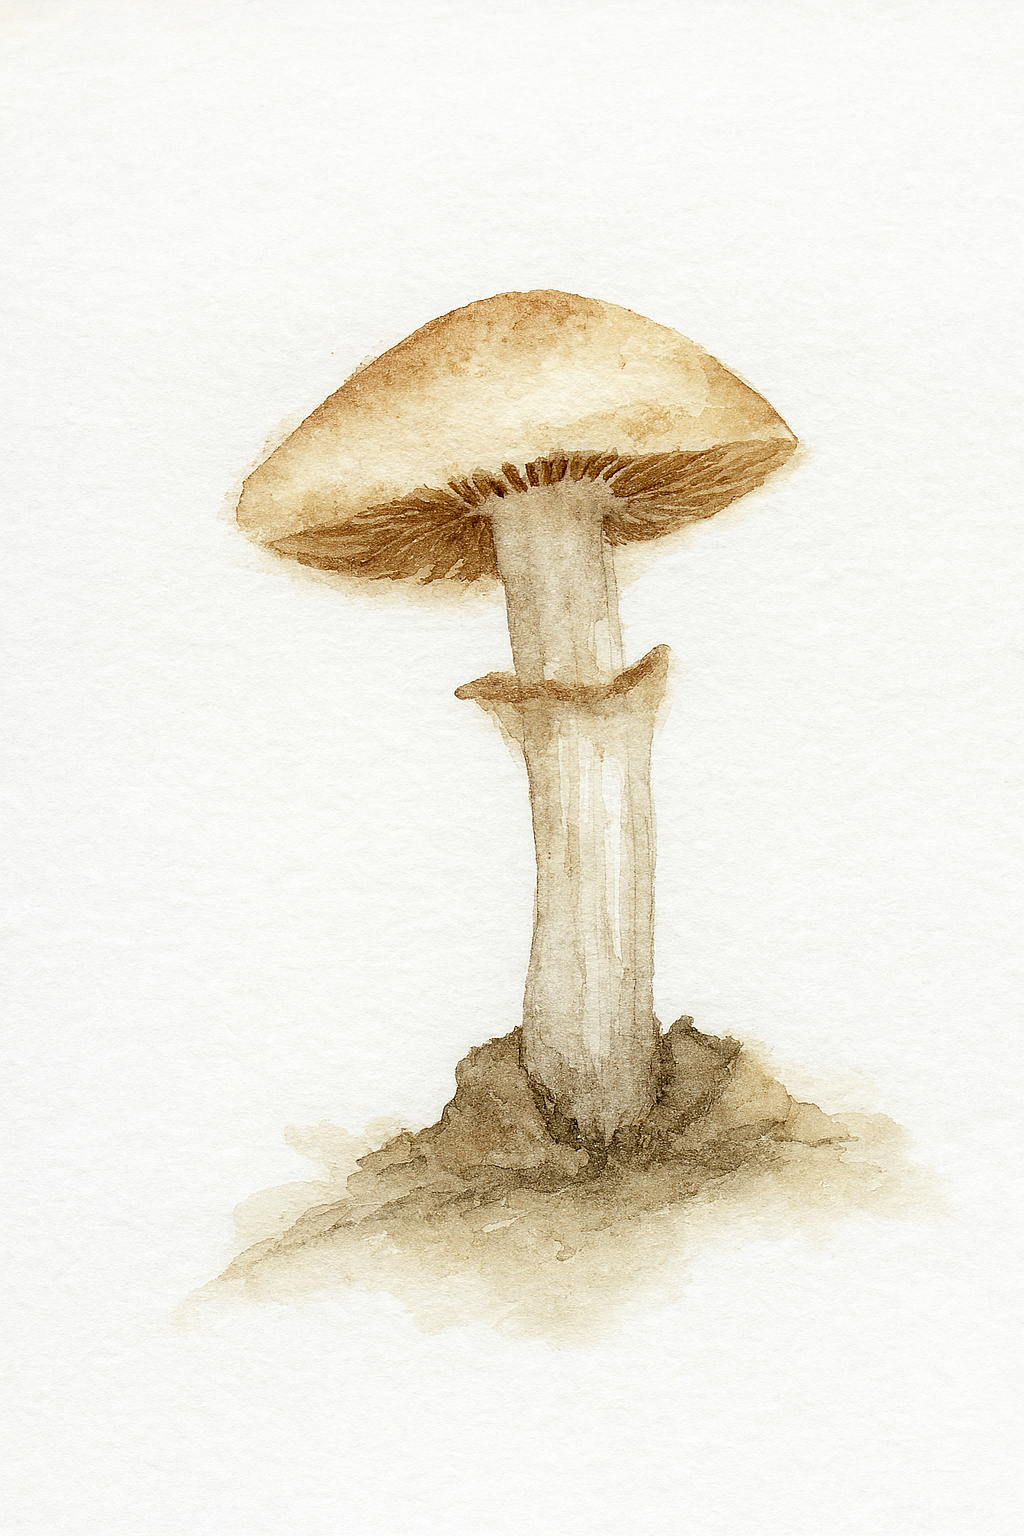
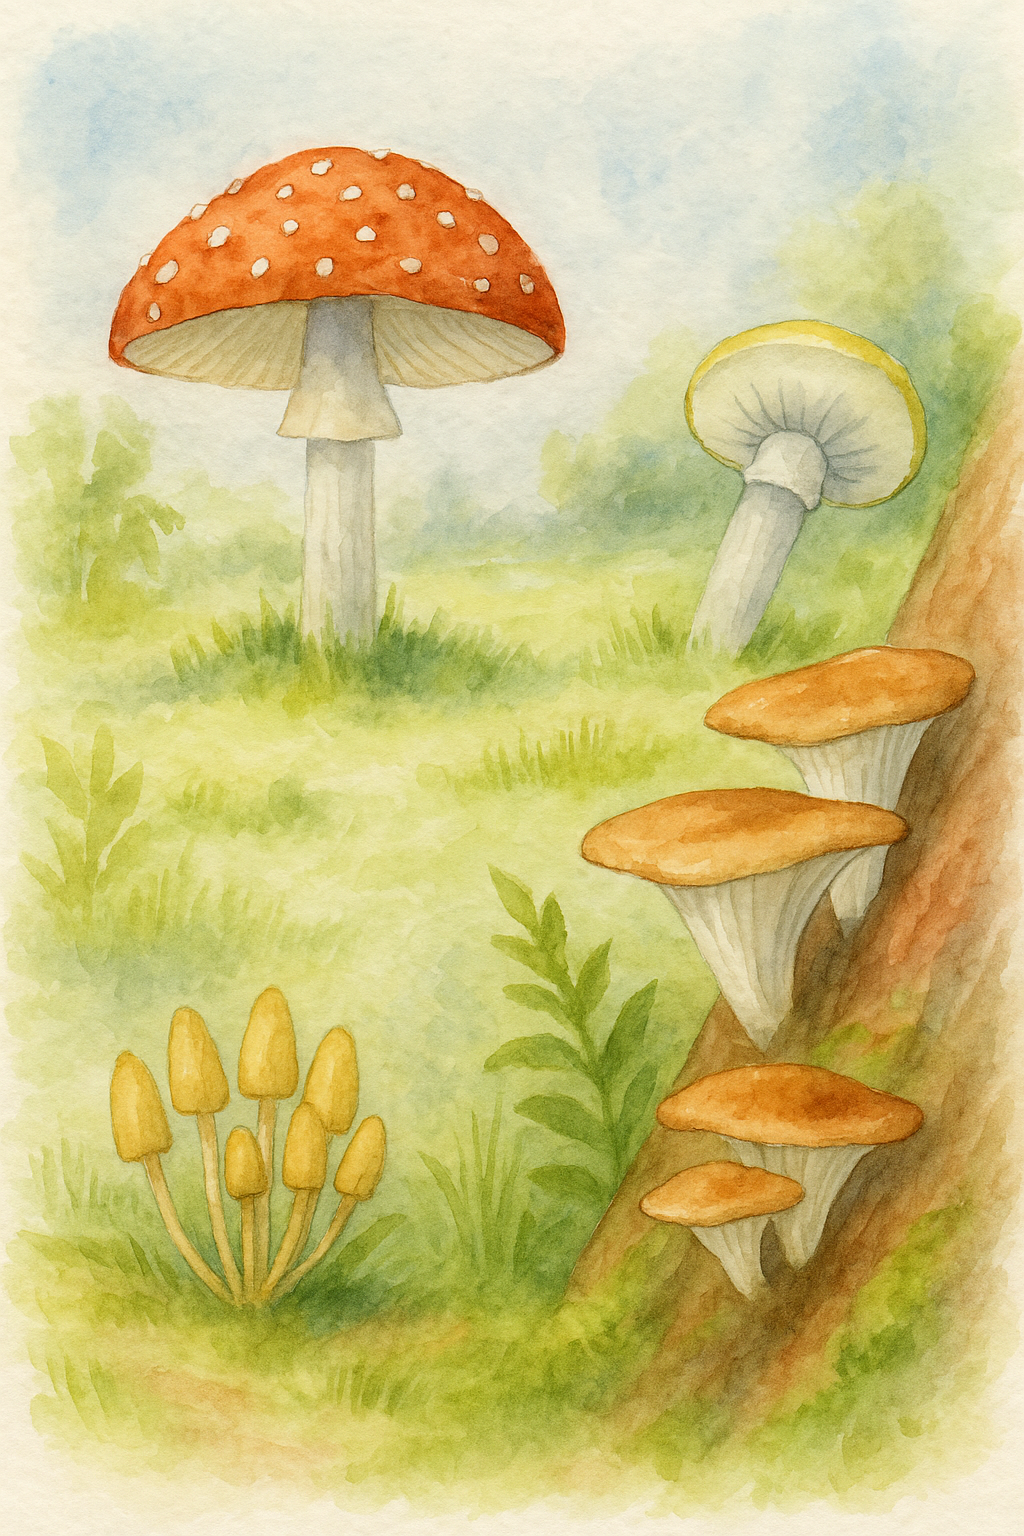
How to Watercolor a Mushroom
When doing our Waldorf Botany Main Lesson Block recently, I missed buying a mushroom growing kit. I had previously purchased one when doing this unit the first time, several years ago, with my oldest son. Everytime I went to purchase homeschooling supplies, I kept forgetting to look up the vendor that sold the mushroom kit. One year went by, and then another another! I finally remembered and purchased two kits! Neither were the kit I originally bought, but each had its perks.
One kit is readily available from Target and Amazon, and it’s by Back to the Roots. They come in several varieties, are pretty small and fairly affordable. The one shown today, is by Gardeners.com and while it was considerably more expensive, my children and I enjoyed this kit much better.
Today’s project is based on mushrooms we picked from that kit. We grew them, collected spores, cooked and ate them, and finally watercolored them.
May 2019
DIY Mini Mushrooms
This project was more time consuming than I expected but it turned out fabulously in the end. I’m using Sculpey Ultra Light Oven Bake clay, acrylic paints and an assortment tools and materials I had on hand to form these mushrooms. Books used: The ABCs of Nature Nature Anatomy, Humongous Fungus, The Practical Naturalist, Fungarium, The Curious Nature Guide, and Curious Kids Nature Guide
Mounted on heavy weight watercolor paper Watercolors for the edge of display Copic markers for labeling Hot glue gun for assembling.
October 2023
Mushroom Lesson
Mushrooms and the kingdom of fungi.
We are using our Live Education curriculum and the following
books as resources:
Mushrooms of the world by Jeannette Bowers
Humongous Fungus by Lynne Boddy
Watercolor in Nature by Rosalie Haizlett
Funky Fungi by Alisha Gabriel
Nature Anatomy by Julia Rothman
ABC's of Nature by Reader's Digest
Instead of doing our lessons on a chalkboard, I am drawing them with her in a main lesson book. My 12-year-old daughter will copy these drawings into her main lesson book. Sometimes she will write her own narrations, other times she will copy the narration that I have written. We will also include dictation as part of her written work.
In addition to the reading and writing for this main lesson block, we are doing some hands-on projects as well. We are in the midst of doing a mushroom growing kit, as well as other botany experiments with mold and fungi.
Usually the main lesson books are a bit smaller by this grade level, and include lined pages. But we are using a larger format main lesson notebook that only has blank pages.
The last time we did a Botany main lesson block with my older child, we did the entire unit with watercolors. In that main lesson block. I also worked on my side, my student and water colored with him. I like that we're mixing it up year to year, it keeps it fresh and exciting for everyone.
To see the original video, you may see it on Instagram at Pepper and Pine.
September 2023
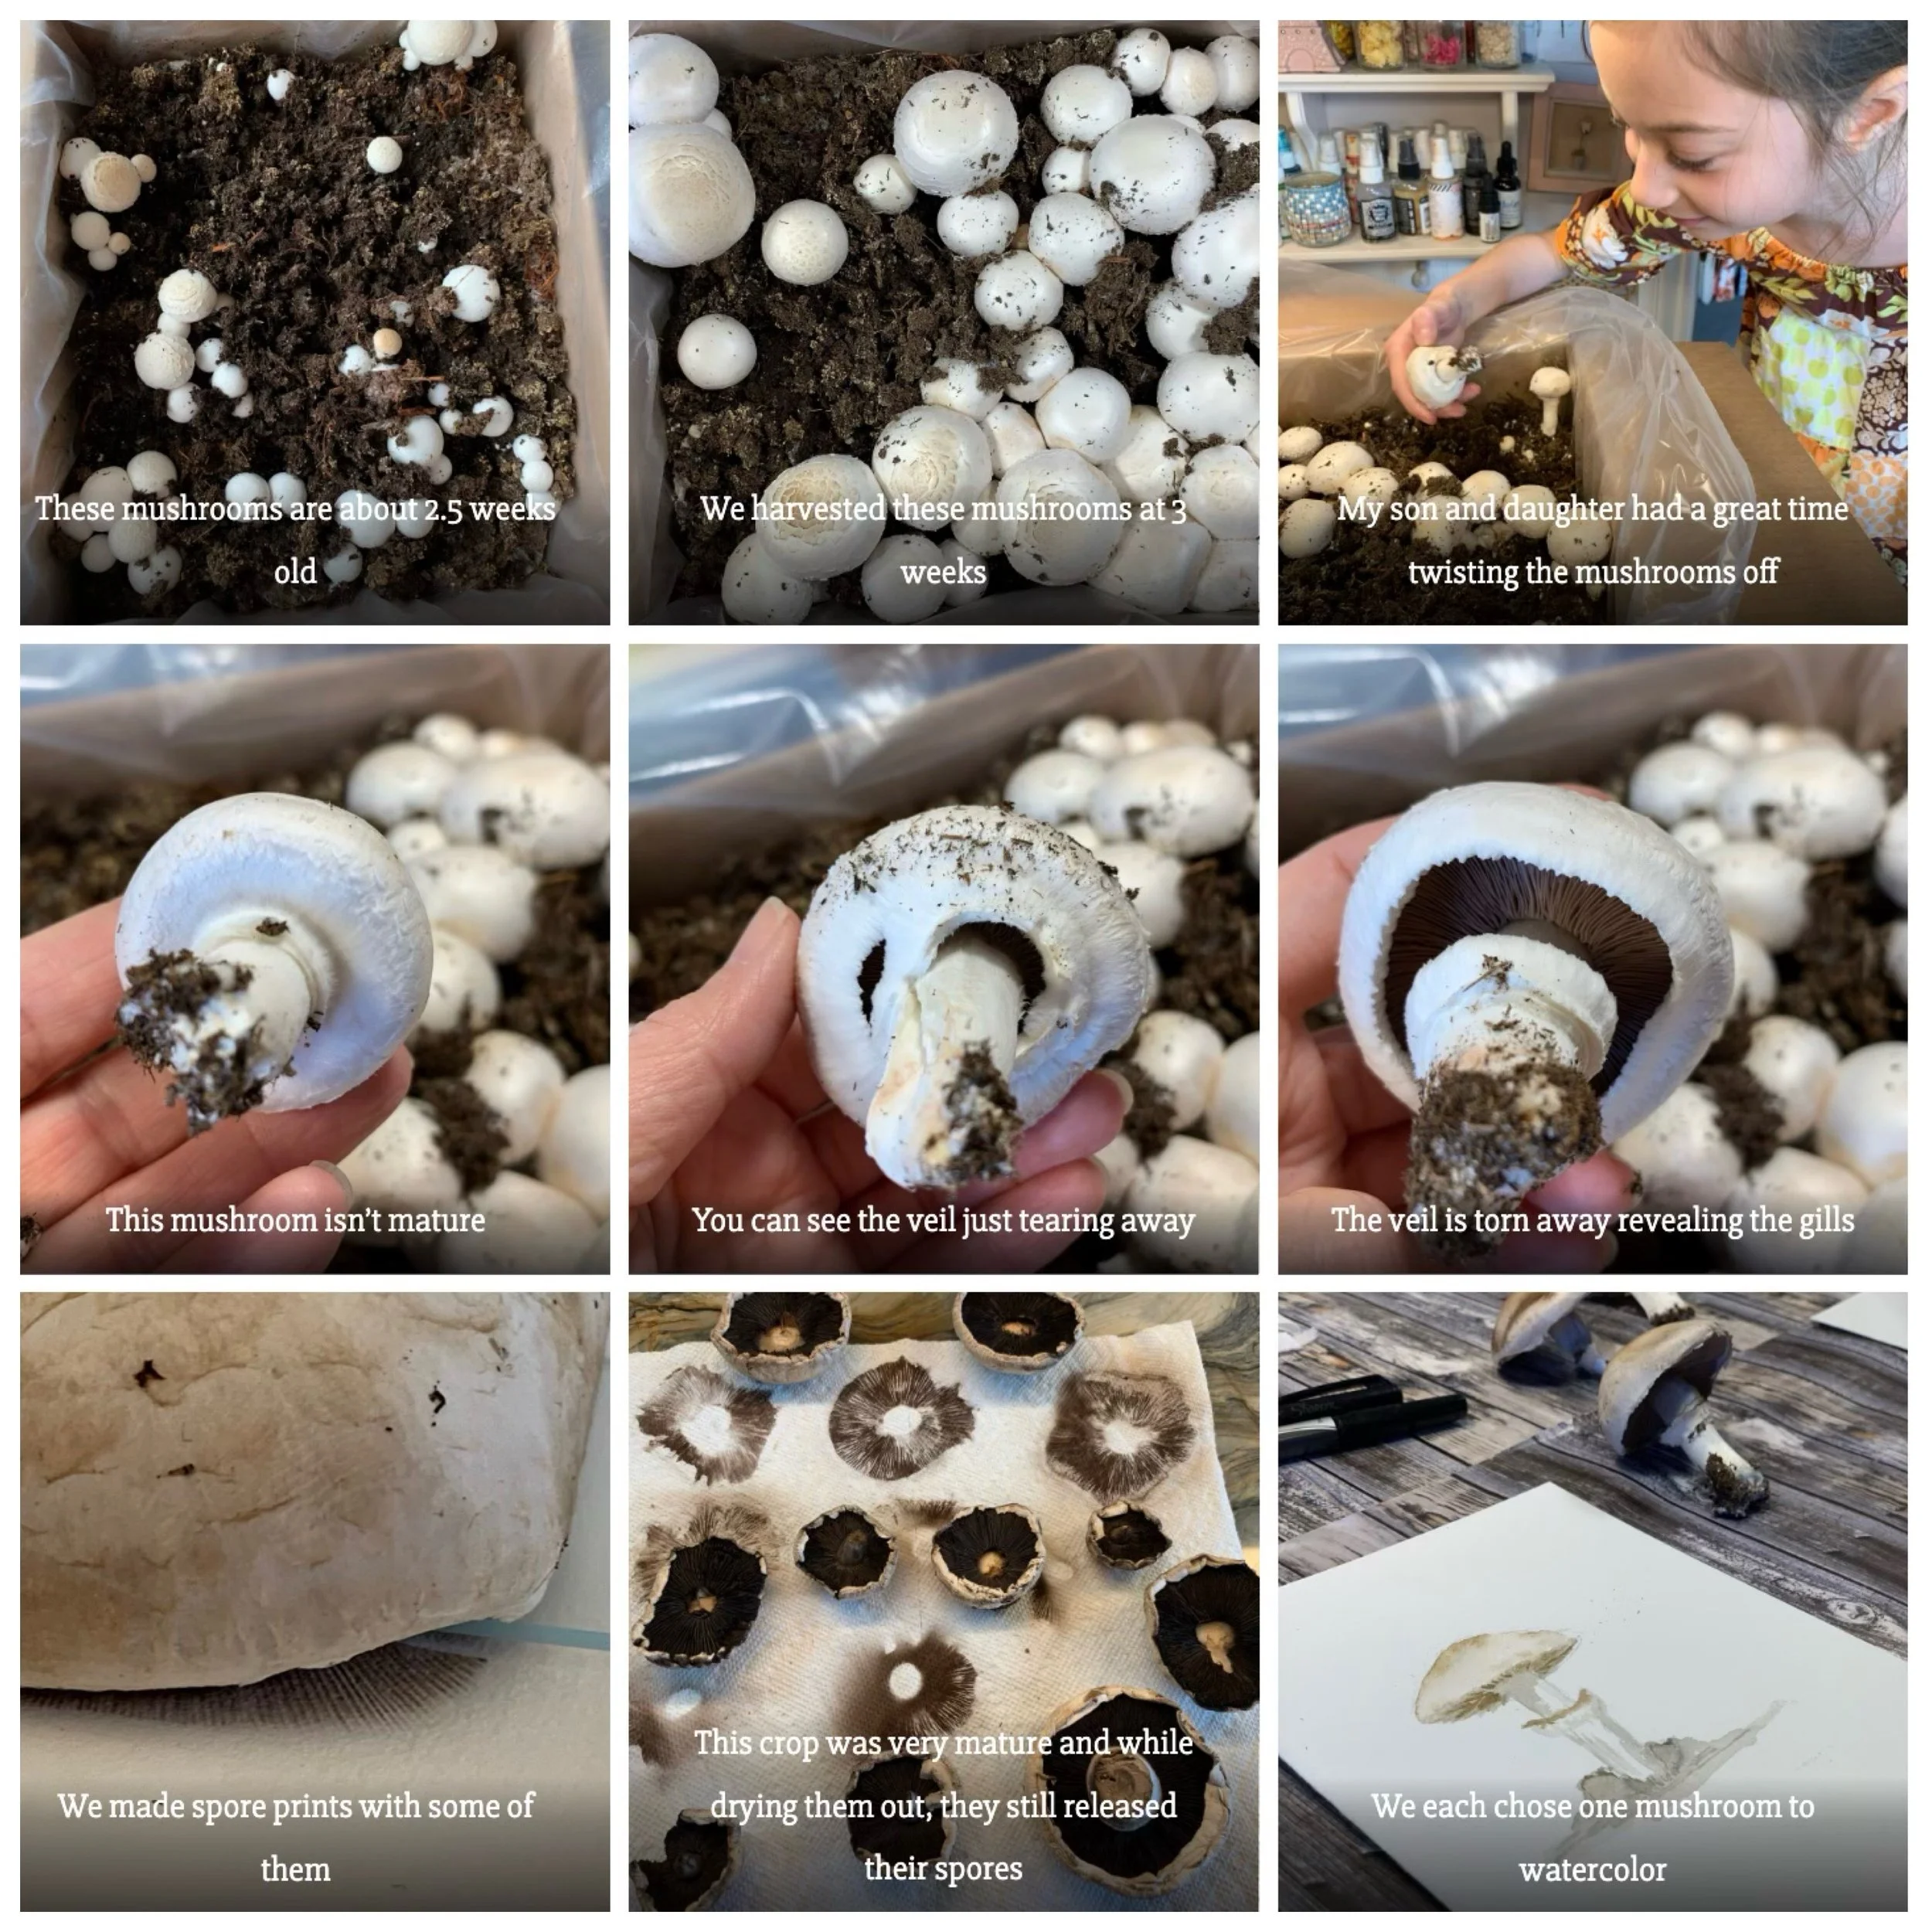
How to Grow Mushrooms
Growing mushrooms is watching nothing happen for weeks and then suddenly they emerge and grow overnight doubling in size in days. That’s what happened with our Mushroom Adventure Grow Edible Mushrooms kit from Gardeners. We bought this kit for our spring nature study, but really had intended to buy when we did our Botany Main Lesson Block to accompany the lesson on fungi.
It took about 4-6 weeks for both crops of mushrooms to grow and be harvested. We sauteed the first batch of mushrooms, made spore prints with a smaller mid crop and dried out the final crop of mushrooms to be used in future dishes.
What Does Compost Look Like After 3 Weeks?
Curious to see what kitchen scraps look like after three weeks in the dirt? It's probably what you'd expect, but each time I turn over soil that's been composted, I'm always surprised and thrilled at the same time. It's incredible how quickly the right materials will decompose and how unchanged materials that take eons to decompose look like after weeks, months or years. Another surprise is the temperature. You may already know that decomposition creates heat, but seeing it on the thermometer and feeling it as you run the compost through your fingers is another thing entirely.
Check out the other Nature-Watch kits we use and love.
If you want to try this using the kit we used, you can find it at Nature-Watch.
You could also make your own using large mason jars, a hammer and nails to puncture the lid and a few thermometers to measure the temperature change. Though we did this project in the fall, I think this would be a great activity to do in the spring along with a nature or science unit. You can check out the last two spring season projects and units here: Nature Unit Spring 2016 and Nature Unit 2017.
How to Make Spore Prints
Check out how we made spore prints.
Making spore prints turned out to be a really easy educational project that has creative potential. You want to harvest or use mature mushrooms. You may choose to remove the cap or keep it in place. We did both with varying results. To keep the spore prints from being scattered by air drafts, you can cover them with a cup.
We left our spore prints for two days and that was too much time. We could have removed the mushroom caps after two hours and moved the caps to another part of the paper to collect more. I find the finer prints to be more beautiful and easier to observe under a microscope.
Check out the haul video where we purchased this mushroom growing kit and other supplies for our main lesson blocks and unit studies.
Check out the rest of our Botany Main Lesson block lessons, activities and projects for more ideas on how you can bring this subject area to life.
Check out some of my food tutorials to find recipes we’ve used in our home and homeschool:
This kit was $45 and we purchased it from Gardners.com
Mushroom Kit
This is the oyster mushroom grow kit. Available by Back to the Roots. This is one of our most enjoyable passive hands-on projects in our botany unit. Bonus because we get to cook and eat these mushrooms when they’re fully grown. Once they begin to grow, they grow rapidly! It’s thrilling to watch as it only takes a few days for them to be fully mature. It’s best to harvest them as soon as they are mature and cook them within a few days.
Algae & Seaweed
-
Algae & Seaweed
It all begins with an idea. Maybe you want to launch a business. Maybe you want to turn a hobby into something more.
-

How We Homeschool | Waldorf Botany Lesson Algae
Curious how I teach our main lessons for our Waldorf Botany Main Lesson Block? It’s actually never the same each time.
Algae & Seaweed
Lesson on Seaweed
Workin on our lesson for algae and seaweed for our Botany Main Lesson Block. We are splitting out botany main lesson and doing 3 weeks in the fall and 3 weeks in the spring.
I don't typically do our science main lessons in the fall, but to be honest, we started this unit last spring and only did one lesson and that was the cover page. Which was in watercolors. Which we didn't even use this year.
Even though our school room was completed last winter, I had already enrolled my daughter in online coursework for the fall and she wanted to continue for the spring semester so I barely did any work with her last year.
Before that, we had other challenges that prevented me from fully committing to our homeschool journey. So this year I feel like a brand new homeschooler!
September 2023
Waldorf Botany Lesson | Algae
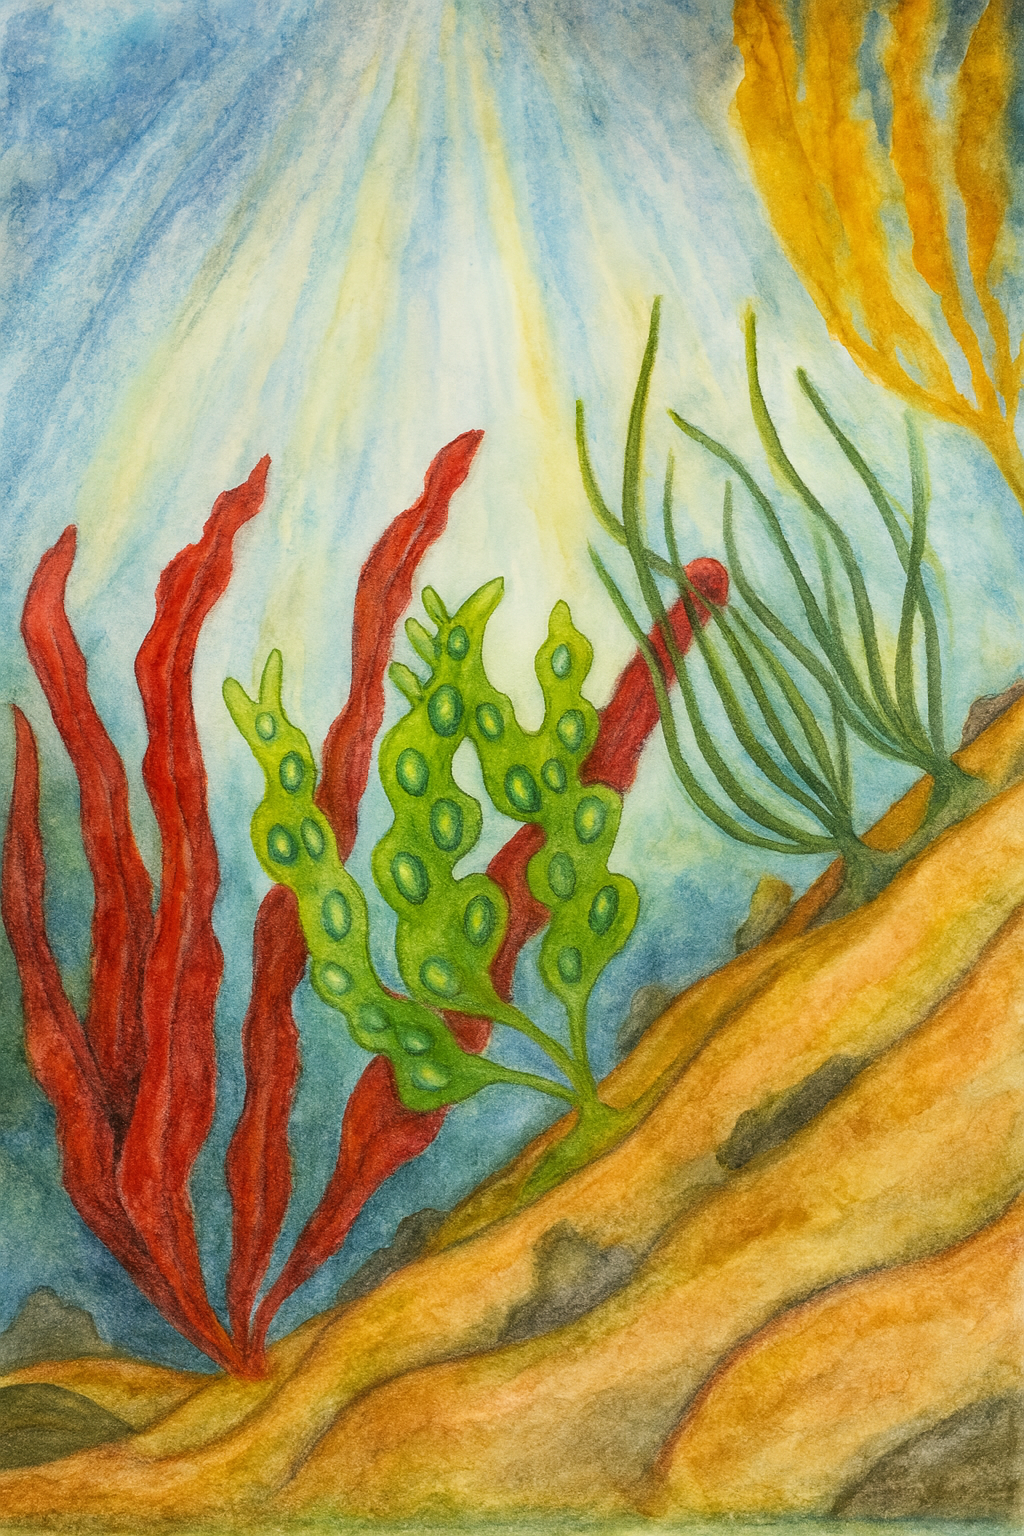
Curious how I teach our main lessons for our Waldorf Botany Main Lesson Block? It's actually never the same each time. Sometimes we begin with the written portion, sometimes with the art portion, but more often, it begins with an oral narration on my part or a reading from a 'living' book (refer to Charlotte Mason for explanation on Living Books).
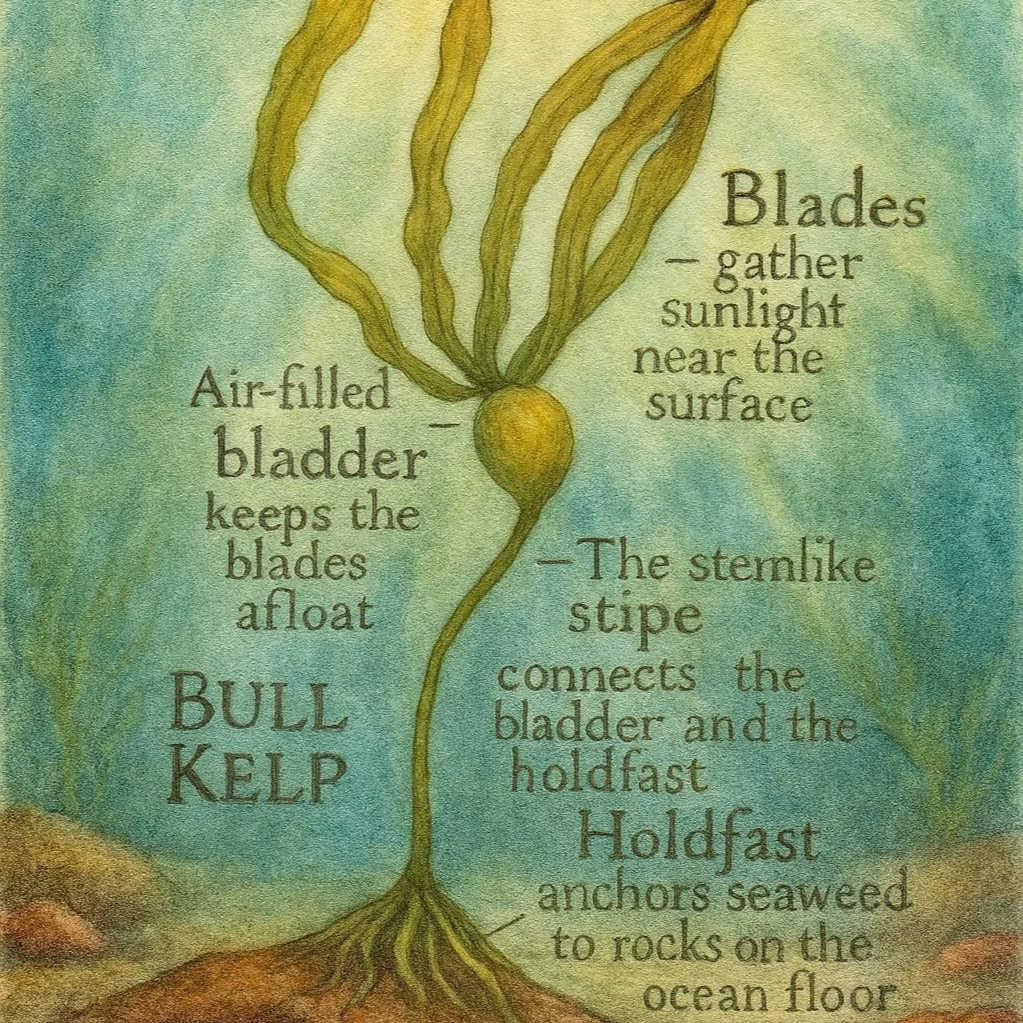
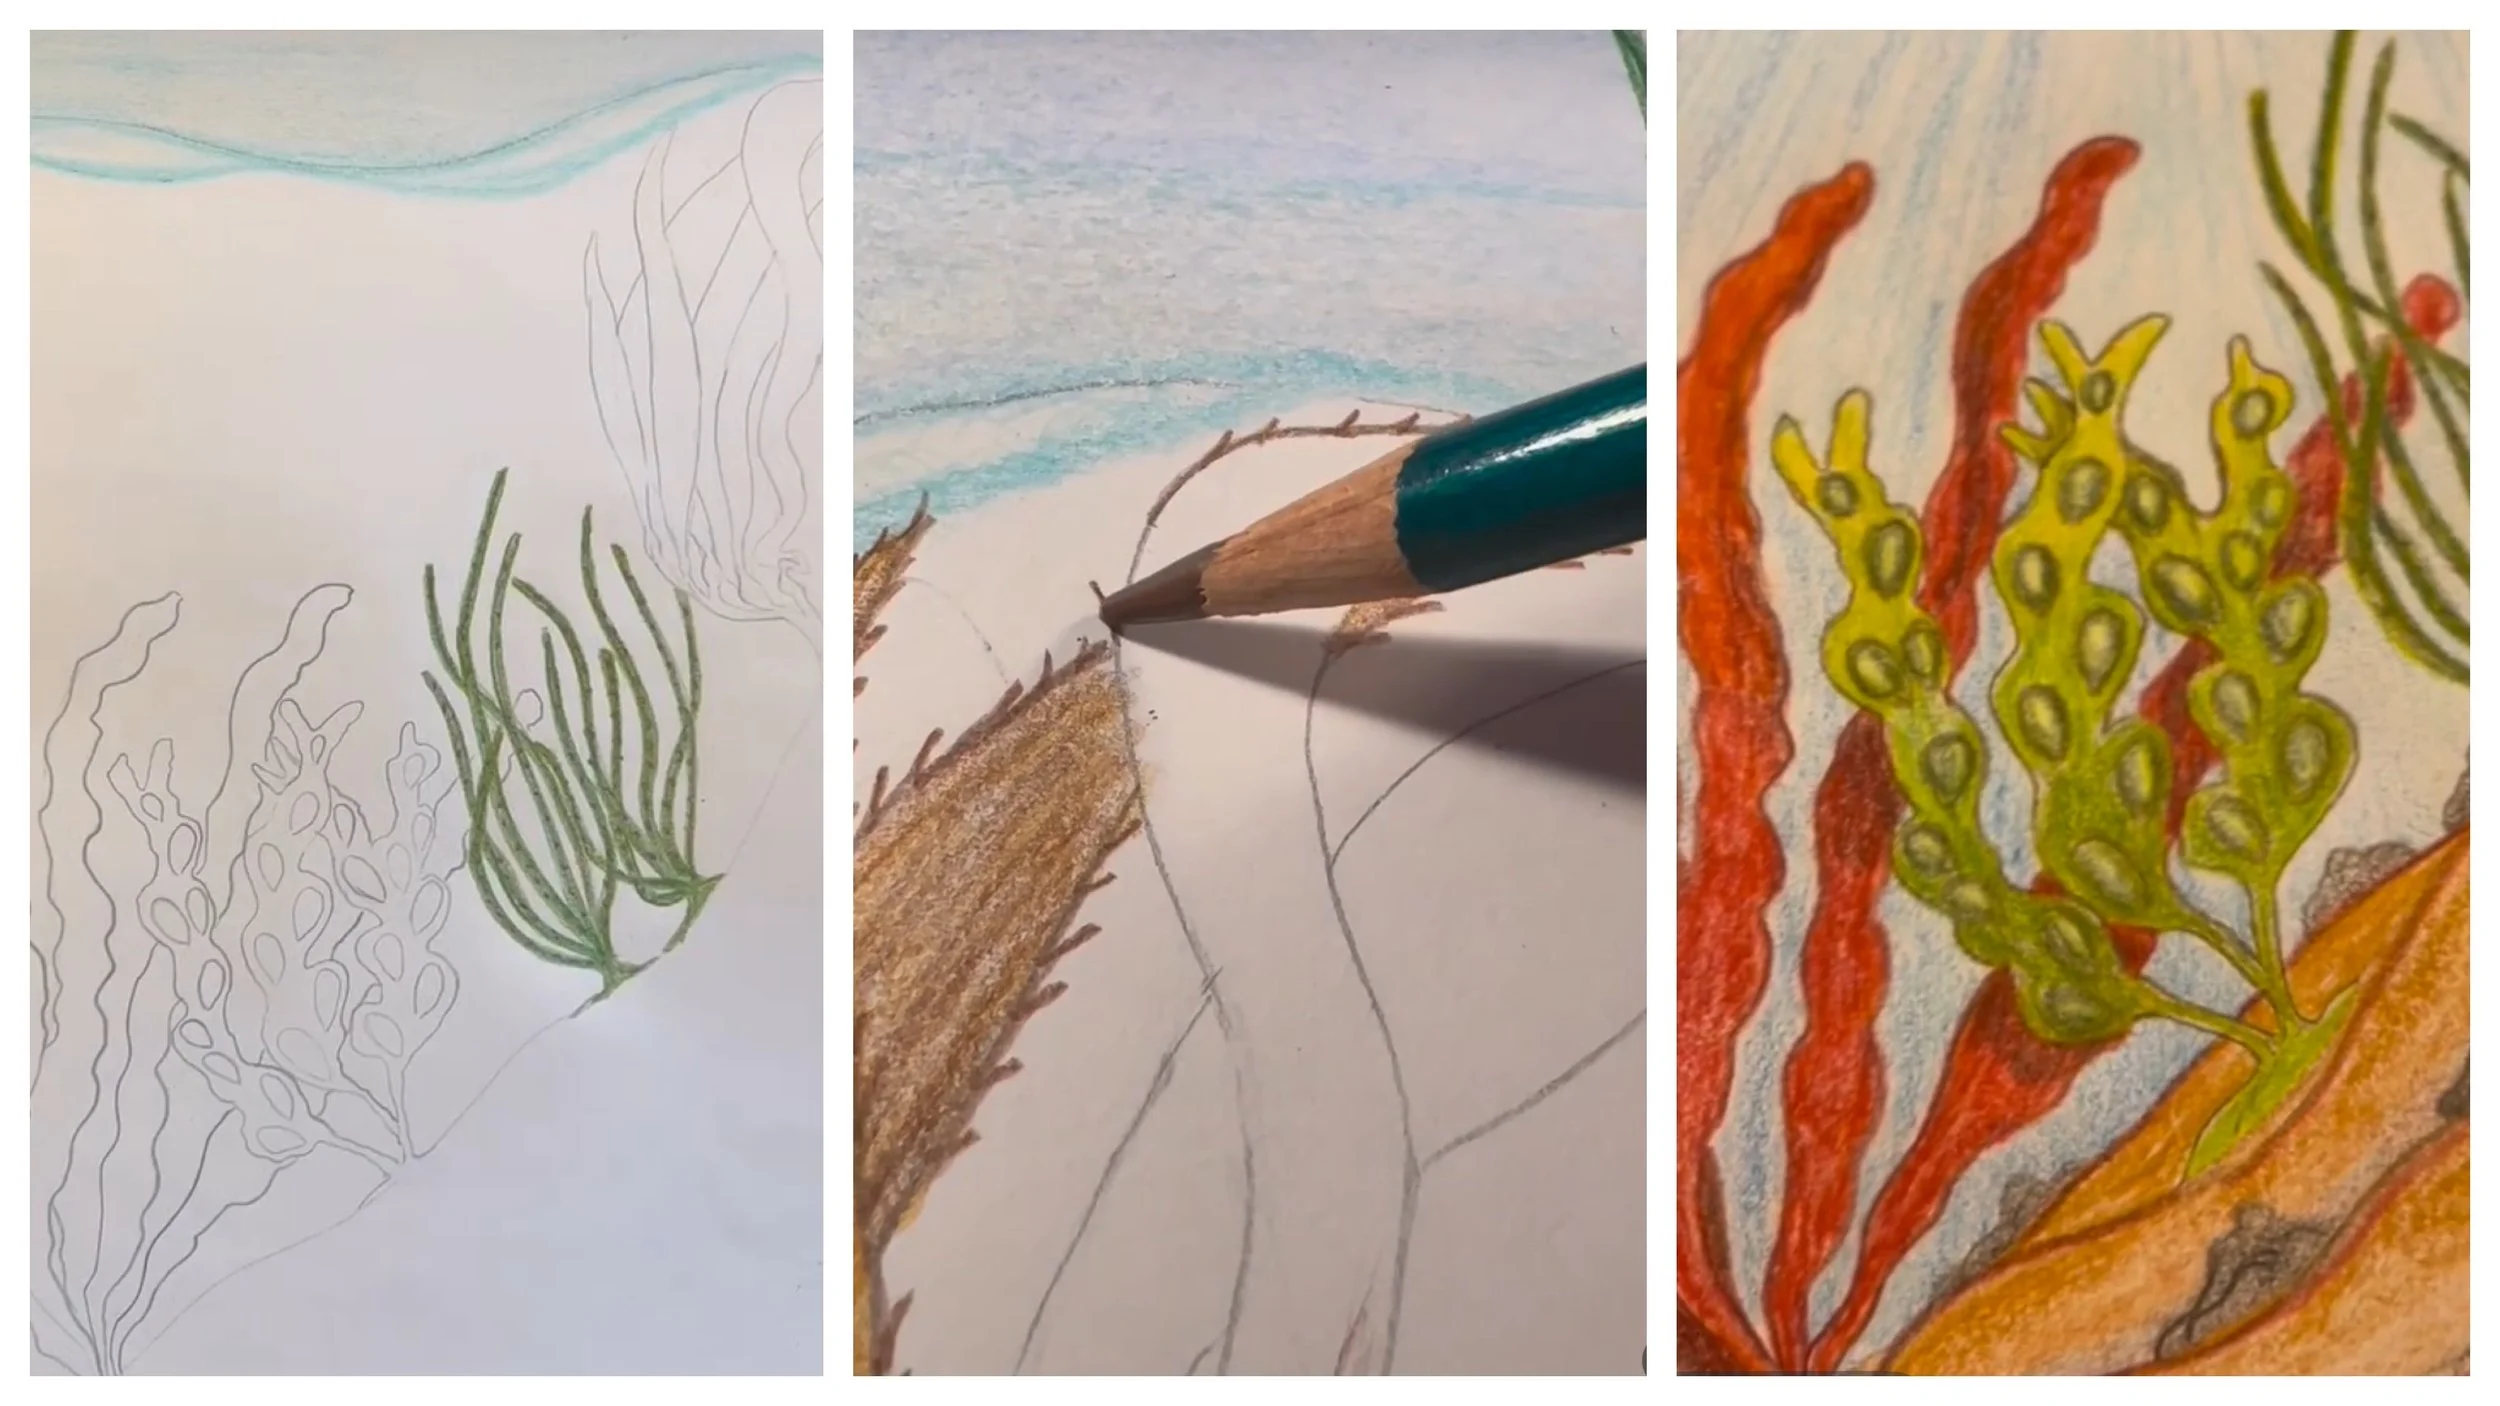
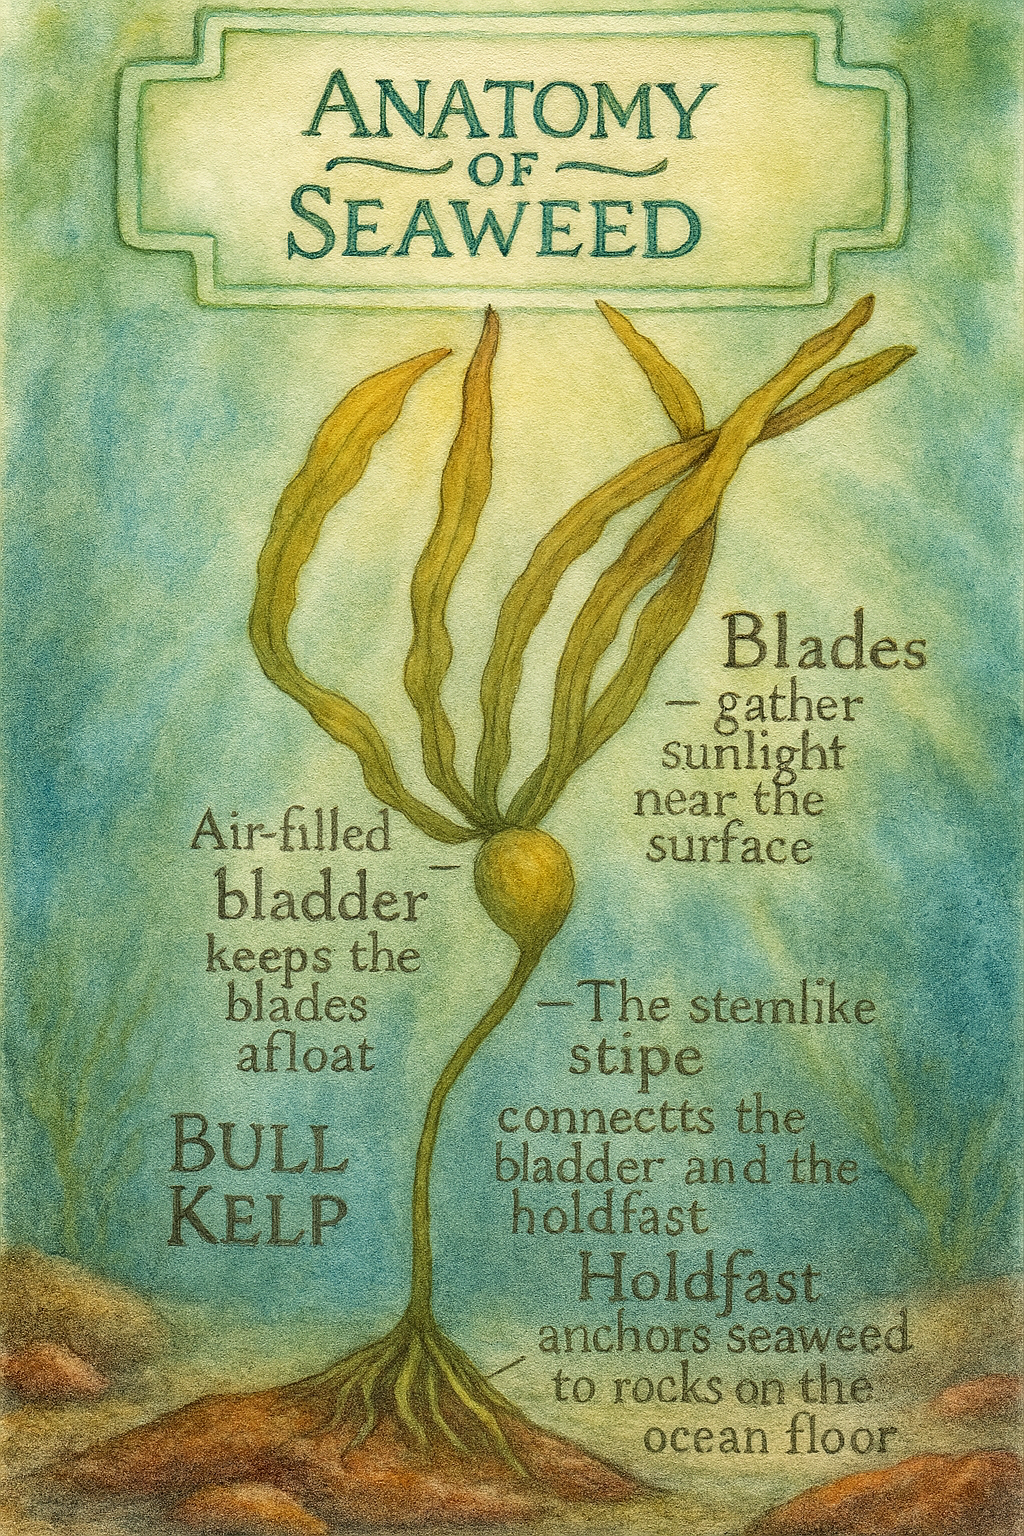
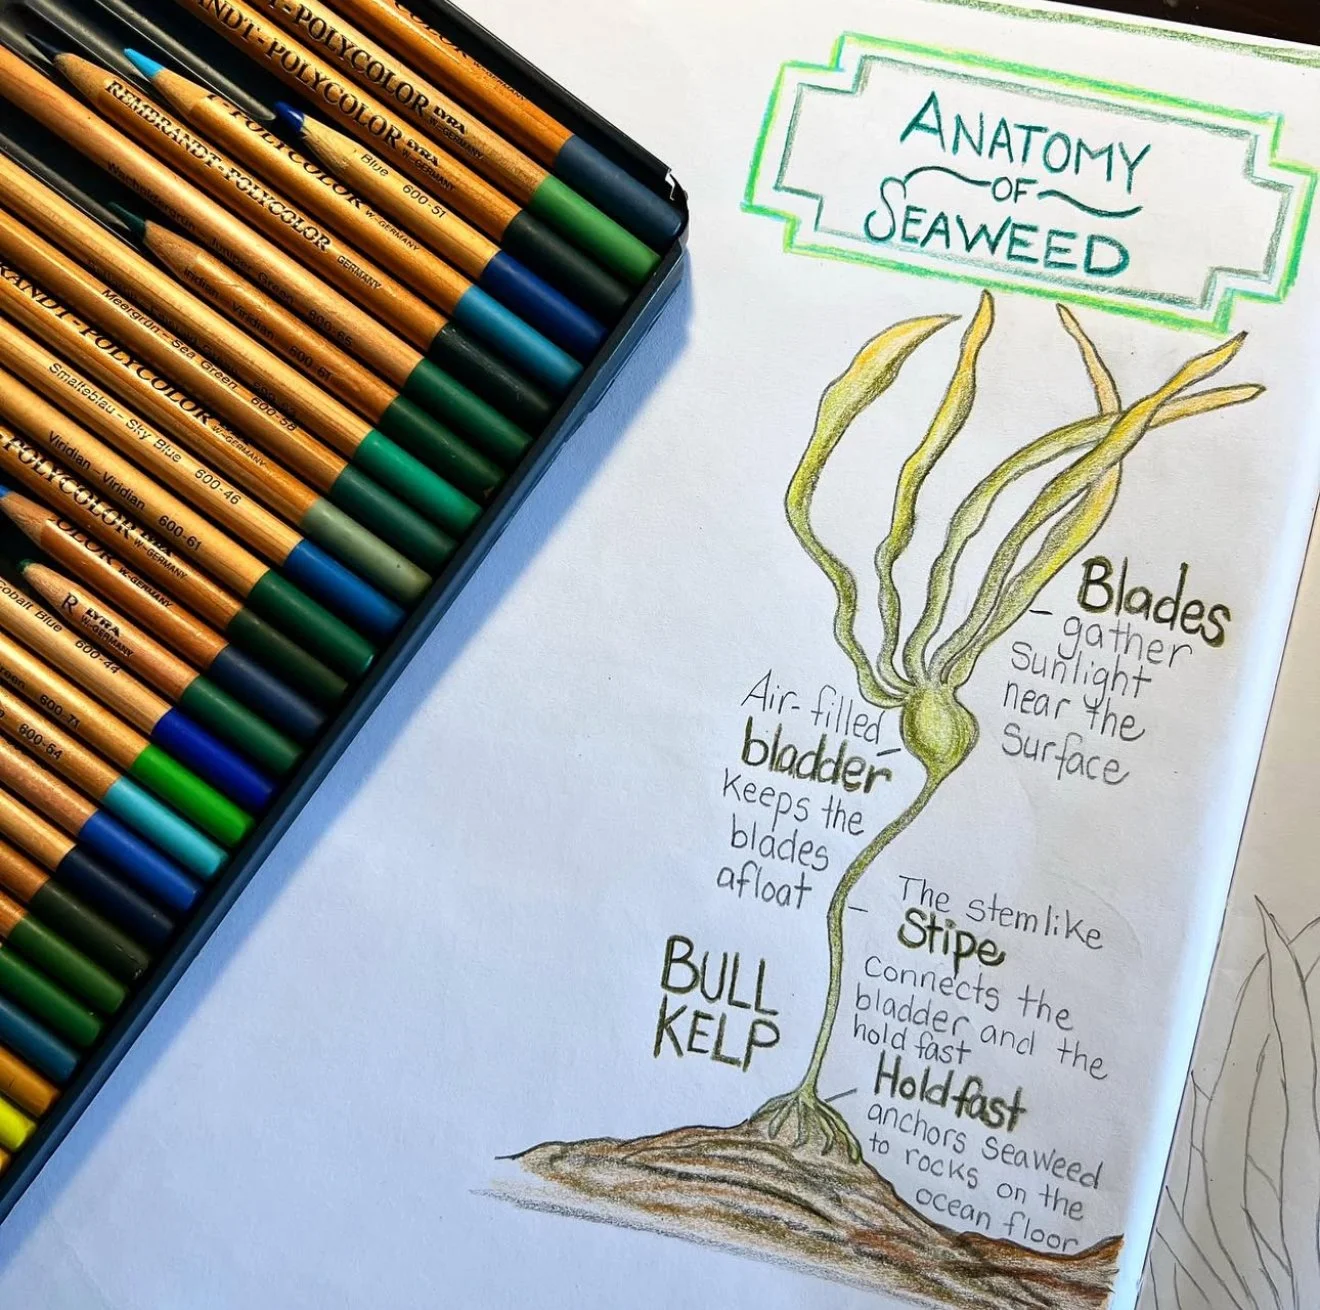
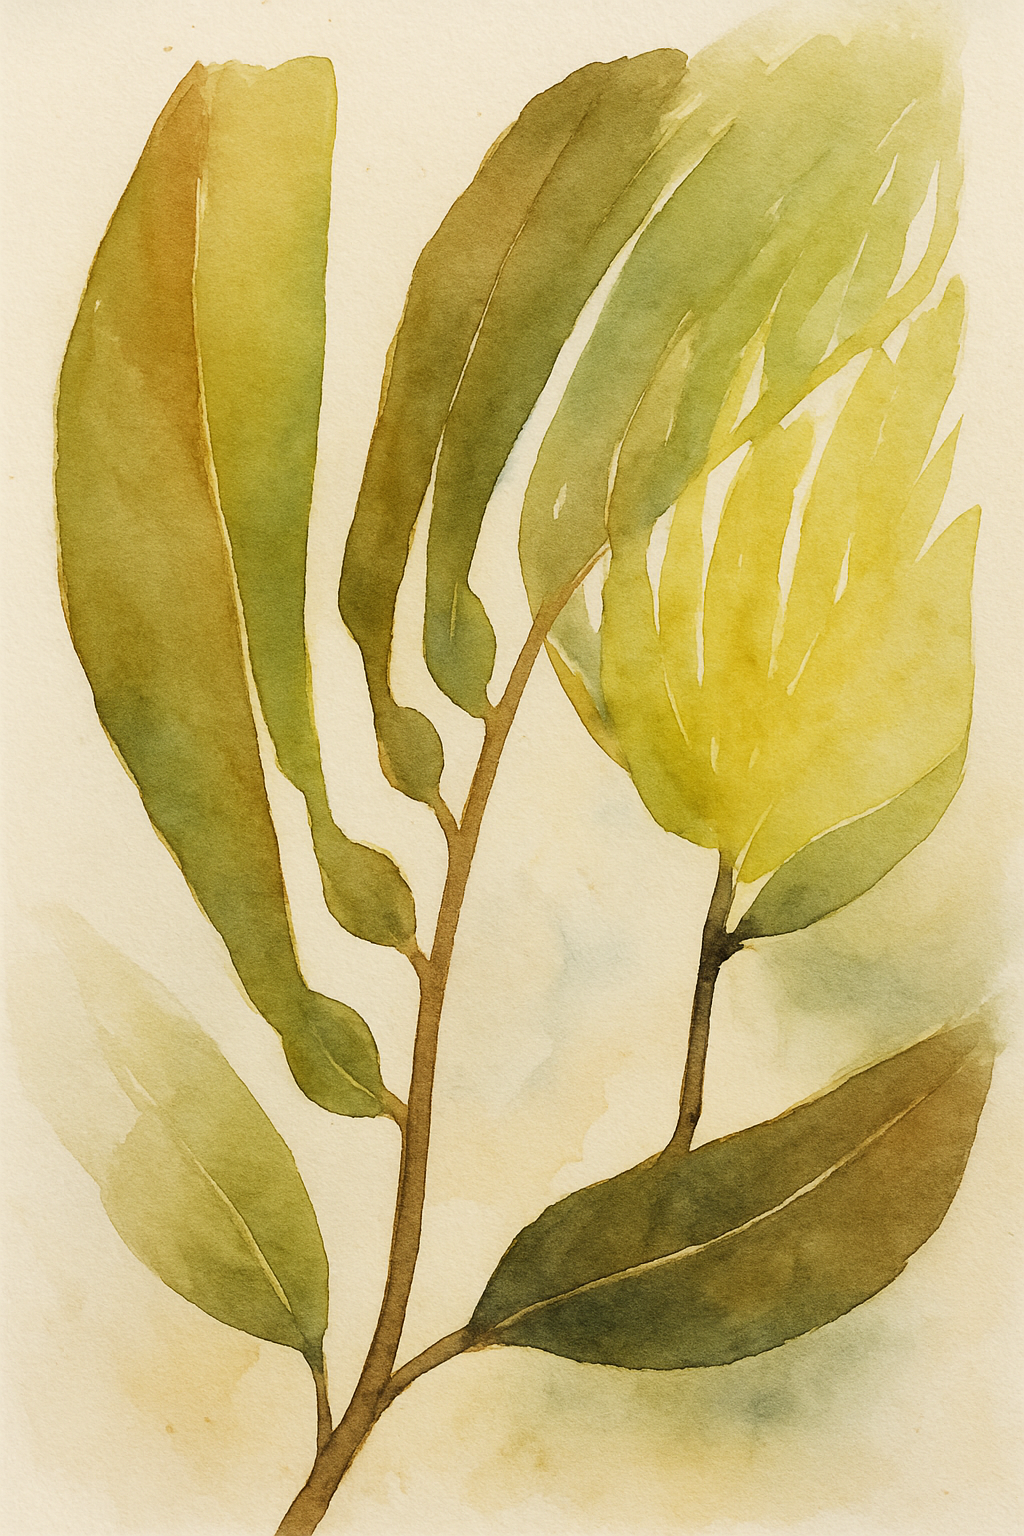
While working through lesson 4 of our Botany Main Lesson curriculum, I decided to add an extra art sample to our main lesson books. Today's lesson is how we added a watercolor sample of seaweed to accompany the main lesson block. We chose to watercolor local varieties of seaweed for local significance as well as significance to the curriculum. We watercolored giant sea kelp as we live off the coast of California, and this is a variety we are both familiar with as well as see often when at the beach. I chose watercolors because seaweed grow in water, and I thought the ethereal look of watercolors would complement the ethereal look of seaweed under water.
This lesson is about algae with seaweed being a marine algae. We are now exploring plants that represent 'part' of the complete plant with seaweed being a 'leaf' plant with no true roots or flowers or fruit. Seaweed collapses if taken out of the water, yet they are similar to the tall trees in a forest as seaweed often provides a safe haven for other plants and sea animals. Though they have no true roots, they have a holdfast which keeps the seaweed attached to rocks but takes in no nutrients. Those are absorbed throughout the whole plant.
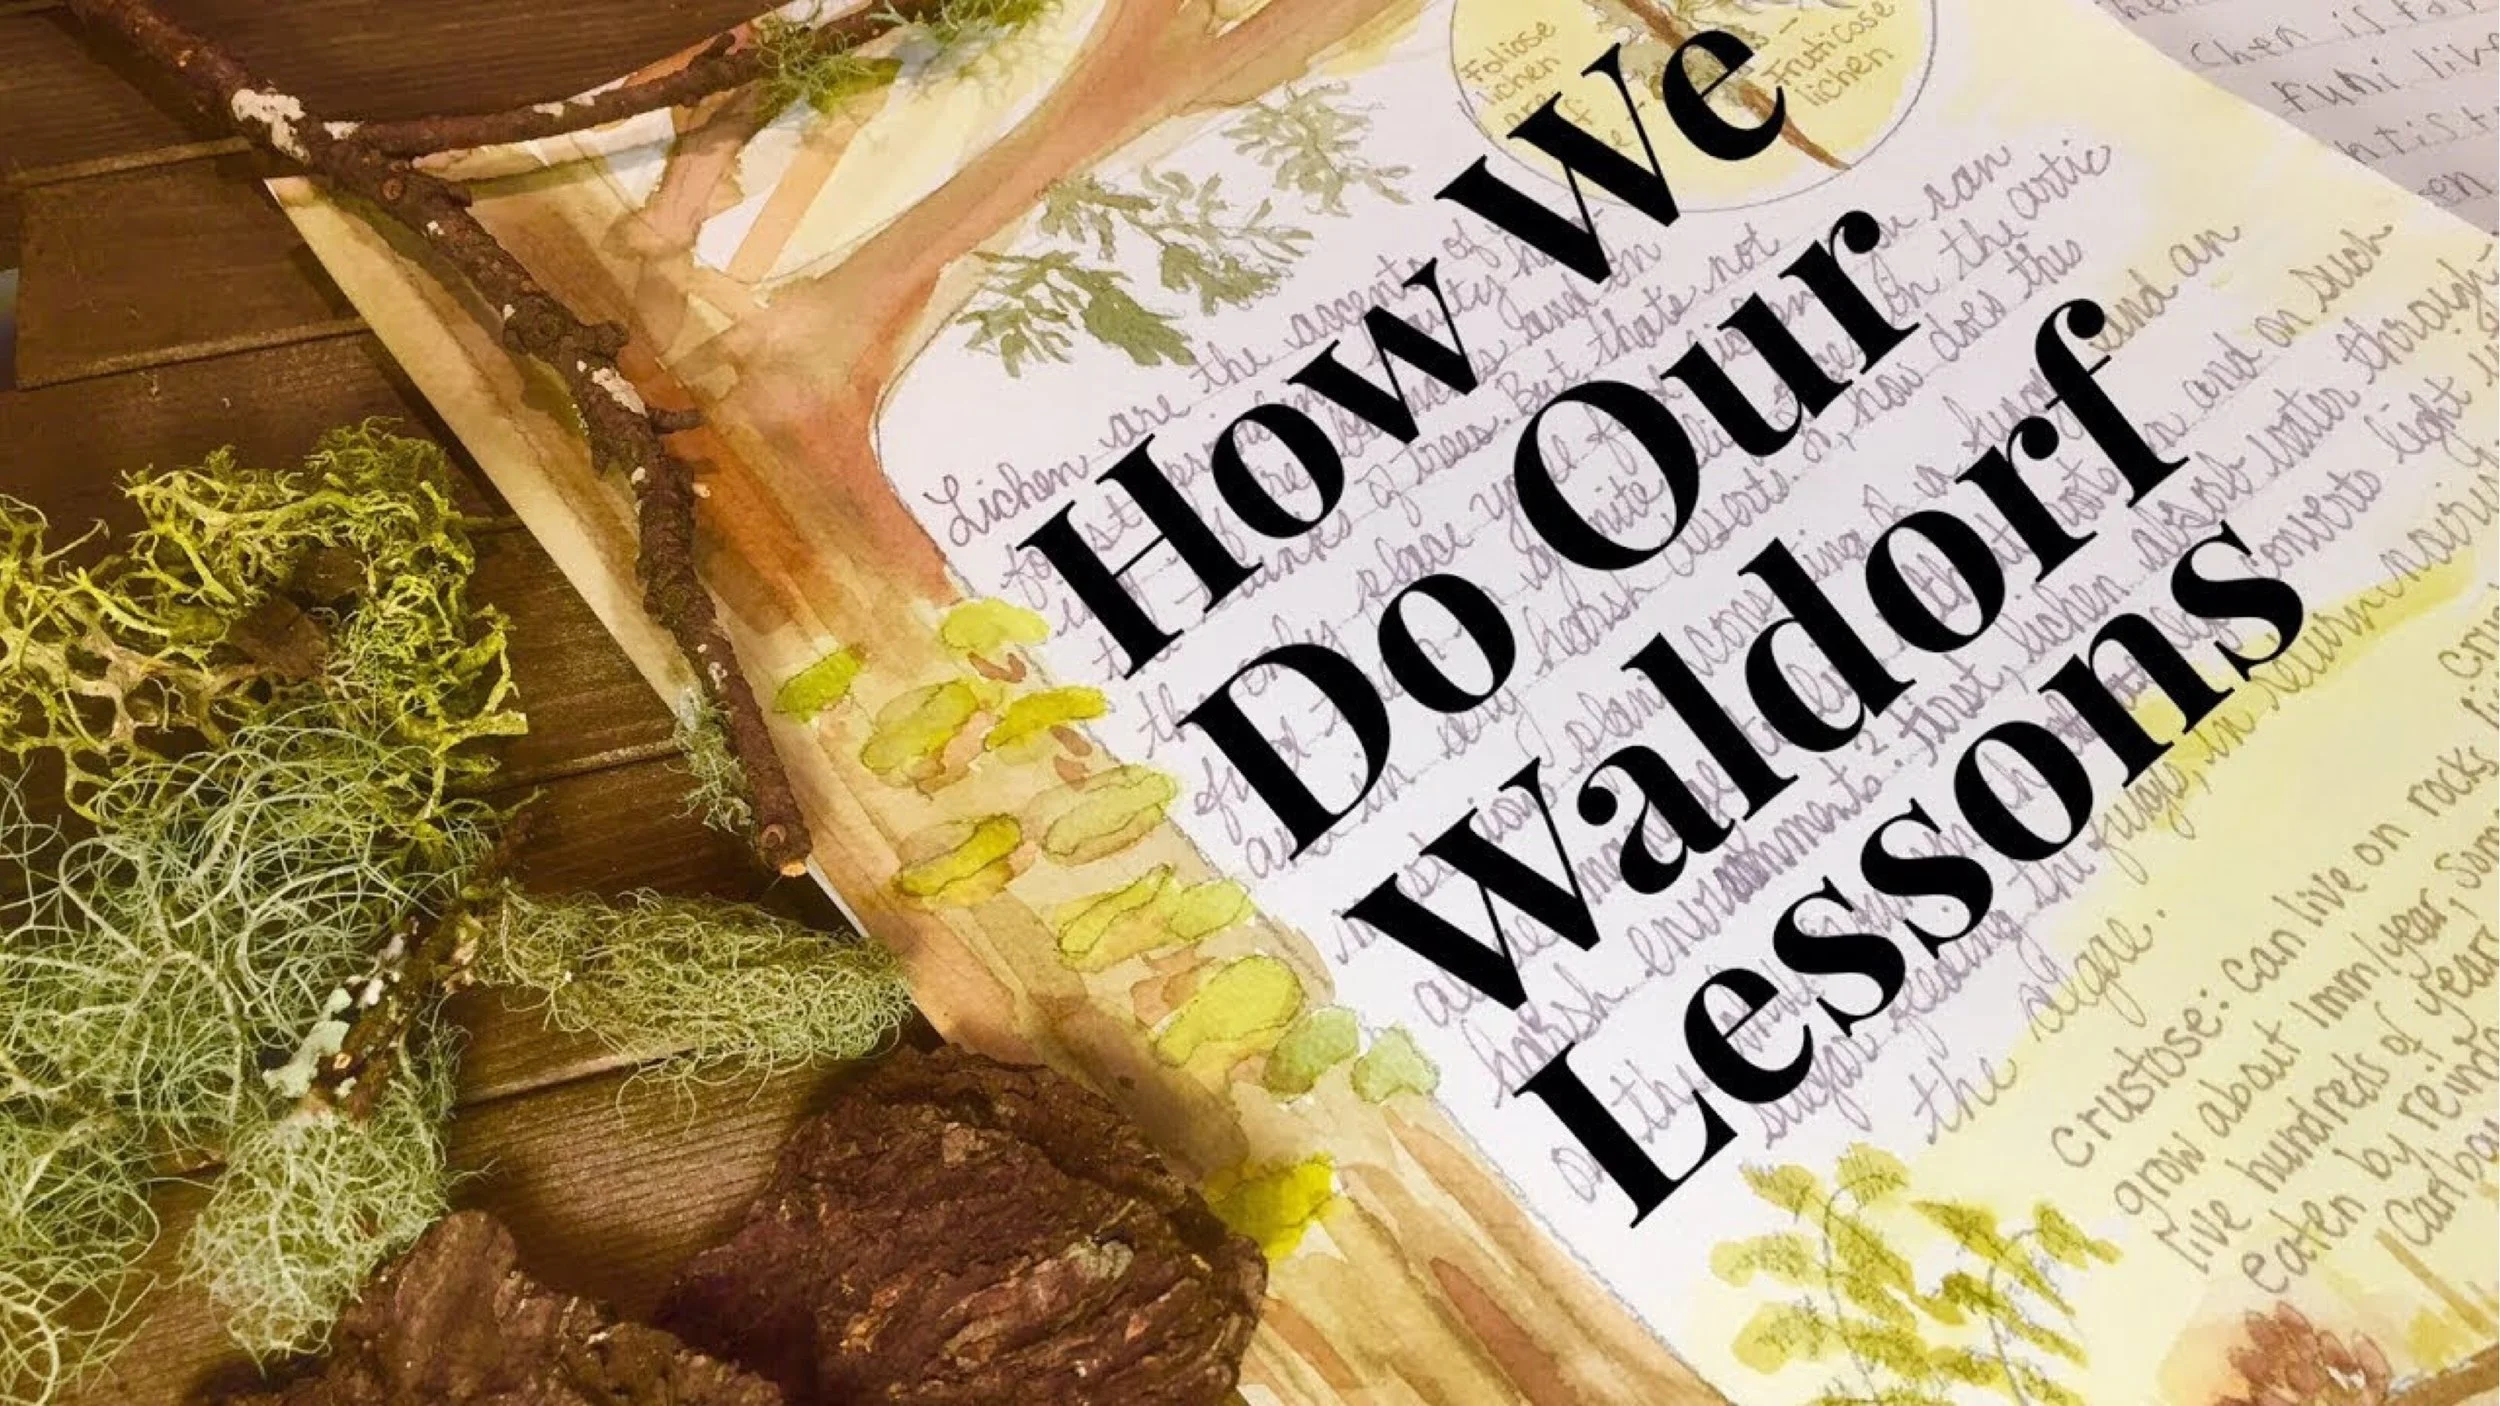
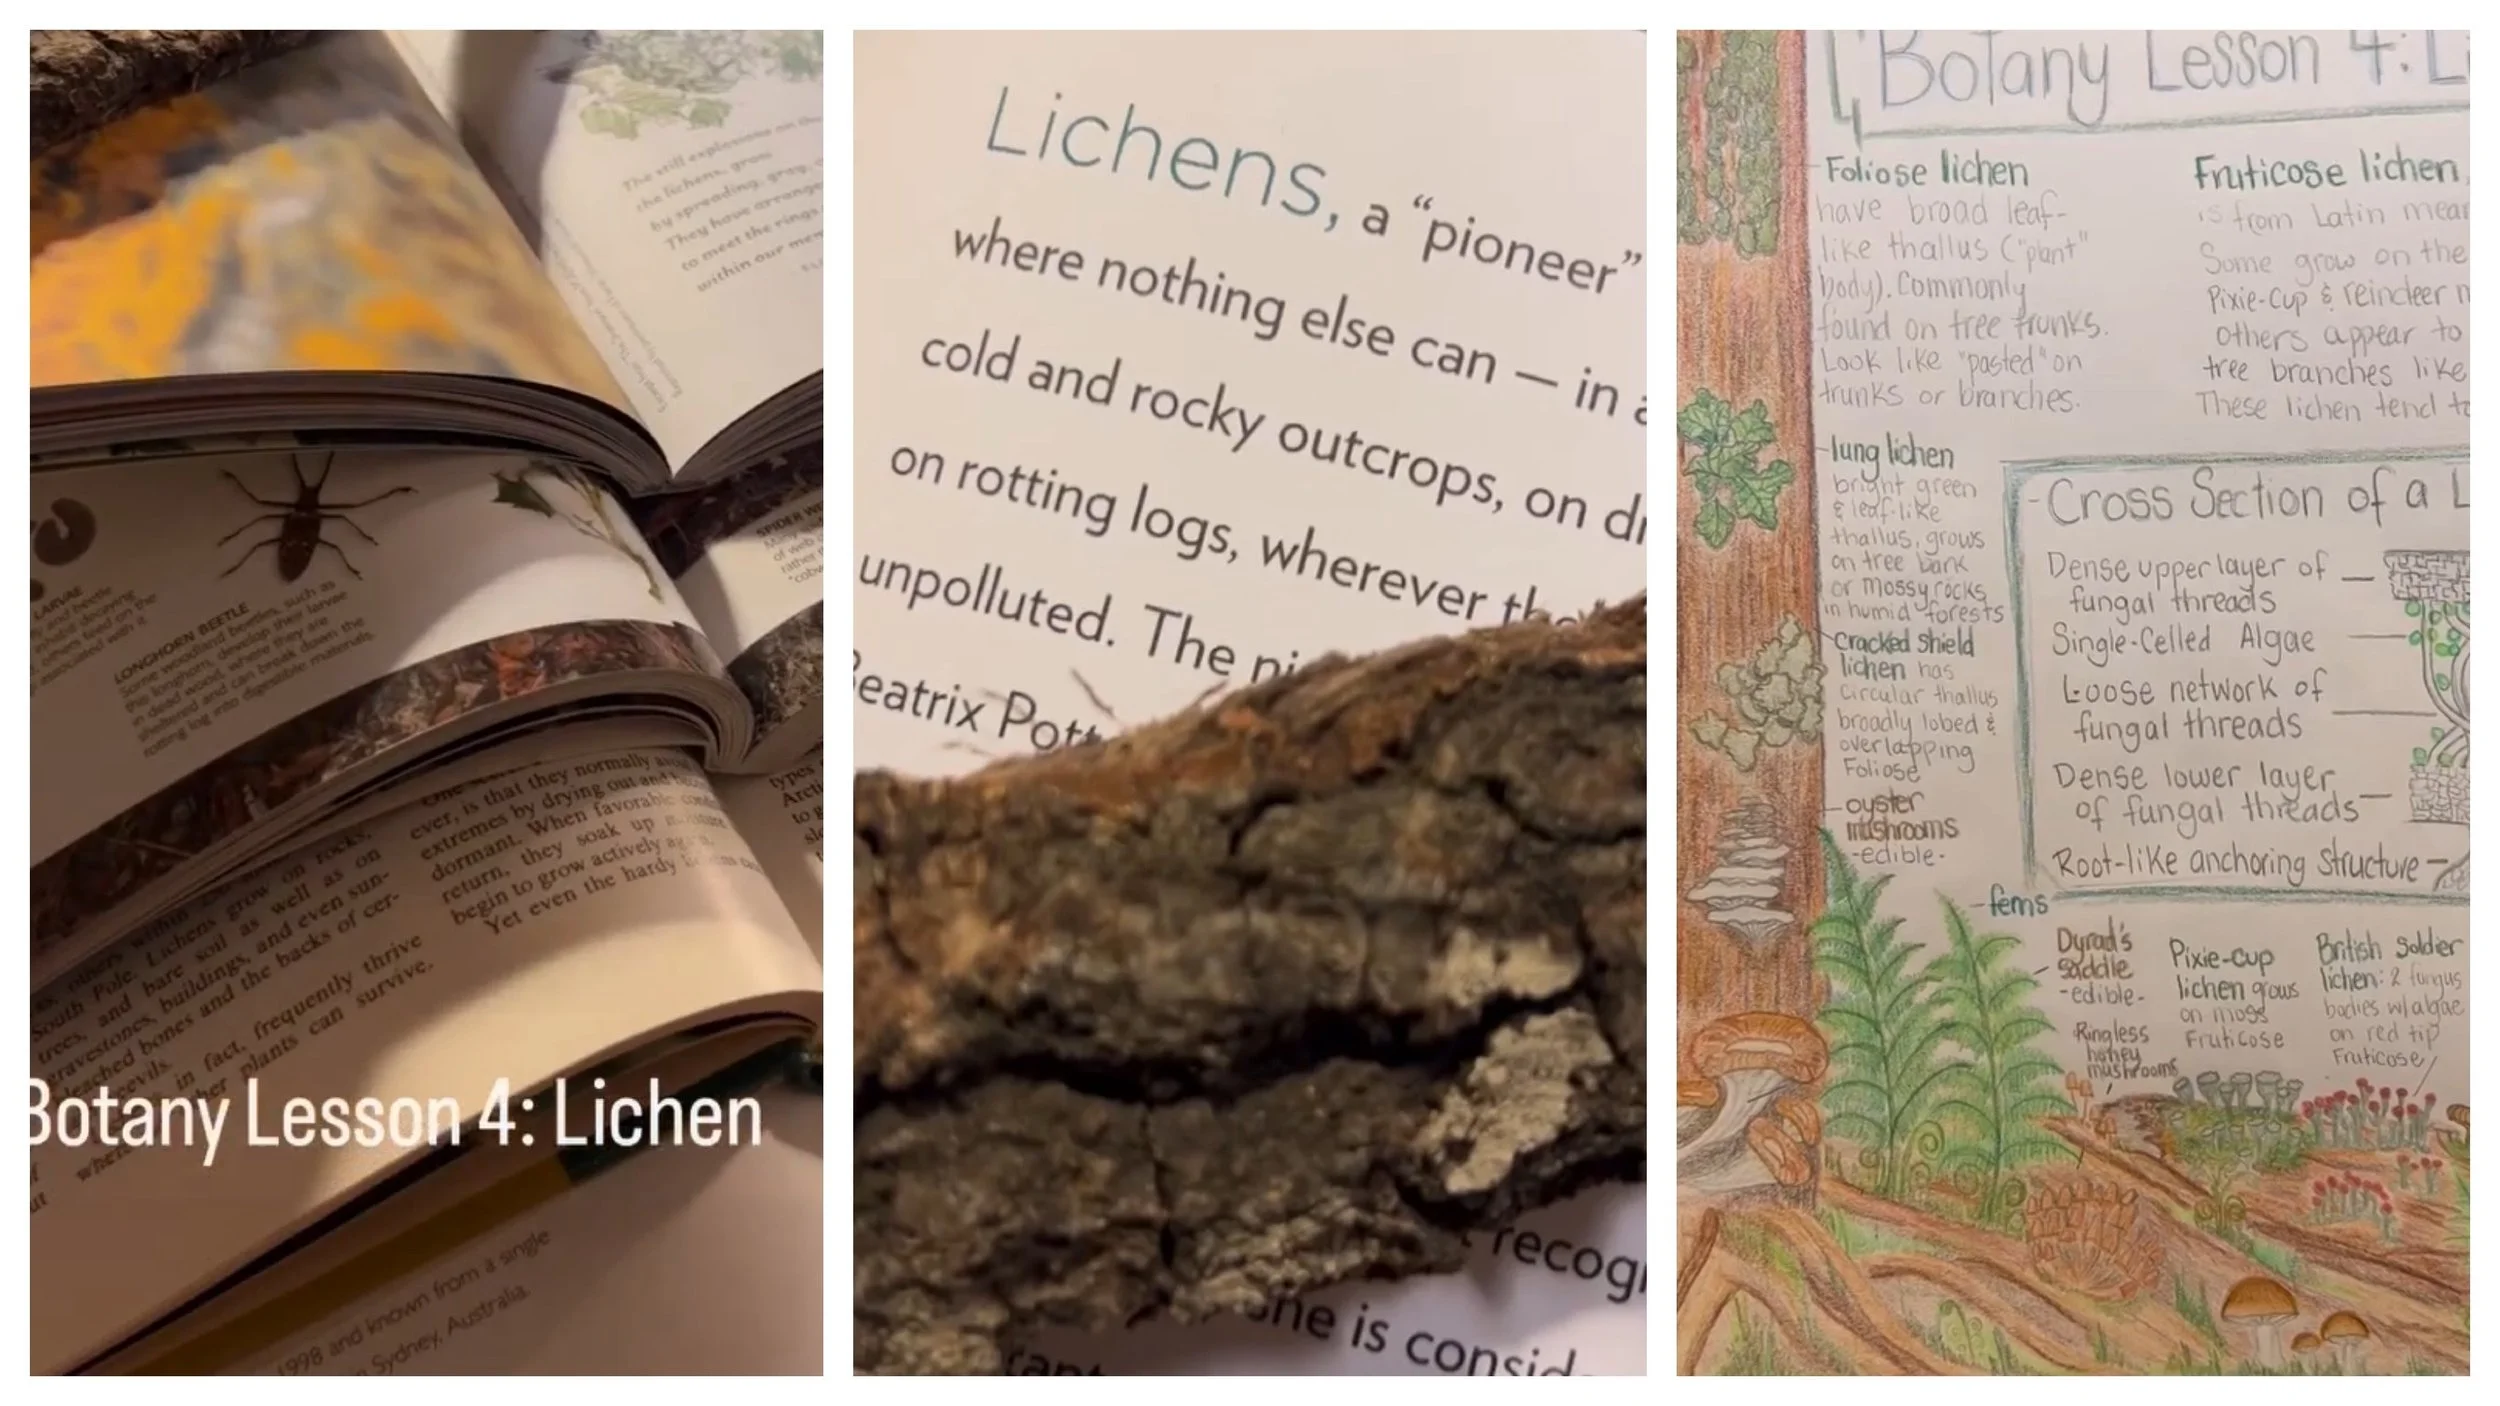
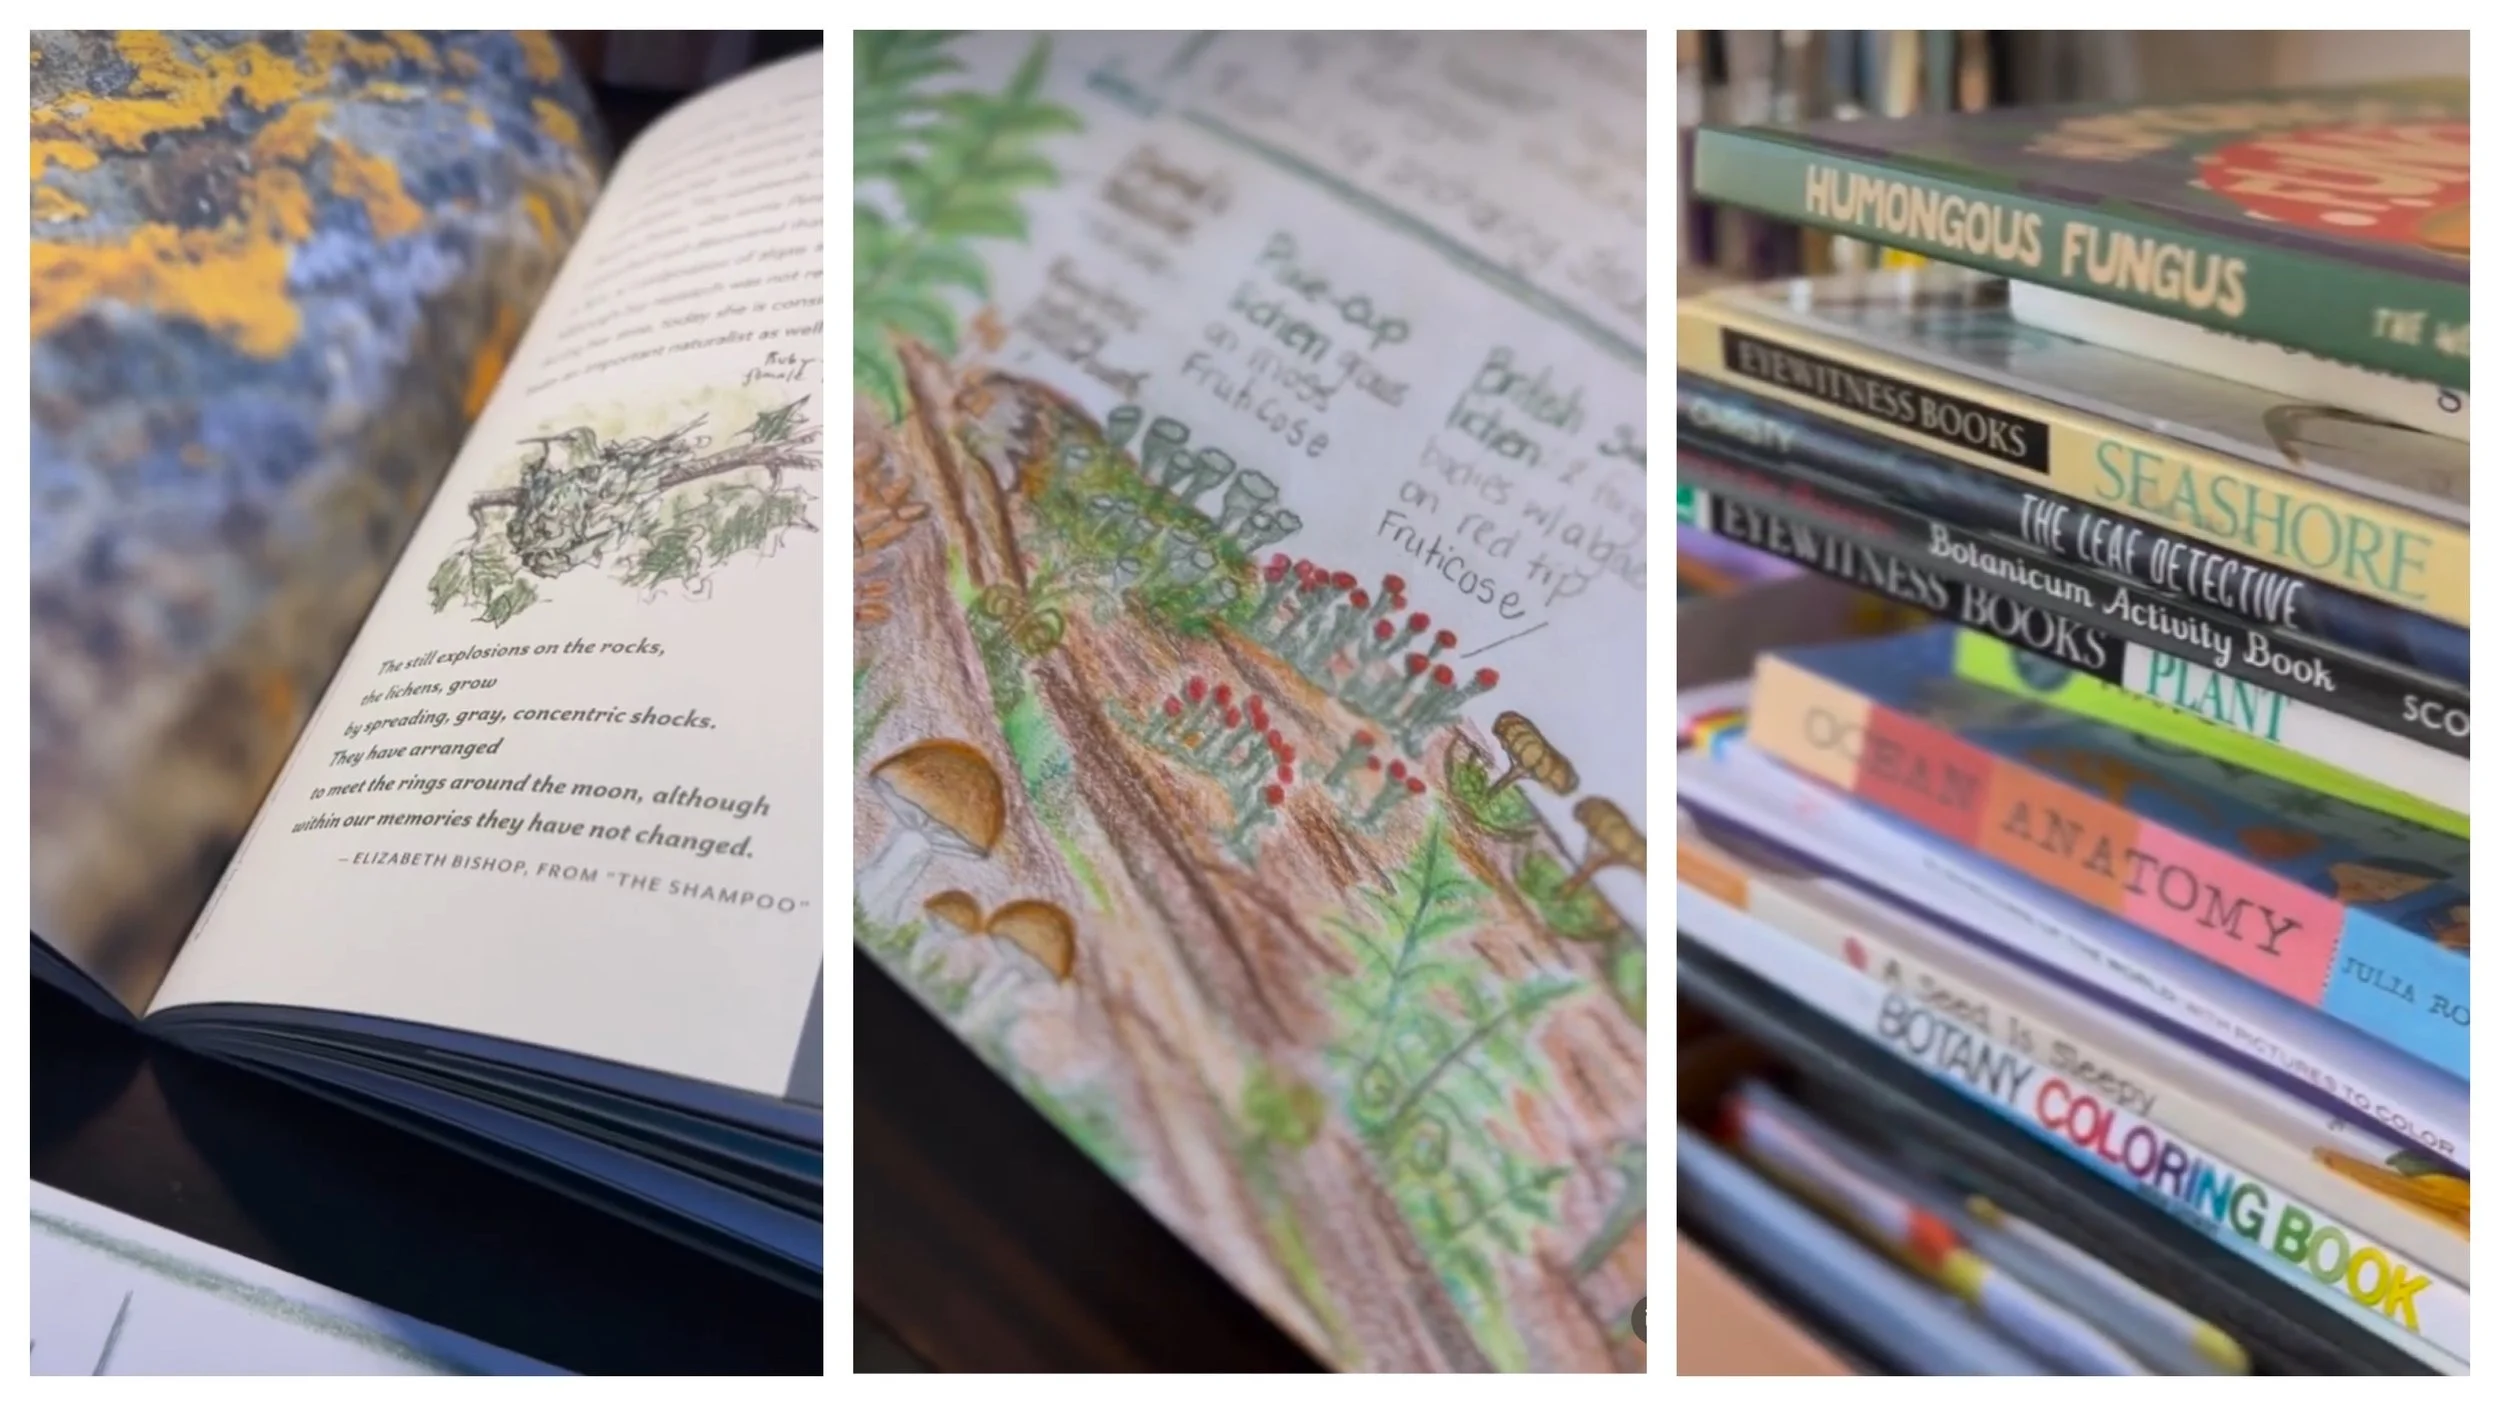
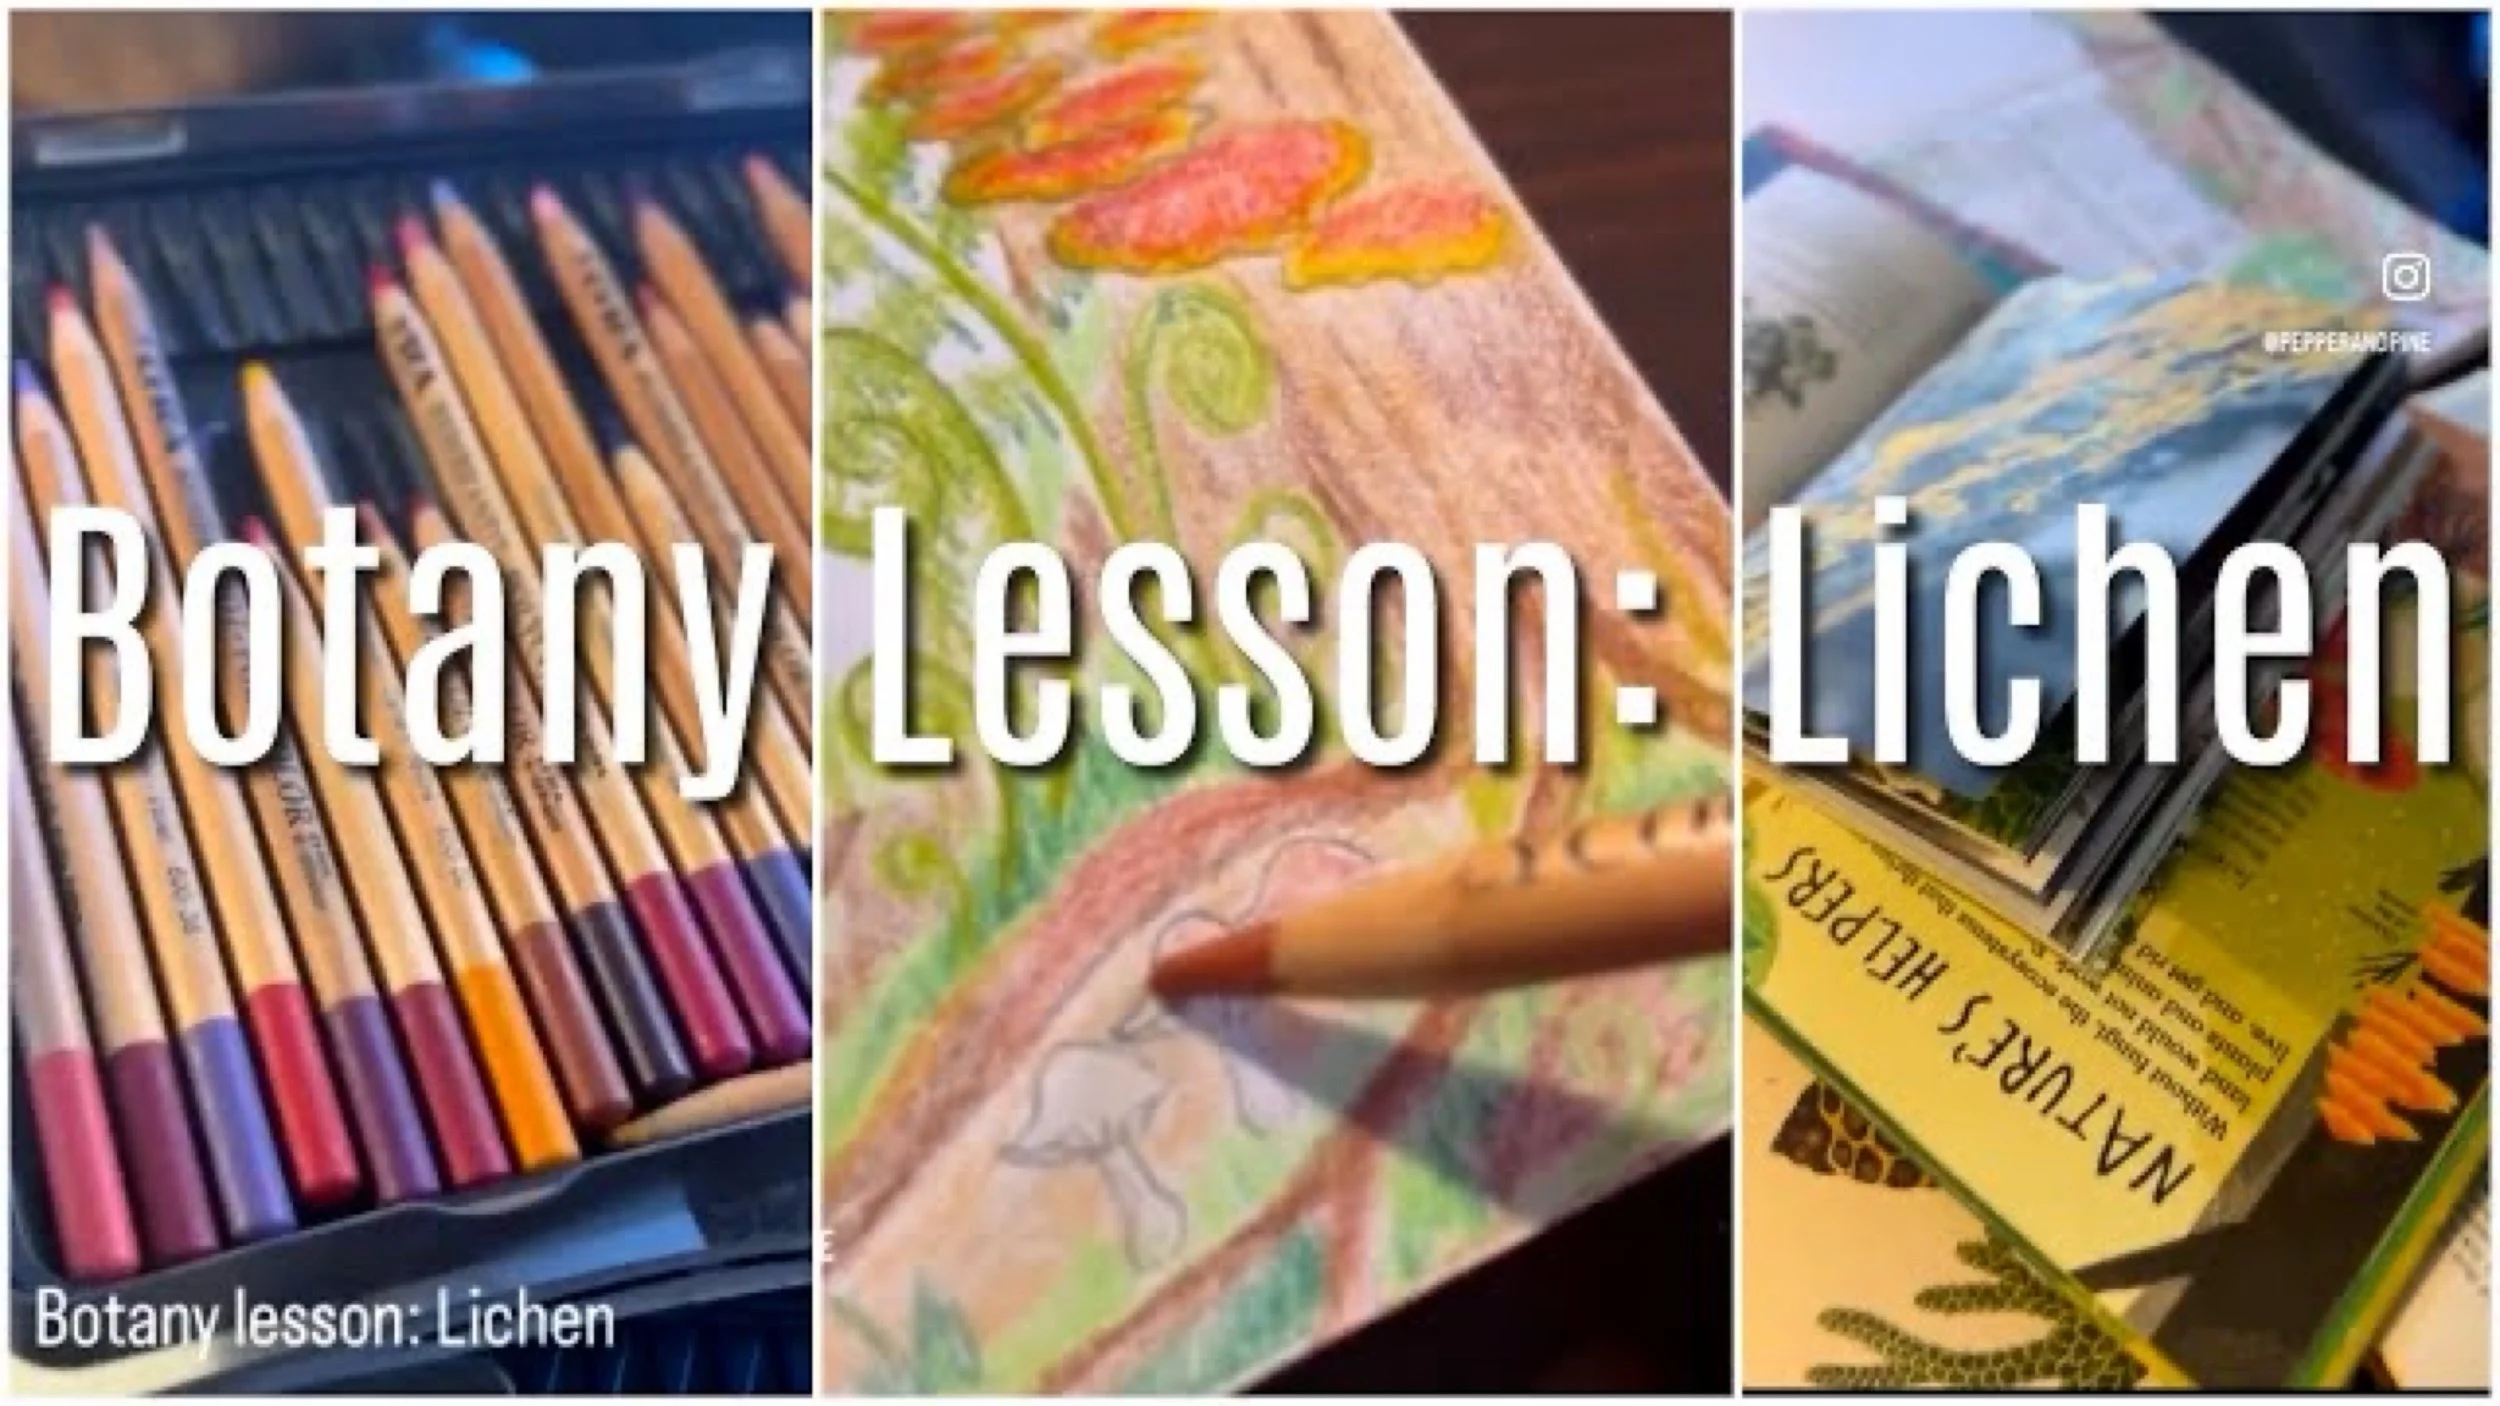
Lichen
-
How We Homeschool | Waldorf Botany Main Lesson Lichen
We are really enjoying this main lesson block for Botany right now, but not all lessons are winners. Watch what happens when my 10-year-old doesn't like the writing portion of this lesson. With his permission, I share the story which is hilarious in retrospect and actually was tremendously funny at the time, too
-
Waldorf Botany Lesson Lichen
Working through our botany lessons using the Waldorf curriculum by Live Education along with additional resources.
-
Day in the Life | Monday September 25, 2023
It all begins with an idea. Maybe you want to launch a business. Maybe you want to turn a hobby into something more.
-
Lichen Waldorf Lesson
Our two-page spread includes a border illustration with the written content in the middle. The illustration includes mosses and lichen.
-
Day in the Life | Tuesday, September 26, 2023
Description goes here -

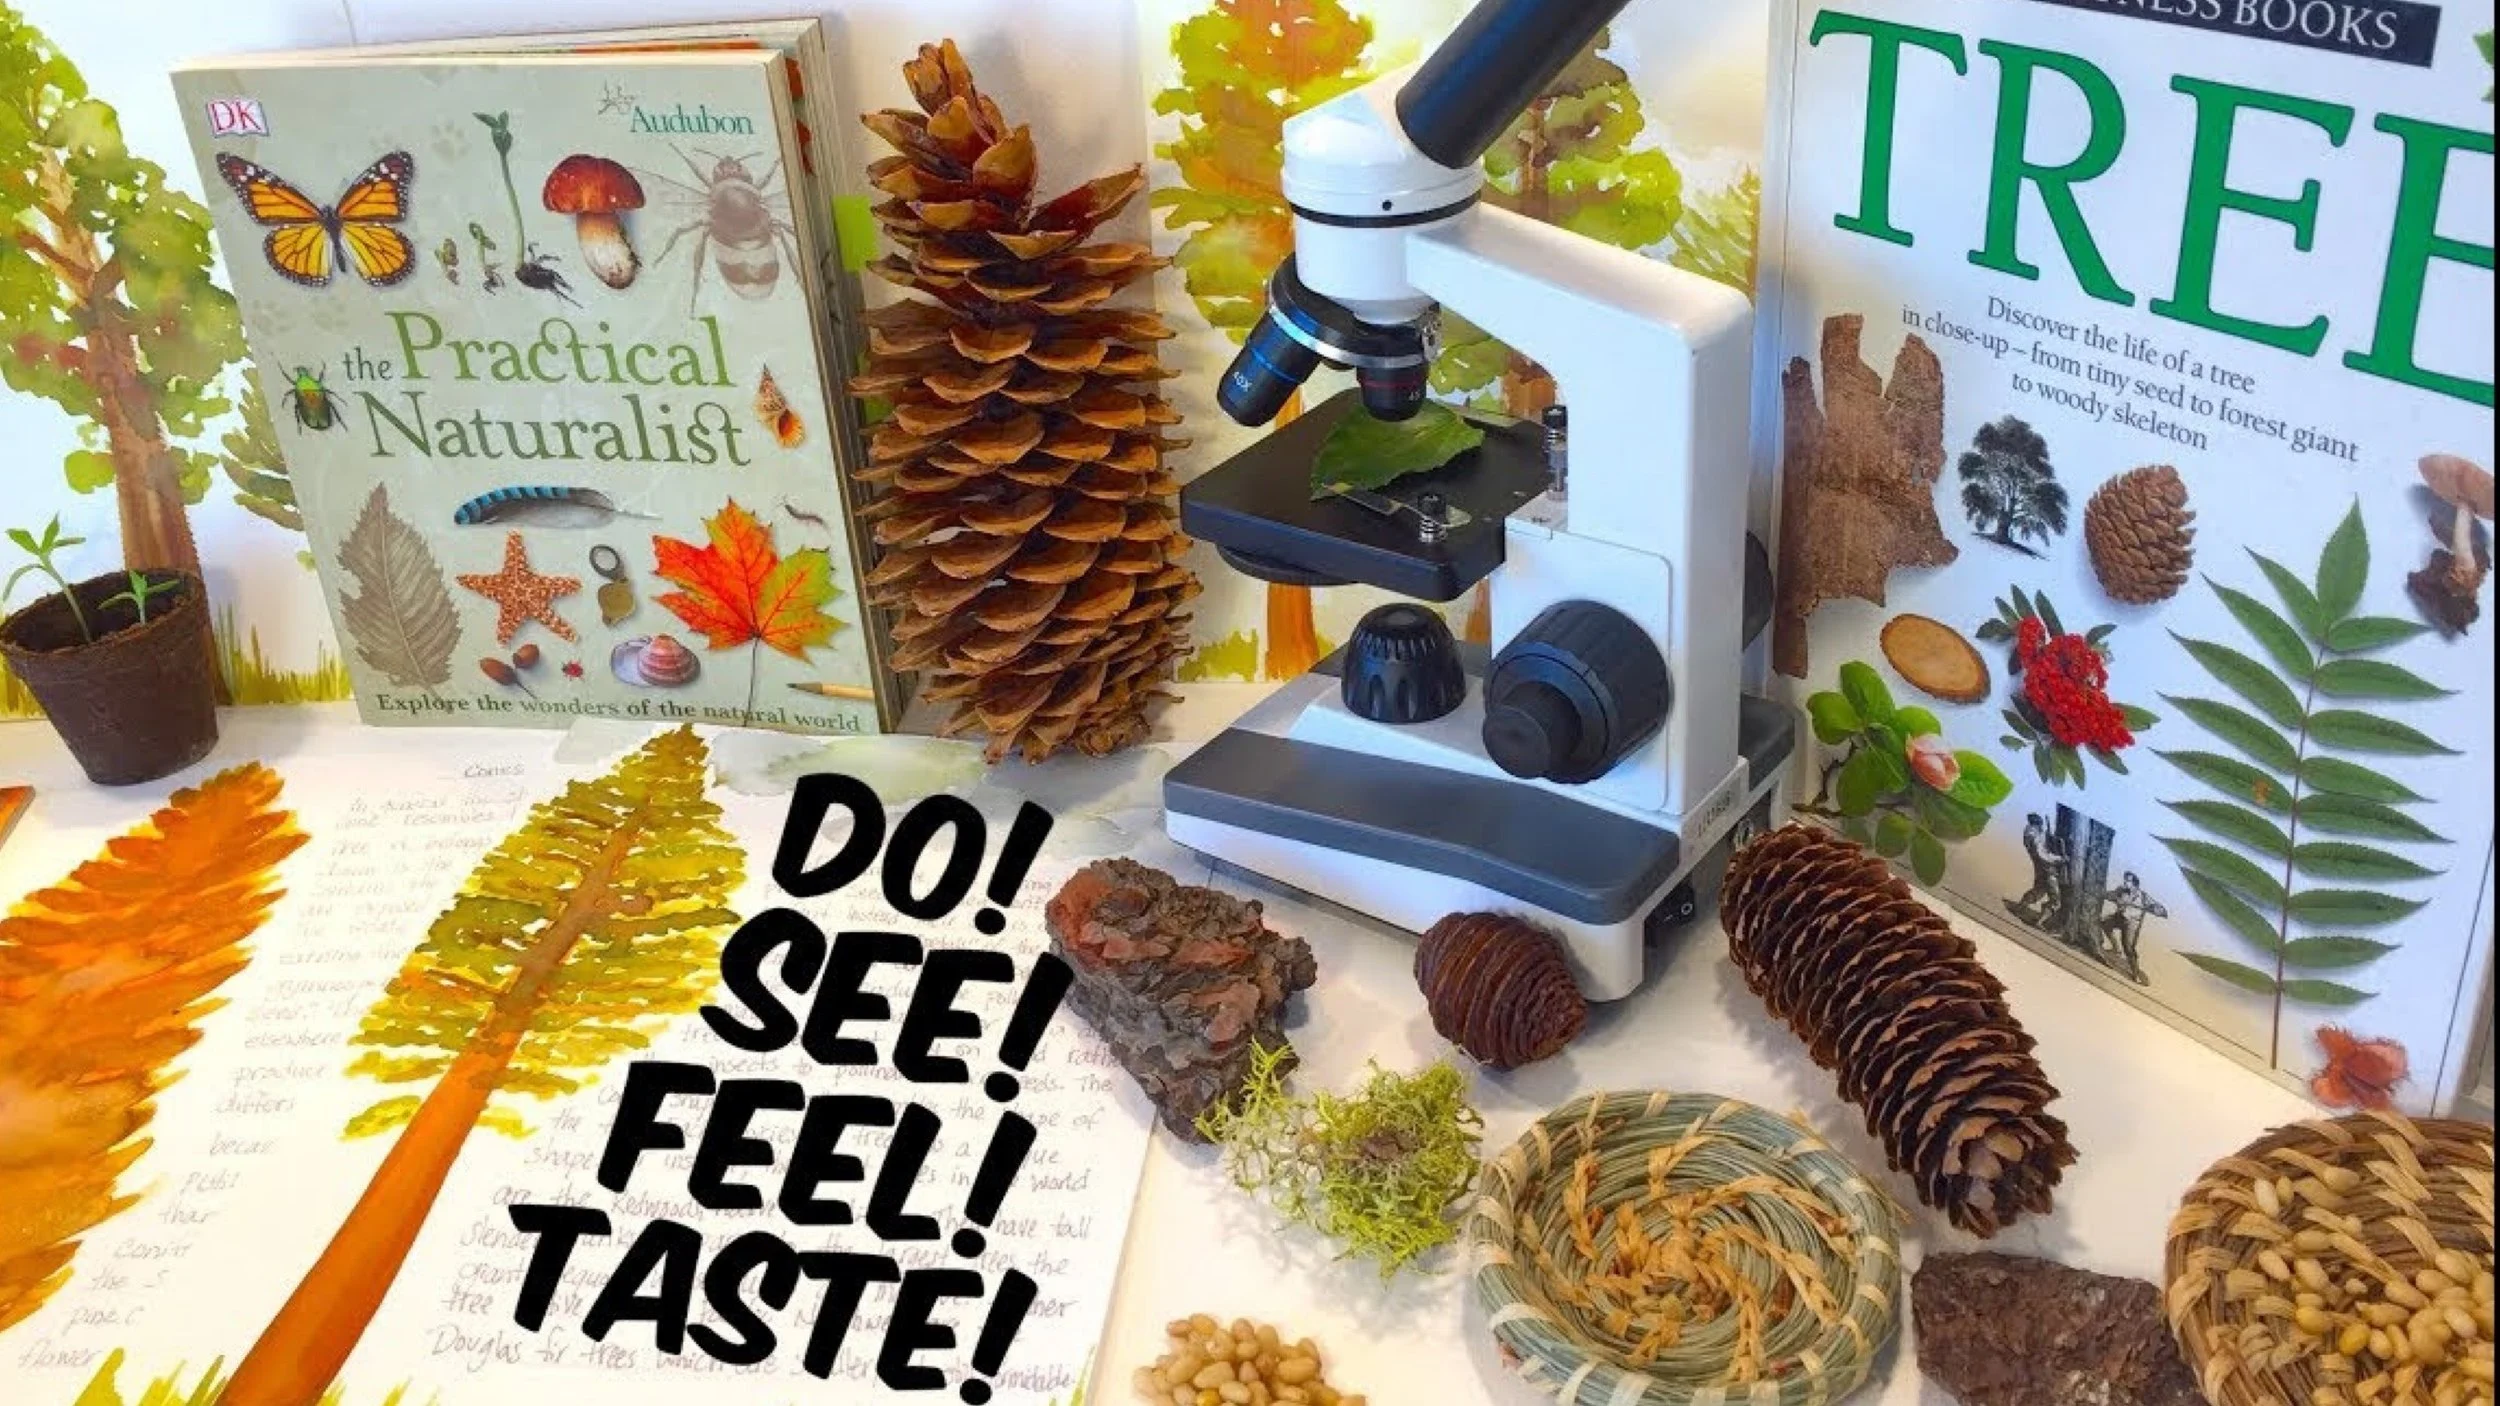
How to Display Scientific Specimens | Nature Study and Appreciation | Forest Display
Self directed learning never looked so good! We got these samples from a Nature-Watch kit called Forest in a Box. It came with 20 forest specimens enclosed in zipper bags with cards describing each sample.
Lichen
How We Homeschool
Waldorf Botany Main Lesson Lichen
We are really enjoying this main lesson block for Botany right now, but not all lessons are winners. Watch what happens when my 10-year-old doesn't like the writing portion of this lesson. With his permission, I share the story which is hilarious in retrospect and actually was tremendously funny at the time, too. I had to keep from laughing when he handed me his rough draft. Granted, I was trying something new with this narration. Instead of the typical written narration, I attempted to have him write his passage as a story. He was having none of it. How do you write a story about lichen?! Well, as with these lessons that I'm doing with him on paper rather than on the chalkboard, I wrote a story about lichen. You can pause the video to read it. In the end, he wrote his as a typical narration which turned out just fine. And as I say in the video, not all lessons are winners, but in the end, I think this lesson turned out fine.
For this project we used Fabriano 90lb. watercolor paper available at Blick Art Supplies. Distress Ink pads in the following colors: Vintage Wood, Walnut Stain, Forest Moss, Peeled Paint, Crushed Olive, Rusty Hinge, Pumice Stone, Shabby Shutters and Frayed Burlap.
April 2017
Waldorf Botany Lesson Lichen
With this lesson on lichen, I am teaching my 12-year-old daughter as we embark on our botany block one year later than planned. We began this lesson on lichen and while it’s beautiful, the illustration is too detailed. I think it’s important to see lichen in its natural habitat and to draw it that way too, but this took too long and was too complex for this lesson.
See the original video on Instagram.
Working through our botany lessons using the Waldorf curriculum by Live Education along with additional resources.
Working on our botany lesson for lichen. We completed the majority of this lesson, but we still have some to go.
We are learning so much! Botany is one of my favorite main lesson blocks.
The resources for this lesson are the following:
ABC’s of Nature by Readers Digest
Botanicum by Katie Scott and Kathy Willis
Fungarium by Esther Gaya
The Practical Naturalist by DK publishing
Waldorf curriculum, year 5, Botany, Live Education
Day in the Life
Monday September 25, 2023
Opening activities: scrabble
Main lesson: botany lichen and moss
Daily work: math, free reading and journaling Homework & sports
Lichen Waldorf Lesson
Continuation of our Lichen lesson.
The resources we used for this lesson are the following:
Plant by David Burnie a DK Eyewitness book,
Botanicum by Katie Scott and Kathy Willis,
Botany by Charles Kovacs,
The Practical Naturalist by Audubon Society,
The Curious Nature Guide by Clare Walker Leslie,
The botany main lesson book by Live Education
and the best resource of all, the ABC's of nature, a family answer book by Readers Digest
Day in the Life
Tuesday, September 26, 2023
Tuesday morning, September 26, 2023
Morning walk, watering the plants, collecting ferns and mosses for the botany lesson, opening up the school room, prepping for the lessons and opening activities, enjoying a latte with maple crystals, and cooking Moroccan couscous ...
The resources we used for this lesson are the following:
Plant by David Burnie a DK Eyewitness book,
Botanicum by Katie Scott and Kathy Willis,
Botany by Charles Kovacs,
The Practical Naturalist by Audubon Society,
The Curious Nature Guide by Clare Walker Leslie,
The botany main lesson book by Live Education
and the best resource of all, the ABC's of nature, a family answer book by Readers Digest
Mosses
-
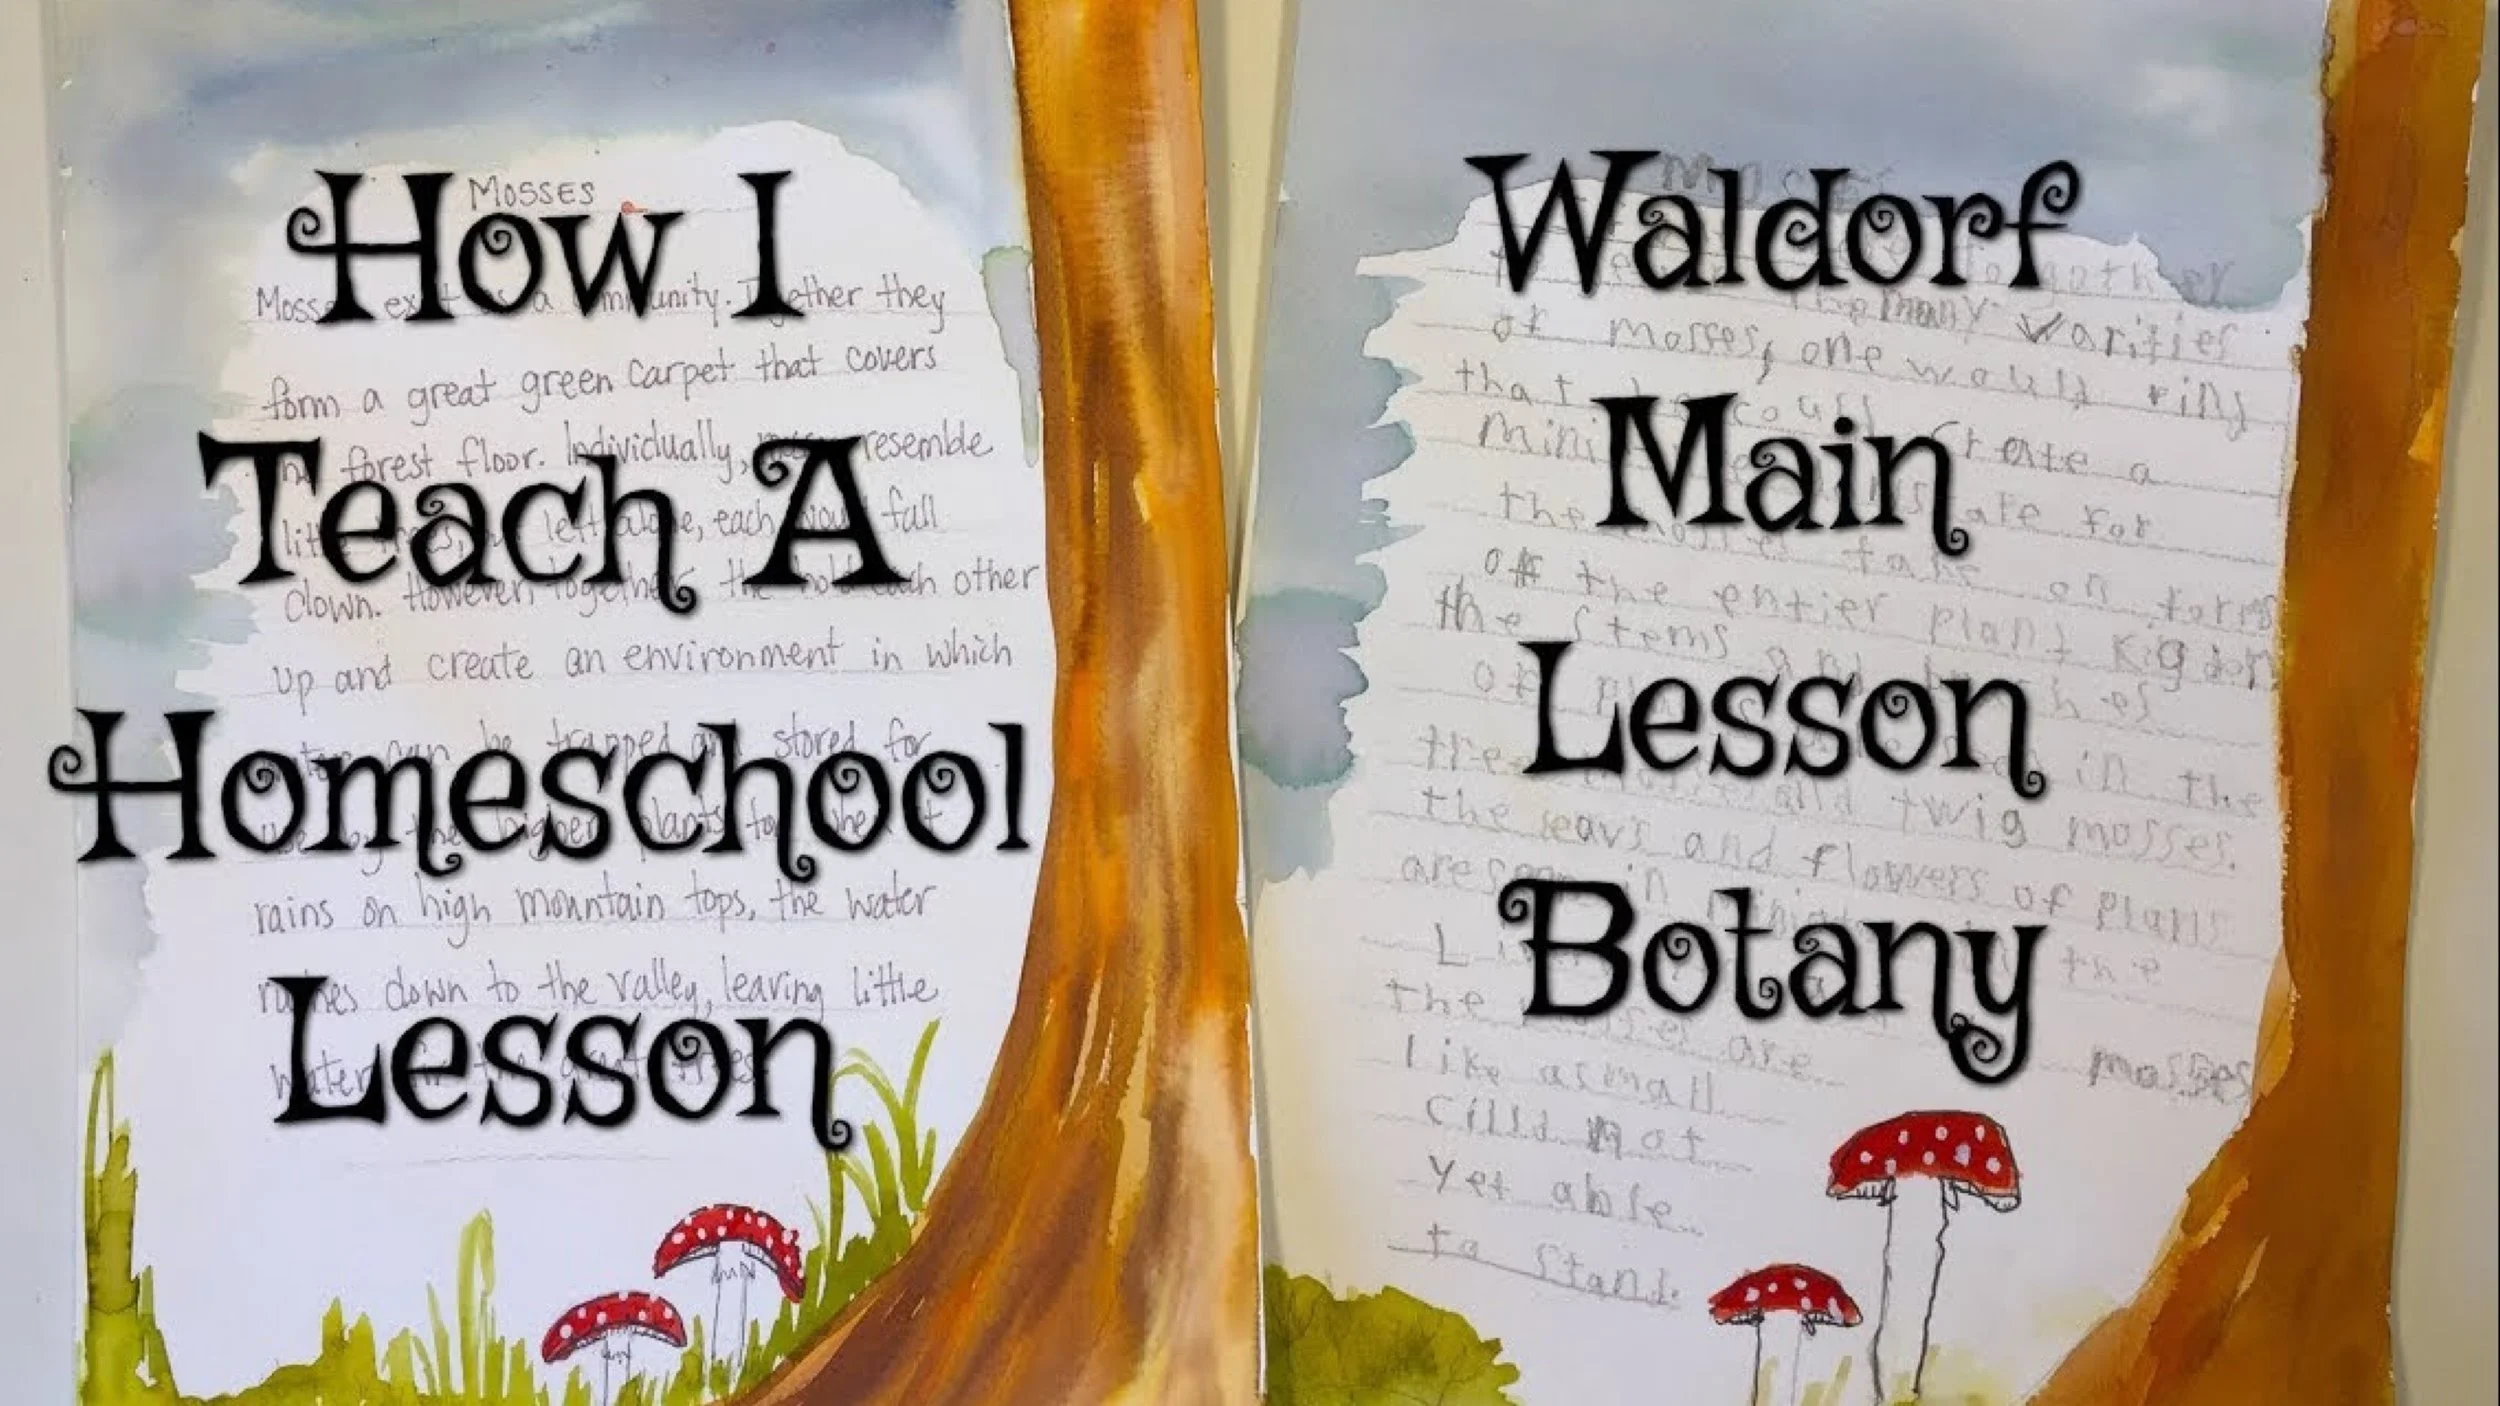
How I Teach a Waldorf Homeschool Main Lesson | Botany Mosses
We continue our main lesson block for Botany using our Waldorf Live-Education curriculum for 5th grade. This lesson is on mosses, and today, you get a glimpse of how I teach my son.
-
Lesson on Mosses
Our two-page spread includes a border illustration with the written content in the middle. The illustration includes mosses and lichen.
-
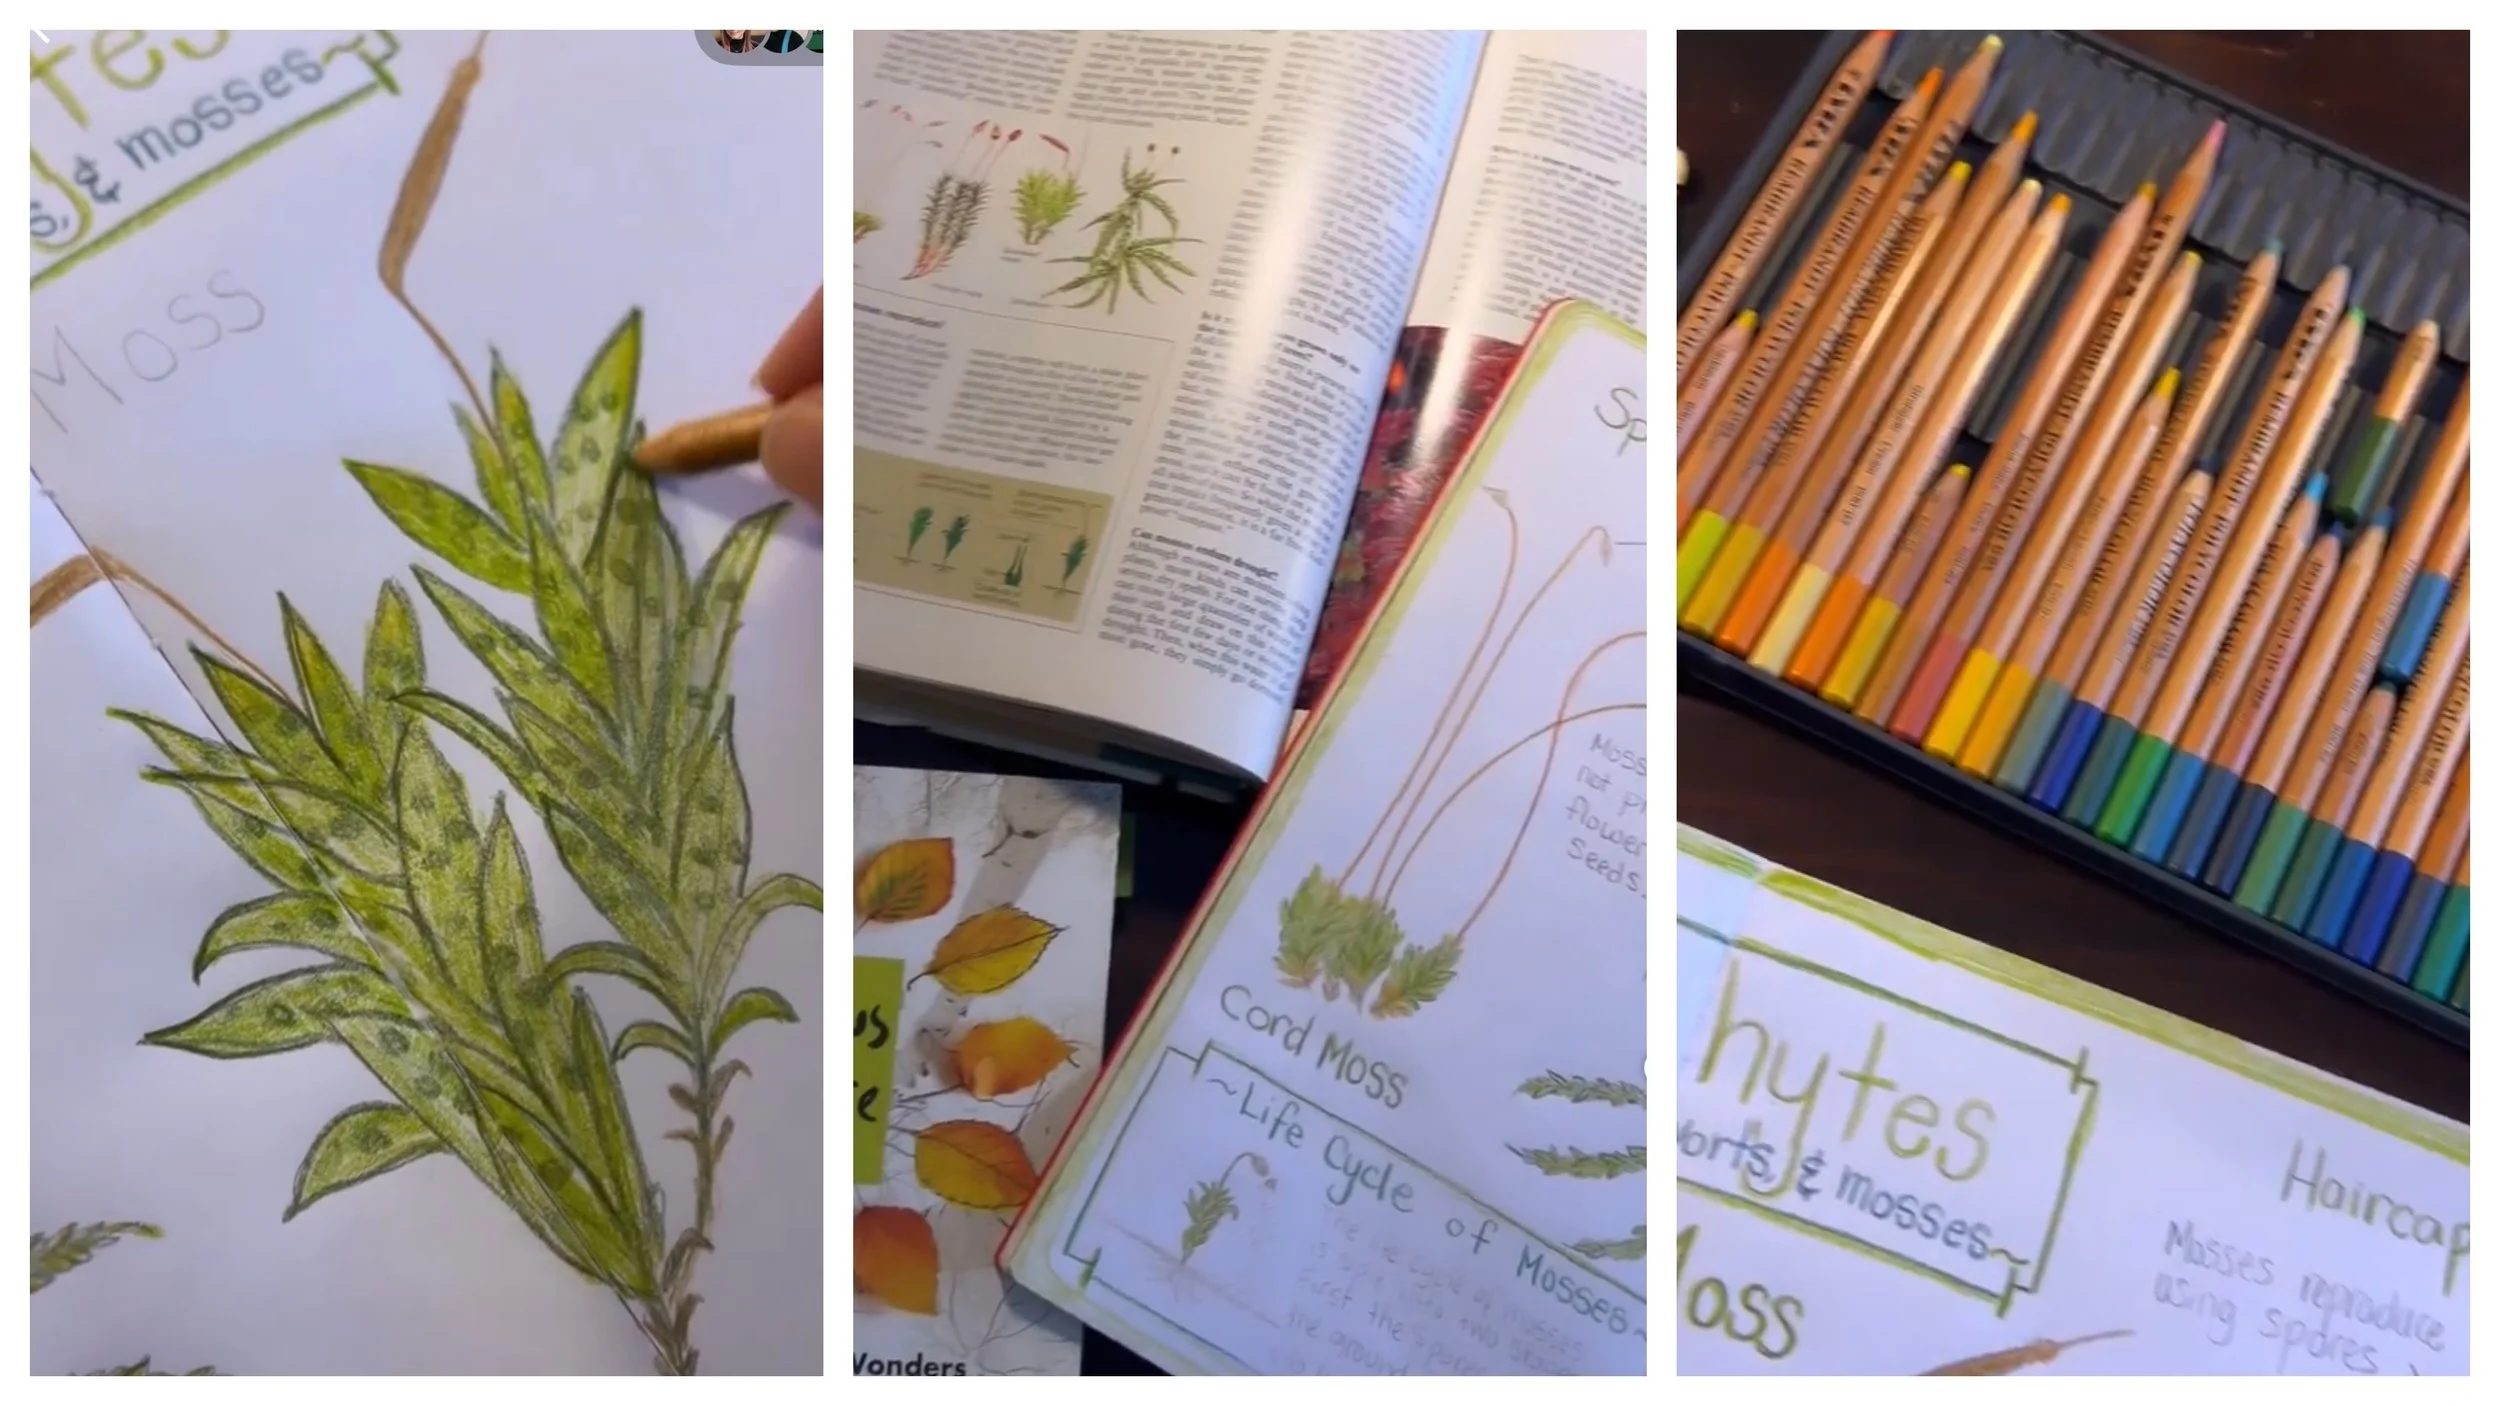
Bryophyte Mosses
We are going into detail with our mosses lesson with the help of a few of our favorite resources.
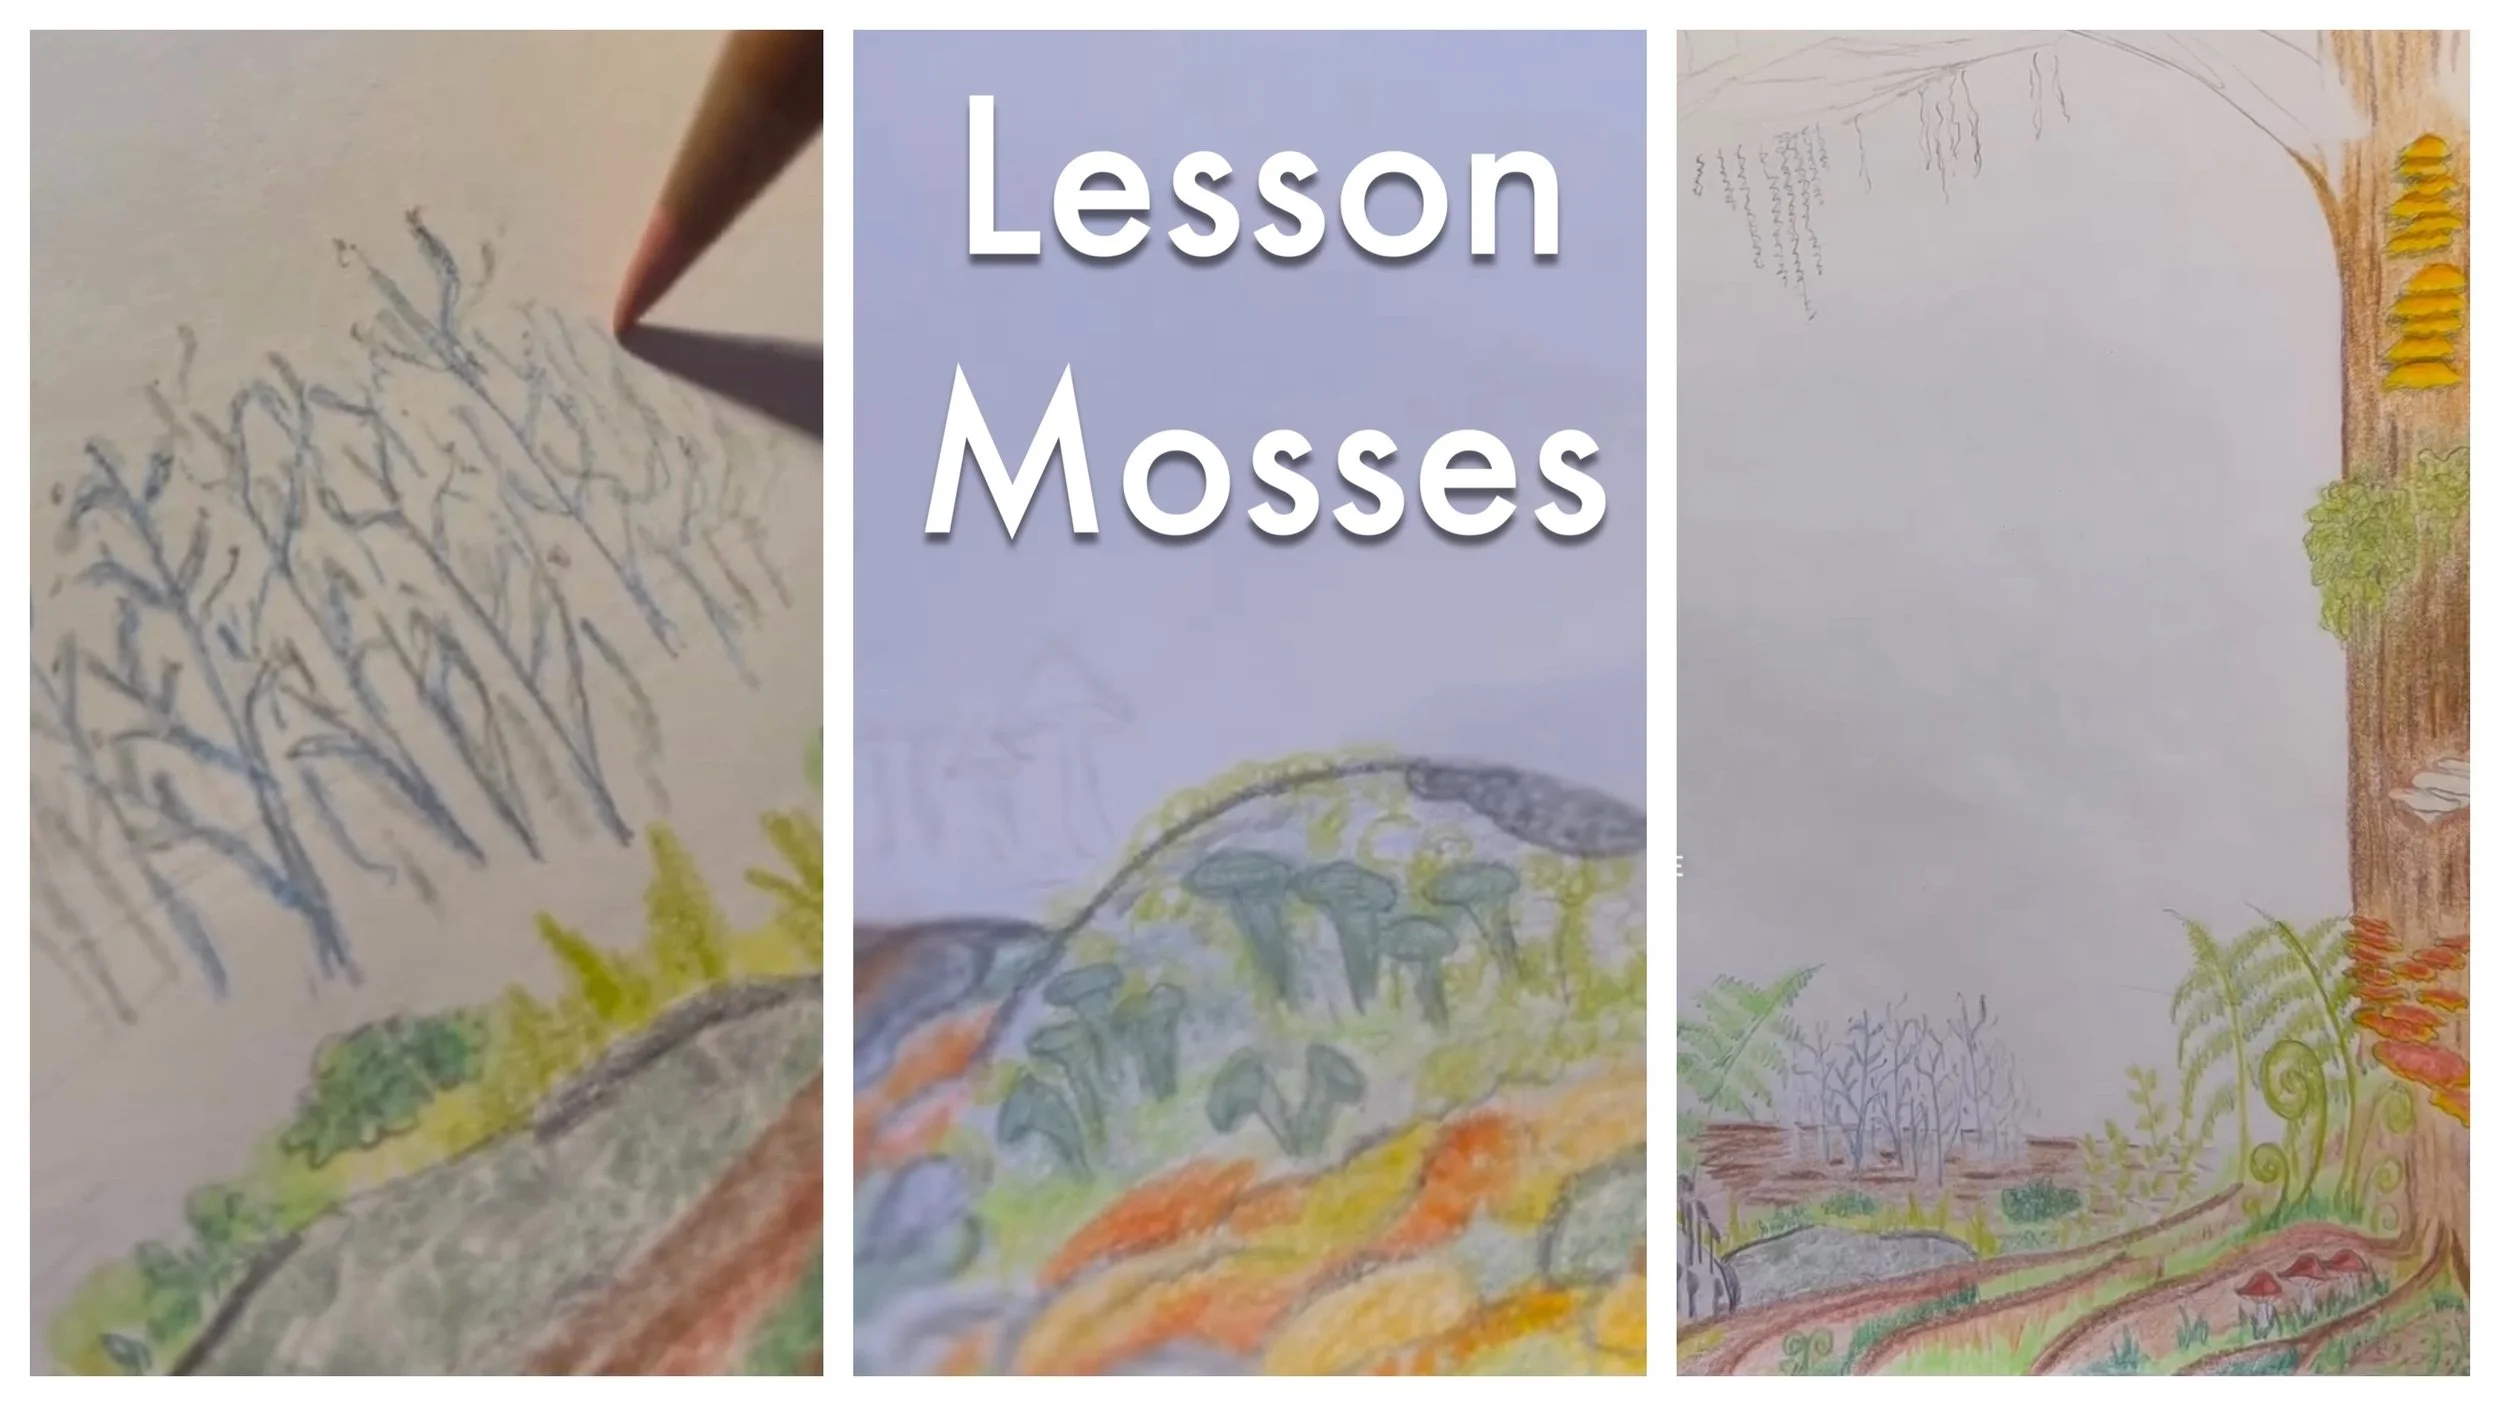
Mosses
How I Teach a Waldorf Homeschool Main Lesson
Botany Mosses
We continue our main lesson block for Botany using our Waldorf Live-Education curriculum for 5th grade. This lesson is on mosses, and today, you get a glimpse of how I teach my son. Lately, I've been making a sample drawing before doing our final drawing and narration, but I didn't have time, so you'll get to hear me deliberate with my 10-year-old on how the lesson should look. Working together, the lesson took shape and the final result is one we are both proud of.
The Live-Education curriculum is a Waldorf curriculum that adheres very closely to the original philosophy. We've had the curriculum in our homeschool from the beginning, and we often turn to it for inspiration.
For this project we used Fabriano 90lb. watercolor paper available at Blick Art Supplies. Distress Ink pads in the following colors: Vintage Wood, Walnut Stain, Forest Moss, Peeled Paint, Crushed Olive, Rusty Hinge, Pumice Stone, Shabby Shutters and Frayed Burlap.
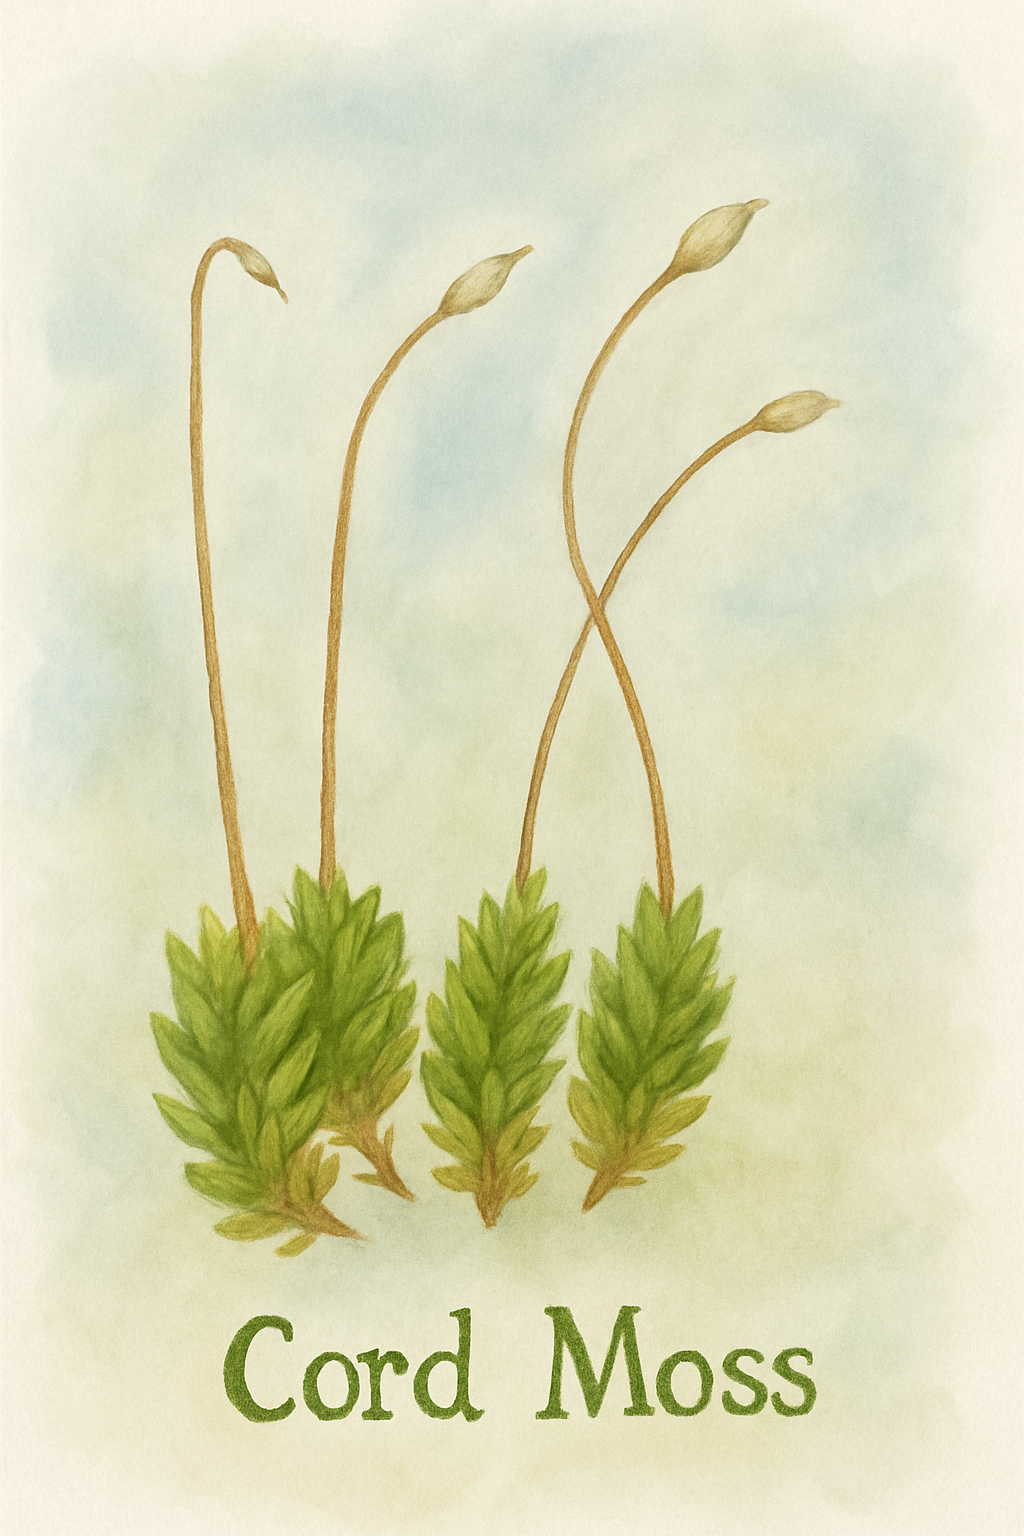
Lesson on Mosses
The continuation of and conclusion of our lesson on lichen and mosses.
The resources we used for this lesson are the following:
Plant by David Burnie a DK Eyewitness book,
Botanicum by Katie Scott and Kathy Willis,
Botany by Charles Kovacs,
The Practical Naturalist by Audubon Society,
The Curious Nature Guide by Clare Walker Leslie,
The botany main lesson book by Live Education
and the best resource of all, the ABC's of nature, a family answer book by Readers Digest
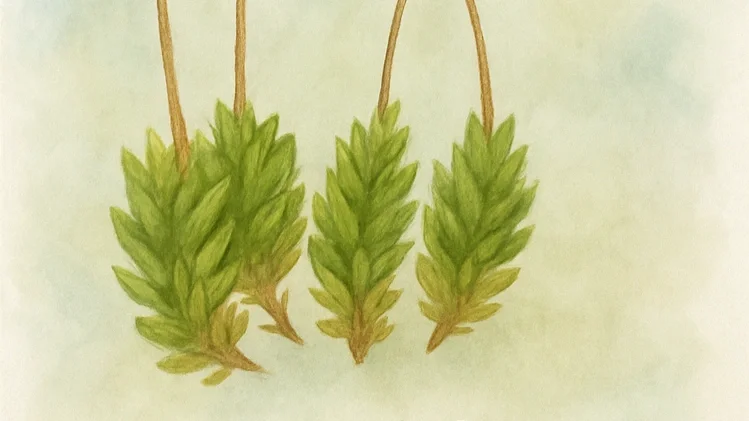
Bryophyte Mosses
Working on our lesson for mosses for our Botany main lesson block. I really like how this lesson turned out. We haven't drawn magnified mosses before and I found them easy and beautiful to draw.
The resources we used for this lesson are the following:
Plant by David Burnie a DK Eyewitness book,
Botanicum by Katie Scott and Kathy Willis,
Botany by Charles Kovacs,
The Practical Naturalist by Audubon Society,
The Curious Nature Guide by Clare Walker Leslie,
The botany main lesson book by Live Education
and the best resource of all, the ABC's of nature, a family answer book by Readers Digest
Clubmoss & Horsetail
-
Lesson on Horsetail
It worked so well for our lesson on bryophytes: liverworts, hornworts and mosses, I decide to keep it going for our lessons on club mosses, horsetails and ferns.
-
Lesson on Clubmoss
Clubmoss was not part of the curriculum as they are neither mosses or horsetail, but I opted to include them as part of the horsetail lesson.
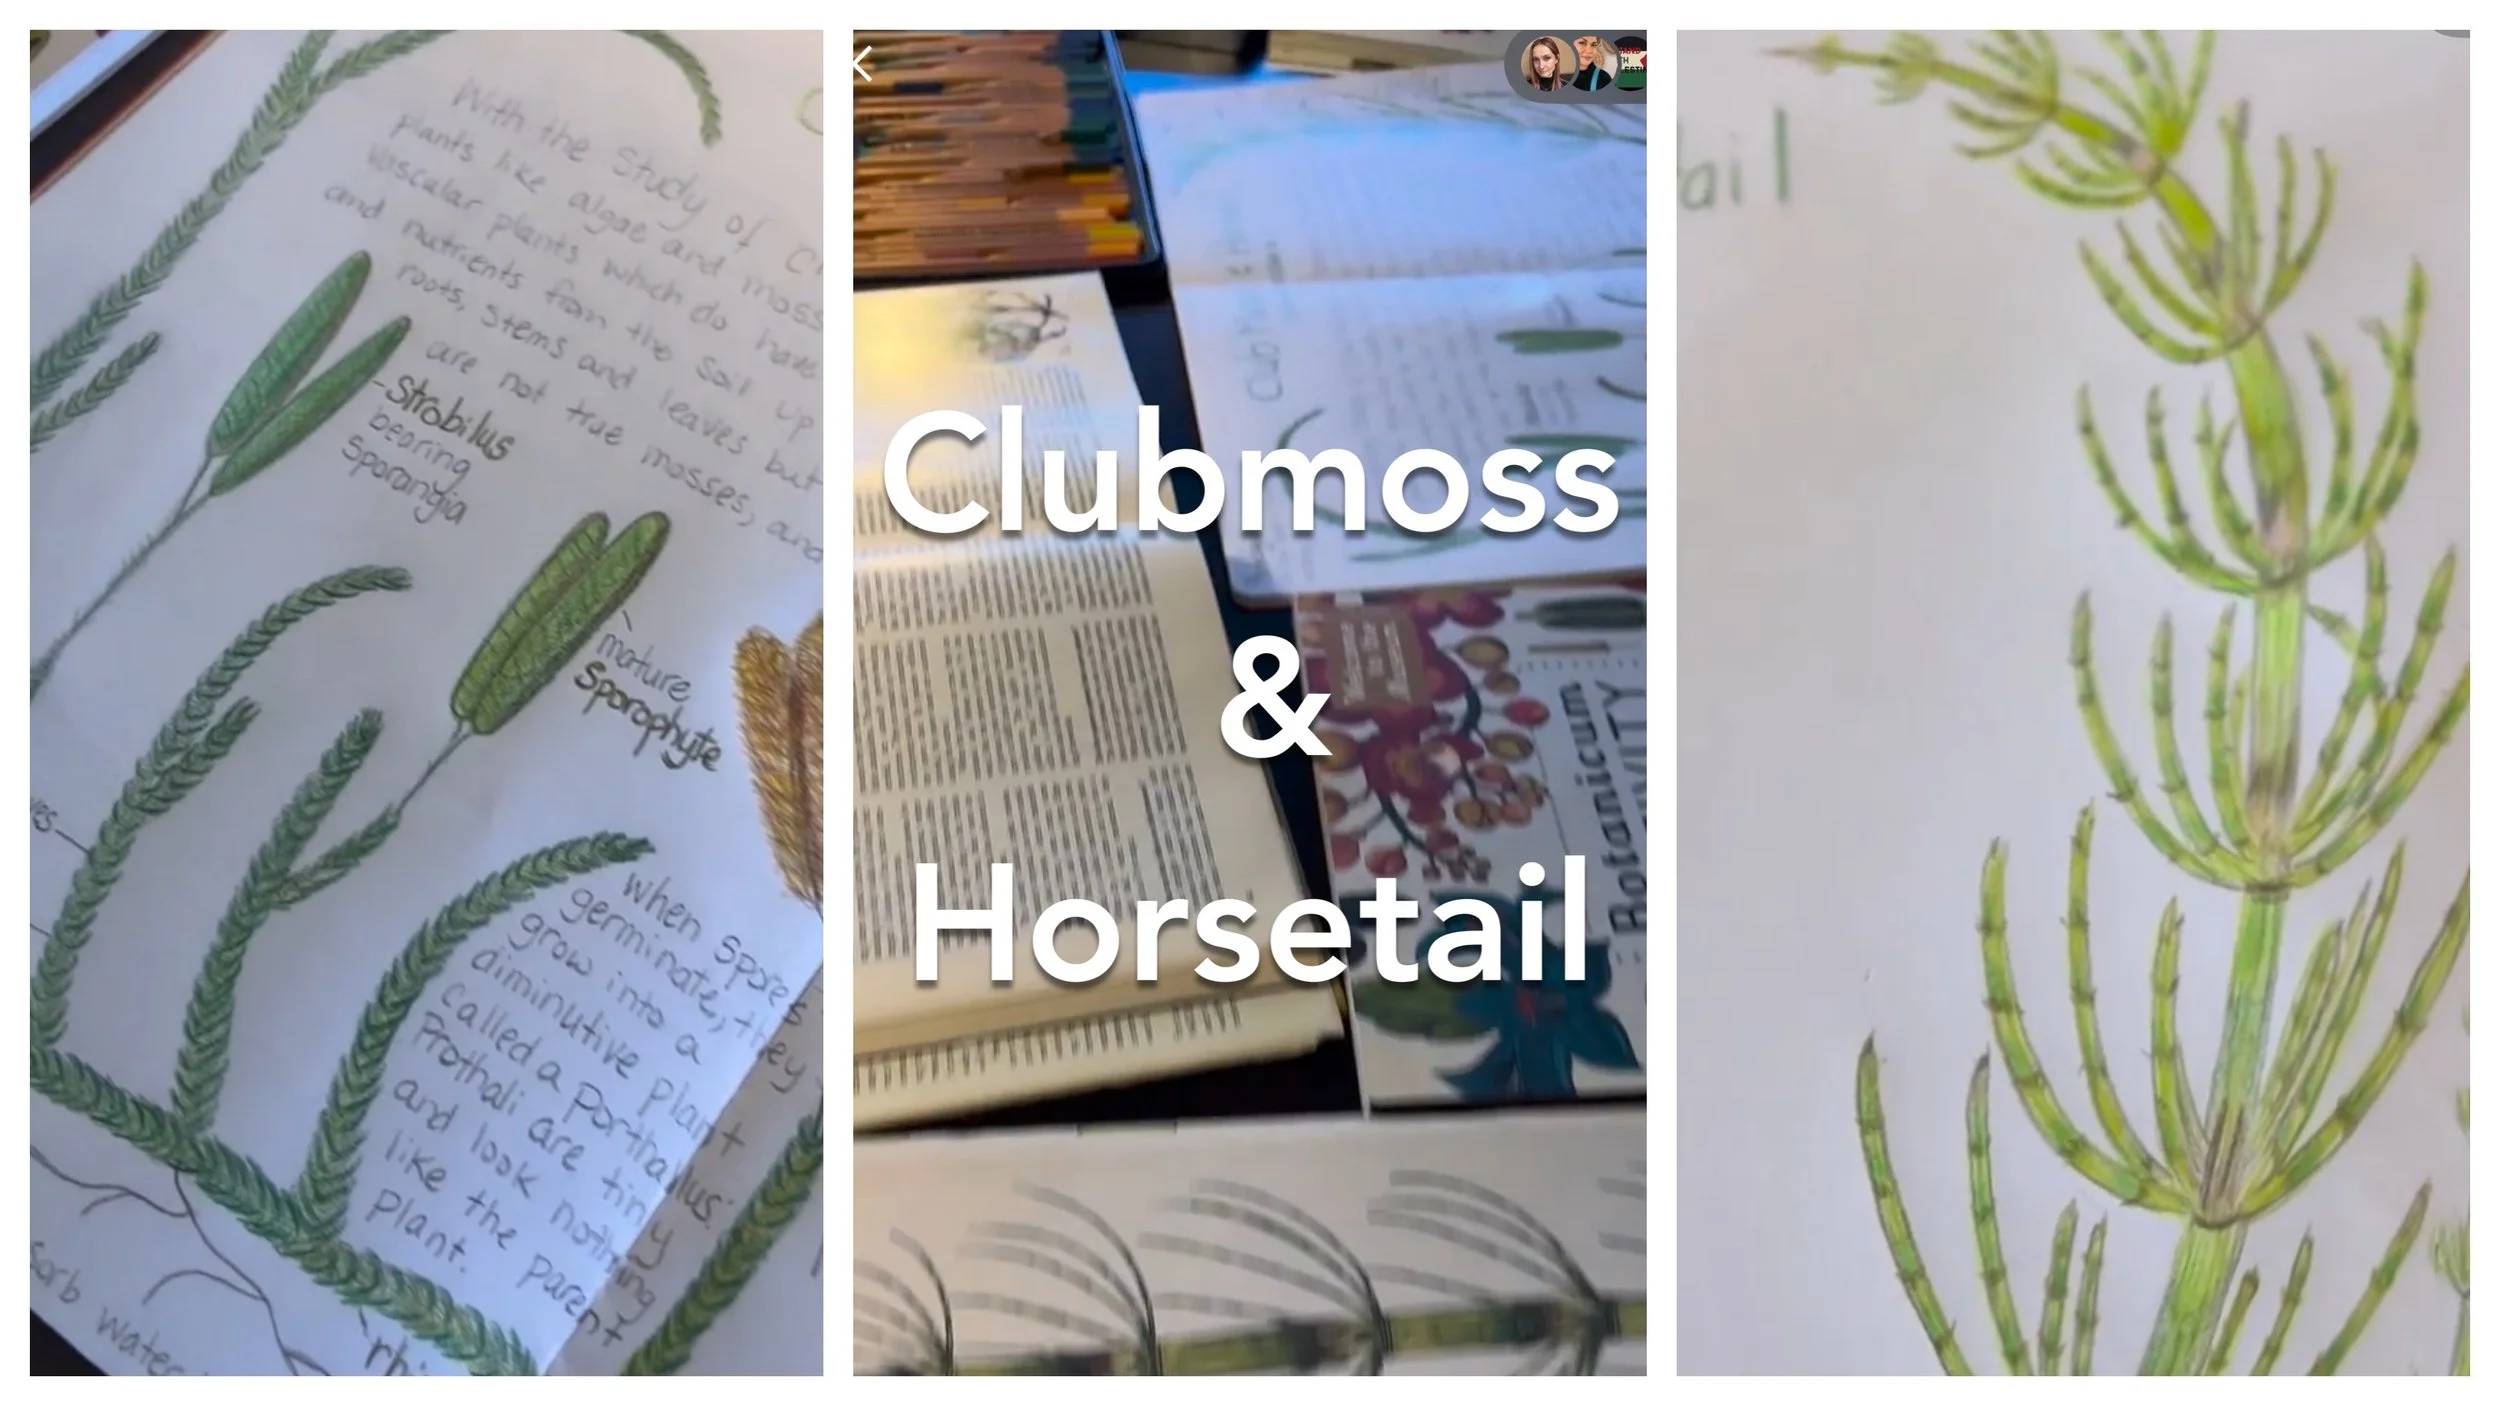
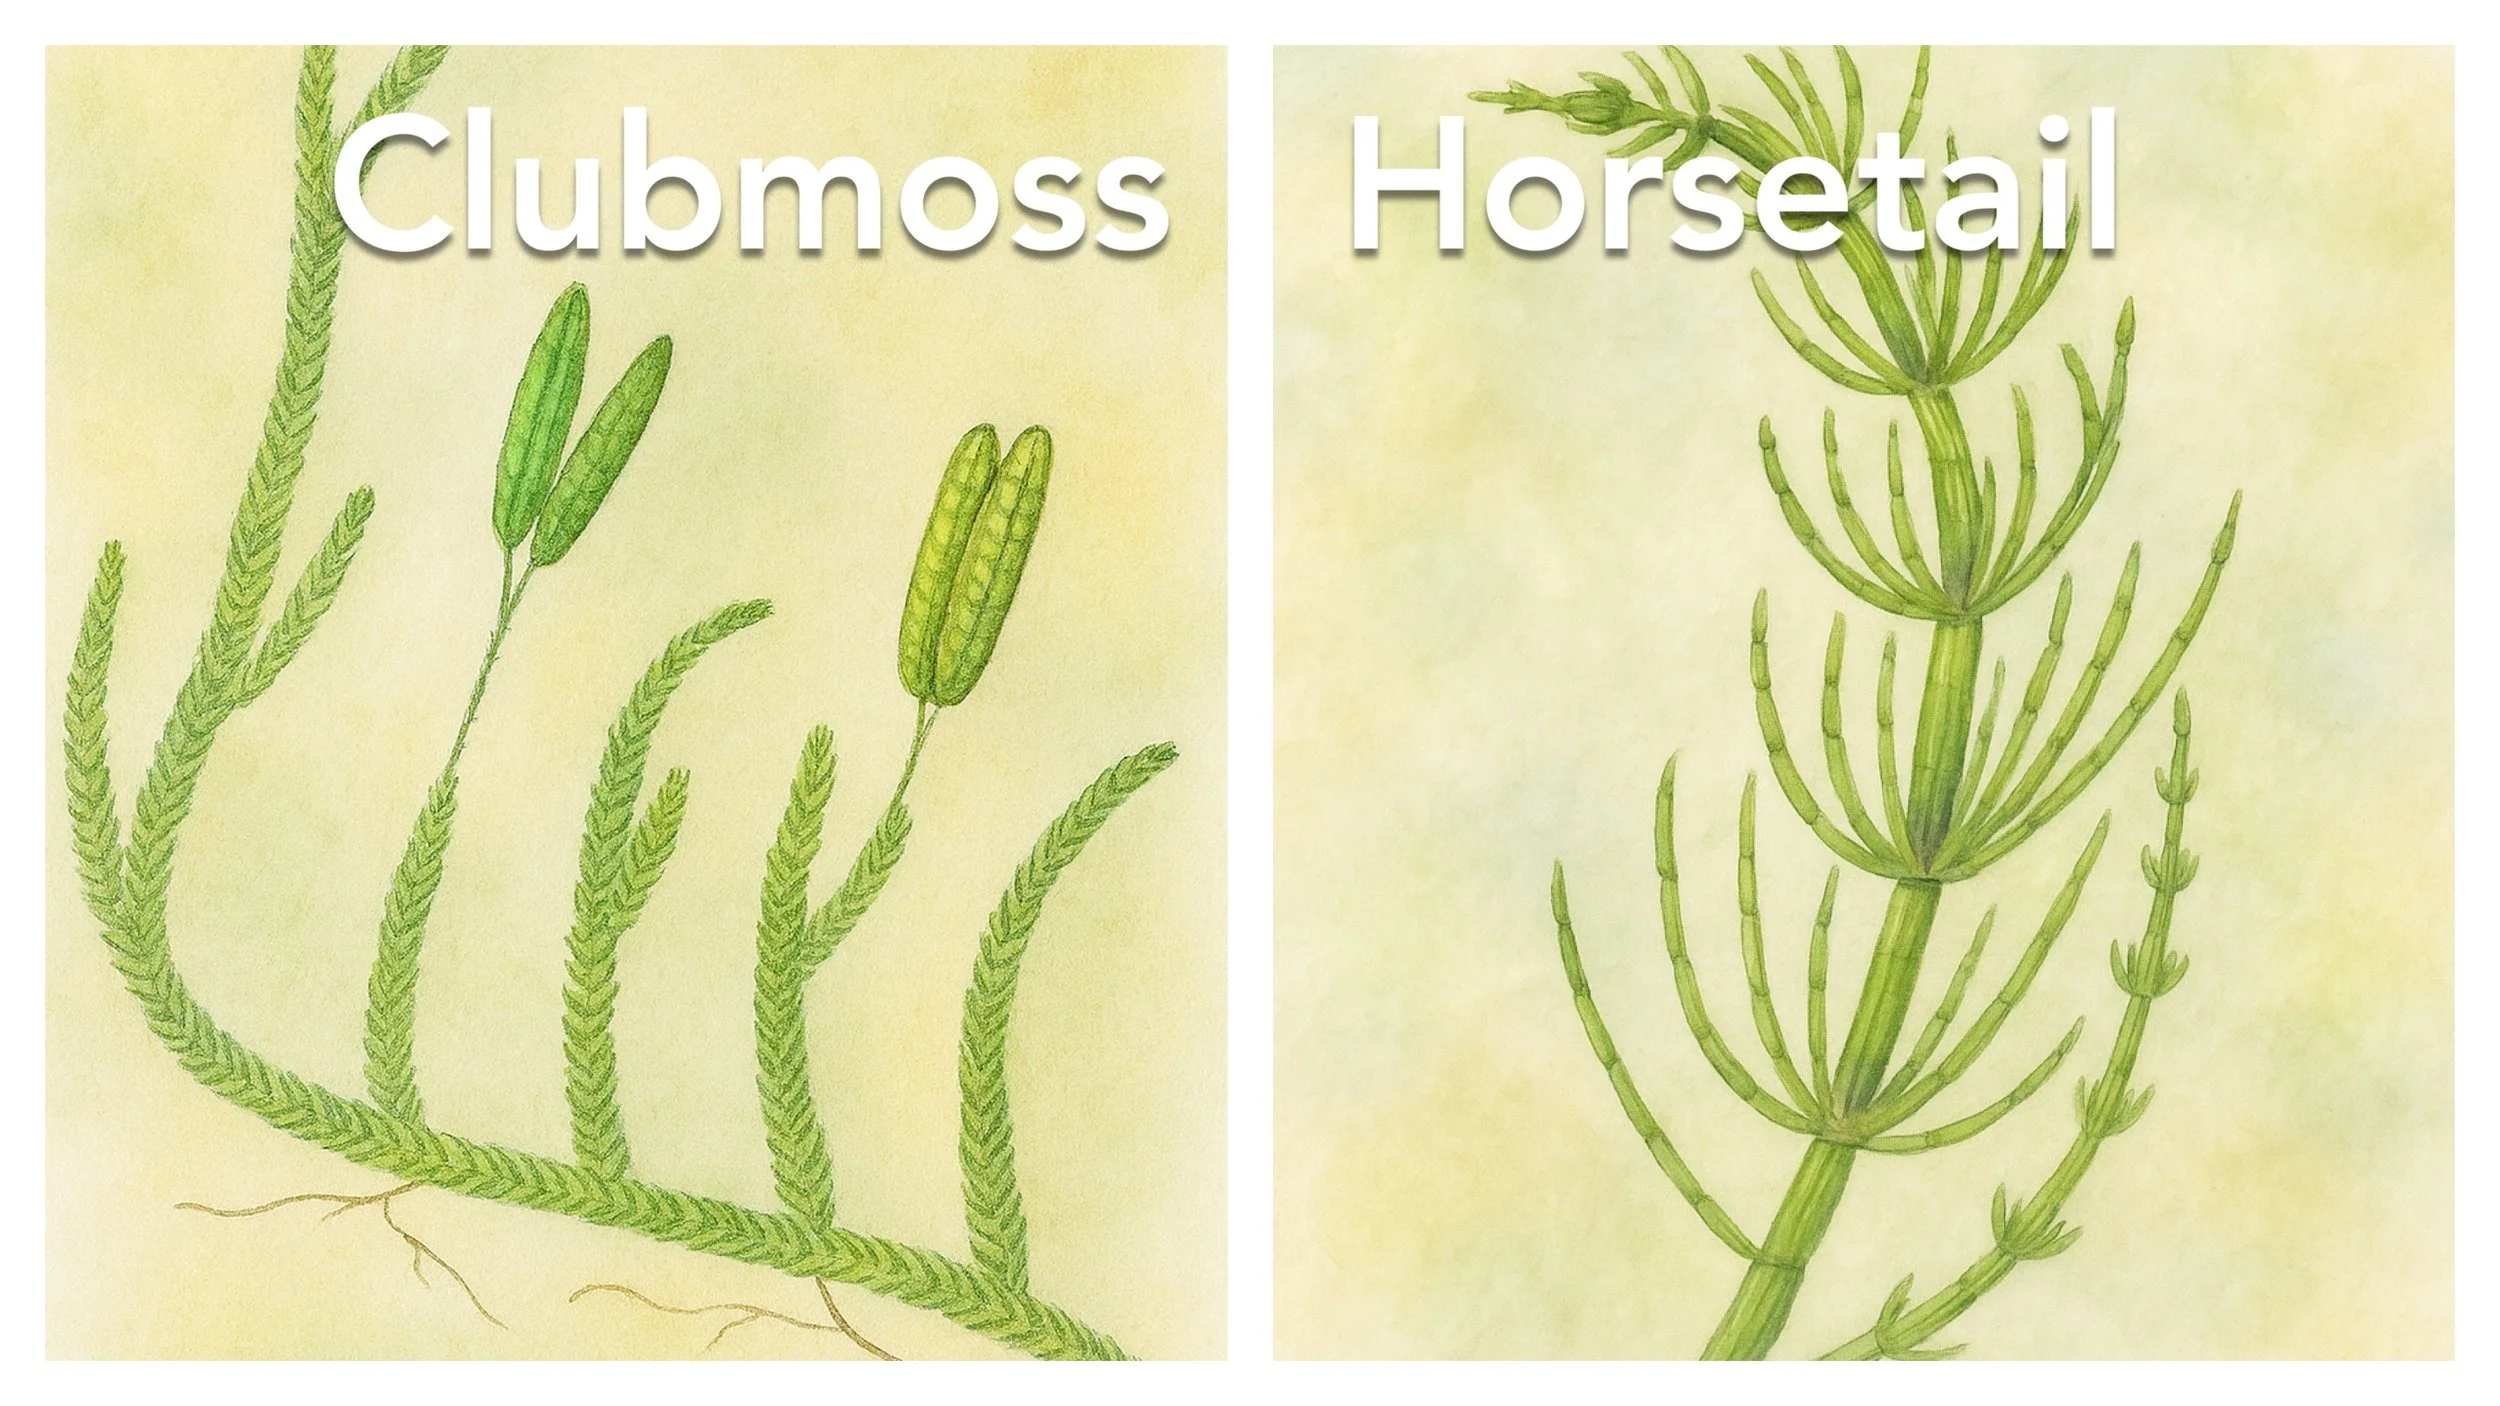
Clubmoss & Horsetail

Horsetail
Because the lesson on lichen was so detailed, I switched it up for the next few lessons to draw large scale closeups of the plants we are studying.
It worked so well for our lesson on bryophytes: liverworts, hornworts and mosses, I decide to keep it going for our lessons on club mosses, horsetails and ferns.
I opted to split up lesson 6 on ferns and horsetails into two lessons so this one is on club mosses (not a moss or conifer) and horsetails. And lesson 7 will be on ferns. We will end this part of the unit with the lesson on ferns and pick it up again in the spring with the first lesson being on conifers.
I had hoped to end this part of the unit with conifers, but we ran out of time.
For this lesson, I only used three resources :
The ABC’s of nature, A family answer book by readers digest (this has been my most used resource for our Bonnie main lesson block)
Botanicum by Katie Scott and Kathy Willis
And the Live Education main lesson book on Botany by @liveeducation
I’m using Lycra Rembrandt polycolor, color pencils, and main lesson books. Both are from A Child’s Dream. @achildsdreamcrafts
Clubmoss
We are nearly at the end of this part of our Botany block. While it’s sometimes necessary to break up a block, I prefer not to. But alas, we are wrapping up our Clubmoss and Horsetail lesson then moving on to one more lesson before this block is over for the fall.
For this lesson, I only used three resources :
The ABC’s of nature, A family answer book by readers digest (this has been my most used resource for our Bonnie main lesson block)
Botanicum by Katie Scott and Kathy Willis
And the Live Education main lesson book on Botany by @liveeducation
I’m using Lycra Rembrandt polycolor, color pencils, and main lesson books. Both are from A Child’s Dream. @achildsdreamcrafts

Ferns
-
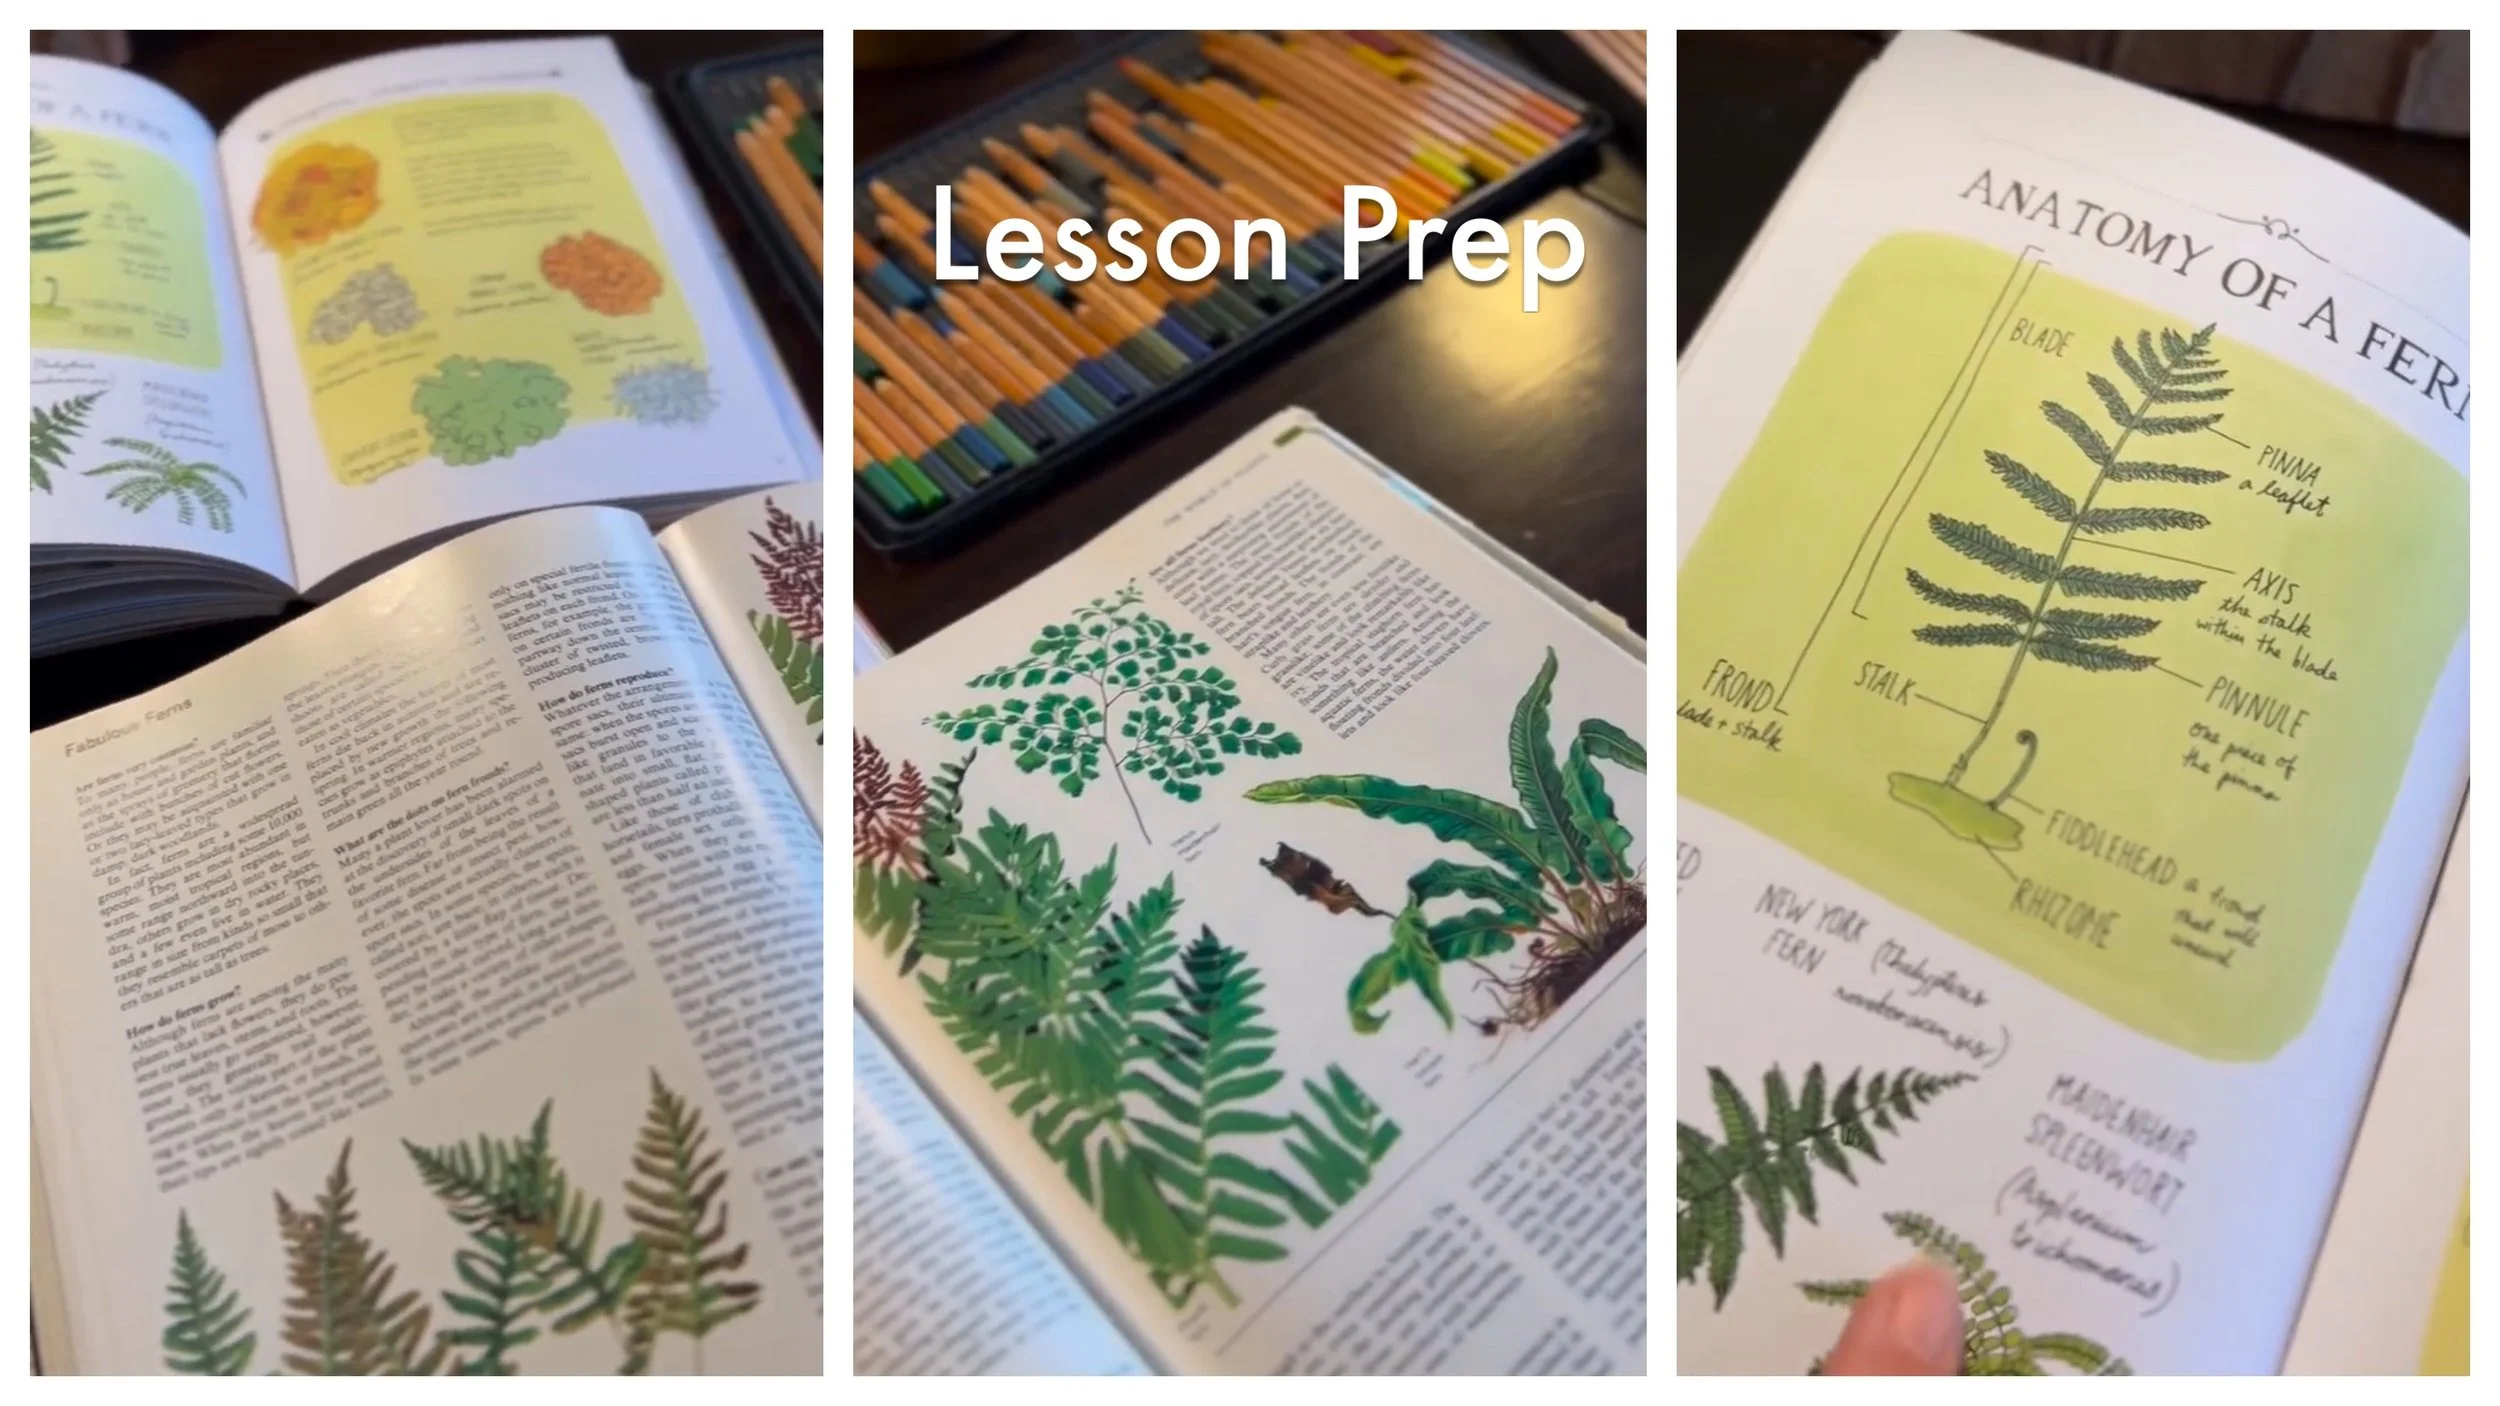
How to Lesson Prep
Sharing the process of how I prep for a Botany Lesson.
-

Lesson on Ferns
One of the easiest illustrations so far. And an opportunity to bring in samples as ferns are readily availble (where we live).
-

A Look Back at the Lessons so Far
As we break for this part of the Main Lesson Block, we look back on the lessons so far.
Ferns
How I Prep for our Botany Lesson
How I prep for a lesson for our botany main lesson block. I use a variety of books to help pull the lesson together. I use the content for the lesson and the illustration or photos as drawing inspiration.
For this lesson, I only used three resources:
The ABC’s of nature, A family answer book by readers digest (this has been my most used resource for our Bonnie main lesson block)
Botanicum by Katie Scott and Kathy Willis
And the Live Education main lesson book on Botany by @liveeducation
I’m using Lycra Rembrandt polycolor, color pencils, and main lesson books. Both are from A Child’s Dream. @achildsdreamcrafts
Lesson on Ferns
Our Lesson on Ferns.
For this lesson, I only used three resources :
The ABC’s of nature, A family answer book by readers digest (this has been my most used resource for our Bonnie main lesson block)
Botanicum by Katie Scott and Kathy Willis
And the Live Education main lesson book on Botany by @liveeducation
I’m using Lycra Rembrandt polycolor, color pencils, and main lesson books. Both are from A Child’s Dream. @achildsdreamcrafts
A Look Back at the Lessons so Far
A look back at the lessons so far before we move onto another block. We revisit our Botany Main Lesson Block in the spring where we pick it up and change up the style of our lessons by using chalk pastels rather than color pencils.
Conifers
-
Multi-Sensory Hands-On Waldorf Lesson | Botany
We continue our main lesson block for Botany using our Waldorf Live-Education curriculum for 5th grade. This lesson is on conifers, and today, you get to hear how I go about doing our lesson with my 10-year-old, complete with interruptions from my 6-year-old.
-
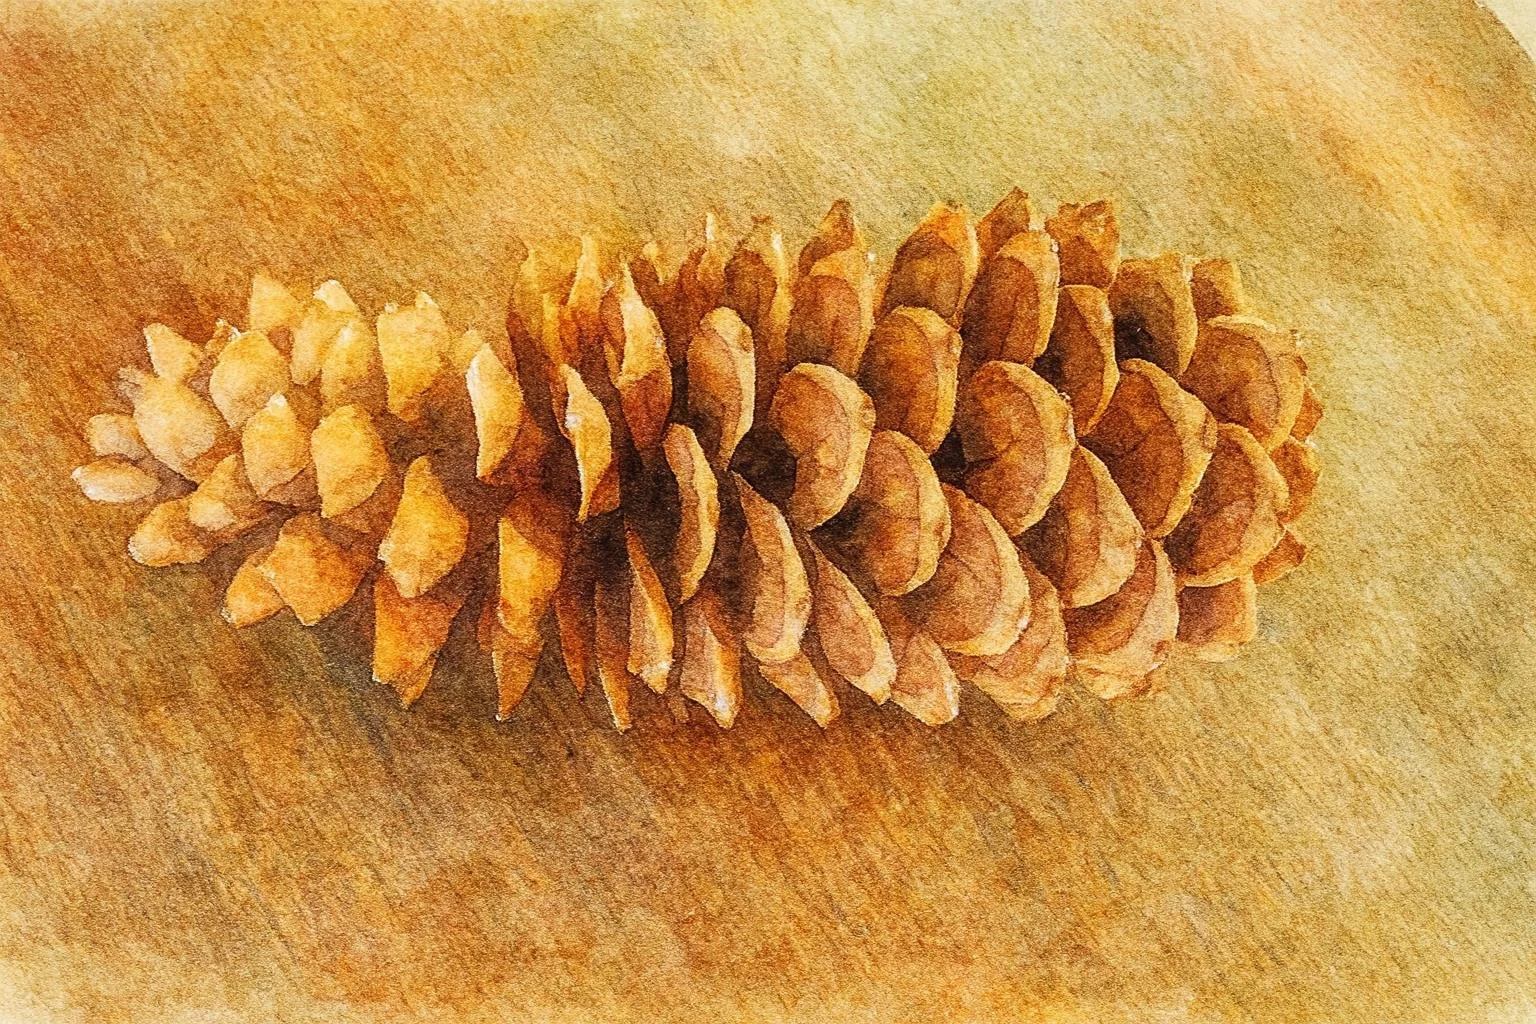
Waldorf Botany Lesson: Pinecones & Conifers
The lesson on pine cones and conifers is the first lesson for the second part of our Botany Main Lesson Block. This 6-8 week main lesson block was split into two smaller blocks with one occurring in the fall and the second one occurring in the spring.
-
The Gesture of Conifers | Waldorf Botany
As it happened, the second part was not completed in the spring and rolled over into the fall. We are using similar books as before, with a couple fresh ones, but the main difference is that we are using chalk pastels for these illustrations rather than colored pencils.
-

How to Grow a Pine Tree from Seed
I can't tell you how much we love the kits we got from Nature-Watch. The one I'm sharing to day is a classroom kit for 25 students called Forever Forests.
-

How to Make a Pine Needle Basket for Beginners
For our Botany Main Lesson block, we studied conifers. As part of the lesson activities we decided to weave pine needle baskets.
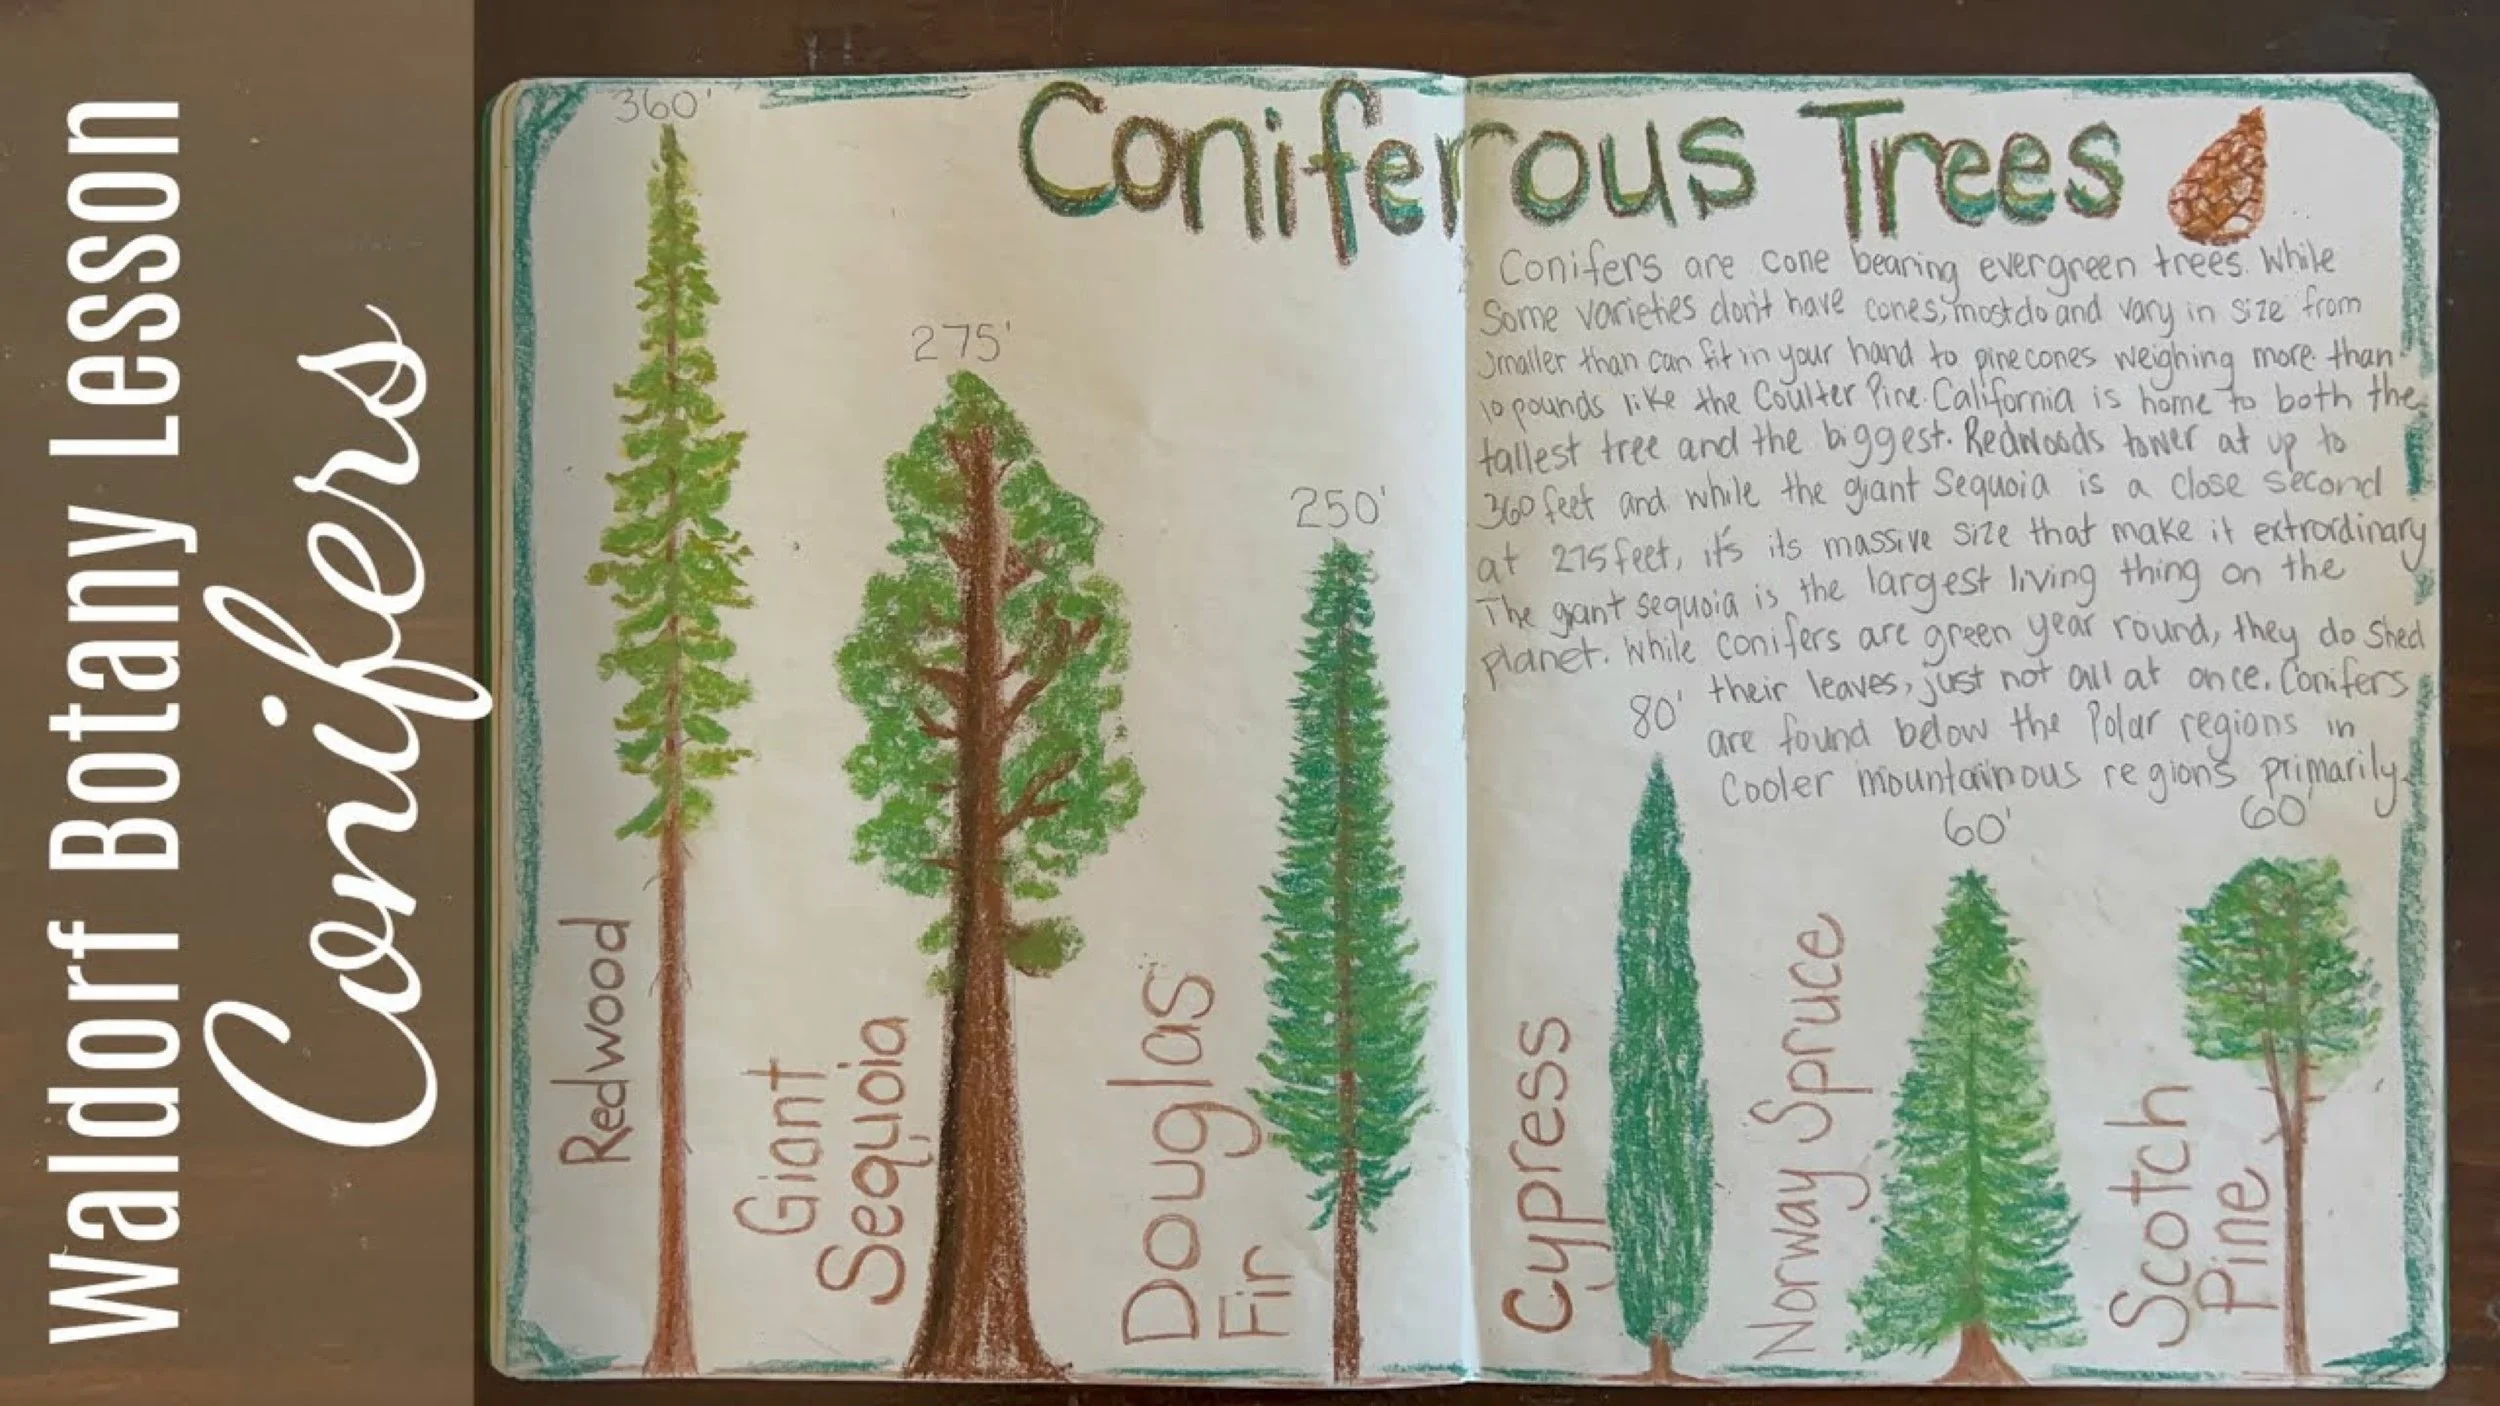
Conifers
Multi-Sensory Hands-On Waldorf Lesson
We continue our main lesson block for Botany using our Waldorf Live-Education curriculum for 5th grade. This lesson is on conifers, and today, you get to hear how I go about doing our lesson with my 10-year-old, complete with interruptions from my 6-year-old. This lesson was quite involved, and though we don't need to do all the activities for each lesson, we happened to have a lot of the materials on hand to do them, plus more supplies to do other projects!
This lesson lasted several days as we did a little bit each day.
You can see the complete playlist for our Botany Main Lesson Block.
The Live-Education curriculum is a Waldorf curriculum that adheres very closely to the original philosophy. We've had the curriculum in our homeschool from the beginning, and we often turn to it for inspiration.
You can find more information by visiting the Live-Education website.
We used 90lb. watercolor paper by Fabriano available at Blick.
We used Distress Inks in the following shades:
Vintage Wood, Walnut Stain, Forest Moss, Peeled Paint, Crushed Olive, Rusty Hinge, Pumice Stone, Shabby Shutters and Frayed Burlap.

Waldorf Botany Lesson
Pinecones & Conifers
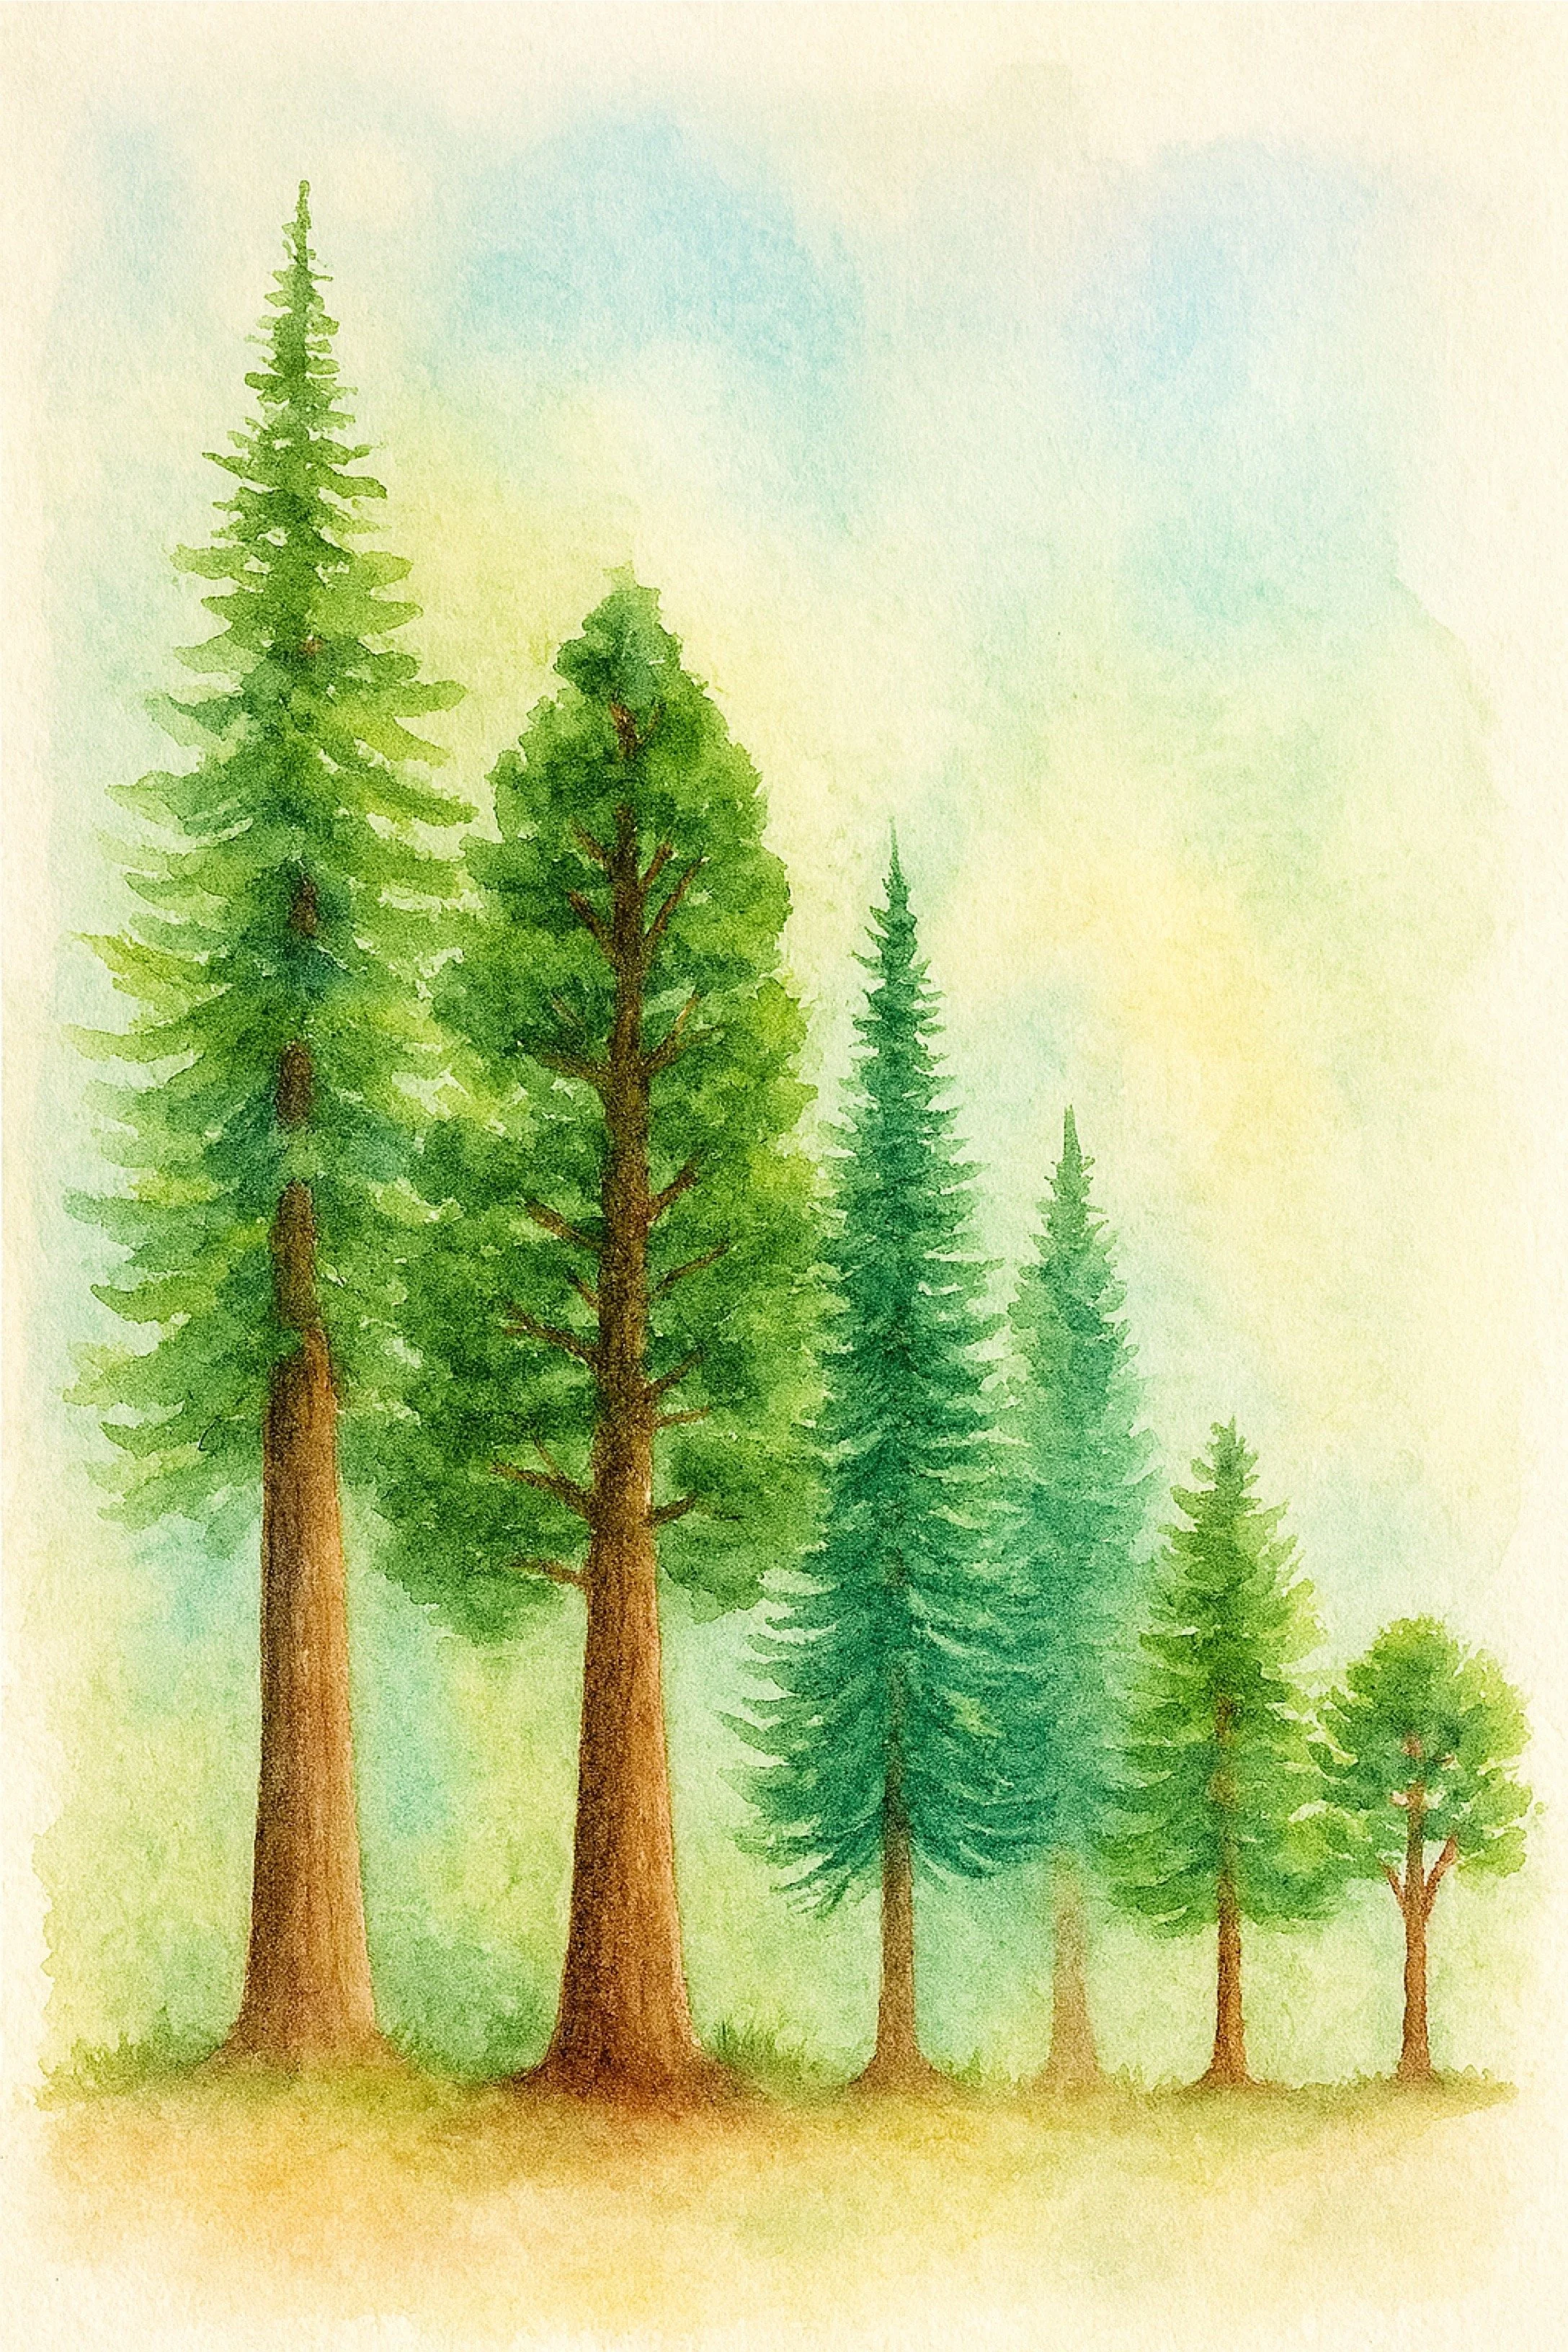
The lesson on pine cones and conifers is the first lesson for the second part of our Botany Main Lesson Block. This 6-8 week main lesson block was split into two smaller blocks with one occurring in the fall and the second one occurring in the spring. As it happened, the second part was not completed in the spring and rolled over into the fall. We are using similar books as before, with a couple fresh ones, but the main difference is that we are using chalk pastels for these illustrations rather than colored pencils. I have been enjoying the process of using chalk pastels because the color is vibrant and the illustrations take less time. They will take even less time if you omit the detail that I often add. Using chalk pastels you can easily achieve the 'gesture' of the image which is sufficient and easier for the student to copy.
Illustration inspiration for this lesson comes from Botanicum by Katie Scott and Kathy Willis. Content for the lesson came from our Waldorf Live Education main lesson book for Botany grade 5 and a few books. We used the ABC's of Nature by Reader's Digest and A Walk in the Boreal Forest. I pulled out a few picture books as well, but as my daughter is 13, and I have no younger children, we only reminisced about the times we used to read picture books then put them away. The picture books that would work with this lesson are Seeds and Trees by Brandon Walden, The Tree Lady by H. Joseph Hopkins, The Sequoia Lives On by Joanna Cooke, The Busy Tree by Jennifer Ward, and Oak Leaf by John Sandford.
This project is part of our Waldorf Botany Main Lesson. See the other videos in this playlist.
The Gesture of Conifers
The lesson on pine cones and conifers is the first lesson for the second part of our Botany Main Lesson Block. This 6-8 week main lesson block was split into two smaller blocks with one occurring in the fall and the second one occurring in the spring. As it happened, the second part was not completed in the spring and rolled over into the fall. We are using similar books as before, with a couple fresh ones, but the main difference is that we are using chalk pastels for these illustrations rather than colored pencils. I have been enjoying the process of using chalk pastels because the color is vibrant and the illustrations take less time. They will take even less time if you omit the detail that I often add. Using chalk pastels you can easily achieve the 'gesture' of the image which is sufficient and easier for the student to copy.
Illustration inspiration for this lesson comes from Botanicum by Katie Scott and Kathy Willis. Content for the lesson came from our Waldorf Live Education main lesson book for Botany grade 5 and a few books. We used the ABC's of Nature by Reader's Digest and A Walk in the Boreal Forest. I pulled out a few picture books as well, but as my daughter is 13, and I have no younger children, we only reminisced about the times we used to read picture books then put them away. The picture books that would work with this lesson are Seeds and Trees by Brandon Walden, The Tree Lady by H. Joseph Hopkins, The Sequoia Lives On by Joanna Cooke, The Busy Tree by Jennifer Ward, and Oak Leaf by John Sandford.
This project is part of our Waldorf Botany Main Lesson. See the other videos in this playlist.
Bulbs & Lillies
-
Botany Lesson | Bulbs Garlic
Our lesson on bulbs and lilies began with an introduction on monocots and dicots. This brief overview of plant seedlings and the difference between the two quickly moved into the study of bulbous plants like flowers and onions.
-
Botany Lesson | Bulbs Onion
We continue our lesson on Bulbs and Lilies with this lesson on onions. While this lesson was part of the the lesson garlic, we chose to split it up over two days as the illustrations took time and we were supplementing this lesson with some hands-on projects and religious content.
-
Botany | Garlic & Onion
Our botany lesson on Lilies and bulbs is complete. We focused on garlic and onions for this lesson using the books Plants of the Quran, Botanicum and our Live education curriculum as inspiration and information for this lesson.
Bulbs & Lillies
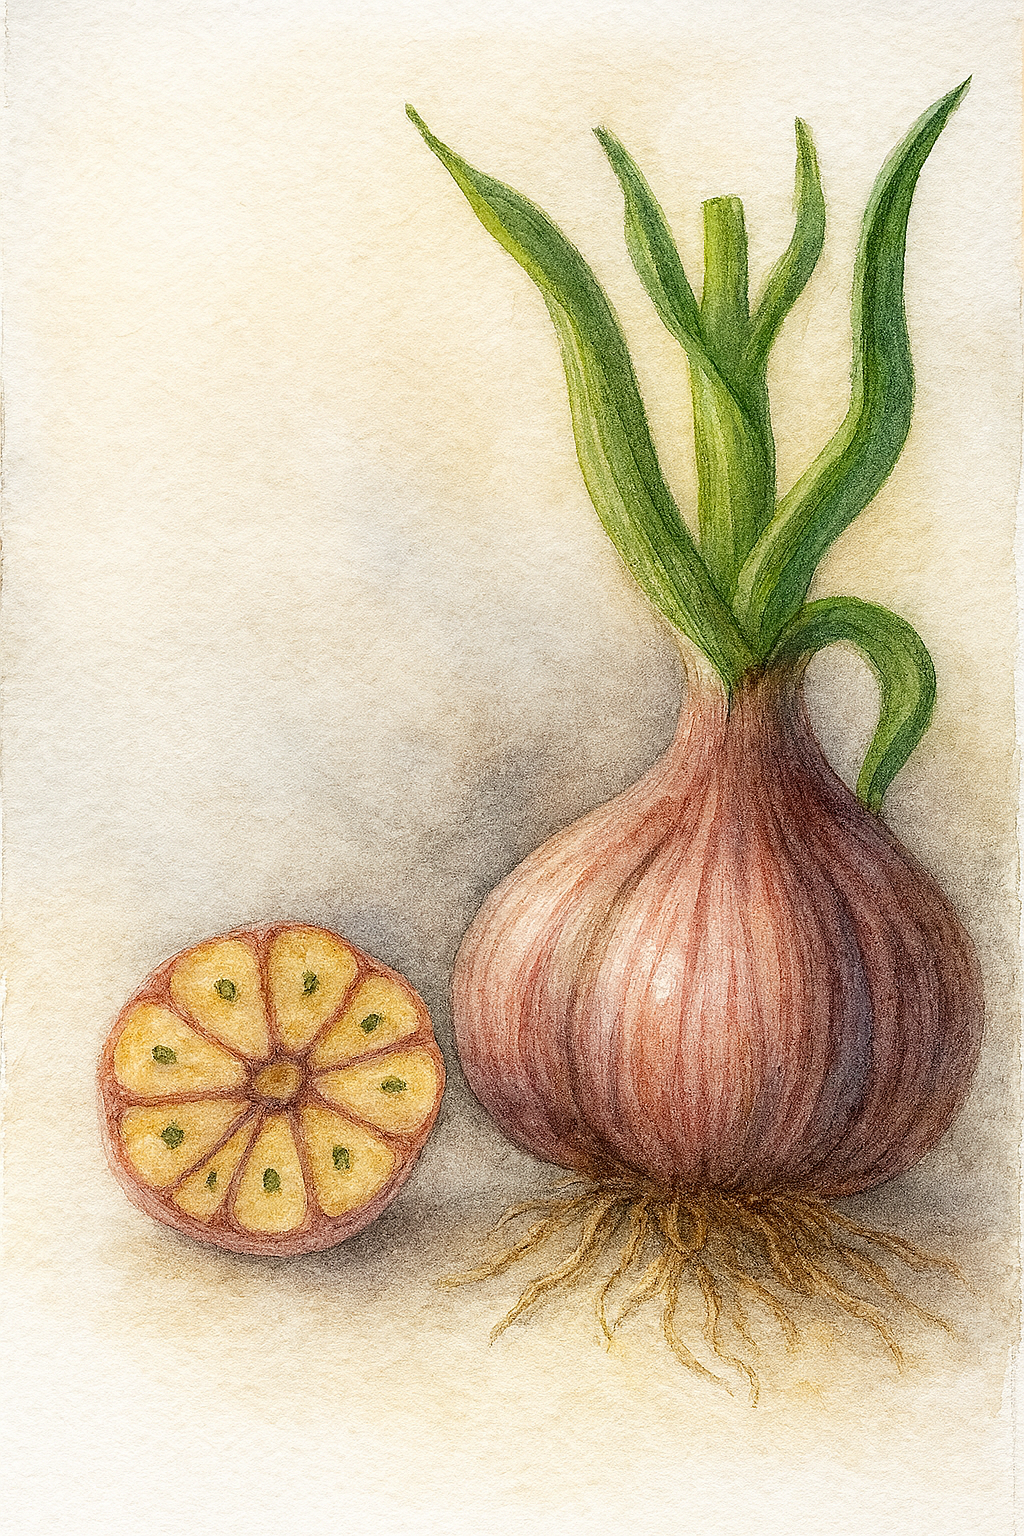
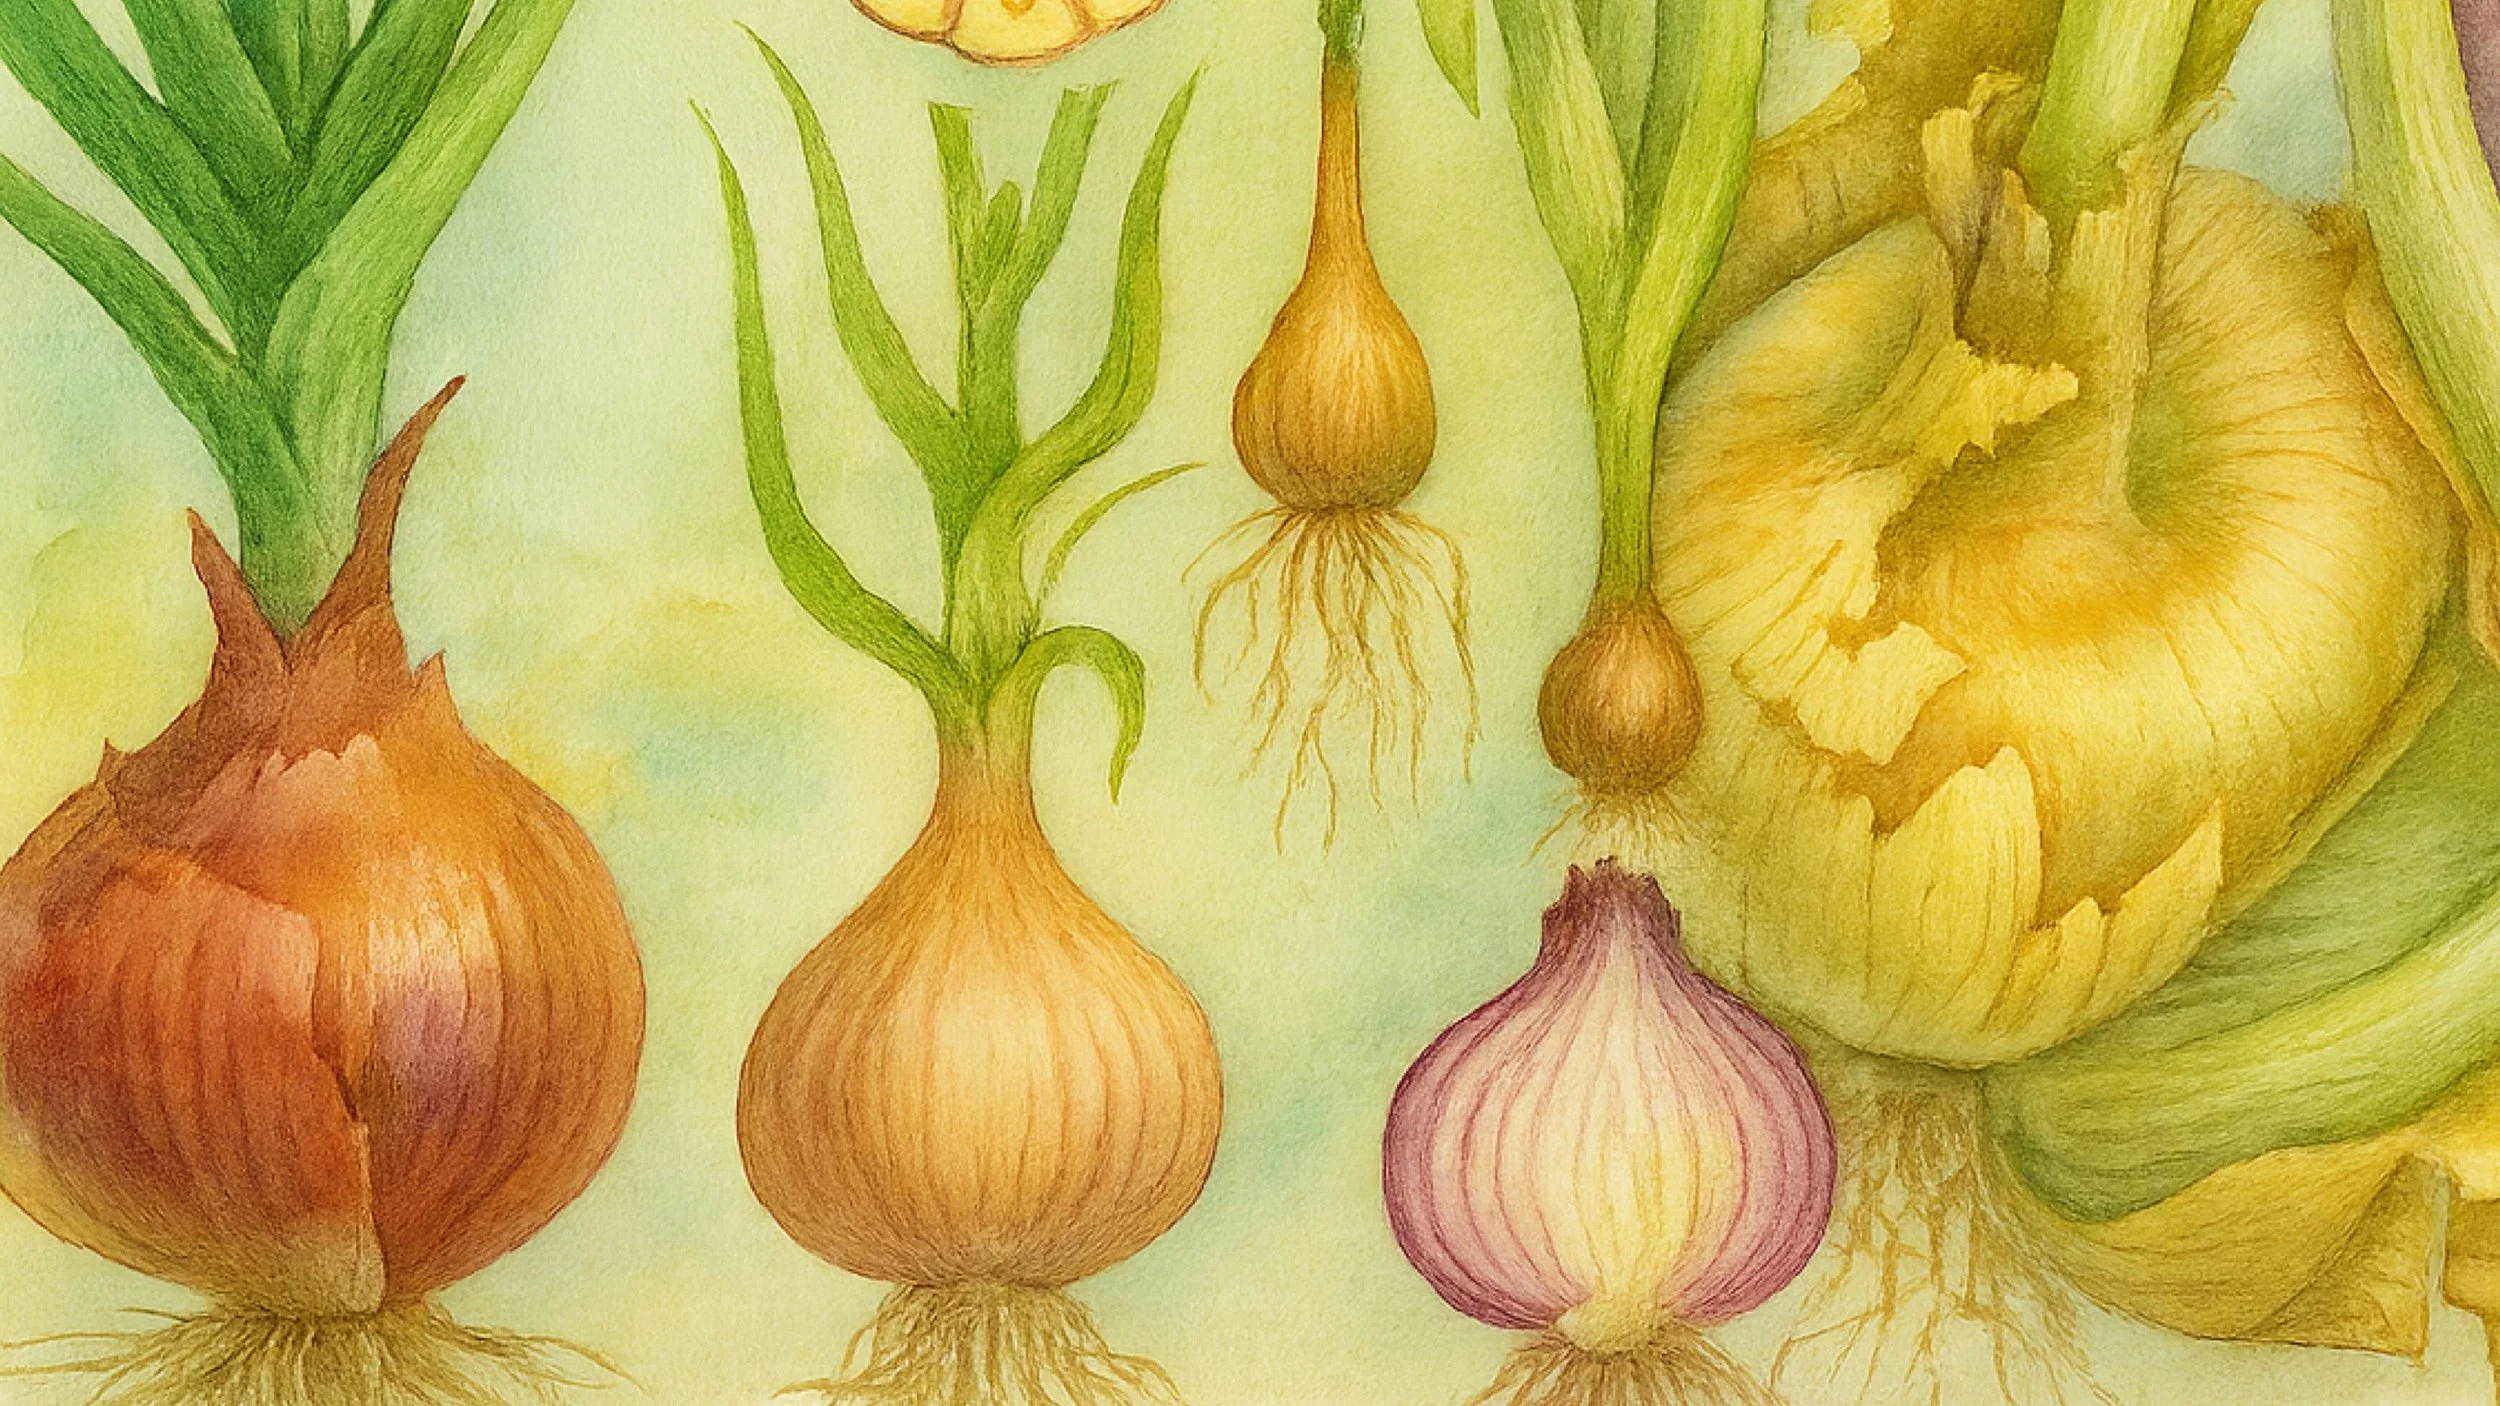
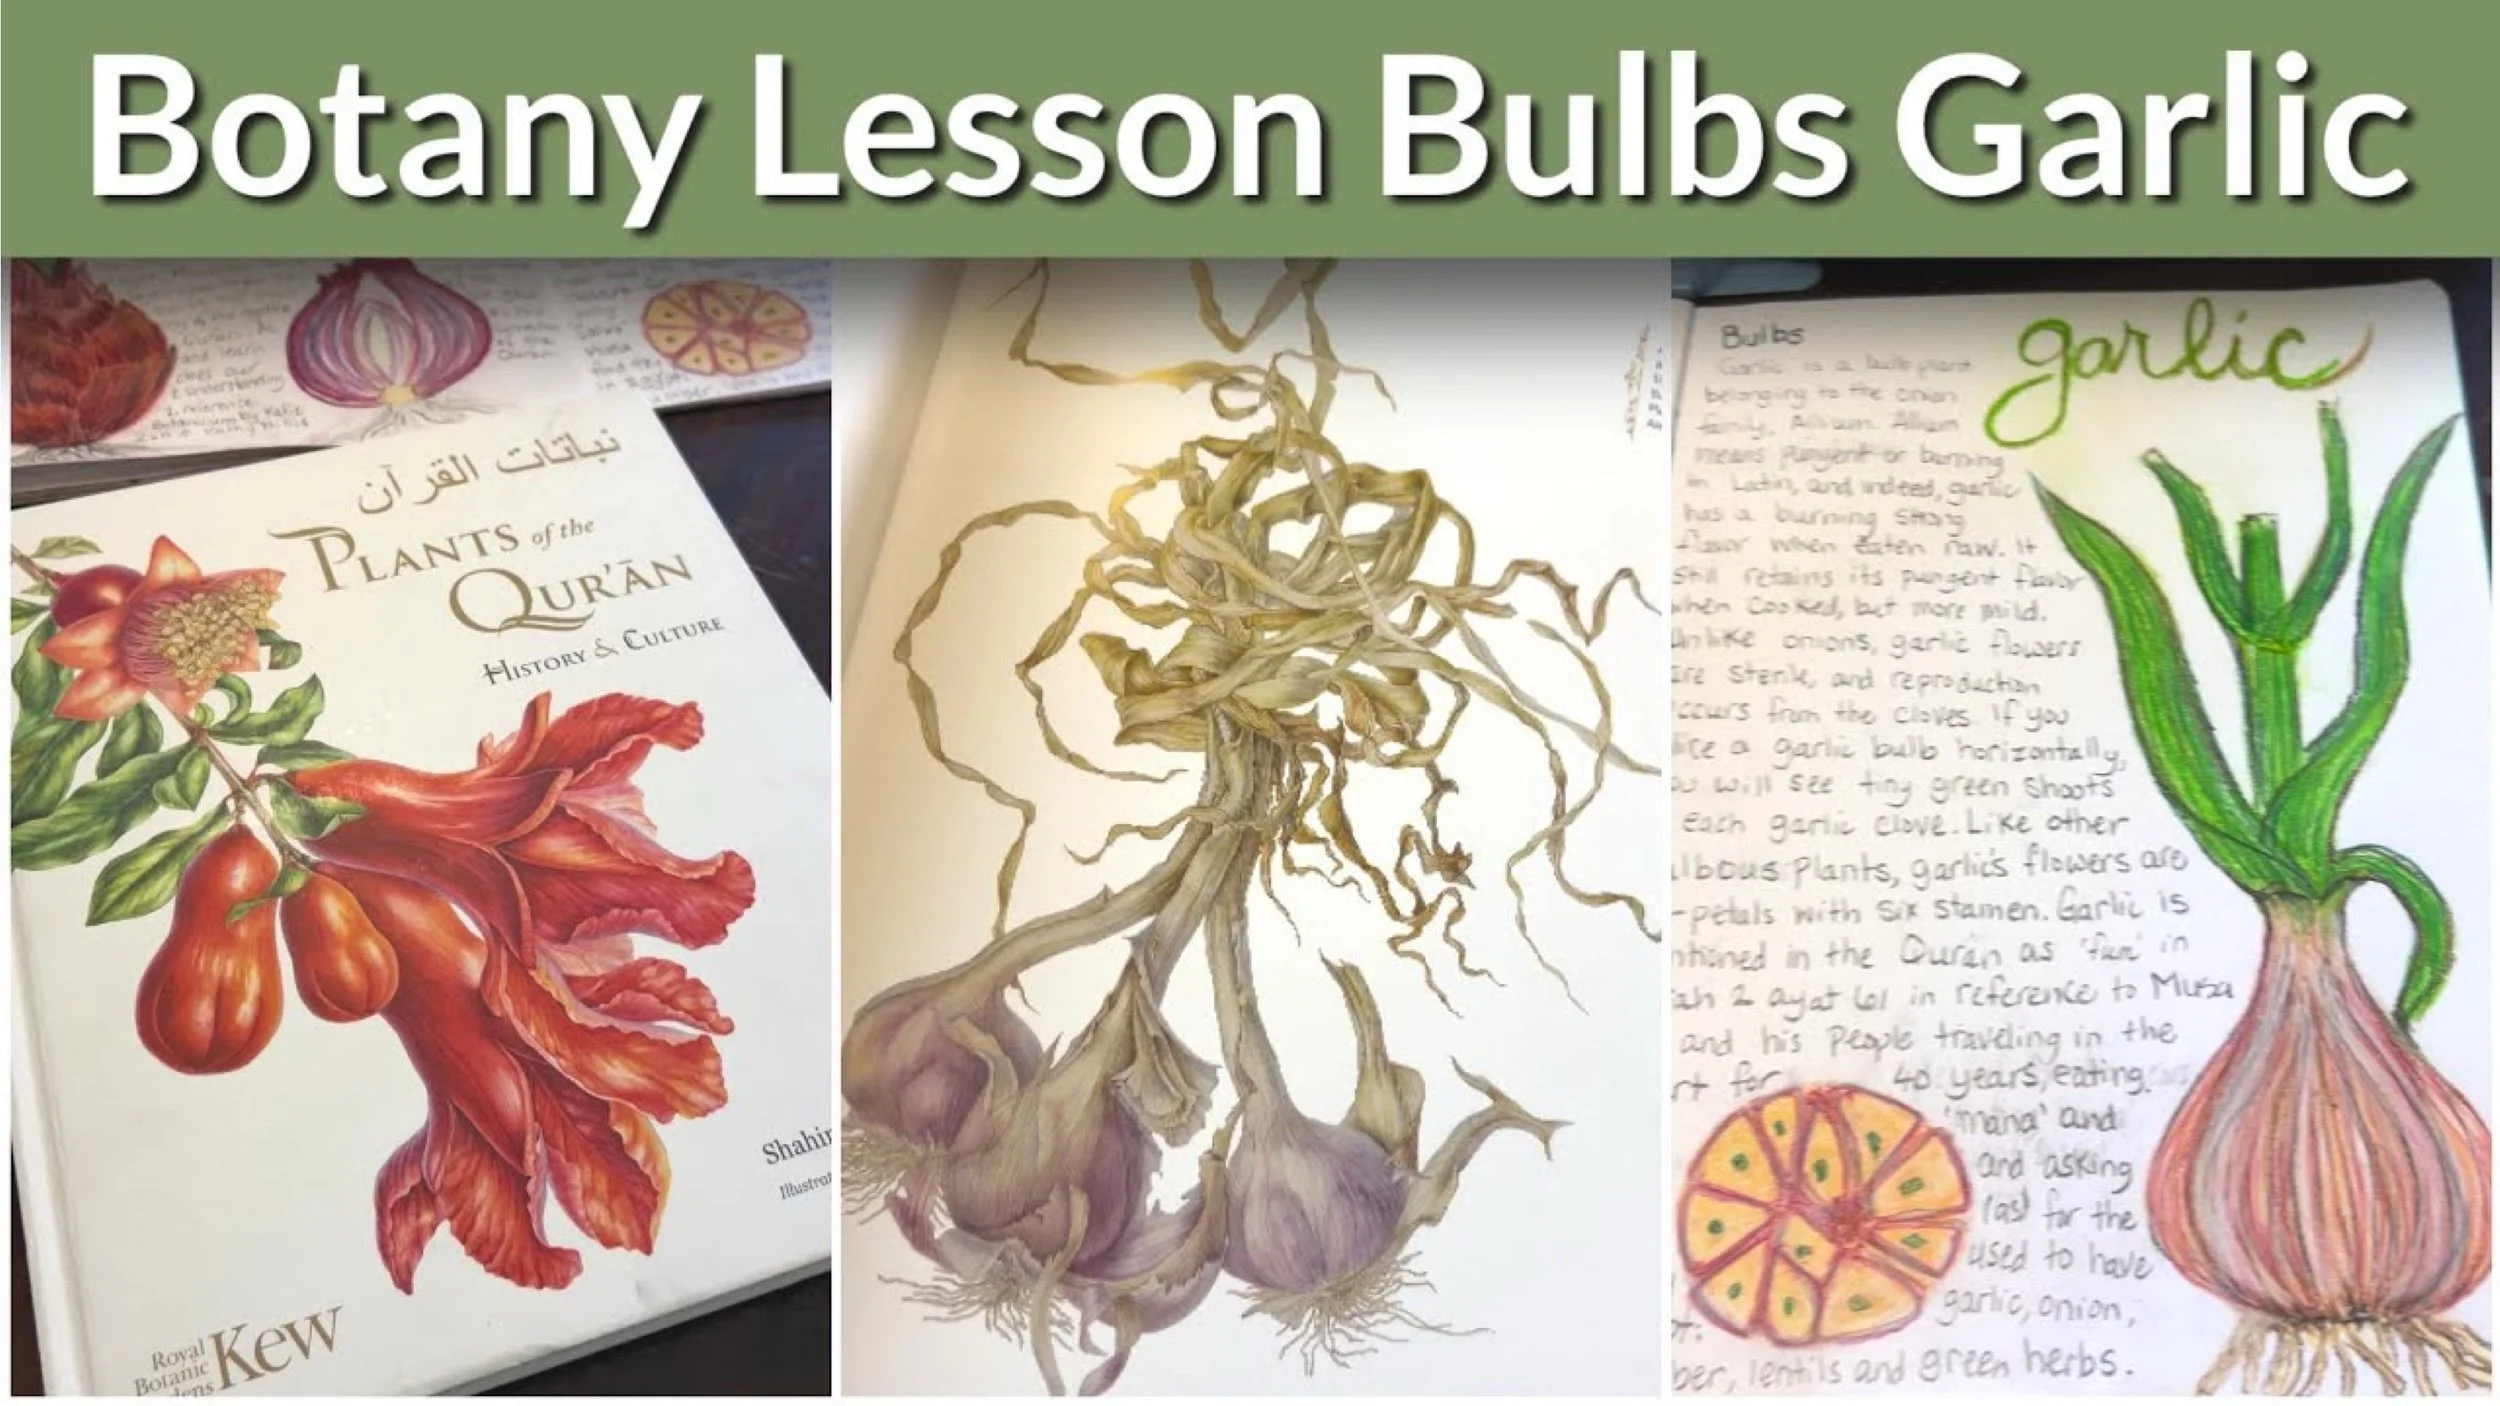
Bulbs Garlic
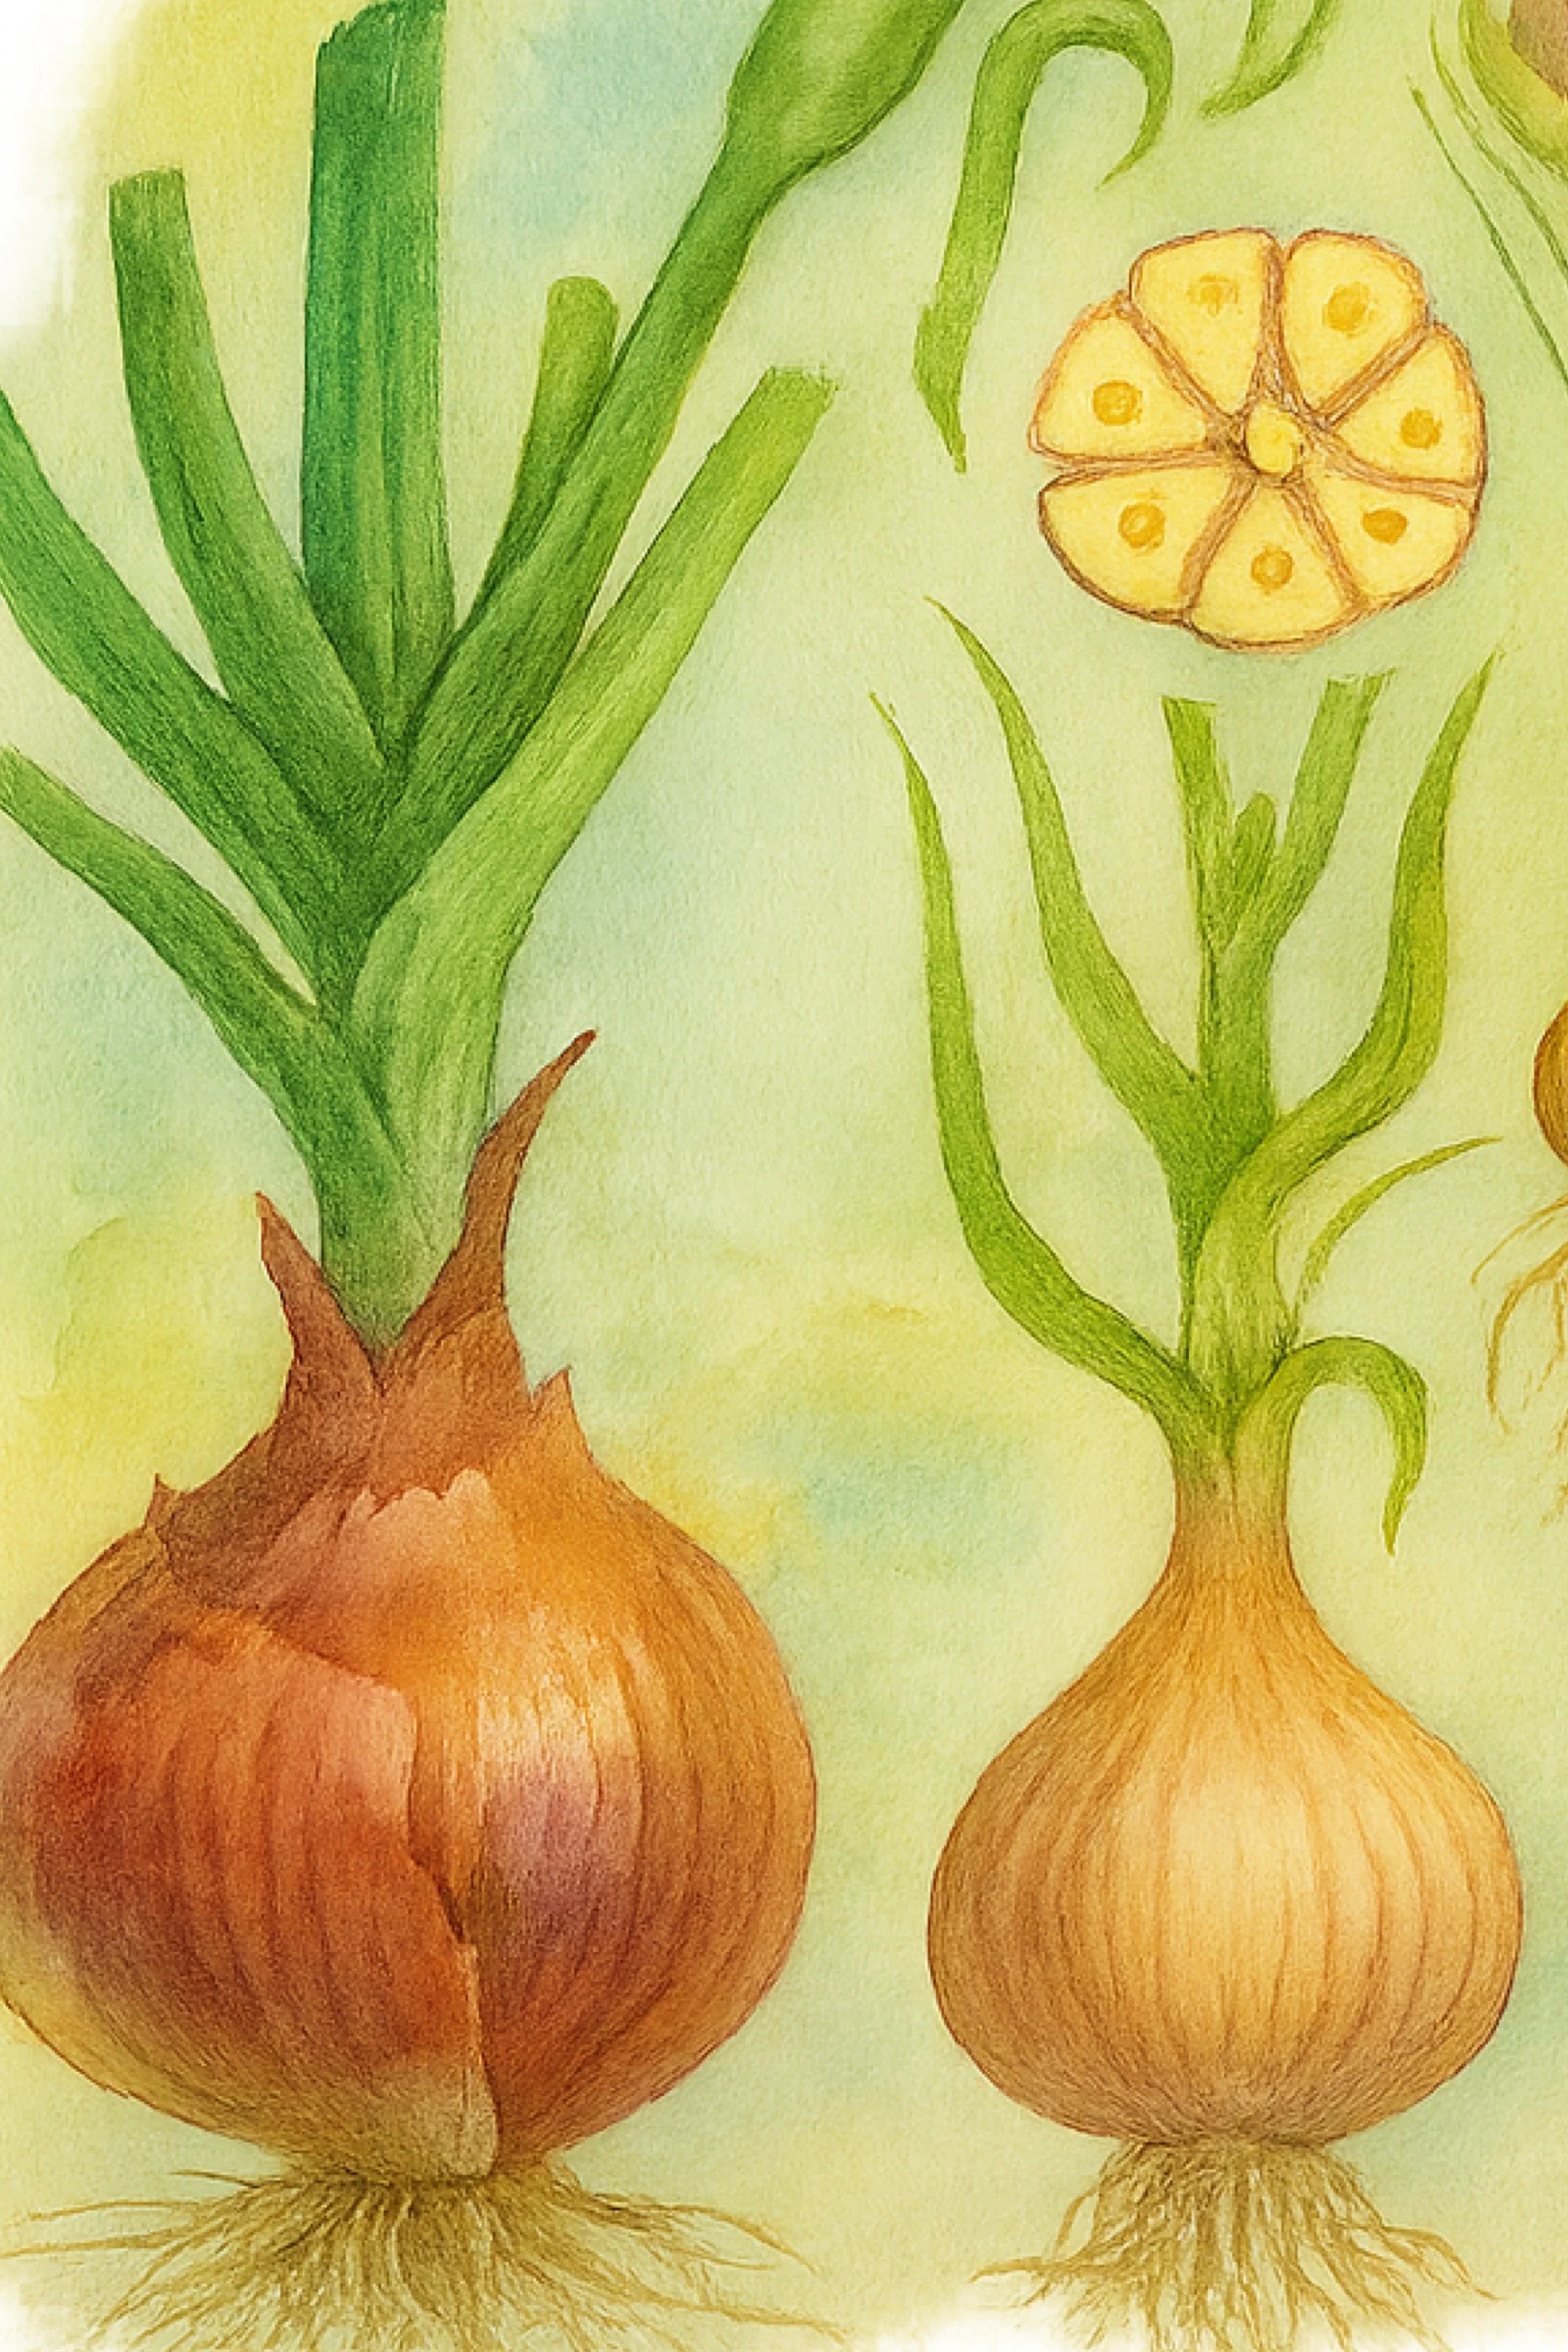
Our lesson on bulbs and lilies began with an introduction on monocots and dicots. This brief overview of plant seedlings and the difference between the two quickly moved into the study of bulbous plants like flowers and onions. While remaining with 6-fold symmetry of flowering plants that are bulbs, we worked on a geometry lesson in which we drew an onion flower with six stamen to reinforce the concept that these flowers possess 6-fold symmetry until other florals. We departed from flowering bulbs like tulips and lilies to focus on onions and garlic as these were significant for our lesson in other ways.
We used the book Plants of the Qur’an as inspiration for this lesson, marveling at the beautiful watercolored illustrations as well as for content as this book offers the Qur’anic Ayat and Surah in which these plants are mentioned as well as other religious and botanical information.
For illustration inspiration, we used Botanicum for our lesson on garlic and onions. We used Sargent Art Square chalk pastels and General’s Pastel Chalk. We used a Matte Fixative to seal our work before doing the written portion of our lesson.
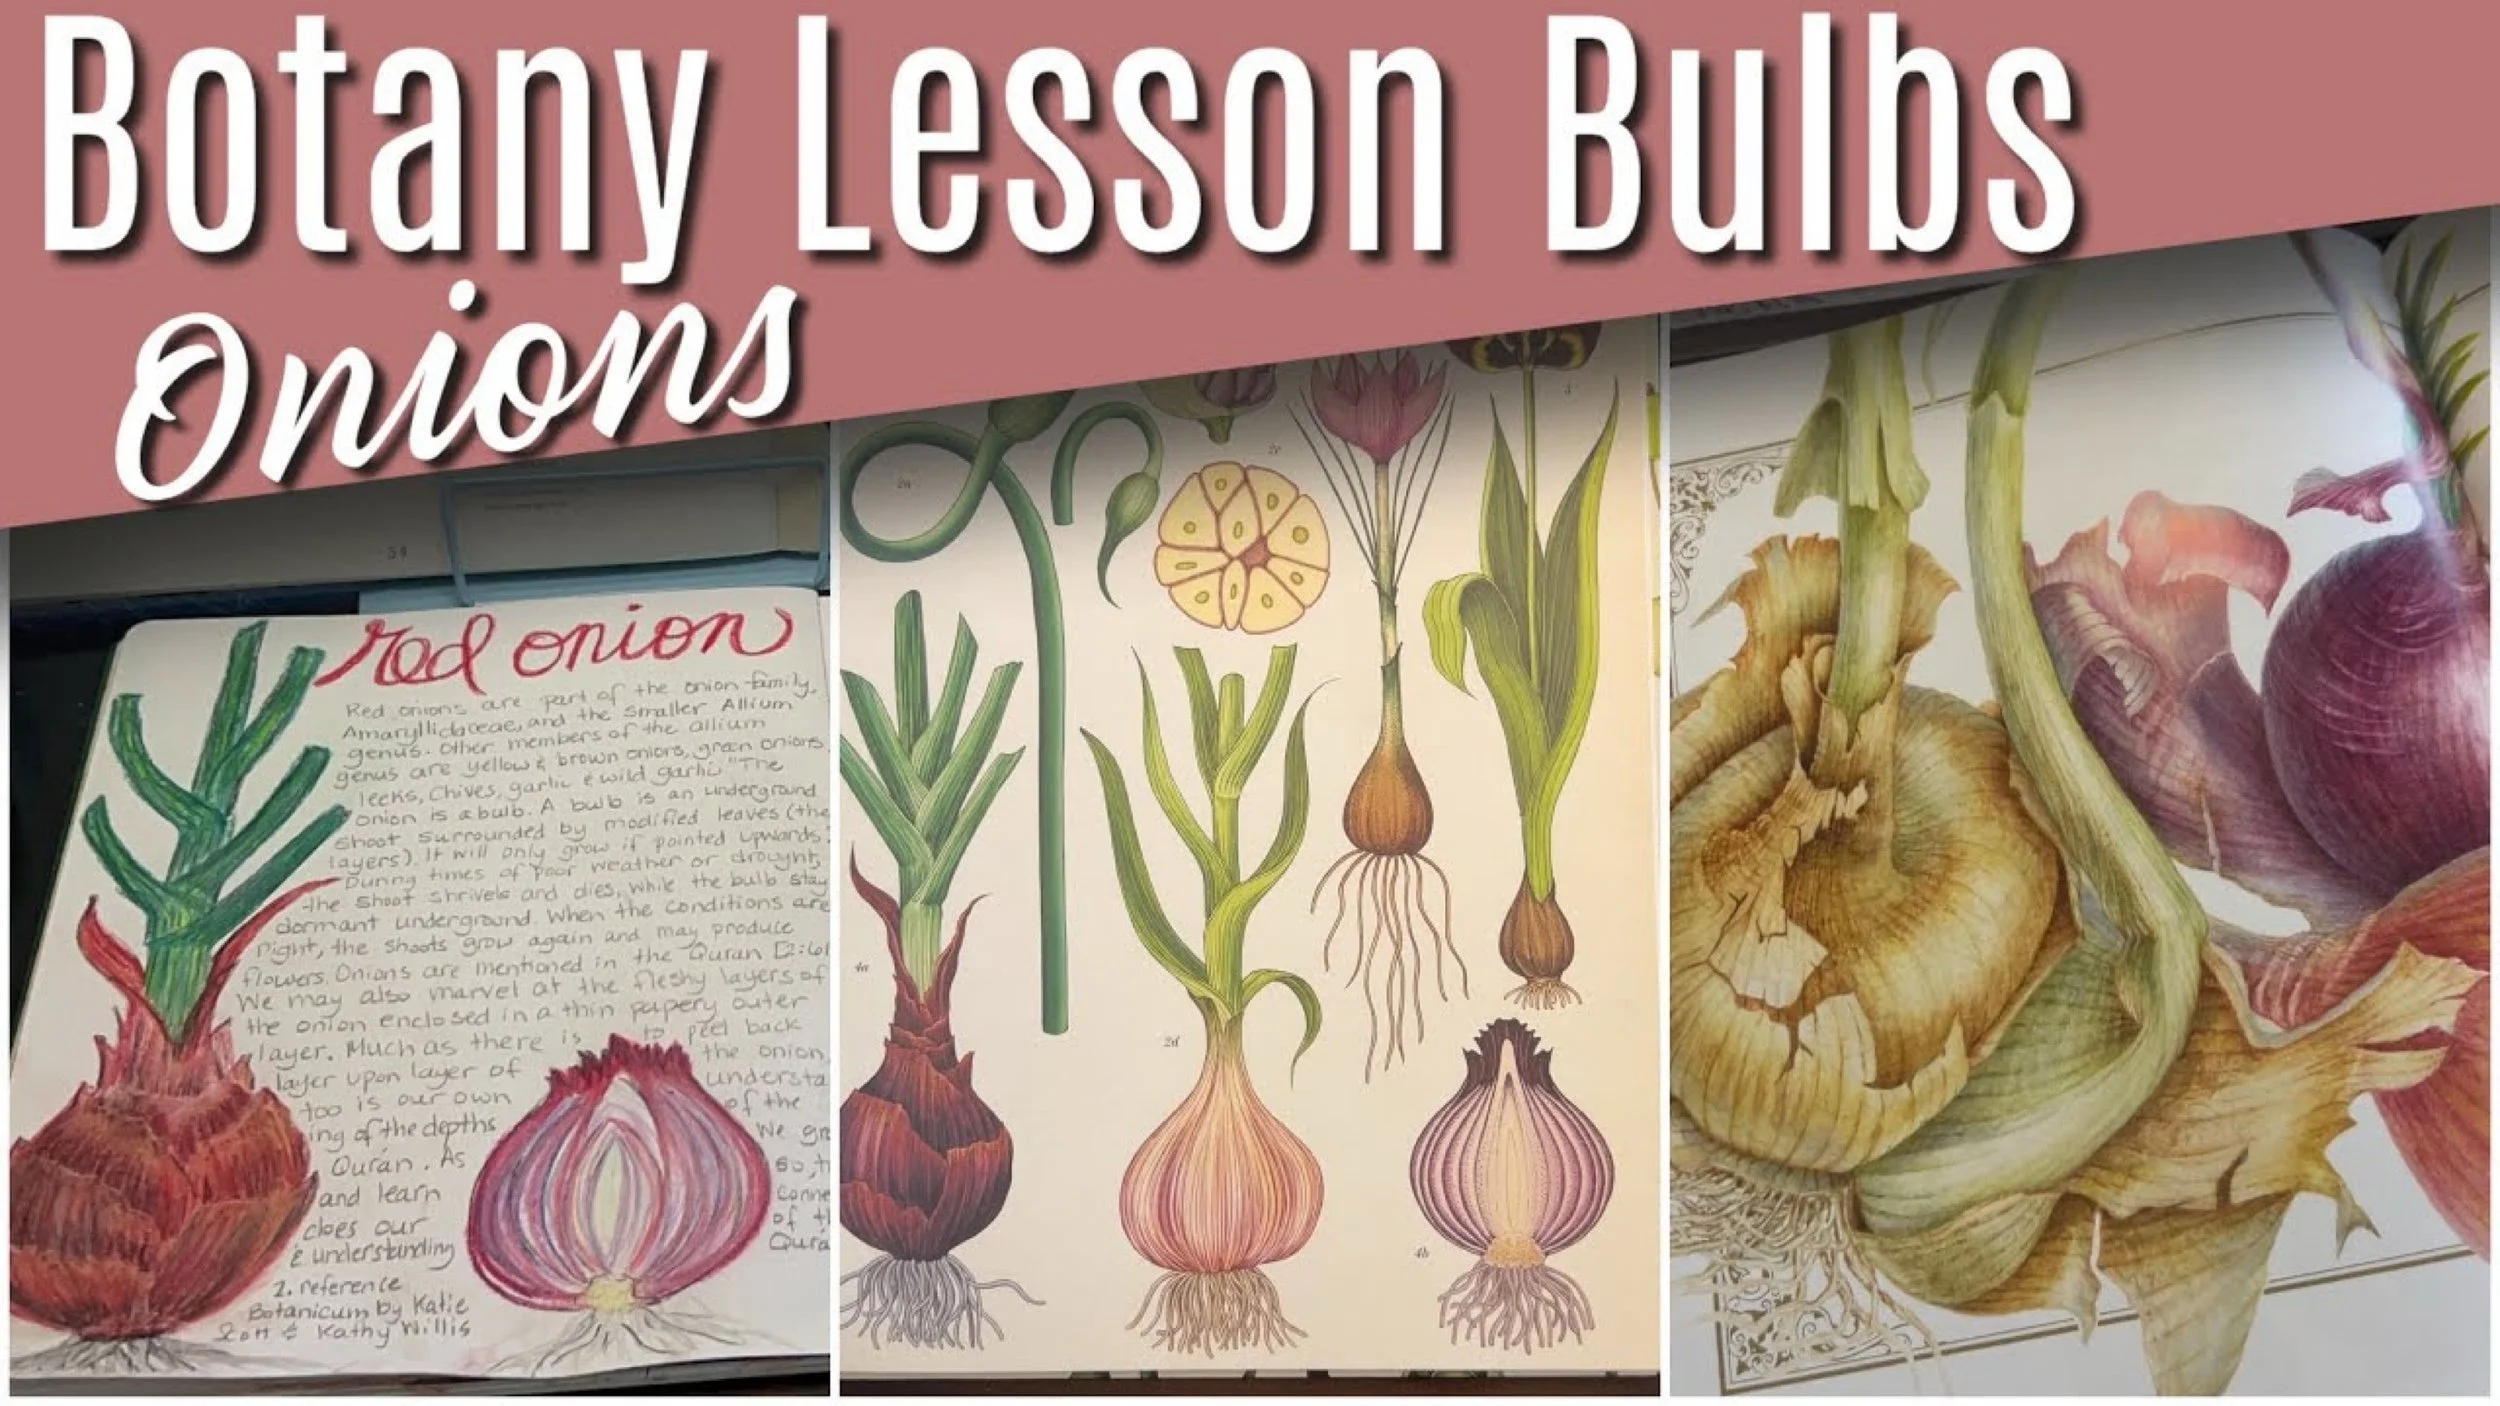
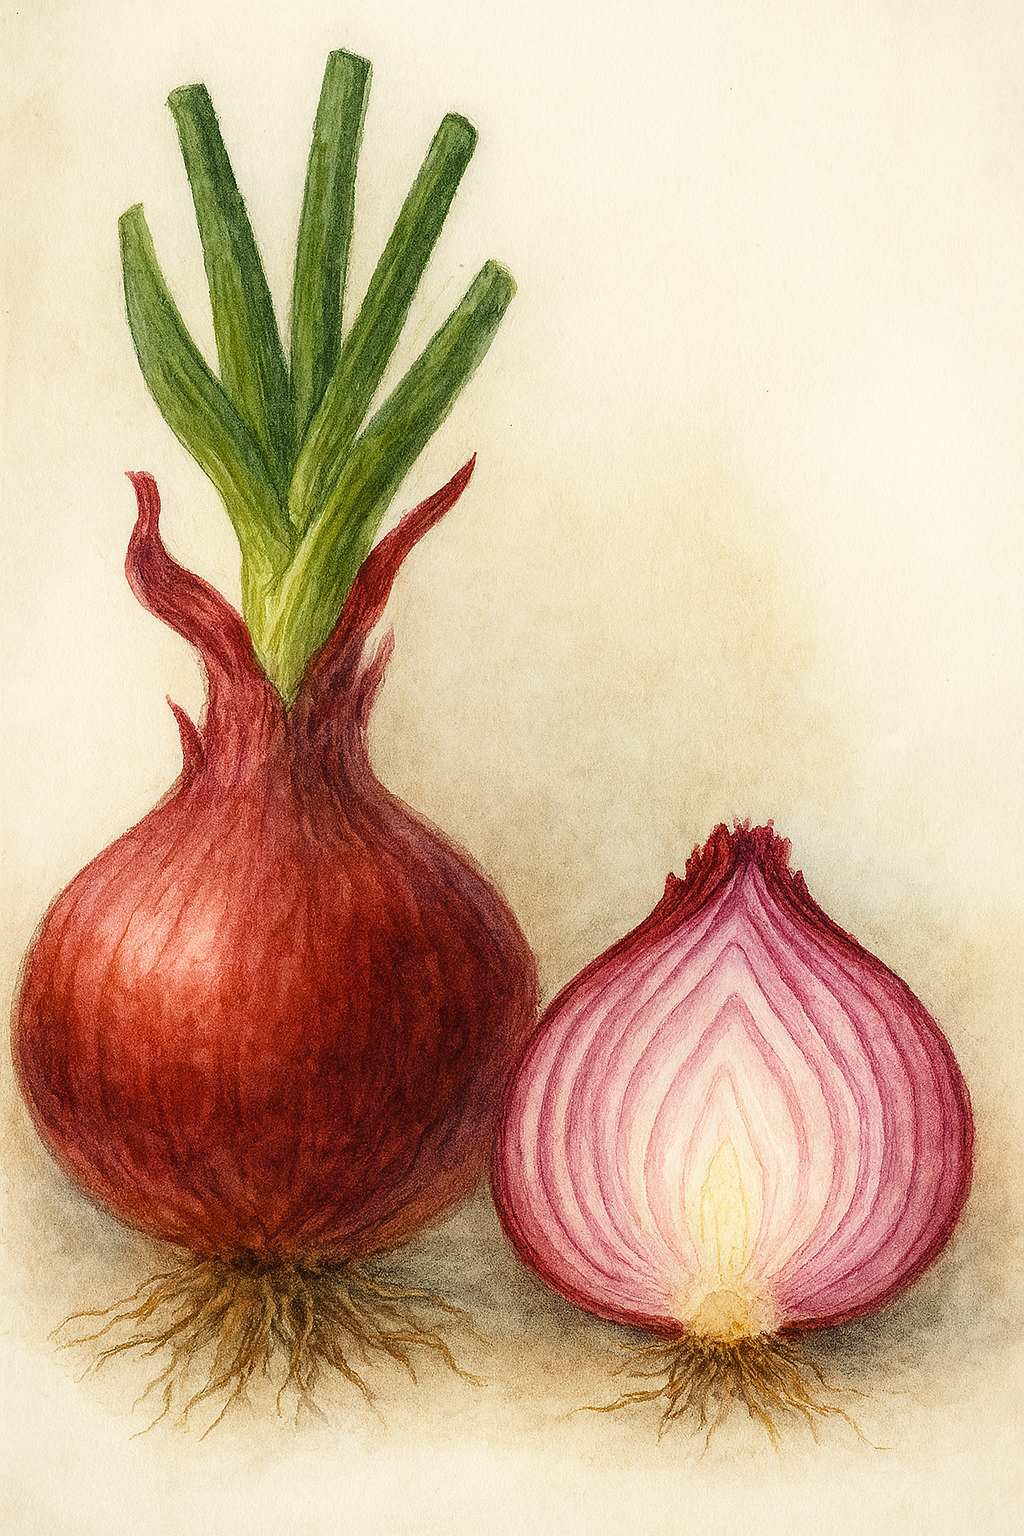
Bulbs Onion
We continue our lesson on Bulbs and Lilies with this lesson on onions. While this lesson was part of the the lesson garlic, we chose to split it up over two days as the illustrations took time and we were supplementing this lesson with some hands-on projects and religious content. While using the book Plants of the Qur’an, we came across the verse [2:61] in which the foods the people of Musa (as) used to eat in Egypt were mentioned (lentils, onions, cucumbers and herbs) when they complained that all they had in the desert was Manna and Salwa. We decided to prepare a meal that included those foods mentioned as part of the lesson.
For illustration inspiration, we used Botanicum for our lesson on garlic and onions. We used Sargent Art Square chalk pastels and General’s Pastel Chalk. We used a Matte Fixative to seal our work before doing the written portion of our lesson.
September 2024
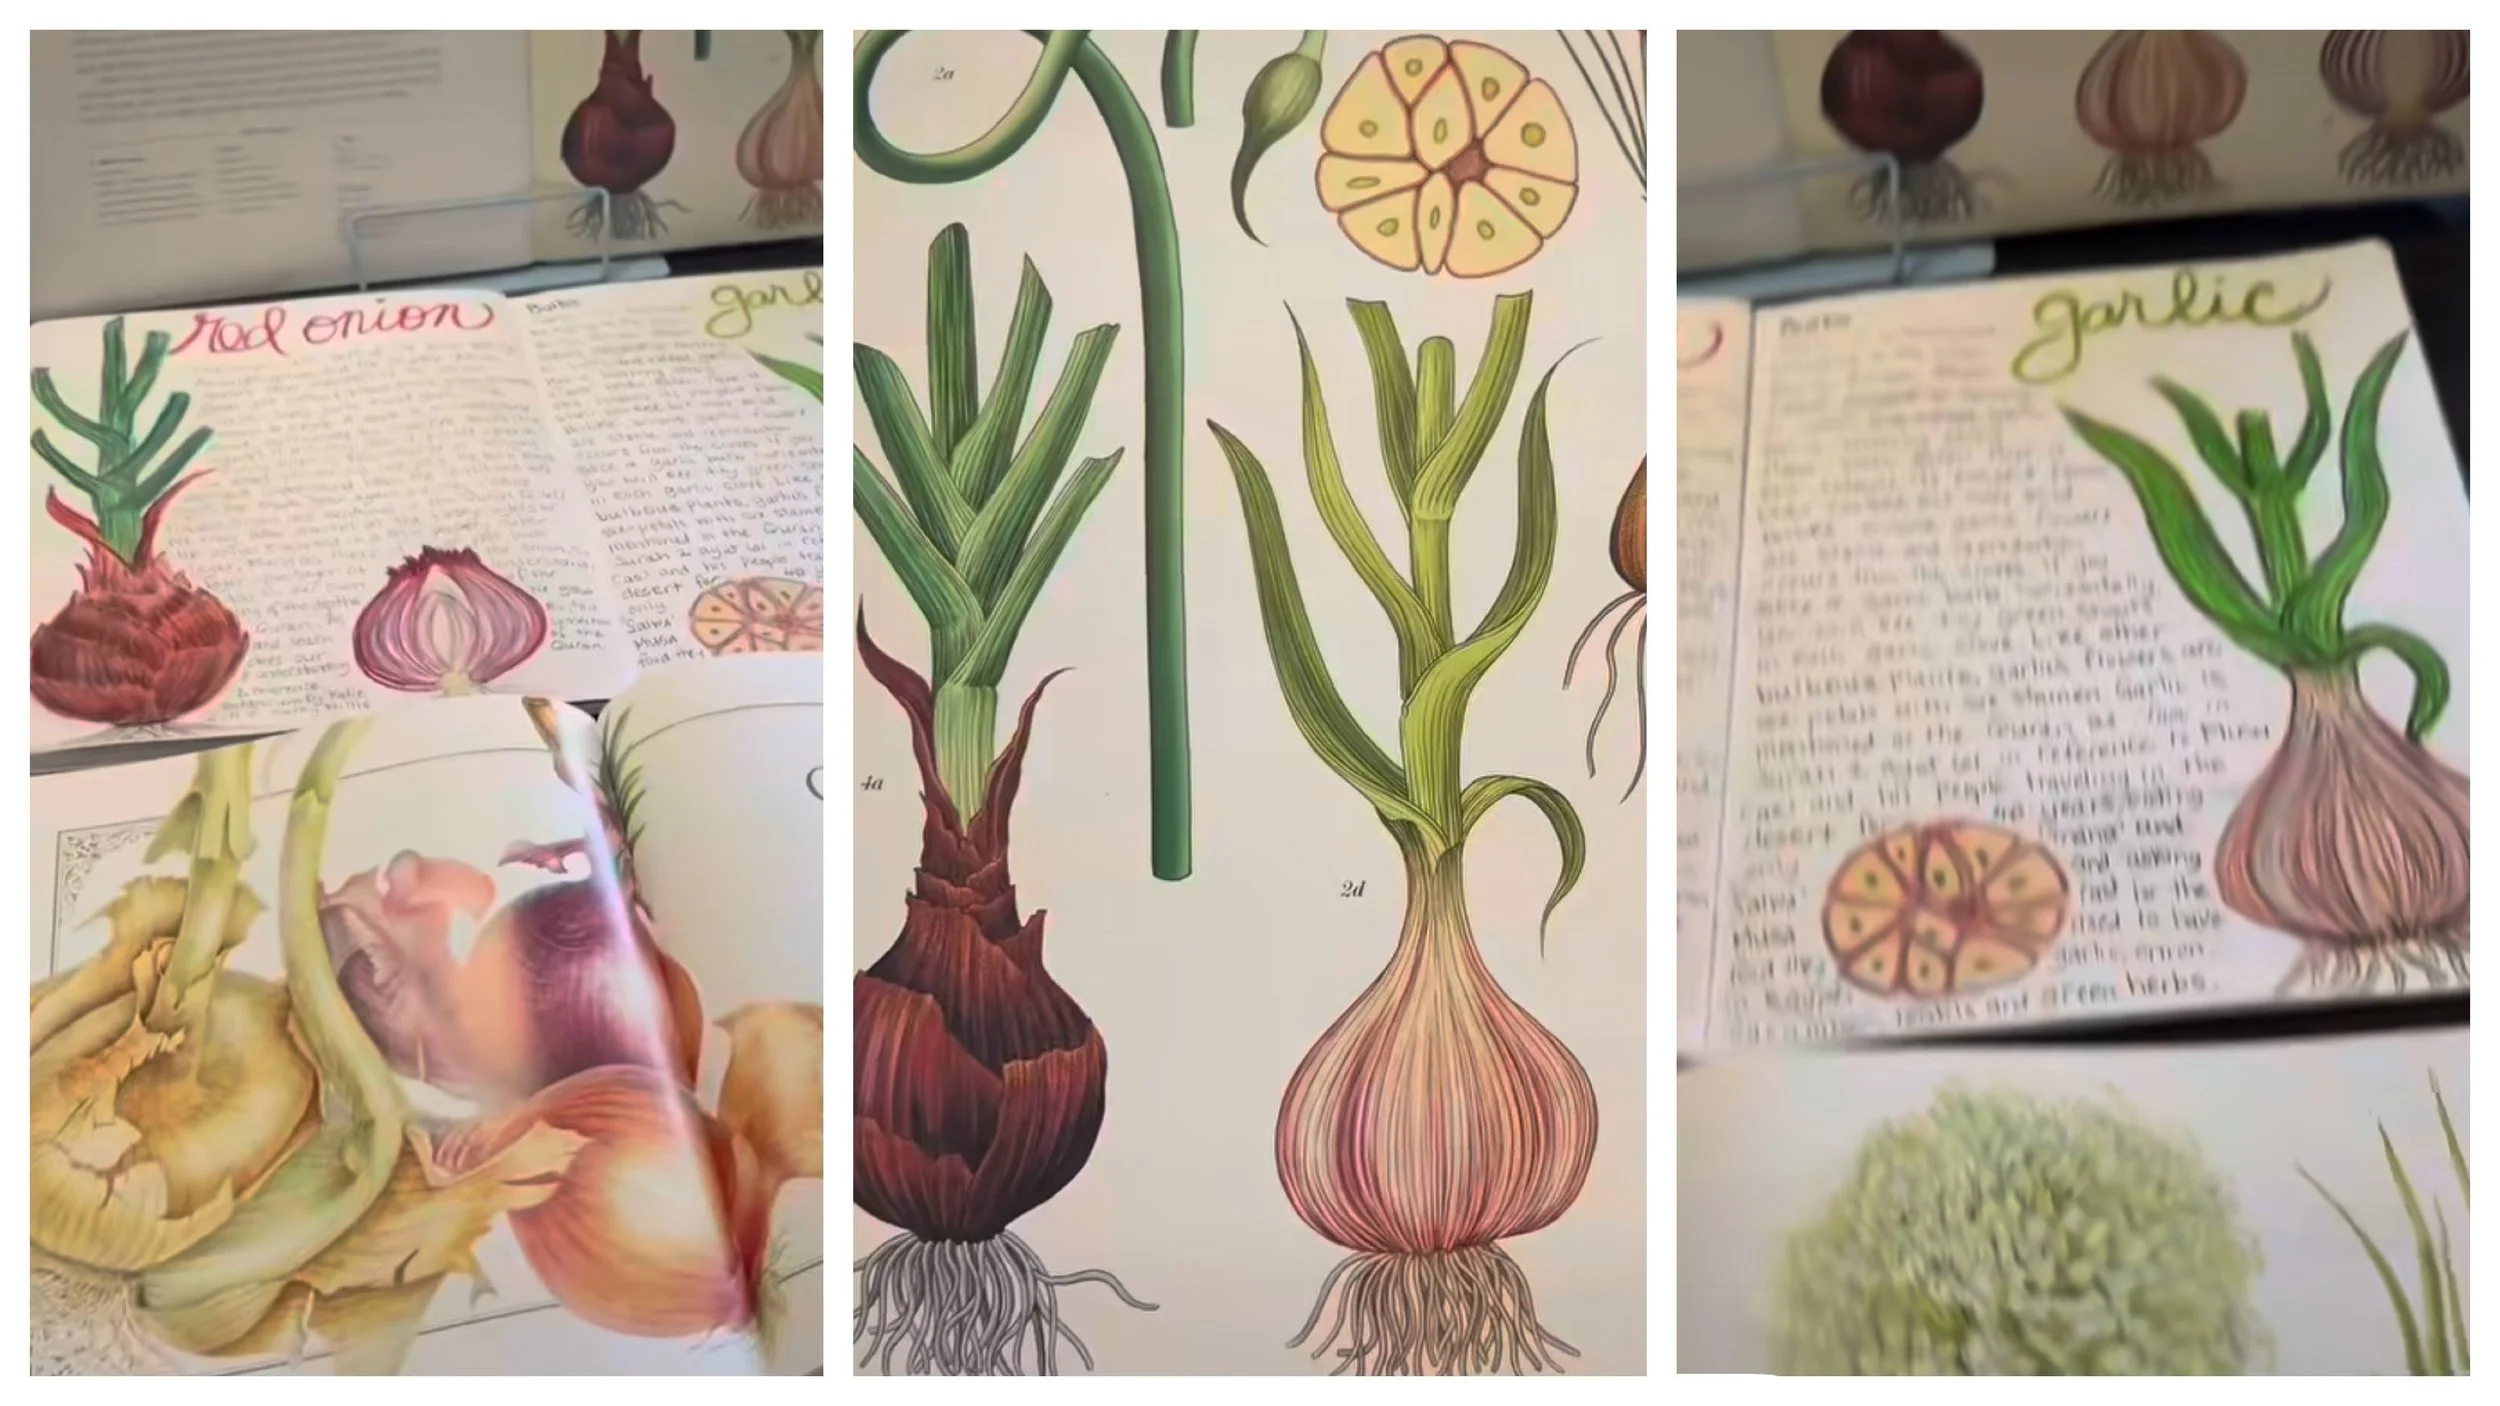
Garlic & Onion
Our botany lesson on Lilies and bulbs is complete. We focused on garlic and onions for this lesson using the books Plants of the Quran, Botanicum and our Live education curriculum as inspiration and information for this lesson.
While using the book Plants of the Qur’an, we came across the verse [2:61] in which the foods the people of Musa (as) used to eat in Egypt were mentioned (lentils, onions, cucumbers and herbs) when they complained that all they had in the desert was Manna and Salwa. We decided to prepare a meal that included those foods mentioned as part of the lesson.
For illustration inspiration, we used Botanicum for our lesson on garlic and onions. We used Sargent Art Square chalk pastels and General’s Pastel Chalk. We used a Matte Fixative to seal our work before doing the written portion of our lesson.
September 2024
Cereals & Grains
-

Crops and Cereal | Botany Lesson
This is one of my favorite lessons in the botany unit. Not only are the illustrations fairly easy and beautiful, but the content for this lesson is deeply spiritual and profound for me.
-
Homeschooling Teaching Vlog | Watercoloring Wheat Part 1
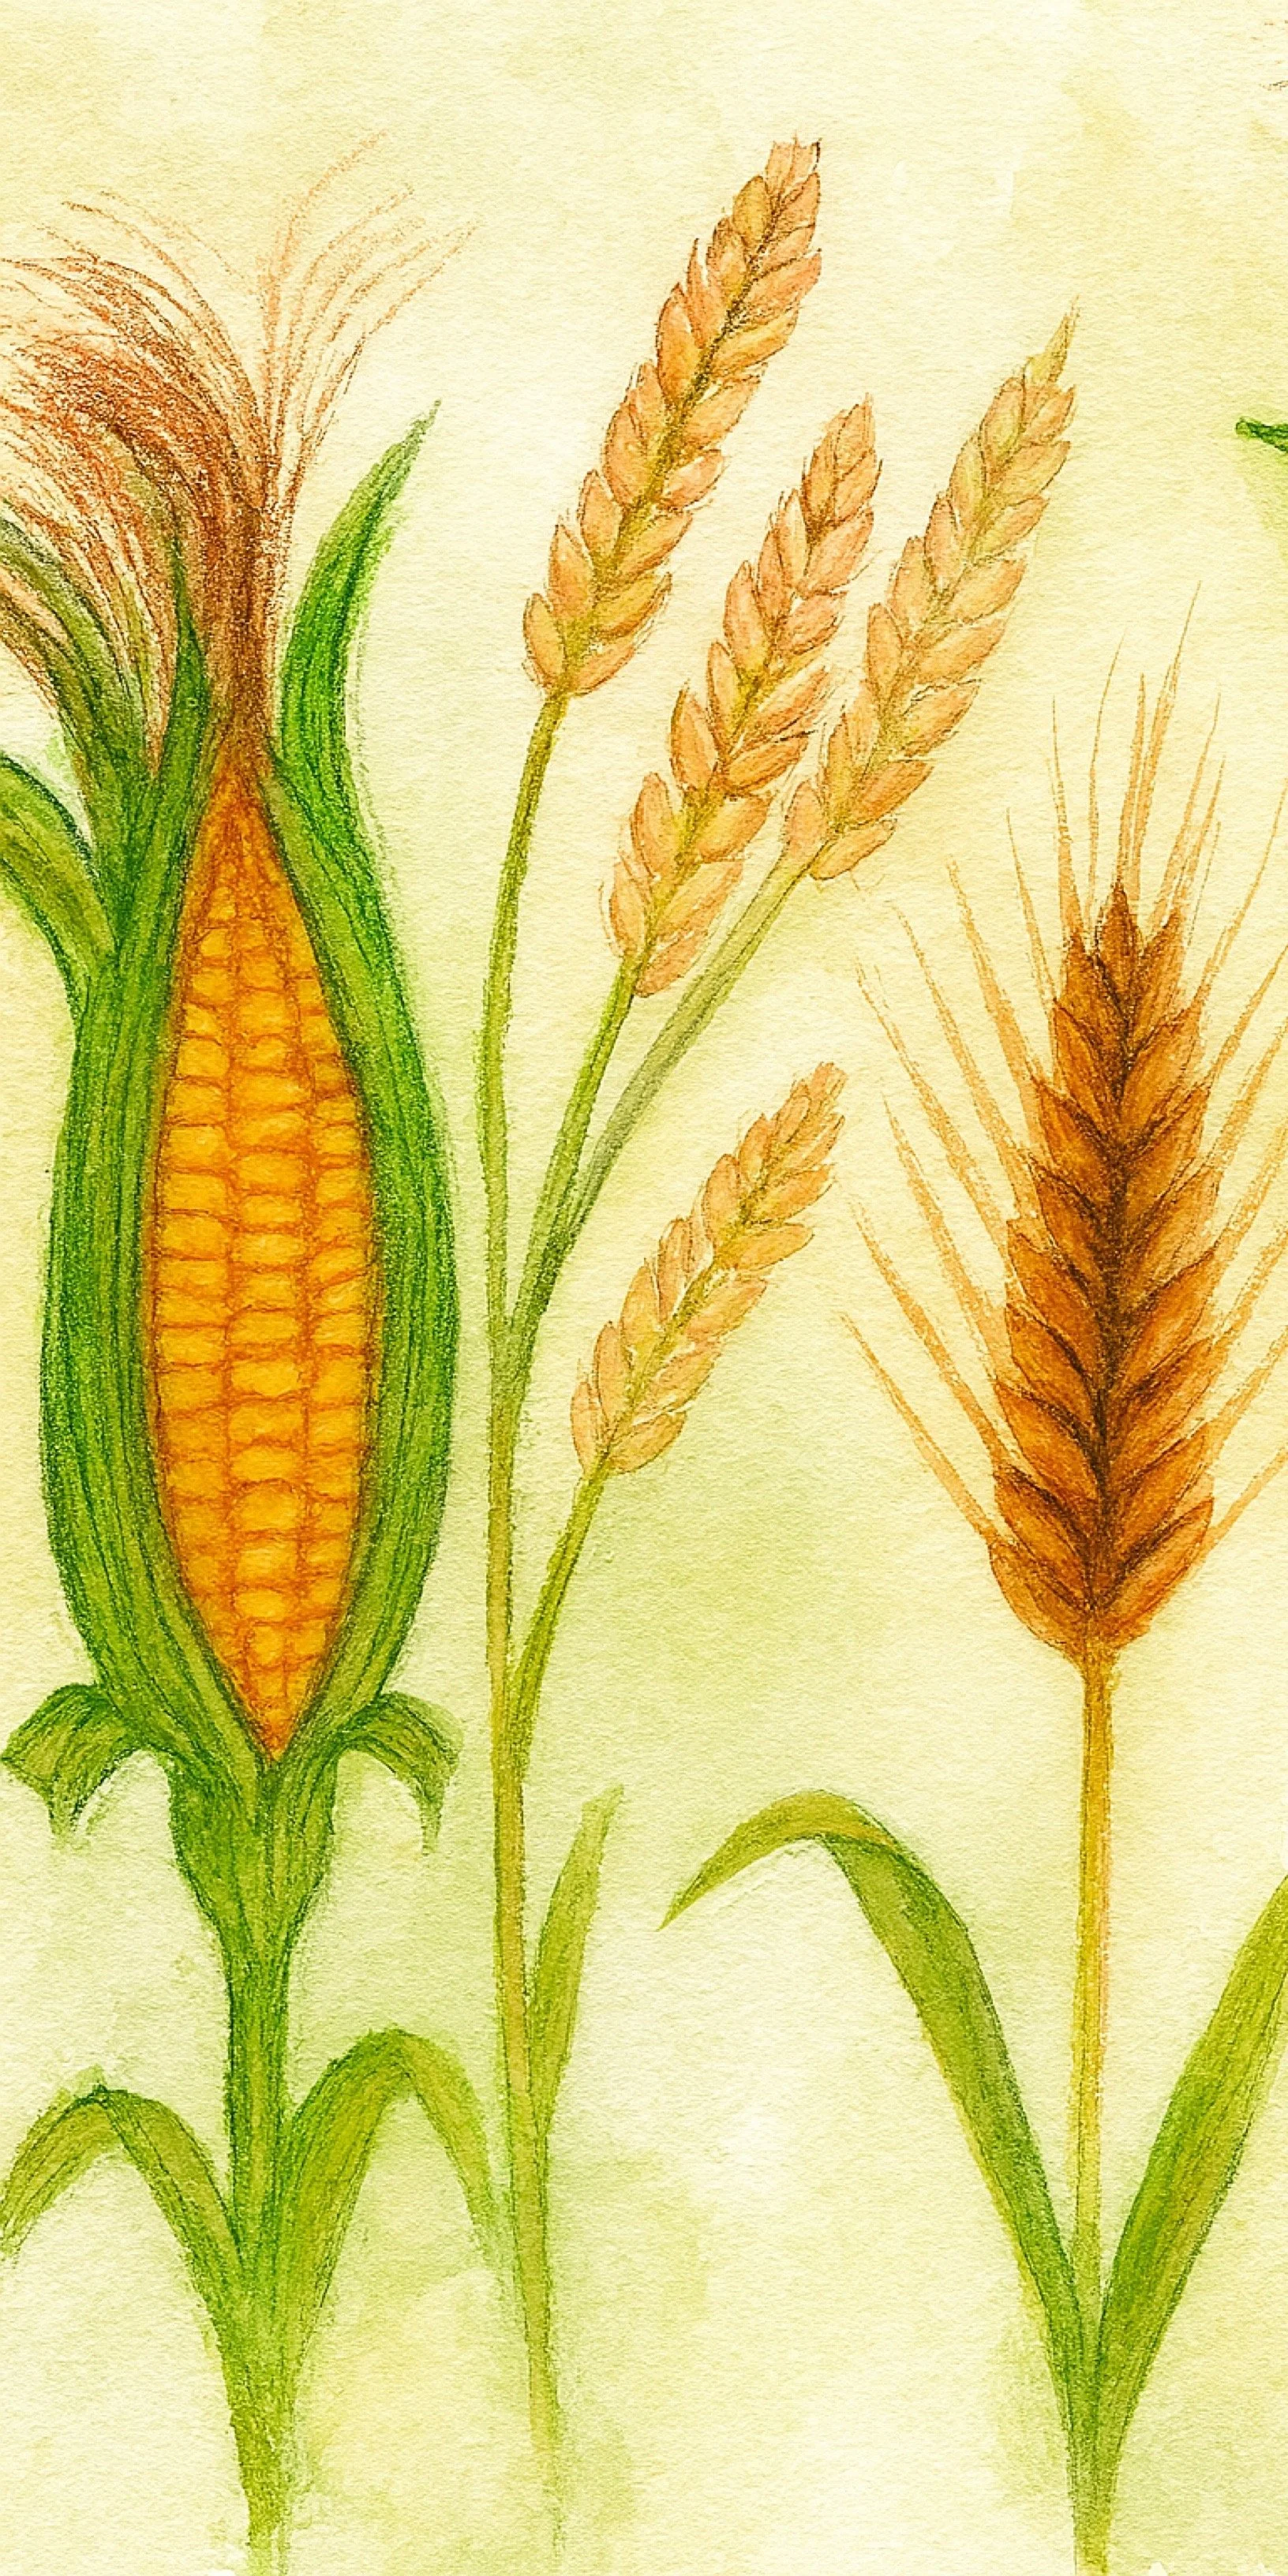
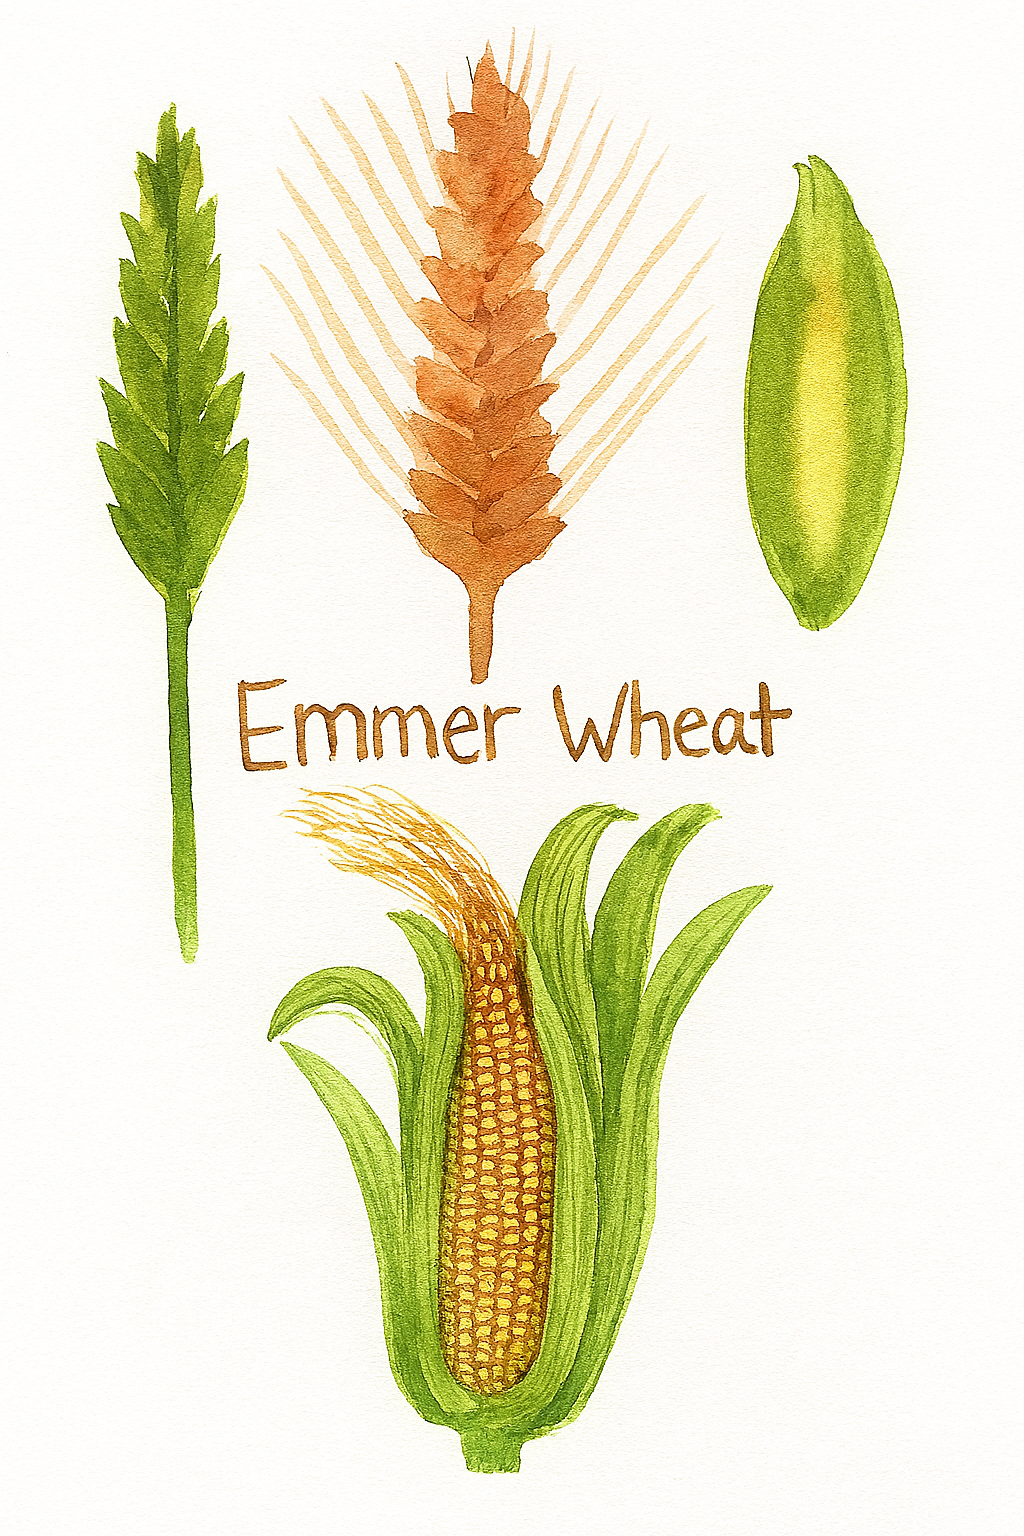
I initially intended to do both kinds of wheat on the same sheet, but decided against it. On one side is the Emmer Wheat and on the other side (next lesson), is the bread wheat.
-
Homeschooling Teaching Vlog | Watercoloring Lesson | Wheat
We are up to grasses and grains and while we haven't yet done the content part of this lesson, this watercoloring came first as it sometimes does.
-
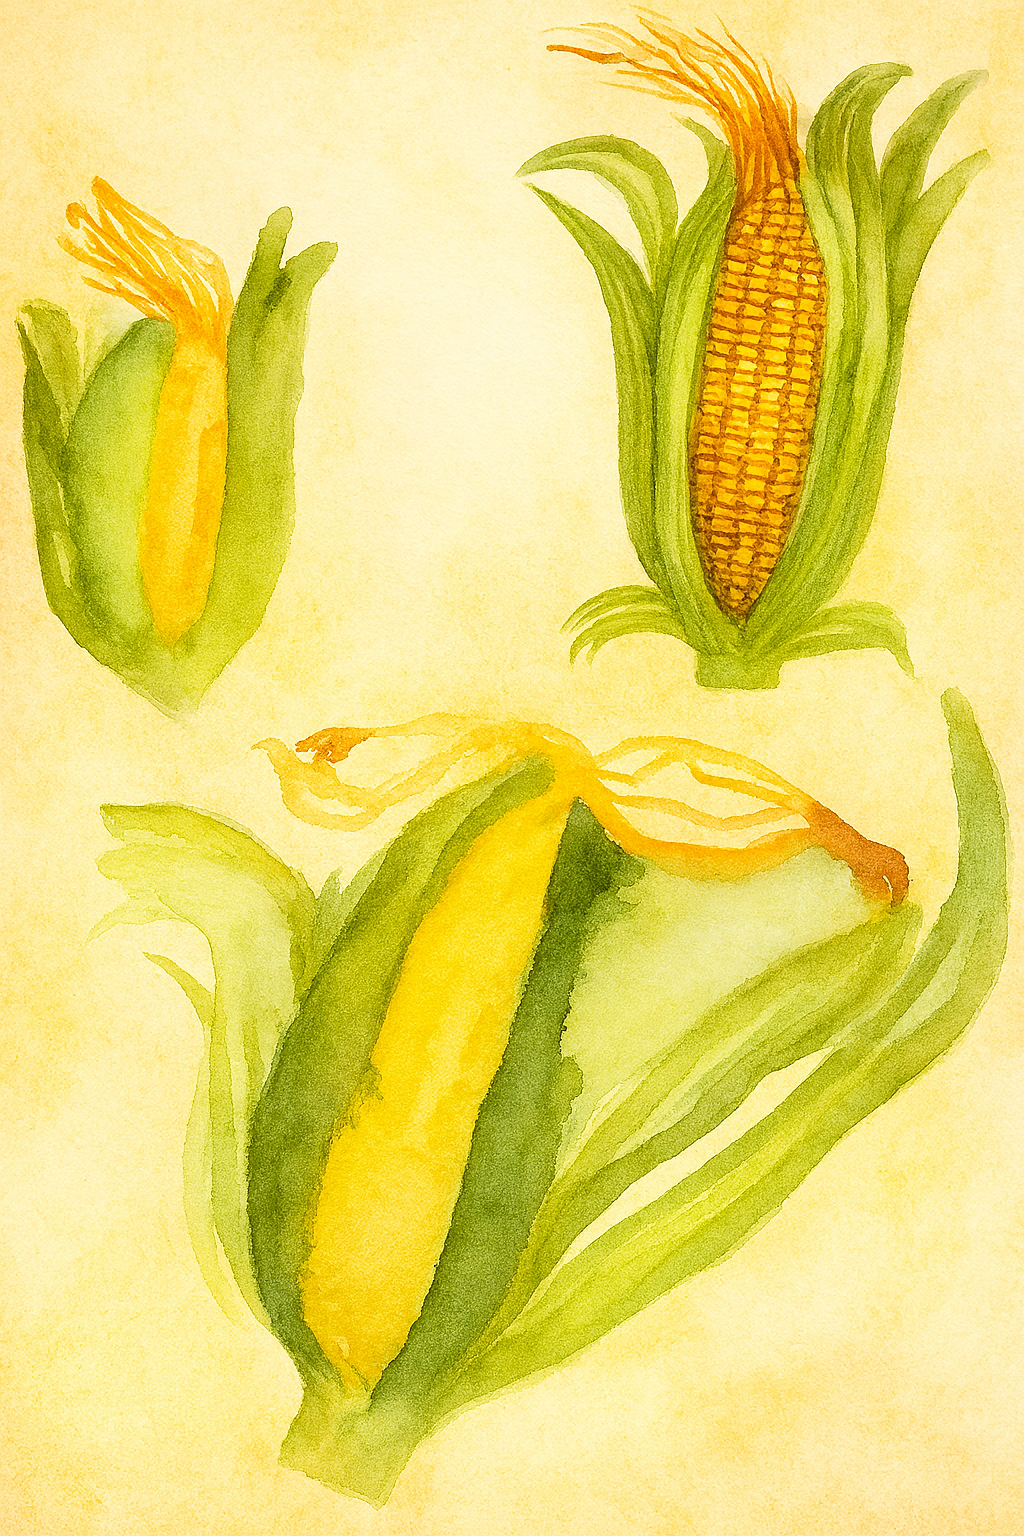
Homeschooling Teaching Vlog | Watercoloring Corn
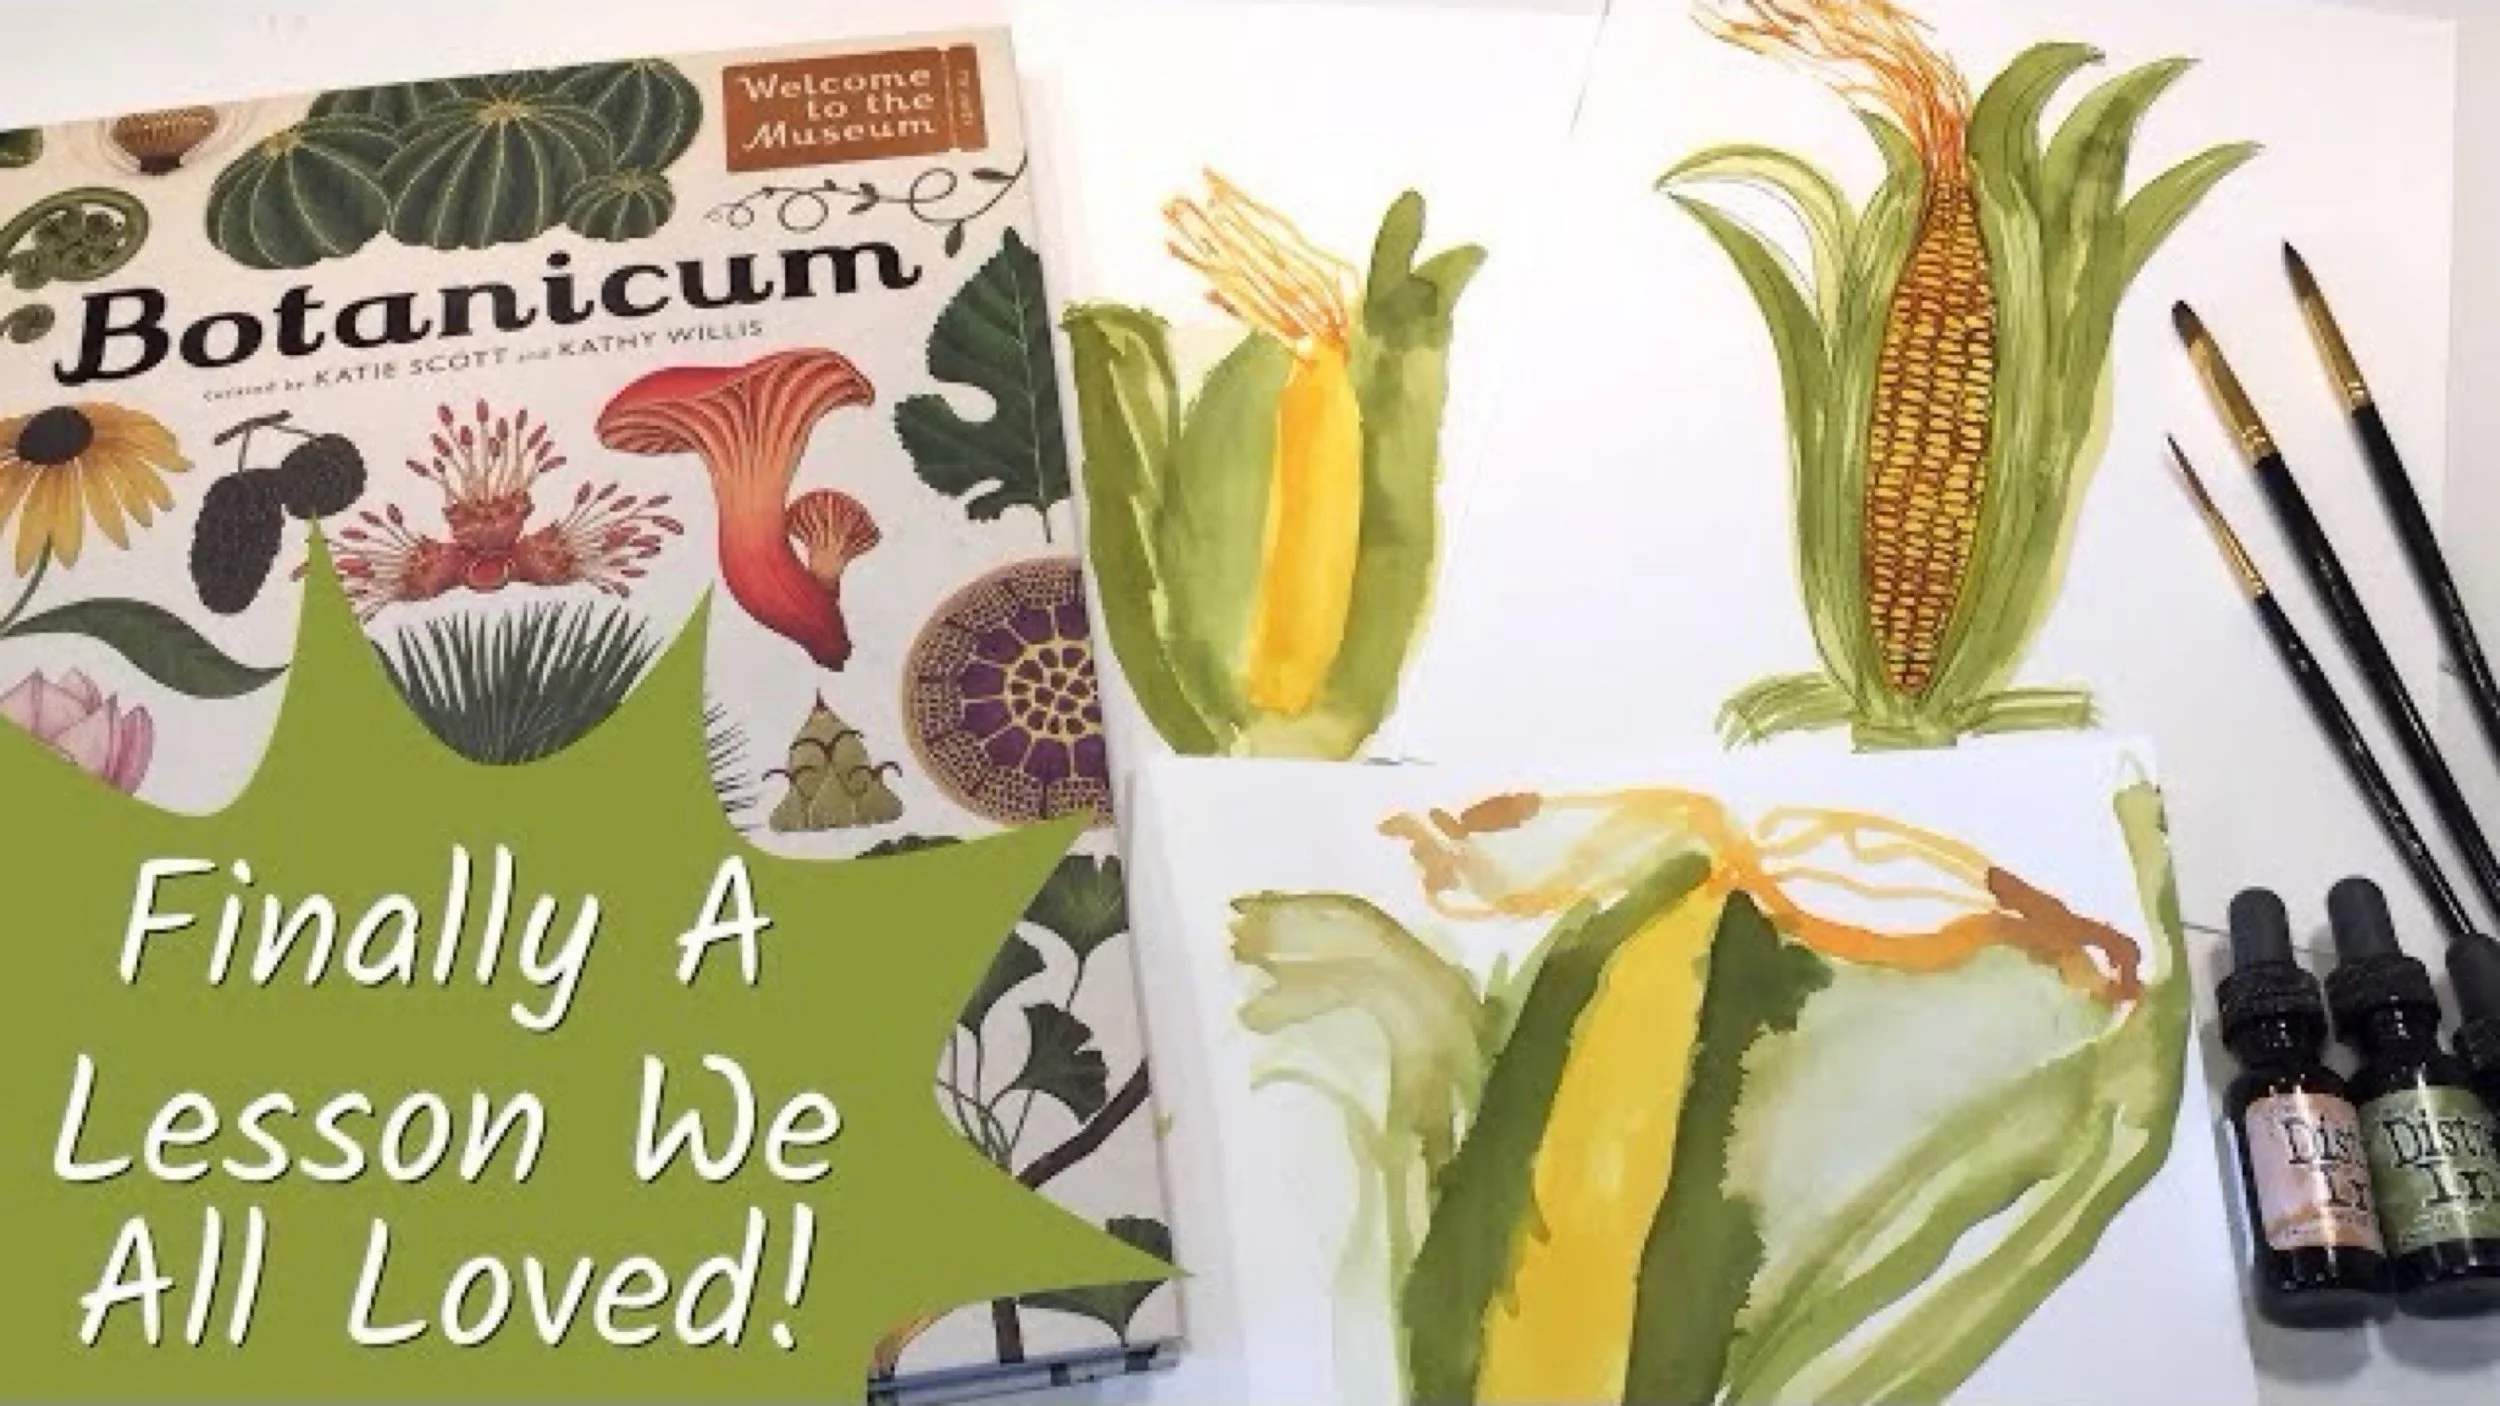
I’m so pleased with the way this lesson turned out. I have to admit that the last several real-time lessons have felt like duds to me, so I’m overjoyed that this lesson seems to be a success for me and the kids.
Cereals & Grains
Crops and Cereal
This is one of my favorite lessons in the botany unit. Not only are the illustrations fairly easy and beautiful, but the content for this lesson is deeply spiritual and profound for me. While there are two strongly held opinions about the origin of man, one being evolutionary and the evolving of man as hunter/gatherer to farmer and rancher and the other being of creation with established roles in shepherding and farming to begin with, this lesson can either explore those two thoughts, or you may rest with the one that adheres to the beliefs of your family. While I do entertain the idea of the evolution of animals, I’m firm in my belief of creation, so this lesson is deeply spiritual knowing that these or similar grains were farmed from the dawn of humankind. It is a blessing that grains (grasses) can be resistant to things that would normally kill or damage other plants. It is a blessing that grains may be kept dried for many years to provide sustenance in times of drought or famine. It is a blessing that grains are packed with nutrients and energy that would otherwise have been used by the grain to form more pronounced flowers. It is a blessing that staple grains and grasses grow on every continent. This lesson is a great opportunity to explore a lesson on geography and prepare foods from other countries and start a garden with some of your own monocots.
Homeschooling Teaching Vlog
Watercoloring Wheat Part 1
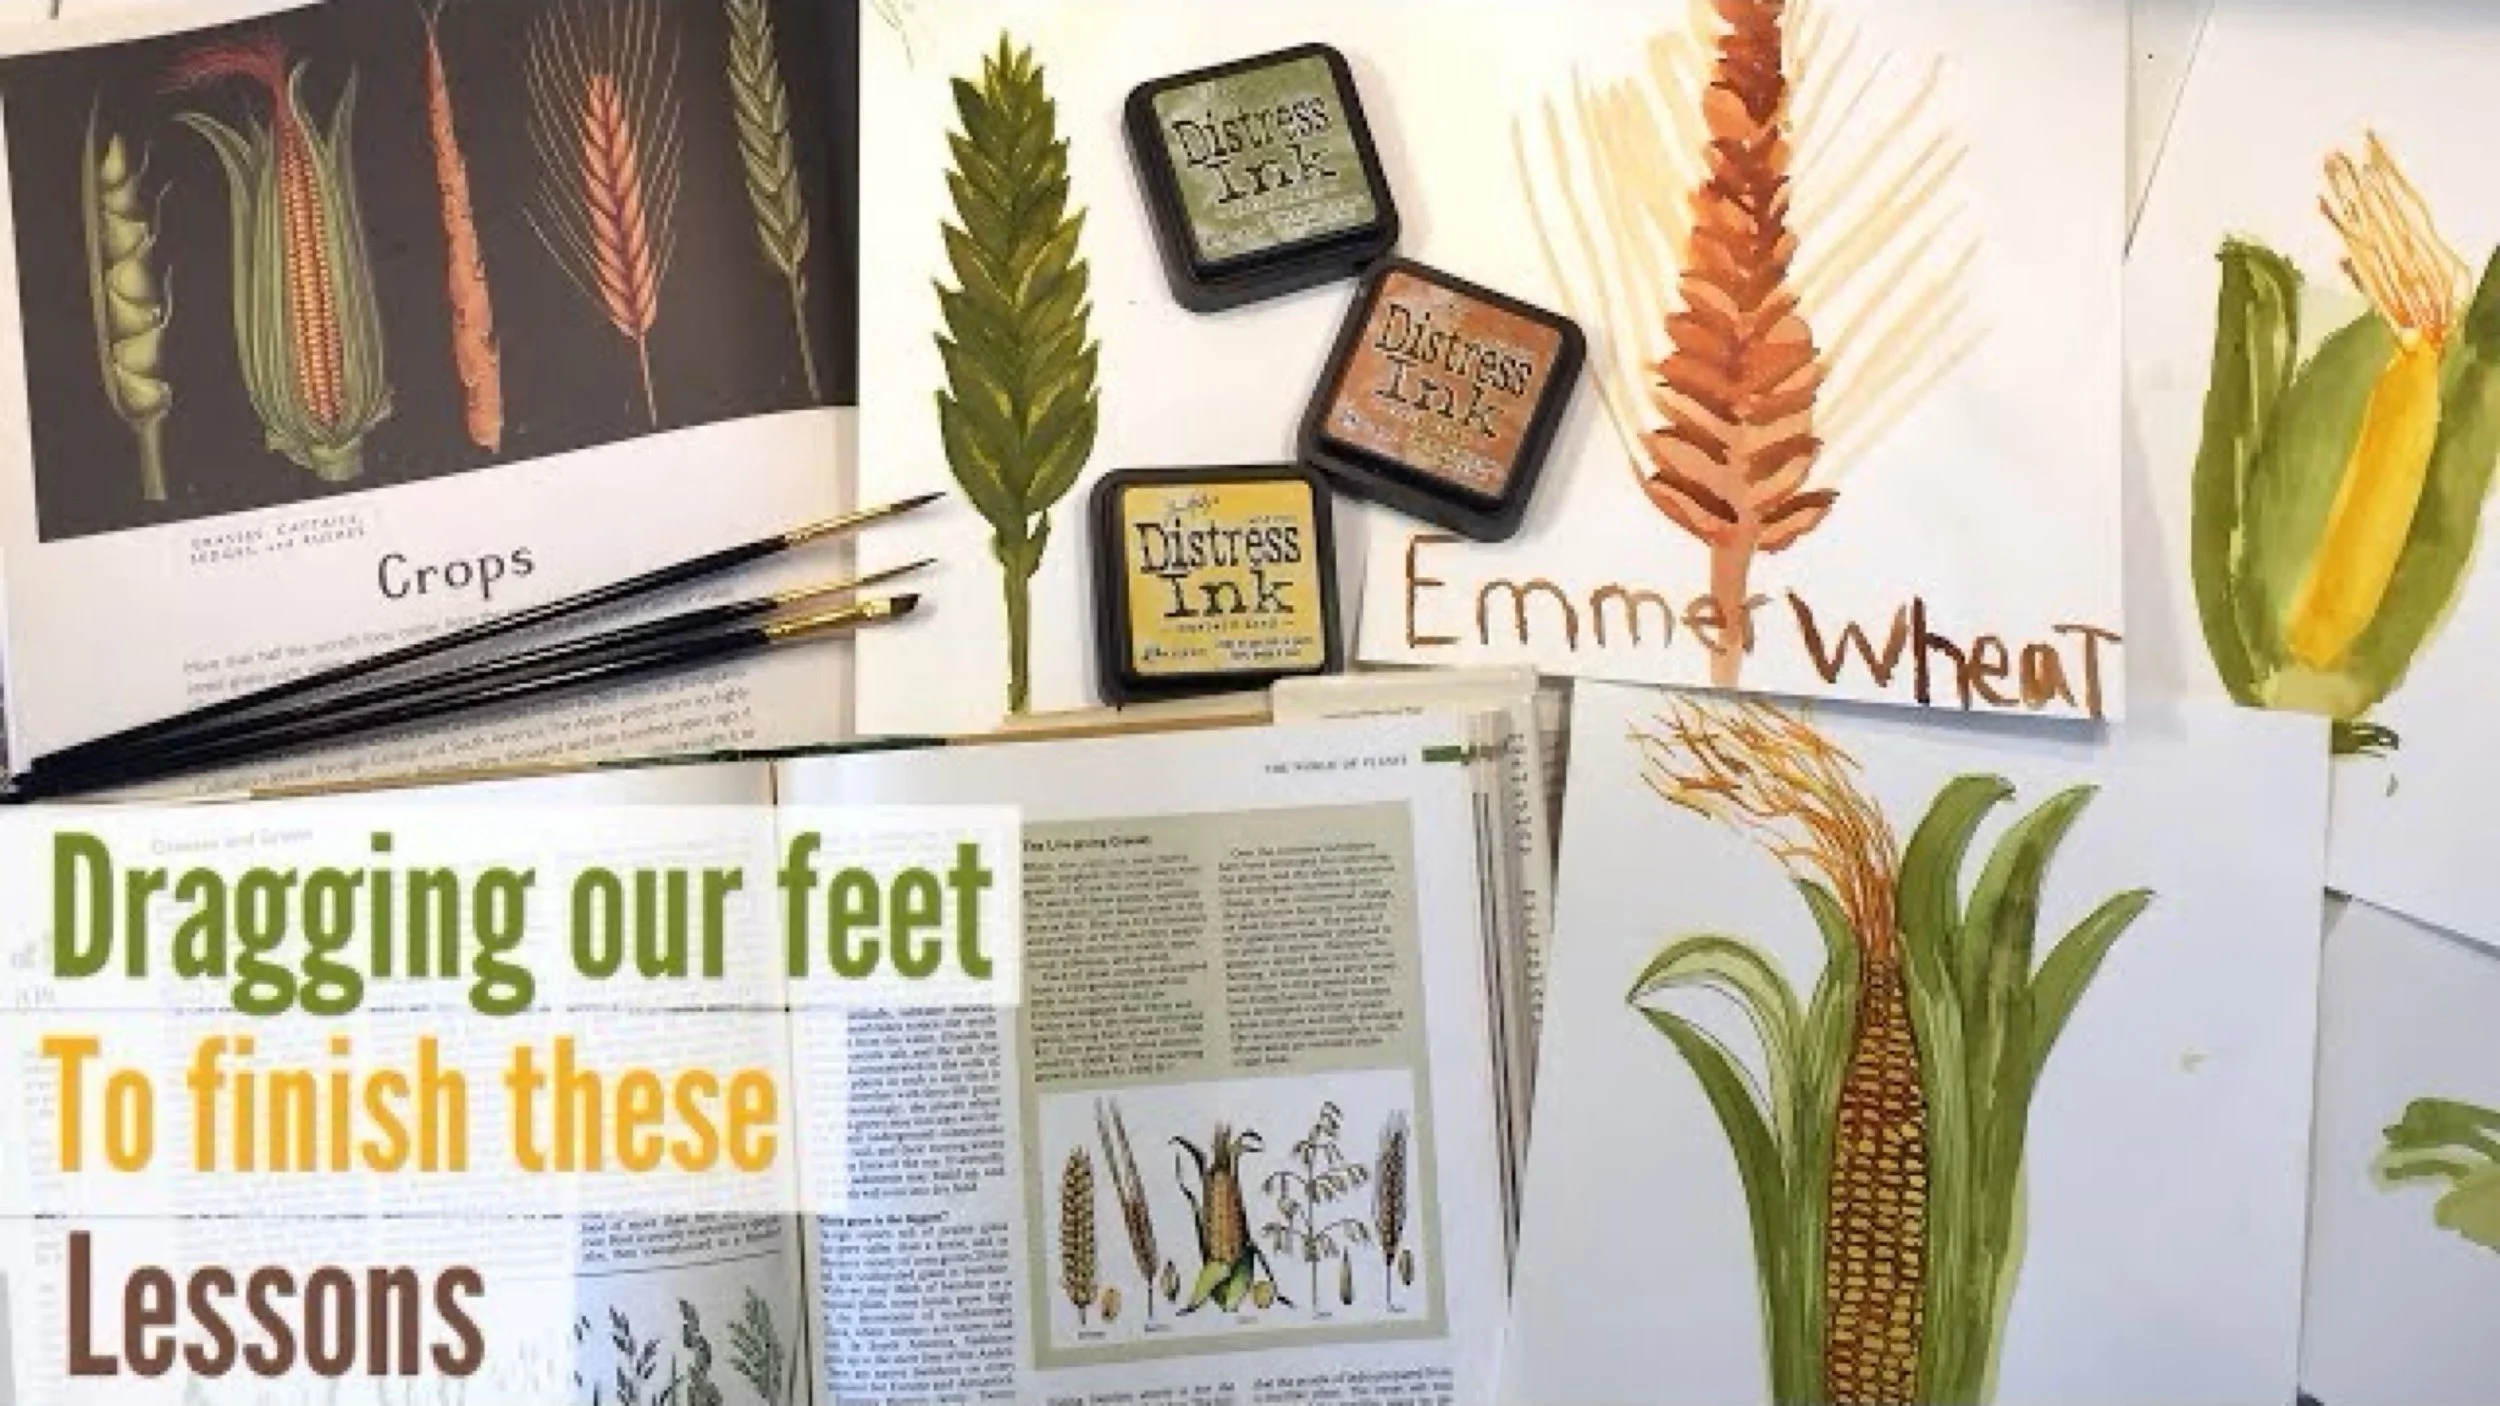
I feel like we are dragging our feet as the school year unofficially draws to an end. Our school year officially ended May 22, 2018, but as got a late start, starting almost a month after our official start date of August 15th, I decided to homeschool through Ramadan to make up for lost time and also because I didn't want to run around doing summer activities during Ramadan and also because in Southern California, June isn't such a hot summery month. In fact, our June weather is more like what you'd expect our January weather to be. So it's almost a win win to homeschool in June and during Ramadan. The downside is that mentally, we're not all there! We just slow down mentally at this time and just start to be done.
For those reasons, these last remaining lessons in our Botany Main Lesson Block are somewhat straightforward without a lot of bells and whistles. We'll do a simple watercolor and talk about the content of the lesson either before or after we watercolor. We may or may not label the watercolor and the narration may or may not happen. To help my son along with the narration, I might write something and have him copy or I'll dictate it to him if he's reluctant to write something on his own.
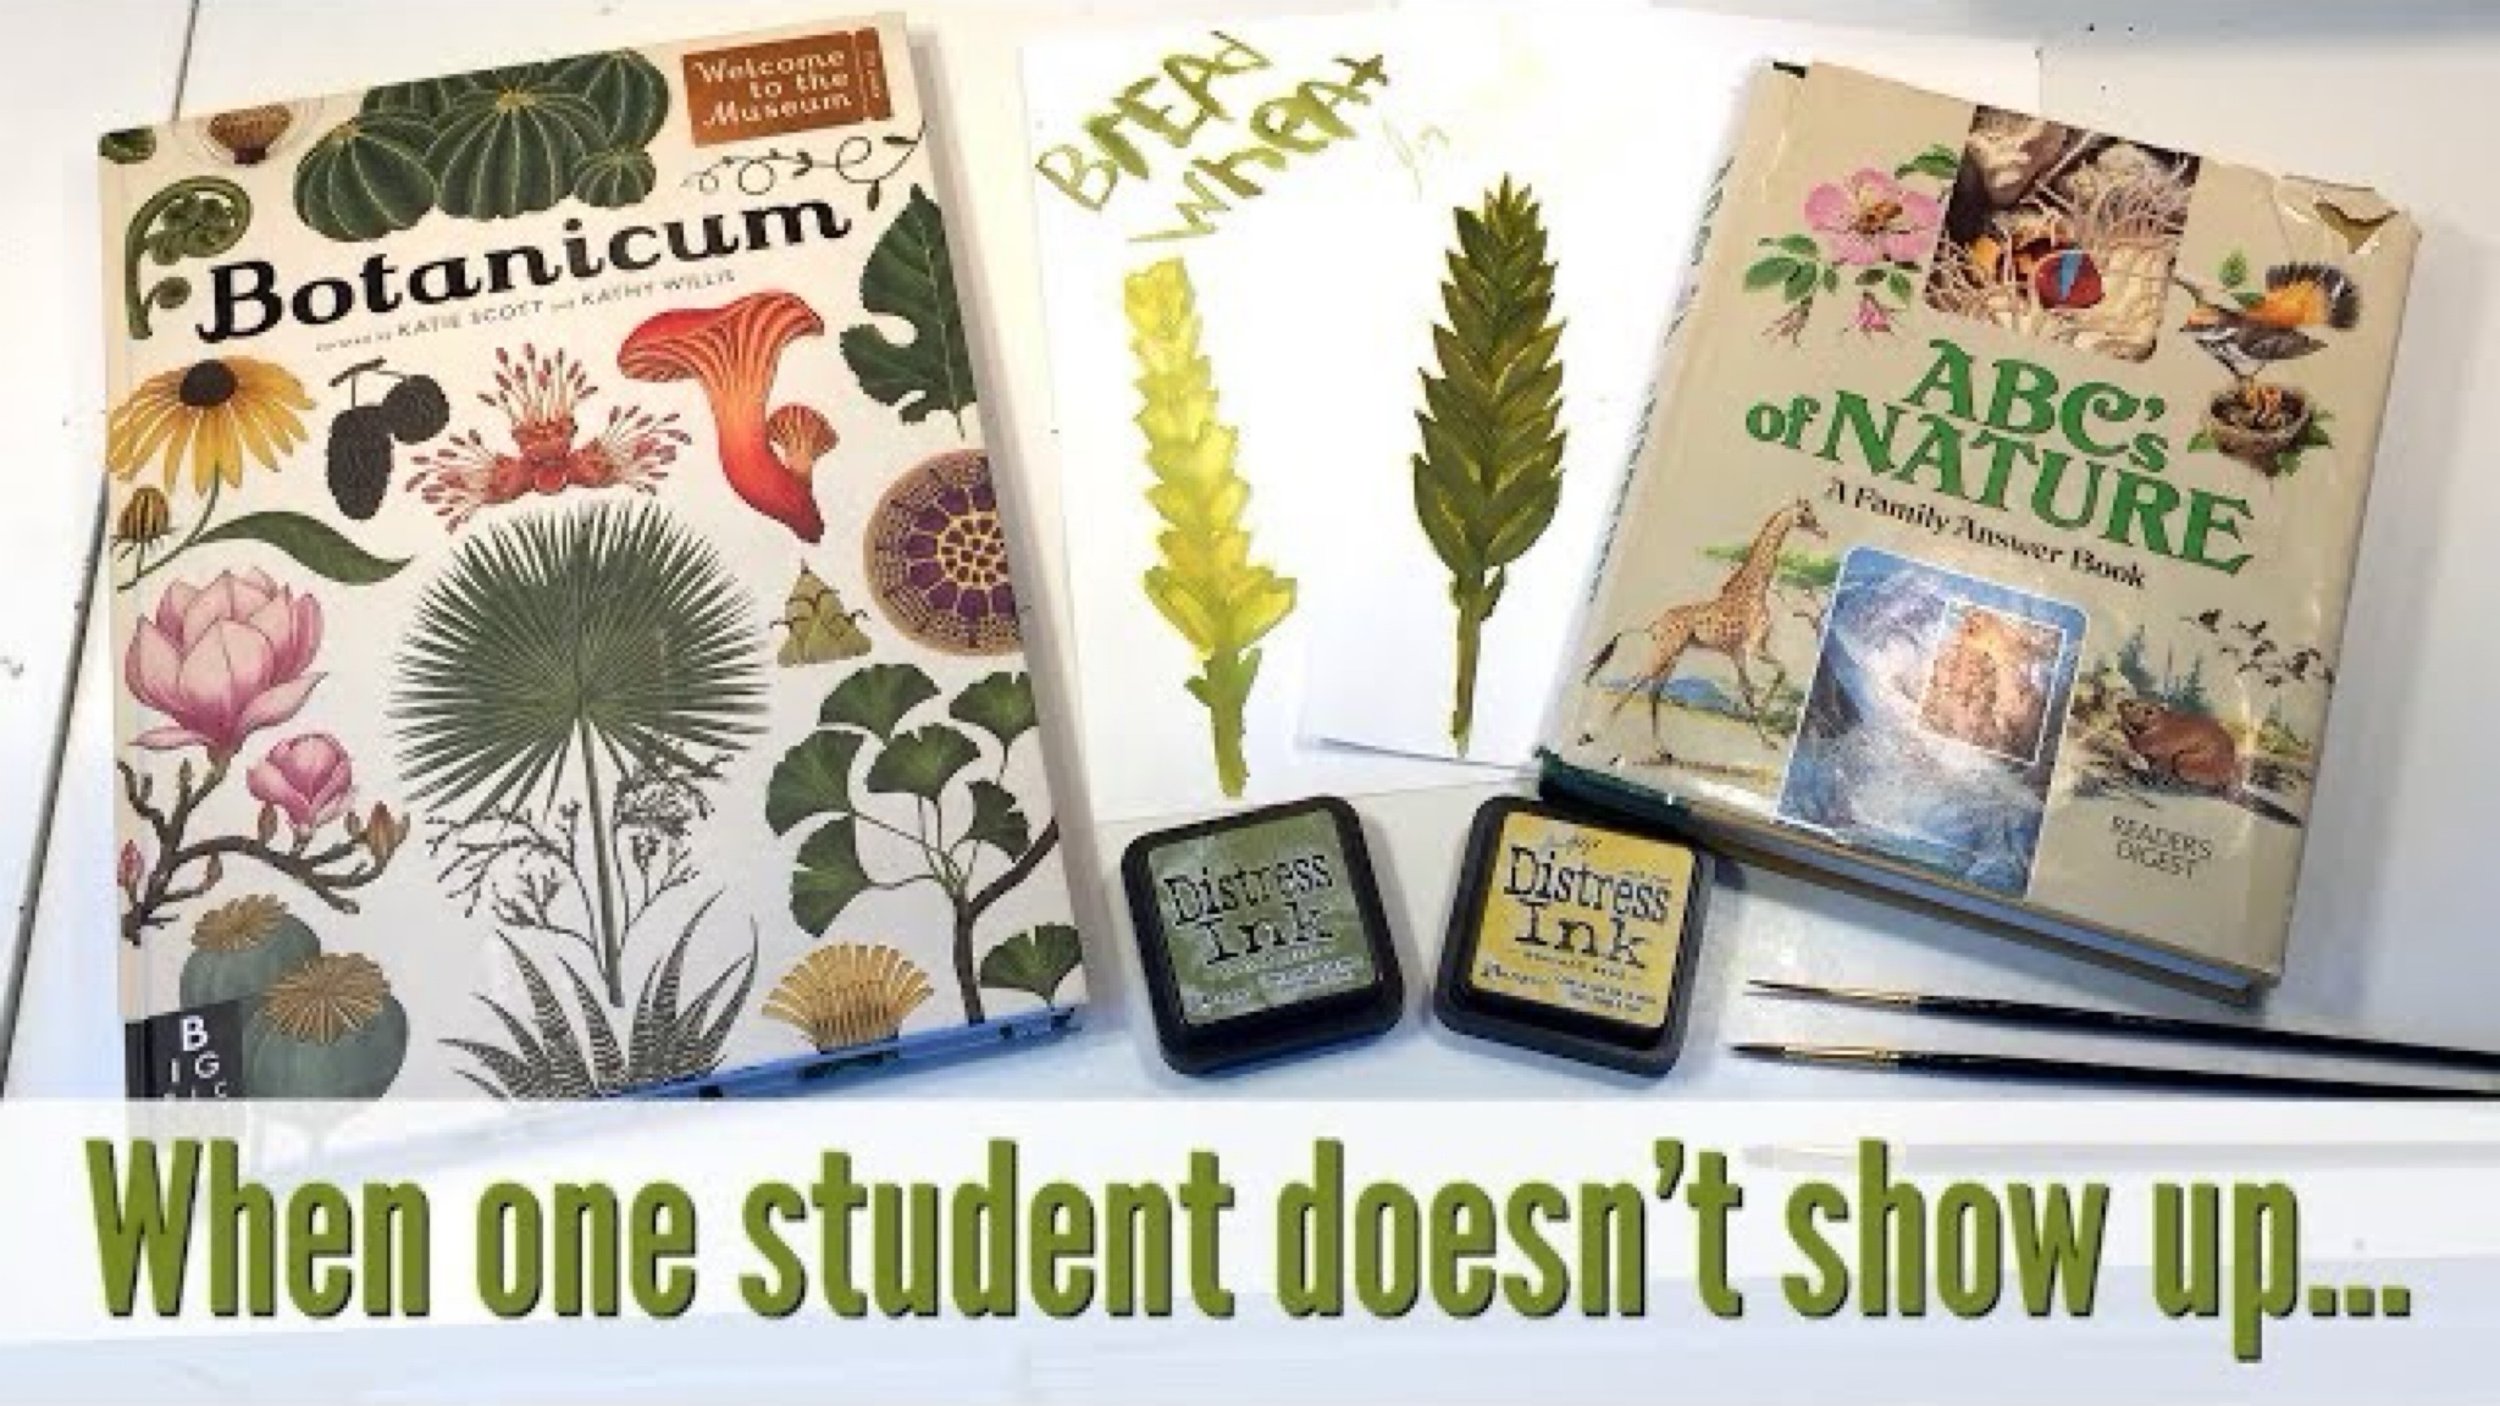
Today's lesson makes use of the ABC's of Nature and Botanicum. We are also using our Live Education Waldorf curriculum for the Botany Main Lesson Block as the curriculum for this unit.
This lesson was part of our continuing Botany Main Lesson Block which we started in the spring of 2017. We are up to grasses and grains and while we haven't yet done the content part of this lesson, this watercoloring came first as it sometimes does. I initially intended to do both kinds of wheat on the same sheet, but decided against it. On one side is the Emmer Wheat and on the other side (next lesson), is the bread wheat.
Homeschooling Teaching Vlog
Watercoloring Lesson | Wheat
I feel like we are dragging our feet as the school year unofficially draws to an end. Our school year officially ended May 22, 2018, but as got a late start, starting almost a month after our official start date of August 15th, I decided to homeschool through Ramadan to make up for lost time and also because I didn't want to run around doing summer activities during Ramadan and also because in Southern California, June isn't such a hot summery month. In fact, our June weather is more like what you'd expect our January weather to be. So it's almost a win win to homeschool in June and during Ramadan. The downside is that mentally, we're not all there! We just slow down mentally at this time and just start to be done.
For those reasons, these last remaining lessons in our Botany Main Lesson Block are somewhat straightforward without a lot of bells and whistles. We'll do a simple watercolor and talk about the content of the lesson either before or after we watercolor. We may or may not label the watercolor and the narration may or may not happen. To help my son along with the narration, I might write something and have him copy or I'll dictate it to him if he's reluctant to write something on his own.
Today's lesson makes use of the ABC's of Nature and Botanicum. We are also using our Live Education Waldorf curriculum for the Botany Main Lesson Block as the curriculum for this unit.
This lesson was part of our continuing Botany Main Lesson Block which we started in the spring of 2017. We are up to grasses and grains and while we haven't yet done the content part of this lesson, this watercoloring came first as it sometimes does. I initially intended to do both kinds of wheat on the same sheet, but decided against it. On one side is the Emmer Wheat and on the other side (next lesson), is the bread wheat.
Homeschooling Teaching Vlog
Watercoloring Corn
I’m so pleased with the way this lesson turned out. I have to admit that the last several real-time lessons have felt like duds to me, so I’m overjoyed that this lesson seems to be a success for me and the kids. Not only was it satisfying to paint, it was easy enough to all do this project and end with results that pleased us all. Furthermore, this lesson only took about 45 minutes! Woohoo! Sometimes these hands-on projects can take up to two hours which is long. Albeit, it’s a full two hours for me, the teacher, whereas it’s much less for the students because each students sticks around for the length of time that’s appropriate for their age and interest.
This lesson was part of our continuing Botany Main Lesson Block which we started in the spring of 2017. We are up to grasses and grains and while we previously did the content part of this lesson, this watercoloring was of a corn husk/stalk. I love yellow and green together on a white background, and I’m very pleased with all of our art projects. As usual, my 7-year-old daughter wanted to trade.
As usual, I said yes. What does that actually mean? Not much actually because all the projects get stored in the same place mostly. But, if it makes her feel better to trade, I’m okay with it because I usually like my children’s artwork better anyway, so it’s a win win.
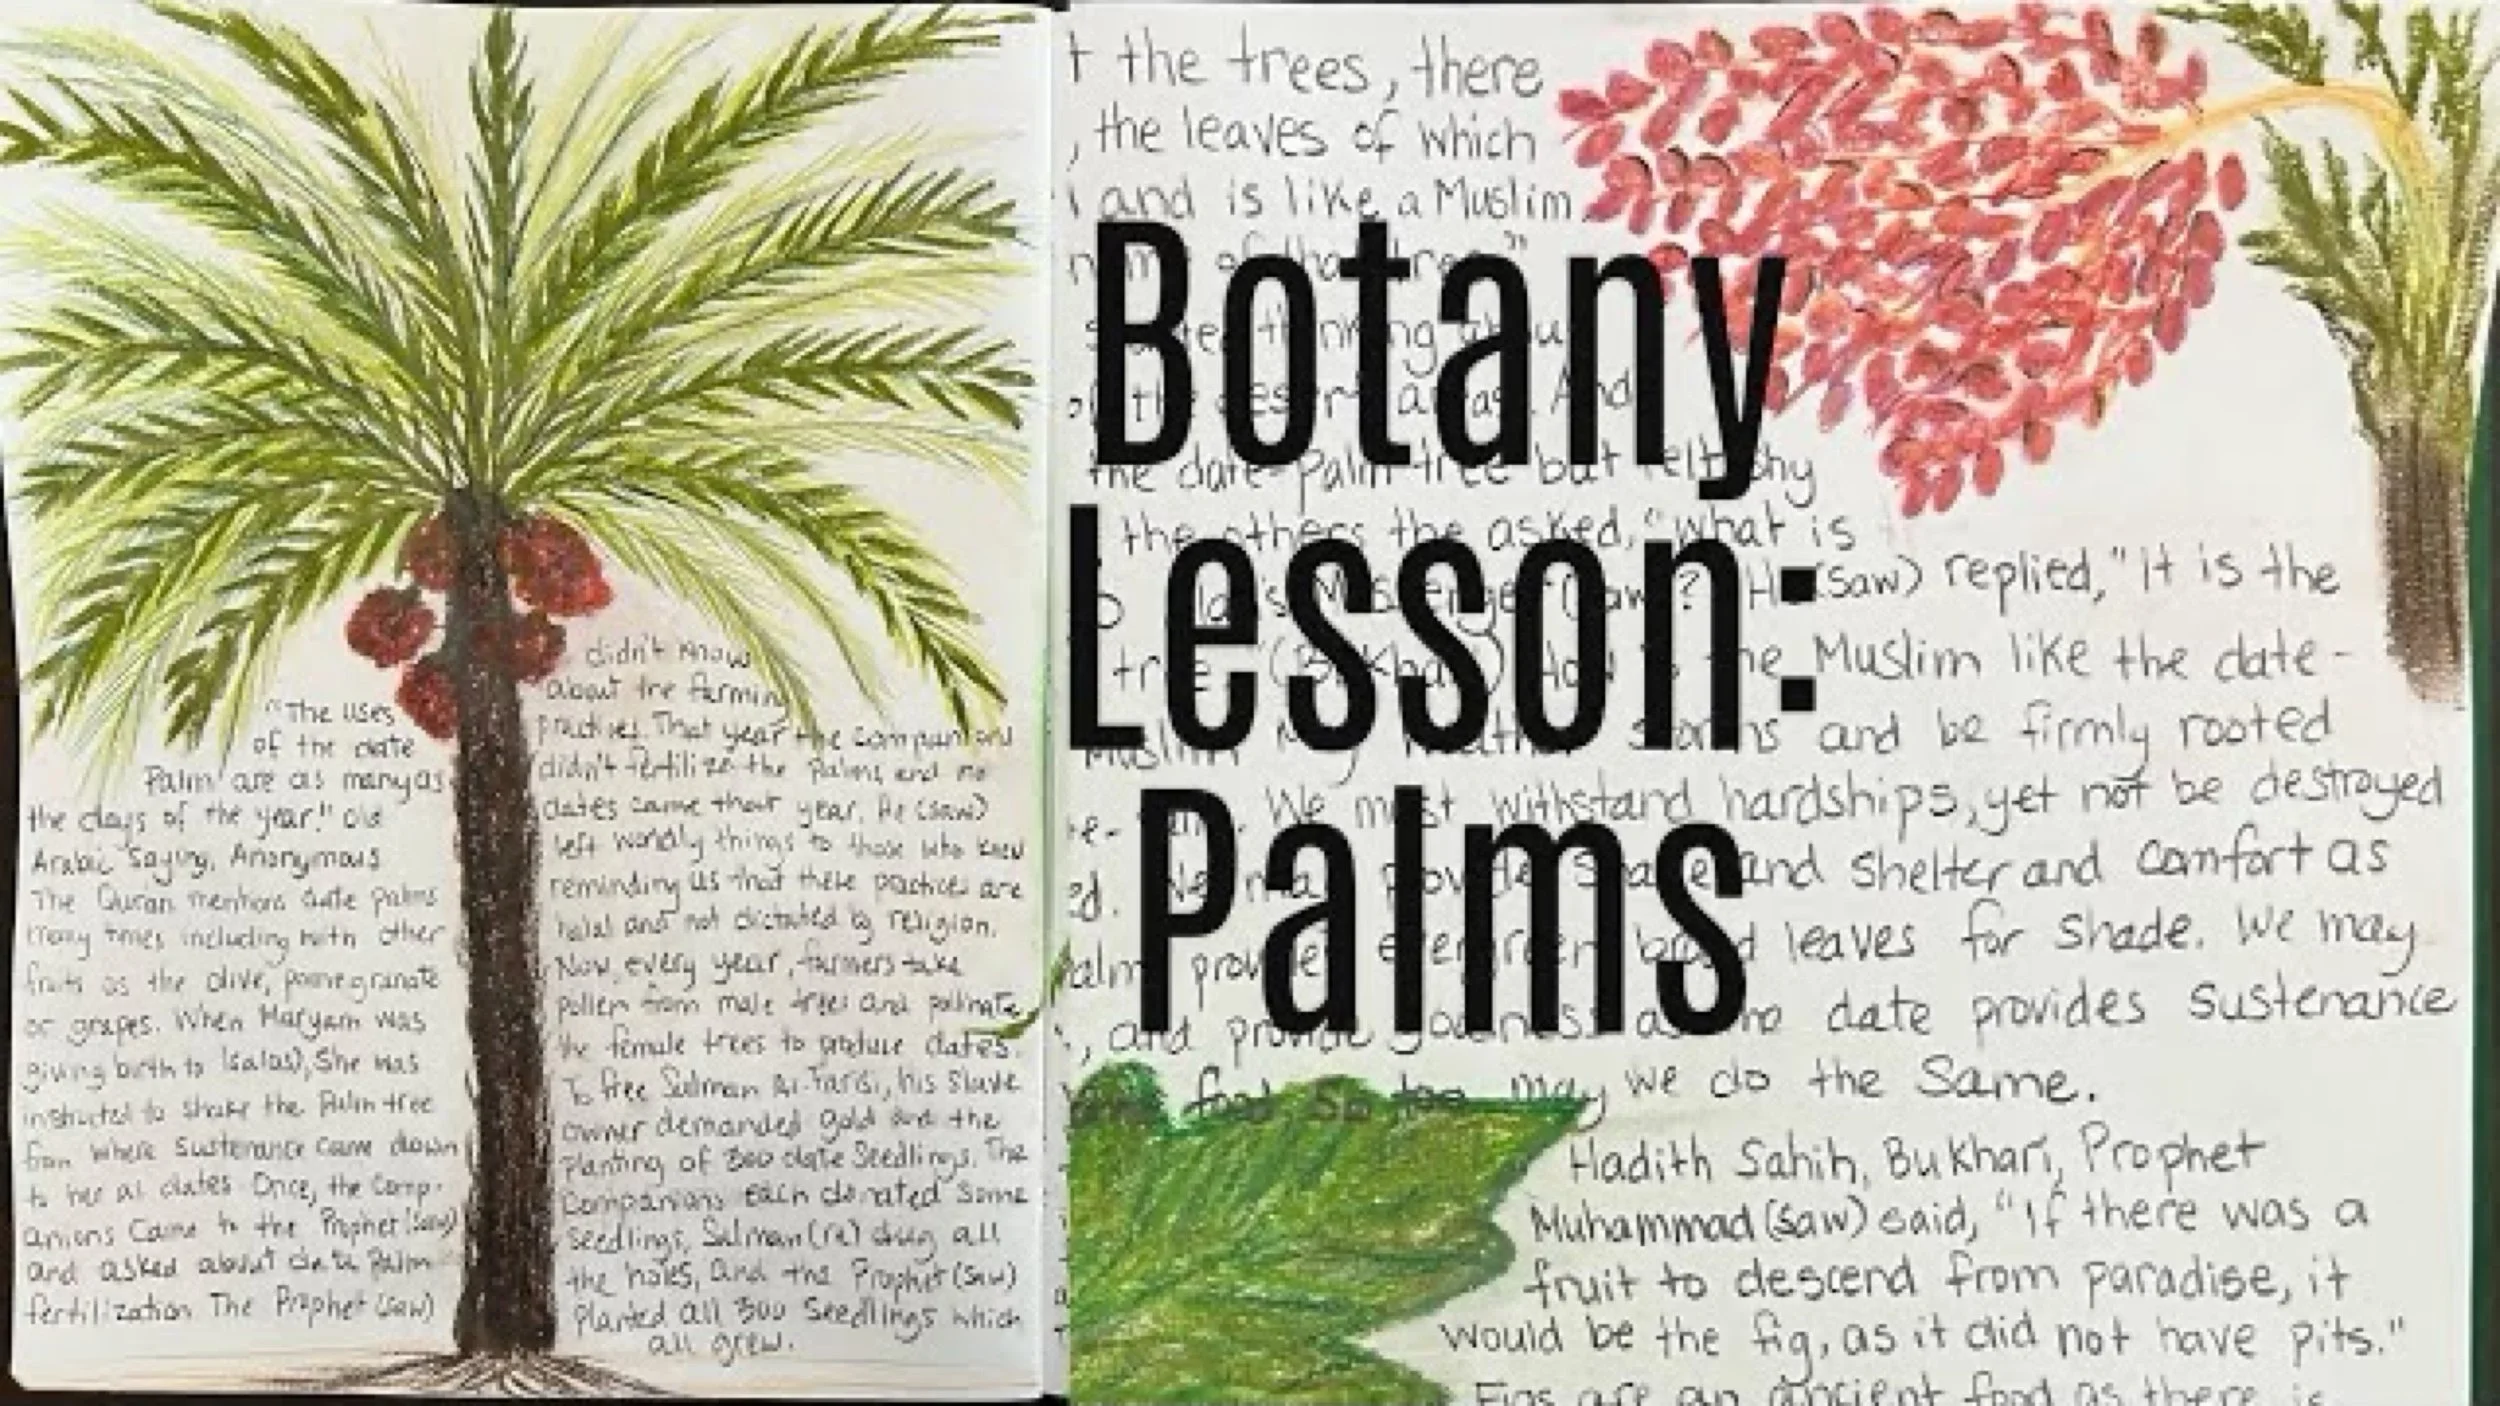
Date Palms & Monocots
-
Date Palm
In addition to learning about the grain monocots of the plant kingdom, we explored other monocots and their uses. While most are familiar with staple grains like corn, wheat and rice found in South America, Europe and Asia, other staple monocots like coconut, palm and bamboo are also popular and versatile.
-

How To Make Orange and Date Salad
What a great way to end (or start) a meal than with sweet seasonal oranges garnished with dates and blanched almonds with a drizzle of lemon. The key to the success of this recipe is sweet seasonal oranges!
-

Pomegranate, Date & Pistachio Rice | So Tasty!!
This is one of our favorite recipes!! I've only added fried onions to the recipe as well as a sprinkle of saffron. If you don't have fresh dill, I've swapped it out for dried dill on many occasions. We pair this with a rack of lamb. We got this recipe from the Martha Stewart Living magazine and it's become on of our favorite recipes ever!!
-

Avocado, Mango, Tomato, Cucumber, Red Onion, and Date Salad
This salad doesn't have a name. At least, I don't know that it does. So I couldn't title this video with the salad's name. So I listed most of the ingredients. When my friend told me she was going to make this salad while staying with me for a week. I agreed, but didn't think the combination was appetizing.
Date Palms & Monocots
Date Palm
In addition to learning about the grain monocots of the plant kingdom, we explored other monocots and their uses. While most are familiar with staple grains like corn, wheat and rice found in South America, Europe and Asia, other staple monocots like coconut, palm and bamboo are also popular and versatile. For this lesson, we focused on the date-palm and it’s botanical qualities as well as it’s reference in the Qur’an and Sunnah (the practices of the Prophet Muhammad (saw)). I love the opportunity to include a religious angle in our lessons, and this lesson was mainly inspired by the book Plants of the Quran which provided information about the date palm as well religious content for us to build our lesson. The content in written portion of this lesson is primarily religious as we talk about the various times date palms were mentioned or played a roll, but the oral lesson also included botanical information about date palms. When I delivered this lesson to my 13-year-old daughter, I remembered a hadith about how a Muslim is like a date palm, and wanted to include that in the lesson, so it went on the adjoining page which you may see in the next lesson on figs and flowering and fruiting trees.
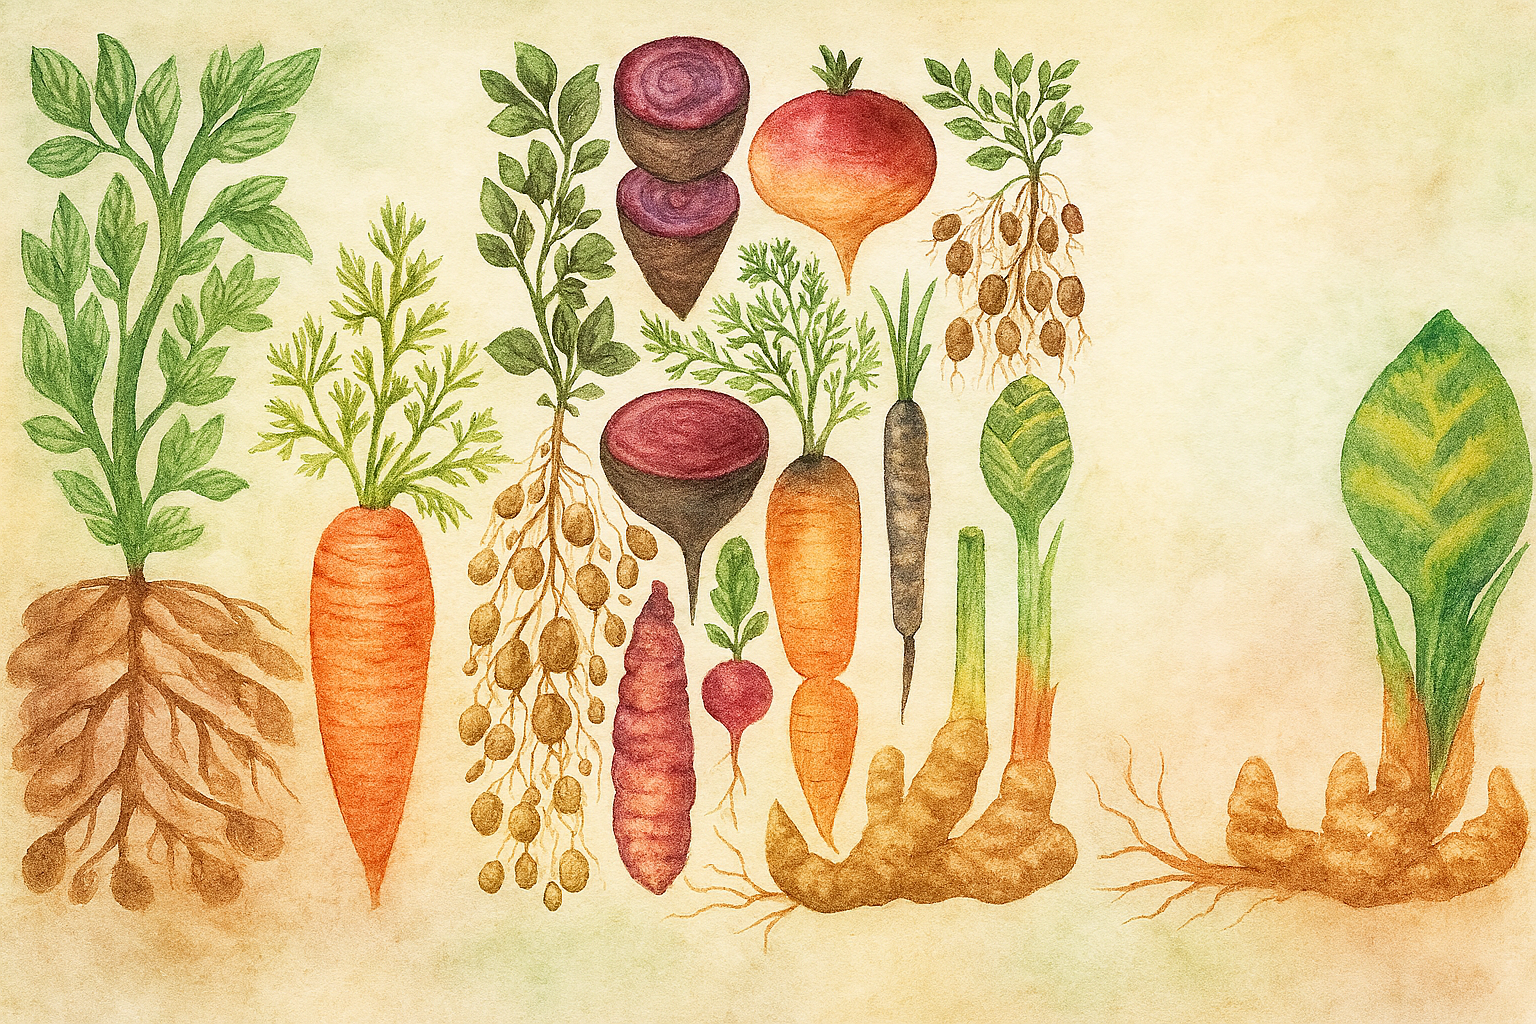
Below Ground Edible Plants
-

Underground Edible Plants
This lesson was interiorly inspired by the book Botanicum. I added this lesson in part because the illustrations in Botanicum were so breathtaking.
-

How to Make Spicy Moroccan Carrot Dip
We often head to the kitchen when doing our homeschool unit studies as this adds flavor to our lessons. Sometimes we simply cook a single recipe, other times, like today, we cook up a whole feast!
-

Roasted Potatoes
This isn't just any roasted potato recipe, this happens to be one of my most requested recipes and one that's always a winner, even when I don't think they turned out so good.
Below Ground Edible Plants
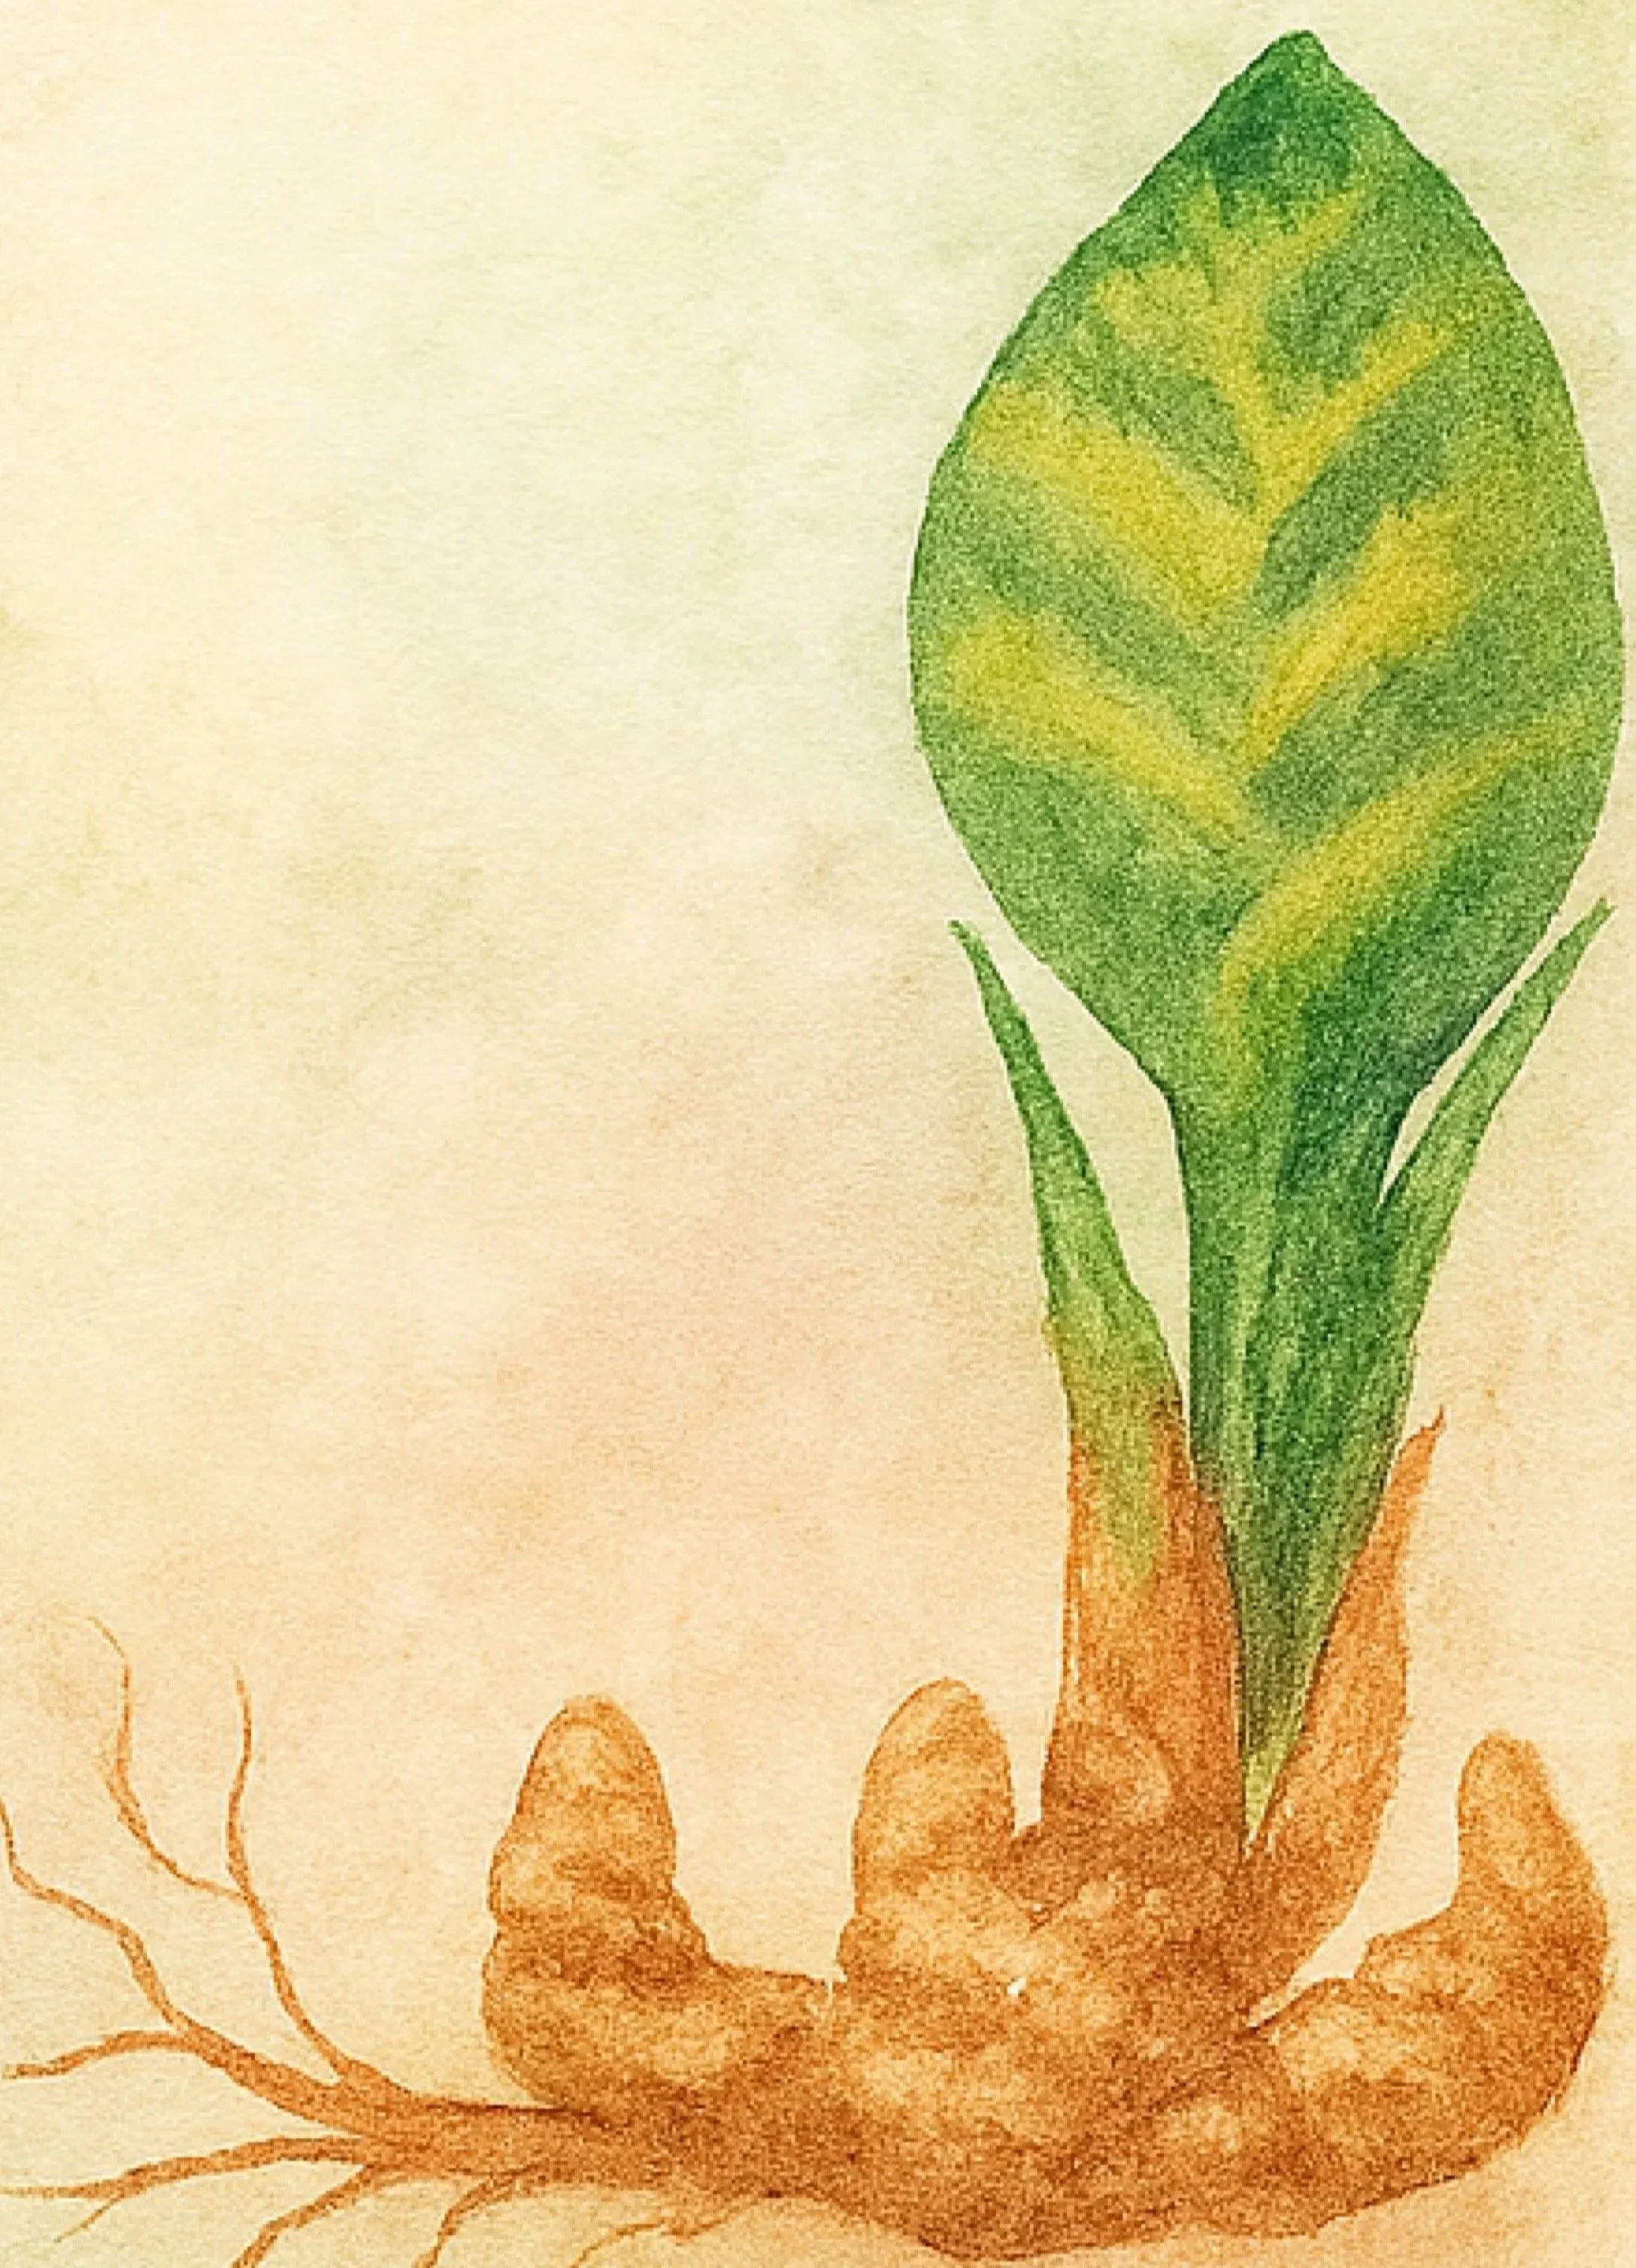
Underground Edible Plants
This lesson was interiorly inspired by the book Botanicum. I added this lesson in part because the illustrations in Botanicum were so breathtaking. The content for this lesson also came from the book Botanicum. We spent some time looking at the three different kinds of underground edibles: Rhizomes, Root Vegetables and Tubers. We also made extensive lists of various kinds of underground edibles so our lists were quite full and complete. We drew the white potato for the tuber, carrot for the root vegetable and ginger for the rhizome. I only learned after the lesson was complete that there was an entry in the book Plants of the Quran on ginger, and I could have added in a religious lesson as well.
Broadleaf Trees
-

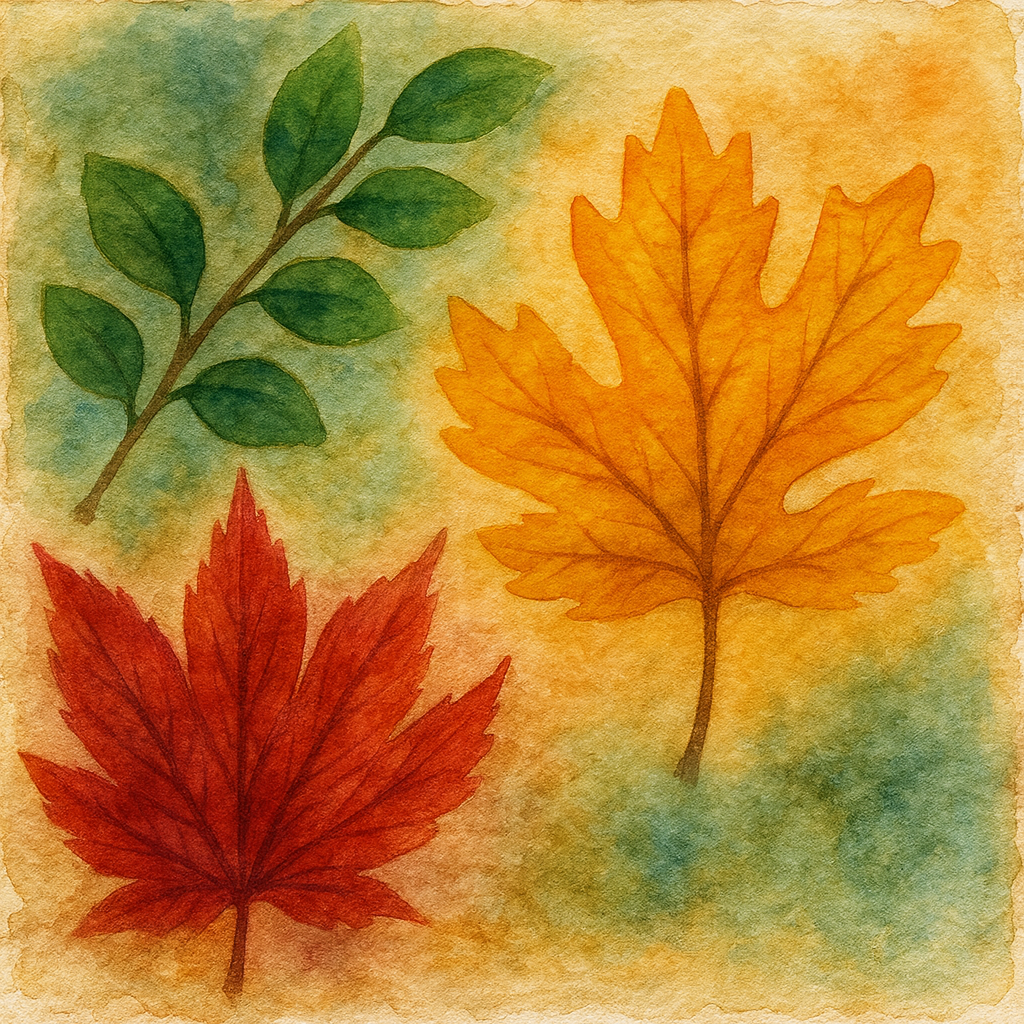
Deciduous Trees and Leaves
While following the Live Education Waldorf Botany curriculum, we completed the lesson on conifers and was about to start the next big section of lessons with a study of monocots and dicots when I decided to add a couple lessons on broadleaf trees.
-

Broadleaf Evergreen Tree
Our lesson on deciduous trees and broadleaf trees continues as we explore the Japanese Maple and the Oregon Maple. We include the California Interior Live Oak as it is an evergreen broadleaf tree and local to us.
-
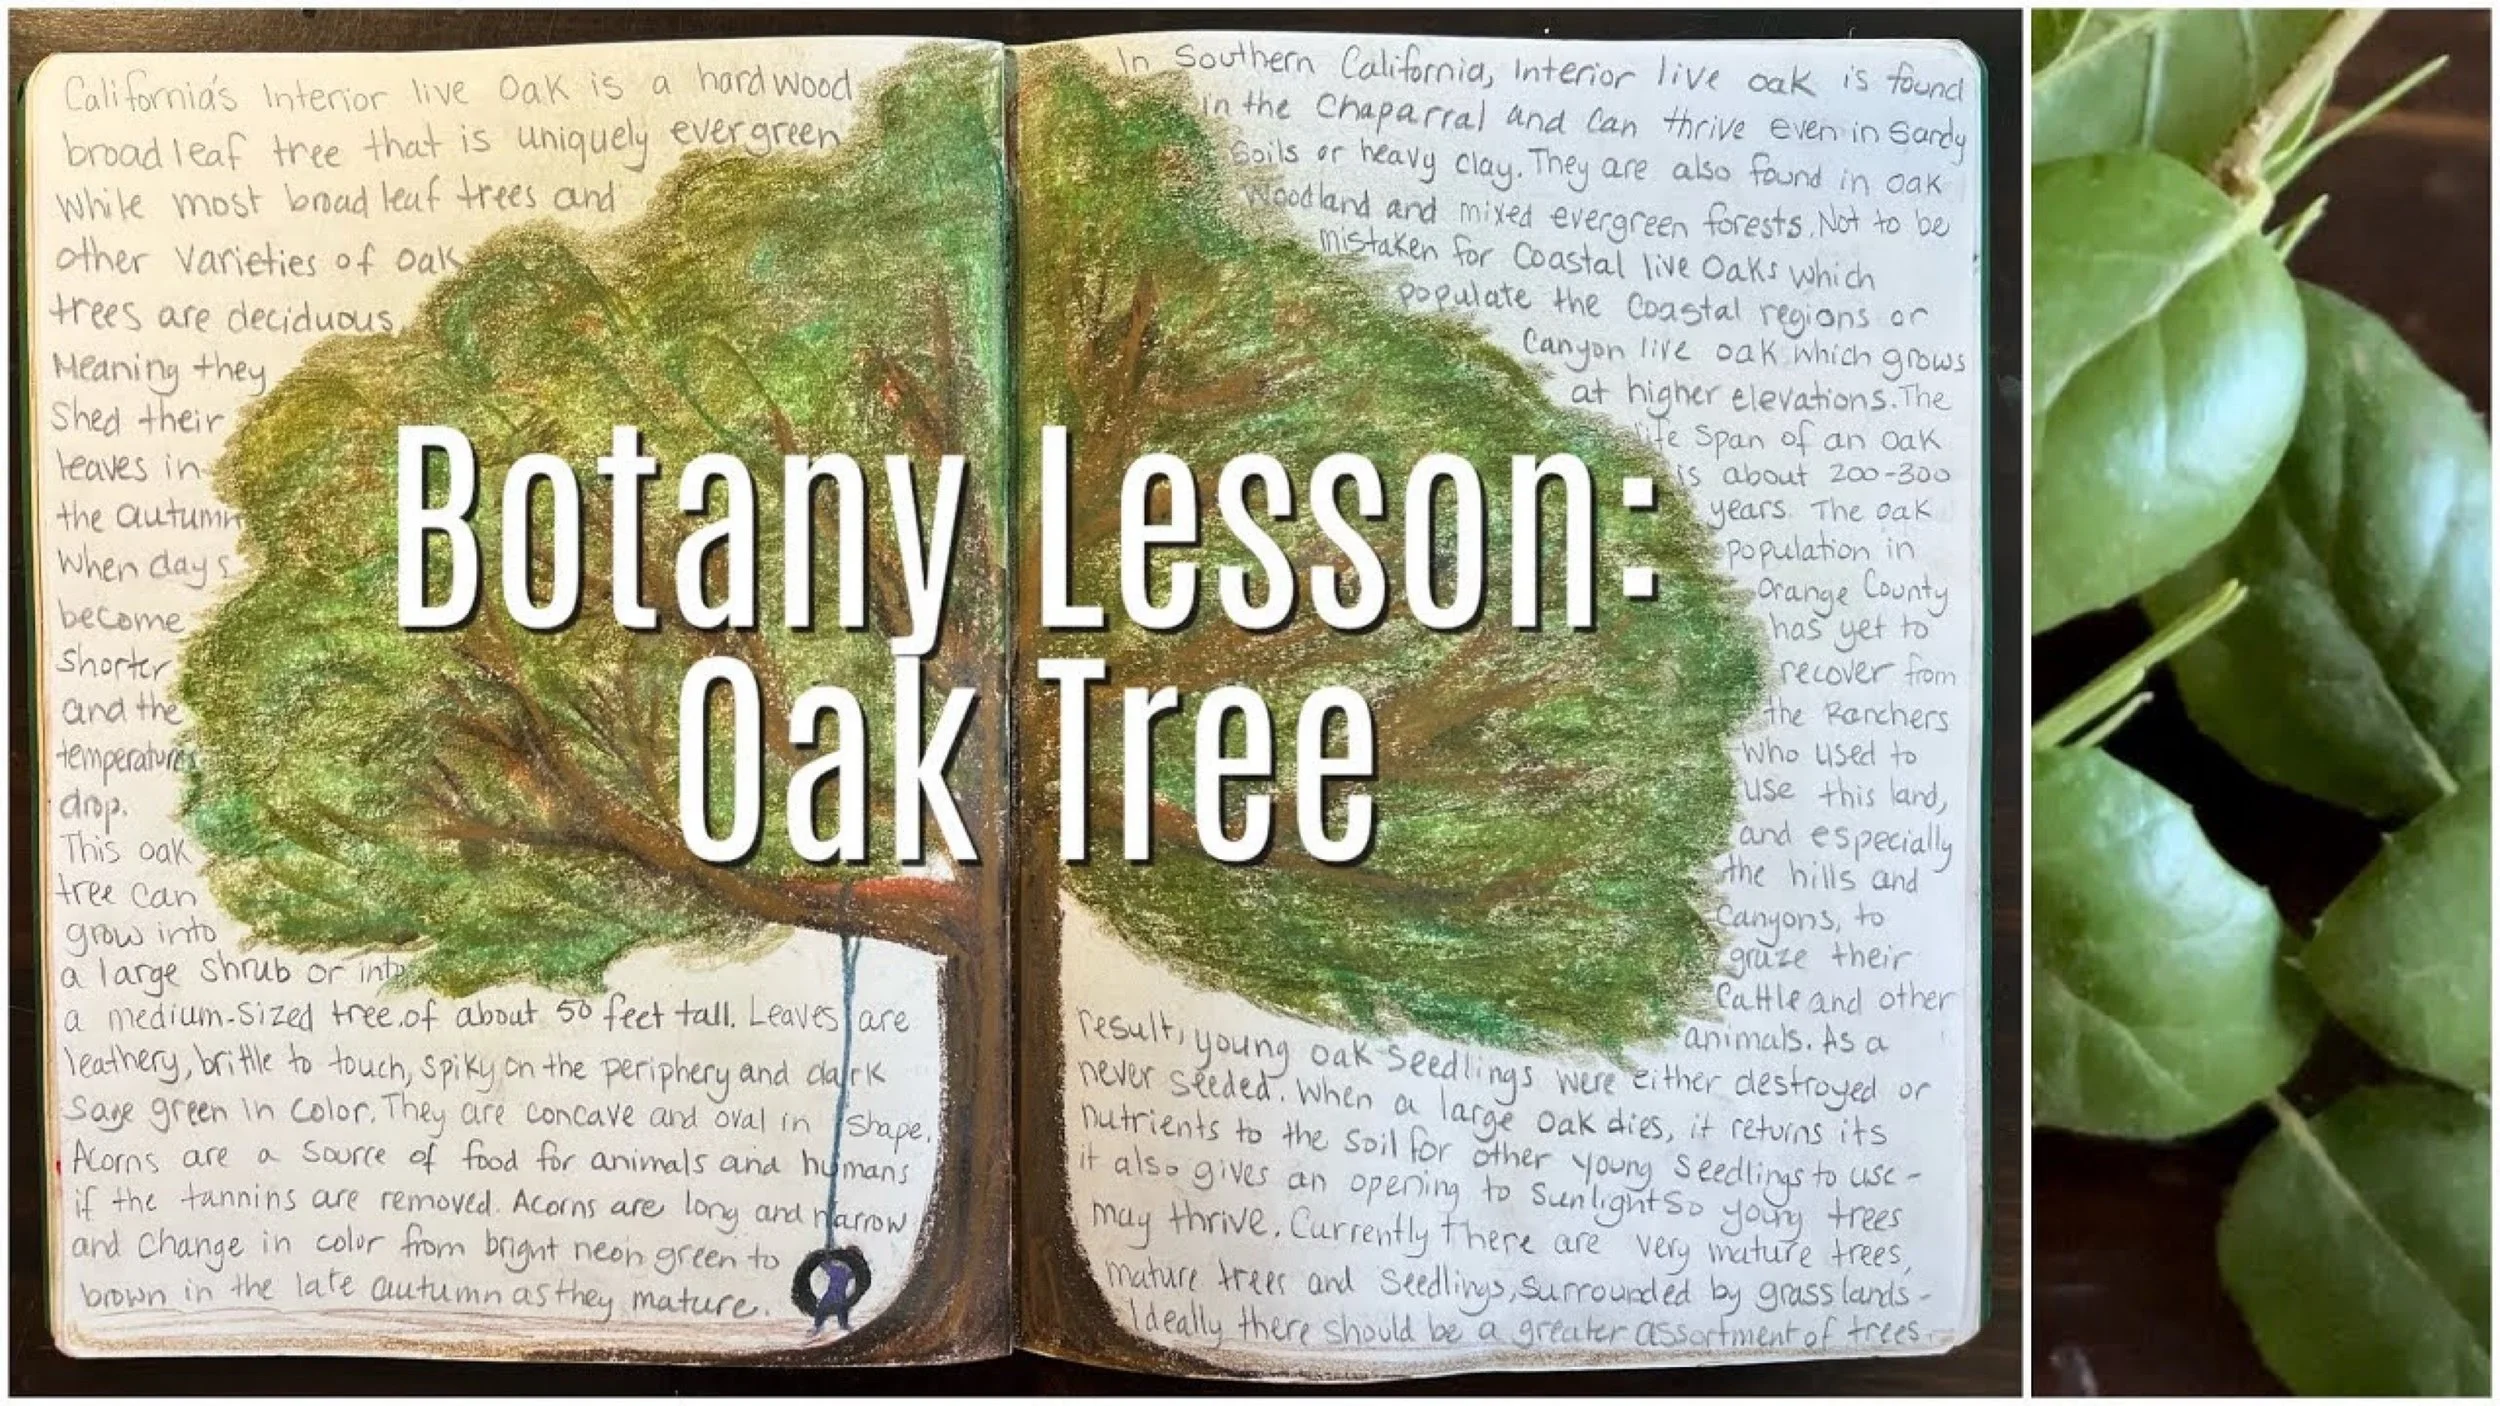
Evergreen Oak | California Interior Live Oak
After completing our lesson on conifers, I mistakenly thought the topic of broadleaf trees was omitted, but it was actually the last lesson in the Botany Main Lesson Block. I decided to add a lesson here (after conifers and before monocots), to show the difference in silhouettes of evergreen trees (especially the Redwood and Giant Sequoia which are native to California and the west coast) to that of the sycamore or oak tree.
-
Books & Lessons
Did you know that I share our daily homeschool day on Instagram in my Story. Each day I collect those stories and share them on TikTok as video. Then finally, I started sharing these videos as daily vlogs on YouTube.
-
Teaching Vlog | Making Paper & Leaf Prints
Not all lessons turn out the way you expect. I had high hopes for this leaf printing lesson that was inspired by an activity in the book Nature's Anatomy by Julia Rothman.
-
Homeschool Teaching Vlog | Watercoloring & Botany
We're working through our mini Botany unit and filling in any lessons we didn't get a chance to do last year when we did this unit. I thought we'd could have an artistic take on the form drawing lesson suggested in the curriculum's main lesson book.
Broadleaf Trees
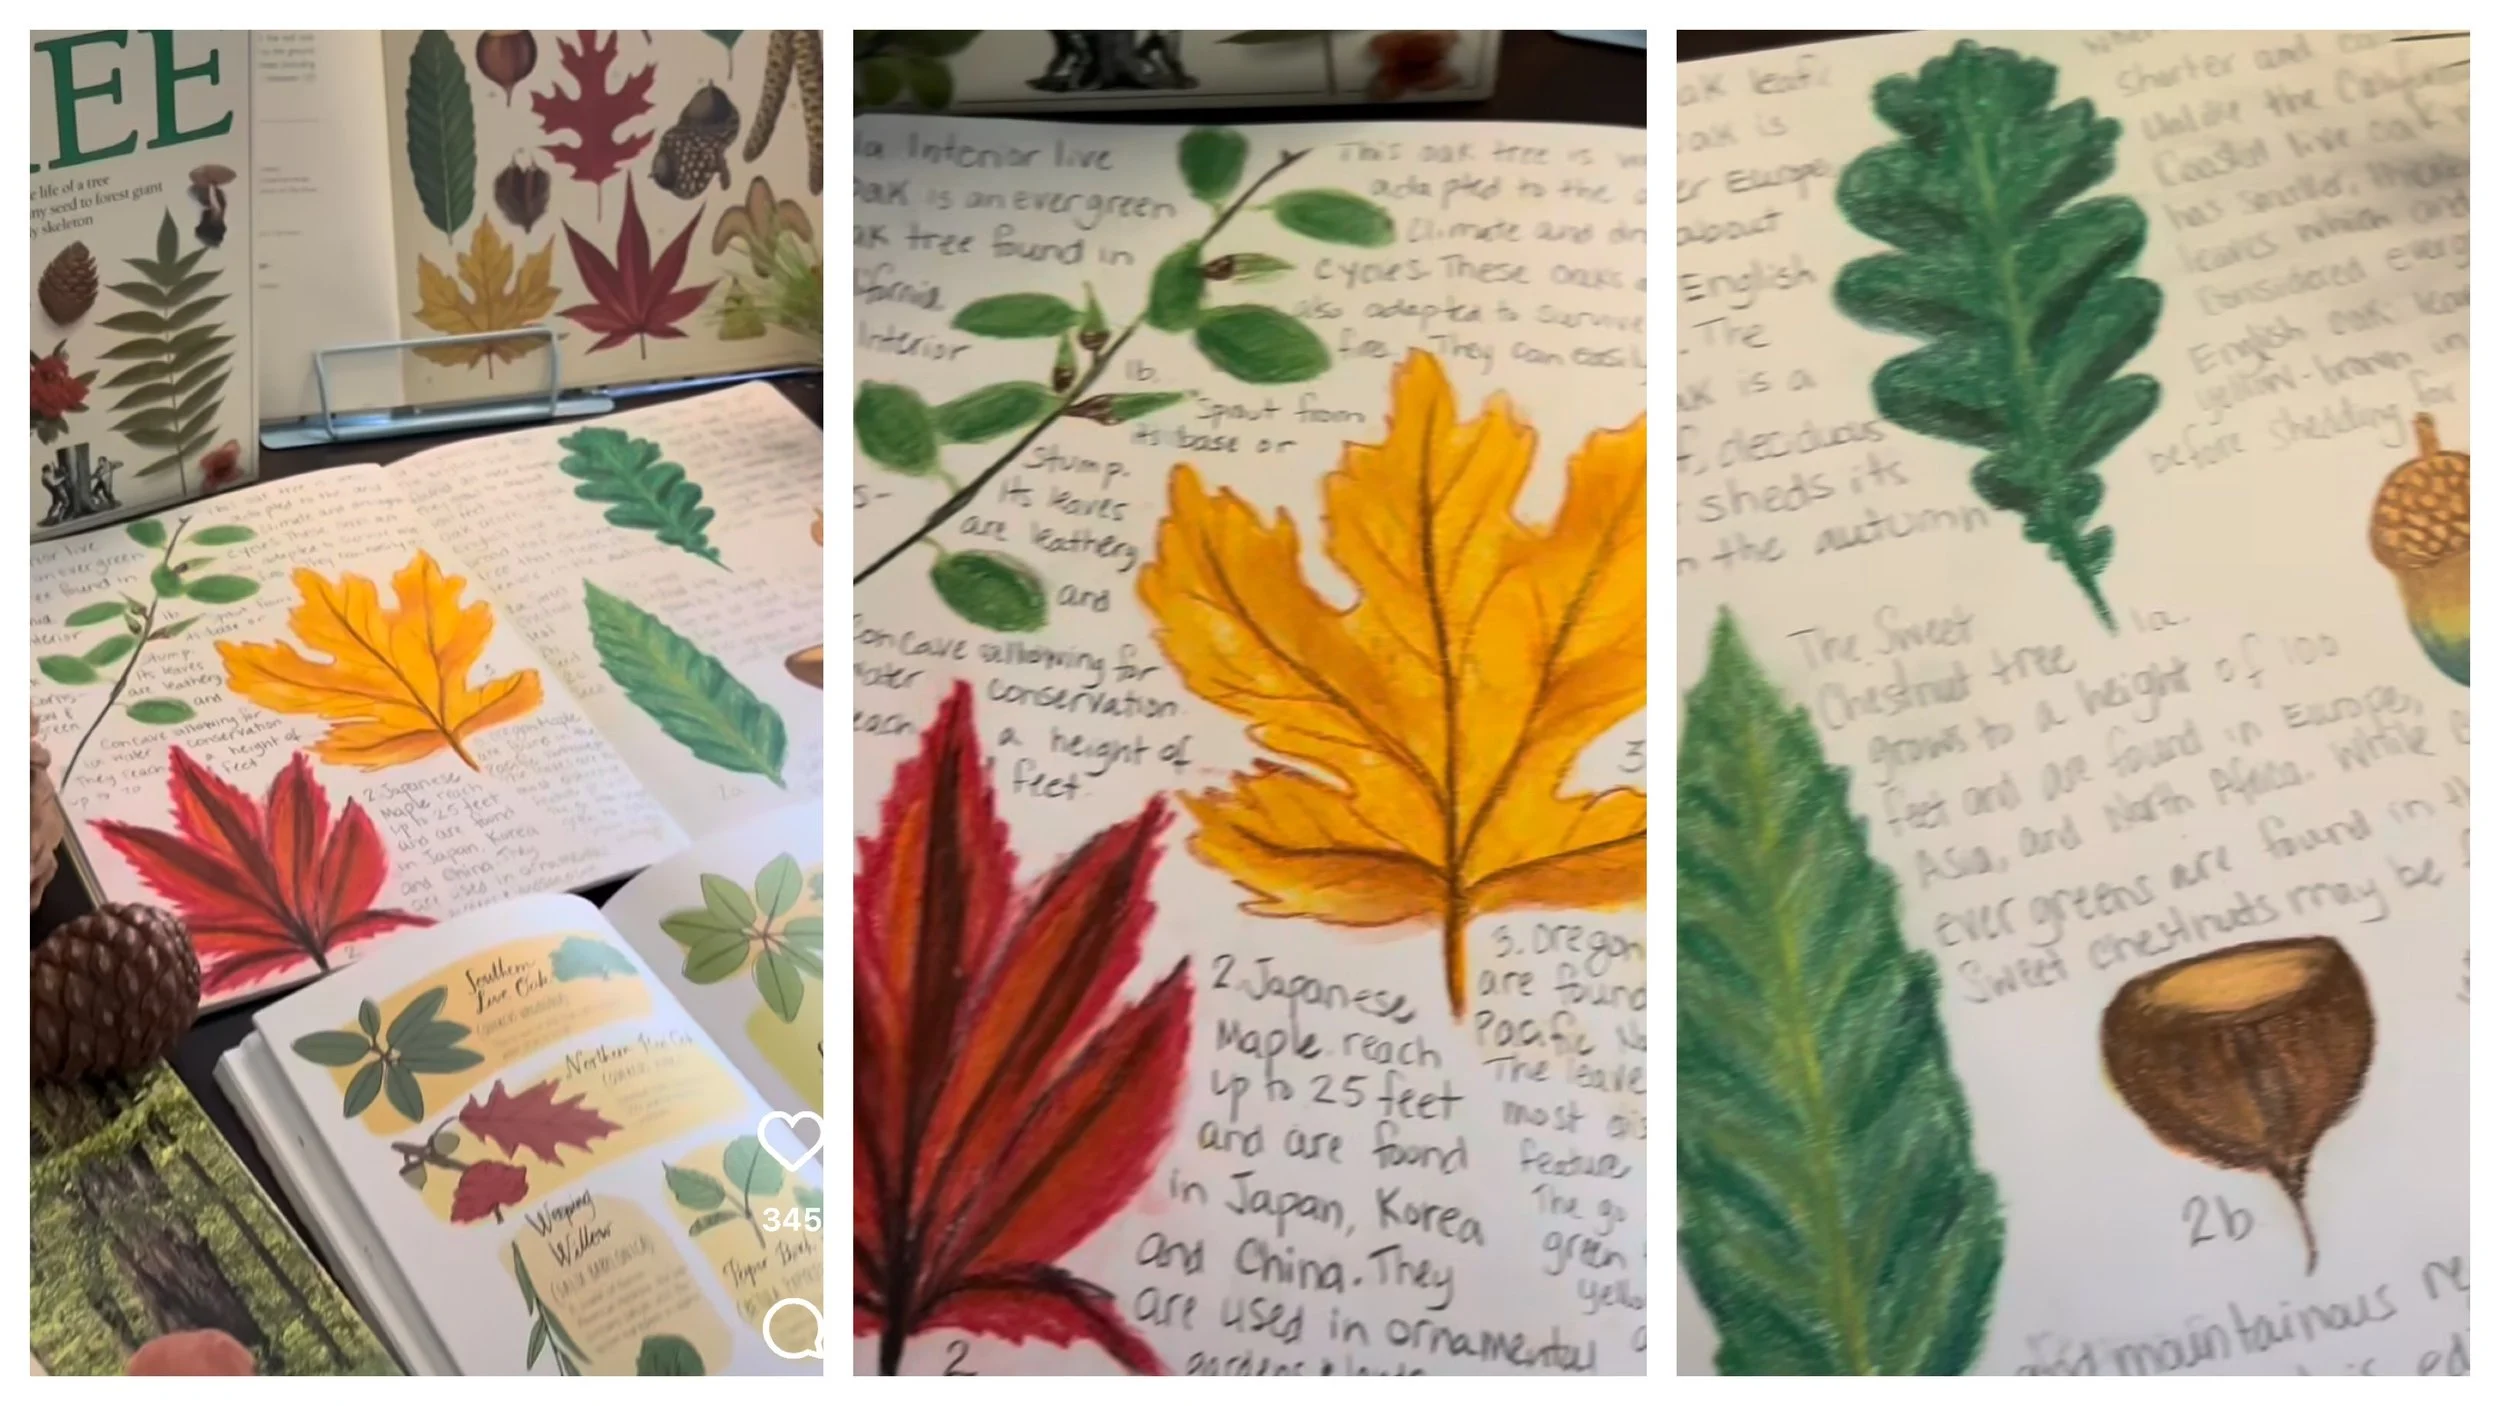
Broadleaf Deciduous Trees
While following the Live Education Waldorf Botany curriculum, we completed the lesson on conifers and was about to start the next big section of lessons with a study of monocots and dicots when I decided to add a couple lessons on broadleaf trees. While it made sense in the moment to add this lesson here (between conifers and monocots), in retrospect, I can see if would have been better after the introduction of flowering plants/trees.
In these lessons we used the book Botanicum as content and illustration inspiration, especially the pages devoted to broadleaf trees and temperate forests. While we drew leaves and acorns of various trees, none were local, so I planned for another lesson on the Interior Live Oak which is broadleaf, but until most broadleaf trees, also evergreen.
This lesson is the content and illustration for half the lesson, as the following lesson showing three more varieties leaves is part of this lesson and was delivered together.
Broadleaf Evergreen Tree
Our lesson on deciduous trees and broadleaf trees continues as we explore the Japanese Maple and the Oregon Maple. We include the California Interior Live Oak as it is an evergreen broadleaf tree and local to us. This lesson was meant to be one lesson with our previous lesson on broadleaf trees and the Oak Tree, but this one topic (flowering trees) took up about 5 lessons. We used a limited amount of picture books for this lesson, but in the past, I would have added Acorn, The Giant Sequoia and Oak Leaf.
Evergreen Oak
California Interior Live Oak
After completing our lesson on conifers, I mistakenly thought the topic of broadleaf trees was omitted, but it was actually the last lesson in the Botany Main Lesson Block. I decided to add a lesson here (after conifers and before monocots), to show the difference in silhouettes of evergreen trees (especially the Redwood and Giant Sequoia which are native to California and the west coast) to that of the sycamore or oak tree. We chose the interior live oak as they are common where we live and we spent some time learning about this local tree, its history and the challenges it is facing with the urbanization of this area. We used a nature guide which explored flora and fauna of the area which we purchased from a nature center at a local estuary.
Books & Lessons
Did you know that I share our daily homeschool day on Instagram in my Story. Each day I collect those stories and share them on TikTok as video. Then finally, I started sharing these videos as daily vlogs on YouTube.
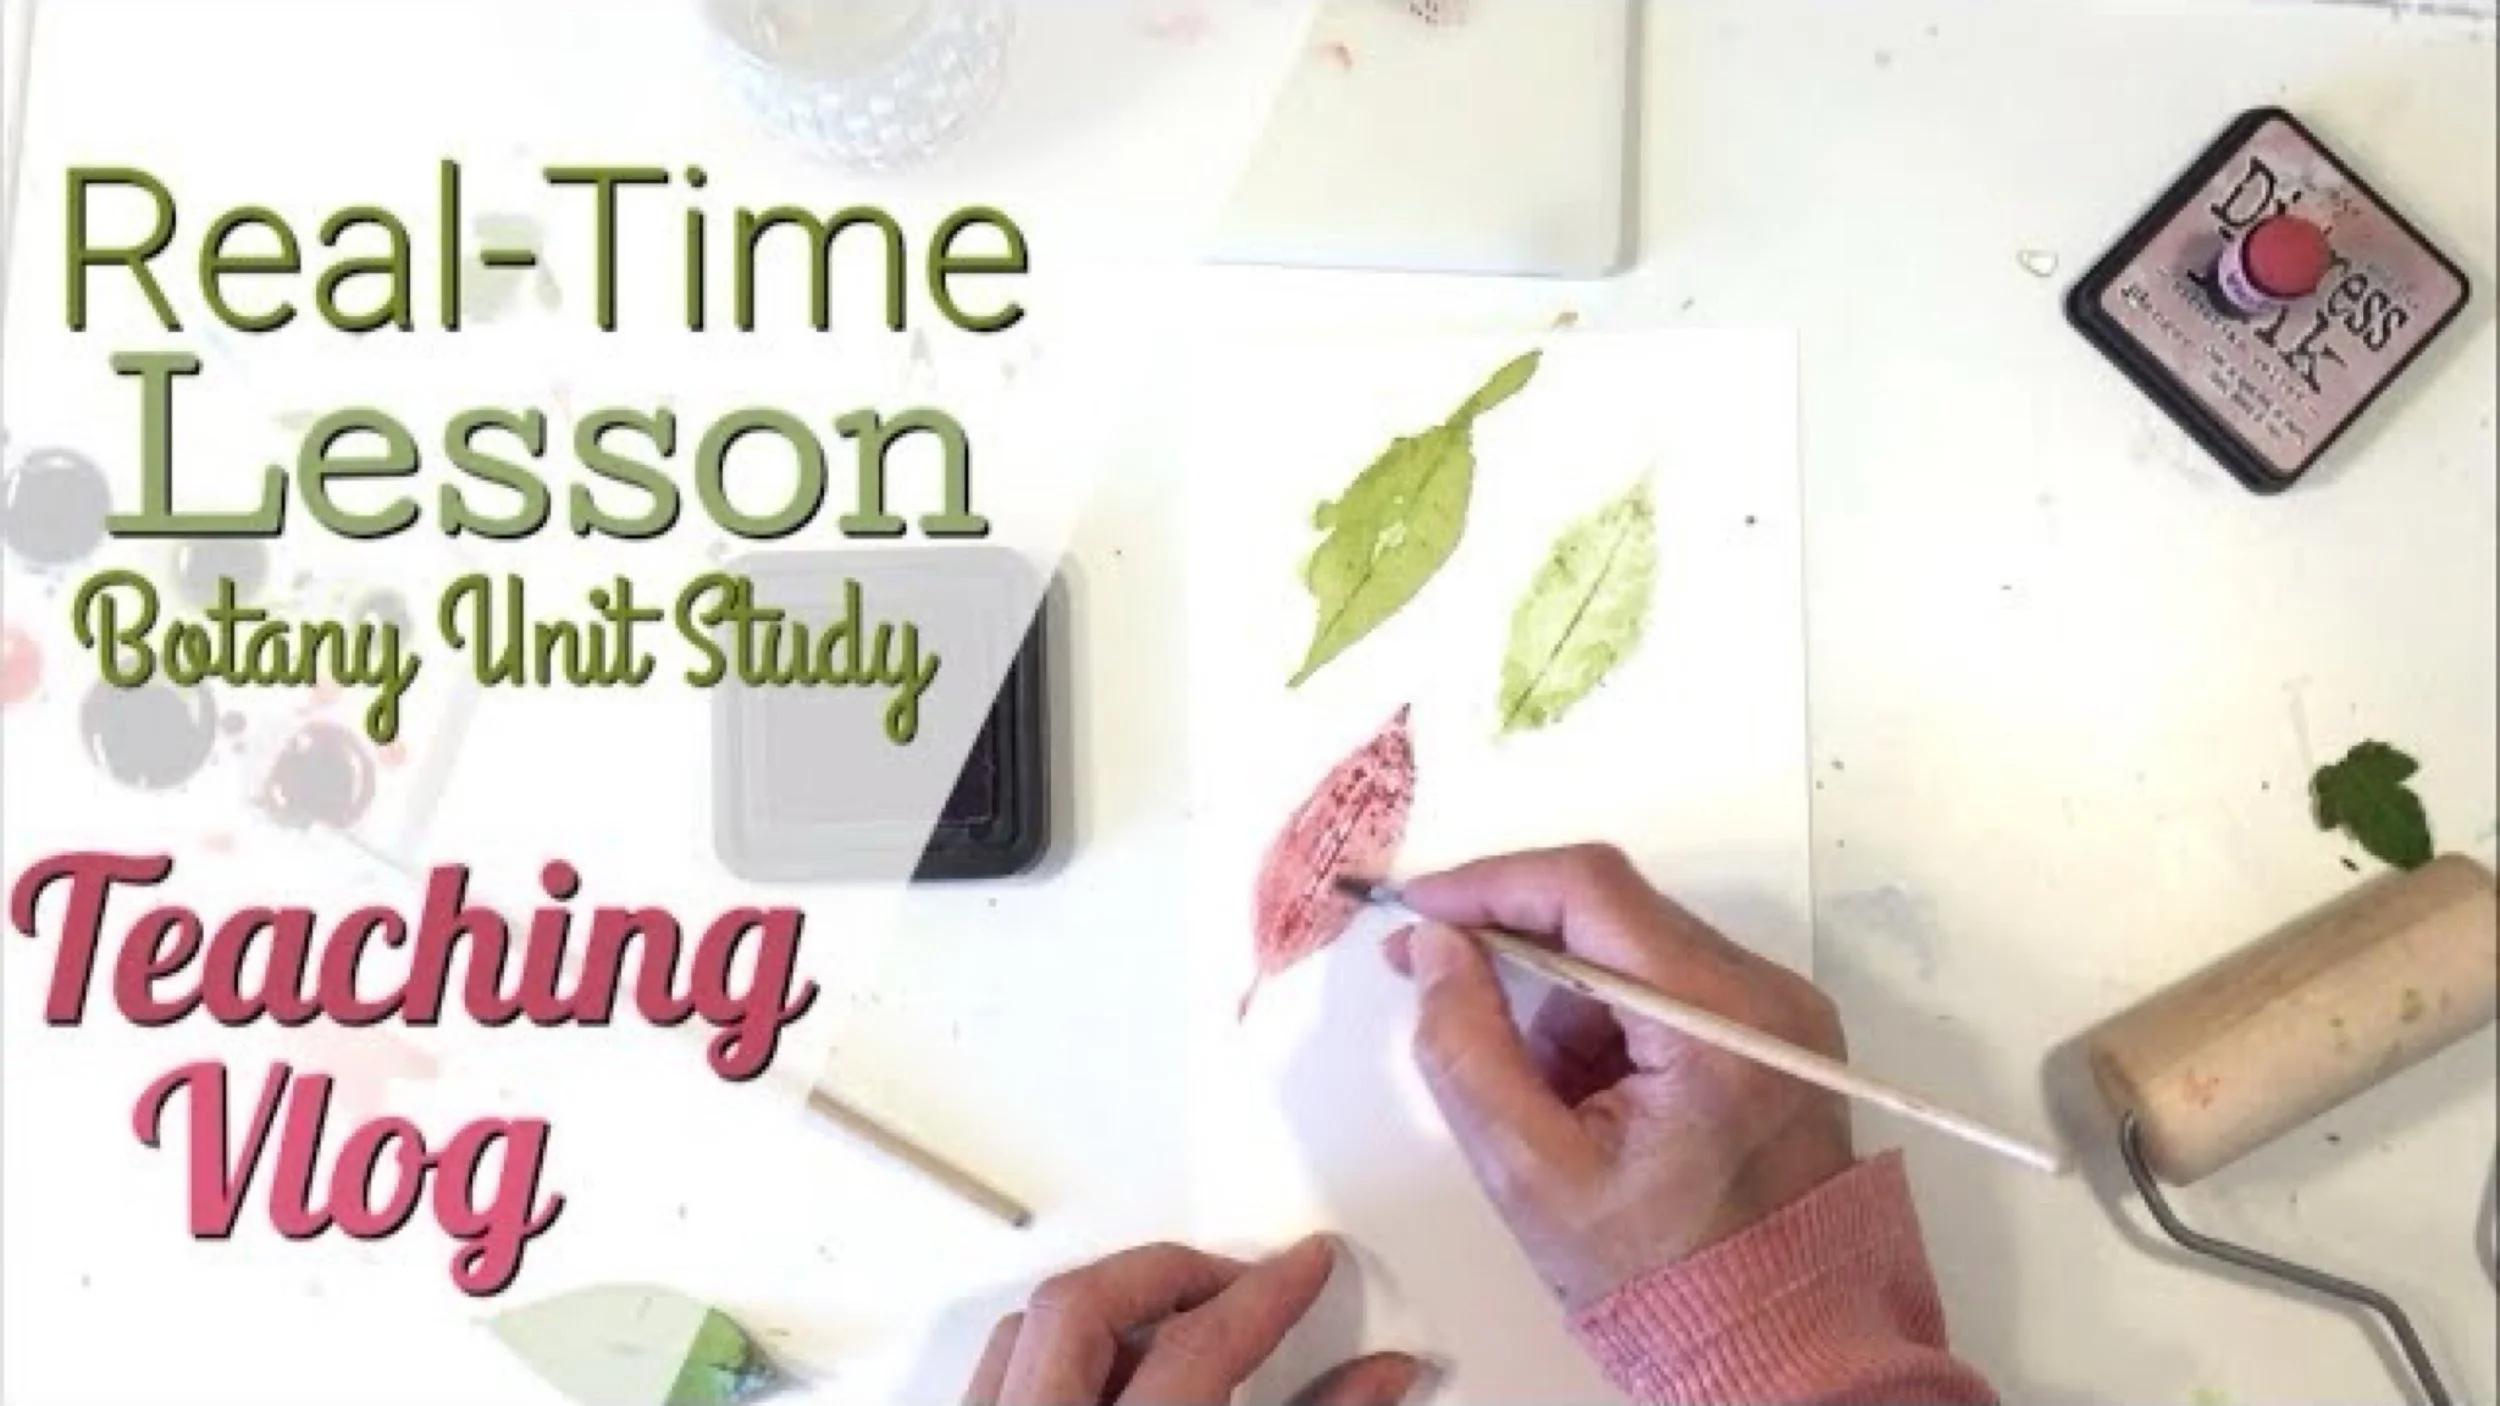
Teaching Vlog
Making Paper & Leaf Prints
Not all lessons turn out the way you expect. I had high hopes for this leaf printing lesson that was inspired by an activity in the book Nature Anatomy: The Curious Parts and Pieces of the Natural World by Julia Rothman. After posting some pics on Instagram, I got some great feedback on how to improve our leaf printing results.
This project was a three part lesson which started with some paper making. We've made paper before and you can see a short tutorial on how to make paper, but today, you'll see a longer version of us making paper in a teaching vlog format. You'll hear me talk through the process with the kids and you'll hear them work together and sometimes squabble over little things. This is pretty typical of our homeschool lessons and homeschool days.
I thought it would be fun to embed herb seeds in our paper, and we chose basil, fennel and cilantro. Well actually, I chose basil and fennel, but my son wanted cilantro. I was hesitant about cilantro and might have mentioned that because the seeds are so big it might be harder to press the paper. He still wanted the cilantro and indeed that paper was harder to make because the seeds were so bulbous. While pressing them, they cracked and some broke entirely. Painting on those sheets provided a unique challenge. Since I figured they were going to be more challenging to press leaves onto, I used the cilantro seed as the center of little flowers and painted little five petaled flowers on those.
Before we finished making paper for the day, we tackled a couple other outdoor projects. One was leaf pressing. I thought it would be pretty clever to press herb leaves and then print those on the paper that paper that had the coordinating seeds embedded in the paper. Cool idea, but it could not be executed well. Instead the leaves we pressed couldn't be printed well, and we resorted to using jasmine leaves instead as they were sturdy and waxy.
While outside (our whole school day was spent outdoors that day), we also started some plantings. We planted potatoes (after harvesting what we had grown months ago), onions, and ginger. We harvested potatoes, tomatoes and carrots. And we did a root observation for potatoes, onions, ginger and avocado. Later we got a grape vine clipping and put it in water to see if we could grow it.
Once the paper was done and dry, we took this lesson indoors and prepared some Distress Inks in pinks and greens for the leave printing. Using inks was harder than using paint, and the prints weren't that detailed or good. Also trying this on handmade paper was challenging too because the paper absorbed too much water.
I did the leaf printing first and realized how difficult it was going to be, so I suggested that my daughter just paint on the cards. While preparing the project, I tried a few techniques before the kids joined me. While in tutorials I would normally speed up that part of the lesson and do a voice over on what I'm doing, since this is a teaching vlog, I left those unedited clips in. You can't hear much except the clock ticking. That's how our homeschool is sometimes. These real time videos and this one especially, is a fair representation of how a hands on project progresses. You'll hear silences, occasional bickering from my children, interruptions from the teens or the husband, and random off topic questions from the kids like, "can you make lemonade tonight?"
In the end, we make paper using scraps of paper I've saved throughout the year, embedded it with seeds, pressed leaves and flowers, painting on the handmade paper, and finally leaf printed on the handmade paper as well as watercolor paper.
Homeschool Teaching Vlog
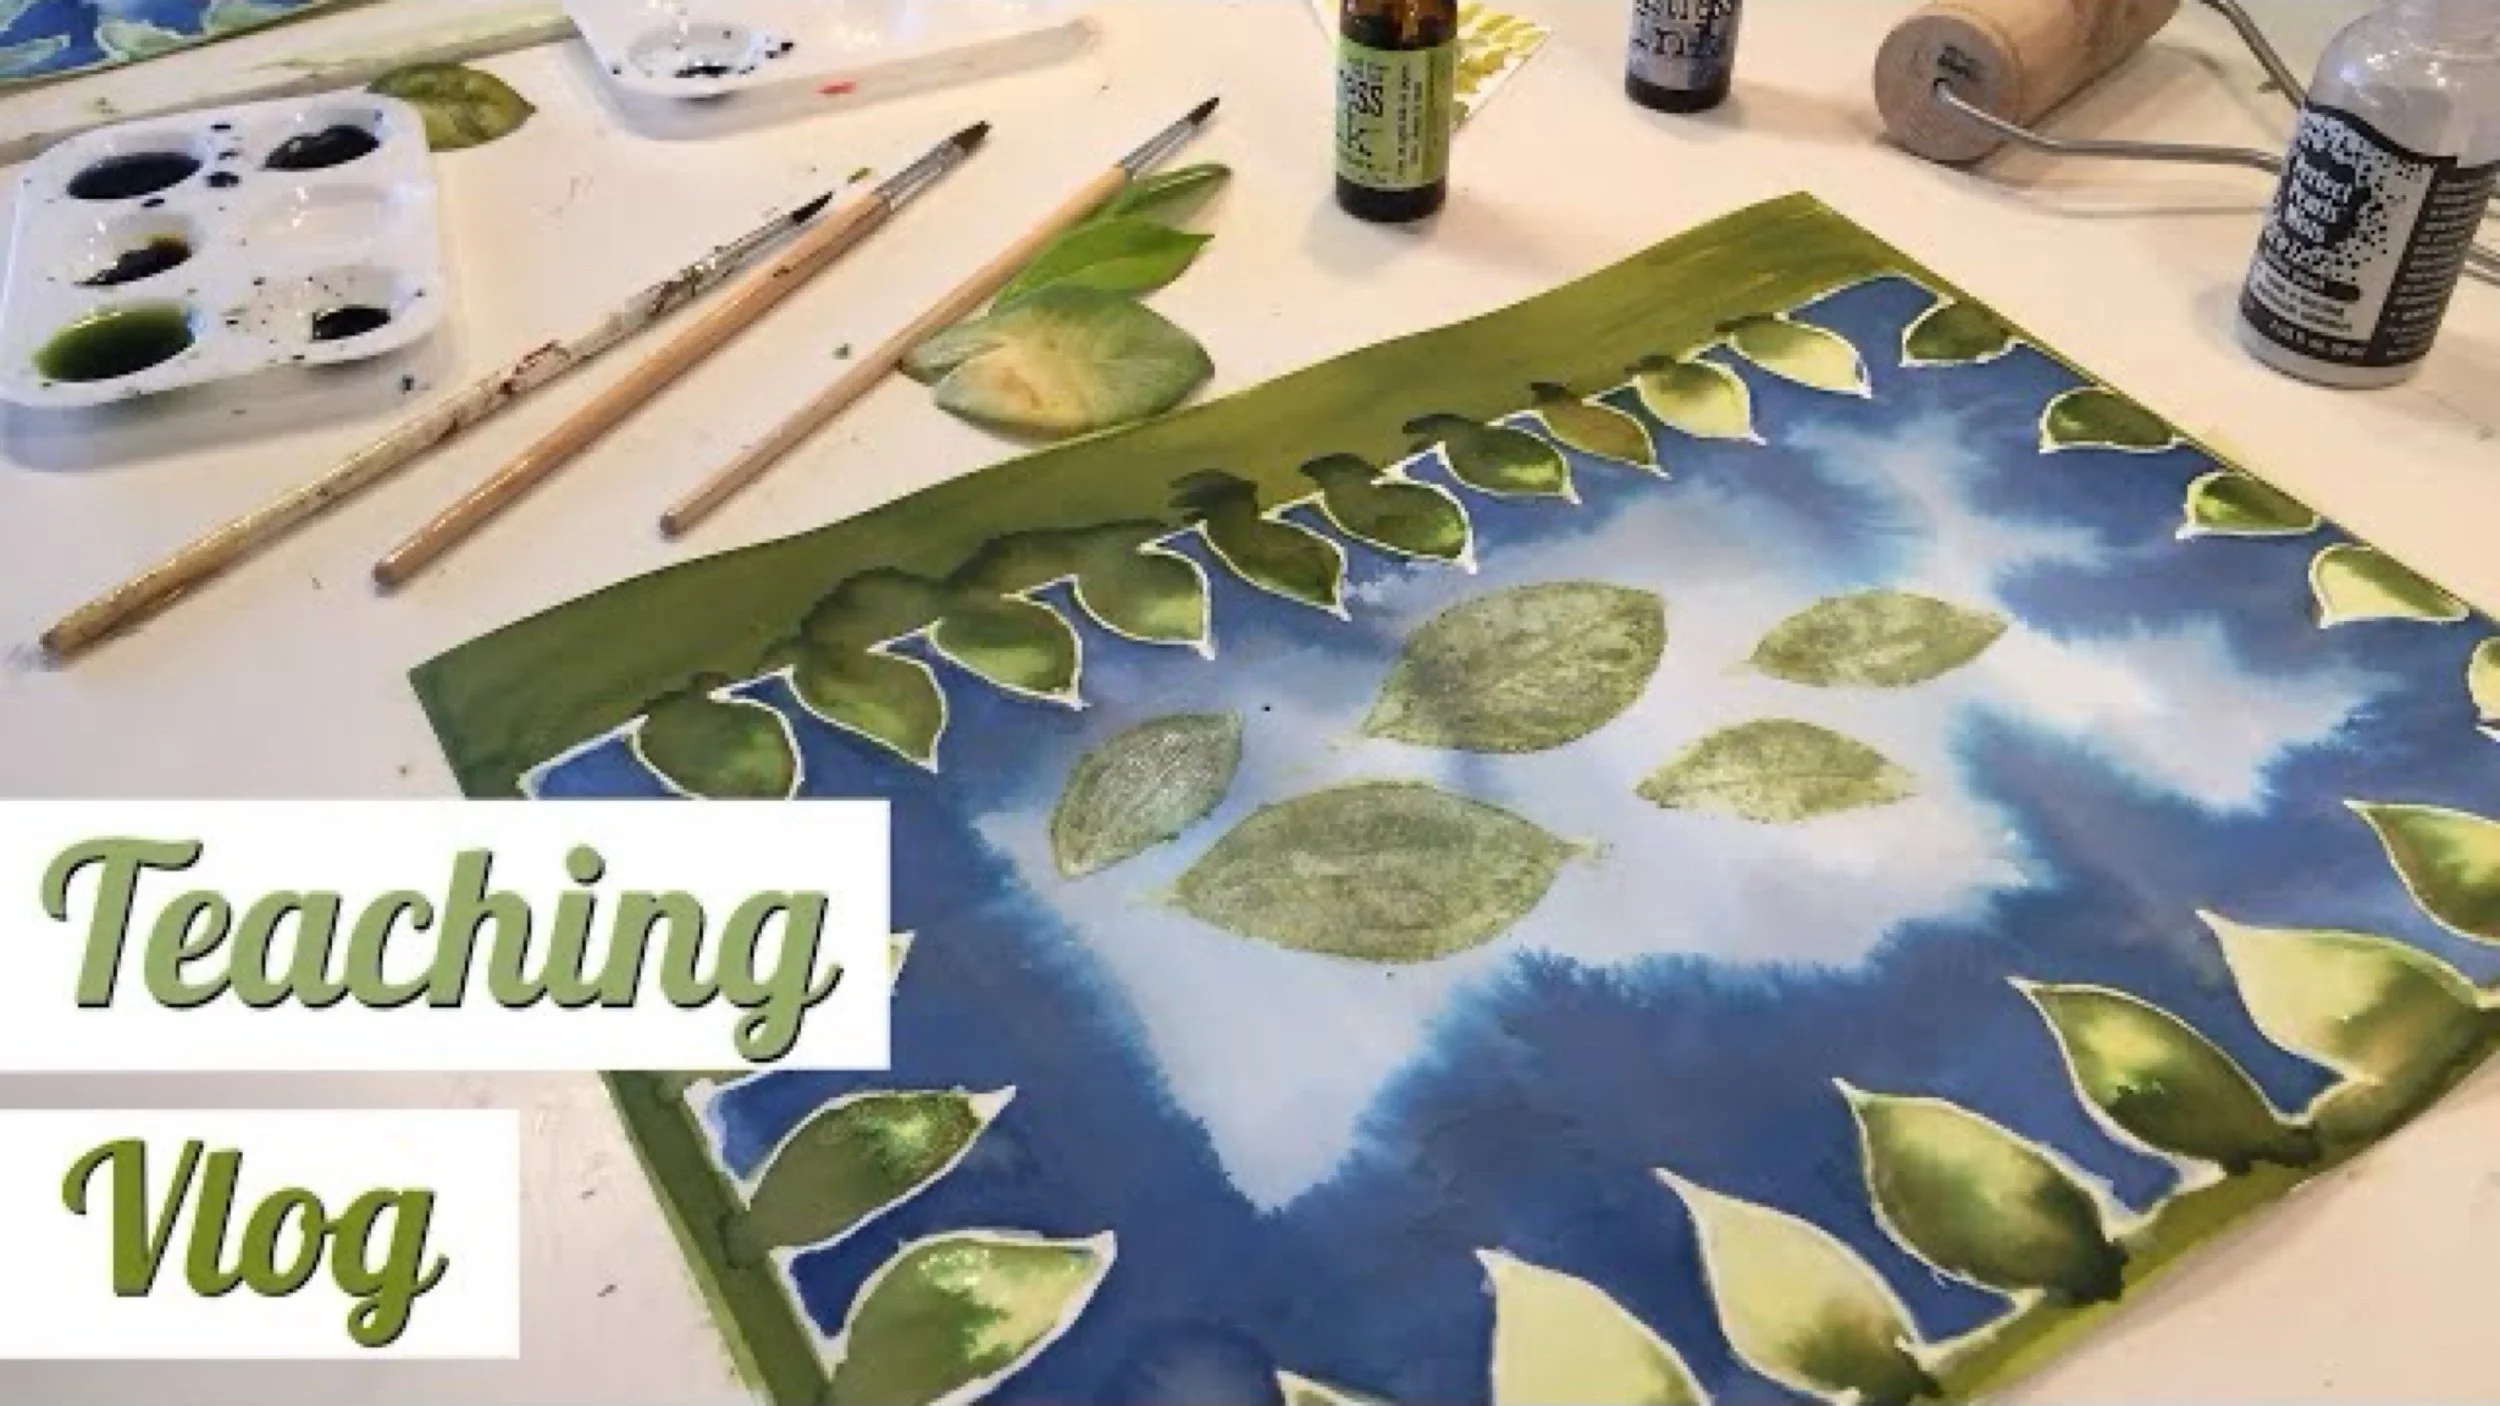
Watercoloring & Botany
We're working through our mini Botany unit and filling in any lessons we didn't get a chance to do last year when we did this unit. I thought we'd could have an artistic take on the form drawing lesson suggested in the curriculum's main lesson book. Instead of just drawing it or using a pencil, I thought it would be neat to lightly draw it out with pencil then use a resist medium to outline our form drawing. Once it dried, we could fill in with our watercolors using our Distress Inks in beautiful Shabby Shutters, Peeled paint, and Stormy Sky. Once we filled in our form drawing with green and the rest of the page with blue, we could move on to our leaf printing. We tried this a couple days ago and had mixed success with it, but I think it turned out really good today. We are using jasmine leaves for our leaf printing, and I found that the sturdy waxy leaf worked really well. I gave the leaf prints a coat of shimmer once they were dry.
If case you're wondering, my daughter didn't finish hers. While her resist medium was drying, she went off to play Legos and never came back to finish her project. The following day, I rehydrated the distress inks in their white plastic tray and showed her how to paint her project, but once again there was something that interfered with her being able to finish her project. If you want to see her final project, you can see pics of this project at the blog post that accompanies this video.
Duration of project was over an hour. I didn't realize it was going to take so long and had we had other lessons and reading to do this day, I might have opted for a shorter version of this project. As it stands, I think I'd like to try the other form drawings, but fill them in with color pencils instead.
Flowering Trees
-
Flowering Tree | Fig
In choosing our Flowering Fruit trees, we chose to cover fig and olive and we chose to add a religious element to this lesson using the book Plants of the Quran. The book Plants of the Quran shares botanical information as well as some religious aspects like where in the Quran the the fig is mentioned and if there are any hadiths related to the mentioned plant.
-
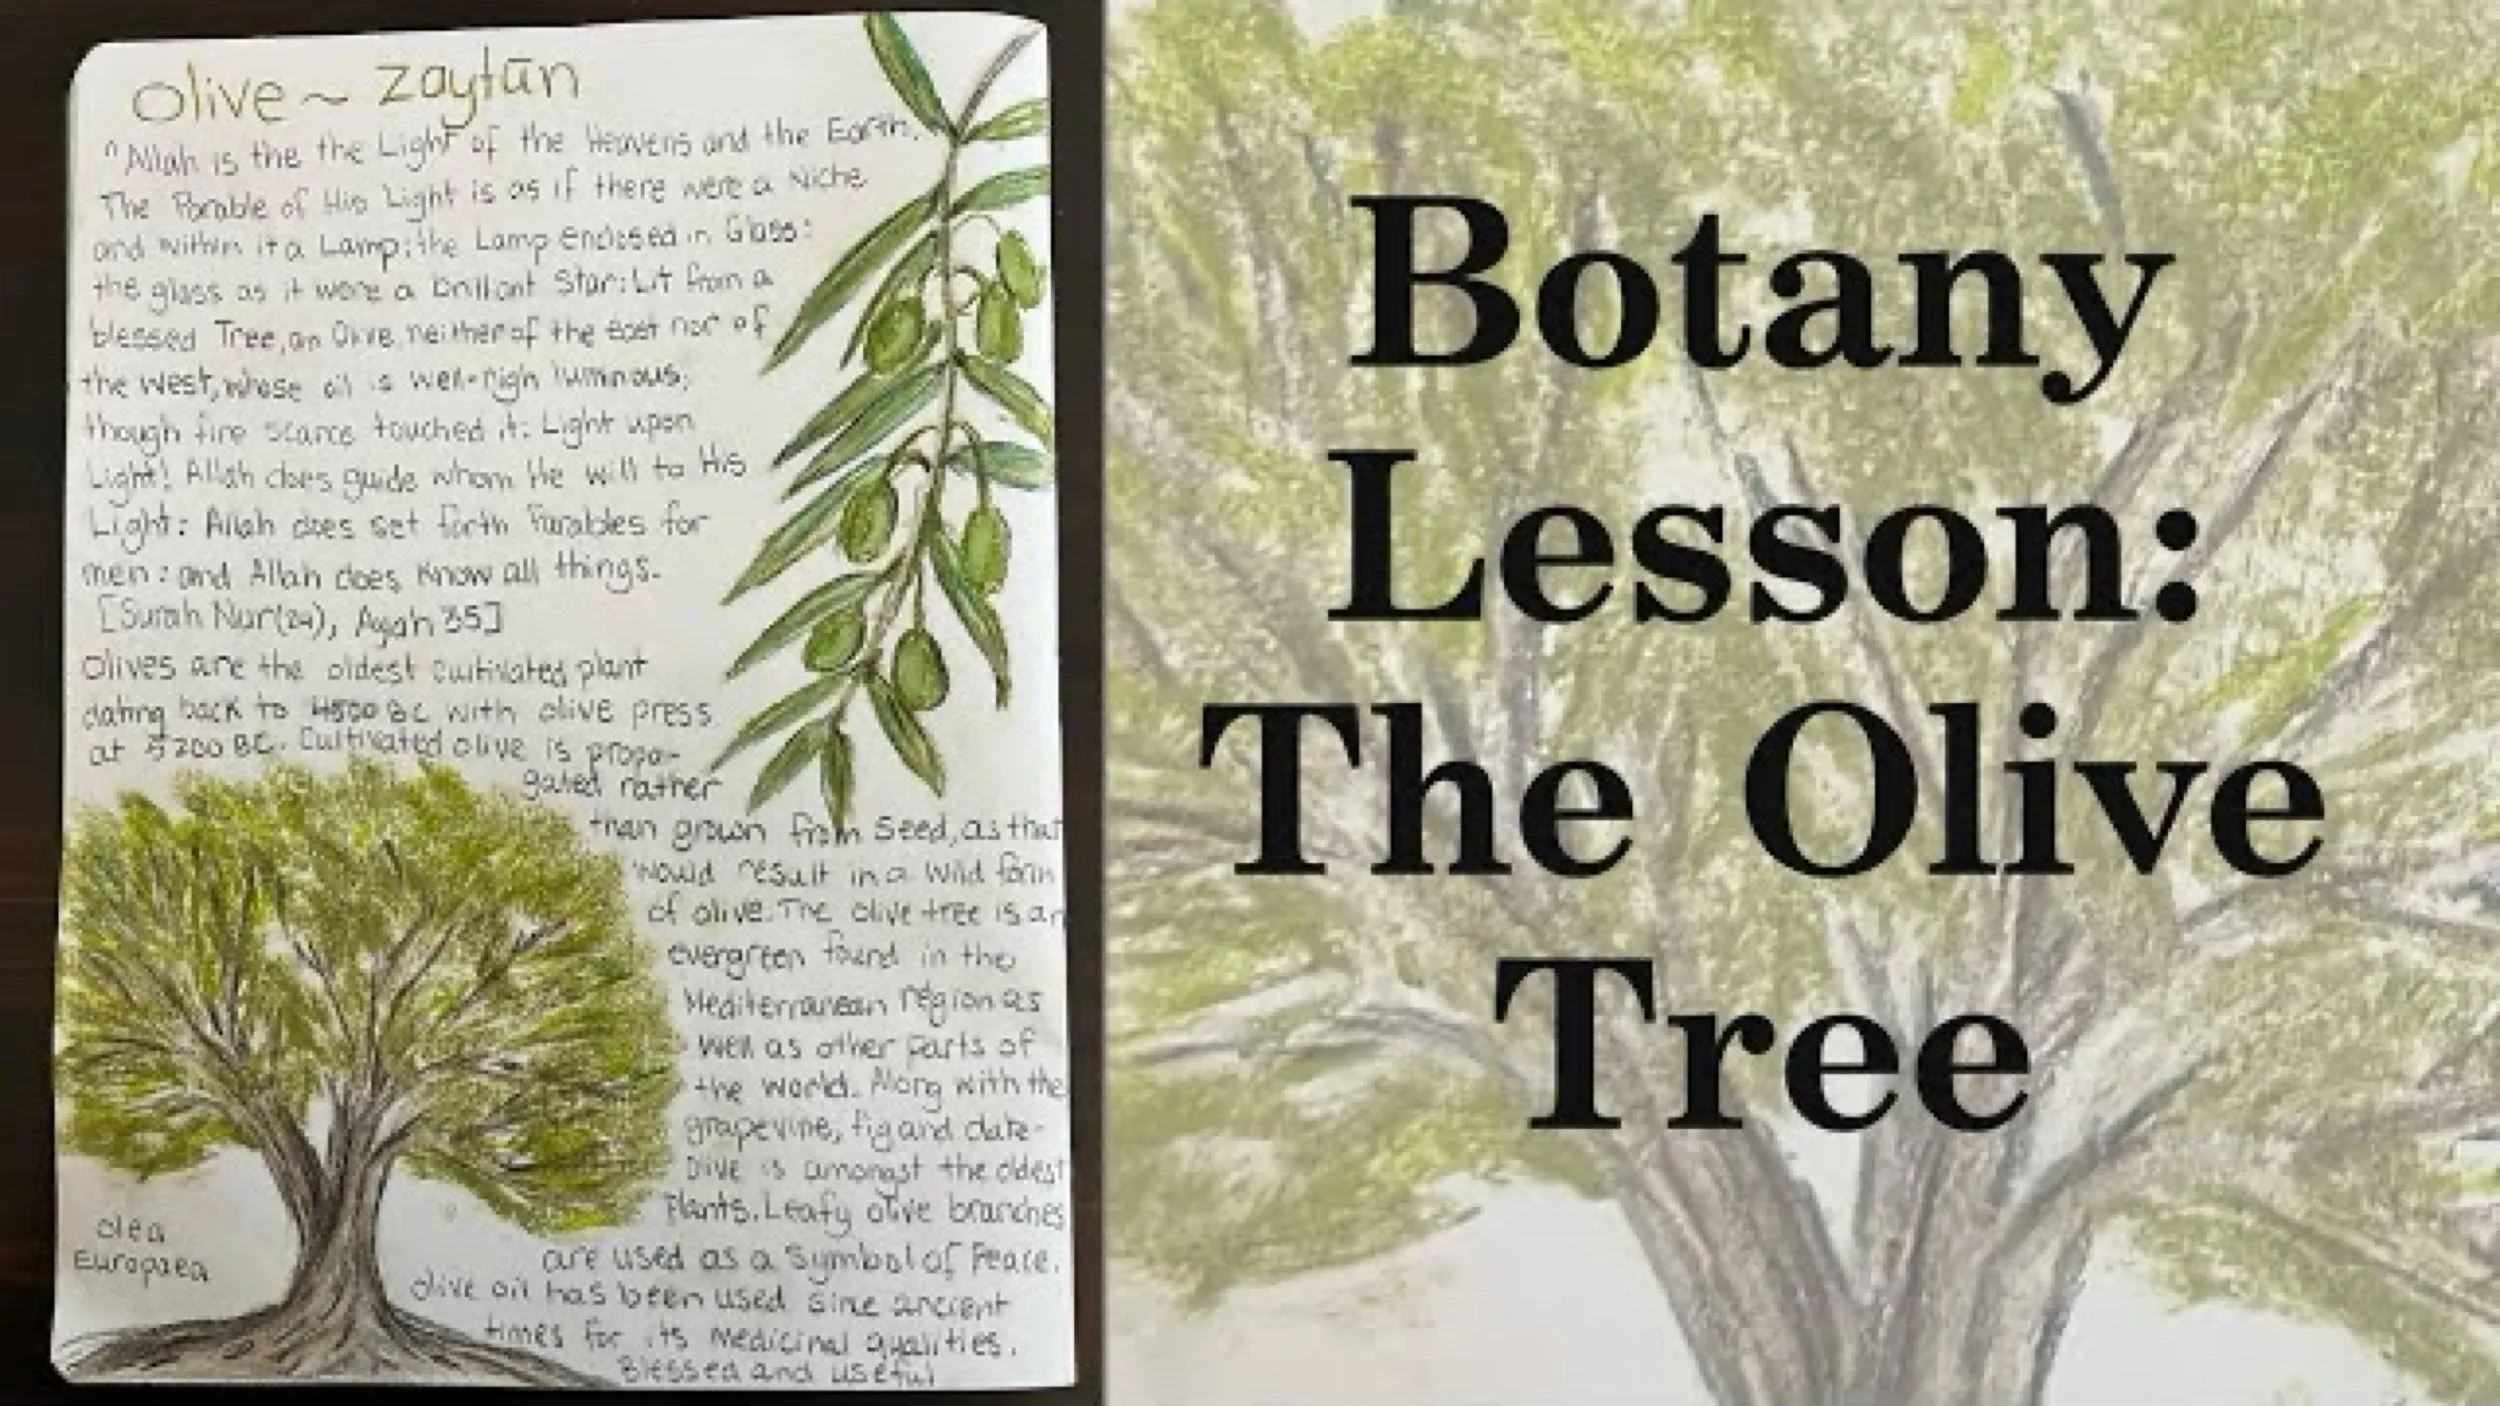
Botany Lesson | Olive Tree
This is our final lesson in our botany Main lesson block. We are primarily using our Live Education Waldorf curriculum, but at the end of this main lesson block, the curriculum offers the opportunity to include lessons to the teacher's choosing.
-
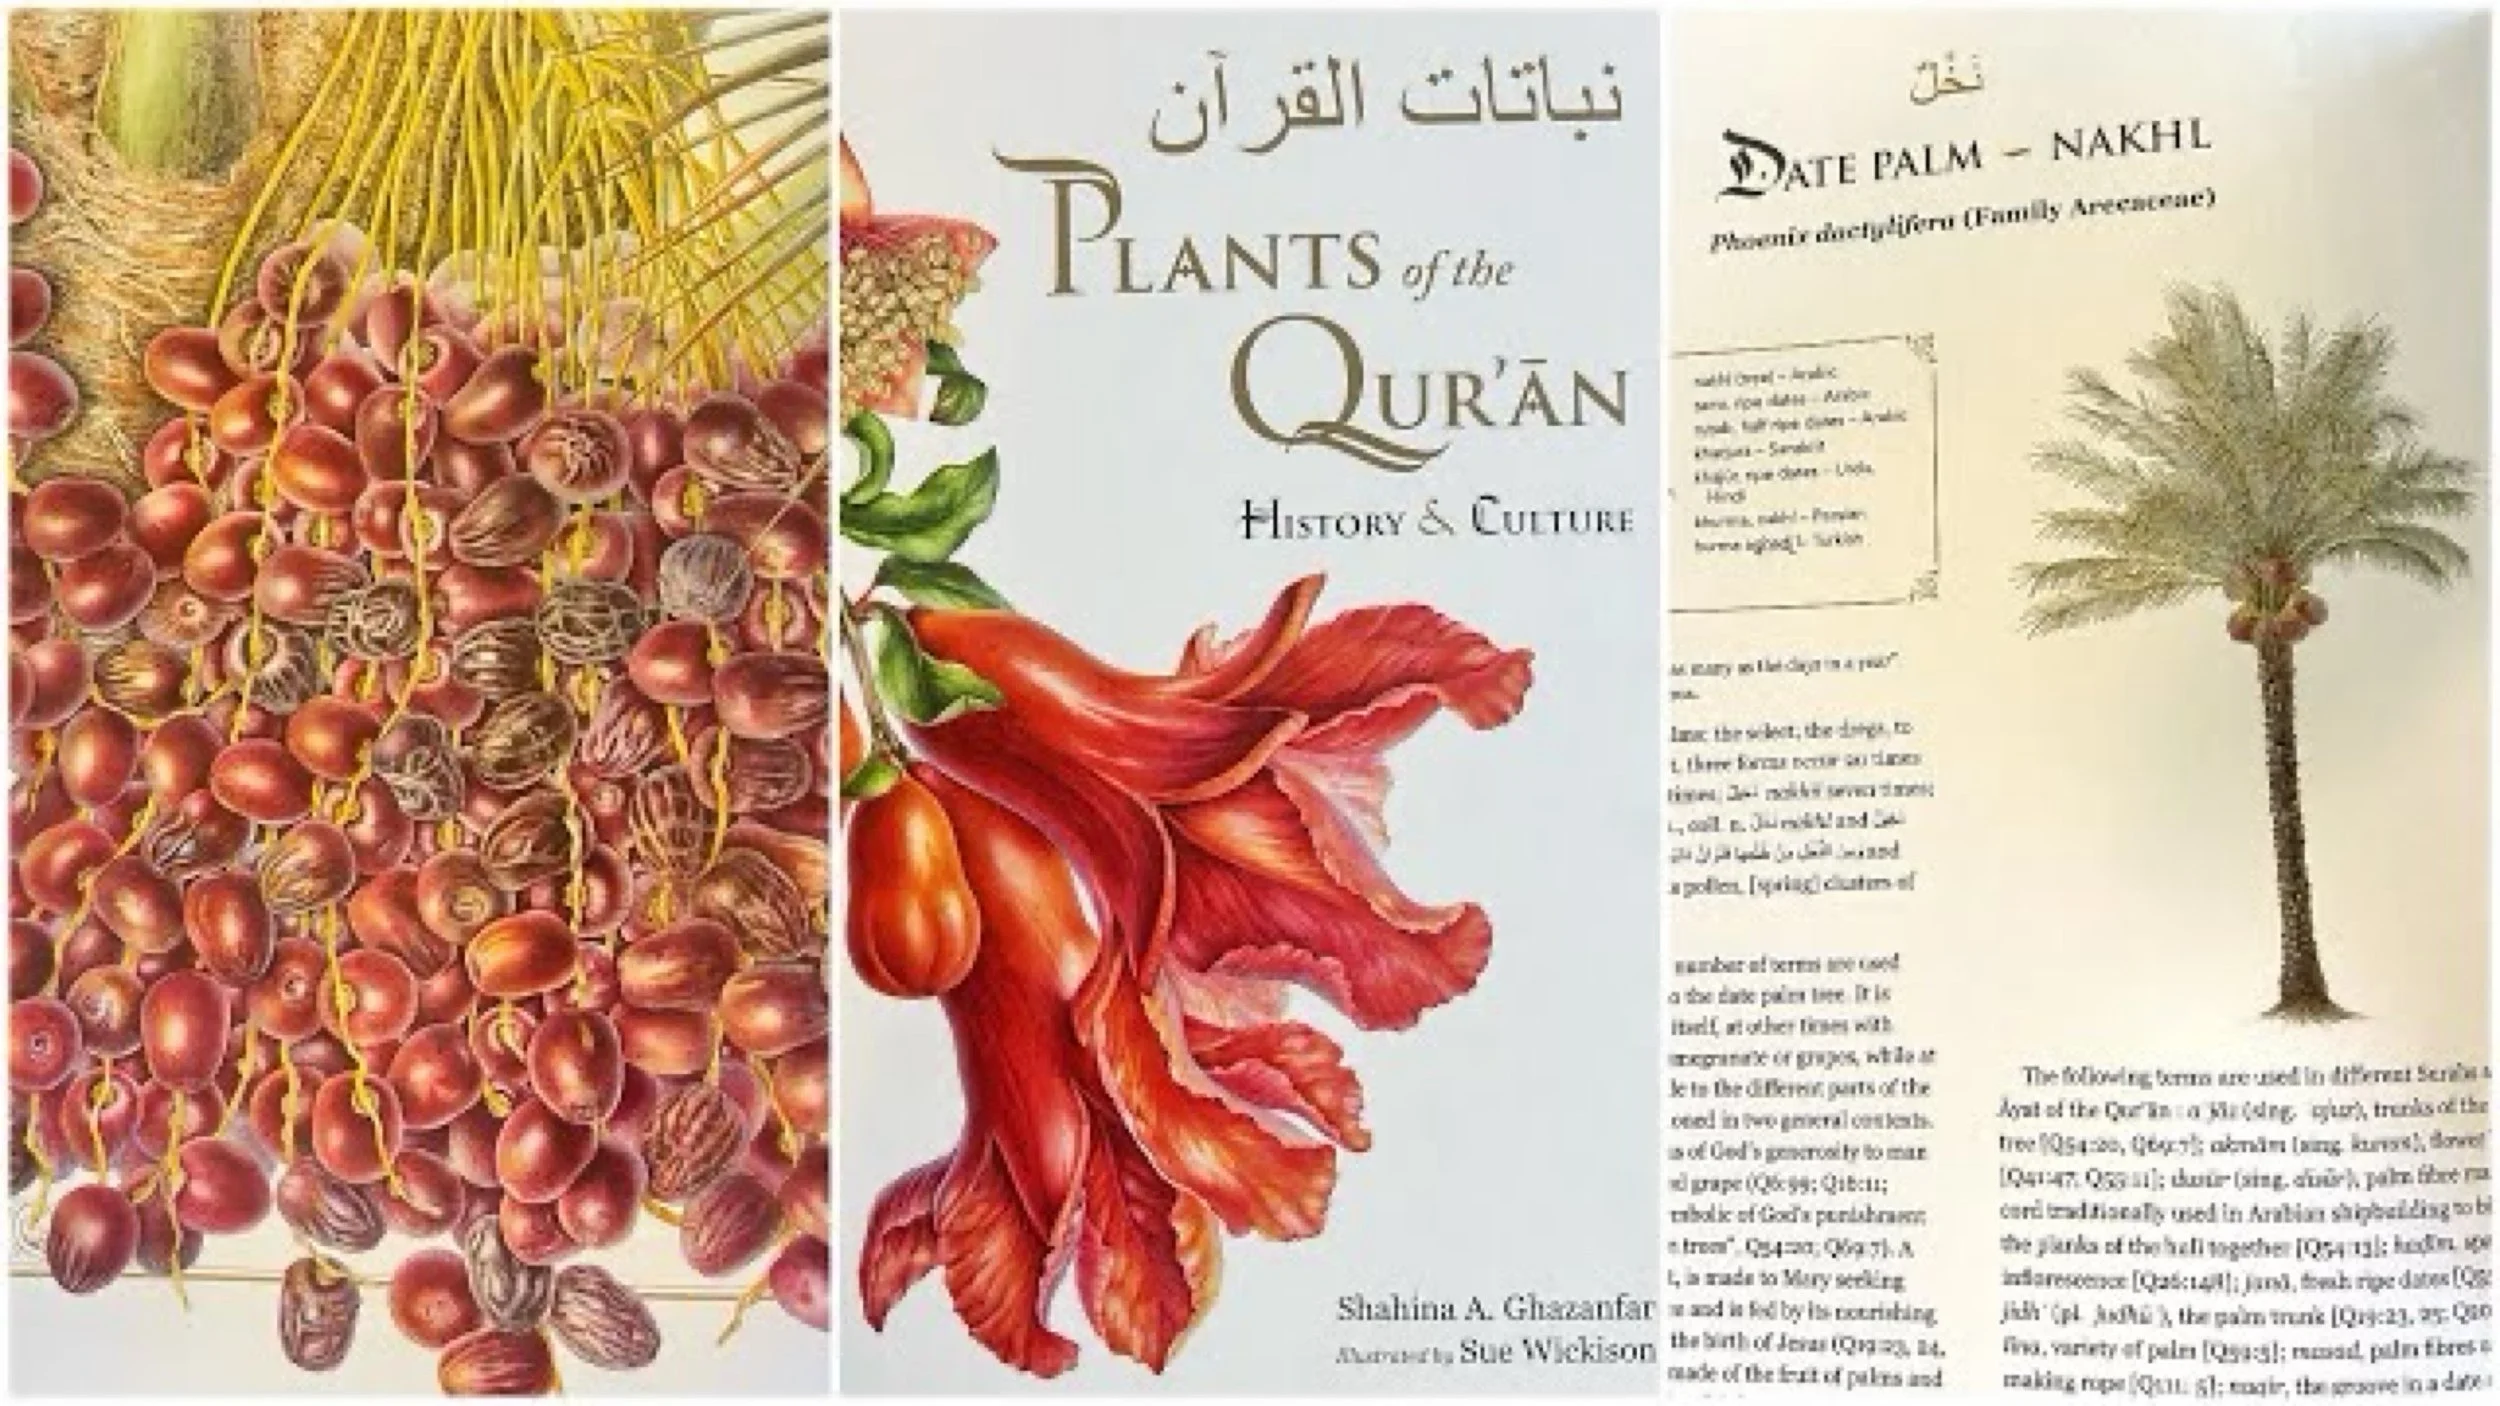
Plants of the Quran
Plants of the Quran History & Culture by Shahina A. Ghazanfar and illustrated by Sue Wickison
Flowering Trees
Flowering Tree
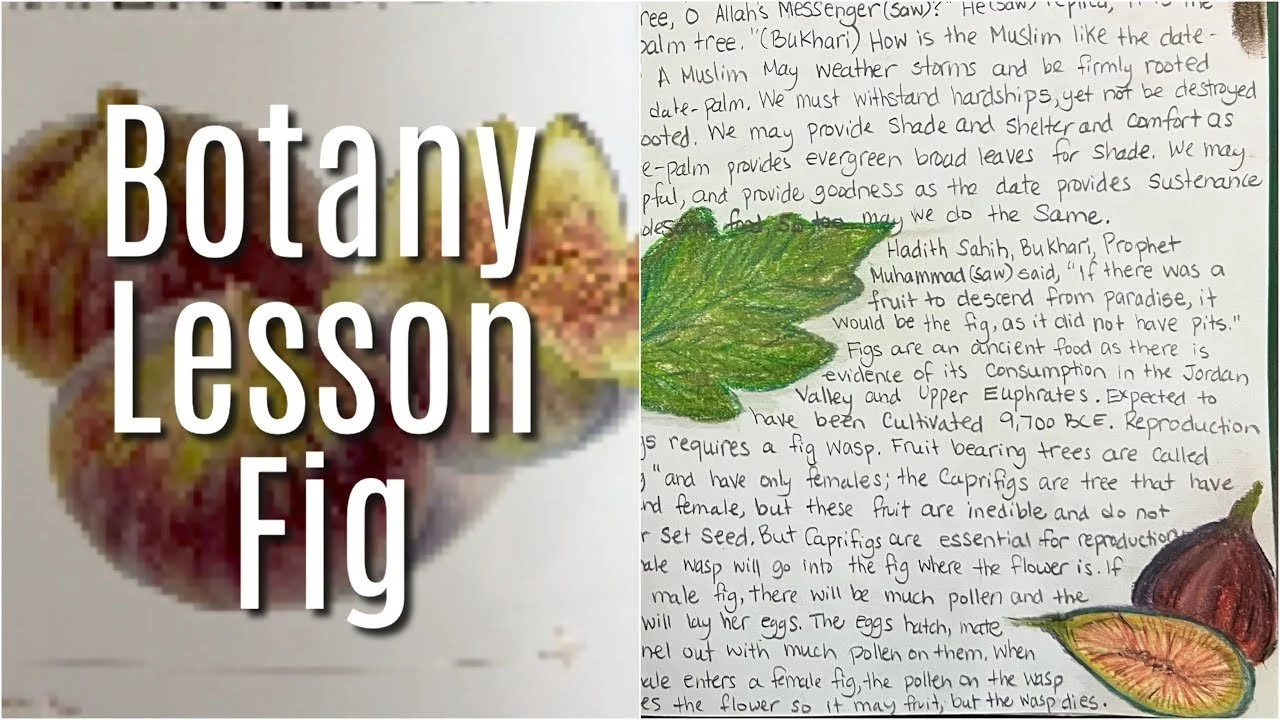
Fig
In choosing our Flowering Fruit trees, we chose to cover fig and olive and we chose to add a religious element to this lesson using the book Plants of the Quran. The book Plants of the Quran shares botanical information as well as some religious aspects like where in the Quran the the fig is mentioned and if there are any hadiths related to the mentioned plant. The book also shares the Arabic and historical names for the plants as well the history of the cultivation of the plant.
For this lesson we include a portion of our date lesson as that lesson ended up taking up more than a page and as we are running out of pages for our botany main lesson book, we ended up sharing a page with the fig which meant we had little room for our illustration and our content. I included a paragraph about the fig wasp which I find fascinating, though not all fig varieties require the fig wasp for fertilization.
The hadith we included referring to ‘if there was a fruit that were to descend from heaven it would be the fig because it has no pit.’
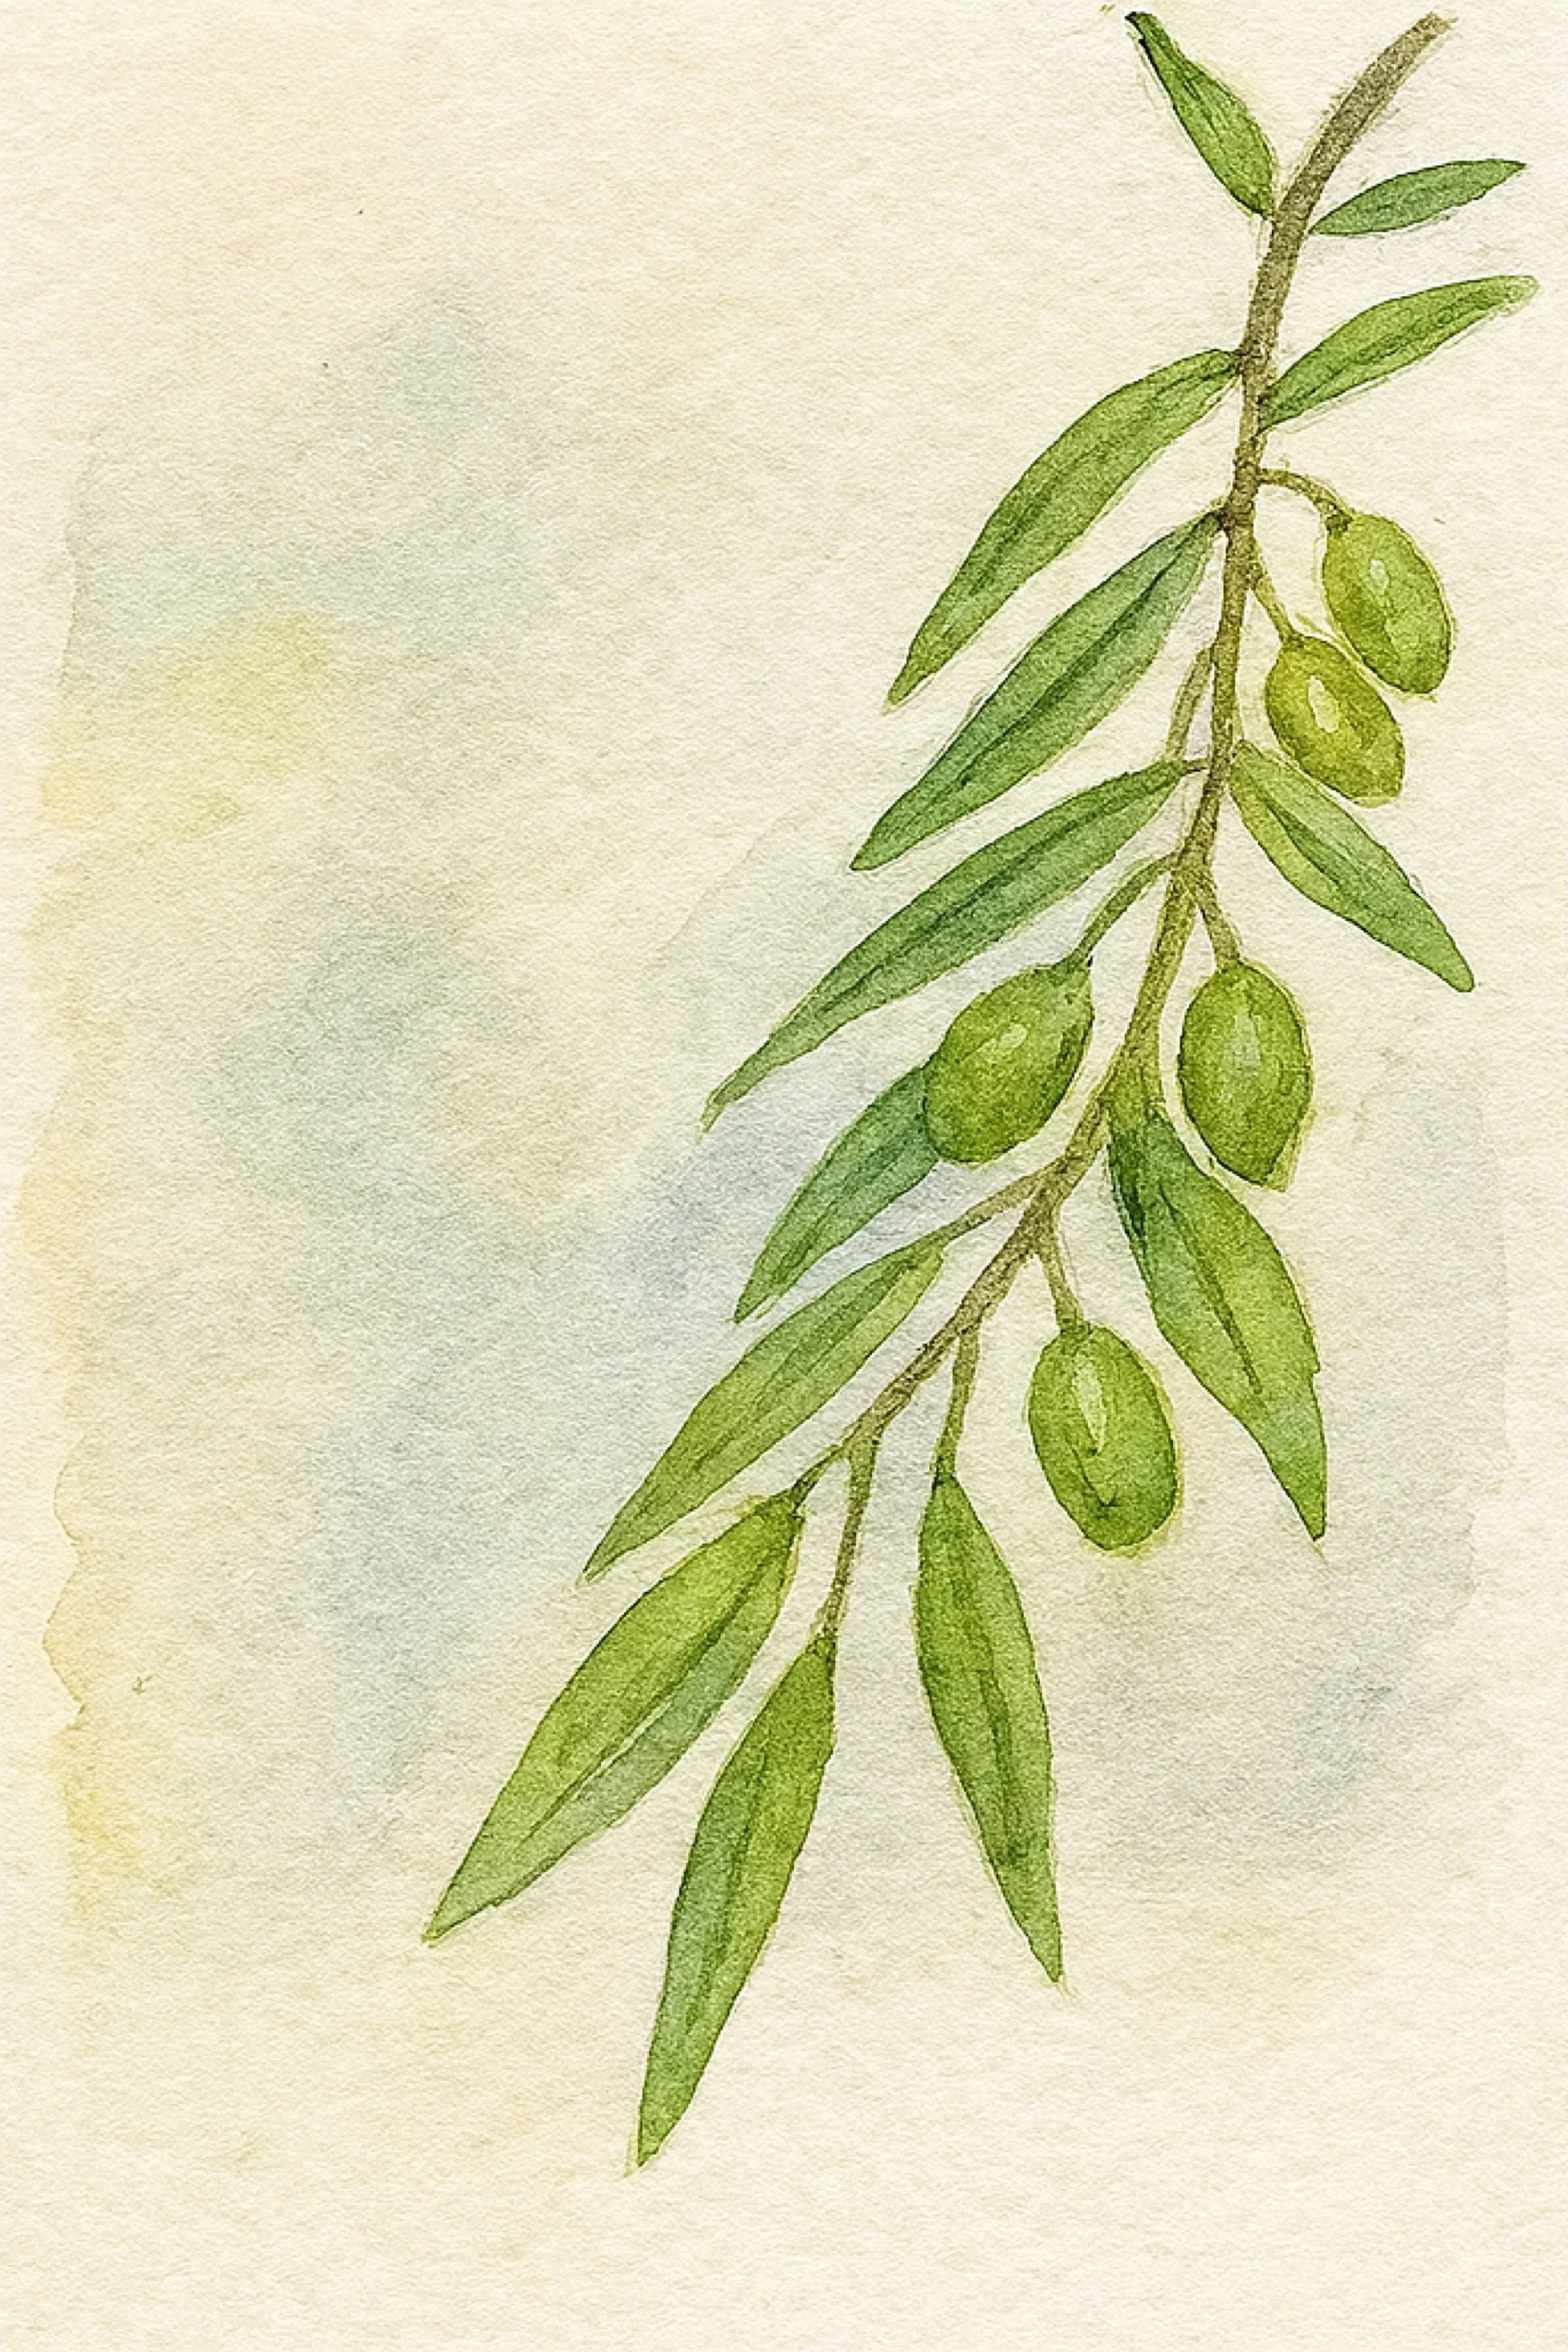
Olive Tree
This is our final lesson in our botany Main lesson block. We are primarily using our Live Education Waldorf curriculum, but at the end of this main lesson block, the curriculum offers the opportunity to include lessons to the teacher’s choosing. For this last lesson, we used the book Plants of the Quran for illustration inspiration and for content for this lesson. The book Plants of the Quran includes historical aspects the olive tree as well as cultivation details. We also added the Quranic verse 35 from Surah Nur in which the olive is mentioned.
Plants of the Quran
Plants of the Quran History & Culture by Shahina A. Ghazanfar and illustrated by Sue Wickison. I had my eye on this book for a while but thought it was only available in the UK (maybe for a time that was the case) but an IG friend said it’s available at Barnes and Noble. I was thrilled! And immediately ordered it. I’m so pleased to have it, use it and share it with you. It’s just one of many ways to incorporate Islam into your lessons in an organic way that’s both beautiful and relatable.
